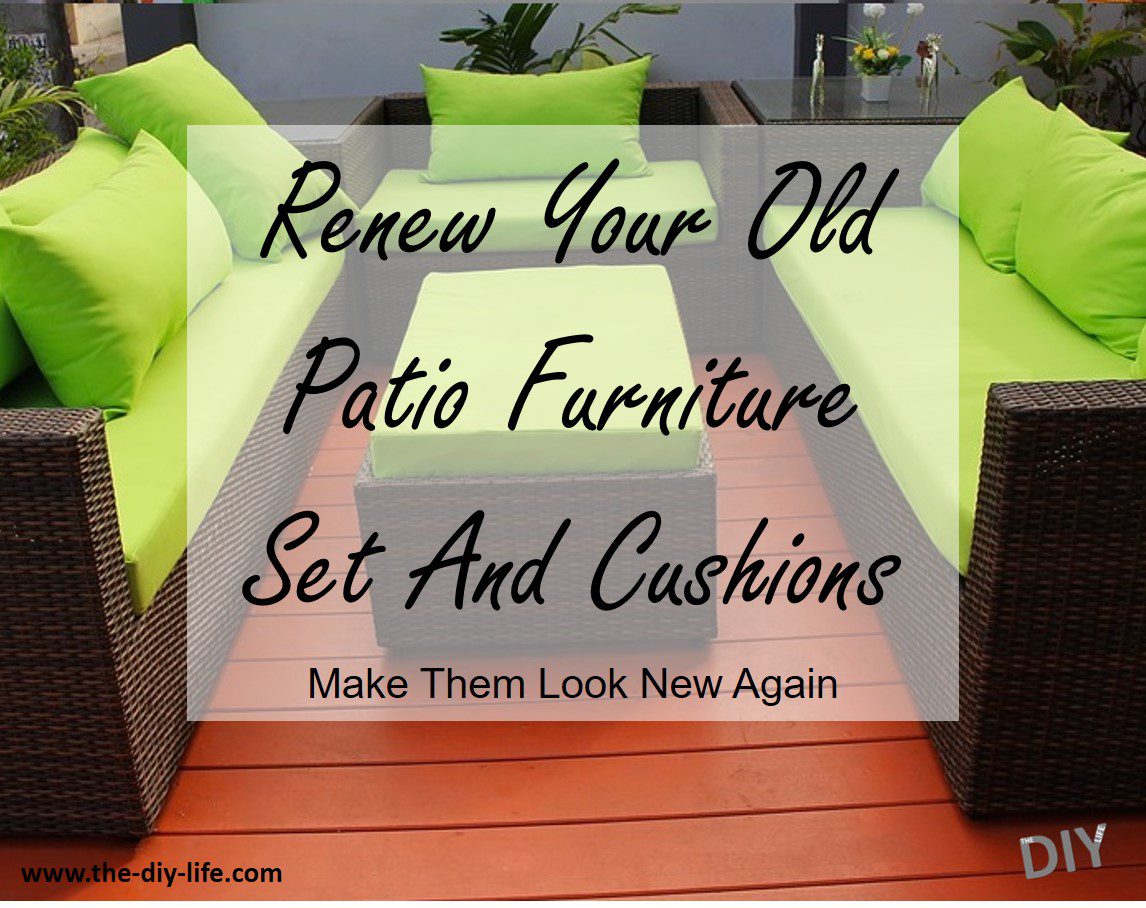
Your patio furniture set has to stand up to the worst of the weather conditions your home sees, often in sunny and rain exposed areas of your home. This can quickly lead to the colours being dulled and your furniture looking old and dirty. In this guide, we’re going to be looking at how you can update your old faded furniture and make it look almost new again without spending a fortune, all with the correct paint or varnish.
When it comes to outdoor furniture, prevention is always better than cure and usually a lot easier to keep your furniture protected from the environment to ensure that it’s kept looking new, rather than trying to fix up your old patio furniture at a later stage. This is easily done with some inexpensive furniture covers or by packing your furniture away into a storage room or locker.
In renewing your patio furniture set, paint is your most powerful tool. Buying and applying the correct type of paint to your furniture and cushions, yes your cushions as well, can instantly make your set look brand new again.
Once you’re done with renewing your furniture, have a look at these 5 Decorating Ideas for your Patio.
What You Need To Renew Your Furniture Set And Cushions
- Varnish or Paint To Match The Furniture Type and Colour
- Sandpaper – Buy Here
- Paint To Match The Cushion Colour(s)
- Paint Brush Set – Buy Here
- Or Foam Rollers – Buy Here
- Water
How To Renew Your Old Patio Furniture
We’re going to start with the actual furniture, which may be wood, metal or plastic. Depending on how old and how much sun damage your furniture has experienced, this step may be as simple as just washing it down and re-applying a coat of paint or varnish or it may involve a bit more work and require sanding any flaking or rusty areas. Whichever yours is, make sure that you start out by giving your old patio furniture set a good wash, you don’t wanting to be painting over dirt or dust. A home high pressure washer system works well for deep cleaning and removing layers of built up dirt in the corners.
Once you’ve given it a good wash and allowed it to dry completely, you need to asses the damage. If your set is plastic, a good quality metal or hasn’t experienced too much rain damage, it may be good to be painted right away. If there are any signs of rust, flaking paint or bubbling varnish then you’ll need to give those areas a good sand to remove the damage before you start painting. This may sound like a lot of work now, but it will be well worth it to see the final product. A simple handheld electric sander can also make this job a lot easier and quicker to manage.
You’ll need to select the correct type of paint or varnish for your furniture’s material type, be it wood, metal or plastic. Go down to your local paint store and ask them what they’d recommend for outdoor use on your furniture set, they’ll likely be able to get you the best suited paint for your job.
For some tips in selecting a paint type:
- More expensive is not always automatically better, there are loads of more affordable paints which are just as good as the premium products.
- If your base coat is still good, primer is not necessary. Also look out for self priming plastic paints, these actually work quite well for DIY jobs.
- Water based is much easier to work with, you don’t have to worry about solvents for cleaning and you’ll save yourself a lot of brushes and rollers, and its better for the environment.
- Get a little bit extra, you may need more than you think and you can use the extra paint to touch up your furniture in a year or two’s time.
Once you’re done with the furniture, it’s time to move onto the cushions, which usually fade the quickest. Some people have tried dying them, with mixed results. We have a better recommendation, give them a coat of paint as well! Now, there are obviously some limitations in what you can do with paint. You won’t be able to repaint intricate patterns or pictures, but it does work well for plain colours or simple two-tones or stripes.
Which paint works? We’ve tried out a few different techniques and have found that most water based acrylic paints work well, you just need to get the consistency right. When painting cushions, you don’t want to apply a thick layer of paint. You want the paint to be as thin as possible while still achieving the colour you’re looking for. We found that with most paints, its best to water it down in a ratio of 1 cup of water to 2 cups of paint, so however much paint you use, add half as much water to it before you start. You’ll obviously need to re-mix the paint in a larger container in order to water it down. You want the paint to be thin enough to not leave brush streaks and you should still be able to clearly see the weave pattern of the fabric. If the paint is too thick then you’re going to land up with firm and rigid cushions which make crack when you sit on them.
Use a brush for very soft cushions or a foam roller for larger and firmer square and rectangular cushions. Apply a thin coat of paint and allow it to dry before deciding on whether to paint a second coat. Remember that with painting your cushions, less is always better!
To waterproof and seal your cushions after your paint job, you can apply a coat of clear wax, the types sold for use over chalk paints. This will bring out the colour and make them a bit more water resistant. Just make sure that the paint is properly dry before applying the wax, perhaps leave them to dry overnight. Waxing your cushions afterwards is completely optional, it is perfectly fine to leave your cushions just as they’ve been painted.
Have you tried repainting your old patio furniture set and cushions? Let us know how it went for your in the comments section below, we would love to hear your tips, tricks and advice.
Share This Guide