A drill’s chuck works hard, especially on a impact drill, so it’s no surprise that they do sometimes break. Alternately you may be looking at replacing your keyed chuck with a more modern keyless version. Either way, here is a step by step guide to replacing it with a new one.
When you’re done with the replacement, do you know which drill bit you should be using for different applications? Using the correct drill bit extends your tools life and makes the job easier.
What You Will Need To Replace Your Drill’s Chuck
- The Drill
- A New Chuck
- A 15mm (19/32″) Spanner
- A Plumbing Wrench, Vise Grips or Allen Key
How To Replace Your Drill’s Chuck
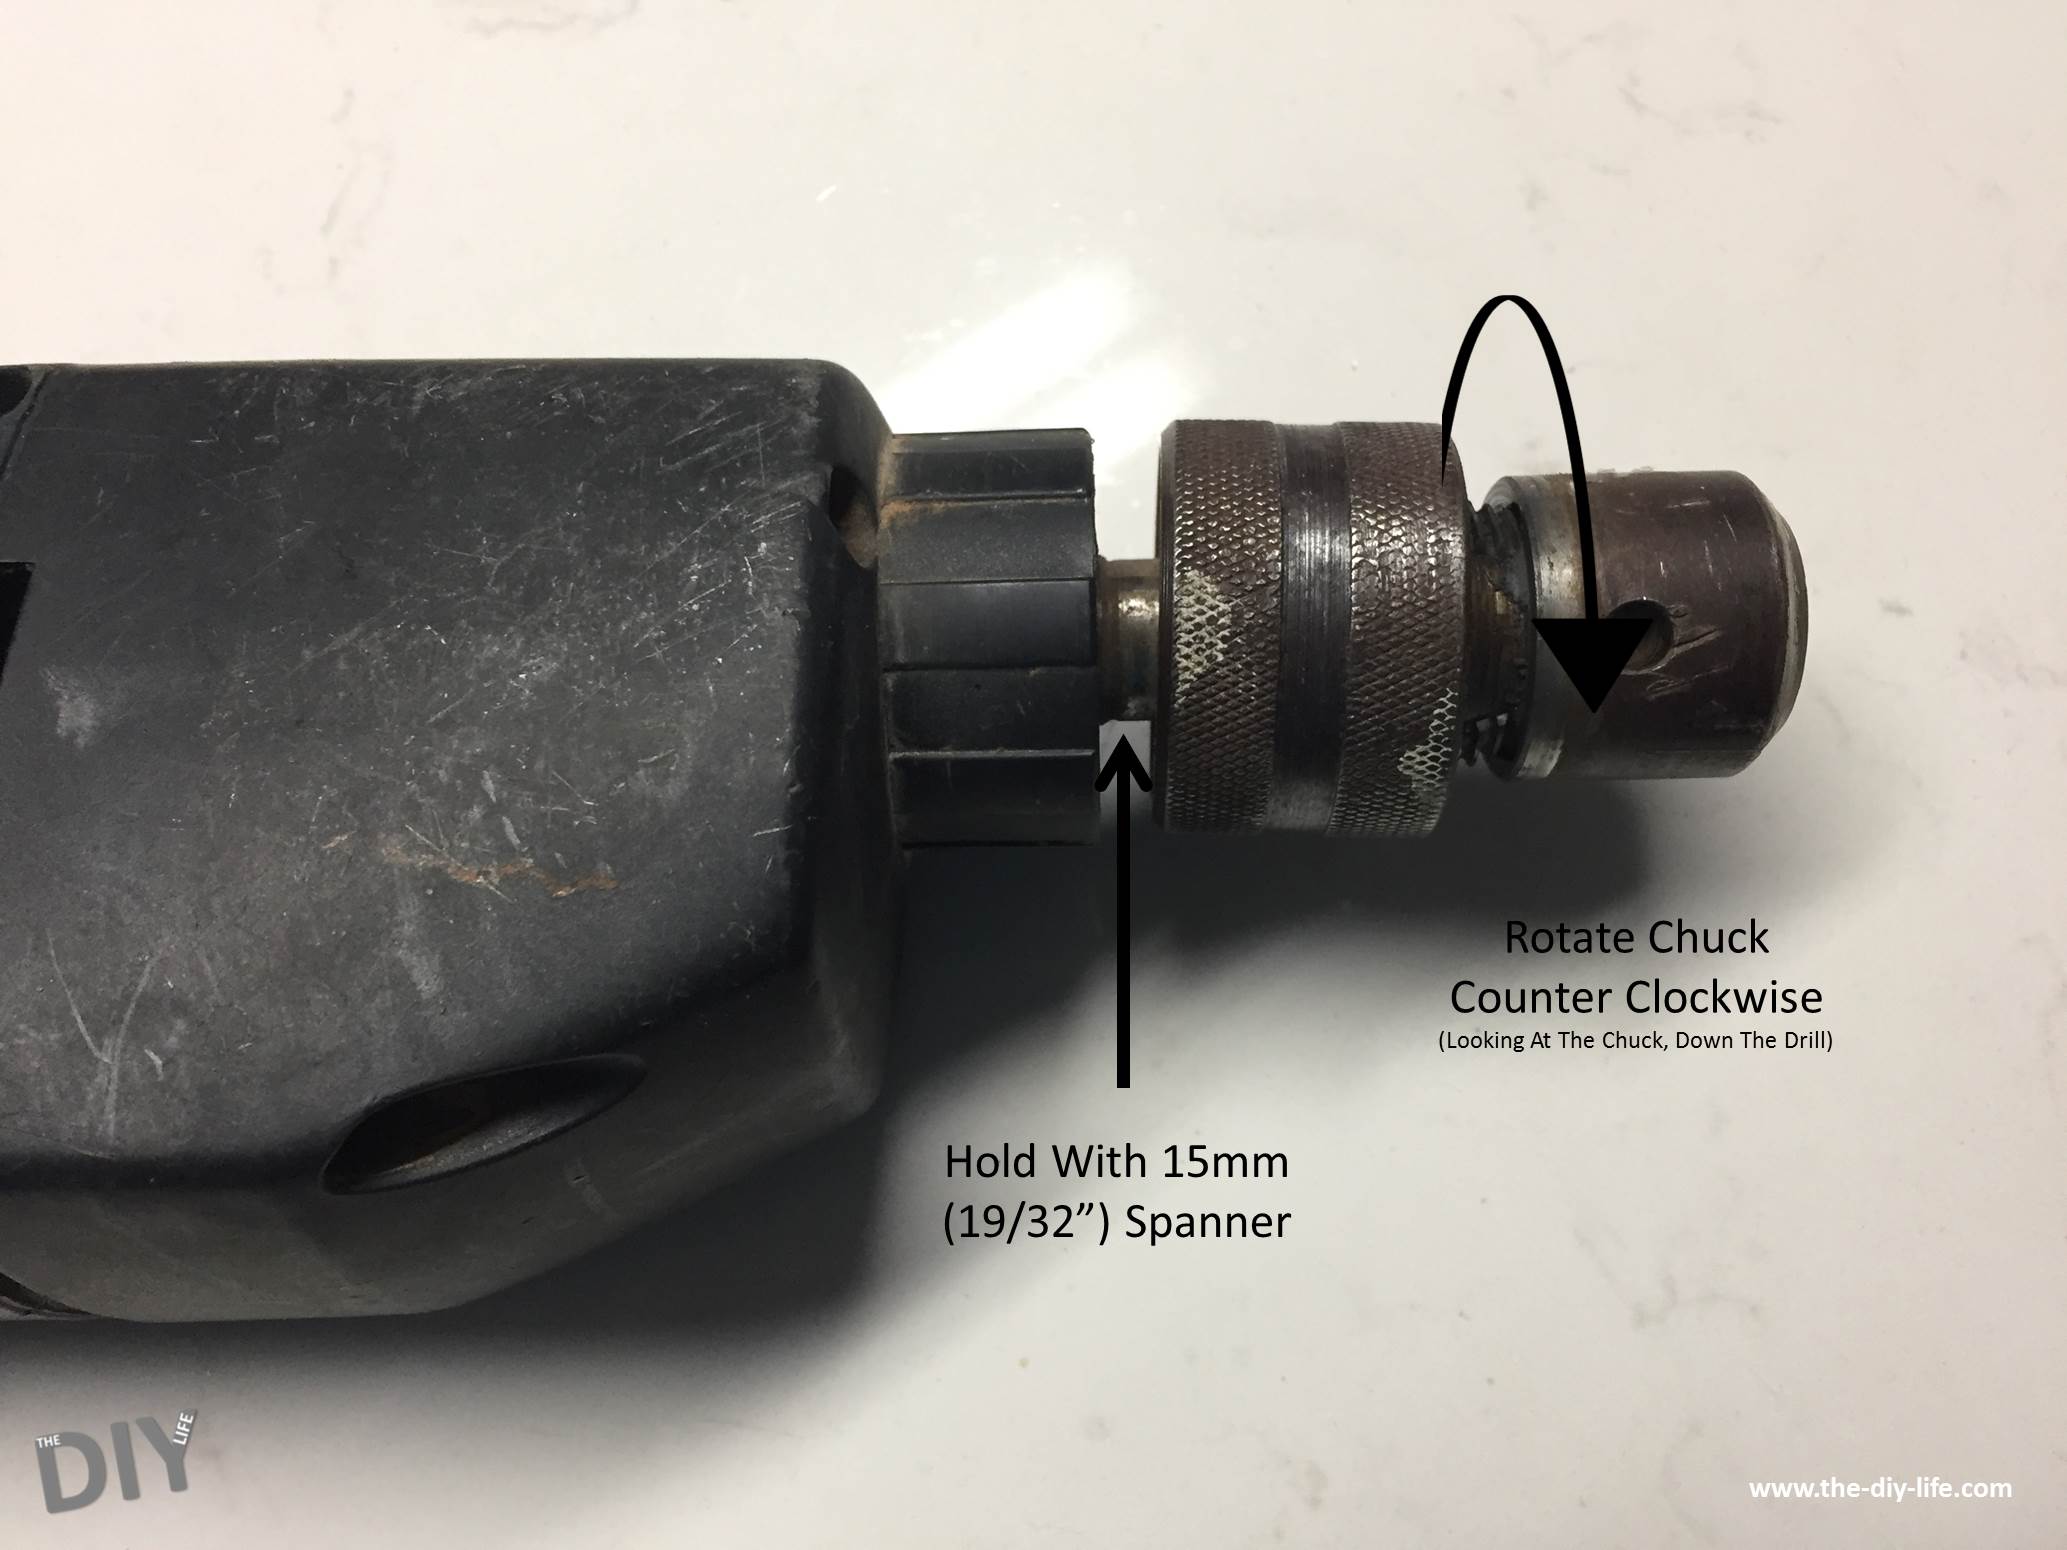
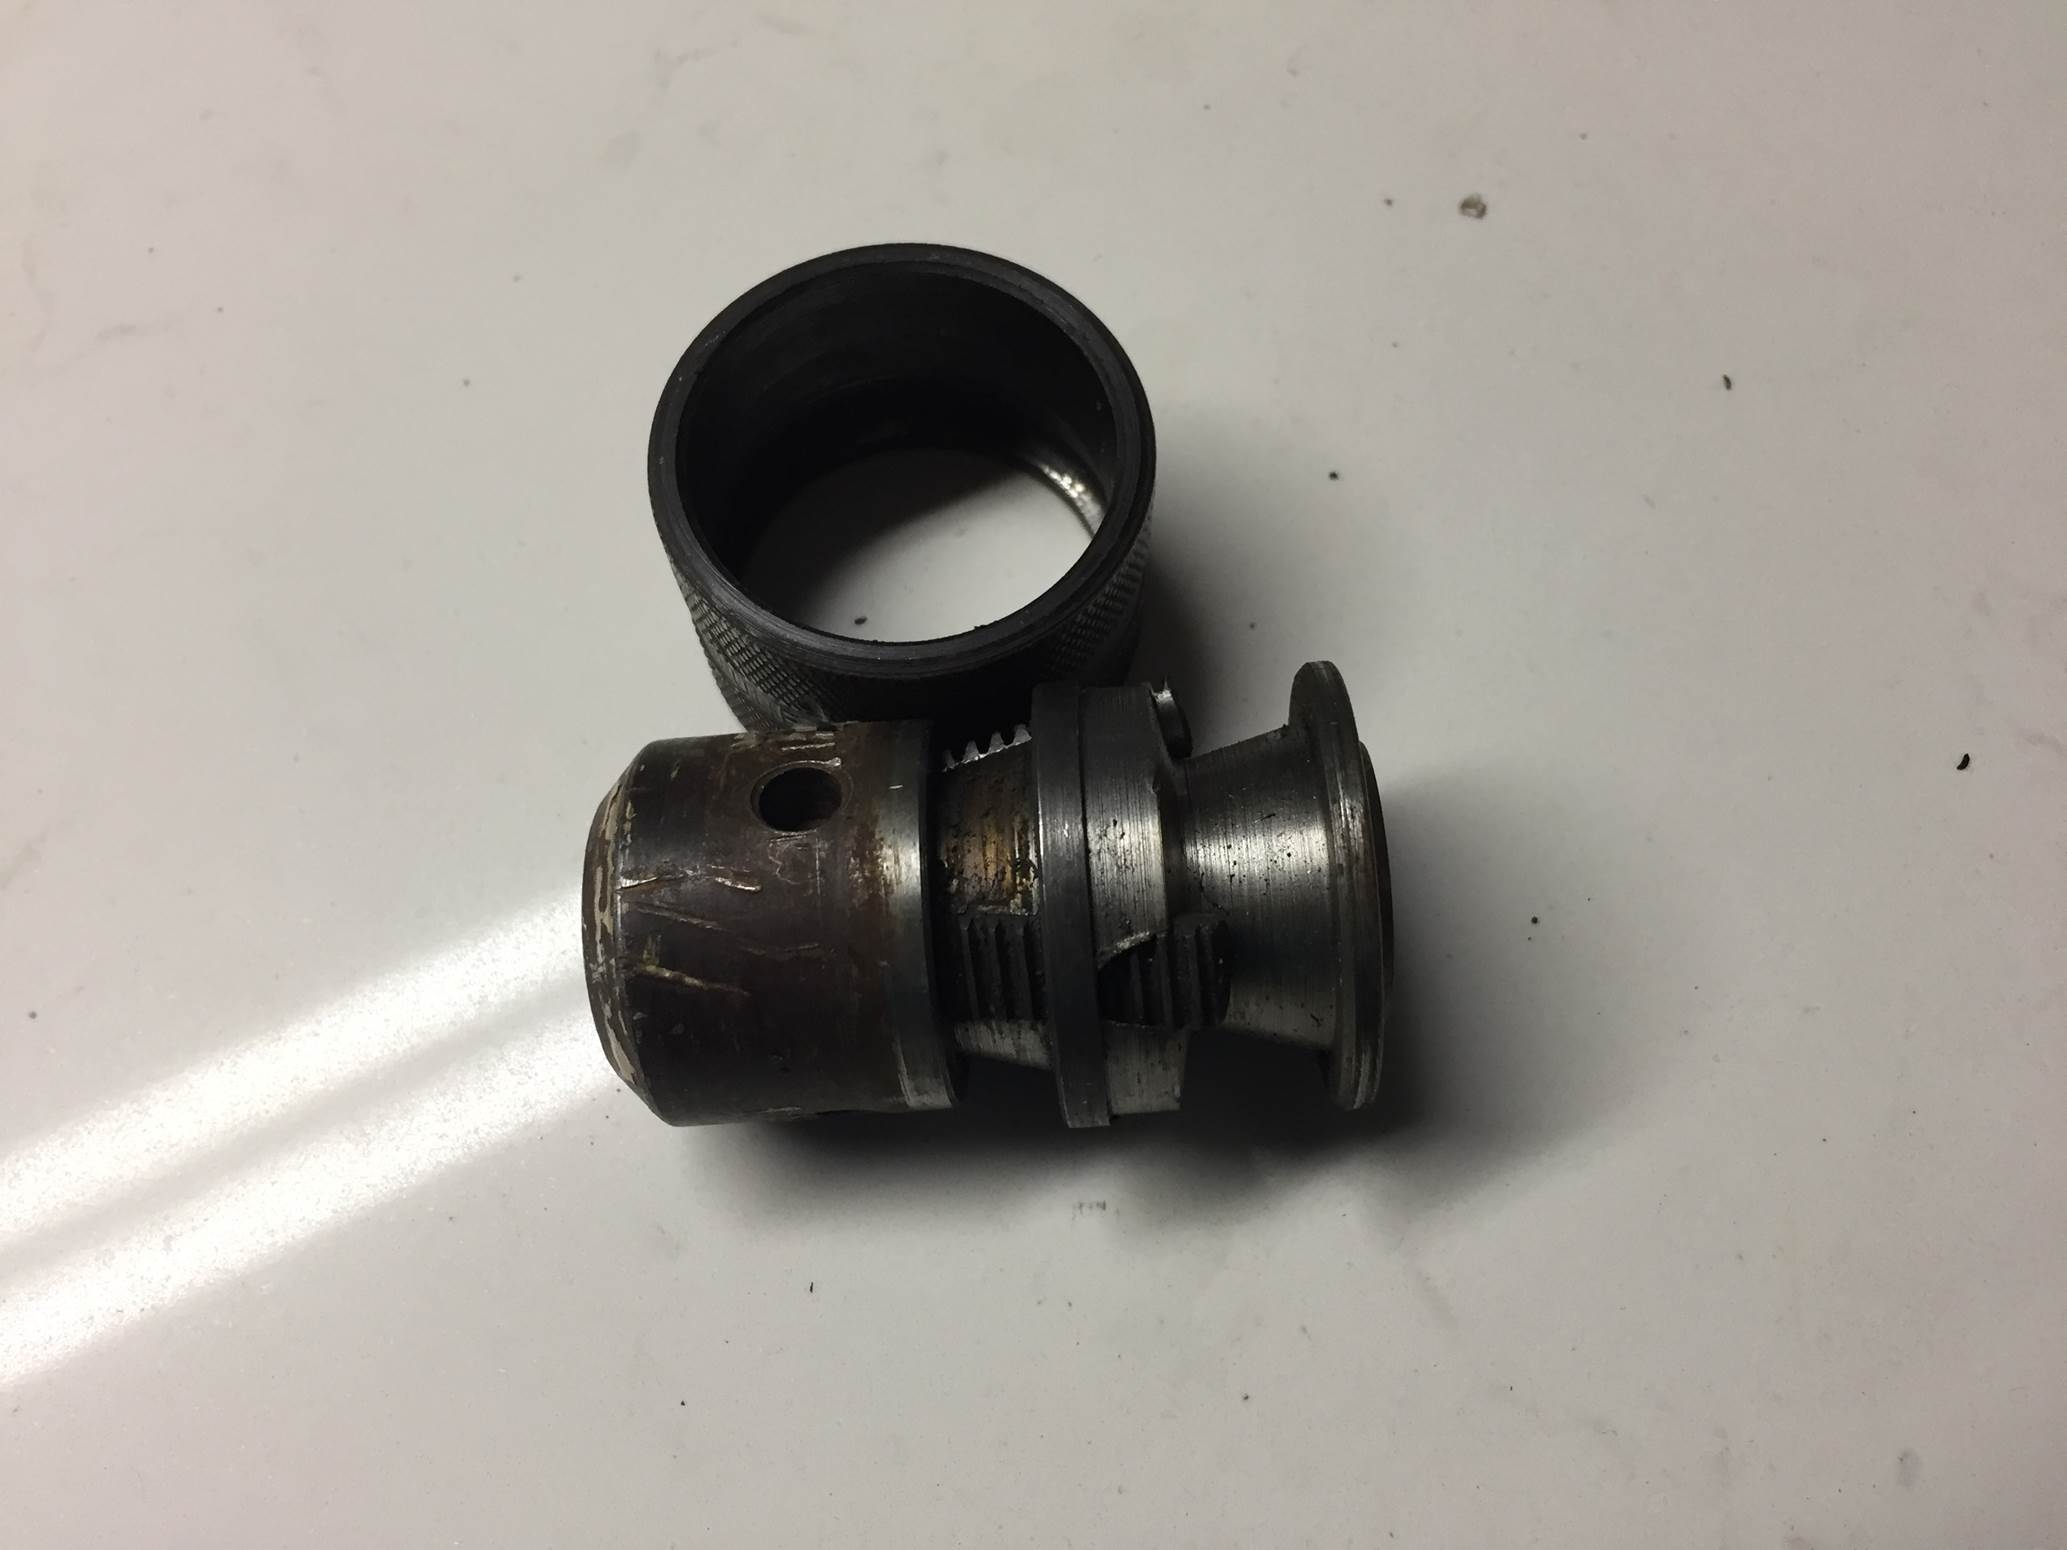
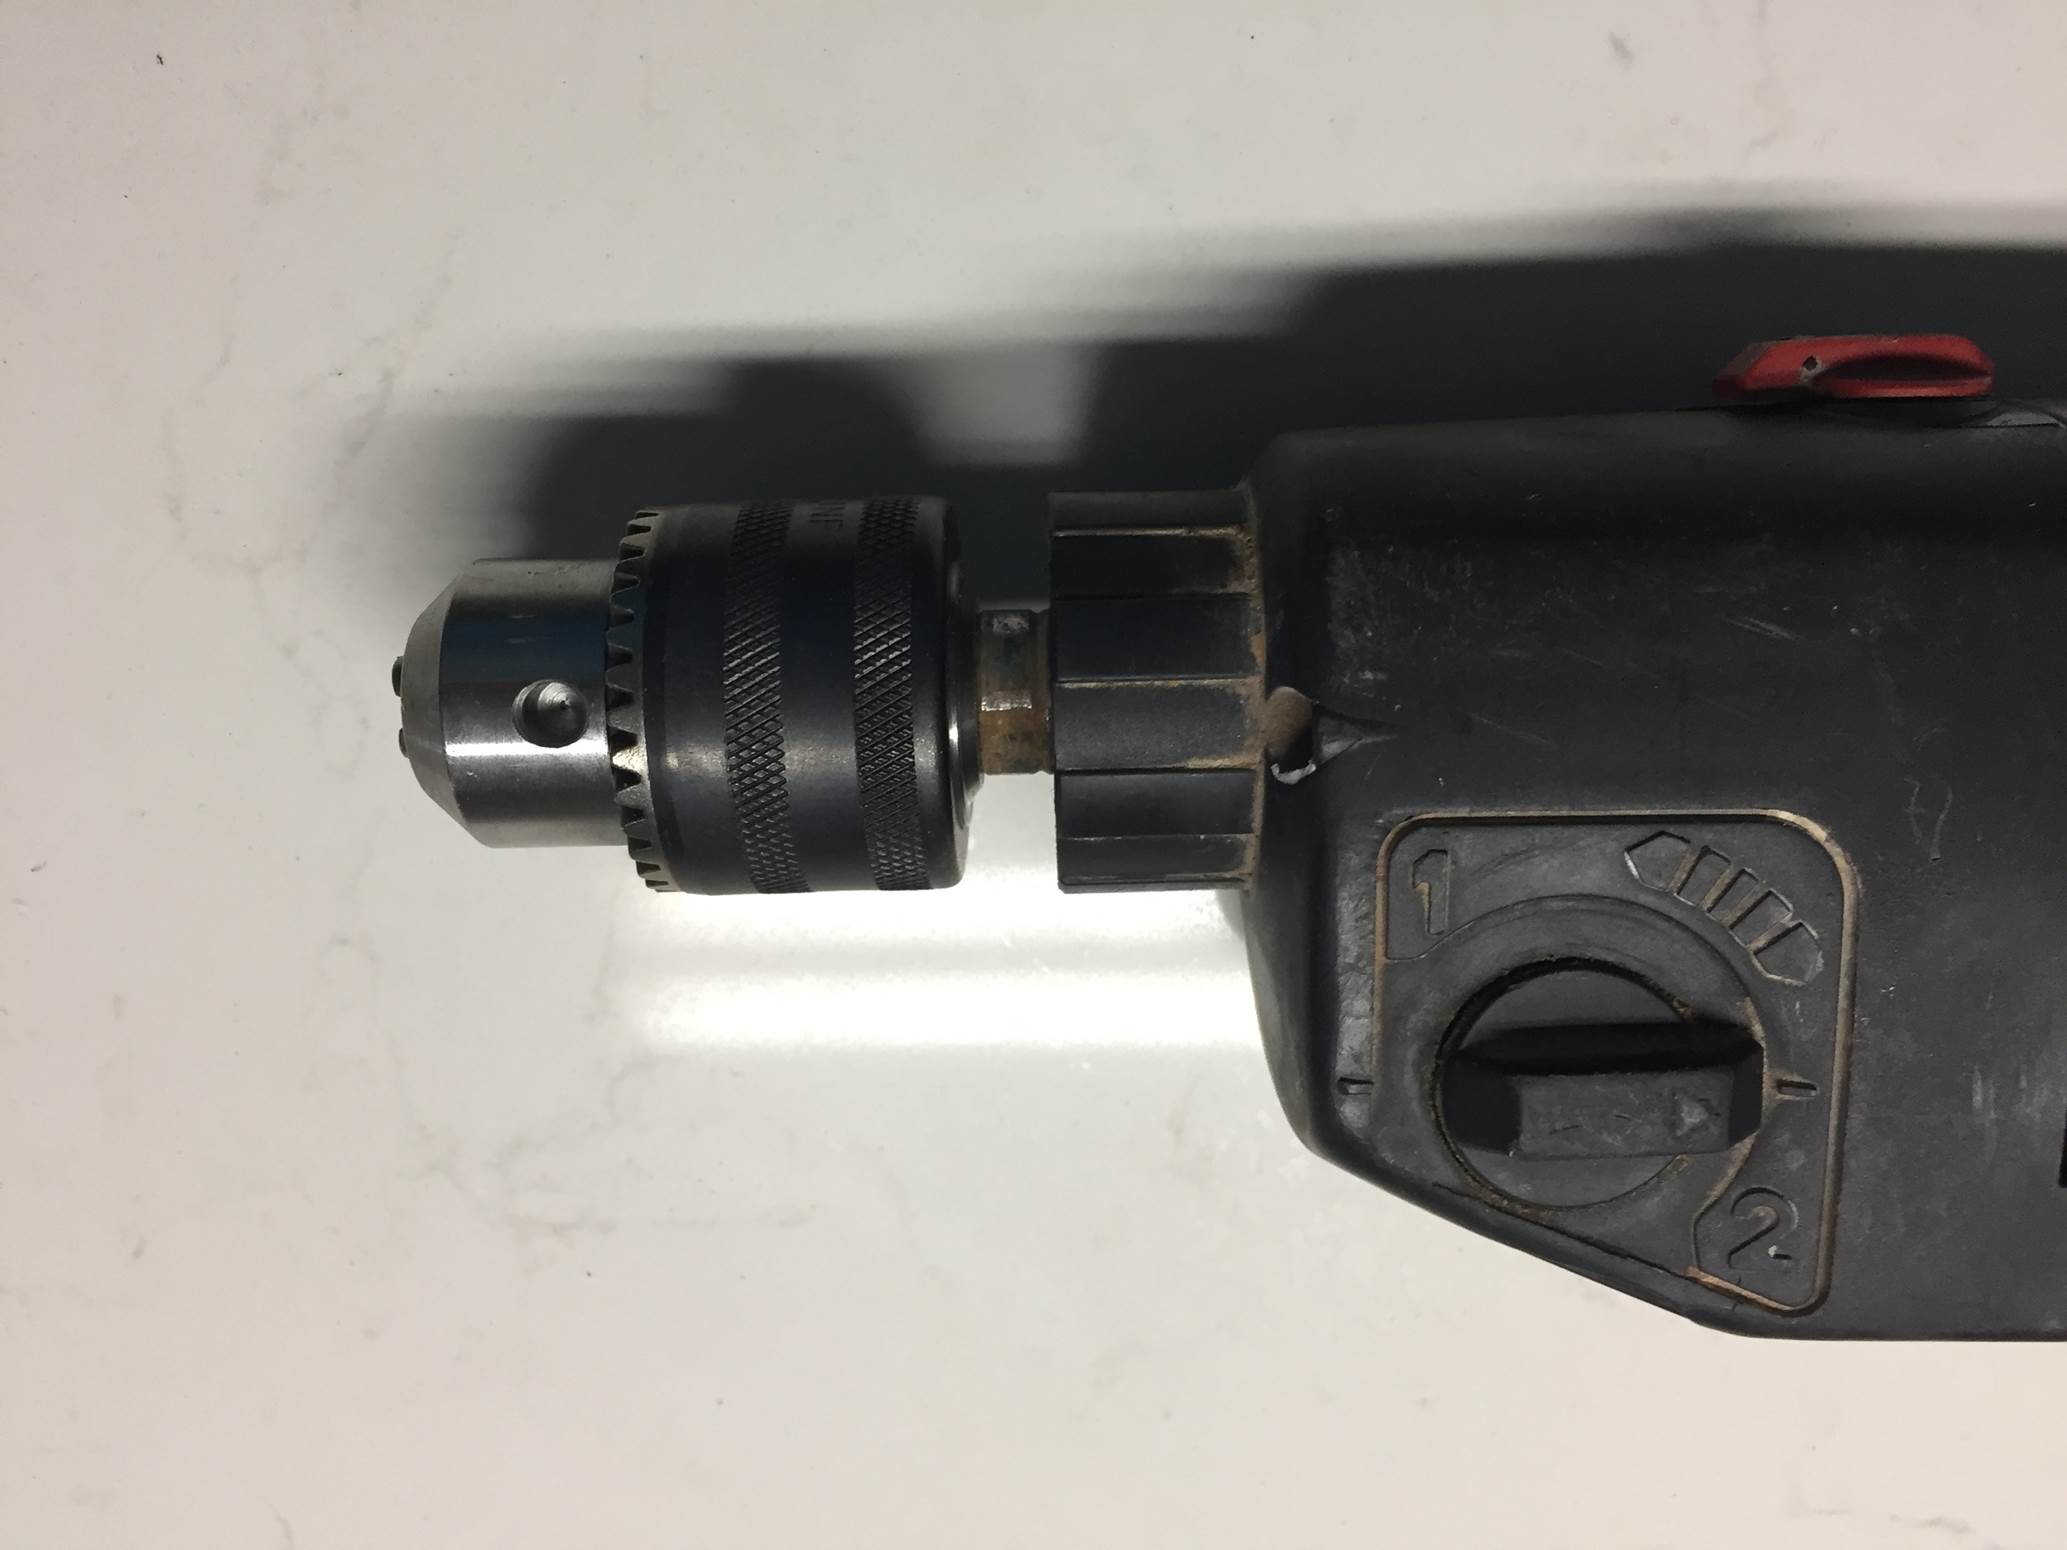
My chuck’s collar broke off the last time I was using it so it is now time for a replacement. It is held by a threaded stud on the drill which is screwed into the back of the chuck. In order to remove it, you need to loosen the old one on the threaded stud and screw it off. Hold the stud stationary with the spanner, the stud has two flat sections behind the thread on which the spanner fits. Now use the wrench to turn it off of the stud. If it is still in usable condition, you can put an Allen key into the chuck and then use this as a lever to turn it off.
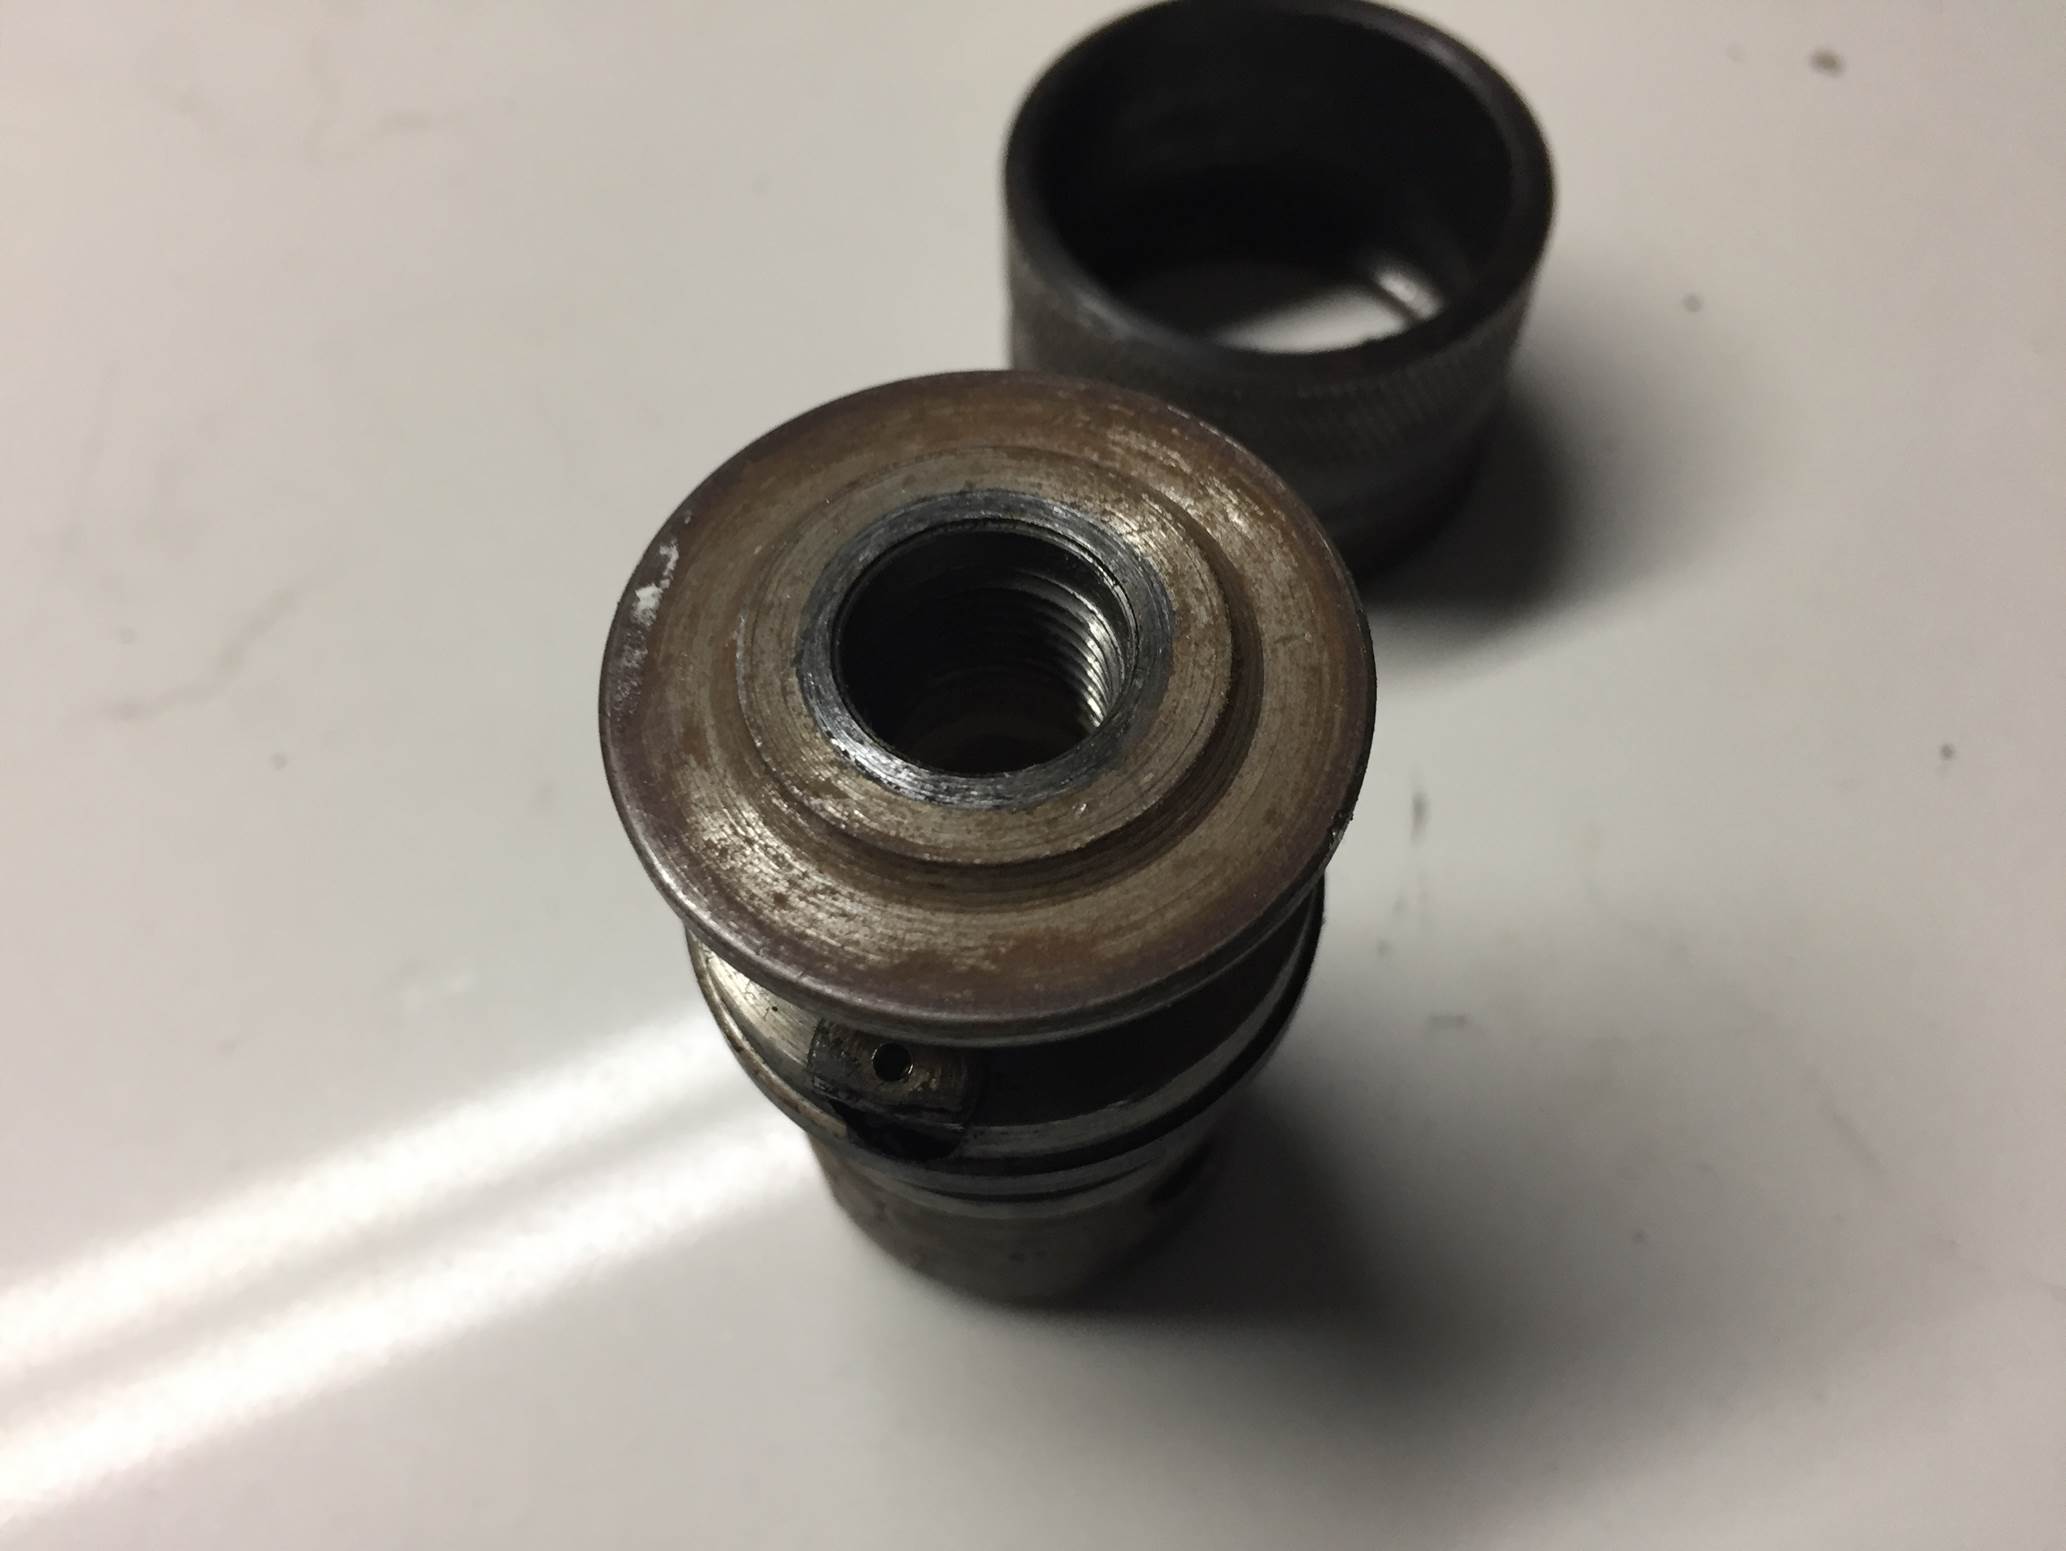
Once the chuck is loose, screw it completely off of the stud.
The replacement can be an old style key chuck or a more modern keyless version. I prefer to use a key version as it enables you to tighten it around the drill bit better than a keyless one.
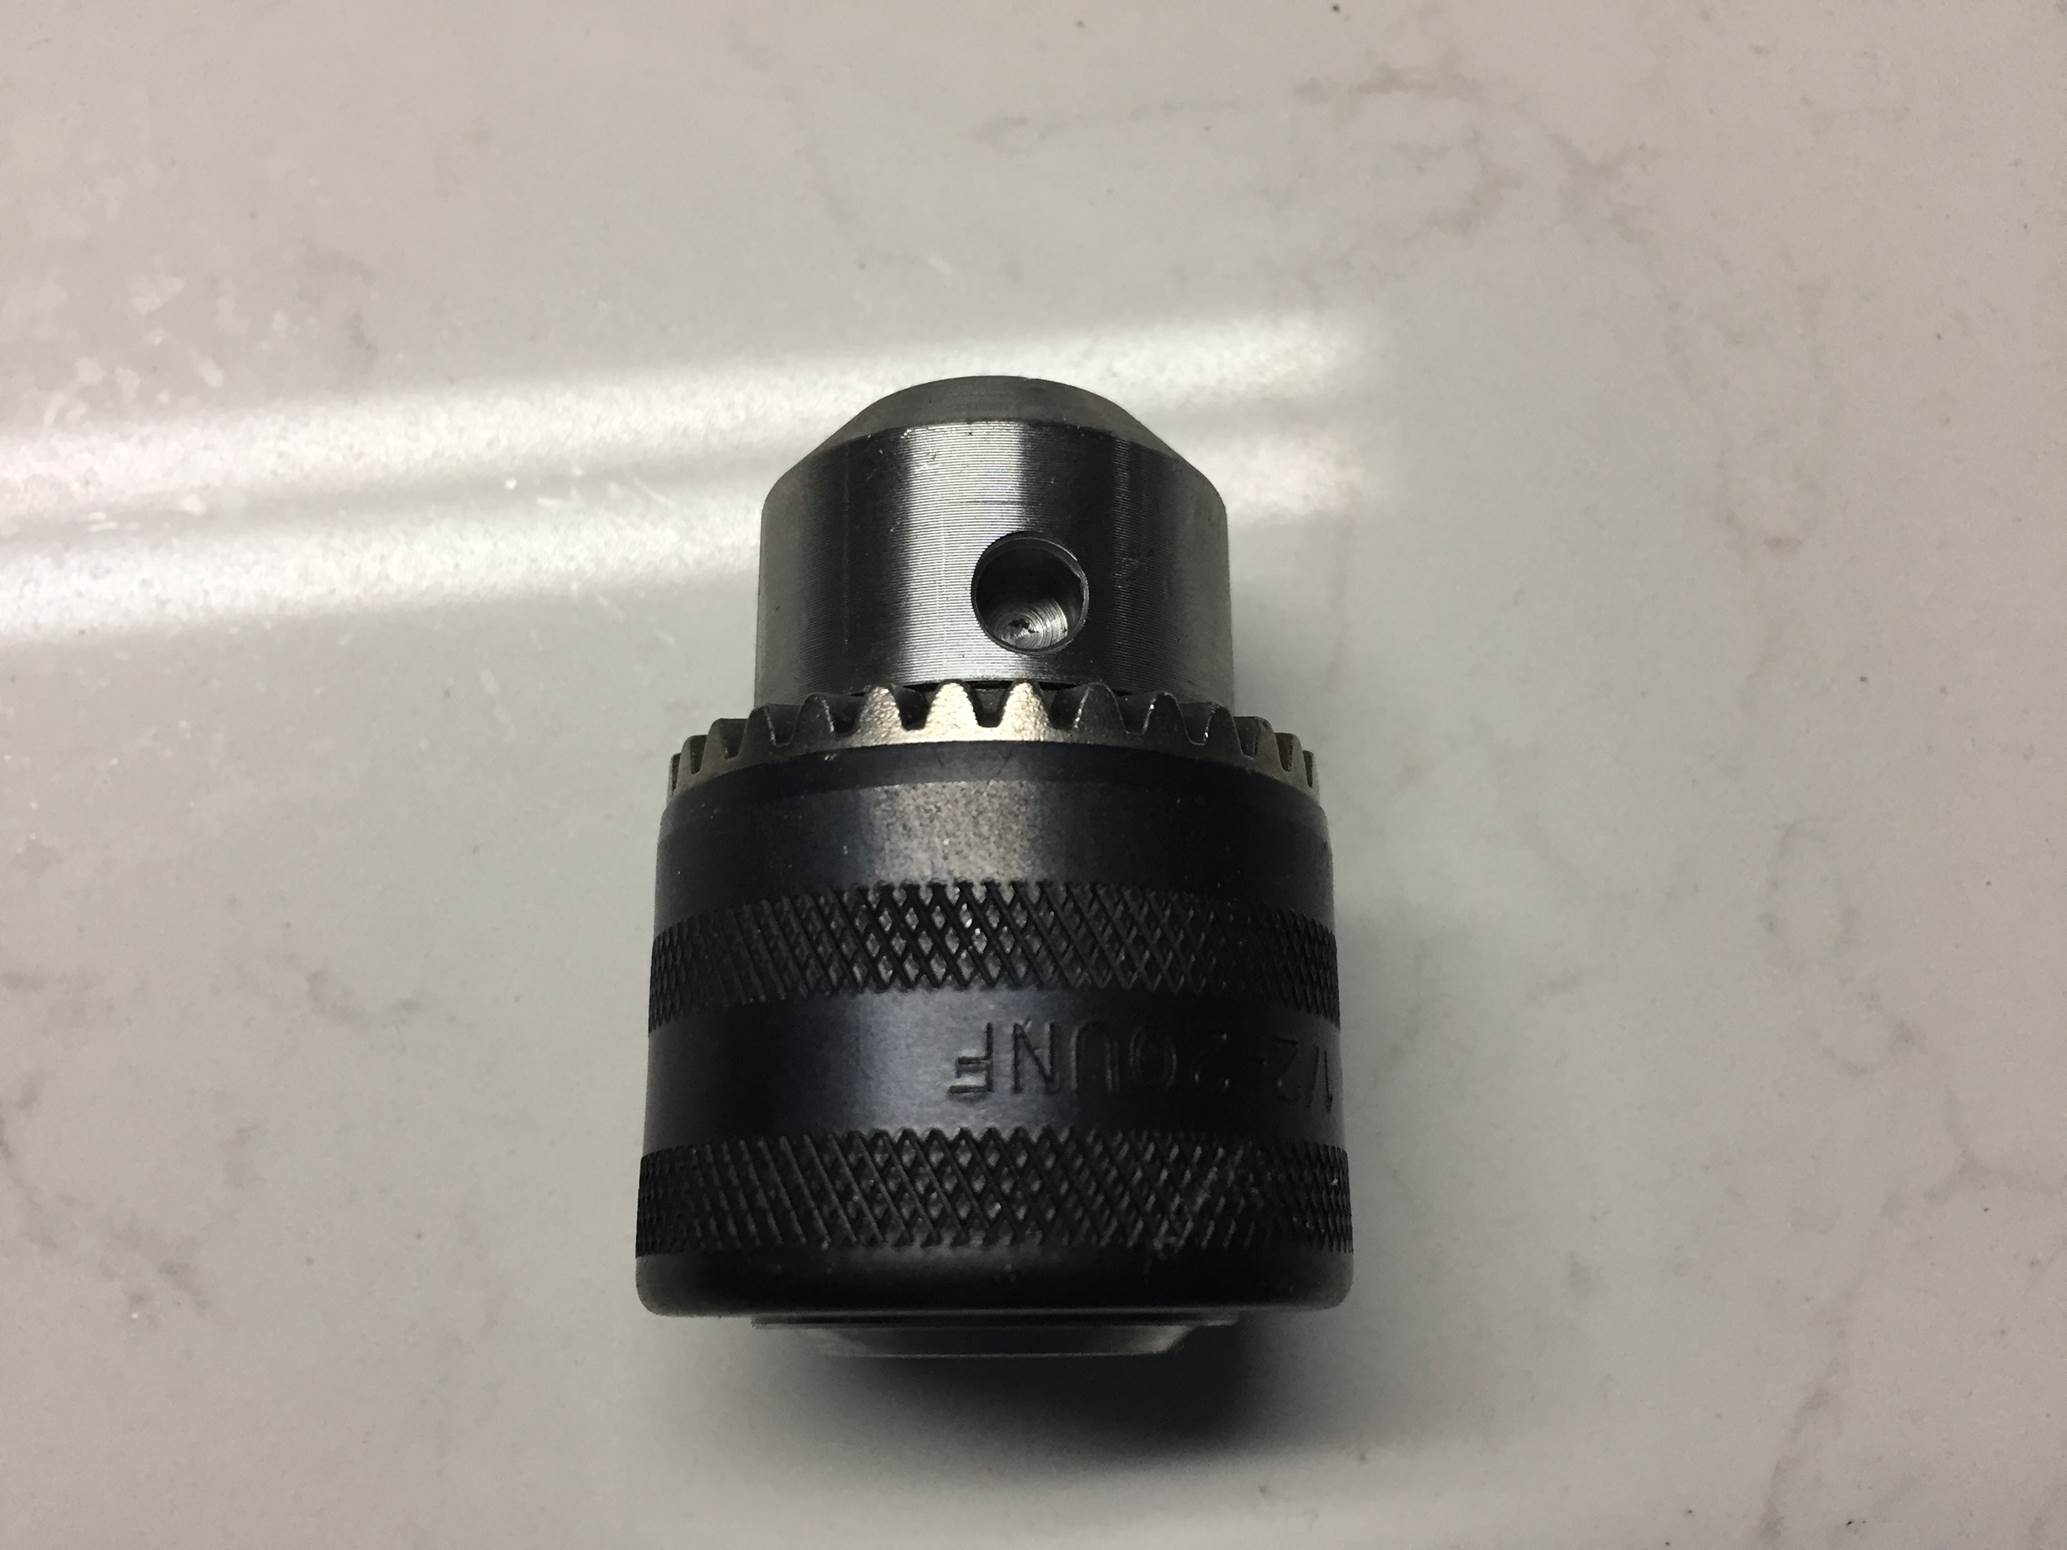
Now take the new one and thread it onto the stud. Give the stud a spray with WD40 or a light oil and then clean the threads with a dry cloth or some paper towel before putting the new one on in order to protect the threads.
Once the threads are properly seated and screwed all the way in, tighten it with the spanner and the wrench. There is no need to over tighten it as the thread runs in the opposite direction to the drill bit, so during the first few uses it will naturally tighten itself.
Do you have any tips and tricks for this replacement? Let us know in the comments section below.
Once your drill is working again, you may want to use it to drill holes in tiles or put screws into a masonry or concrete wall.