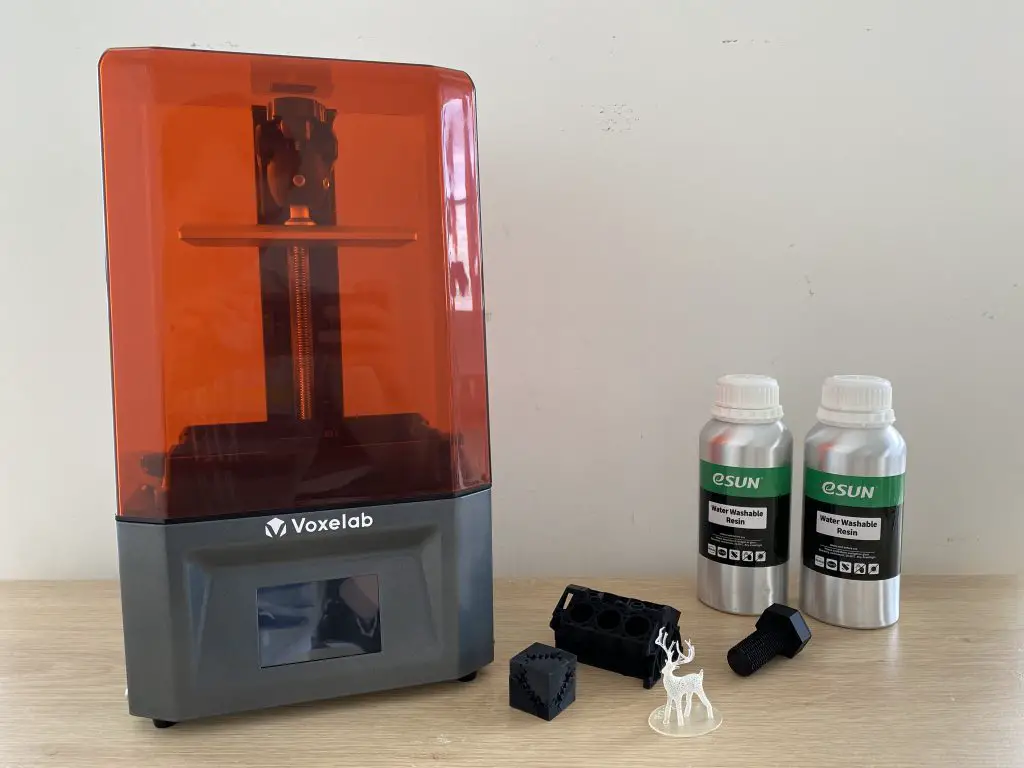
Today I’m going to be unboxing and reviewing the Voxelab Proxima 6.0, which Voxelab sent to me to share with you.
The Proxima 6.0 is their mid-range of three SLA 3D printers that they currently have available and retails (at the time of writing) for $189 to $219 on their website, depending on your shipping location. Within the SLA printer range, they also have the smaller 2K Polaris model and a larger 4K Proma 8.9.
Where To Buy One
- Voxelab Website – Proxima 6.0
- Amazon (Affiliate Link) – Proxima 6.0
- Aliexpress – Proxima 6.0
Unboxing the 3D Printer
The printer arrived really well packaged in a sturdy cardboard box with no sign of loose or rattling components inside.
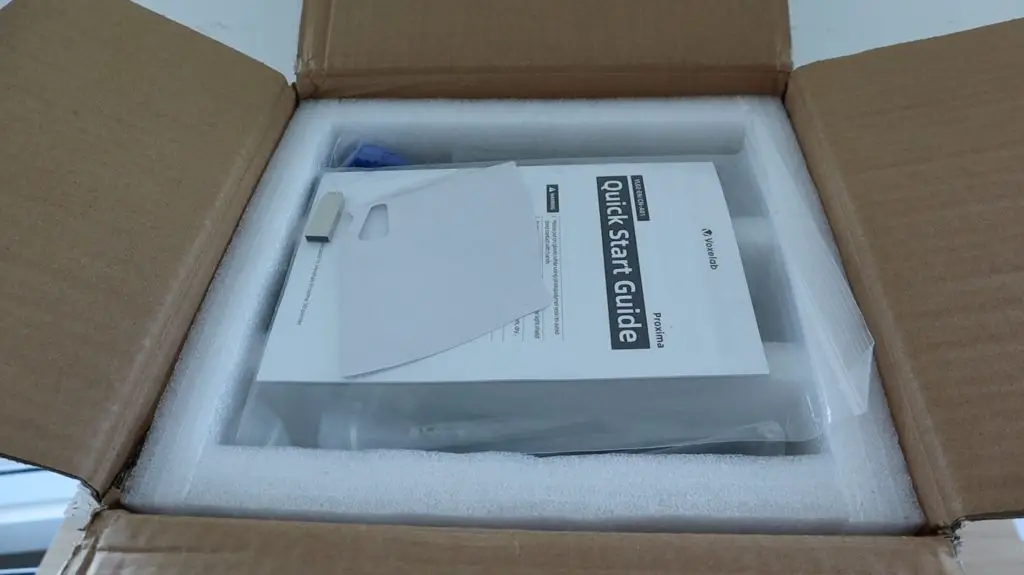
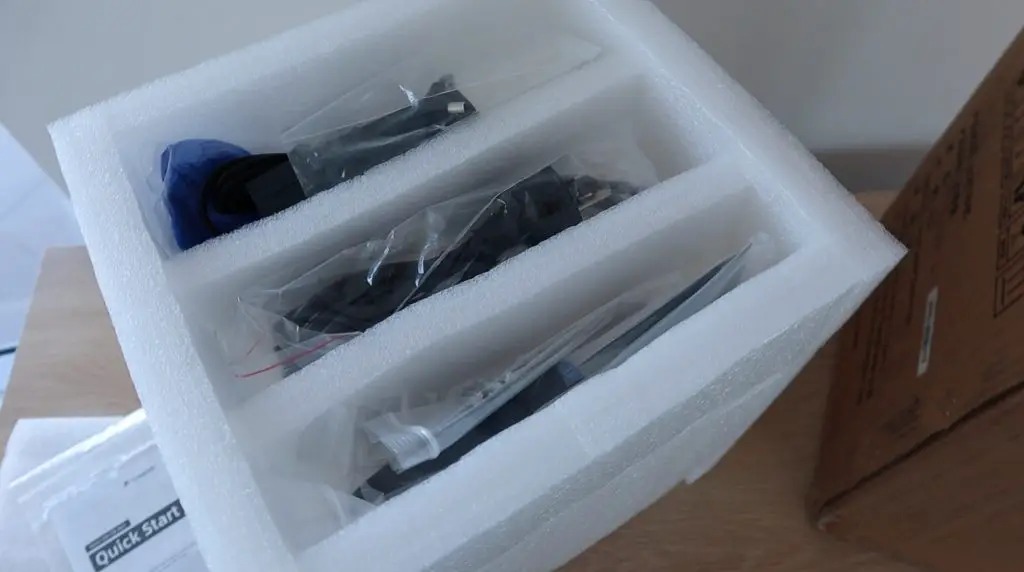
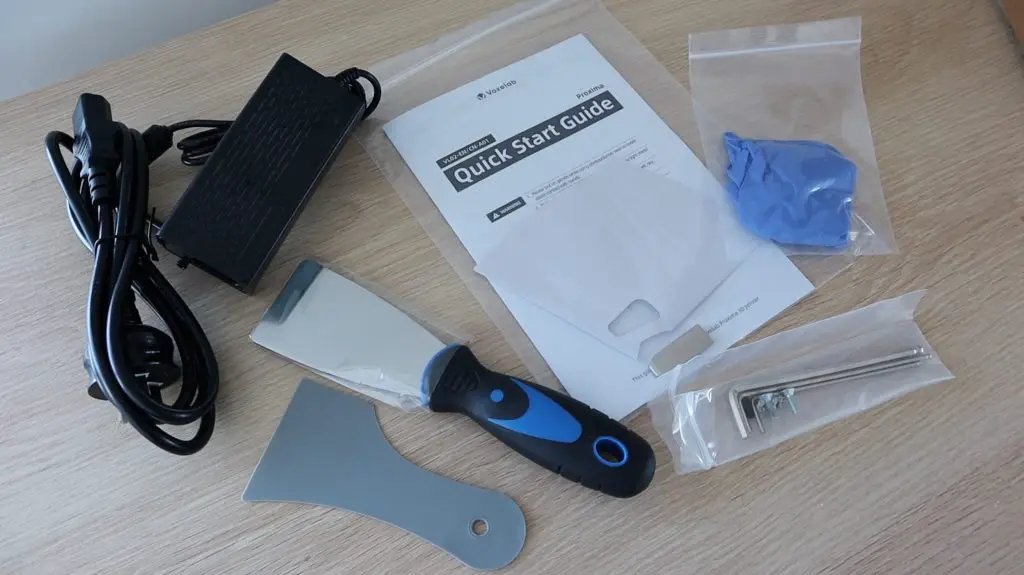
When you open the top of the box you’ve got a compartment that contains the Quick Start Guide, and some other components, including:
- Two spatulas – one plastic and one steel
- A set of rubber gloves
- A set of hex keys and some spare screws
- The power supply and power cable
- A resin filter
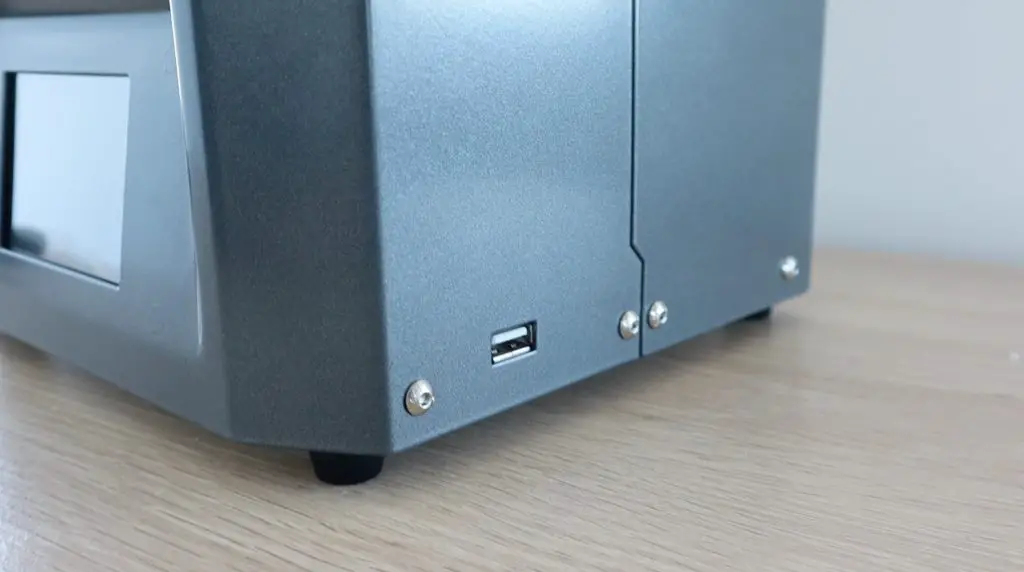
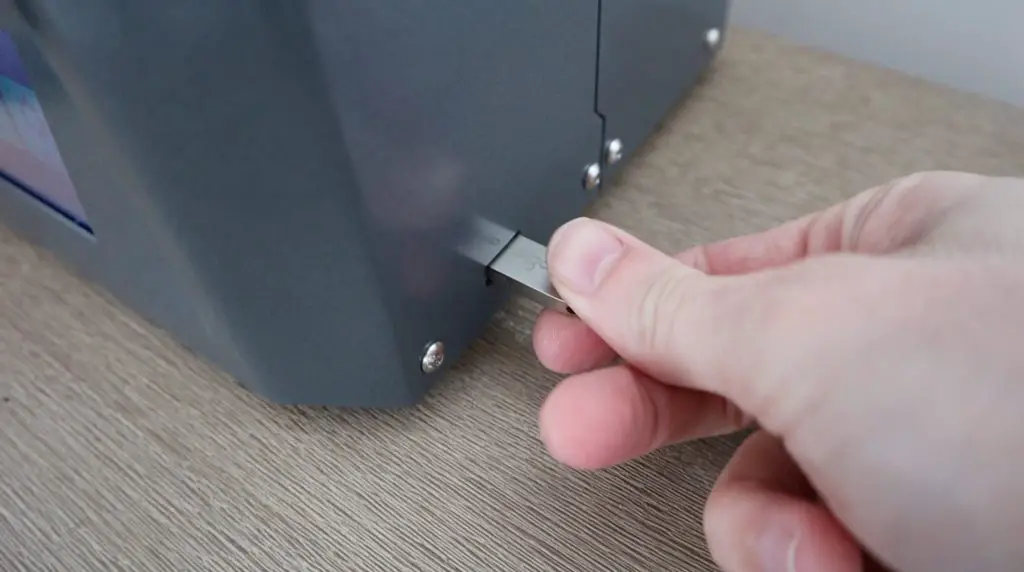
- A USB flash drive
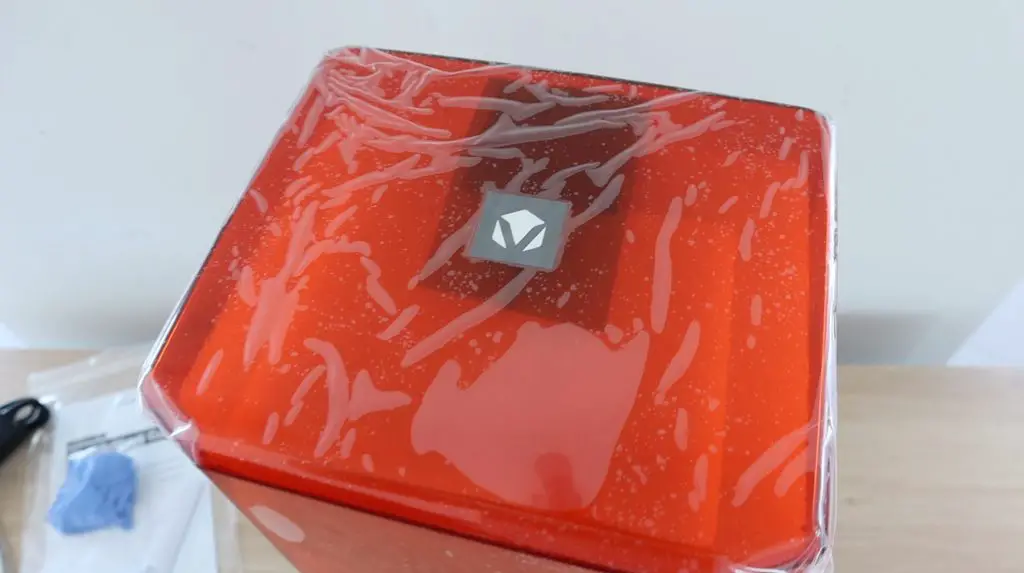
Within the box, the entire printer is surrounded by a fitted foam shell that is split roughly in the same spot as the transparent orange cover within it.
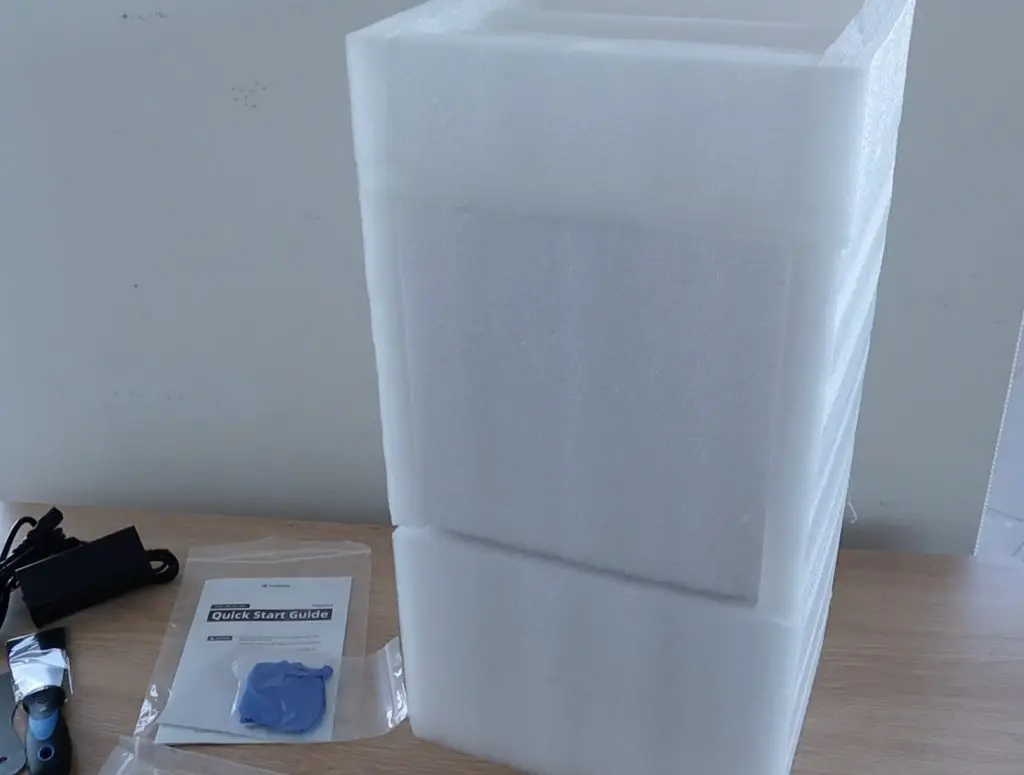
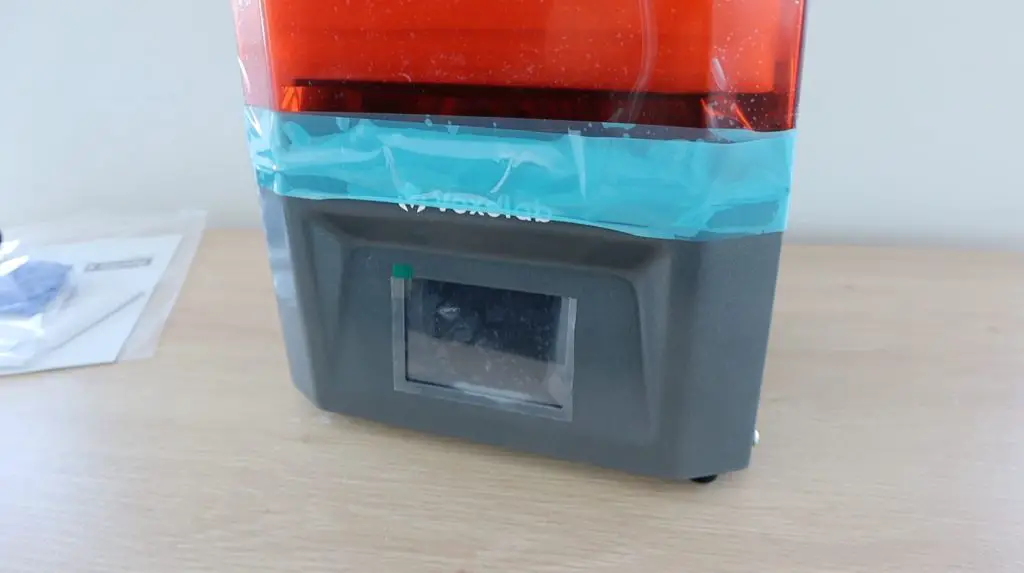
Underneath the foam, the lid of the printer is held in place with removable tape and is covered in a protective film.
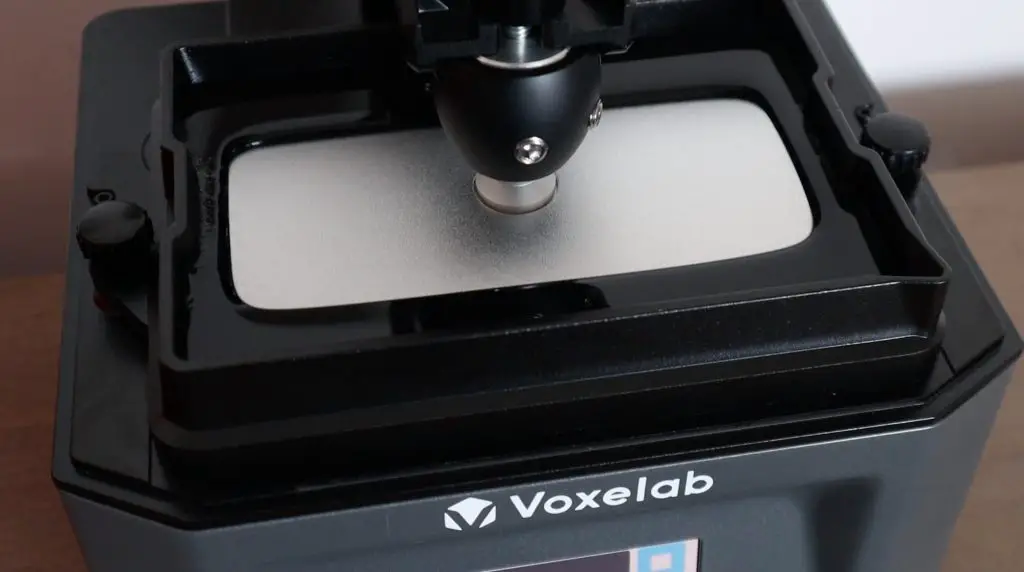
There is another set of foam inserts underneath the orange cover. This supports and protects the linear rail system and contains the build plate and resin vat.
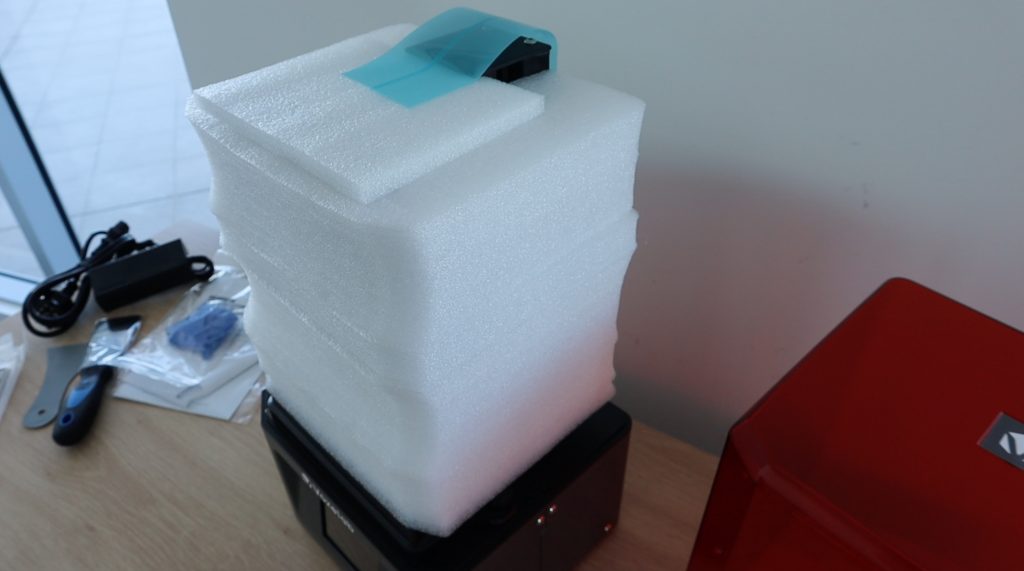
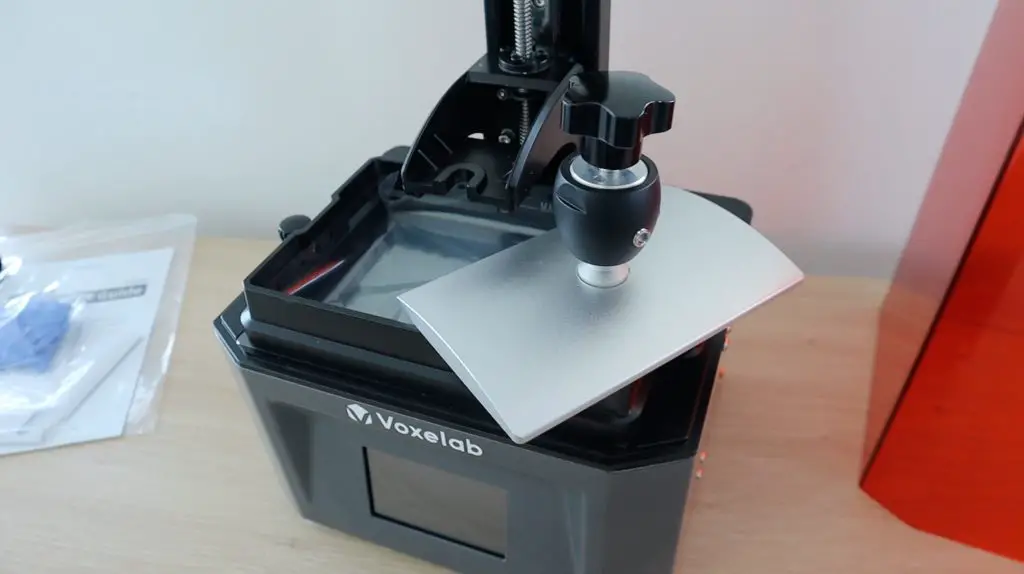
One thing that stood out for me right out of the box is that it just feels like a really good quality product. Almost everything that you unpack is metal, the printer base, the linear rail support, the overhanging support arm, the whole build plate assembly, the resin vat, even the included USB flash drive is metal.
Given that this is one of the cheapest SLA 3D printers that is currently available on Amazon, it’s quite impressive that they haven’t cut down on building a quality product. This really looks and feels like it is a high-end, albeit small, resin 3D printer.
Voxelab Proxima 6.0 Specifications
Now that we’ve got the printer unpacked, let’s have a look at its specifications.
- Printer Size: 230mm x 200mm x 410mm
- Printer Weight: 6.8kg
- Build Volume: 130mm x 82mm 155mm
- Print Speed: 17-22mm/h
- 2K Monochrome LCD Screen (2560 x 1620) with a pixel size of 50 microns
- 405nm LED Light Source
- Layer Height: 0.025-0.1mm
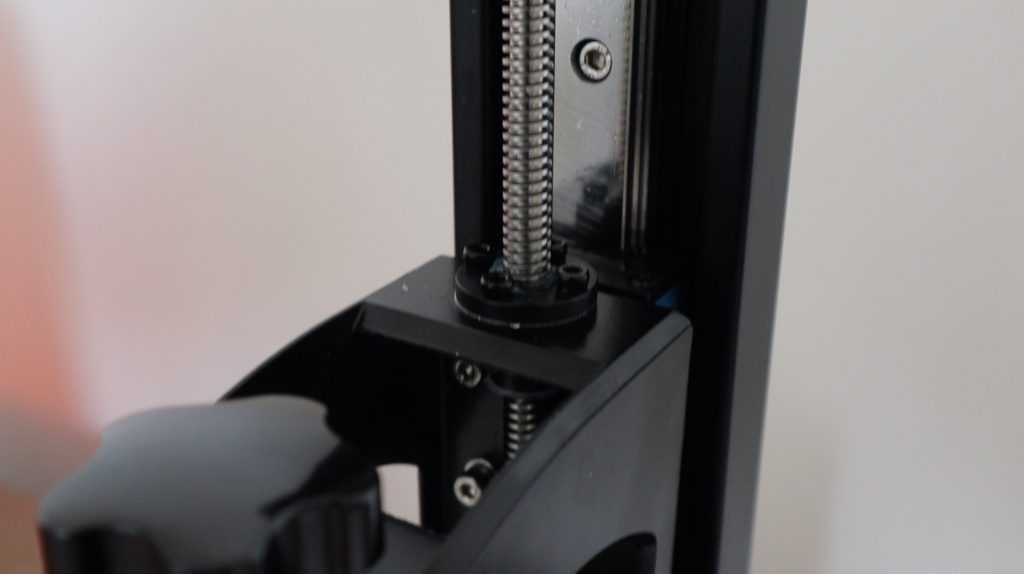
- Linear Rail Z-Axis
- Ball Joint Easy Bed Levelling
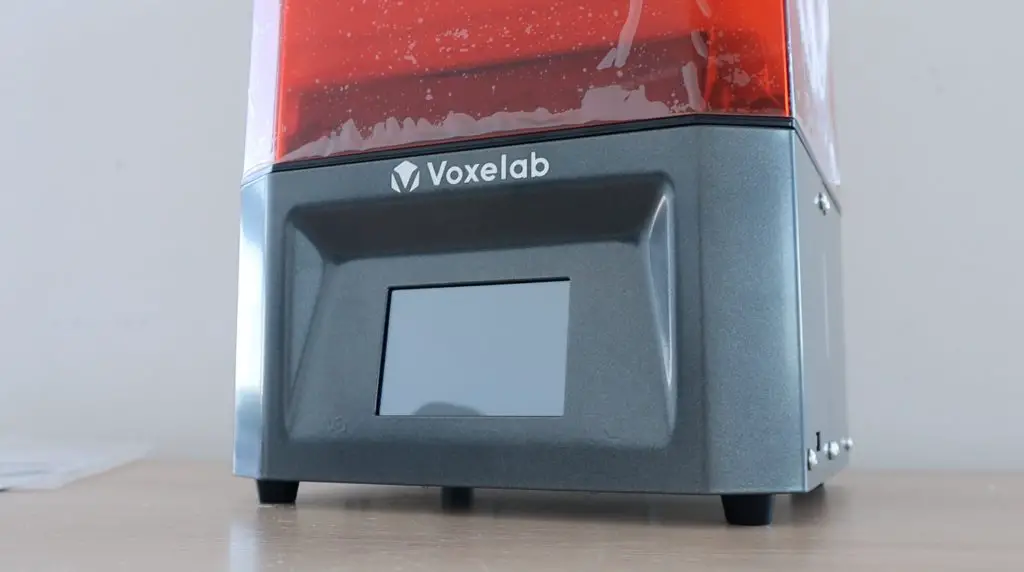
- Colour Touchscreen Display
The specifications are fairly typical for this size resin printer. Some standout items would be the monochrome LCD screen which results in faster and better quality prints and also a longer display life, the linear rail system instead of rollers which improves print quality, the colour touch display to display printing status and change parameters or settings and the ball joint on the print bed which makes levelling a lot easier and faster.
First Print on the Proxima 6.0
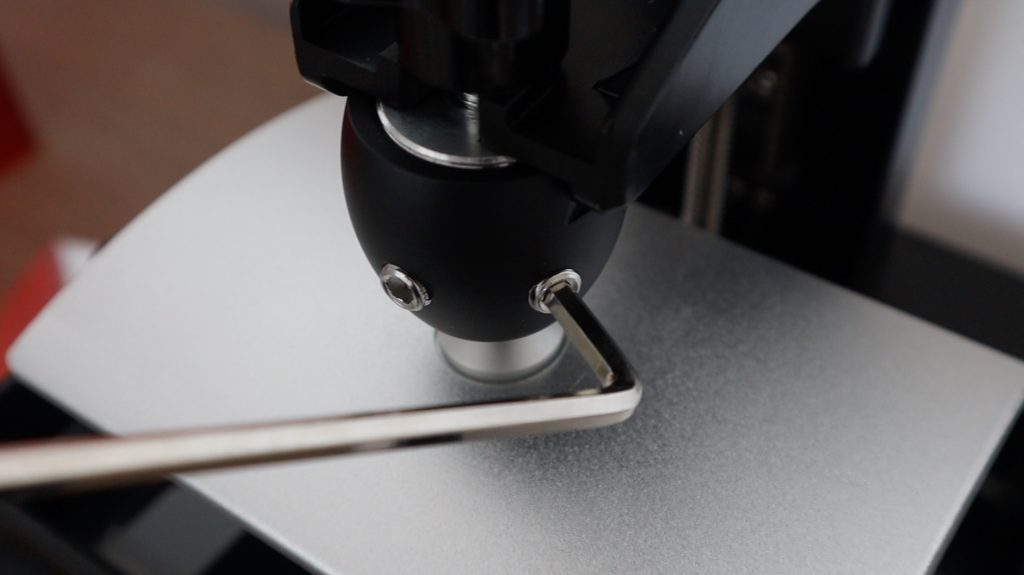
Before printing anything, we have to level the build plate. This is a pretty easy process and is well described in the quick start guide. Essentially you need to loosen the build plate screws, then lower the build plate onto a sheet of paper between the display and the bottom of the plate (with the resin vat removed) and then put some light pressure on it and tighten the screws. There’s also a video included on the USB flash drive to help you.
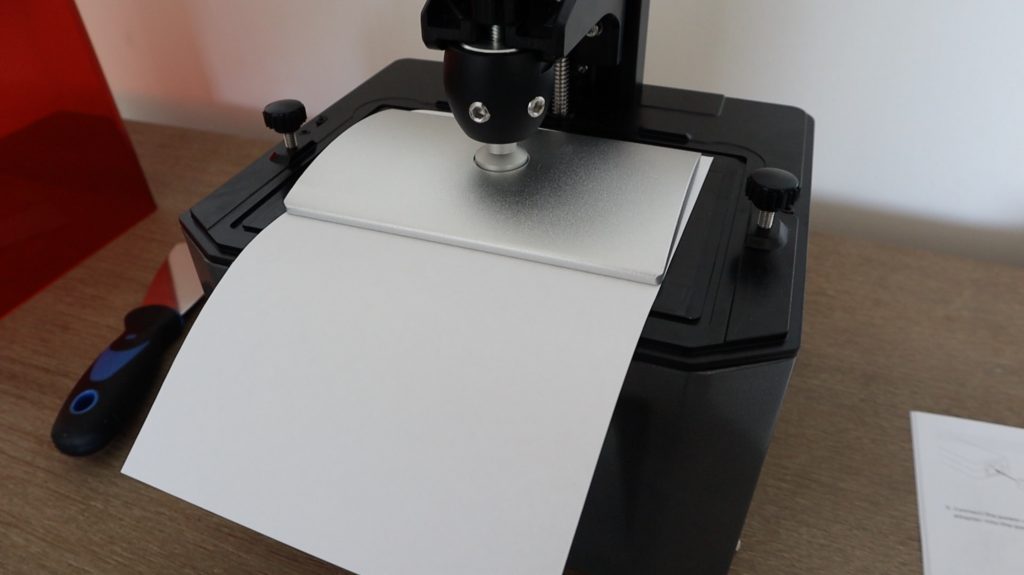
This is where the ball joint on the print bed makes things easier. Instead of having to adjust the bed along two axes individually, you just loosen the two screws and you can then adjust both axes at the same time at a single point.
If you’re new to 3D printing or you’re struggling with the information in the Quick Start Guide, there is a lot more information on the included USB drive. Plug that into your computer and have a look at what’s on there. There are some links to really useful videos on using the slicing software, levelling the build plate, removing prints from the build plate and even replacing the resin vat film.
I’m going to be using two different colour resins for my test prints. They’re both E-Sun Water Washable Resins.
The above links are Amazon Affiliate links
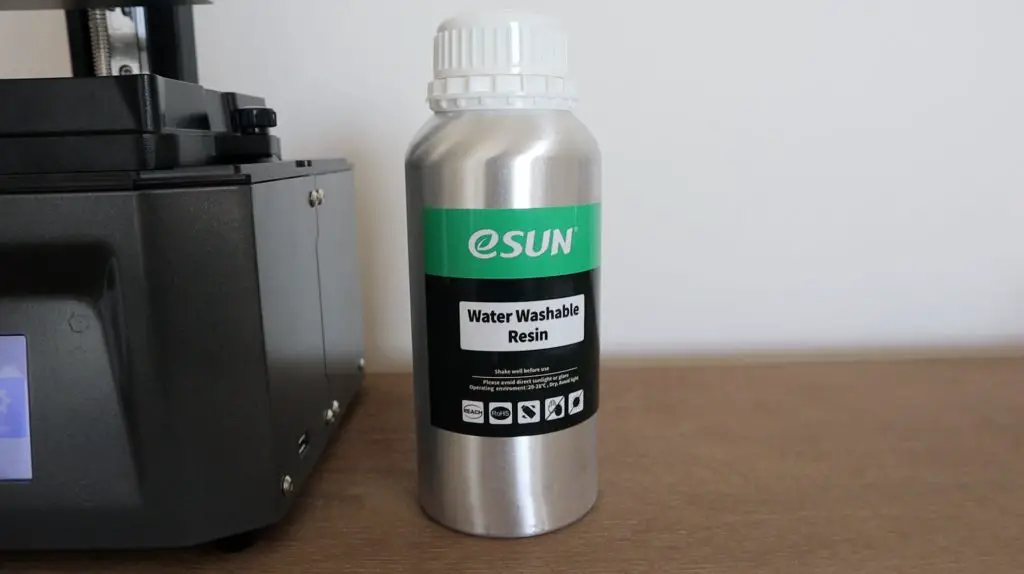
I got these water washable resins because they simplify the clean-up process quite a bit as you then don’t have to worry about different containers of alcohol for cleanup.
Just a word of caution on water-washable resins. They’re still toxic, so you should still wear gloves with them and you shouldn’t pour the resin or the water that you’ve used for washing parts down the drain. The best thing to do is put water you’ve used out in the sun on a tray to evaporate. This will also cure any resin in the water and allow you to safely dispose of the residue that is left over.
The first print I’m going to be trying is one that comes on the USB drive and is already sliced with the manufacturers recommended settings. So we just need to plug the drive into the printer and select the file to print.
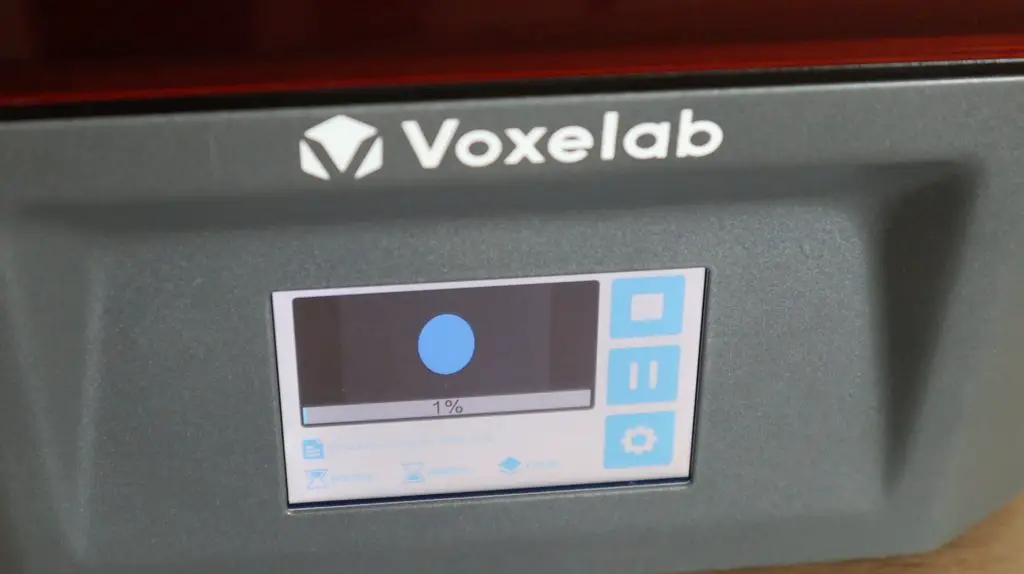
The display can be a bit small to navigate, particularly with the text for the filenames, but the menu options are intuitive and the graphics illustrate each function quite well too. I also like that the display shows a small rendered image of each 3D print as an icon above the filename.
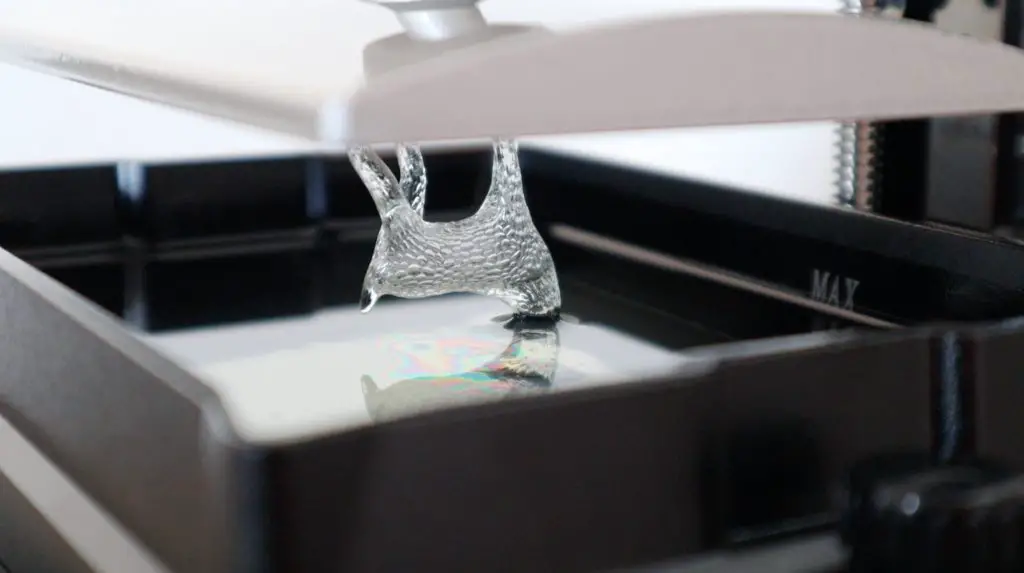
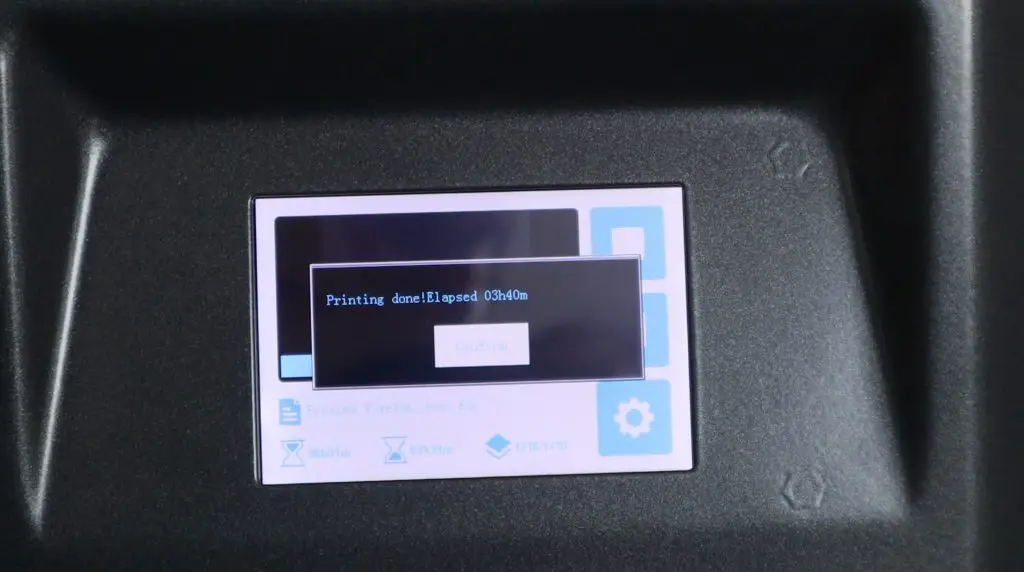
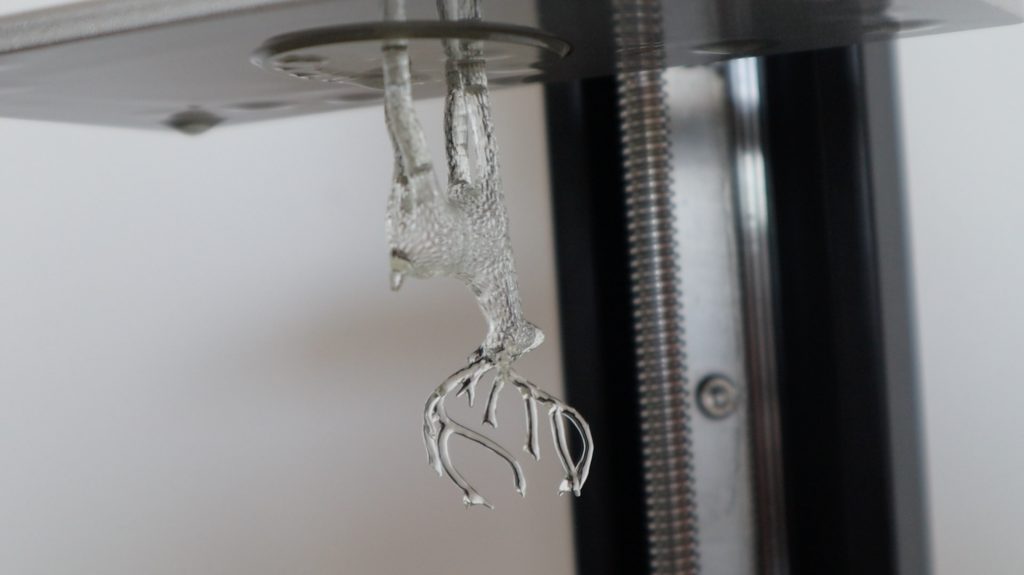
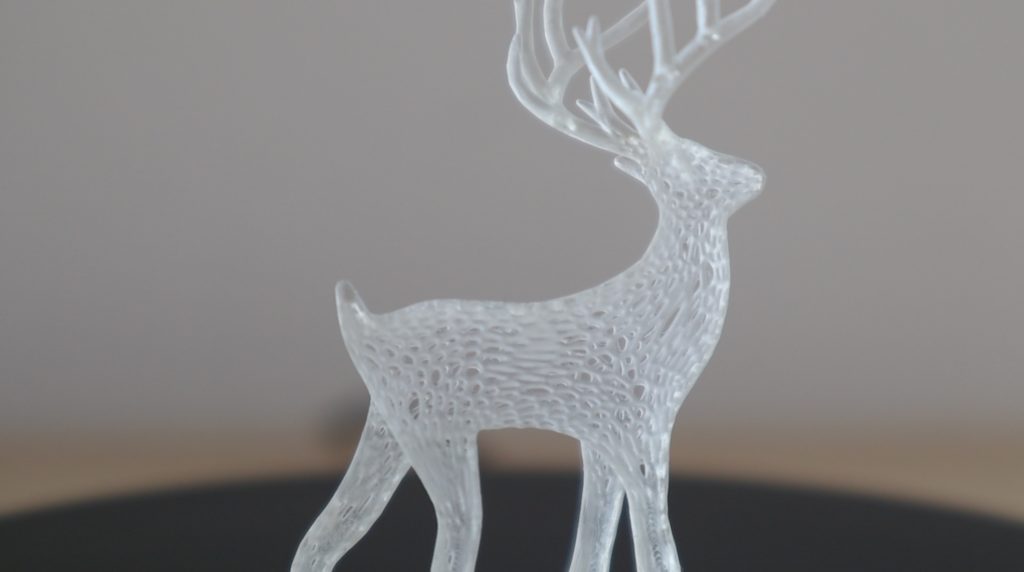
The test print is a detailed deer and I printed this the clear resin. It took a little over three and a half hours to complete.
Once the print was finished, I removed it from the build plate and cleaned it up in an ultrasonic cleaner. You can clean it up in a jar or bucket, an ultrasonic cleaner just helps to agitate the water on the surface of the print and “scrub” the resin off it.
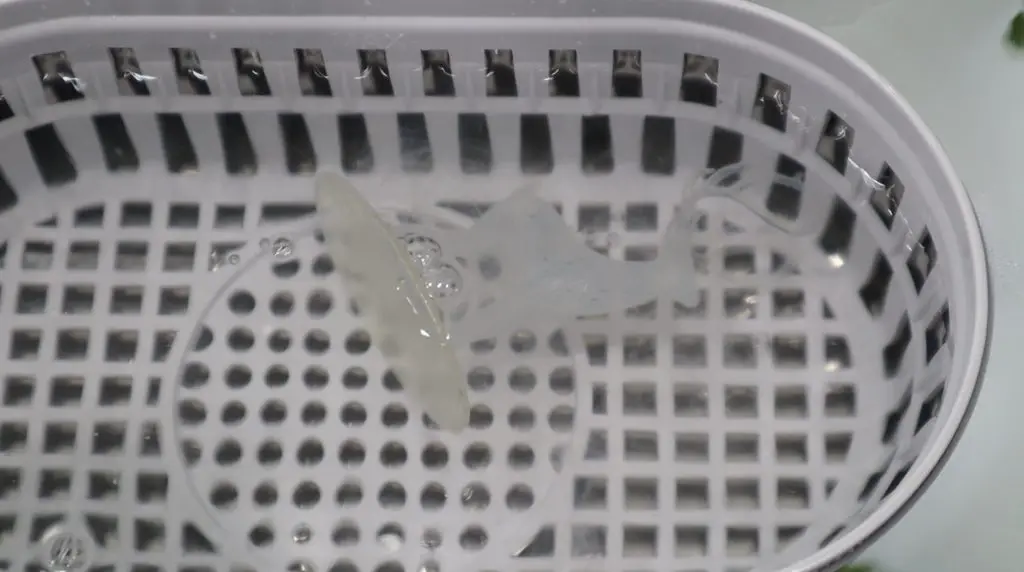
I dried the print with a heat gun on a very low setting and finally cured it under a small UV nail lamp. You can just leave the print out in the sun to dry and cure or use a purpose-built resin curing chamber.
The test print came out pretty much perfectly on the first attempt and with no supports that required removal. I’m quite impressed by the level of detail that the printer is able to achieve on a fairly small print.
Trying Out Some Other Test Prints
I then printed out a couple of additional files that I found on MyMiniFactory and Thingiverse, I’ll include their links as well.
Using Chitubox Slicer
To start, you’ll need to install the Chitubox slicing software that is included on the USB flash drive. Voxelab have also included a profile for the Proxima 6.0 that can be imported into Chitubox. Chitubox is a generic slicing tool that can be used with a number of different 3D printers from a range of manufacturers. This profile loads the settings specific to the Proxima 6.0 so that you can start slicing your model right away.
I moved on to trying out the black water washable resin for these test prints. Cleaning out the resin vat was pretty easy, I just poured the unused resin through the filter and back into the container and then washed the vat out in some water in a small bucket.
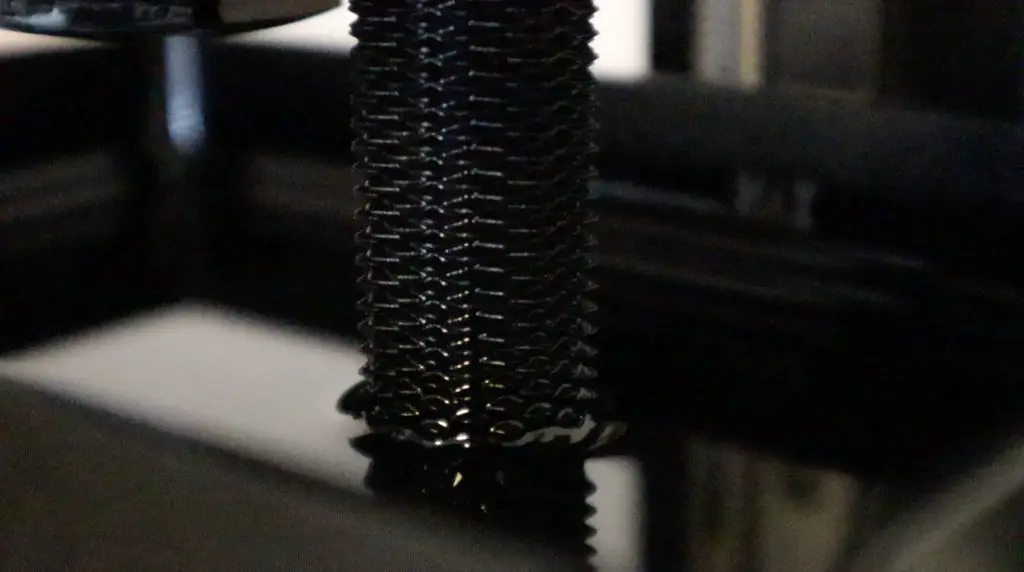
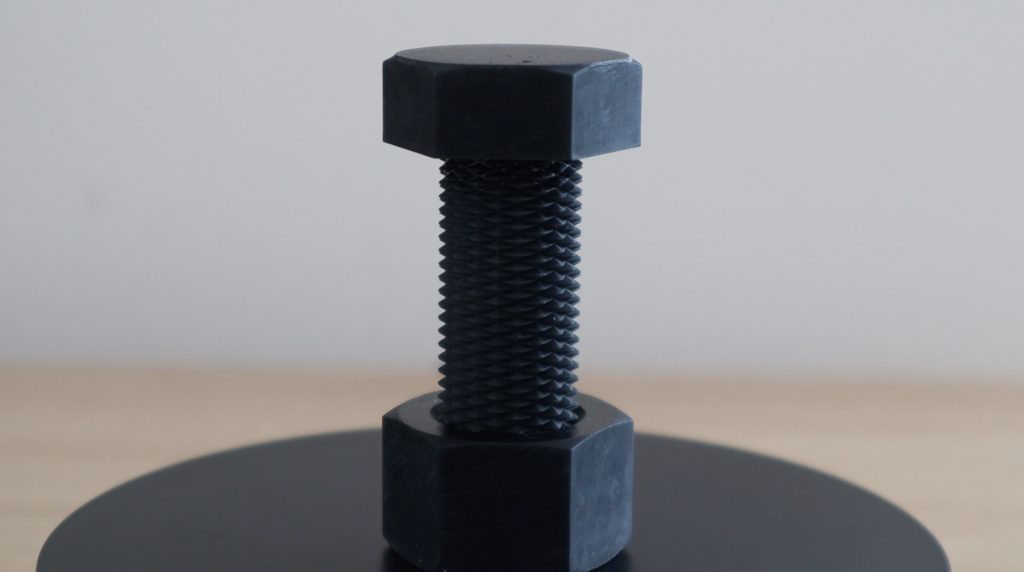
I printed the left and right hand threaded bolt and nut first.
It was quite mesmerizing to see the bolt thread slowly emerge from the resin vat.
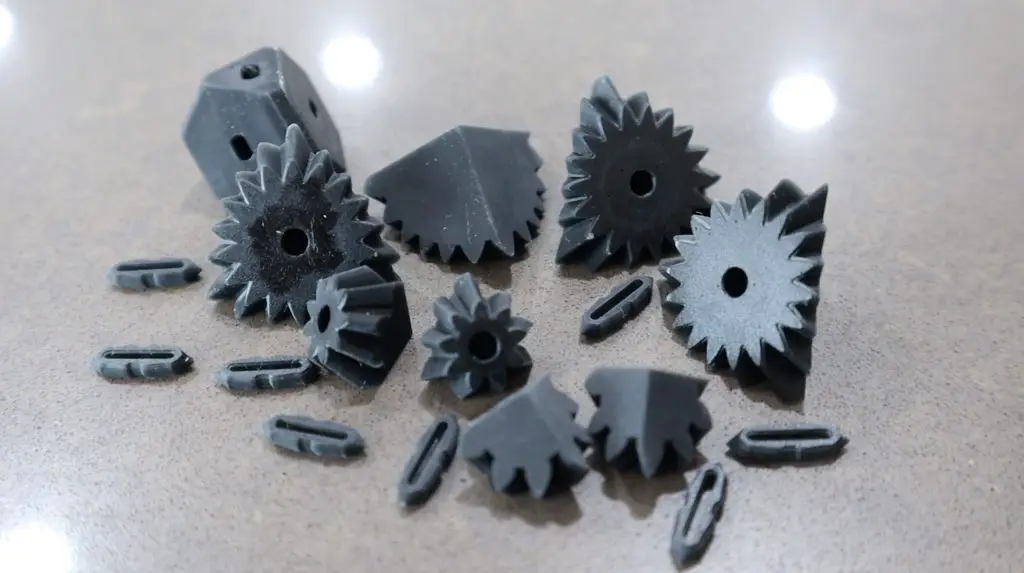
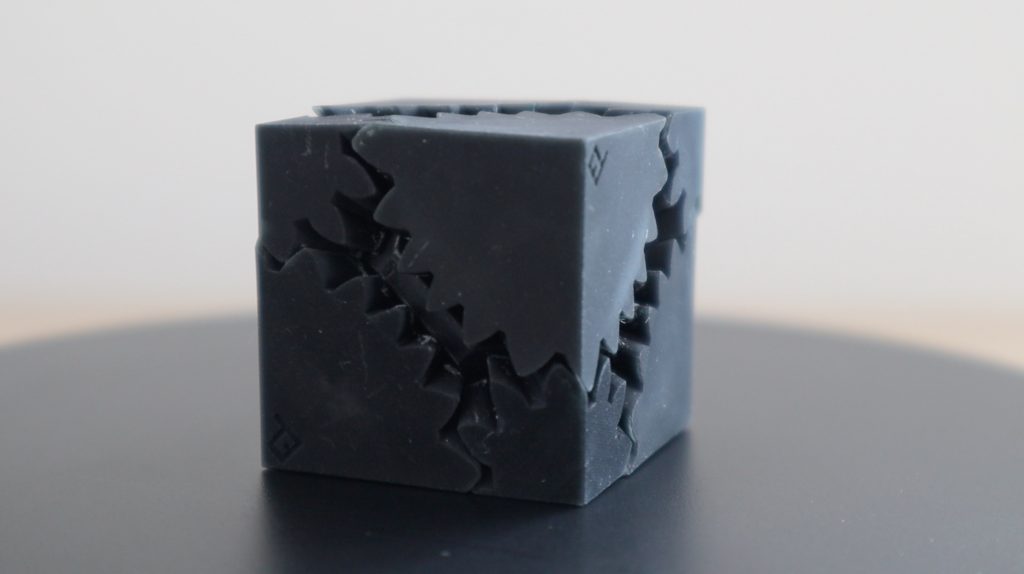
I then printed out the components for the gear cube. I printed these all out in a single print, so I had to scale the model down to 60% of the original size in order to fit.
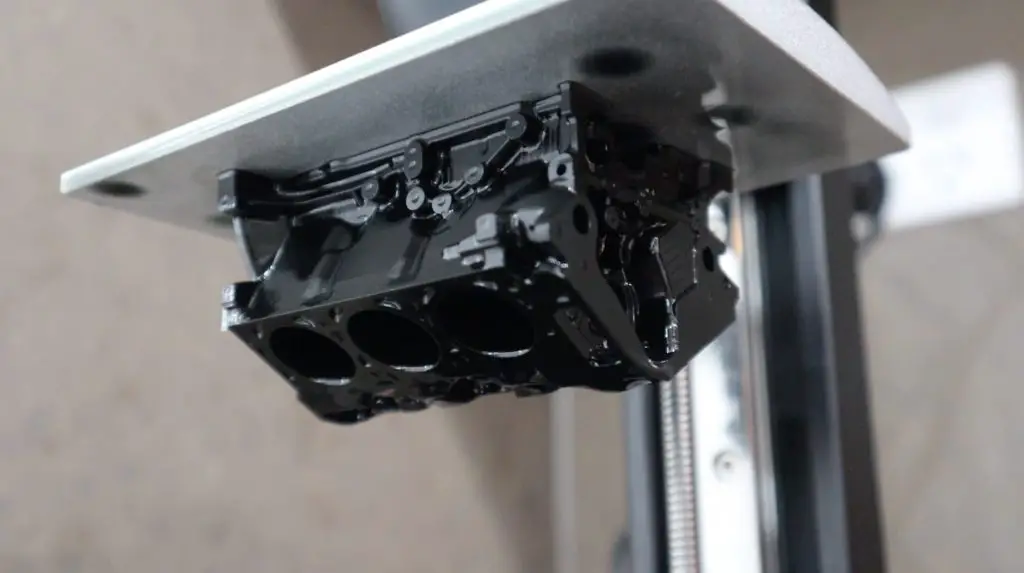
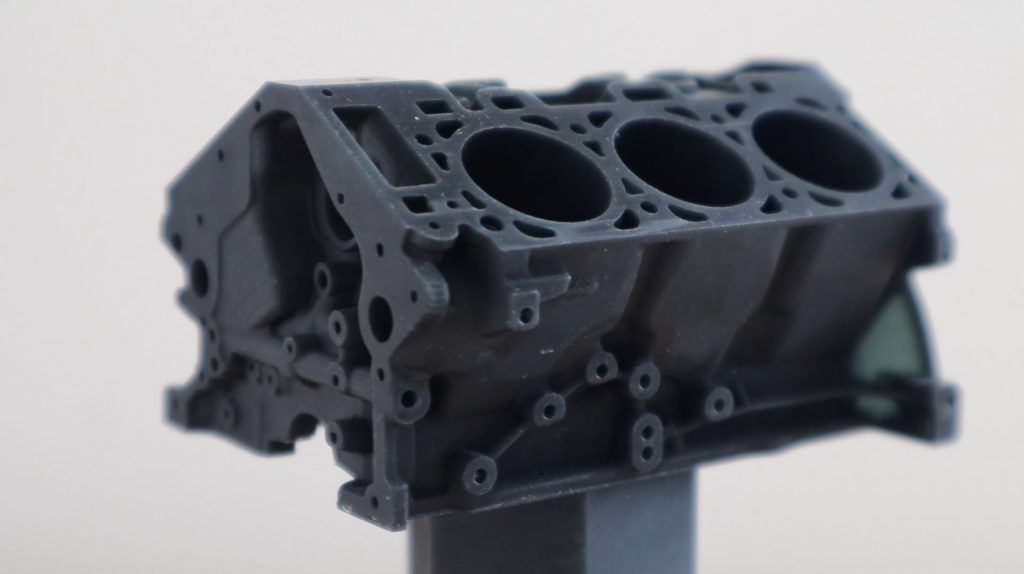
Finally, I printed out the ford engine block model. I also had to scale this down a bit to fit onto the build plate.
After printing each of the models, I washed them off in the ultrasonic cleaner, then dried them off and cured them under the nail lamp. The nail lamp is not ideal as it only lights up one side of the model at a time, so you have to keep rotating them. I cured them for about 5 minutes a side and about 30 minutes in total.
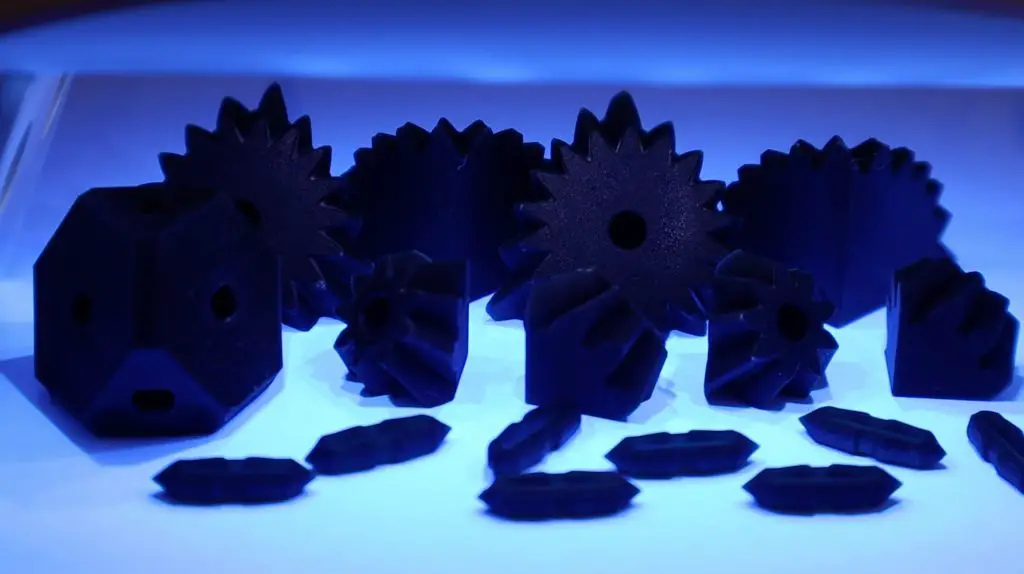
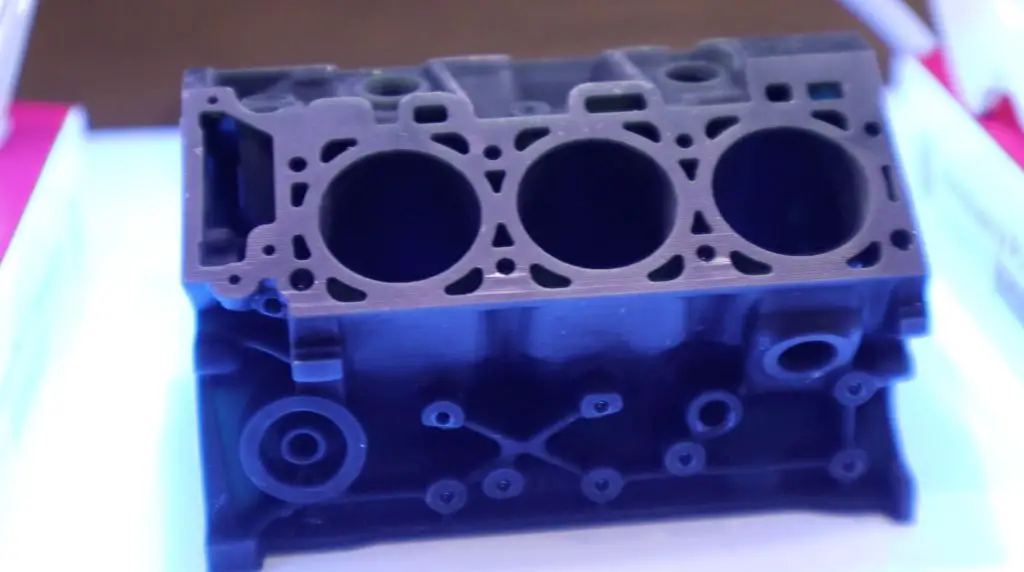
One thing you’ll notice, or rather not notice, is that there are almost no visible layer lines on the prints. On the larger angled edges on the engine block you can make a couple out, but for the most part, they’re almost non-existent, which is great.
Final Thoughts on the Proxima 6.0
After using the printer for the couple of test prints I’ve done so far, these are my thoughts on it.
The Proxima 6.0 is a really good value for money printer. You’re getting an almost all-metal construction printer with a great print resolution on a monochrome display and linear rail system for an entry level price. It produces fantastic quality prints right out of the box, which you’ll really appreciate if you’ve had an FDM printer and have spent countless hours trying to get your first few prints to come out correctly.
The design focuses on ease of use. You have a ball joint for easy levelling and the resin vat just slides out from underneath two thumbscrews for emptying and cleaning. A lot of other SLA printers require the screws to be removed entirely in order to remove the resin vat, which is not a big deal until you accidentally drop one into the resin.
The printer is quite noisy. I’ve got a couple of Creality Ender 3 V2s and an Ender 3 Pro that I’ve upgraded to use silent stepper motor drivers and the use of these drivers makes a substantial difference to the noise that the motors produce. The Ender 3 Pro is almost completely silent when the fans aren’t running. I’m not sure if it’s possible to use a silent driver on a SLA printer, but making it a bit quieter would definitely be beneficial if it’s running in an area where you’re spending a significant amount of time.
The only thing that I found a bit cumbersome was having to manually travel the build plate more than 10mm. In order to fill the resin vat or remove it (after levelling or a failed print), you need to first move the arm and build plate out of the way. The manual controls only have options to move a maximum of 10mm, which you have to do a number of times to get the build plate moved up enough to clear the vat nicely. It would be much easier to have a single button that did this automatically. This could move the build plate up halfway or at least enough to clear the vat.
With all that said, I’d definitely recommend this printer to anyone looking to get started with resin 3D printing. It’s affordable, includes everything you need to get started (excluding your resin) and produces prints that you’ll be proud of. As with most resin printers, they’re better suited to producing small models with intricate details. So the Proxima 6.0 is best suited for figurines, game pieces and small display objects. If you’re looking to print larger components then you’d probably want to have a look at one of Voxelab’s FDM printers.