Today we’re going to be using the new LattePanda 3 Delta from DF Robot to build a cyberdeck that packs up into a rugged, waterproof case that you can take with you almost anywhere.

The LattePand 3 Delta is a pocket-sized single board computer with a powerful processor and a great combination of IO. It can run a range of operating systems, like Windows 10 or 11 and distributions of Linux and it even has an onboard Arduino that provides 12 Analogue inputs, and 23 digital IO pins.
As the name suggests, this is the 3rd generation of LattePanda board and it features a few upgrades, the most significant being the new quad-core Intel N5105 processor running at 2.0Ghz, with a burst frequency of up to 2.9Ghz. It provides double the CPU performance of the previous LattePanda and three times the GPU performance.
Here’s my video on unboxing the LattePanda 3 Delta and building the cyberdeck, read on for the write-up:
What You Need To Build Your Own Cyberdeck
- LattePanda 3 Delta – Buy Here
- Pelican Case #1170 – Buy Here
- Folding Keyboard – Buy Here
- Compact Mouse – Buy Here
- HD Touch Display – Buy Here
- USB C Extension Cable – Buy Here
- Ethernet Extension Cable – Buy Here
- USB Extension Cable – Buy Here
- Audio Extension Cable – Buy Here
- USB C Adaptor – Buy Here
Equipment Used
First Look At The LattePanda 3 Delta
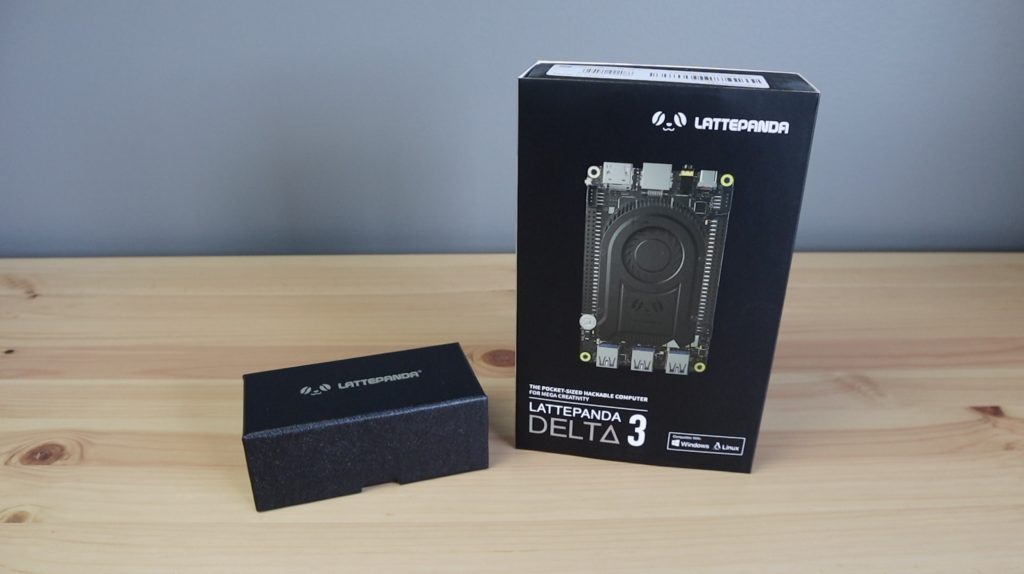
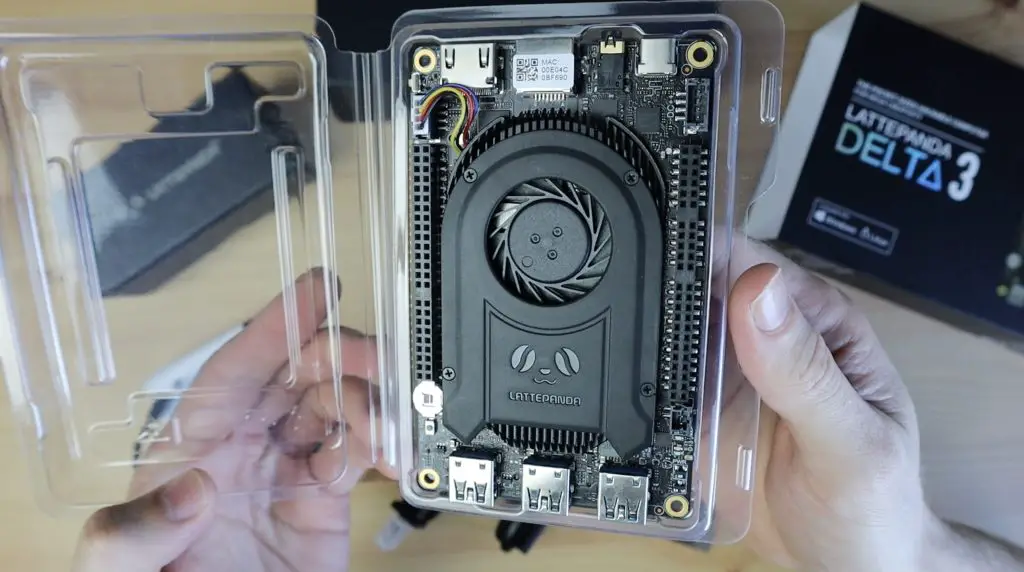
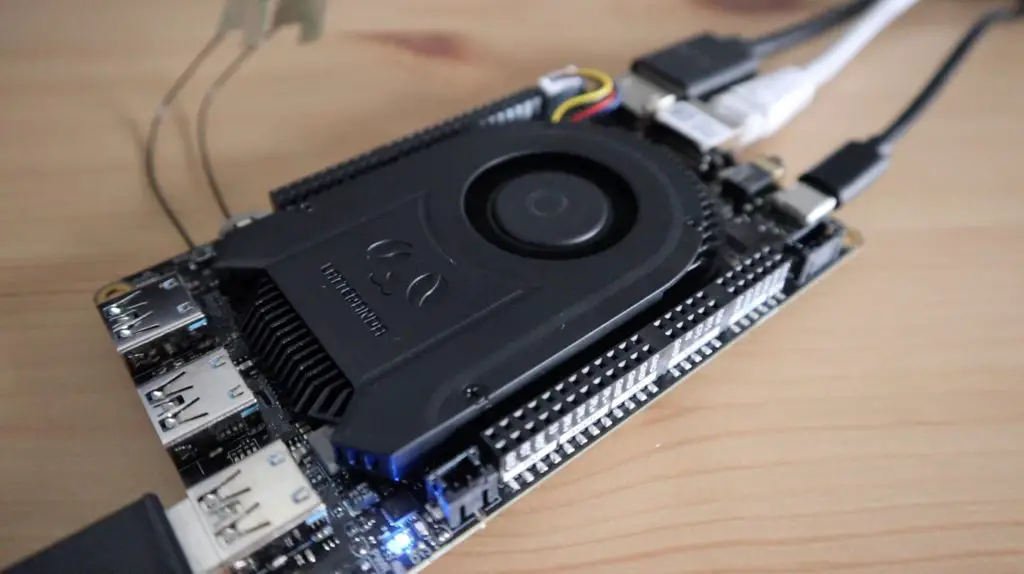
The LattePanda 3 Delta comes in a black branded box with the board’s PCB and large heatsink and cooling fan as the main feature. It’s also got its specifications and contents listed on the side panels.
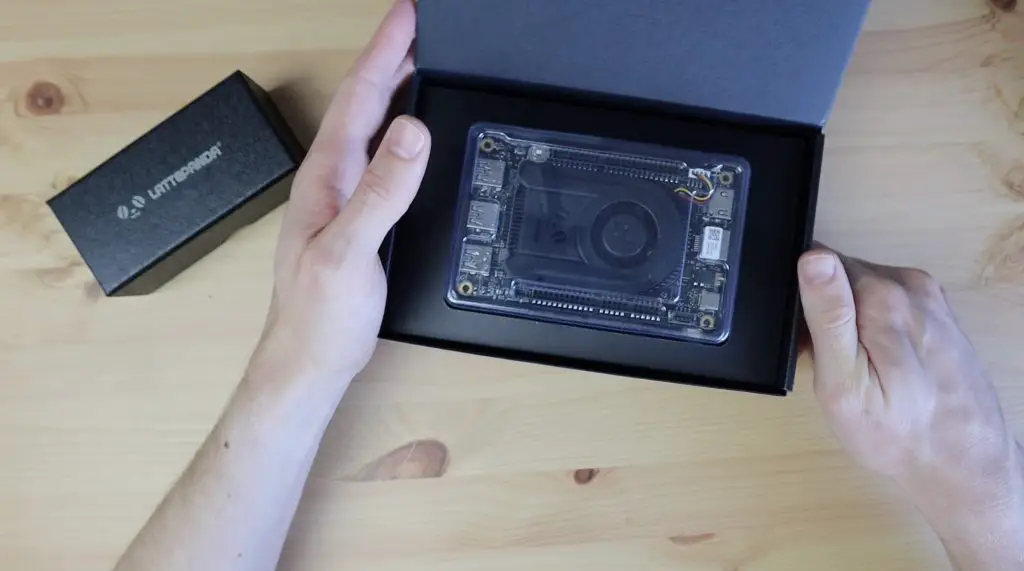
First up when we open the box is the LattePanda in a clear plastic case. In addition to the board, this case also includes a quick start guide and a small packet with the Bluetooth and WiFi antennas.
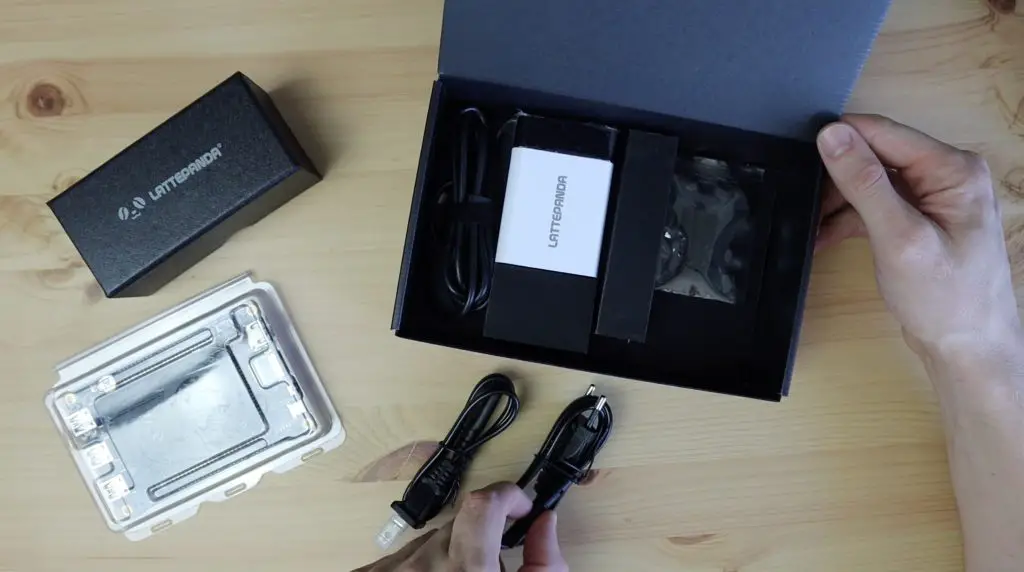
Beneath it are two power cables for different outlets (American and European), a set of nylon standoffs to mount it on and then the power adaptor.
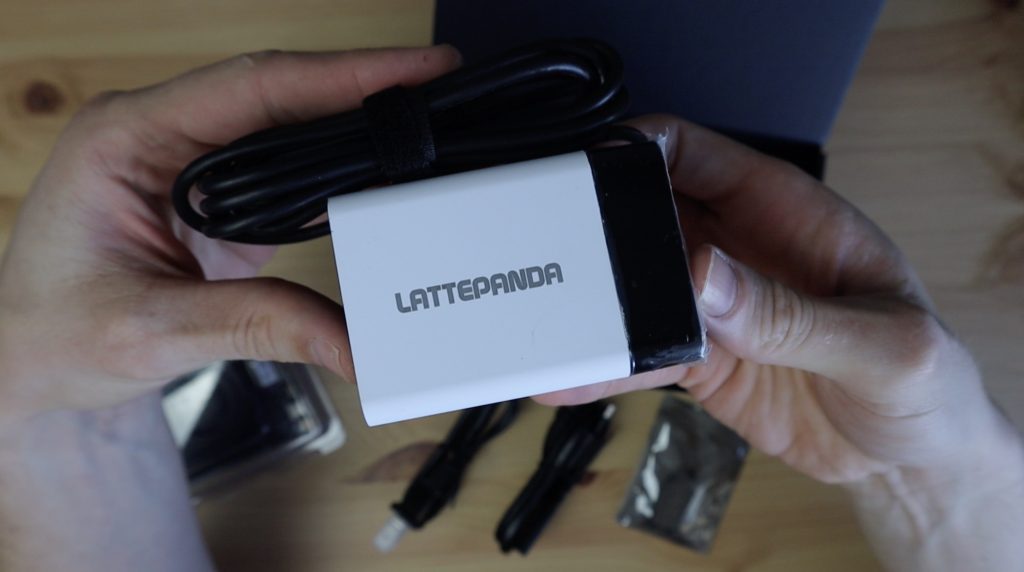
The power adaptor is a branded 45W USB-C adaptor that supports power delivery up to 20V at 2.25A, so there is plenty of power for the LattePanda to work with. I like that the adaptor has a removable cable so you can replace it to suit your country’s power outlets. Or if it gets damaged.
In addition to the upgraded CPU, the LattePanda 3 Delta also has 8GB of LPDDR4 RAM, 64GB of eMMC storage, dual-band WiFi 6 and Bluetooth 5.2.
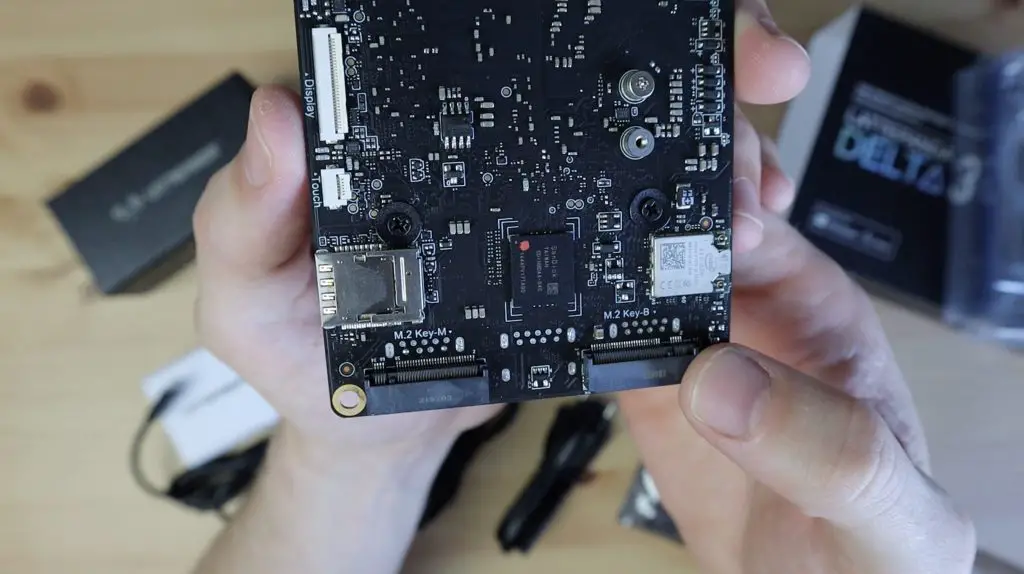
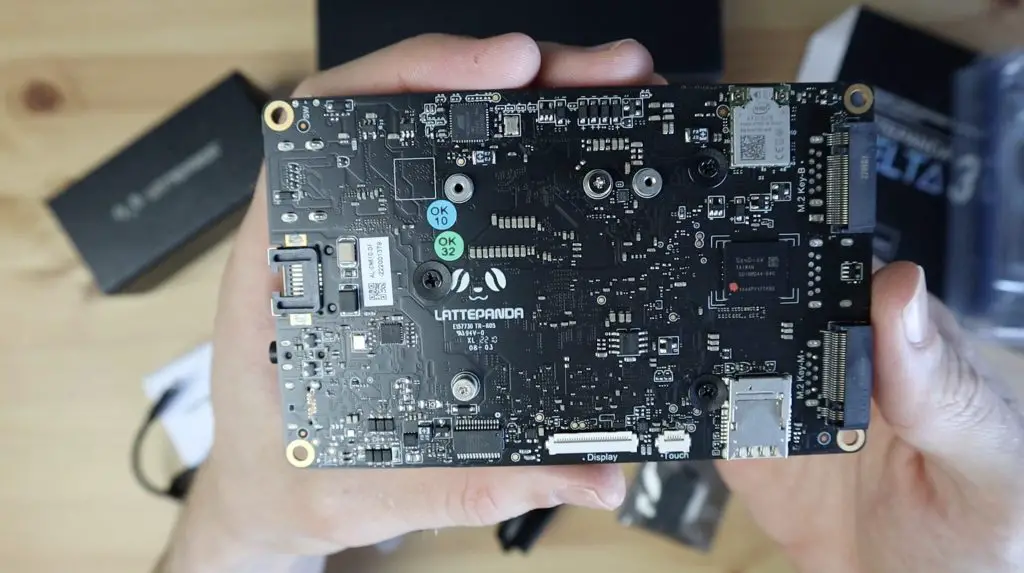
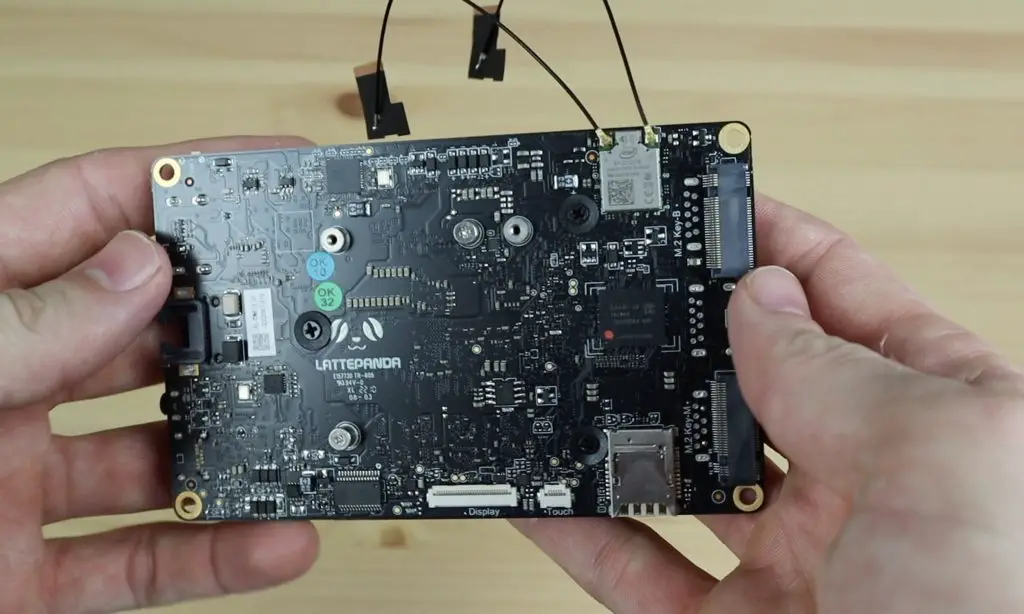
On the bottom of the board, we’ve got an M.2 B-Key port for a mobile network module or SATA SSD and an M.2 M-Key port for an add-on graphics card or NVME SSD. There’s also a sim and microSD card slot.
There are three ways to hook it up to a display, you can use the obvious HDMI port on the side or the eDP connectors on the bottom or drive a display through the USB type C port that’s also used for power. So you’ve got support for dual 4K monitors through the HDMI and USB C ports.
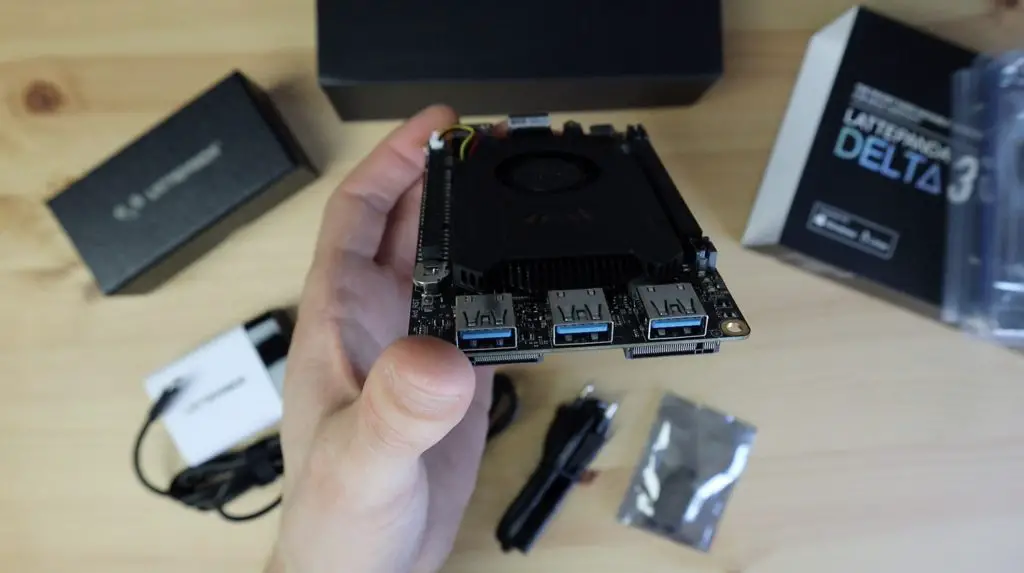
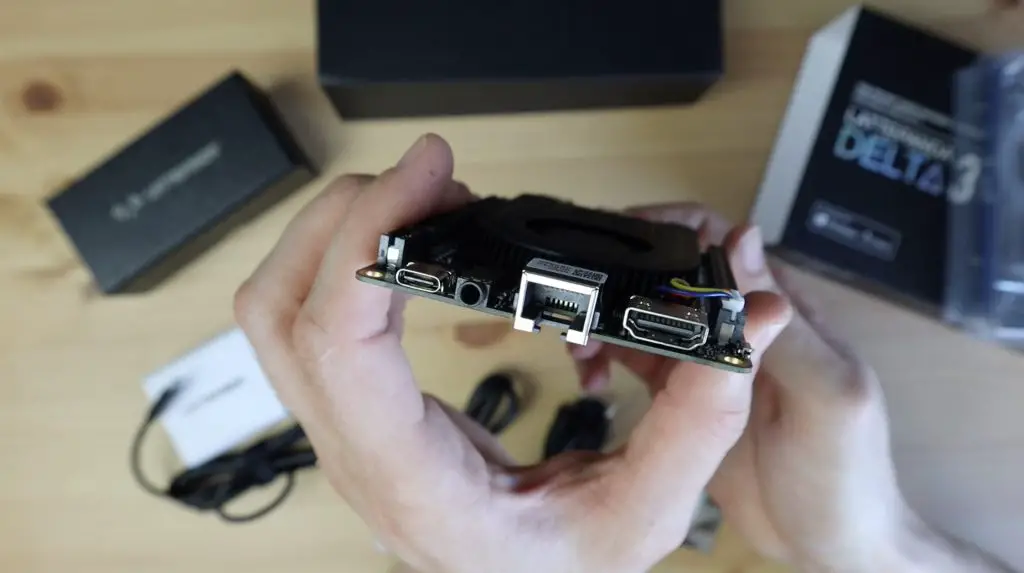
There are three USB 3 ports on the side, one USB3.2 Gen 2 port (on the left) that supports data transfer up to 10Gb/s and two USB3.2 Gen 1 ports (on the right).
On the opposite side is the USB type C port for power input, a 3.5mm audio jack, a gigabit Ethernet port and the HDMI port.
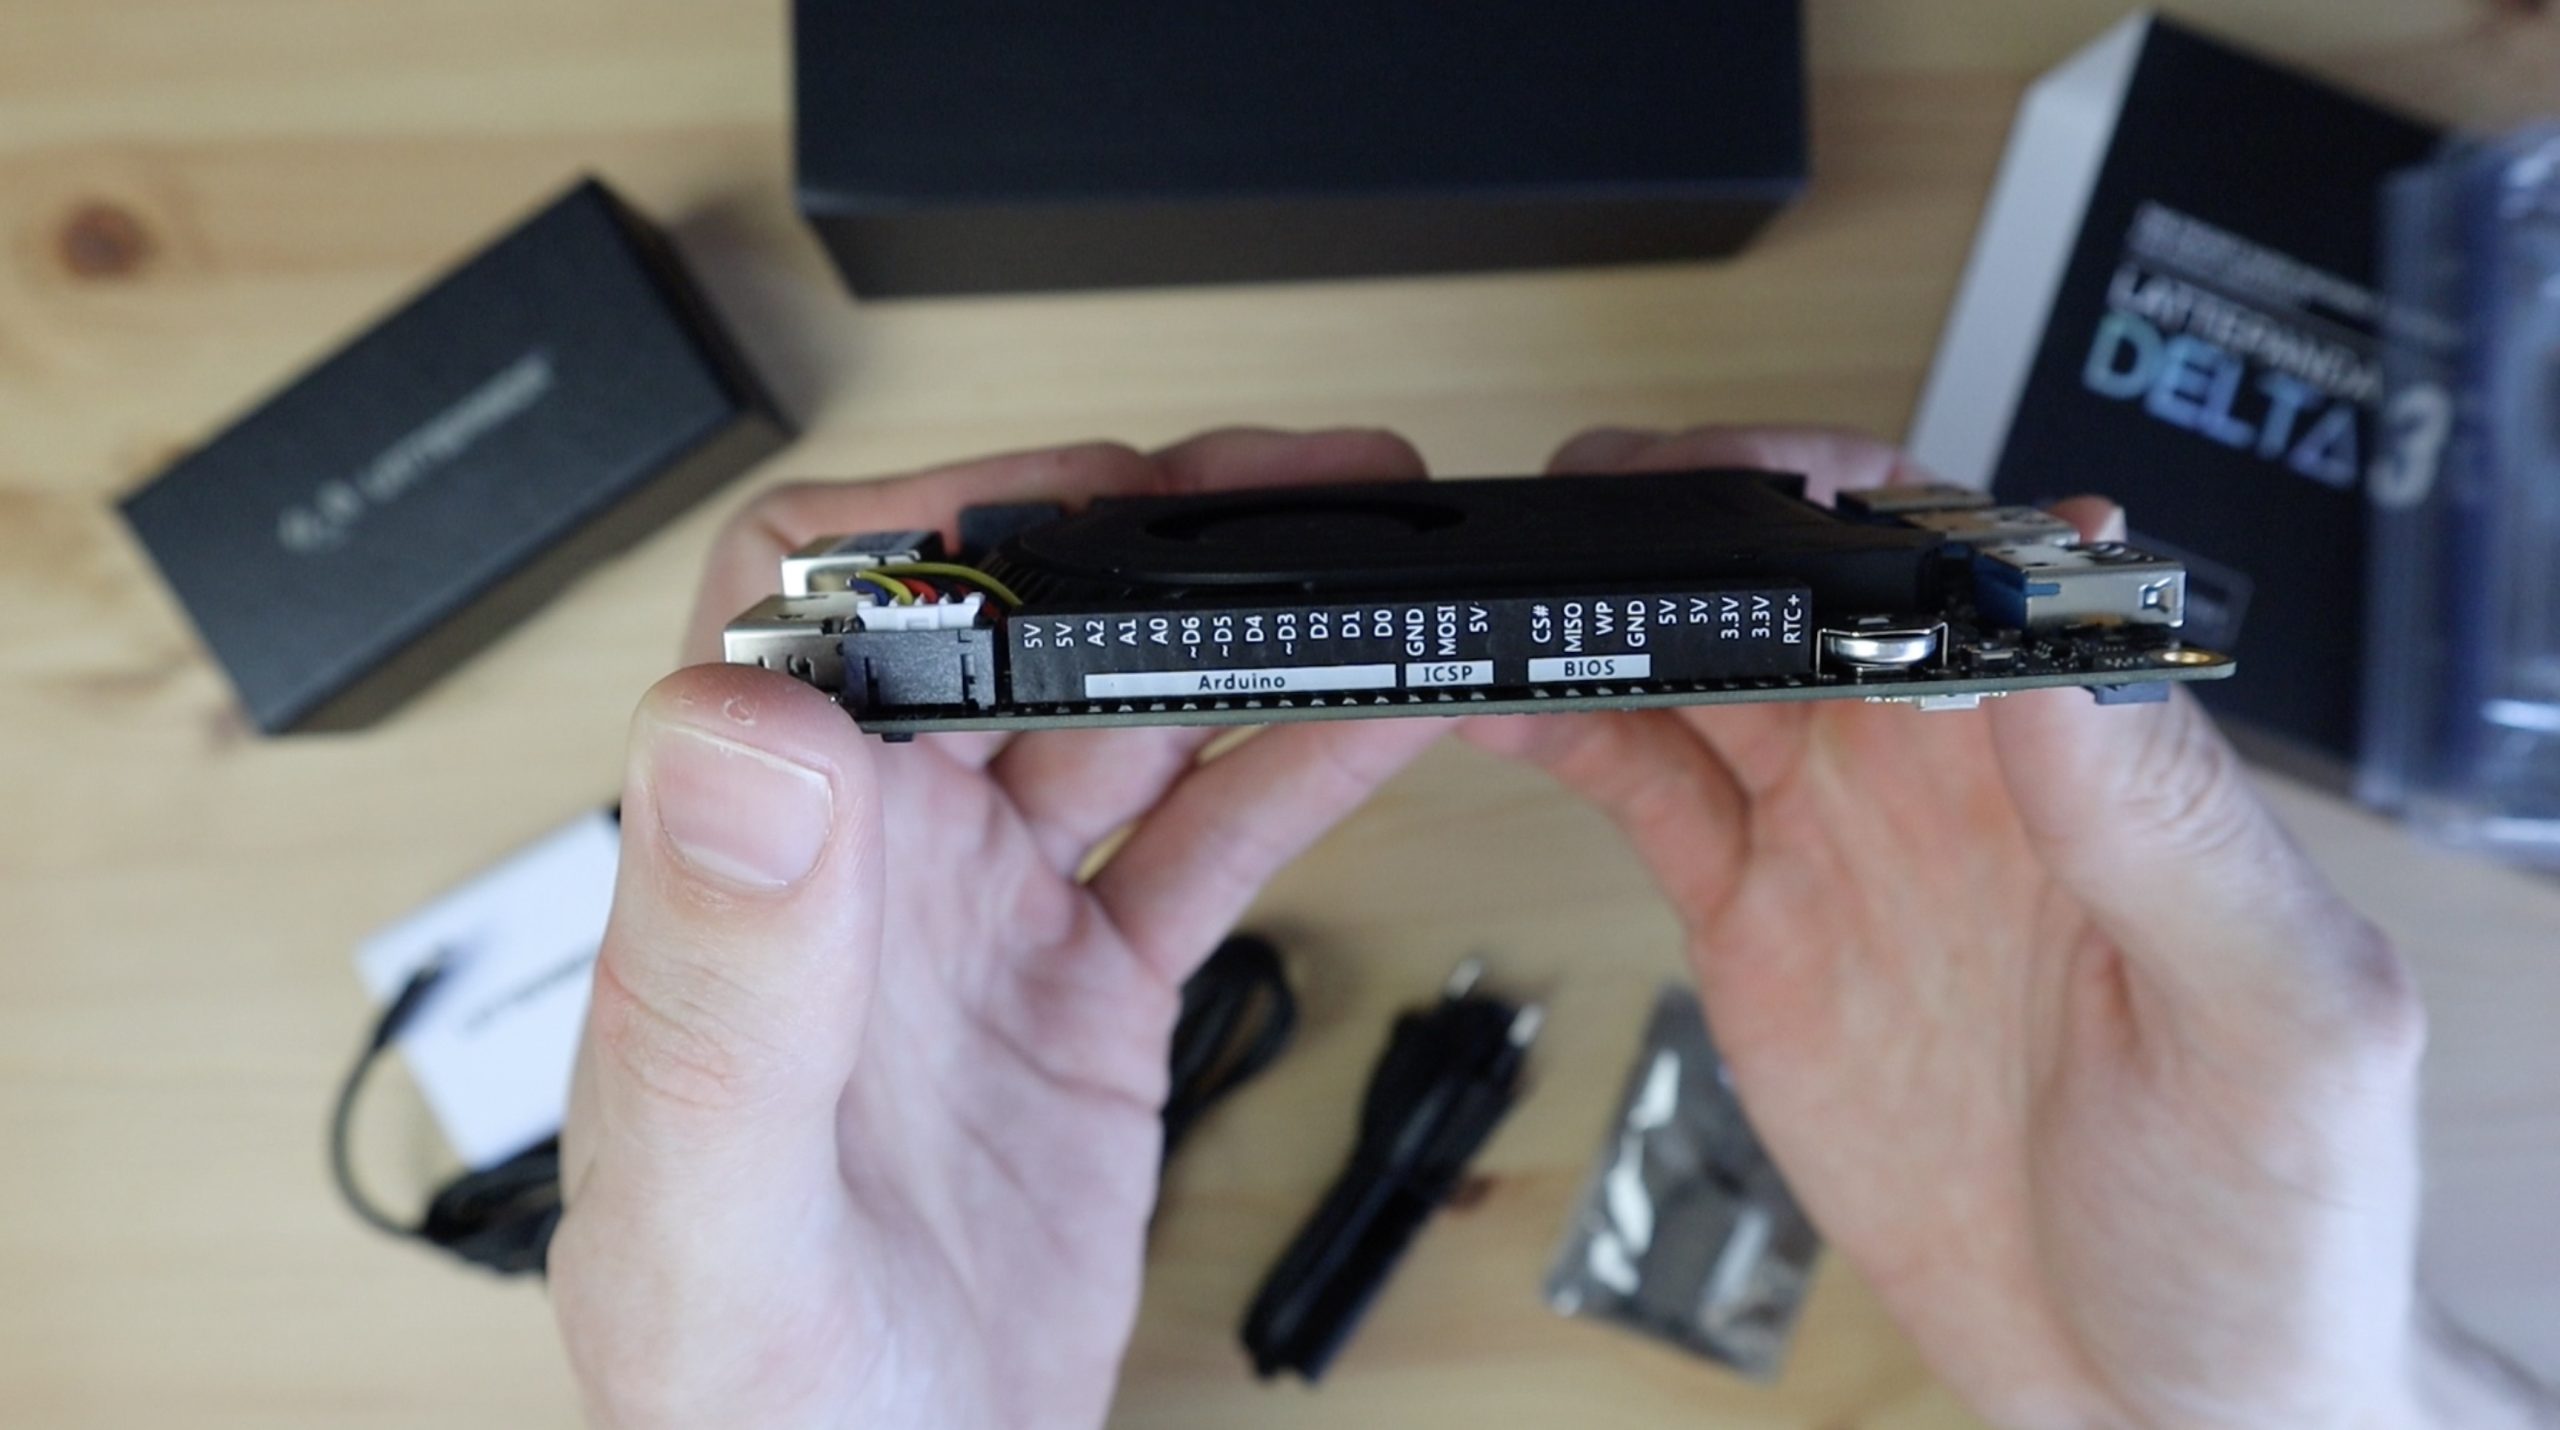
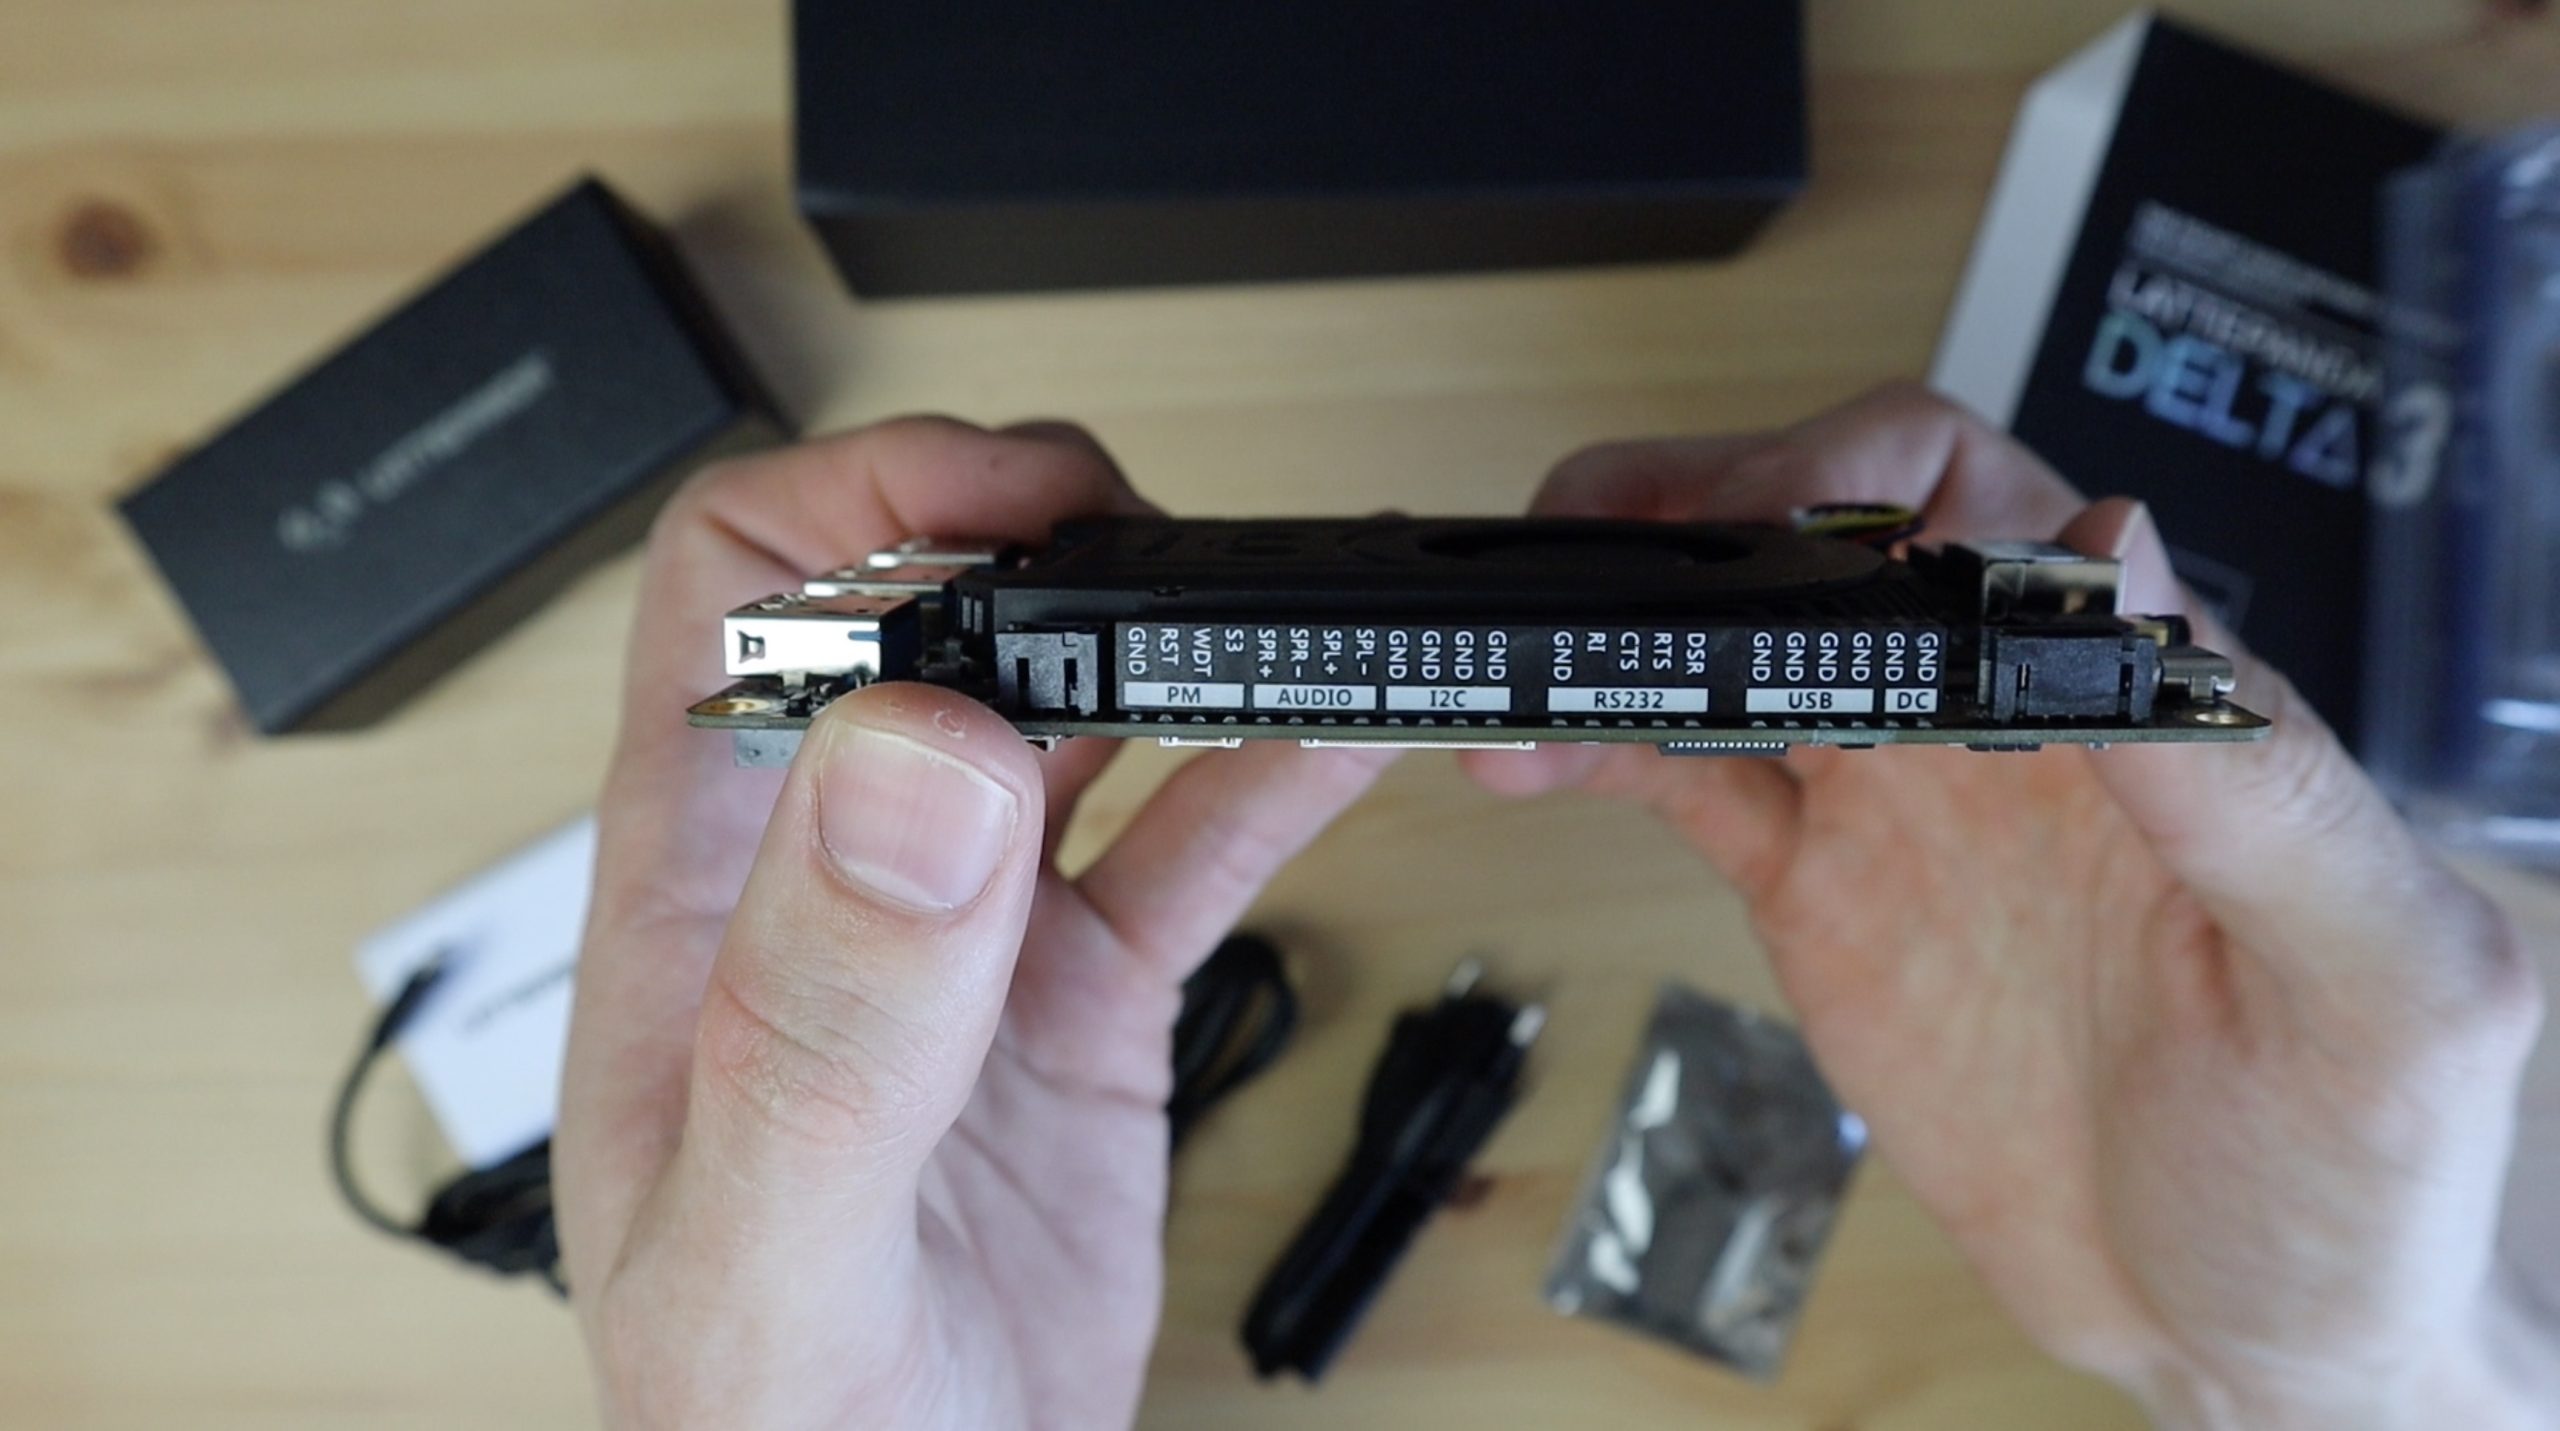
My favourite feature of the LattePanda 3 Delta is the onboard Arduino which gives you a lot of options for IO for your electronics projects. These pins along with a range of other interfacing pins are broken out on headers on either side of the cooling fan. The board has been designed with makers in mind, so it’s also got some additional features like a watchdog timer that’ll reboot your system if it detects that it is no longer responding or has crashed.
Booting It Up For The First Time
Now let’s install the antennas and get it booted up. The Bluetooth and WiFi antennas are physically identical and need to be installed on the pins alongside the small silver Intel adaptor on the bottom of the board.
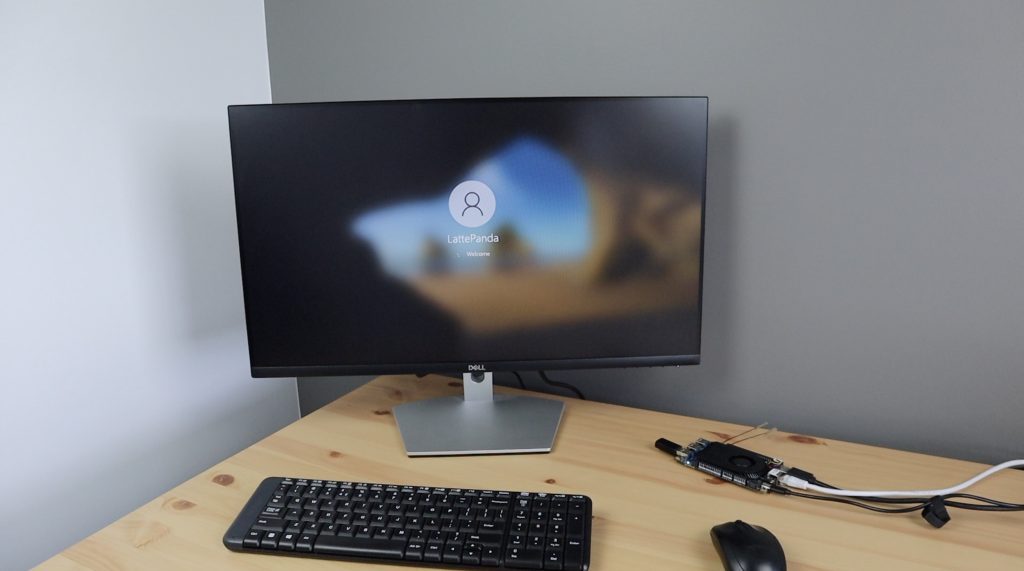
The LattePanda 3 Delta comes with Windows 10 pre-installed but it’s easy to set up to dual boot a Linux OS as well. You can also upgrade the Windows 10 install to Windows 11 if you’d like.
Another nice feature of the LattePanda is that it can be powered via USB C or through the 12V JST PH2.0 4 Pin connector next to it. Their documentation also says that you can switch between the two while powered without interruption, which is pretty cool. The board will automatically switch to the supply that provides the highest voltage.
The onboard fan is impressively quiet. It’s PWM controlled so it ramps up when the CPU is loaded, but with low-intensity tasks, you can barely hear it.
Turning The LattePanda 3 Delta Into A Cyberdeck
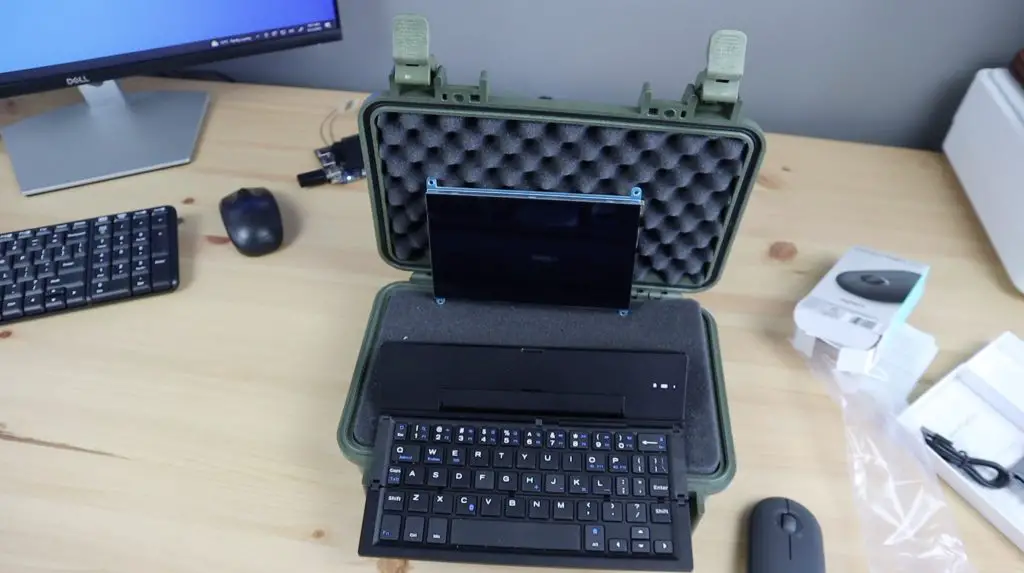
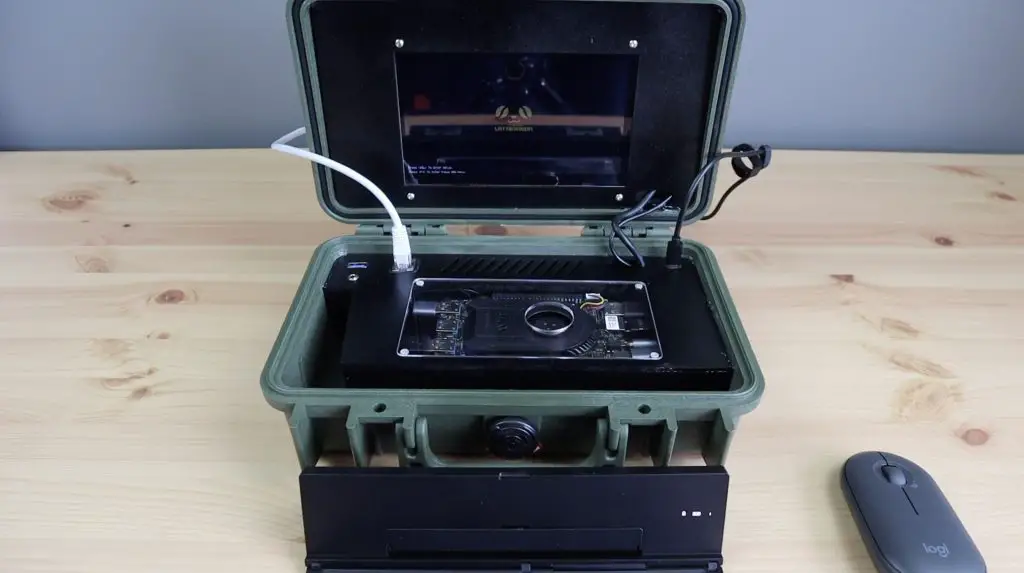
Since the LattePanda 3 Delta is aimed at being a powerful mobile computer, I thought it would be great to turn it into a cyberdeck. So I’m going to do that by installing it in a Pelican case along with an HD touch display, a fold-up keyboard and a low-profile mouse.
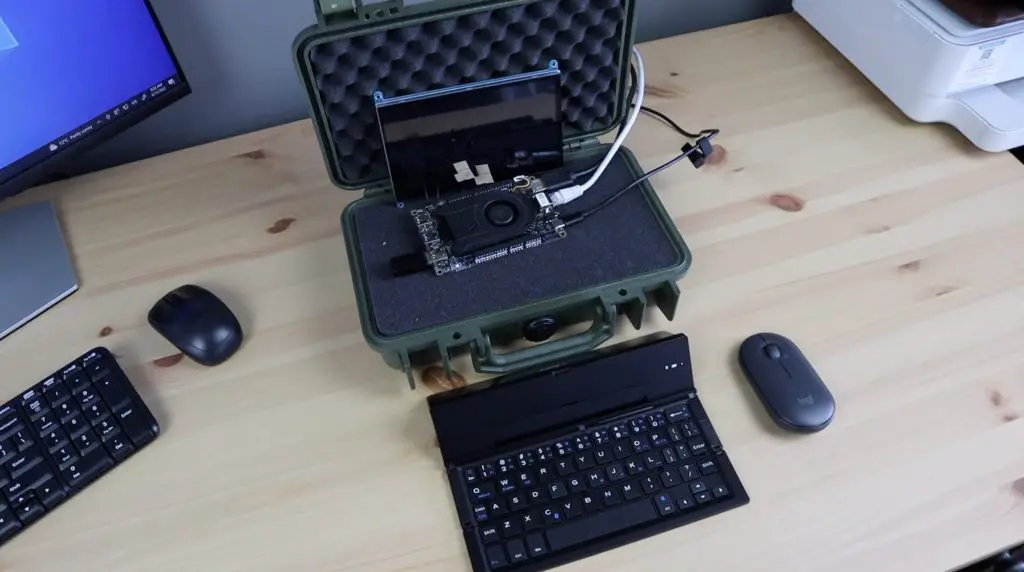
As the brains of the cyberdeck, I wanted the LattePanda to be visible, rather than hidden behind the display or keyboard. I also want to provide a path for adequate airflow and I want to be able to access the IO pins for hooking up sensors and other external devices if I need them.
I want to maintain the Pelican case’s waterproof design, so I don’t want to drill holes in the sides for cables or ports. I’m going to rather reroute the ports on the board to ports on the main deck to plug into.
Making Up The Custom Components
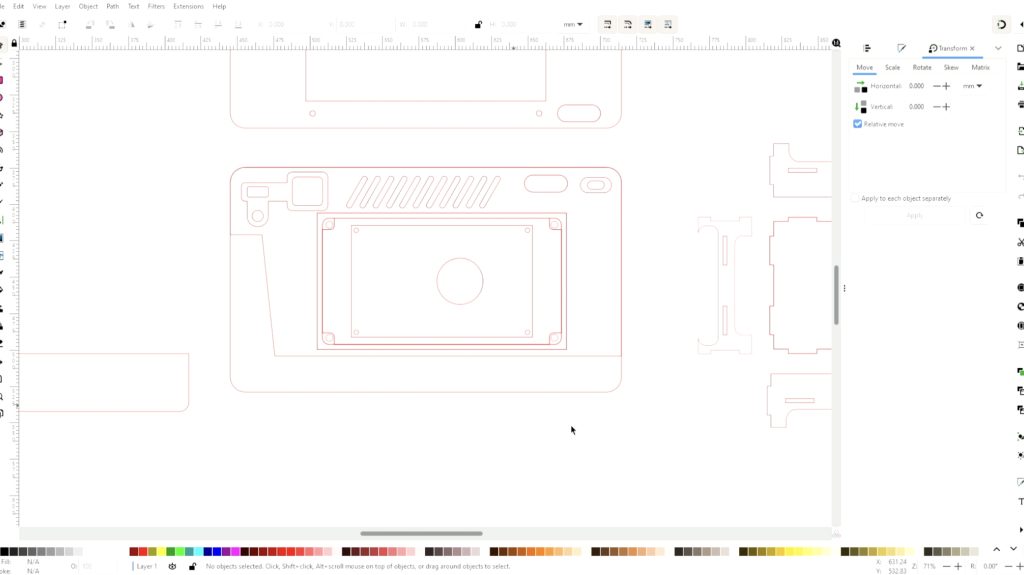
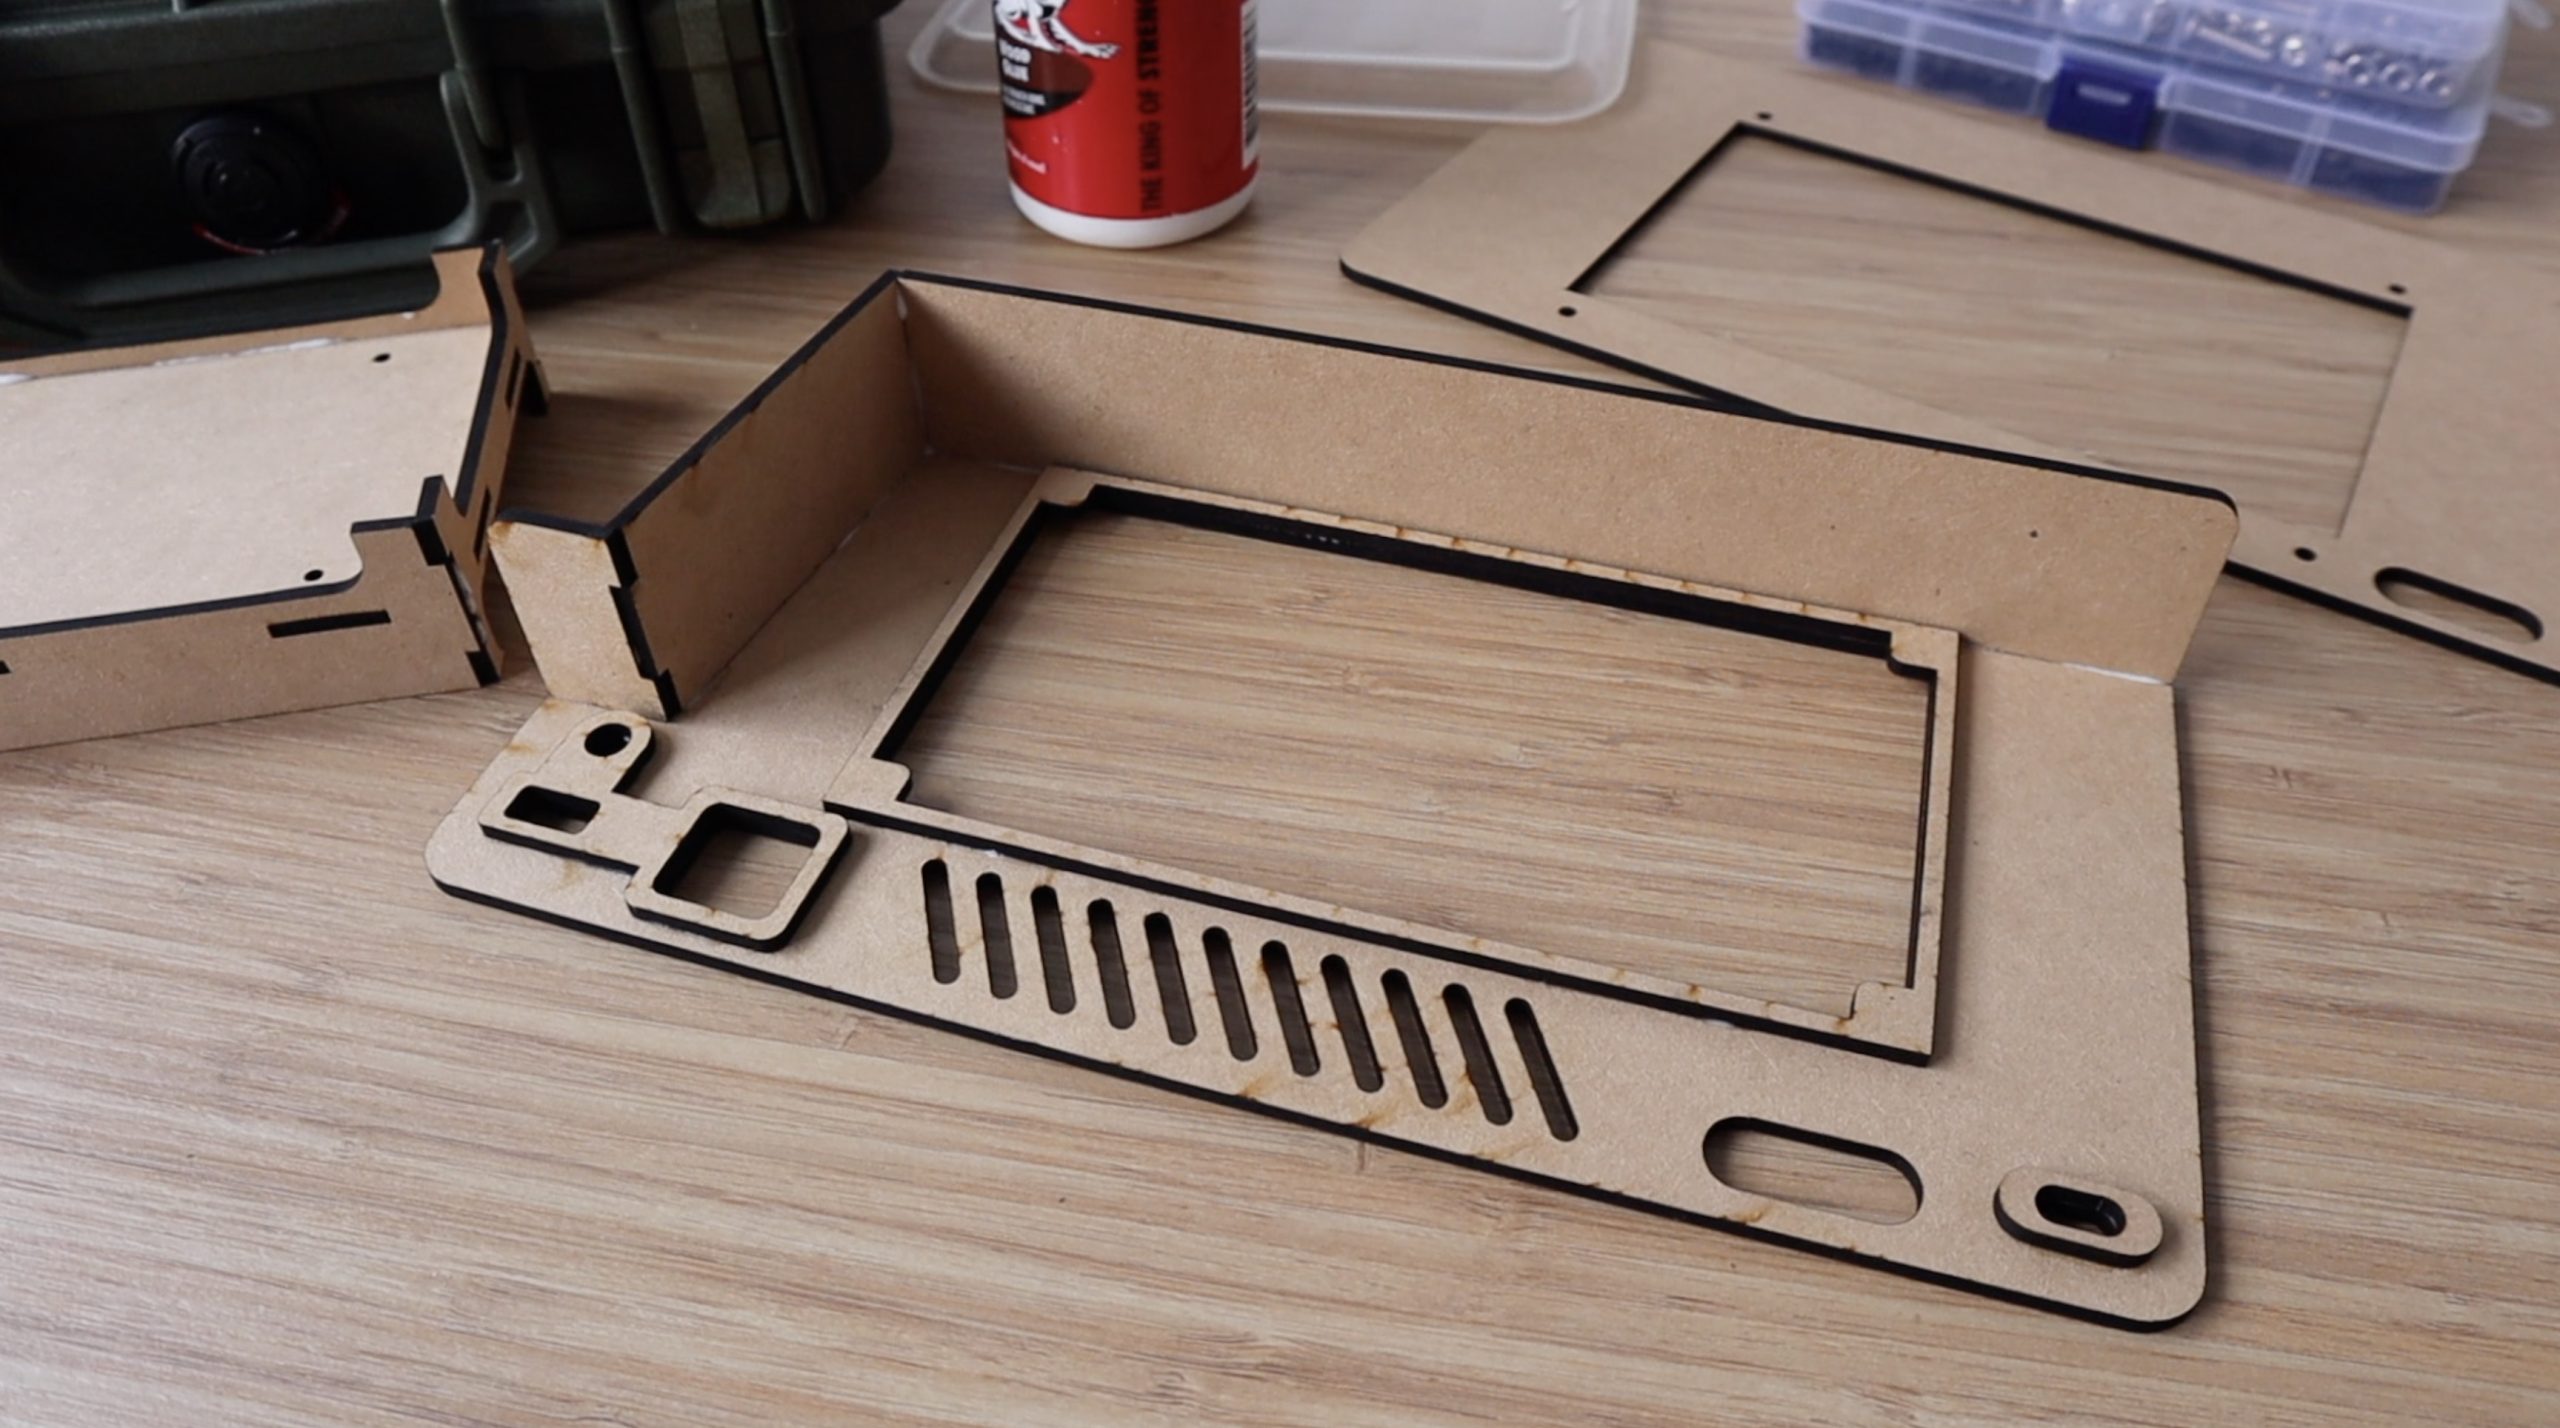
I sketched up some parts to hold all of the components in Inkscape, these consist of the bottom deck with a holder for the LattePanda and divisions for the keyboard and mouse, and then the top deck to hold the display.
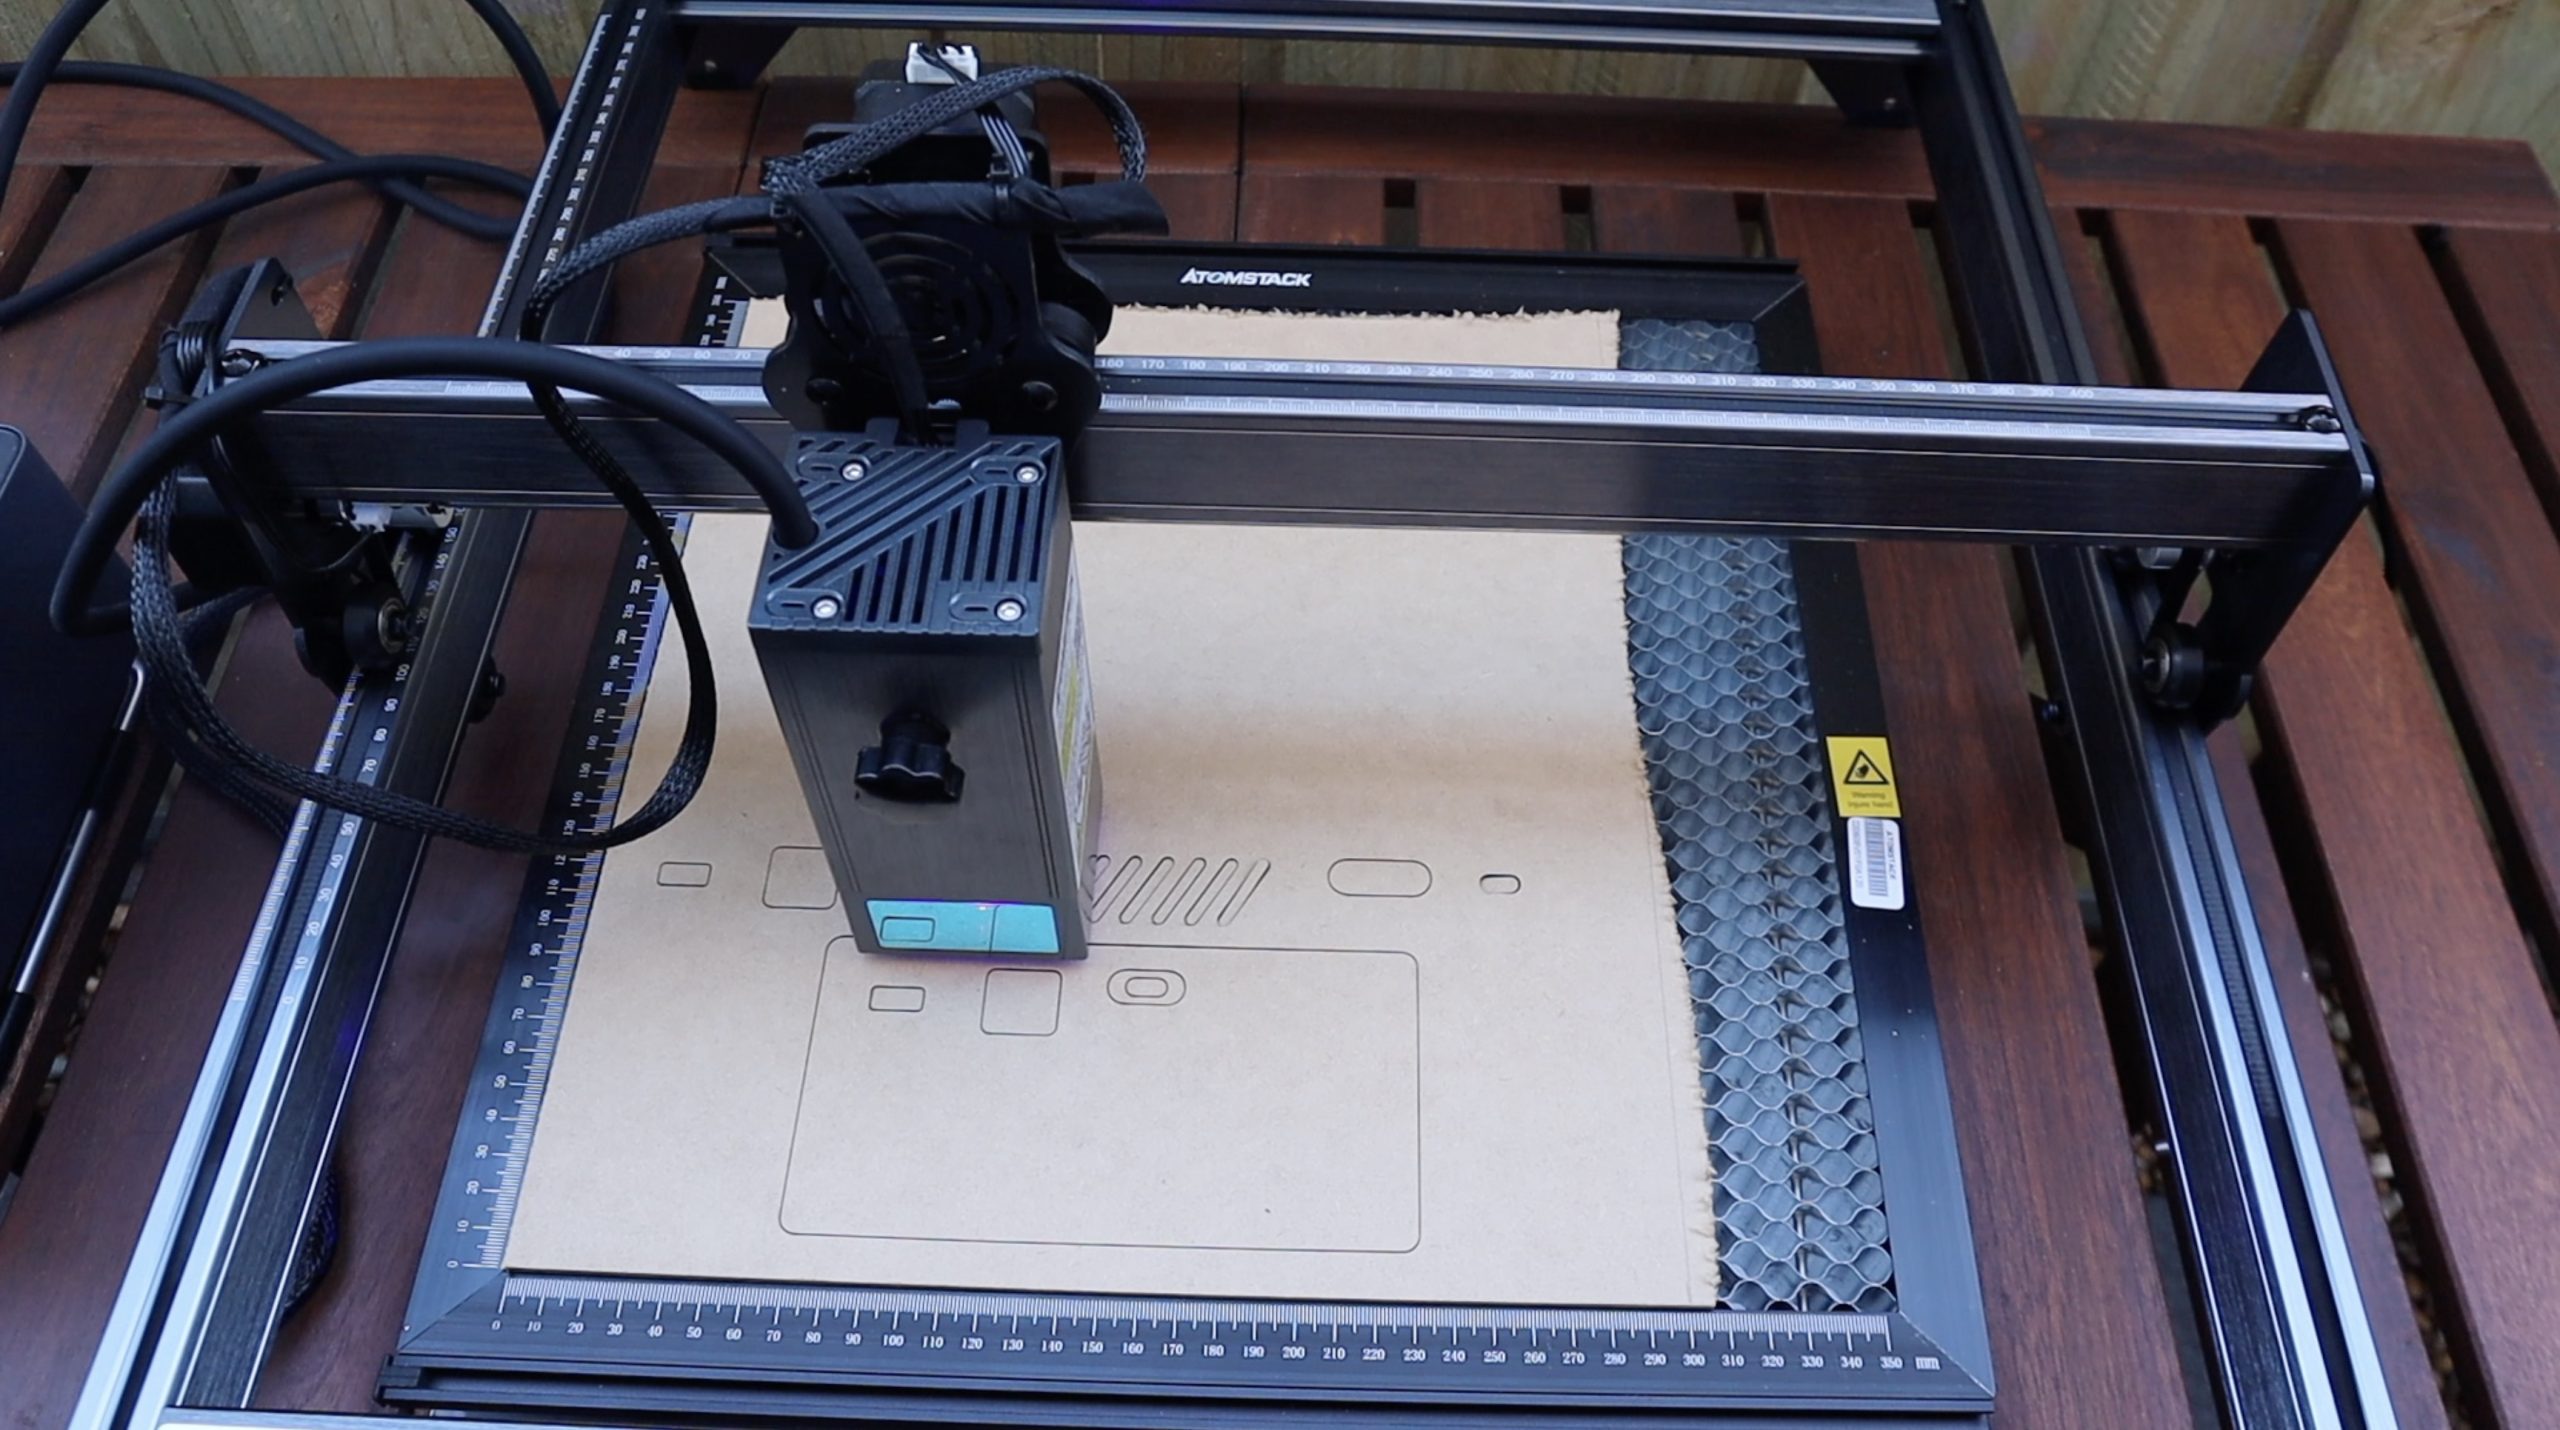
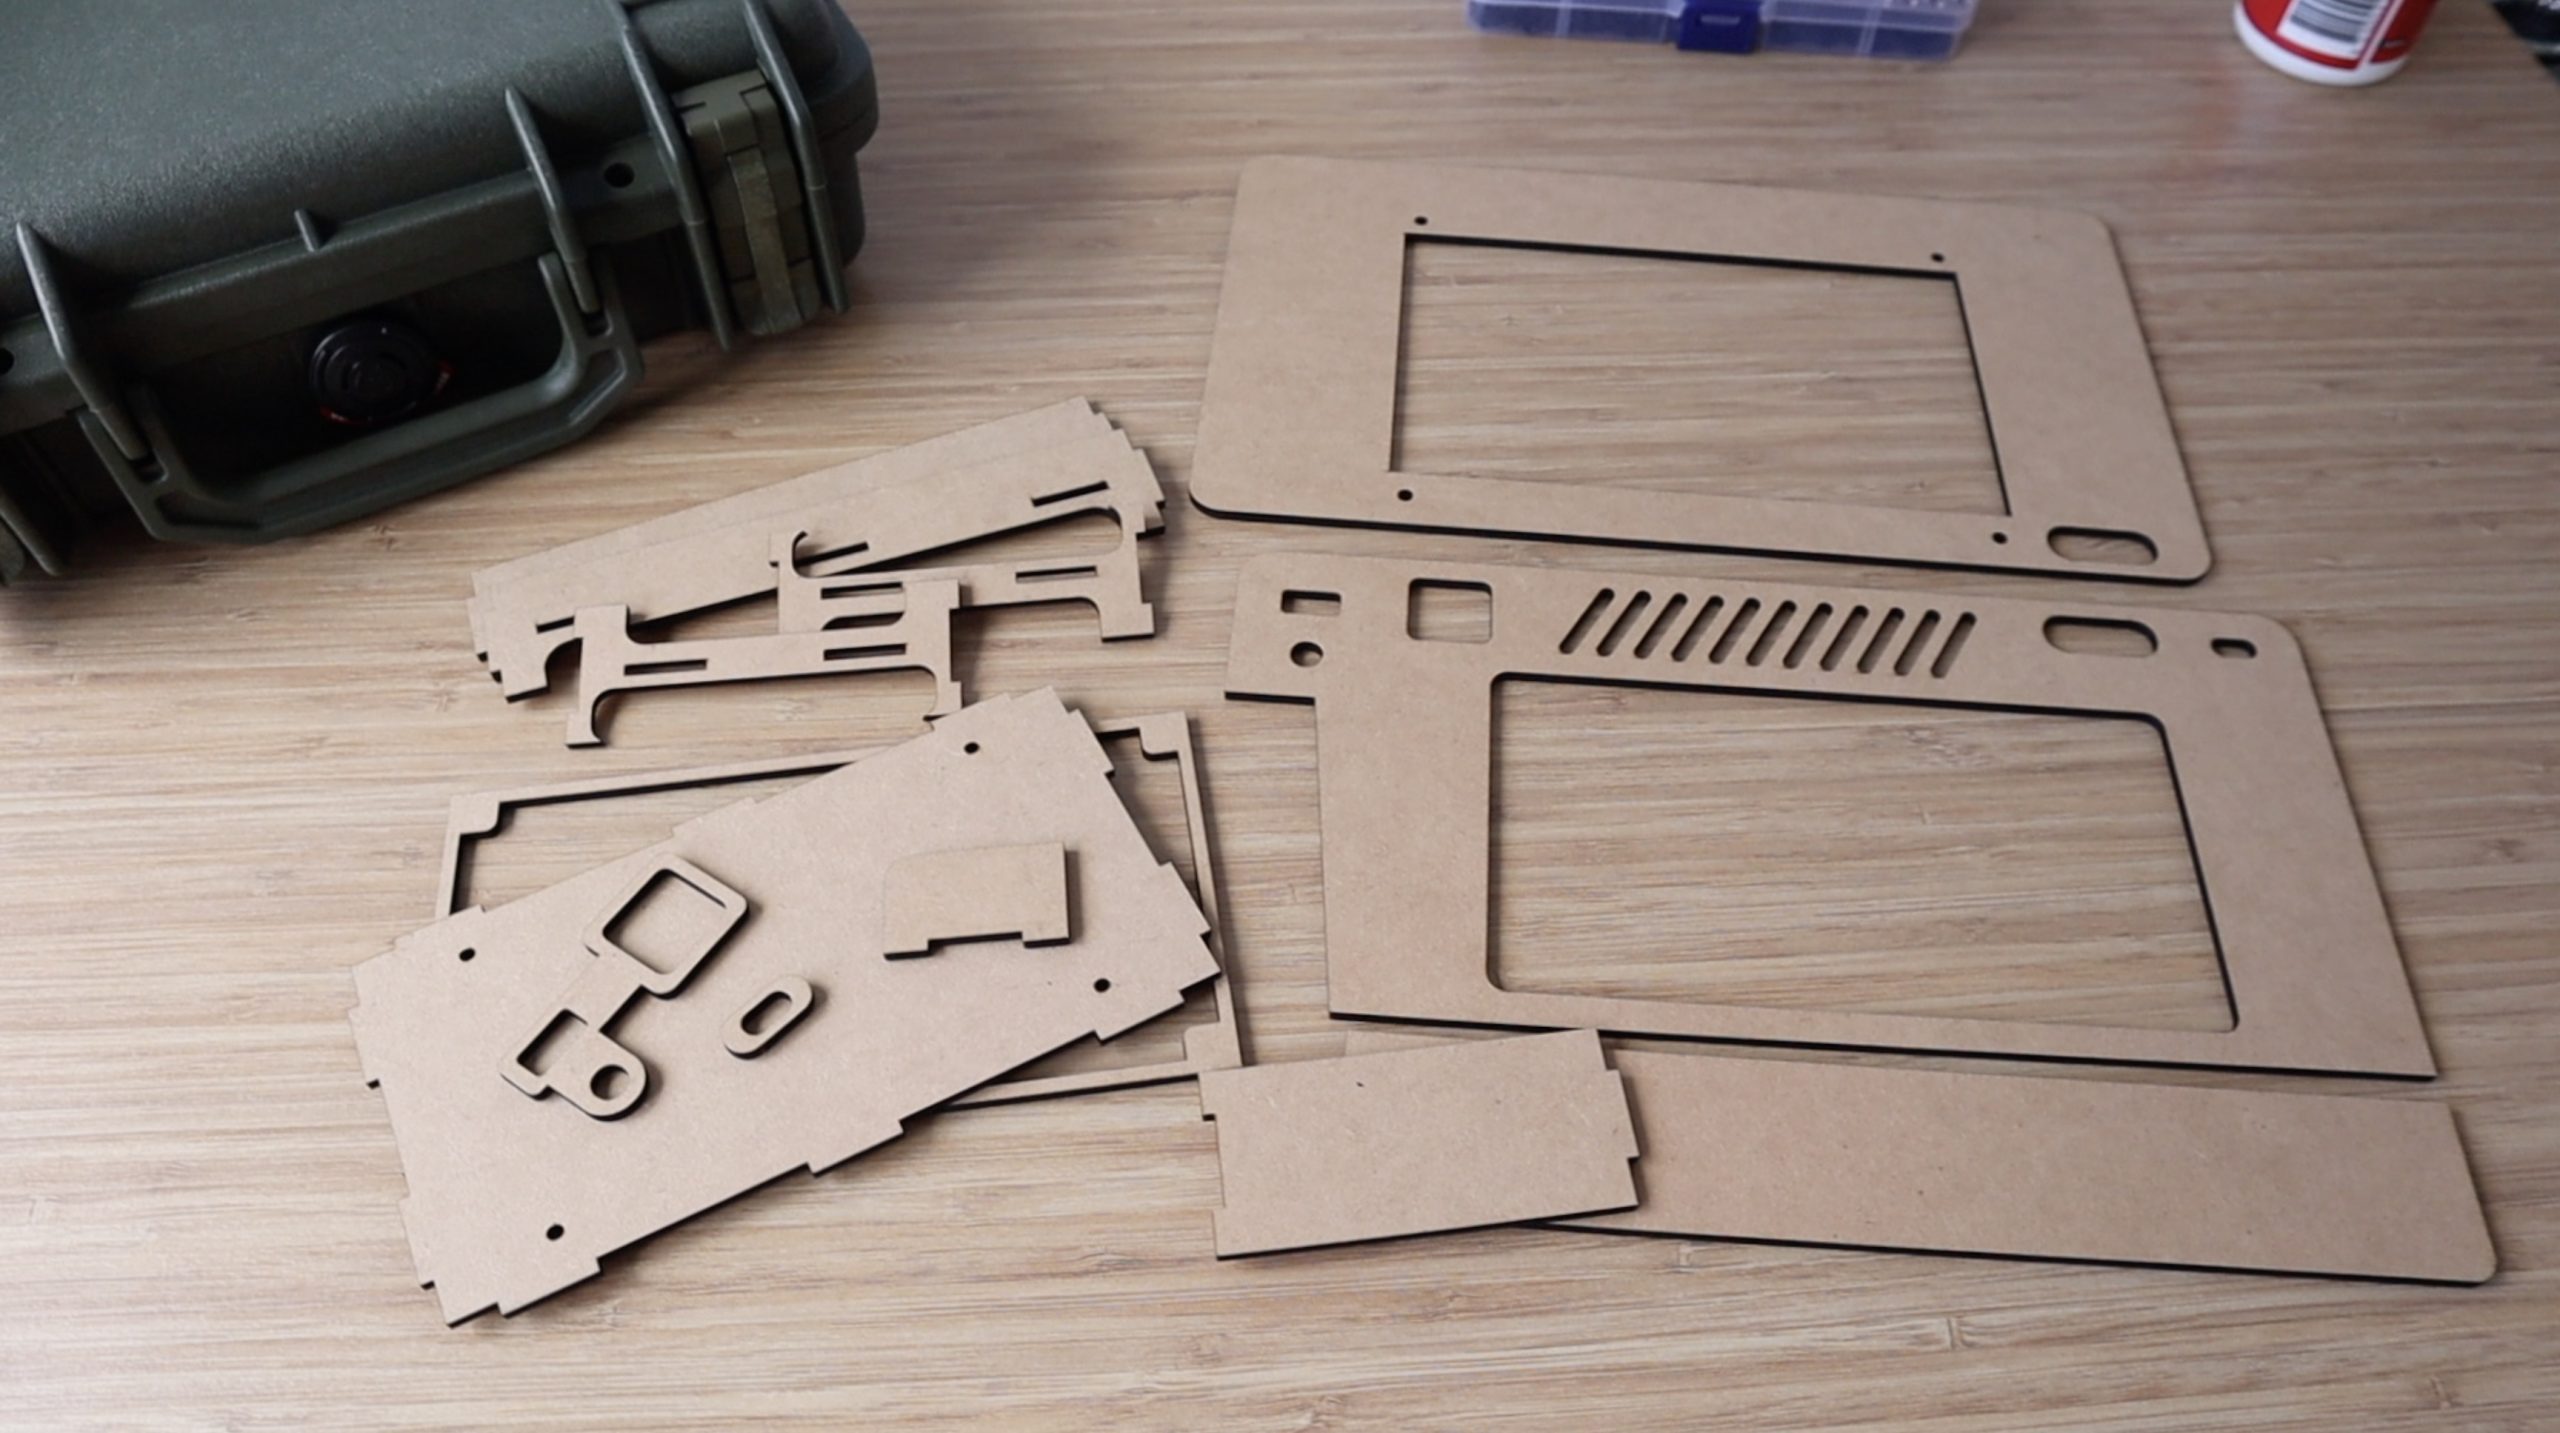
I then laser-cut the components from a sheet of 3mm mdf. You’ll need a sheet of about 400mm x 400mm to cut all of the components from. I laser cut the acrylic cover from some 3mm clear acrylic, 2mm acrylic will also work.
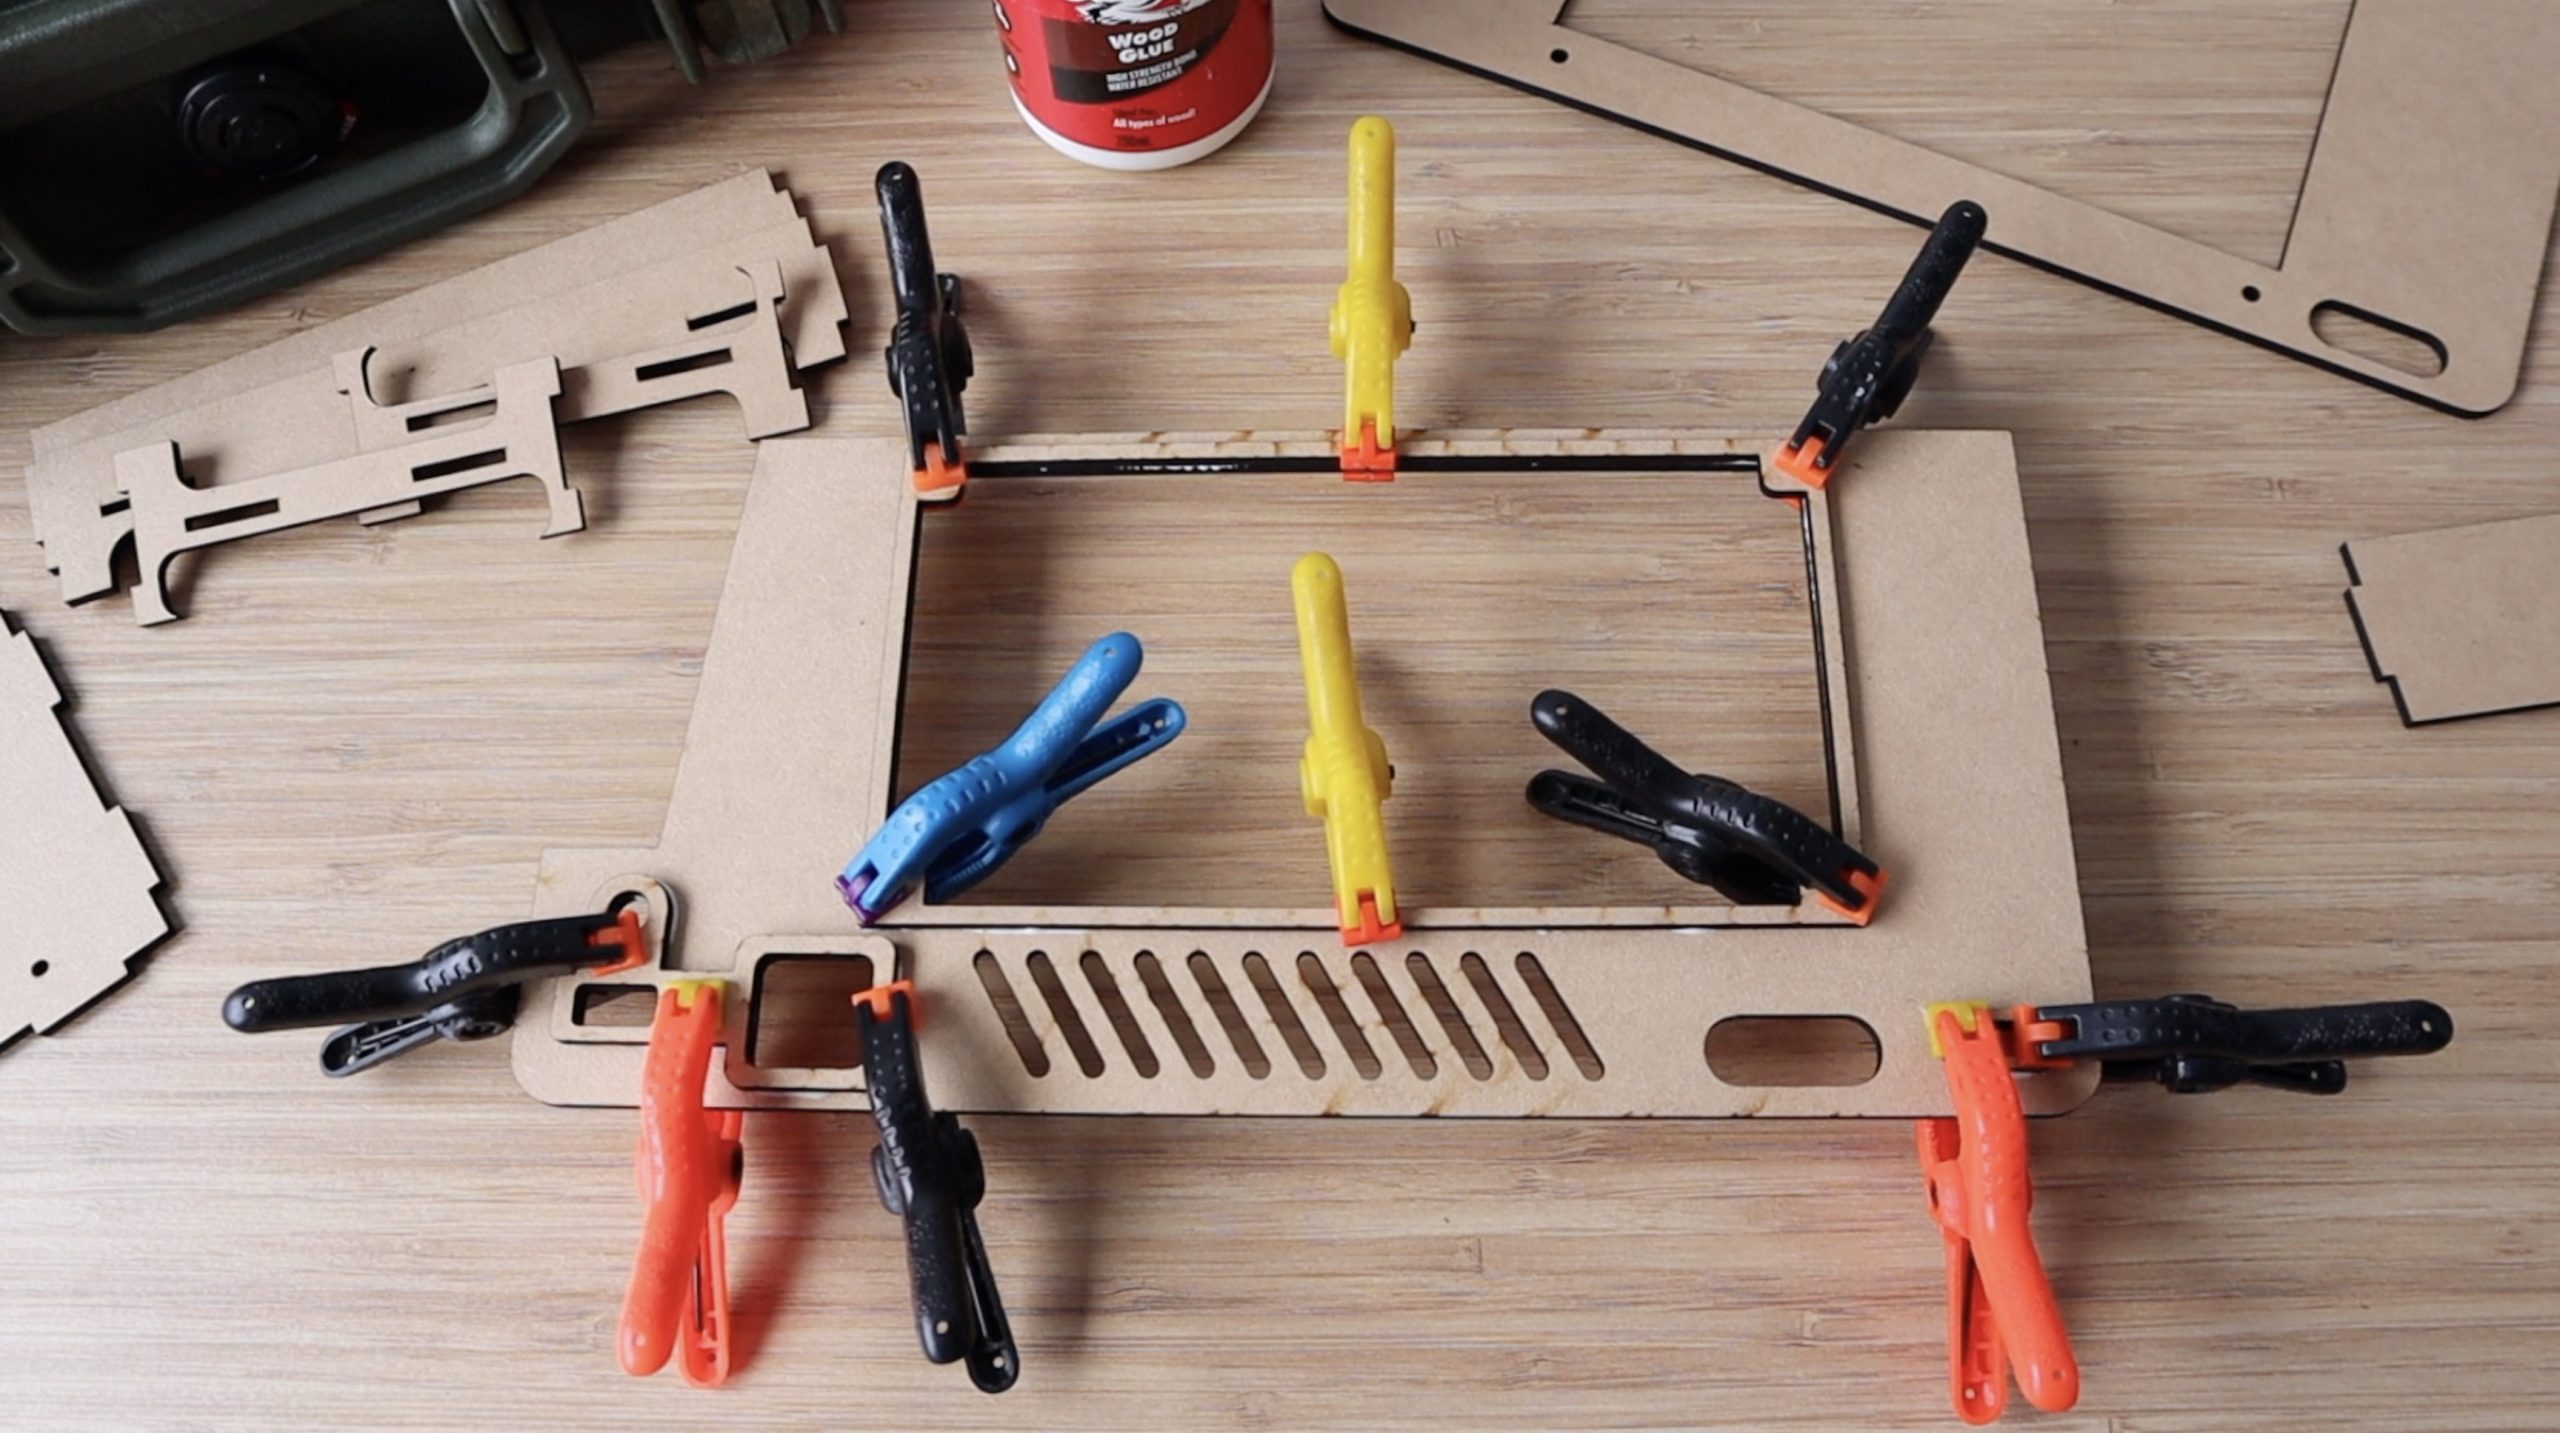
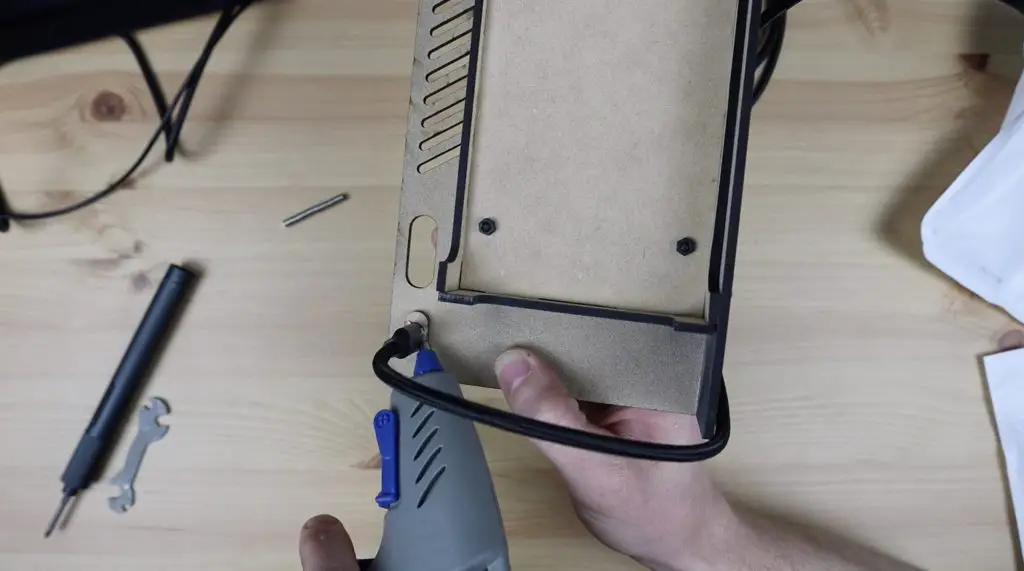
I glued the pieces together using some PVA wood glue, clamping them together while the glue dried. I first glued the port frames and magnet holder into place, then the edges of the keyboard and mouse holder and then finally glued the support box together.
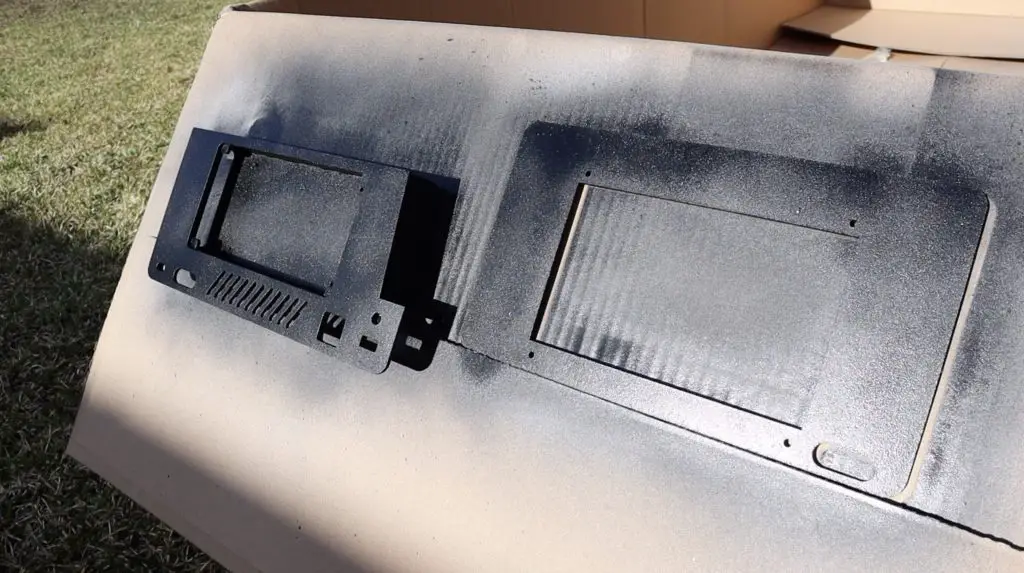
Once the glue was dry, I gave the parts a coat of general purpose primer and then a few coats of satin black spray paint. I allowed the parts to dry for a few hours in the sun before moving on to assembling the cyberdeck.
Installing The Components In The Case
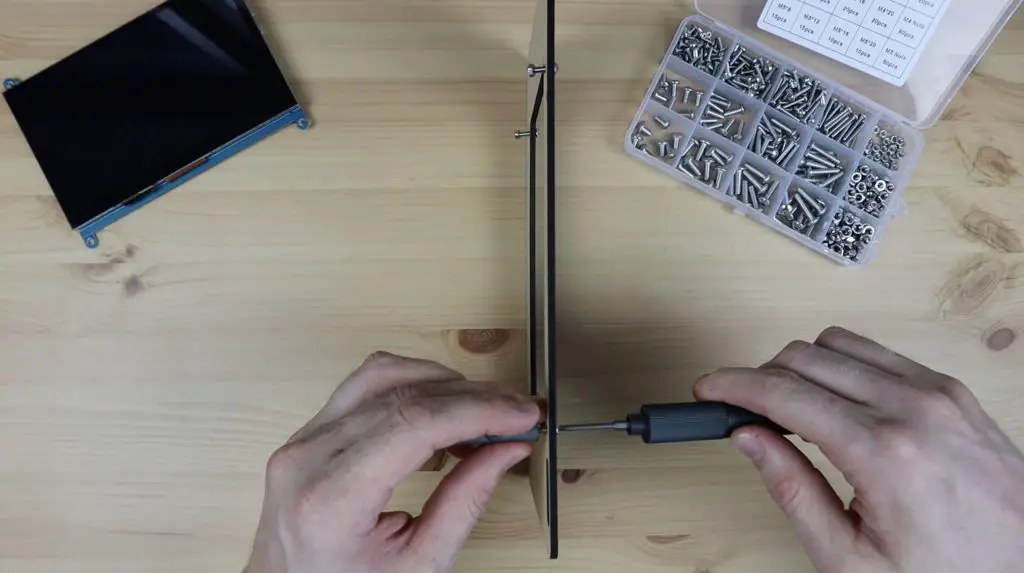
Now we can start putting the Cyberdeck together. I’m going to start by installing the display in the top holder.
To hold the display in place, I’m going to use some M3 x 12mm button head screws and nuts. I pushed a screw through the front panel and held it in place with a nut on the back. I then used a second nut as a spacer before the display and then held the display in place with another nut. I did this so that I could accurately control the depth of the display behind the front panel/frame so that it was flush.
We need two cables for the display panel, one HDMI cable for the display input and one micro-USB cable for power and the touch input.

These can be fed through the cutout at the bottom which will then run into the bottom of the case where the LattePanda is.
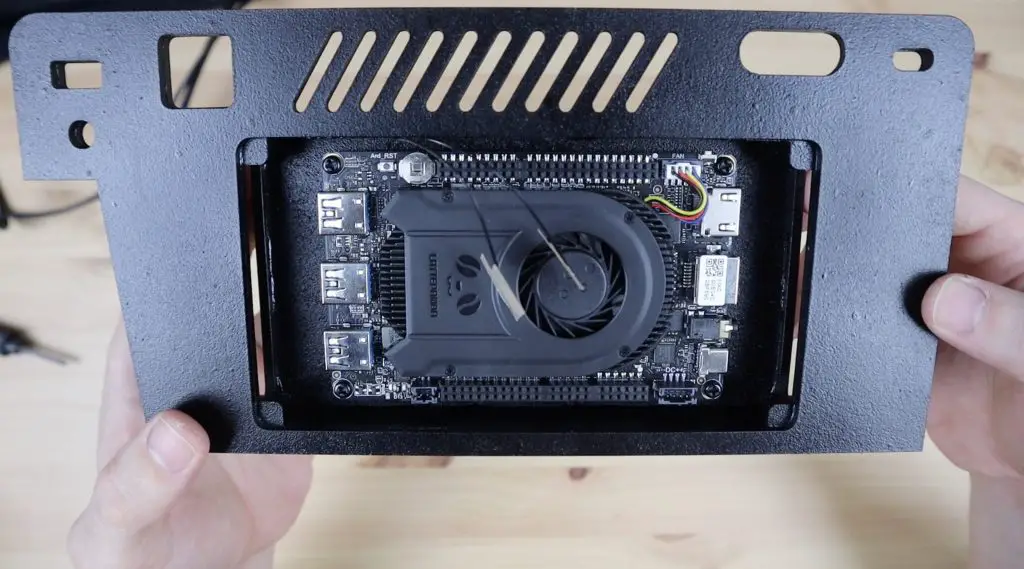
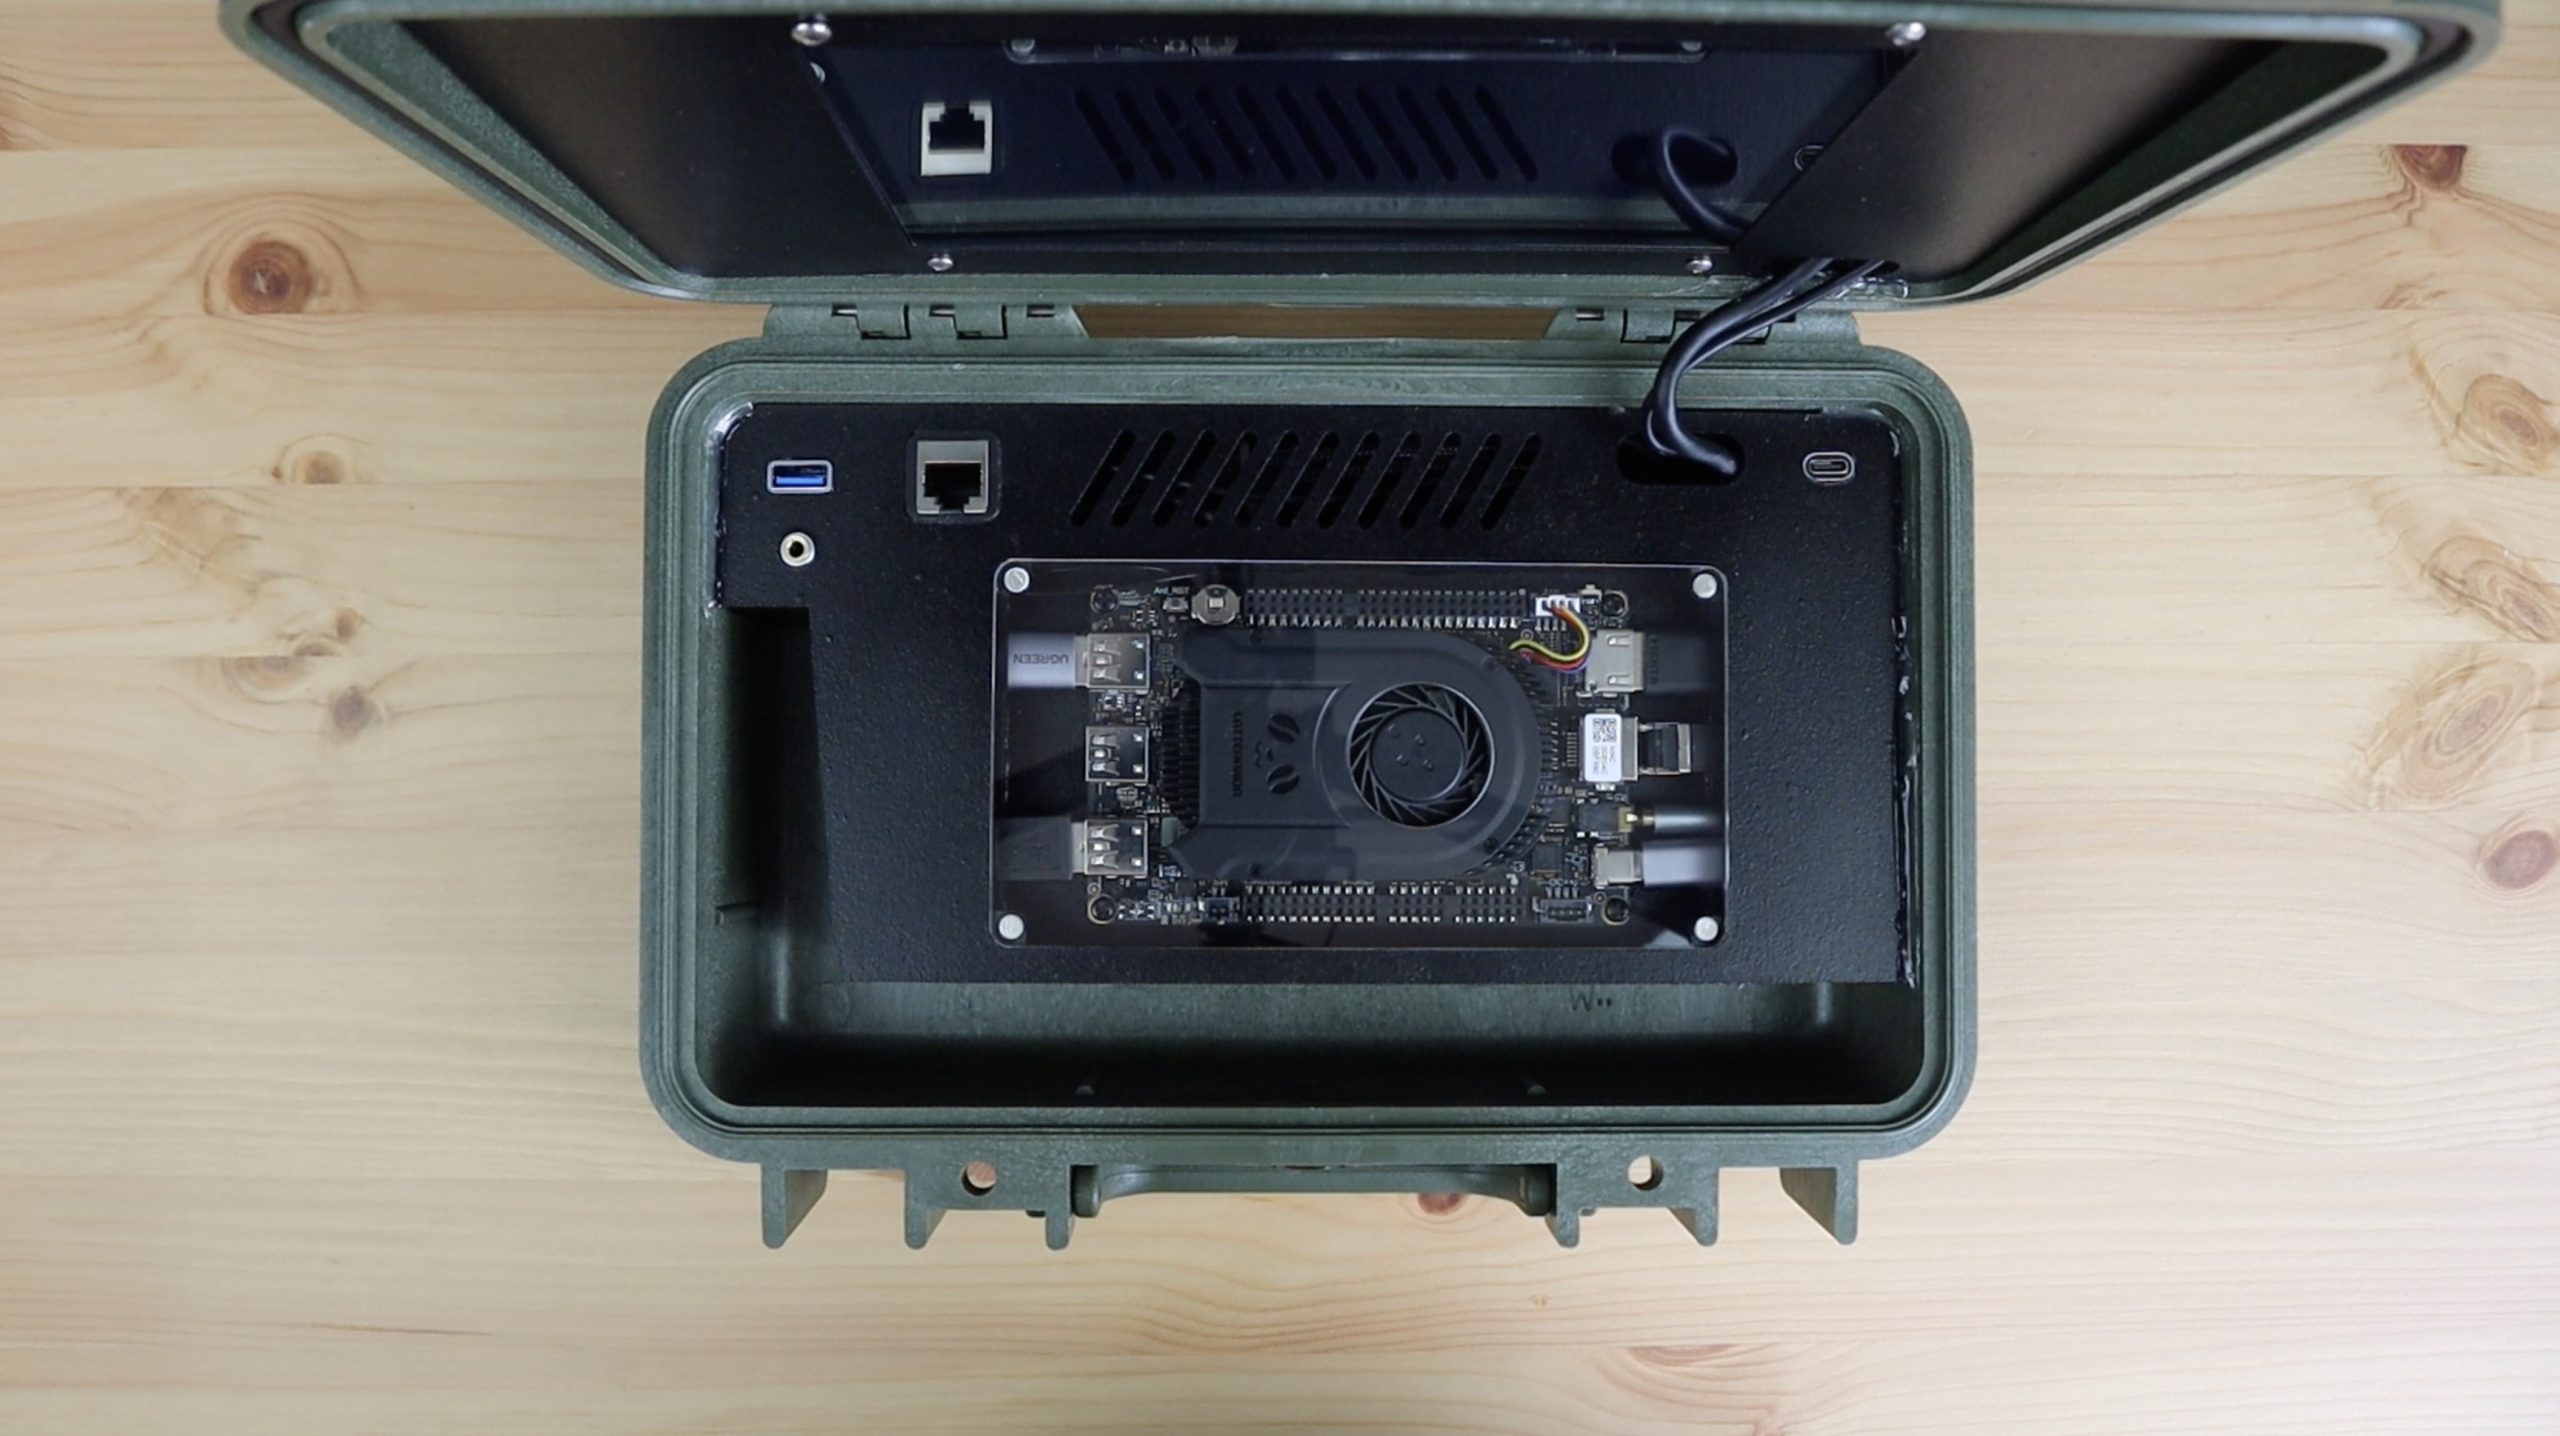
To mount the LattePanda, I’m going to use some 6mm high M3 nylon standoffs. I’m not using the ones that came with the LattePanda as I want to mount it close to the base board so that there is more room underneath the compartment for cables.
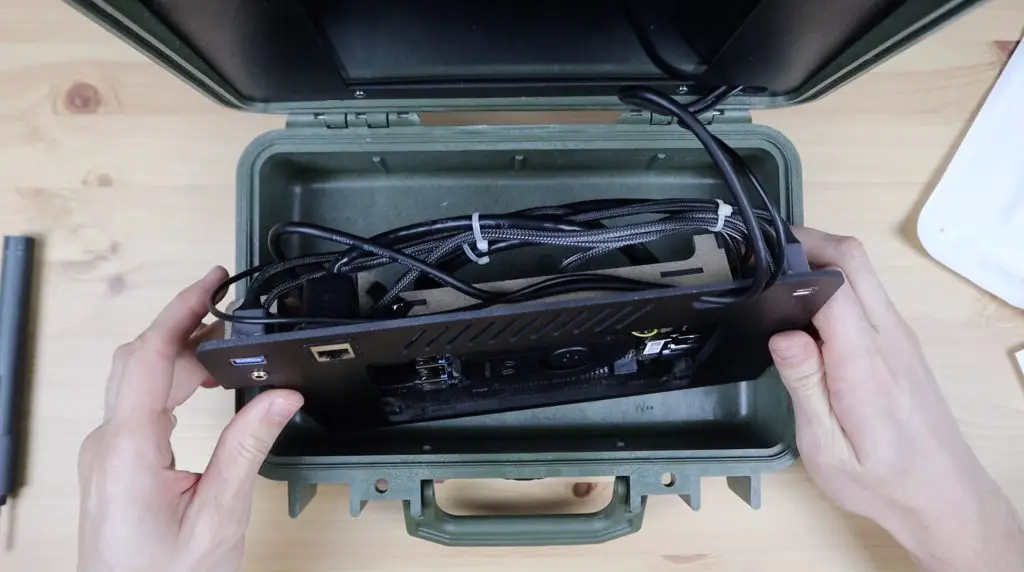
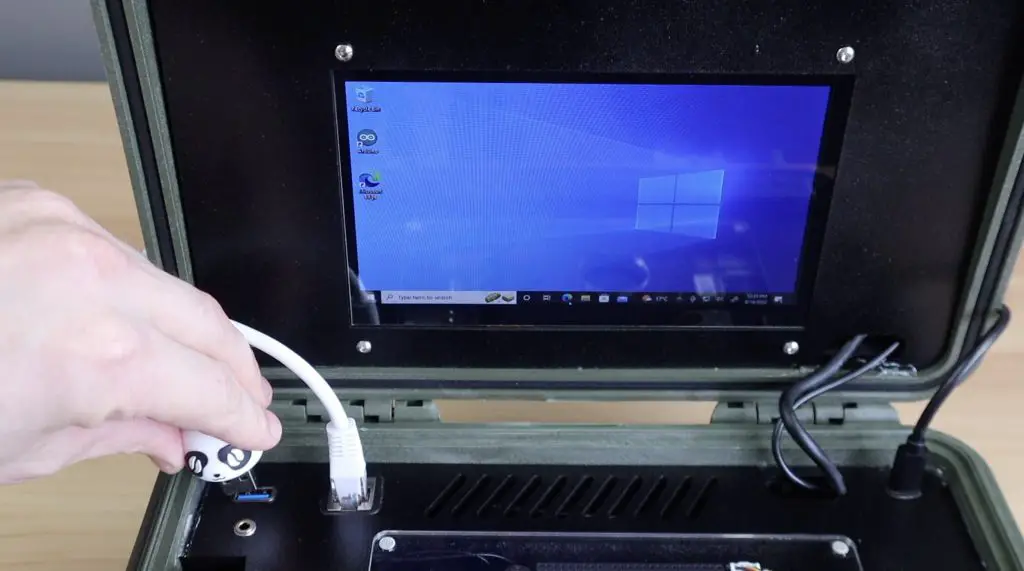
I bought a couple of extension cables so that I can reroute the ports to the surface of the cyberdeck rather than having to reach the sides of the LattePanda to plug cables in. These press into the cutouts in the MDF so that the front of the port is flush with the deck surface. The press fit is quite tight so that they’re doing most of the support work for the port.
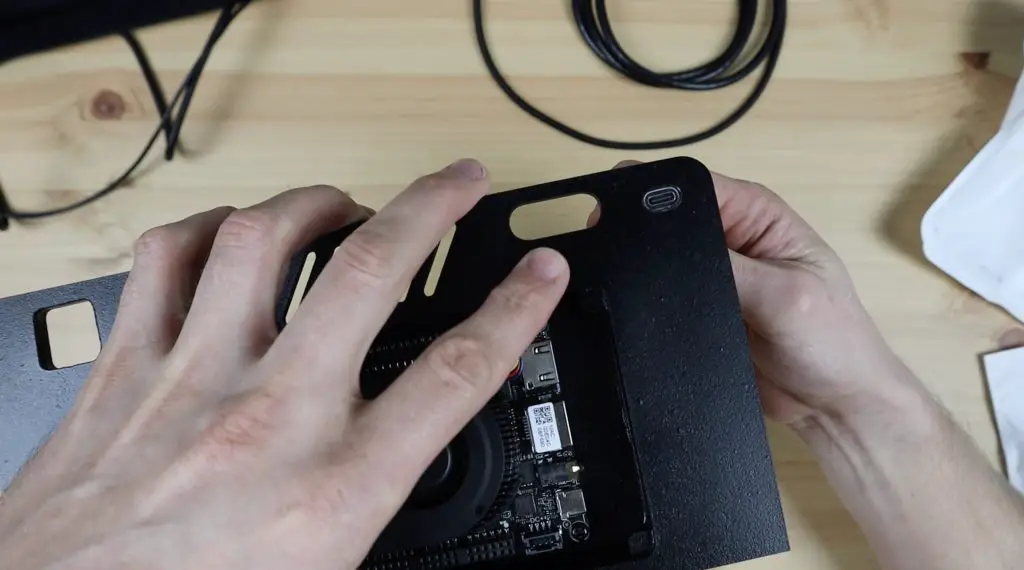
We can then use a bit of hot glue on the back as an extra measure to hold them in place.
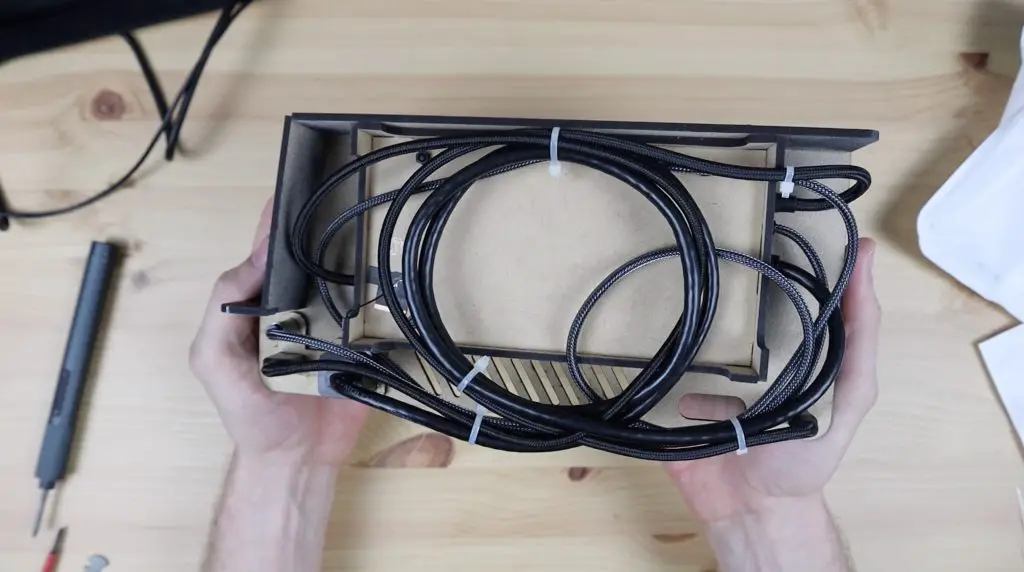
I cabled tied the extension leads together to neaten up the wiring and to make it easier to install into the base of the pelican case.
Now get them installed in our Pelican case.
The display panel fits into the top and we can then secure it with some hot glue. I tried to put the glue behind the panel as far as possible so that it’s less visible.
I fed the HDMI and USB cables through to the LattePanda and again cable tied these to some of the existing cables to hold them in place. We can then glue the bottom into place in the Pelican case as well.
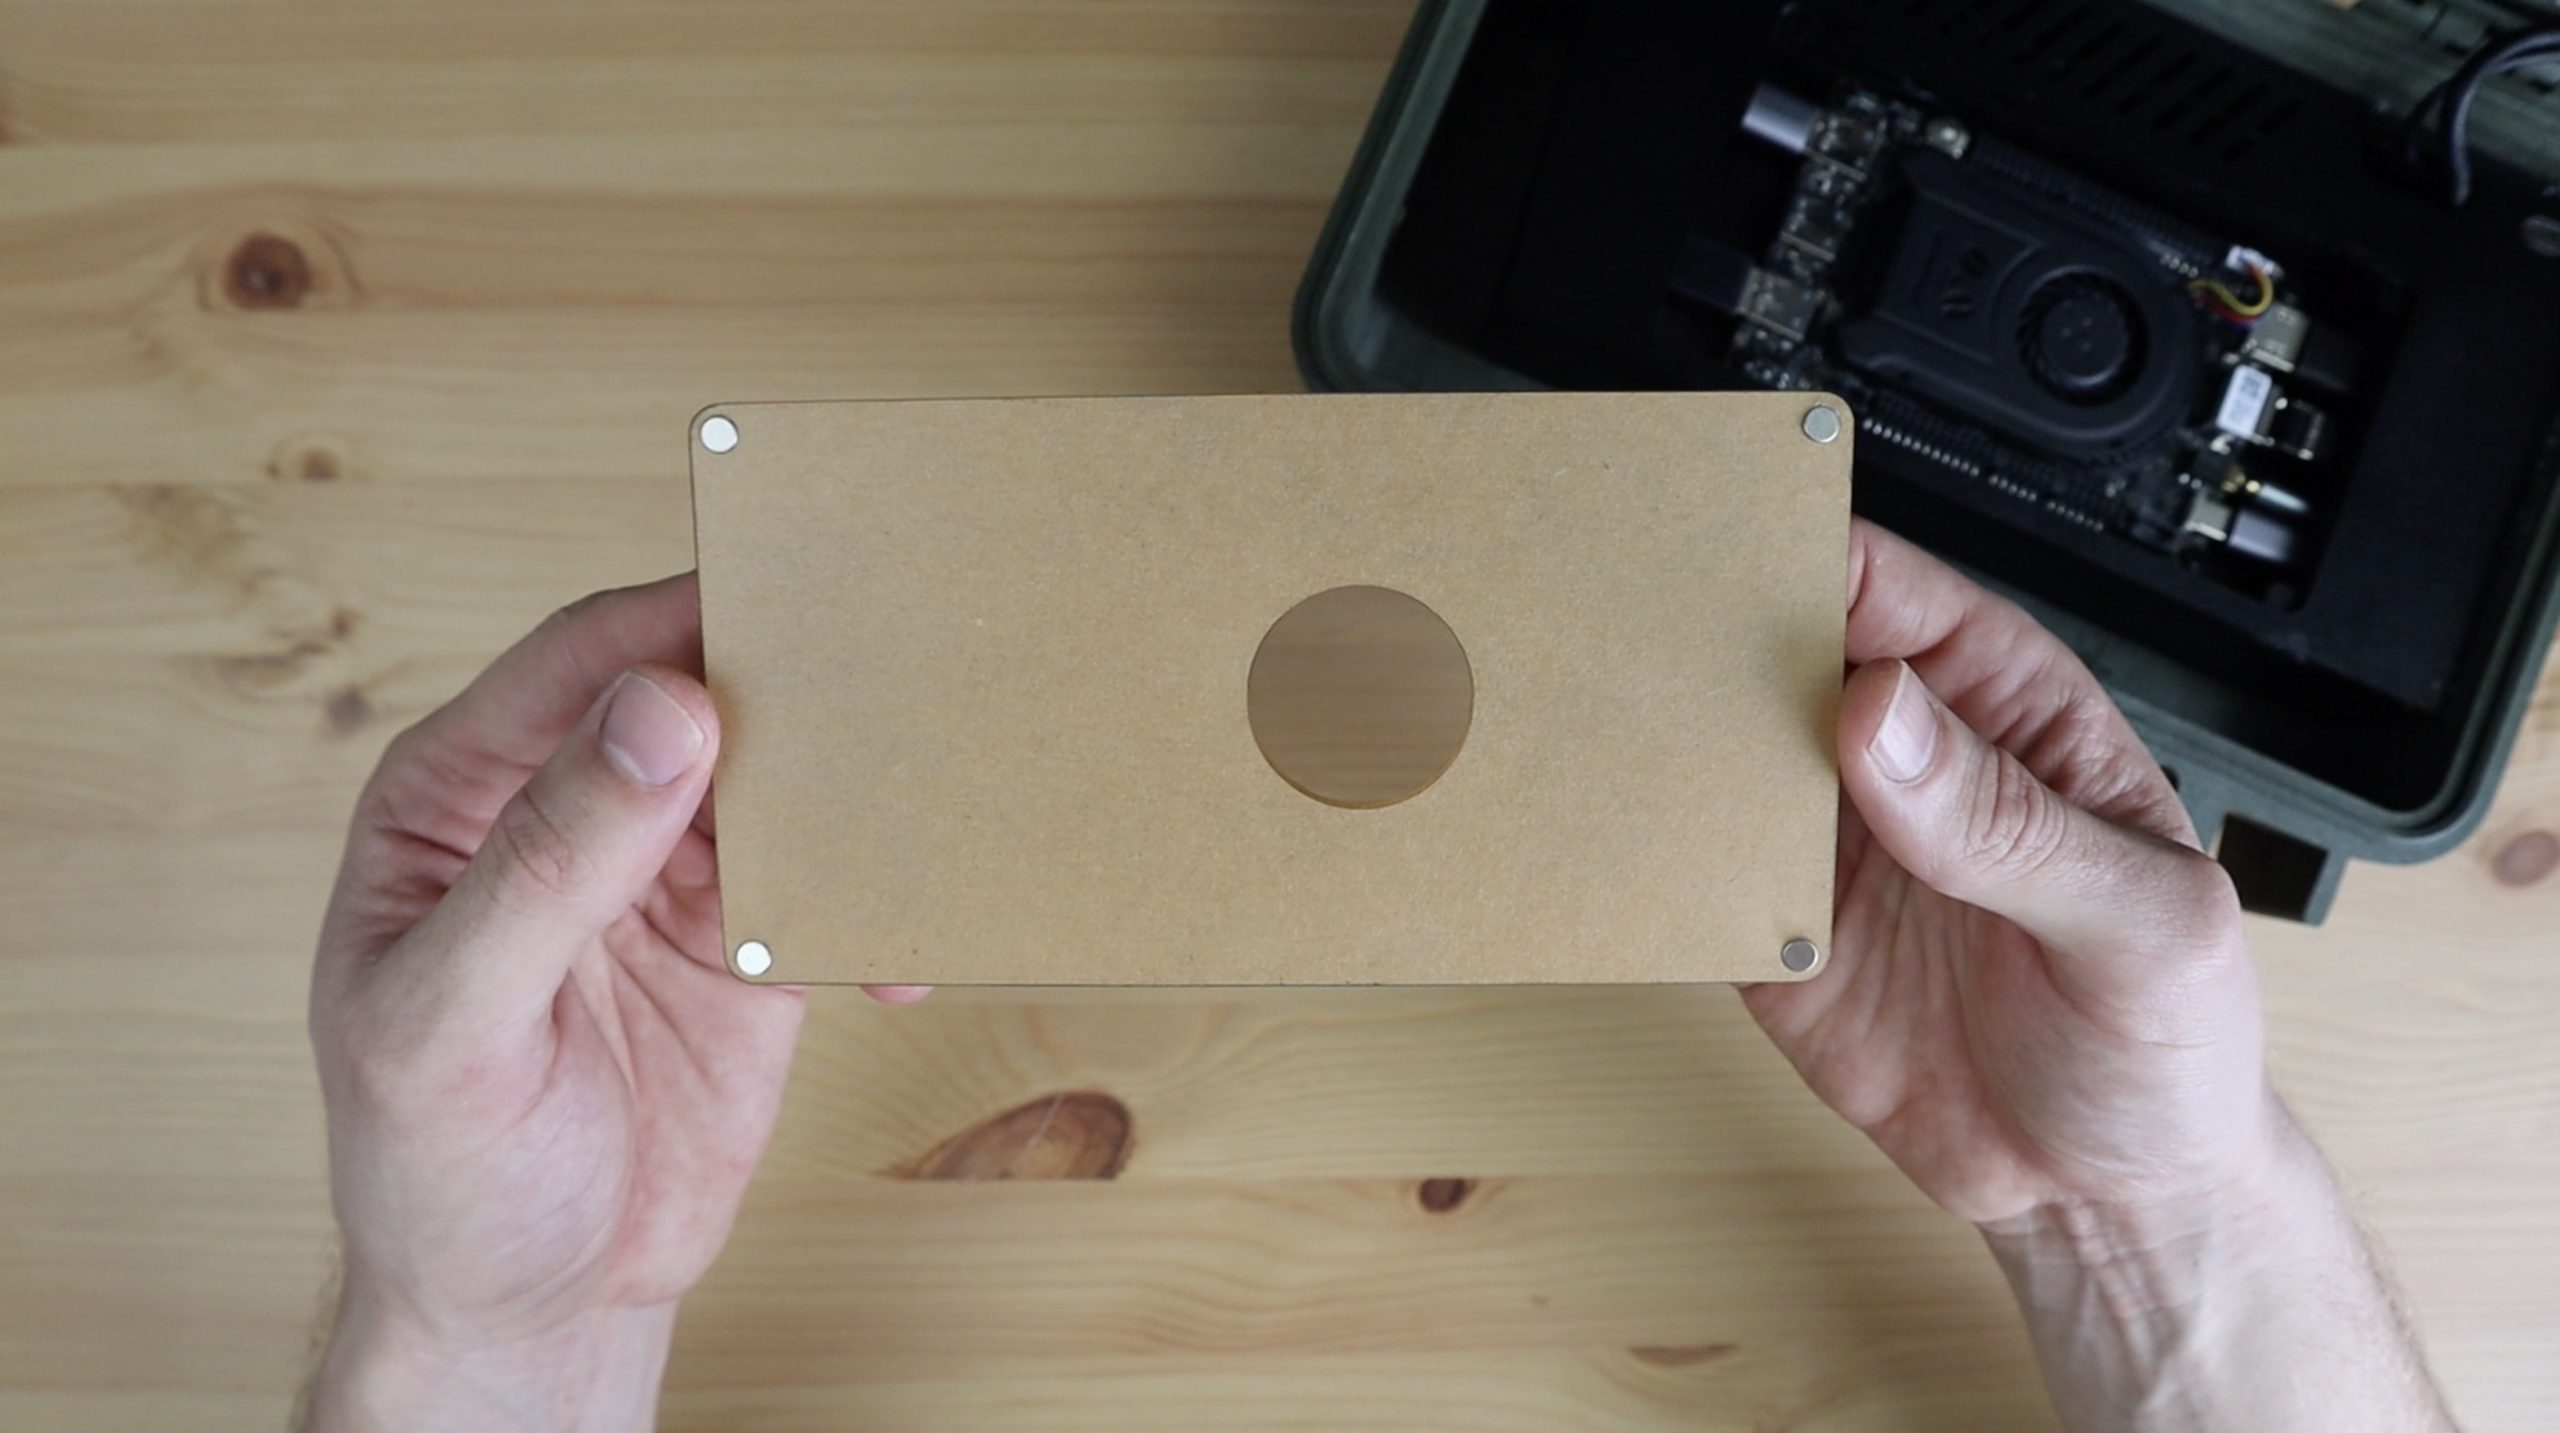
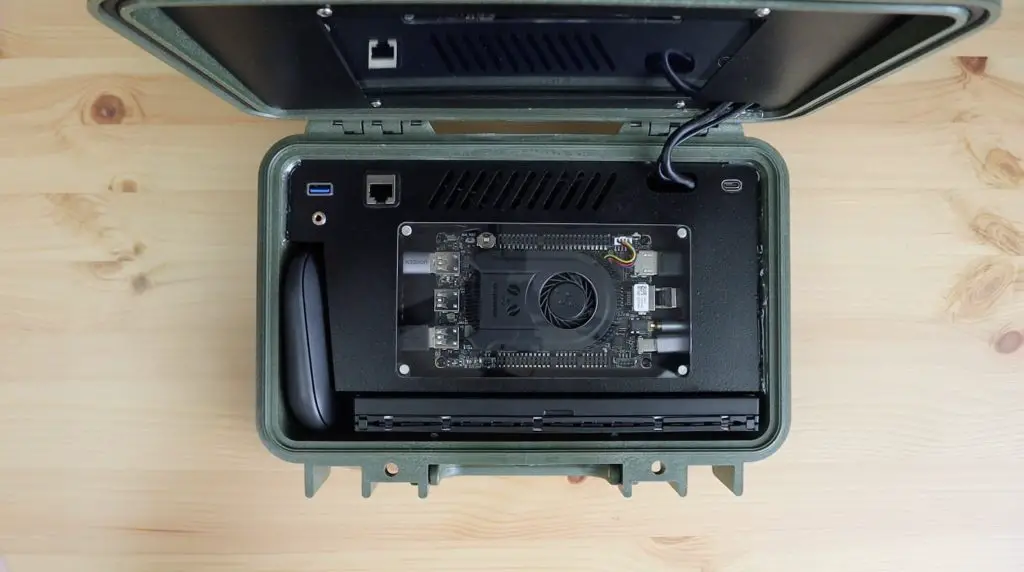
To finish it off, let’s add the clear acrylic cover over the board. This has a cutout for the fan and I’m going to install four magnets in the corners to hold it in place on four magnets on the MDF panel. I’ve held all of these magnets in place with some UV glue.
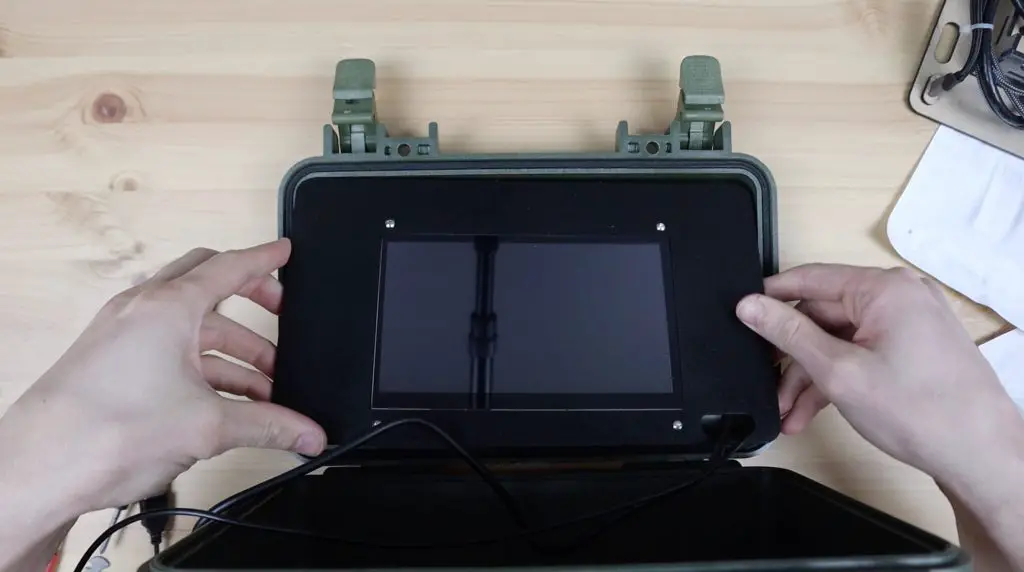
That’s it, our Cyberdeck is now complete and ready to use.
Final Thoughts
The onboard Arduino allows you to hook up sensors, servos and displays directly to the IO pins, so it’s great for tinkering with electronics or deploying as a project solution. By adding some of DF Robots hats to the Arduino pins, you can easily hook up grove sensors, I2C displays and even use industrial communication protocols like RS232 or RS485.
The touch display is a little small to work with comfortably, but it’s a nice addition if you’re working in an area where the mouse is not practical to use.

I’ve hooked up the USB3.2 Gen 2 port to the top panel, so we’ve got a port that is perfect for use with high-speed devices, something like an SSD or a high-speed network adaptor would be ideal.
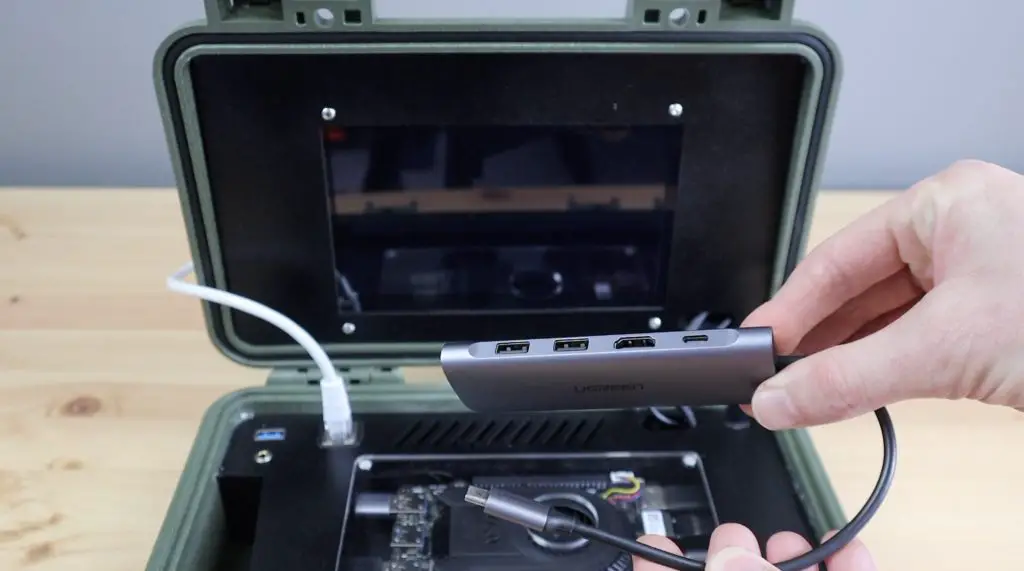
For additional IO you can also use a power delivery adaptor like this on the USB C port. This one adds an SD card reader, two more USB ports and an HDMI port while still allowing you to power the LattePanda through the same USB C port.
Overall I think the new LattePanda 3 Delta is an awesome little single-board computer. It has enough power to be used as a standalone computing device and, with the addition of the onboard Arduino, it’s perfect for makers to use for their electronics projects.
Let me know what you think of the new LattePanda Delta 3 in the comments section below. Also, let me know what you think of my cyberdeck and if there is anything you’d add or do differently.