I recently built a Bluetooth speaker for my workshop. It works quite well and I’ve been happy with the sound quality so far, but then Arylic reached out and asked if I’d be interested in trying one of their DIY amplifier boards, or more specifically the Up2Stream Amp V4.
Arylic sell a range of wired and wireless amps and speakers which are ready to use. They also sell the electronics separately in the form of DIY boards that allow you to build your own enclosures and speaker sets, or add streaming support to your existing setups.
Since I had designed my speaker with adaptability in mind, it would be fairly easy to swap out the amplifier I used, so I agreed to give it a try.
Here’s my video of the build, read on for the written guide:
What You Need To Build Your Own WiFi Speaker
- Arylic Up2Stream DIY Board (Arylic Web Store) – Buy Here
- Arylic Up2Stream DIY Board (Amazon) – Buy Here
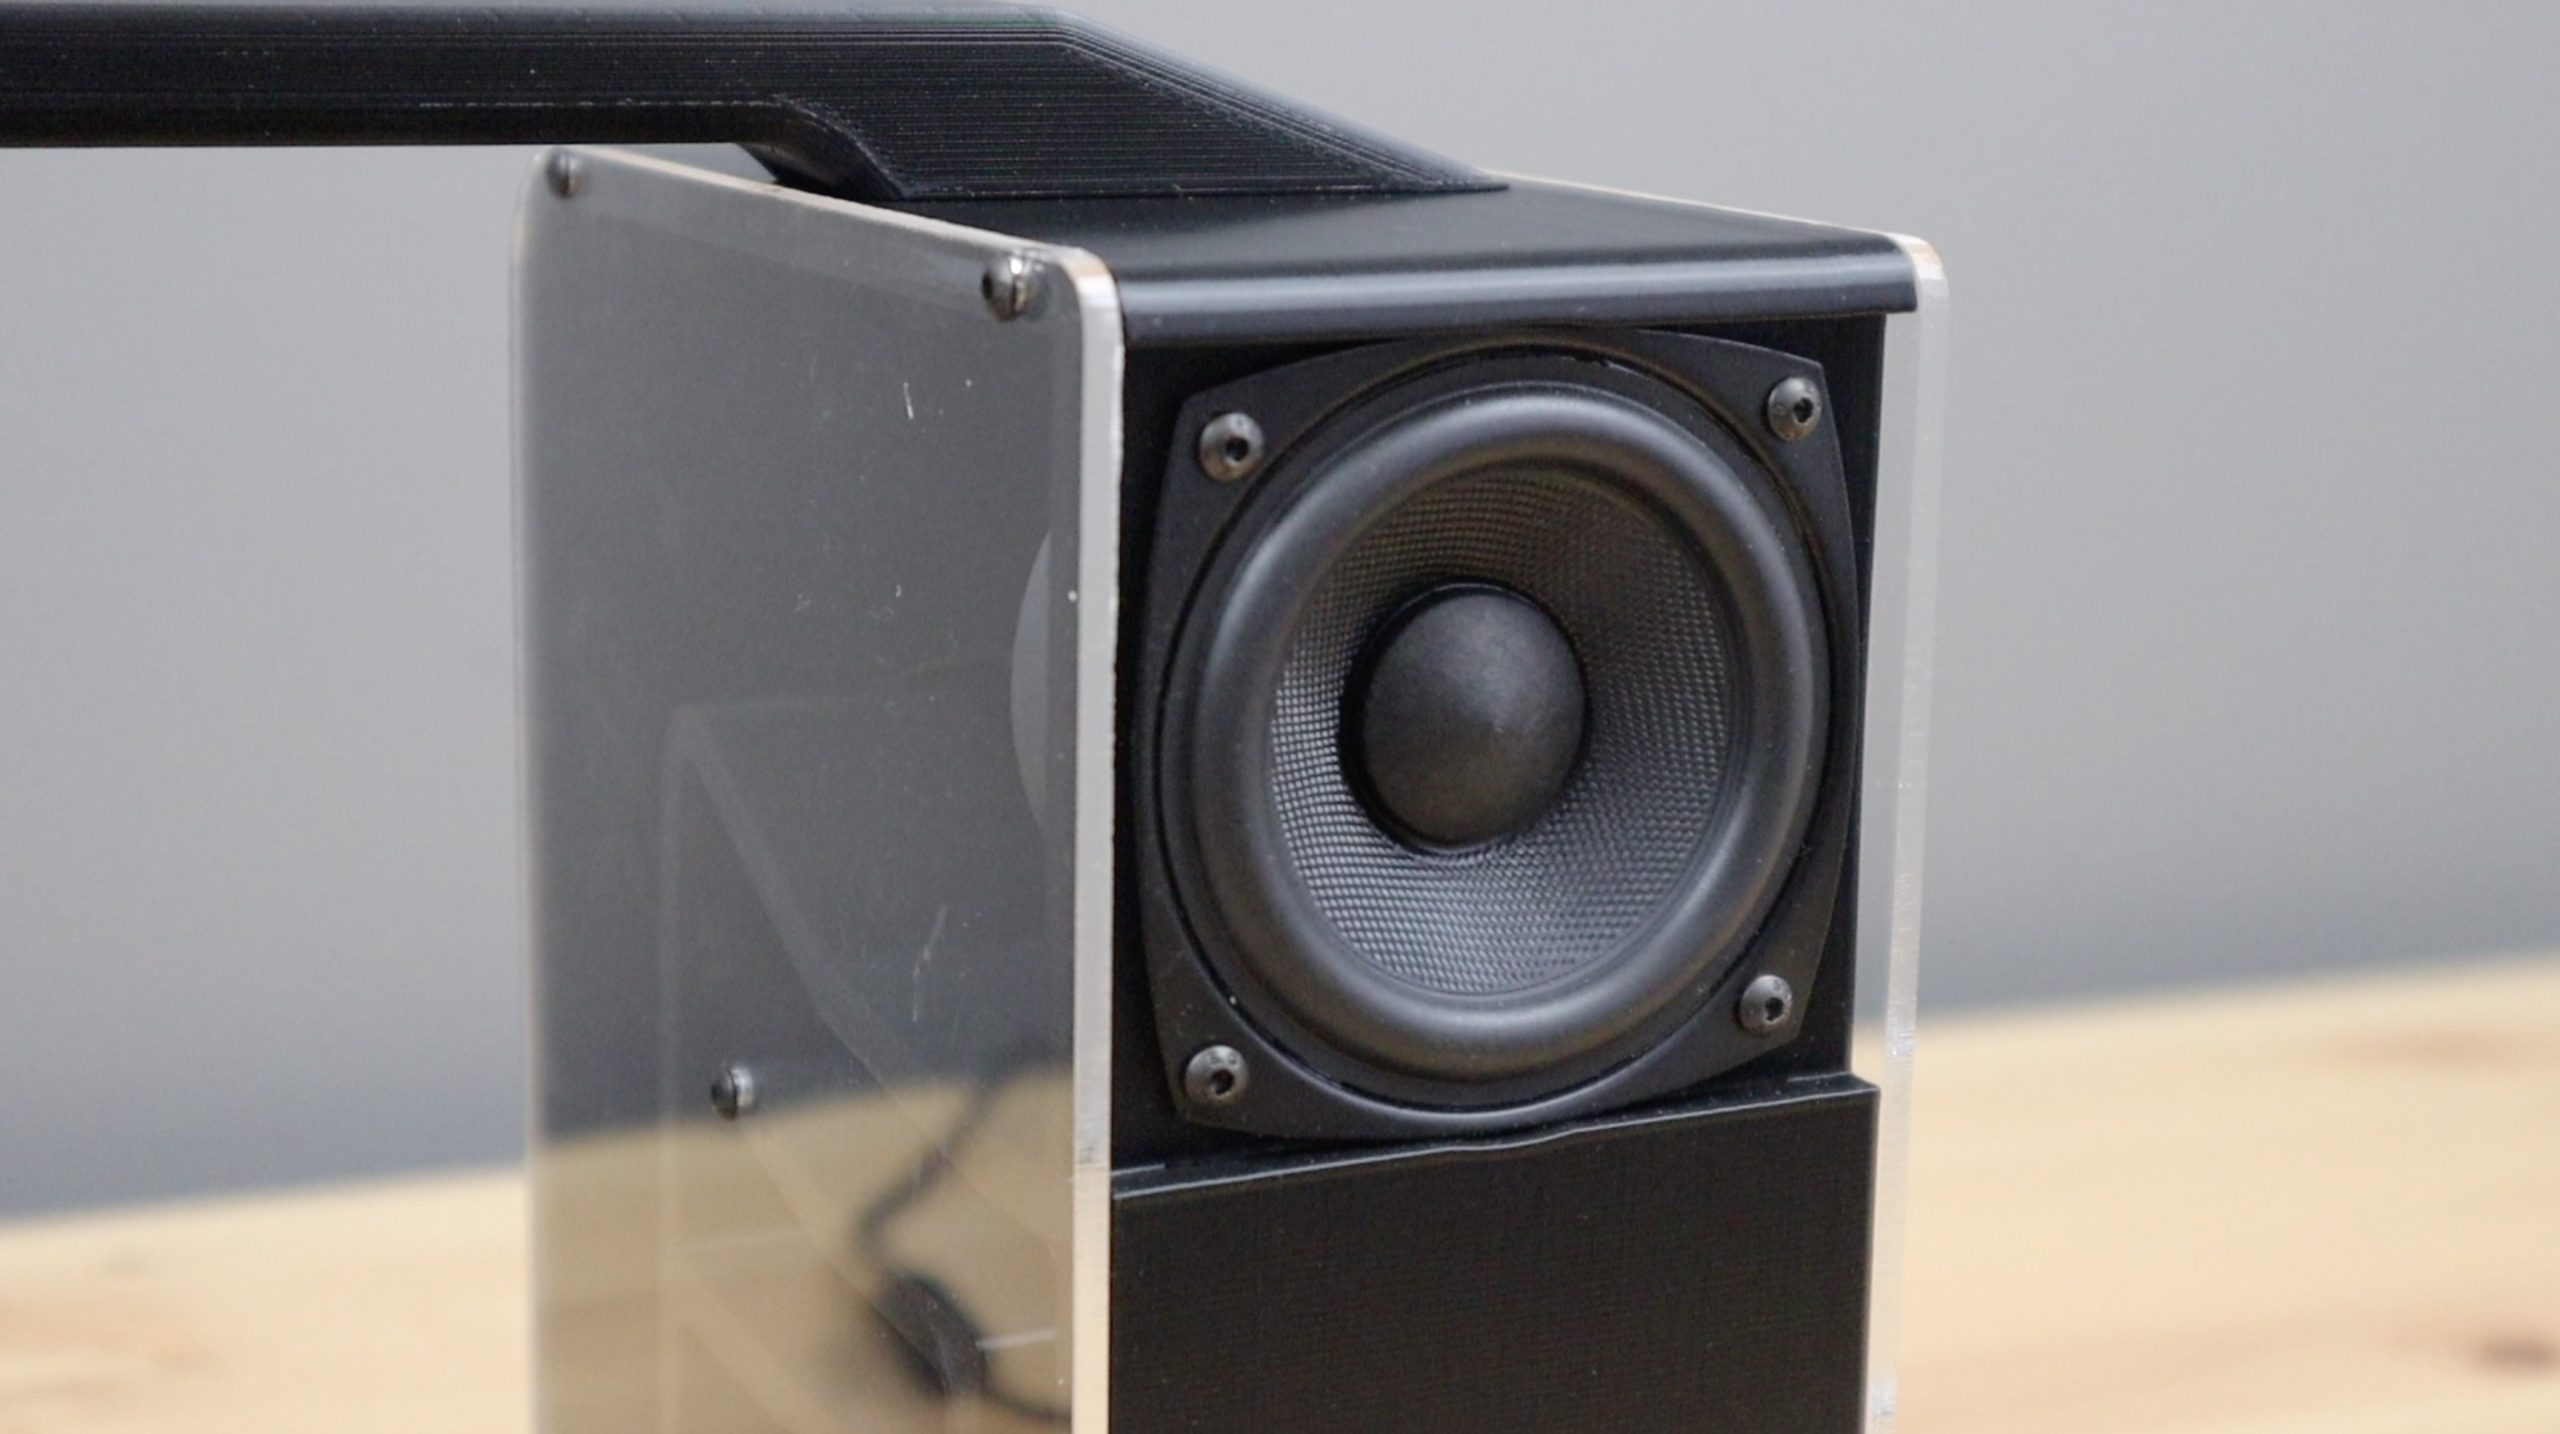
- 2 x Dayton Audio PC68-4 Drivers – Buy Here
- 12V Inline UPS – Buy Here
- 60 x M3 x 8mm Black Button Head Screws – Buy Here
- 4 x M3 x 12mm Button Head Screws – Buy Here
- 60 x M3 Brass Inserts – Buy Here
- 8 x Rubber Feet – Buy Here
- 0.5m Speaker Wire – Buy Here
- Black PLA Filament – Buy Here
- 3mm Clear Acrylic – Buy Here
Equipment Used
- Creality Ender 3 S1 Pro 3D Printer – Buy Here
- K40 Laser Cutter/Engraver – Buy Here
- Electric Screwdriver – Buy Here
- TS100 Soldering Iron – Buy Here
- Knipex Wire Strippers – Buy Here
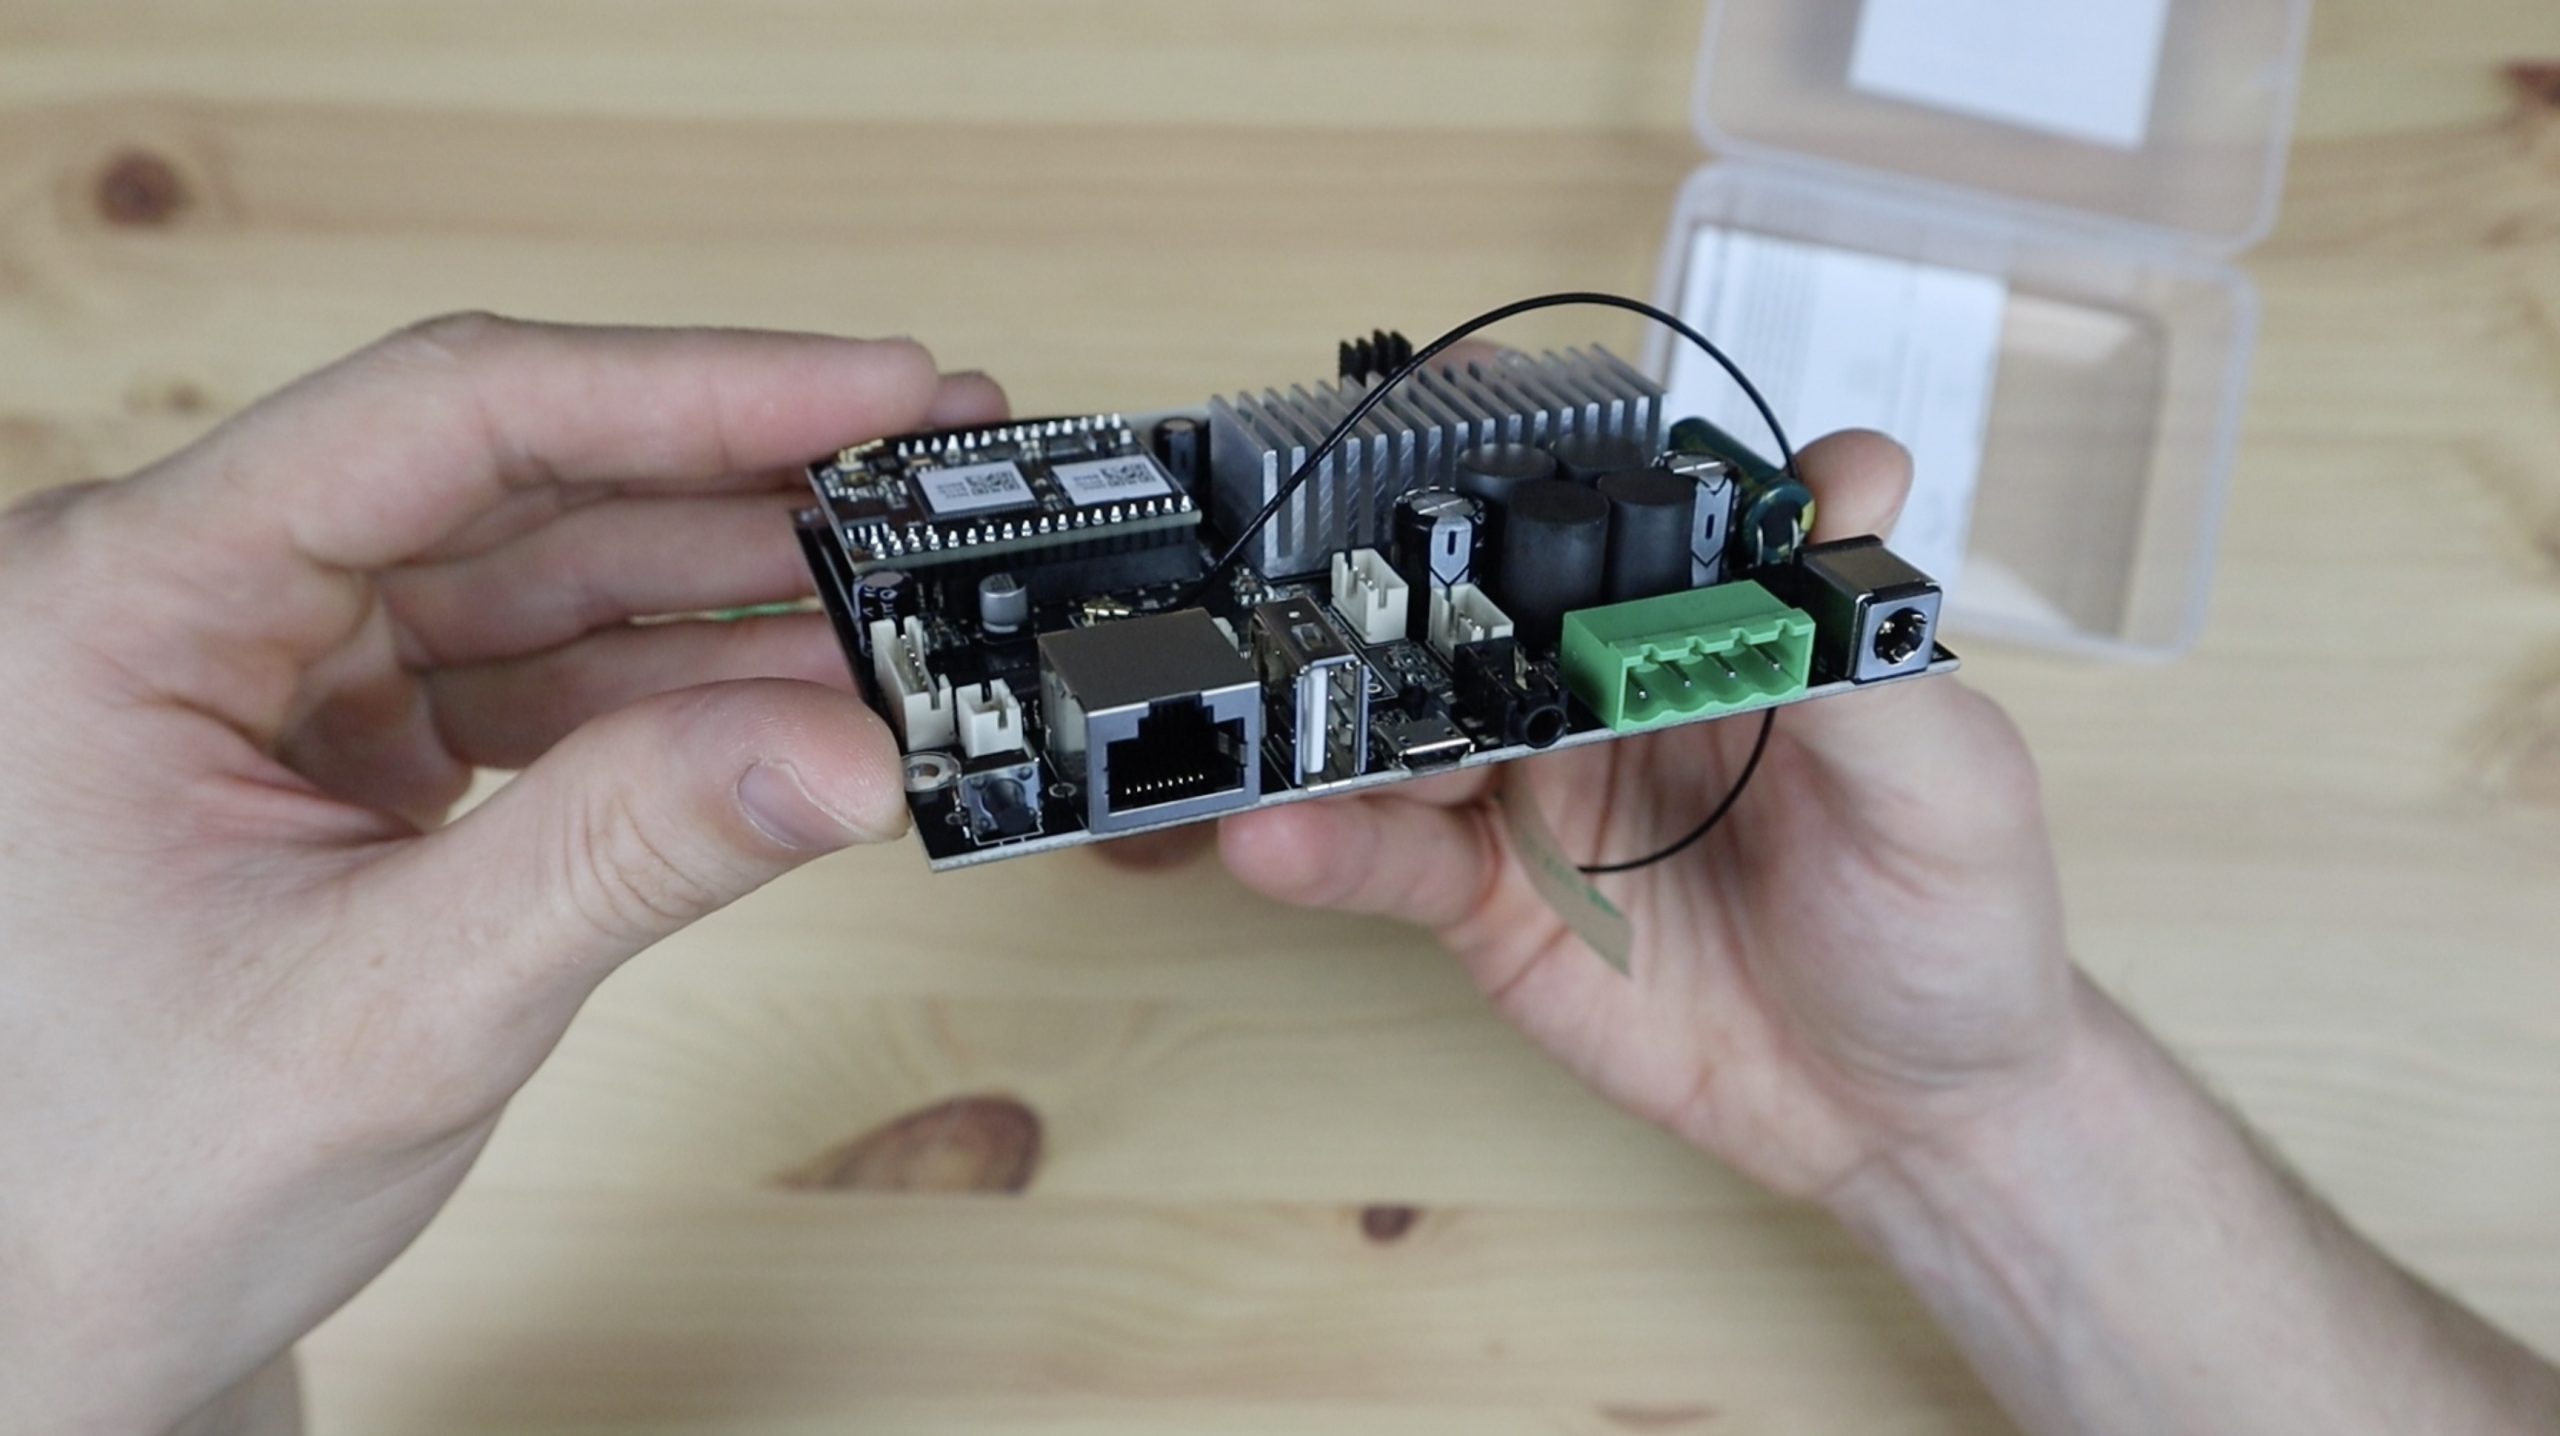
What Is The Arylic Up2Stream Amp V4?
The Arylic Up2Stream Amp V4 arrived in the mail about a week after shipping. It comes in a small plastic case along with a terminal block, screwdriver and manual.
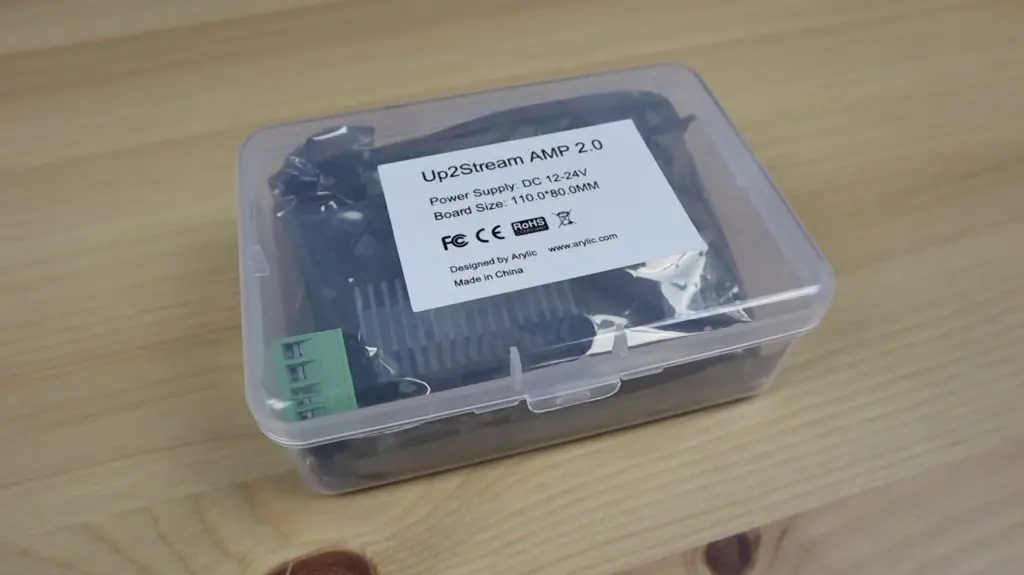
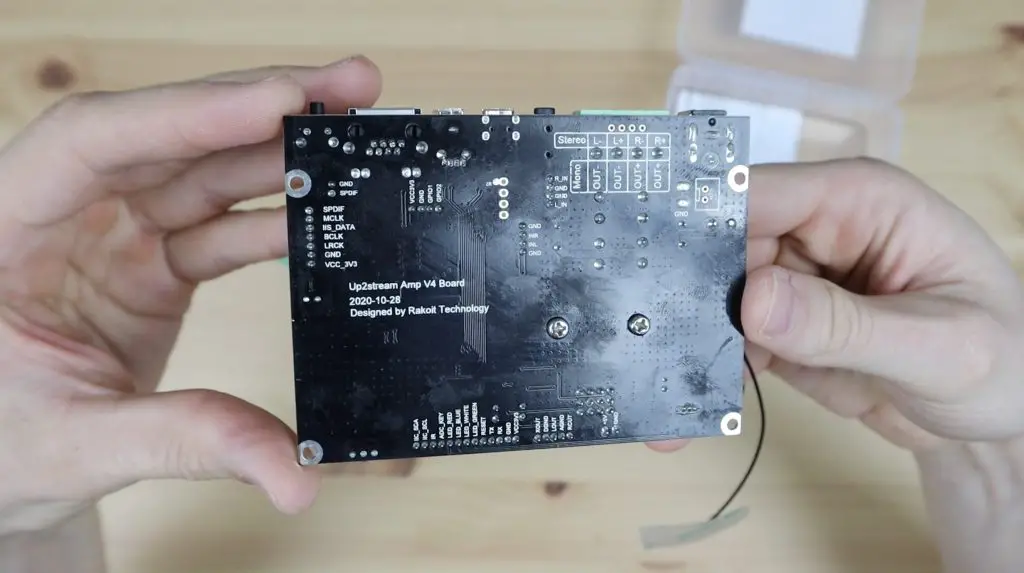
The box it arrived in is from an older 2.0 model, the actual board is the V4 board. You can see this marked on the underside of the board later.
The biggest difference between this and the amplifier that I used previously is that this board adds WiFi to my speaker, with the ability to connect directly to online streaming providers like Spotify or Amazon Music to stream. This avoids any compression losses and any issues with the range of the speaker from the playback device. It also adds support for Apple AirPlay and you can use multiple Arylic Up2Stream boards for multiroom installations.
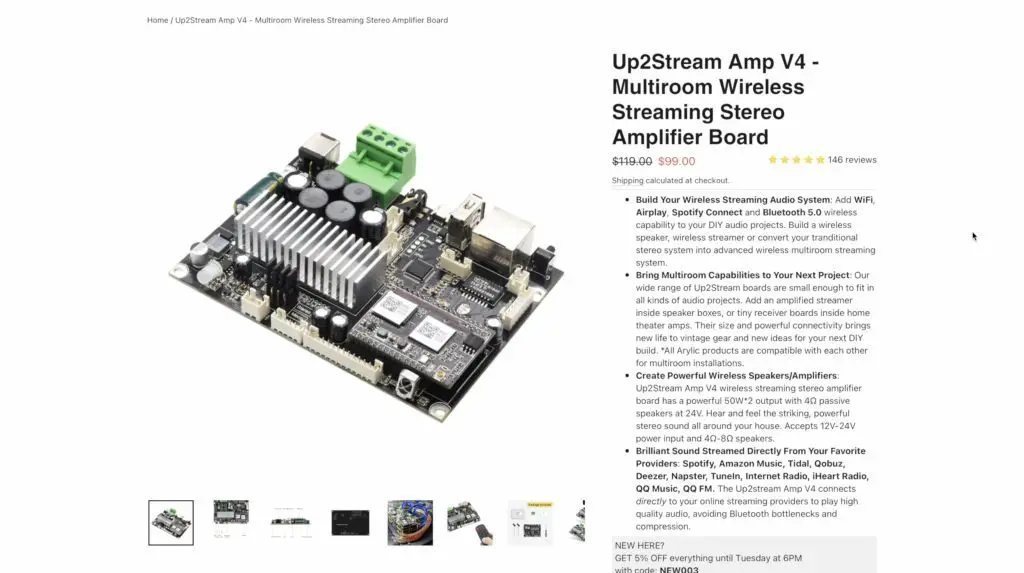
It does come with an increased price tag though as this board is currently being sold for $99 through Arylic’s web store.
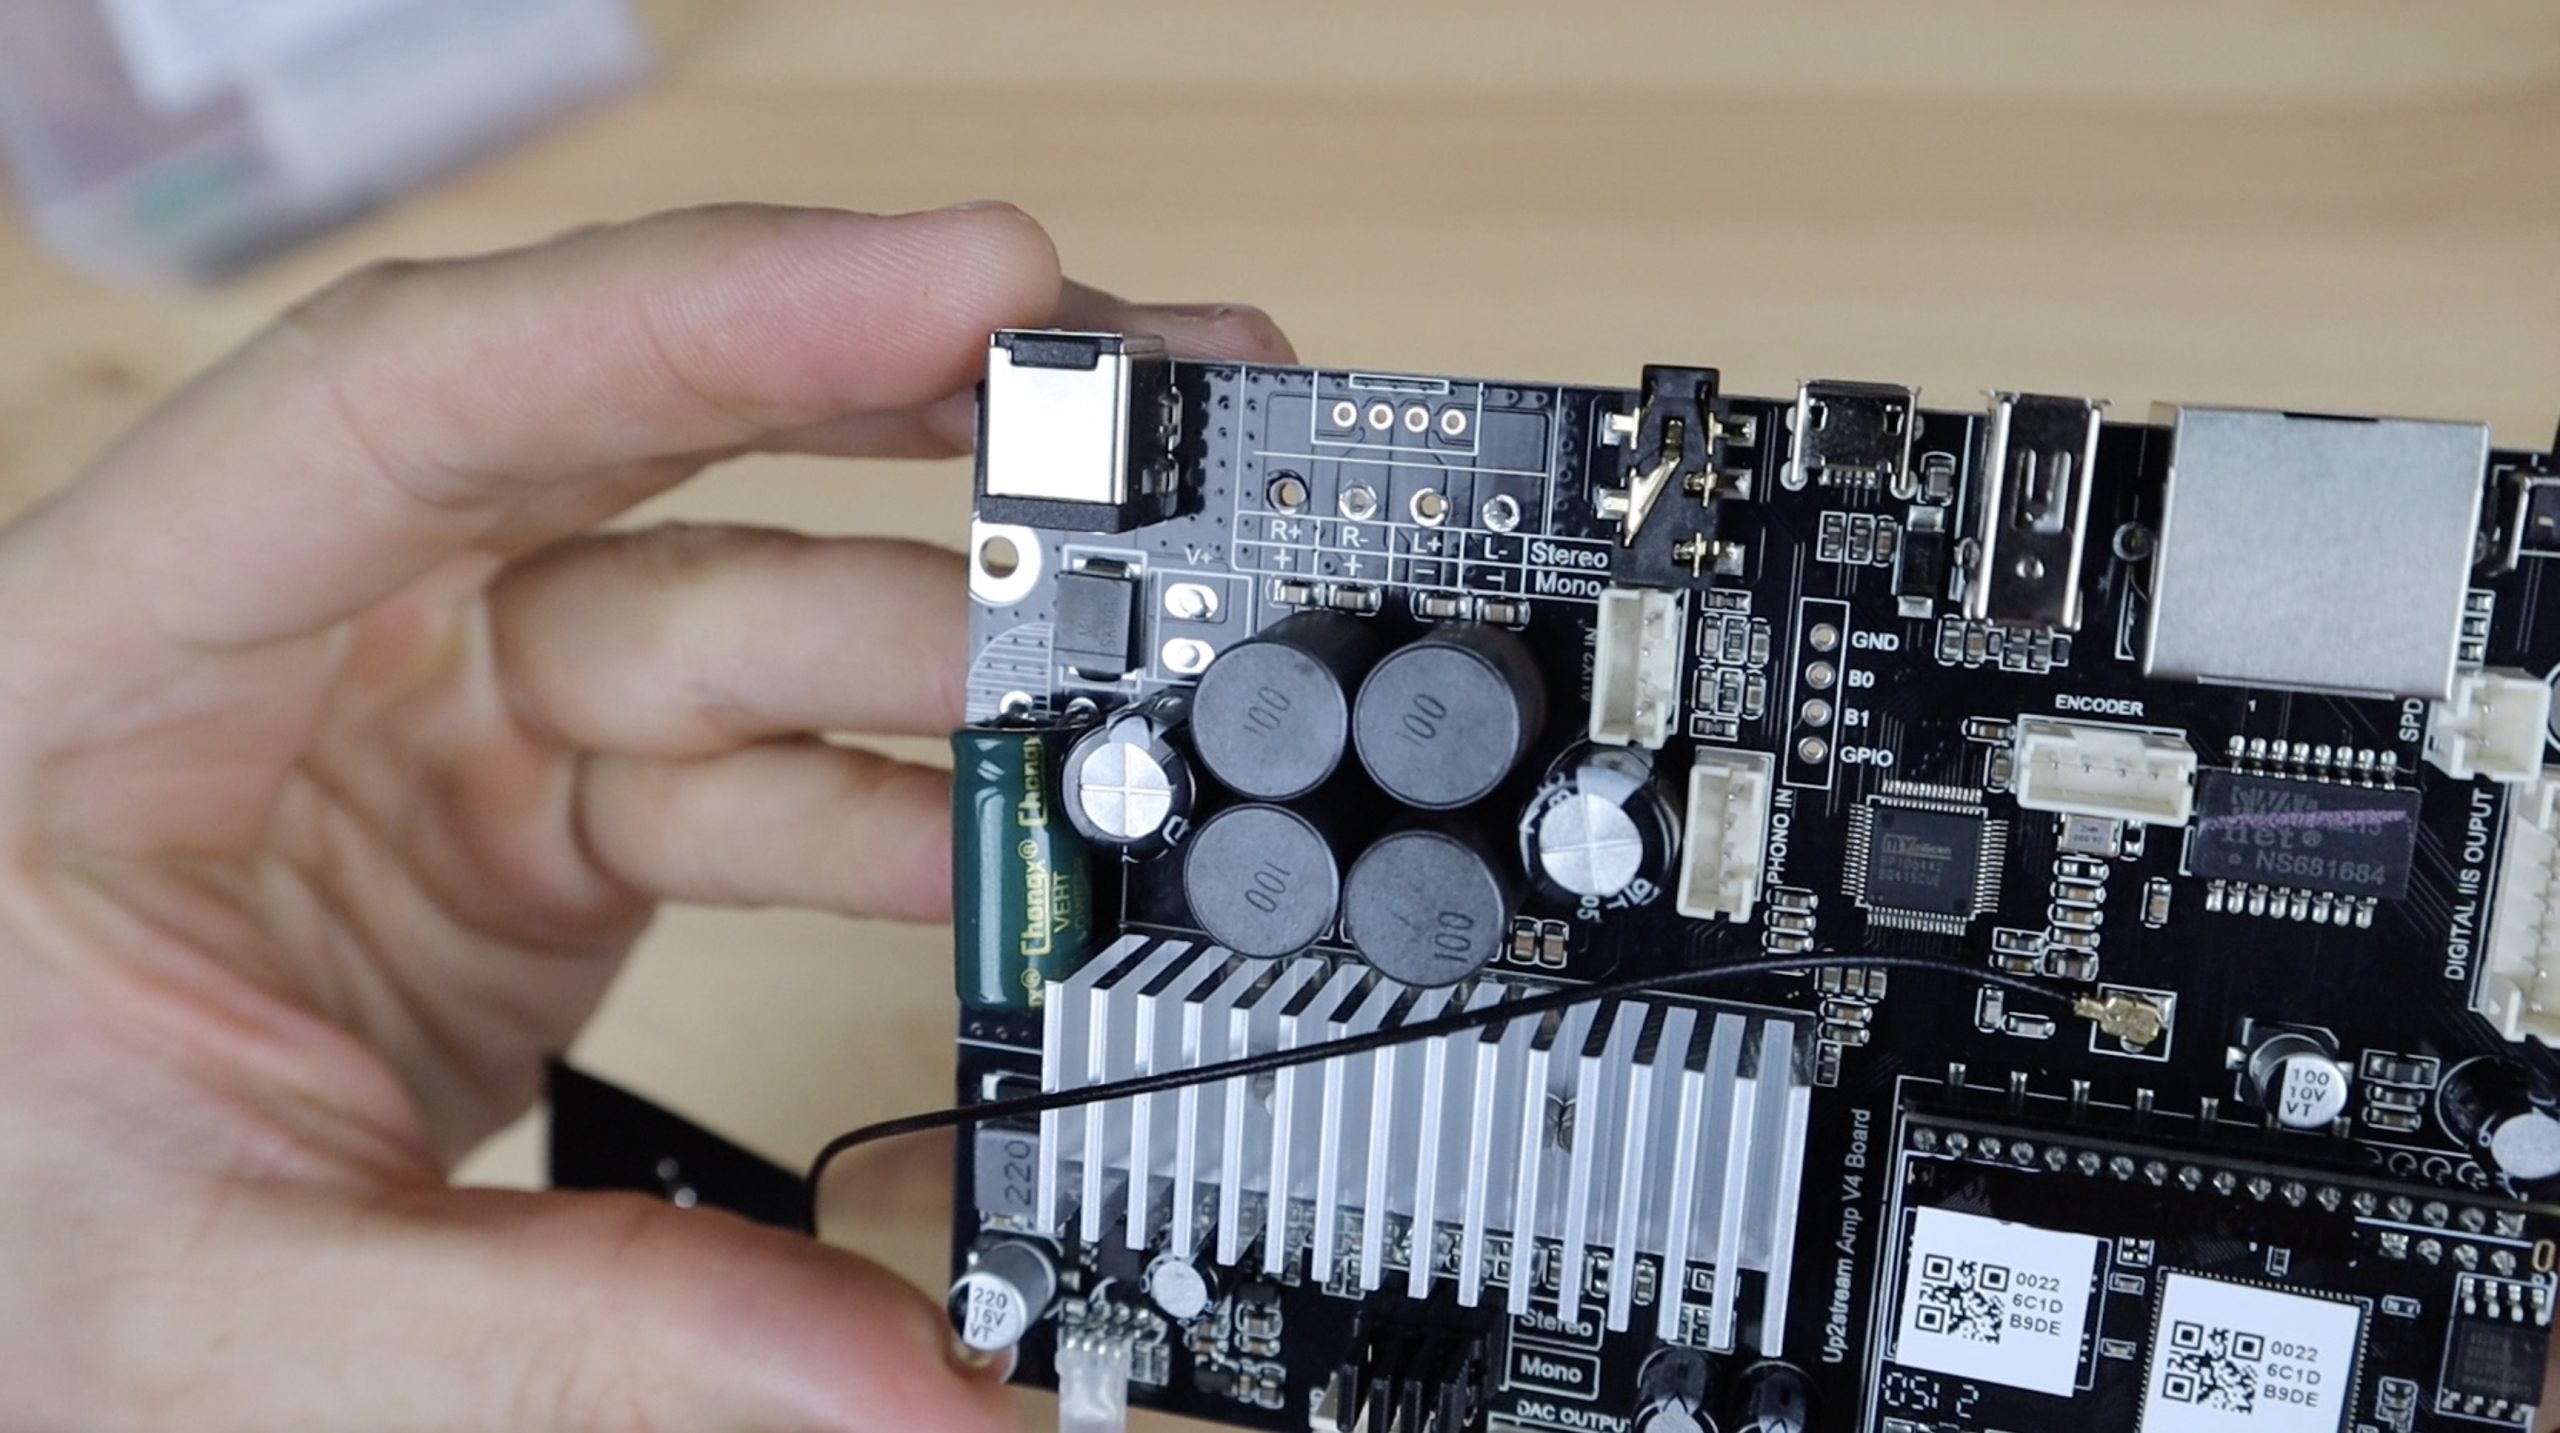
The Up2Stream Amp has two 50W outputs at 24V when used with 4ohm drivers like the Dayton Audio drivers I used. It accepts a voltage input from 12 to 26V and can be used with 4 to 8 ohm drivers.
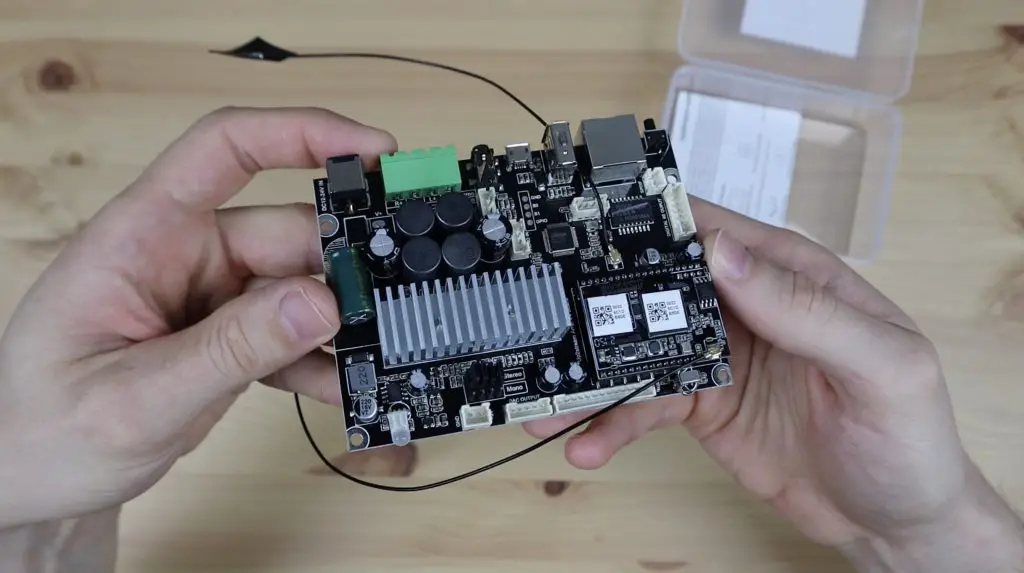
The board is jam-packed with plugs and pins to add inputs, buttons and displays, most of which are available as plug-in modules from their web store. So you can build your own custom setup. You can even add a DAC for enhanced audio quality.
At the front is a mode light to tell you what the mode or current sound source is, and an IR sensor for remote control. The remote control can also be bought separately from their web store.

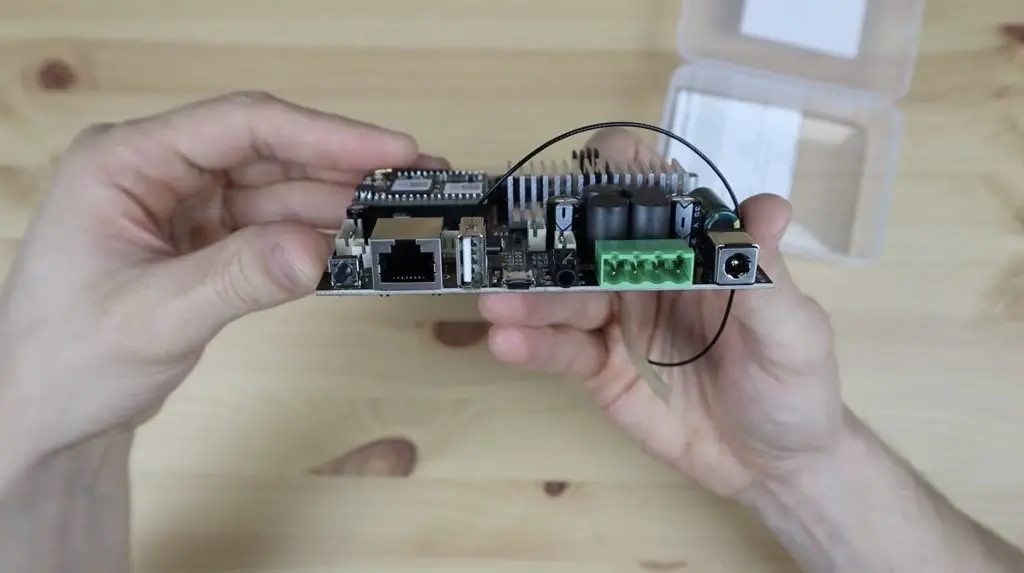
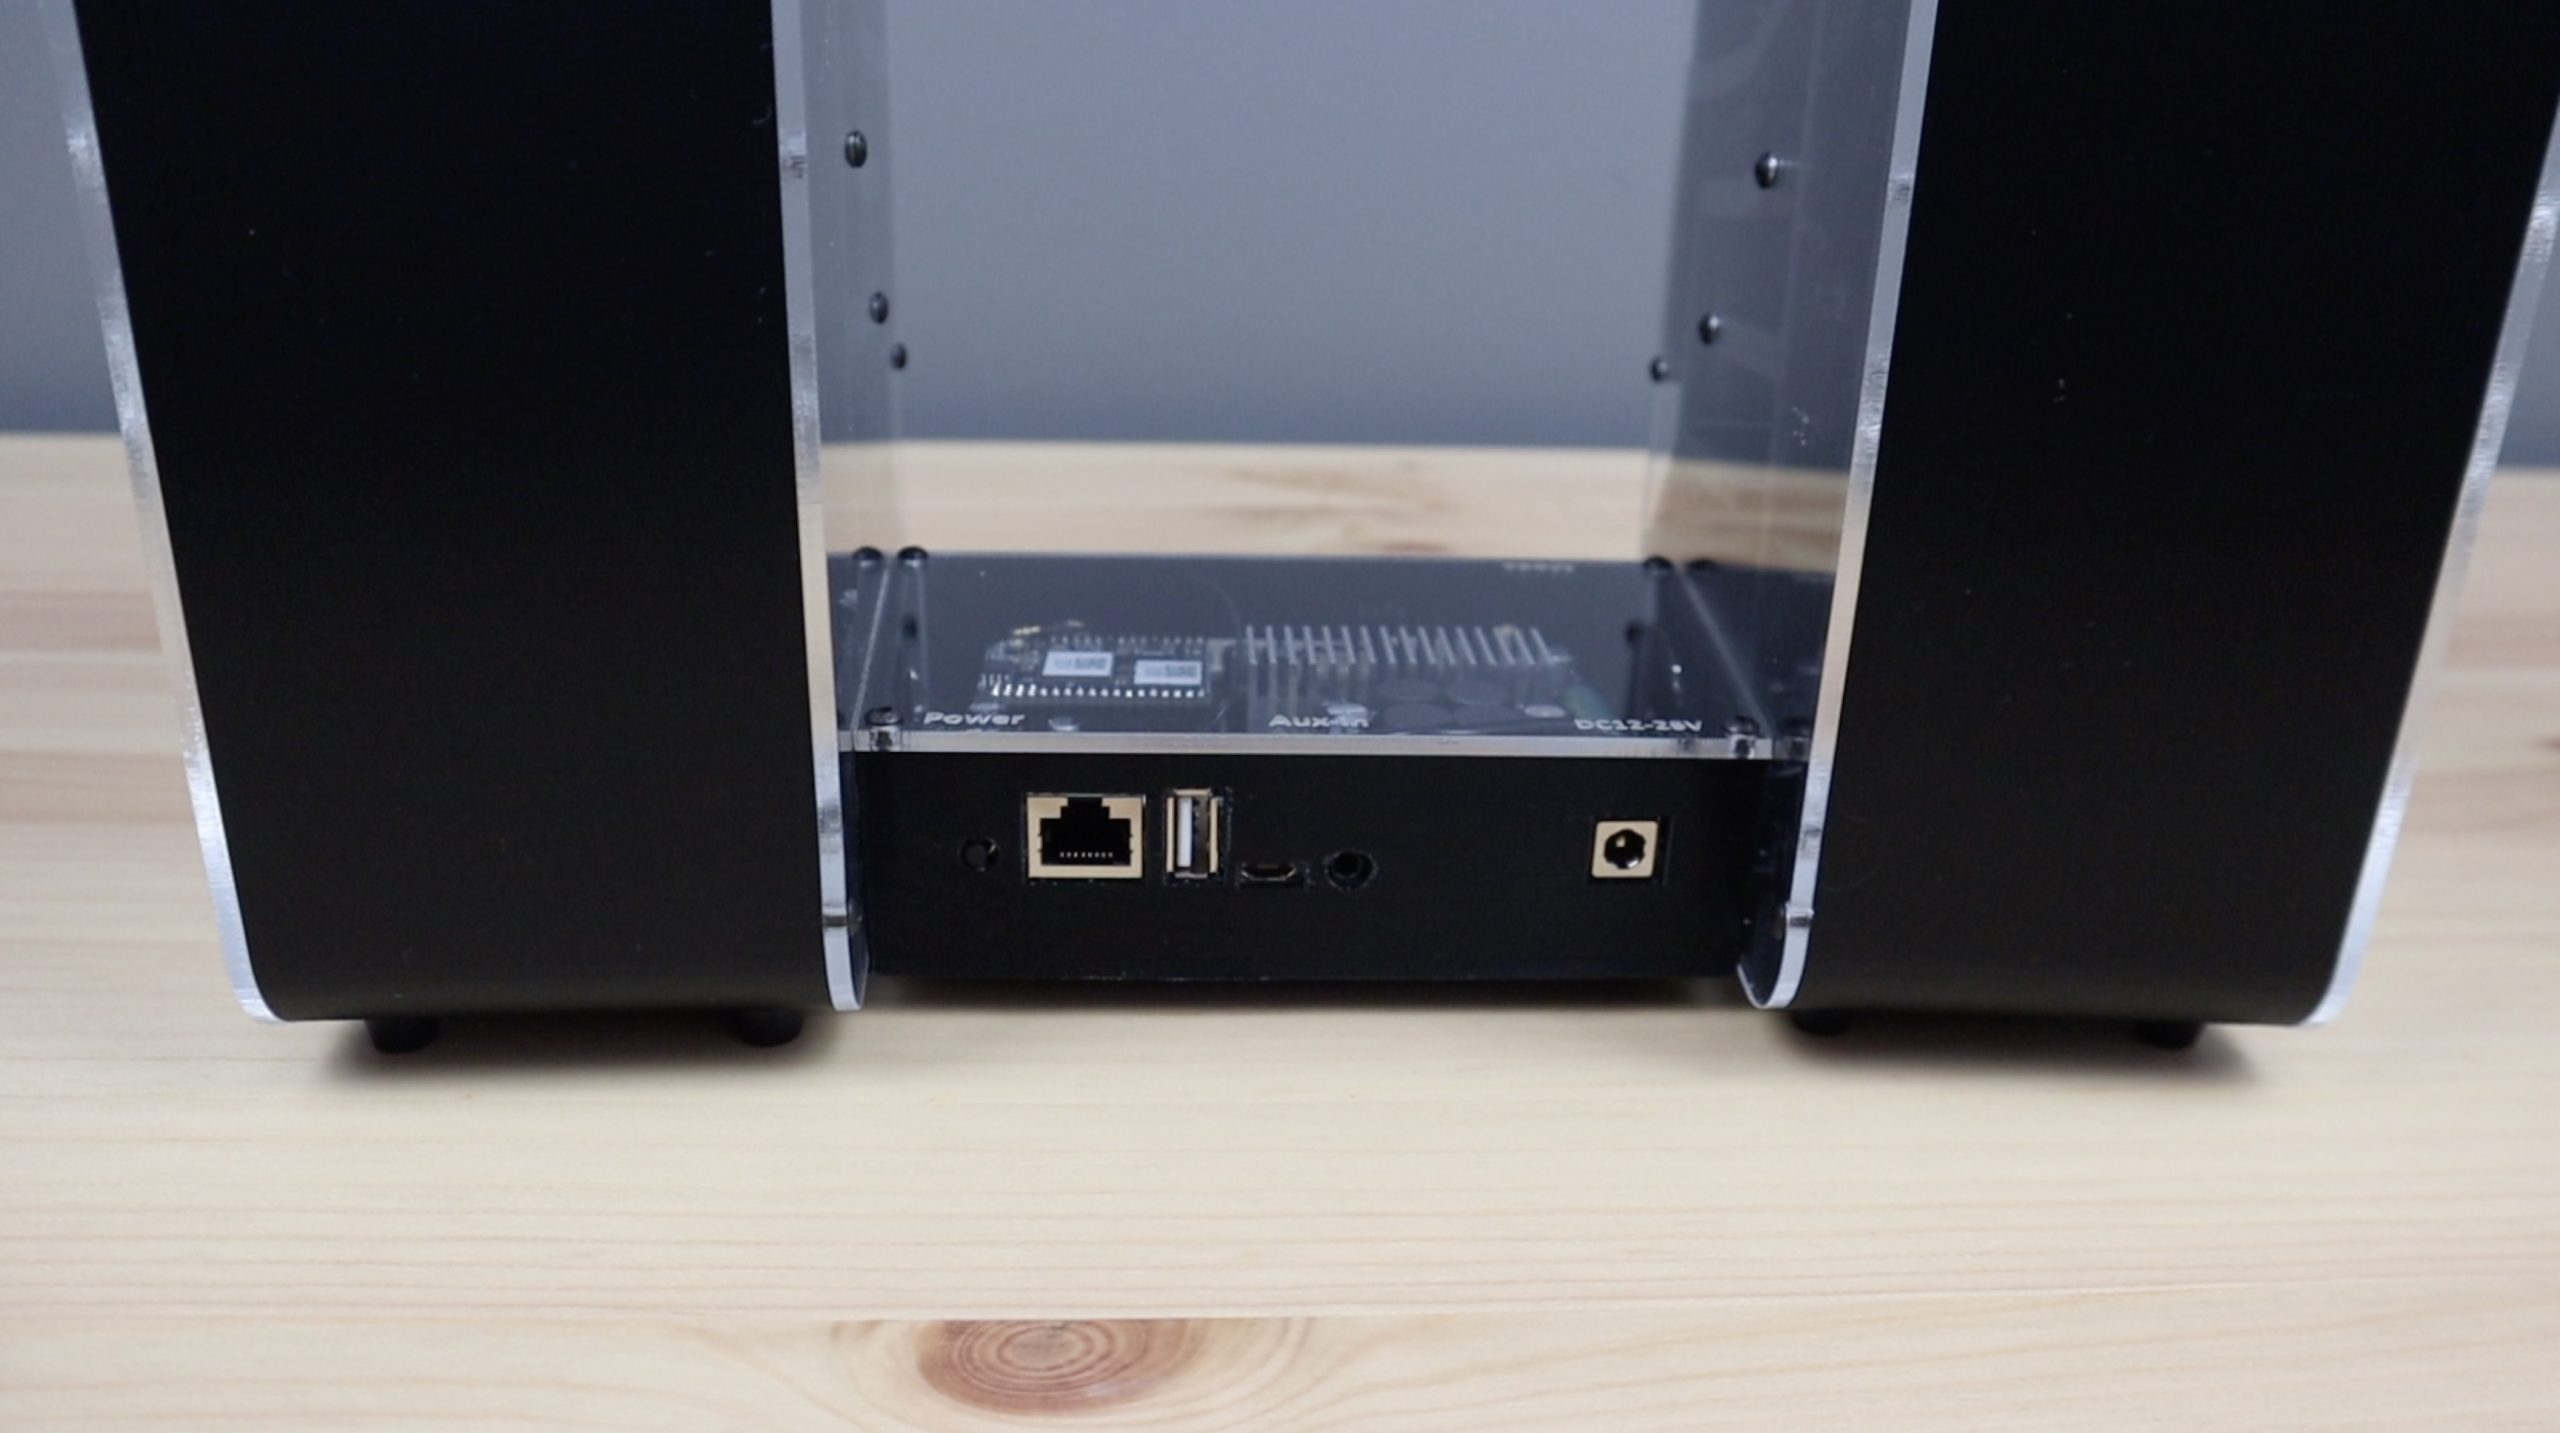
At the back is a power button, an RJ45 LAN Port for a wired connection, a USB port to play music from a flash drive, a micro-USB port for sound input from a computer, a 3.5mm line-in jack, speaker output terminals and a 12-26V DC power input jack.
As mentioned previously, there are a number of ports and pins available for add-ons and these are all labelled on the underside of the board.
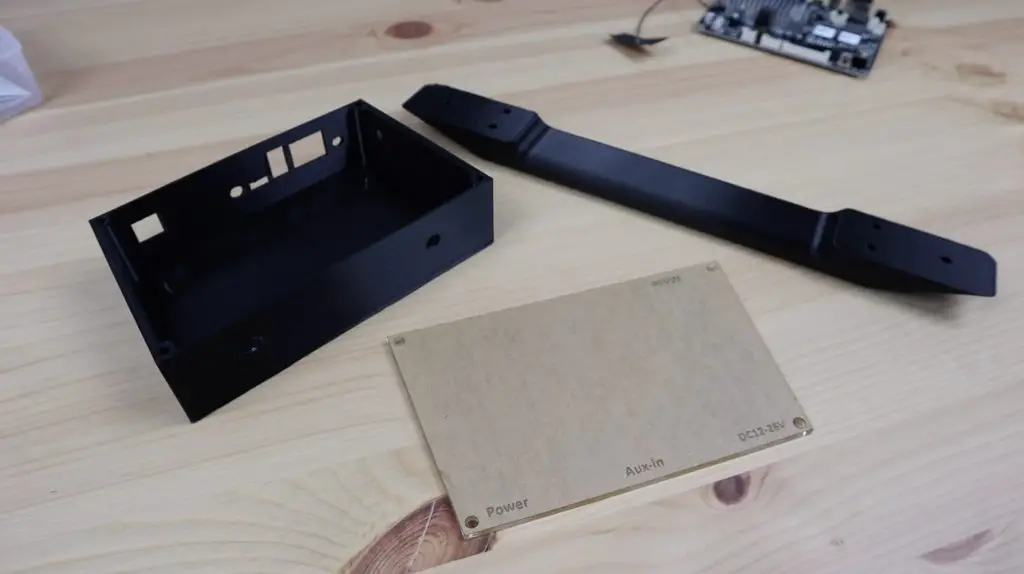
Designing The New Amplifier Housing
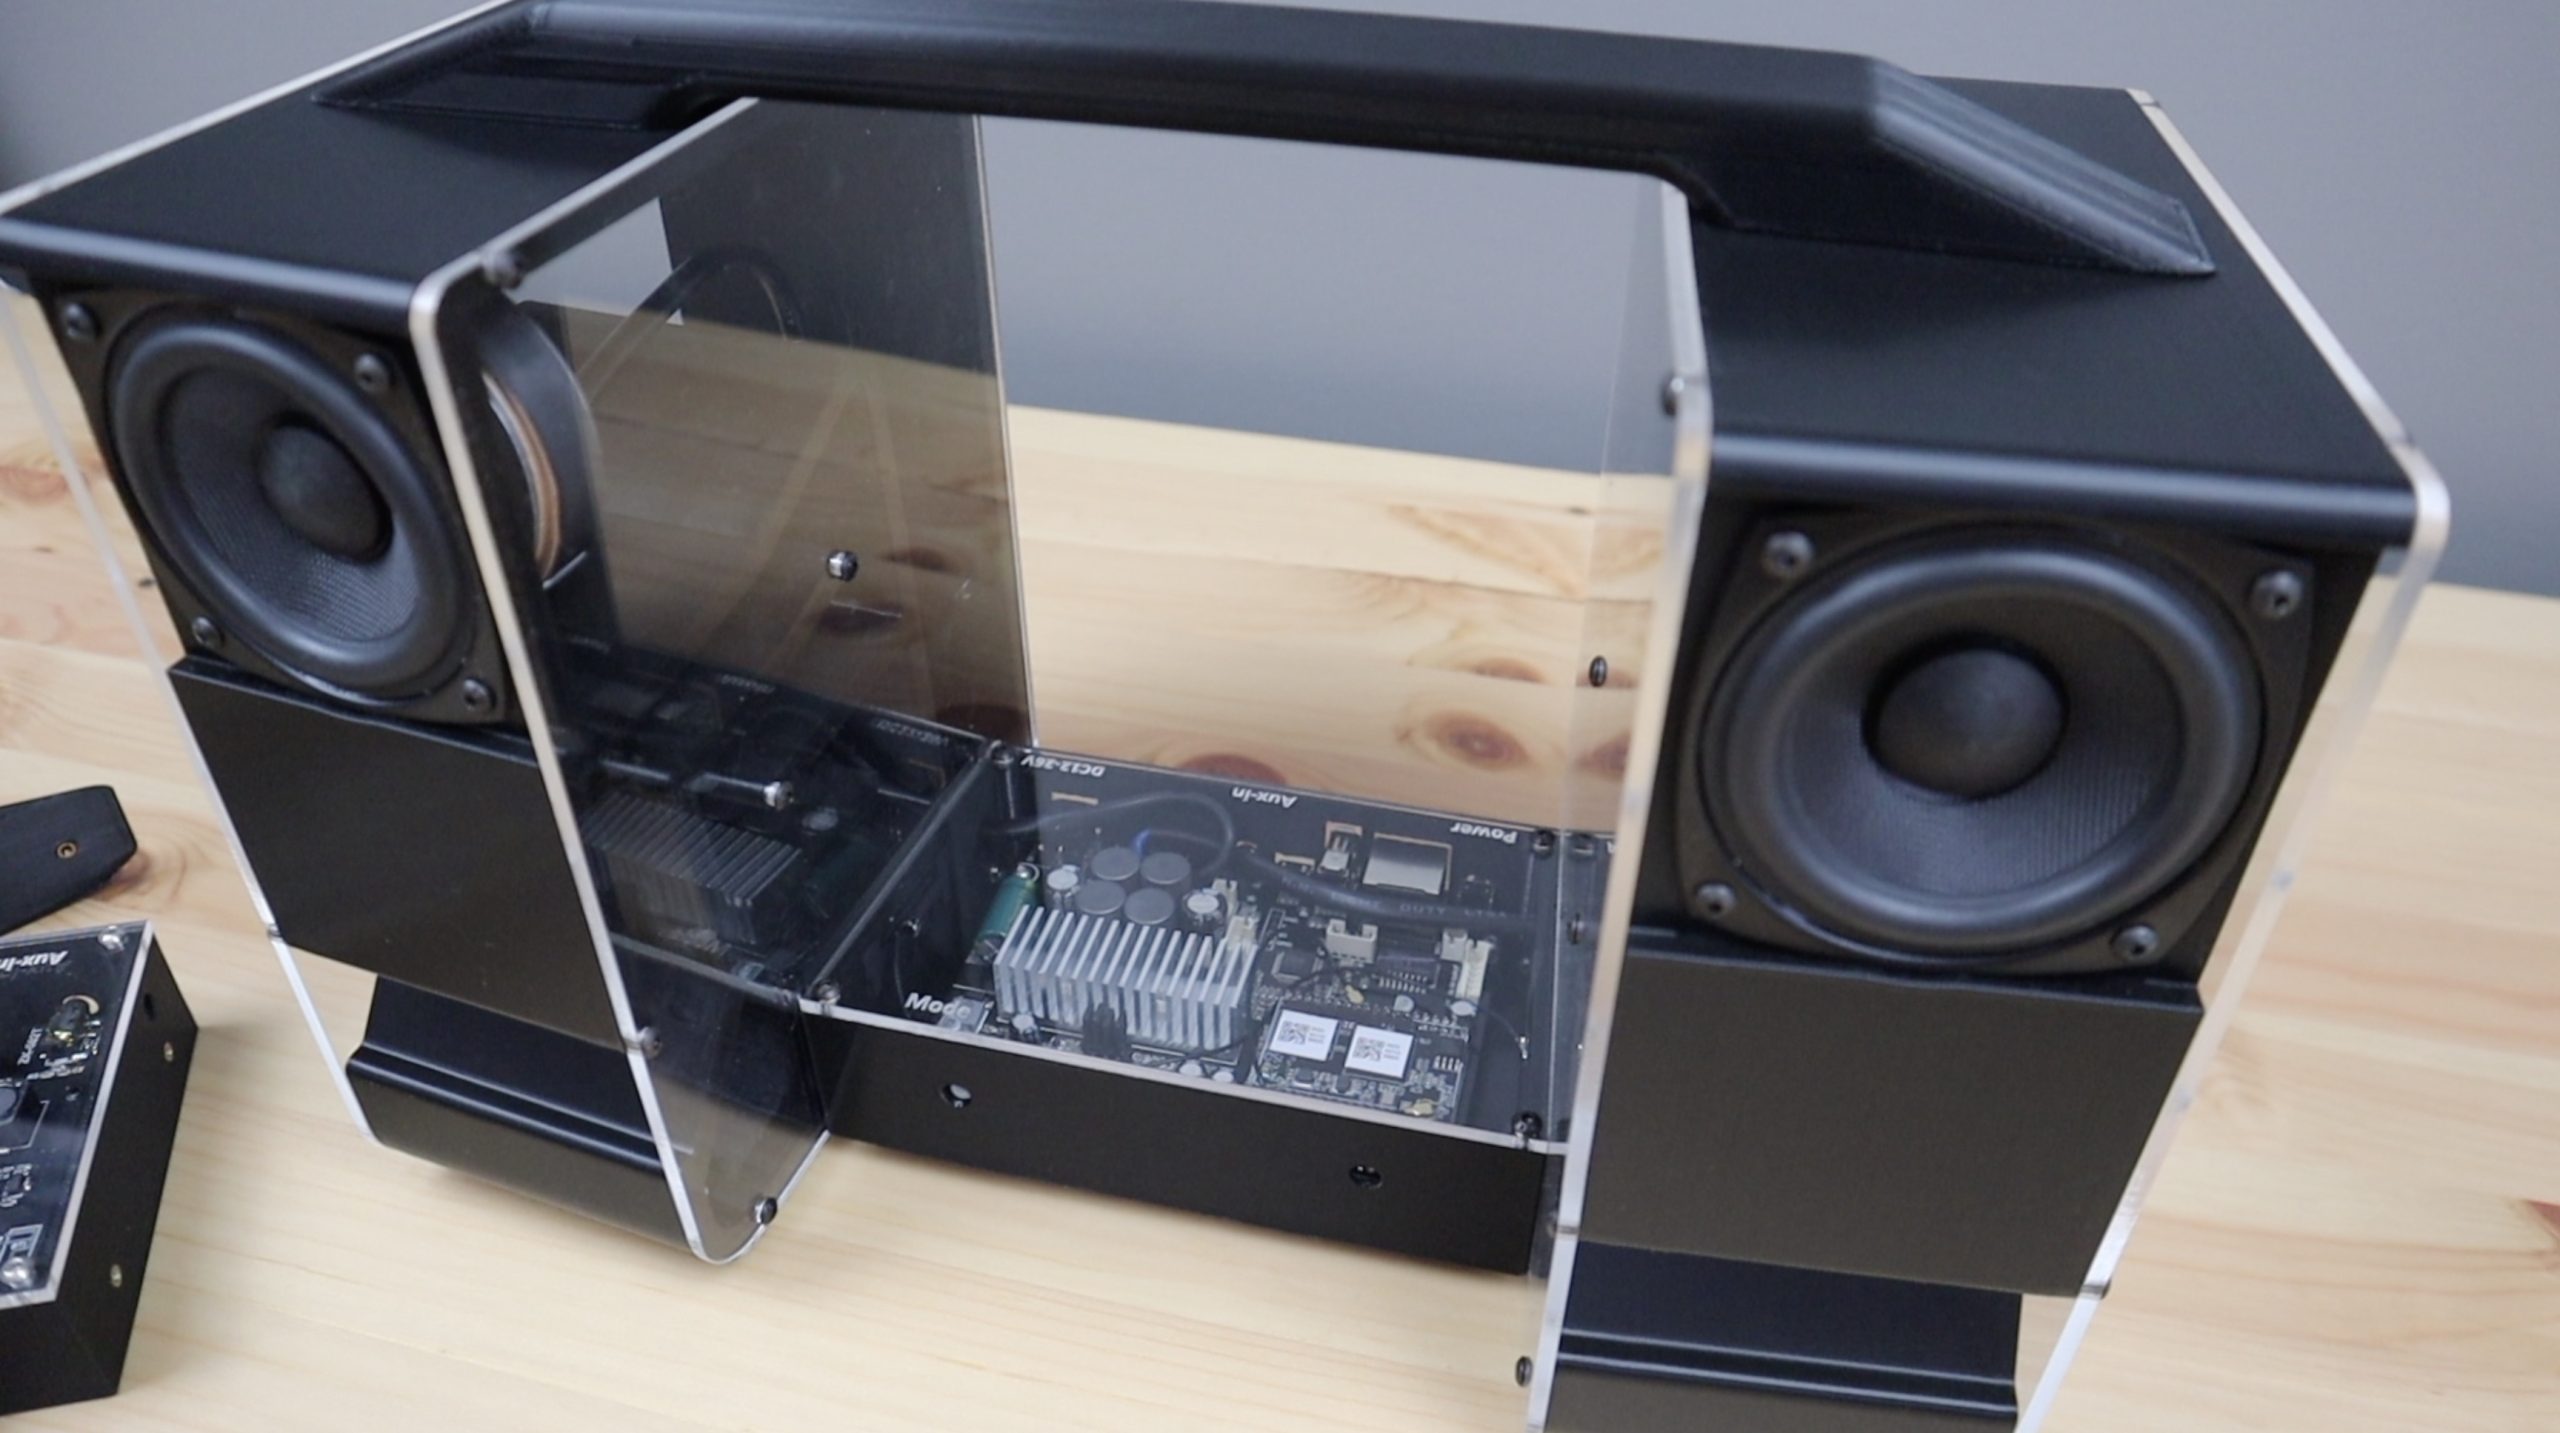
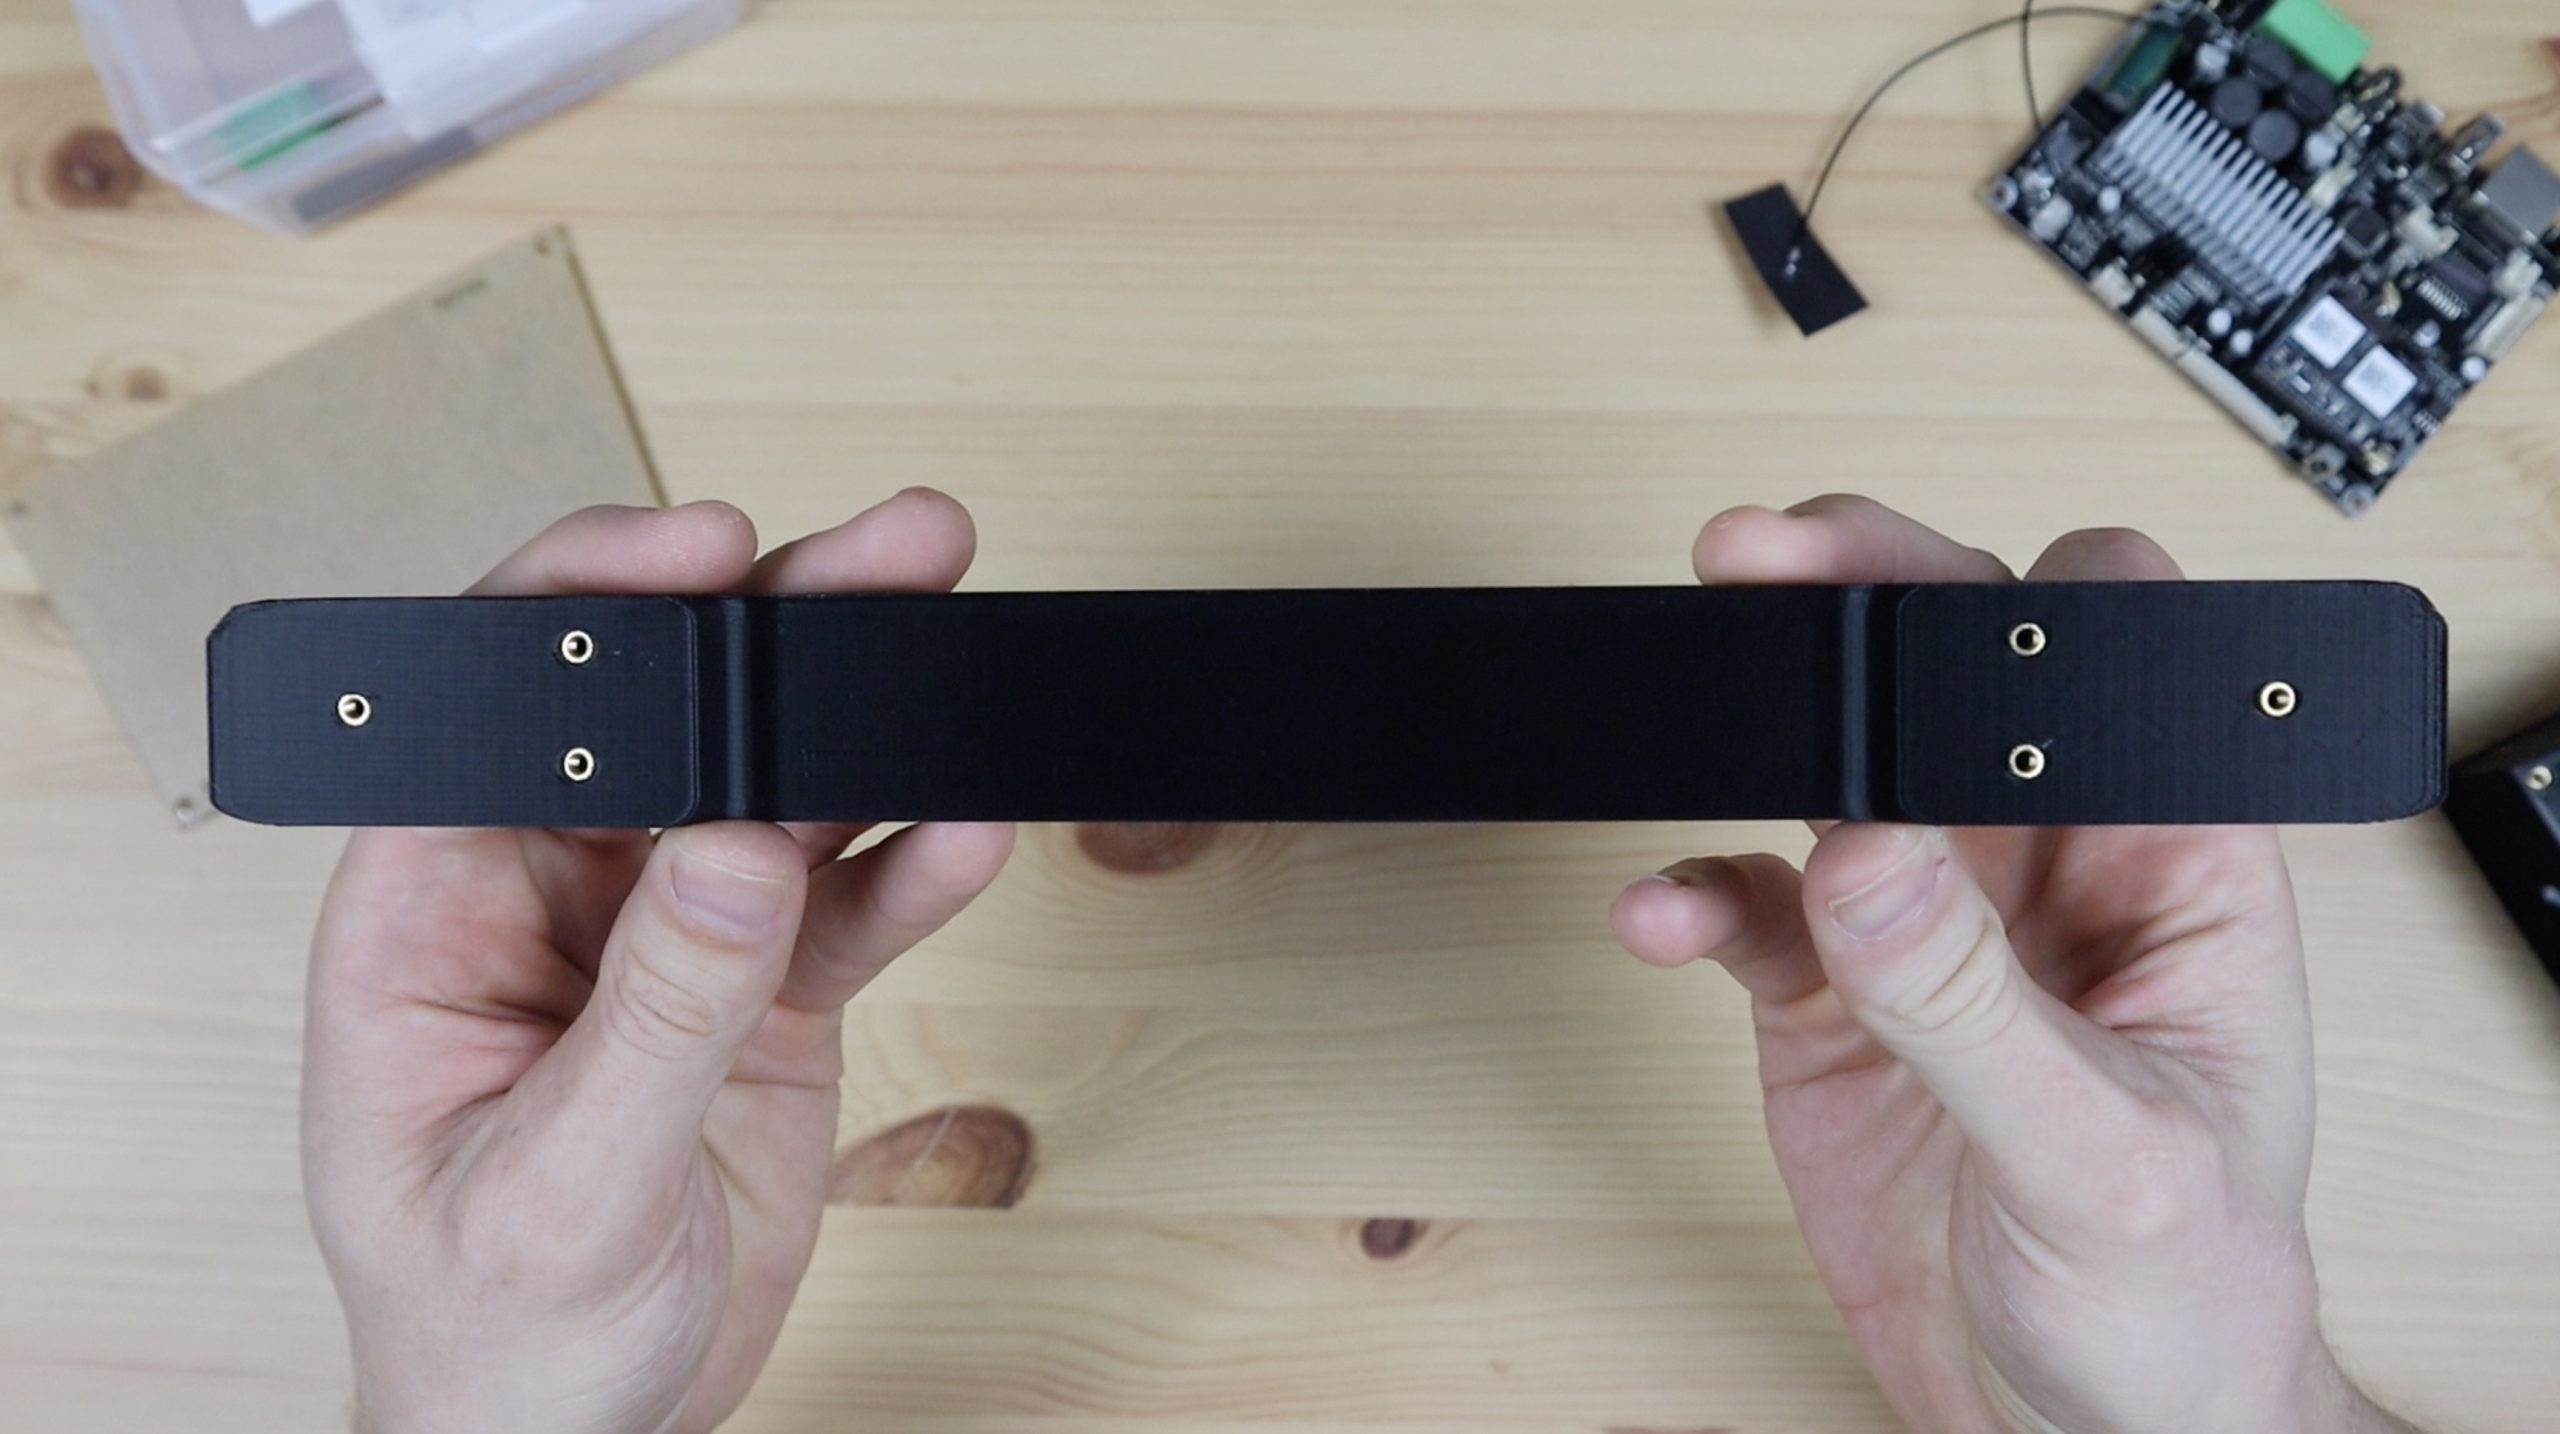
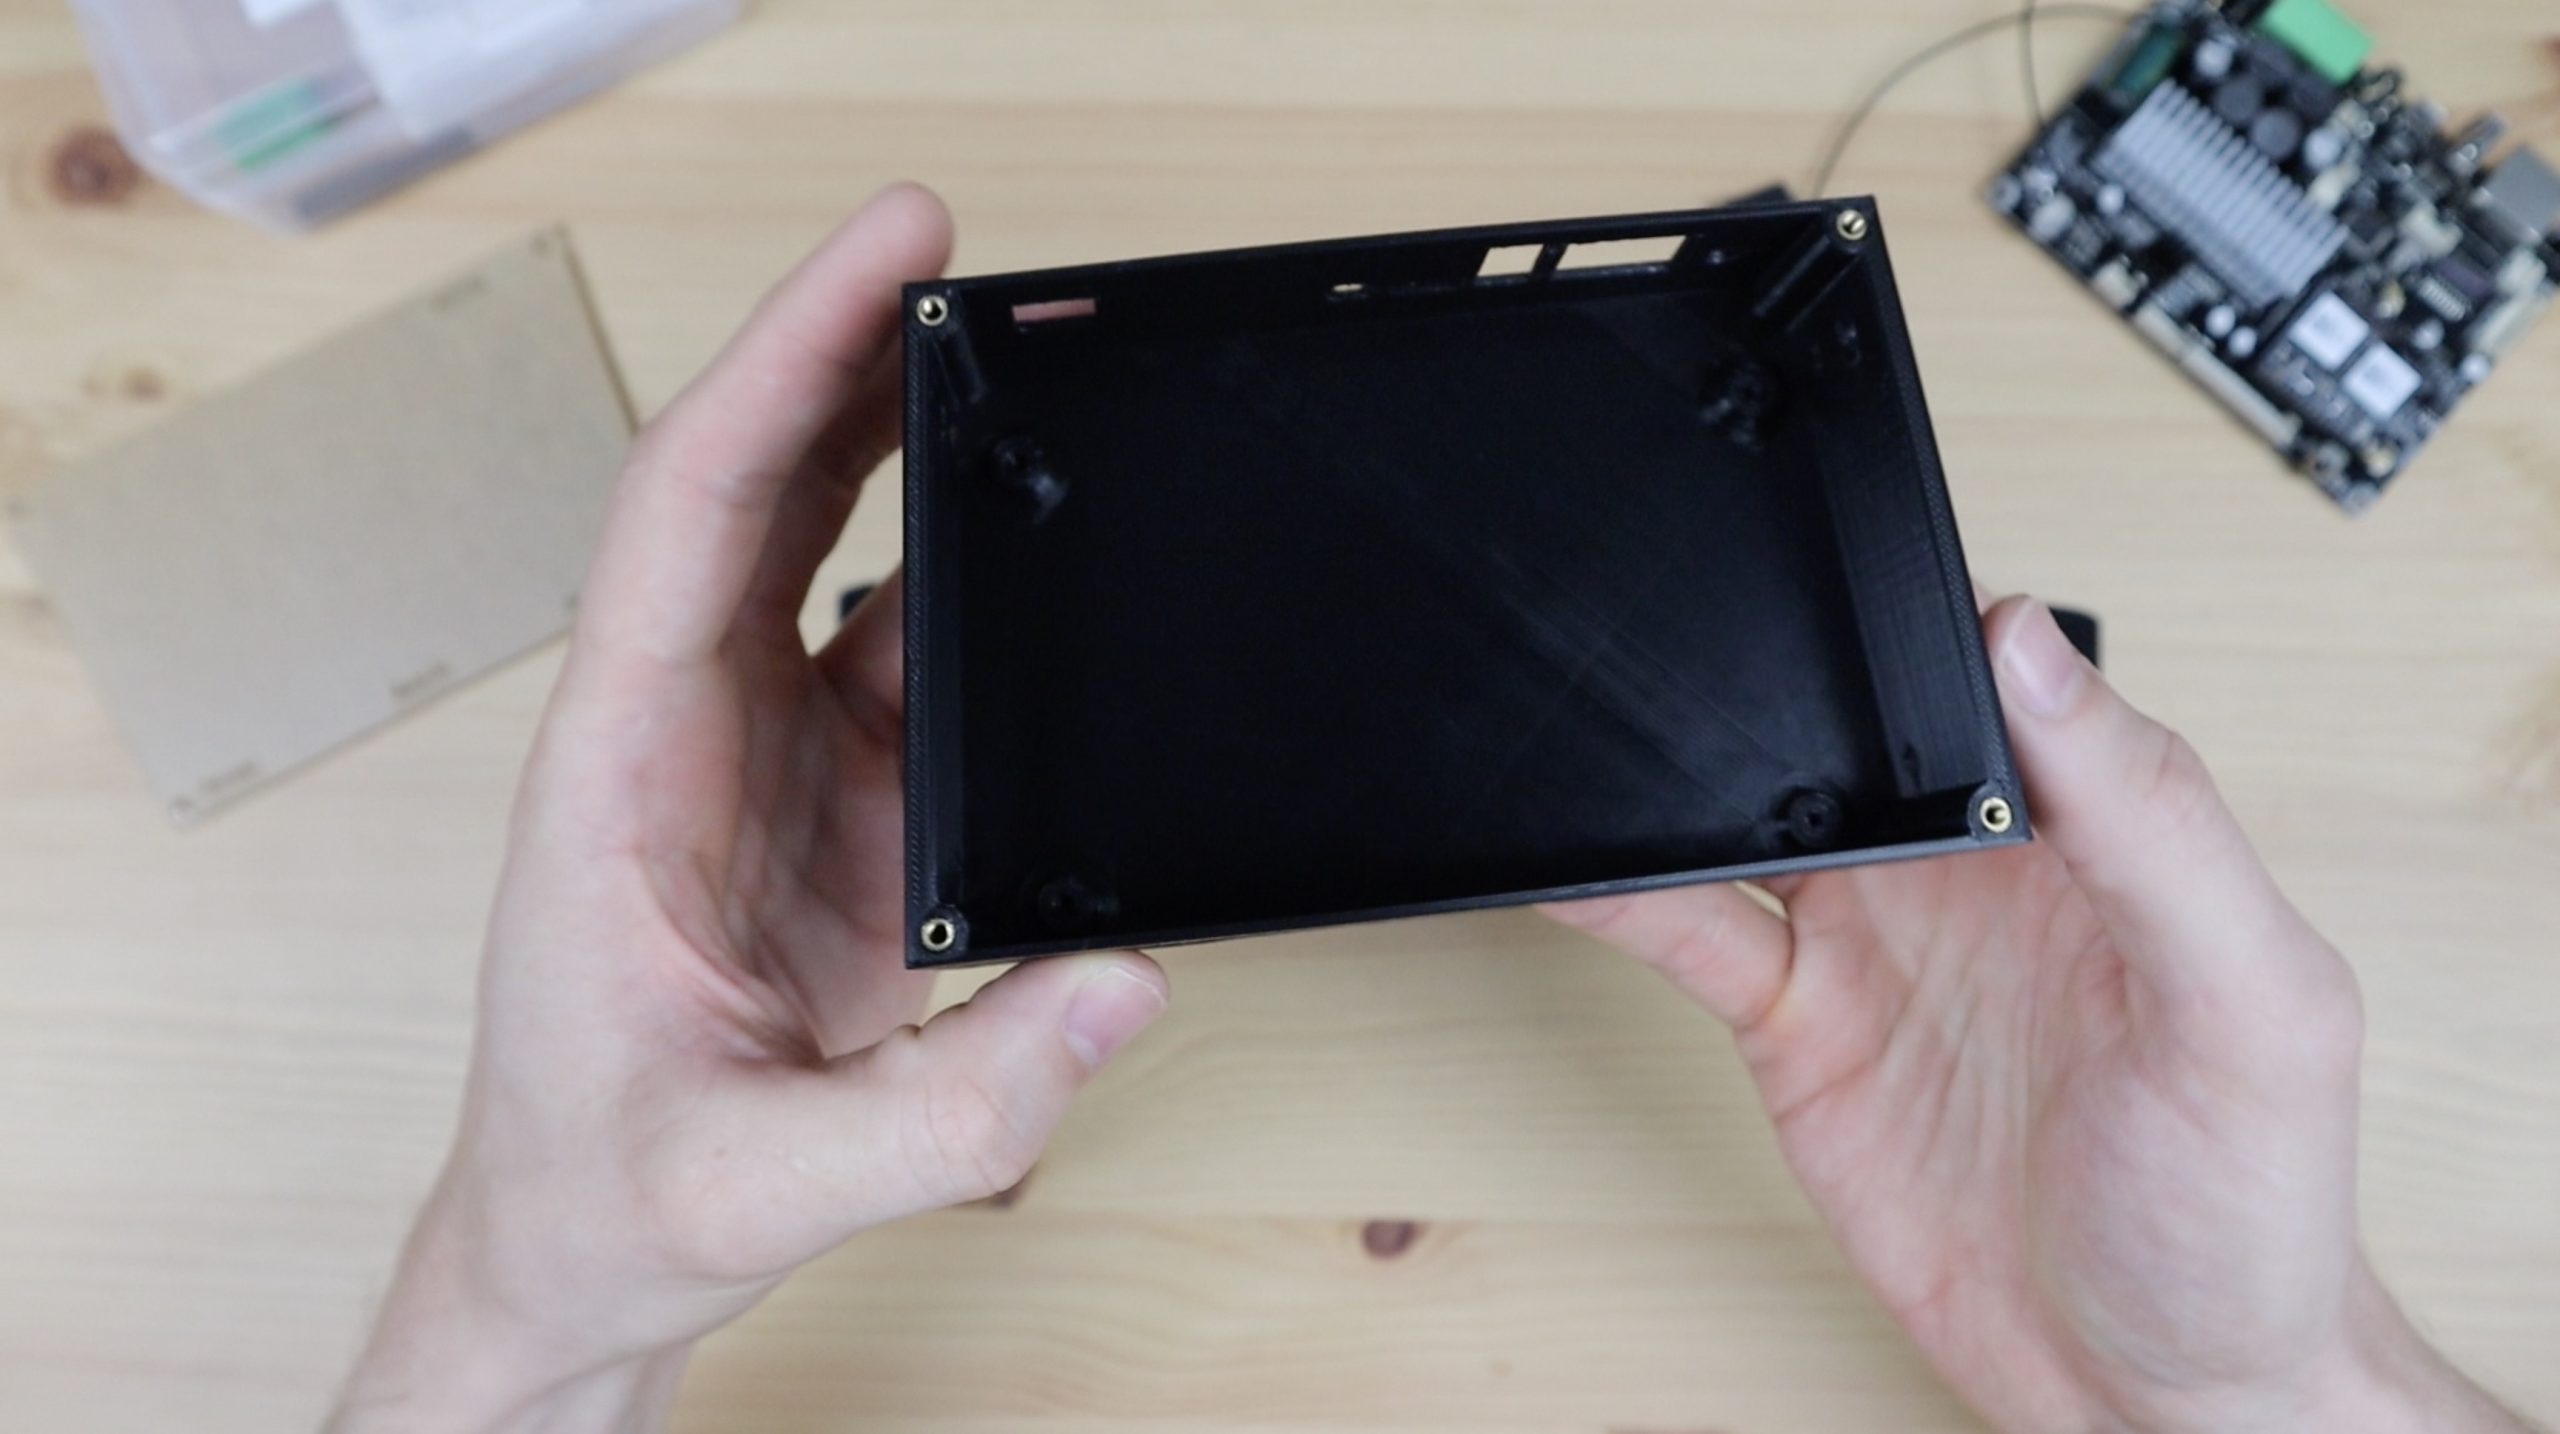
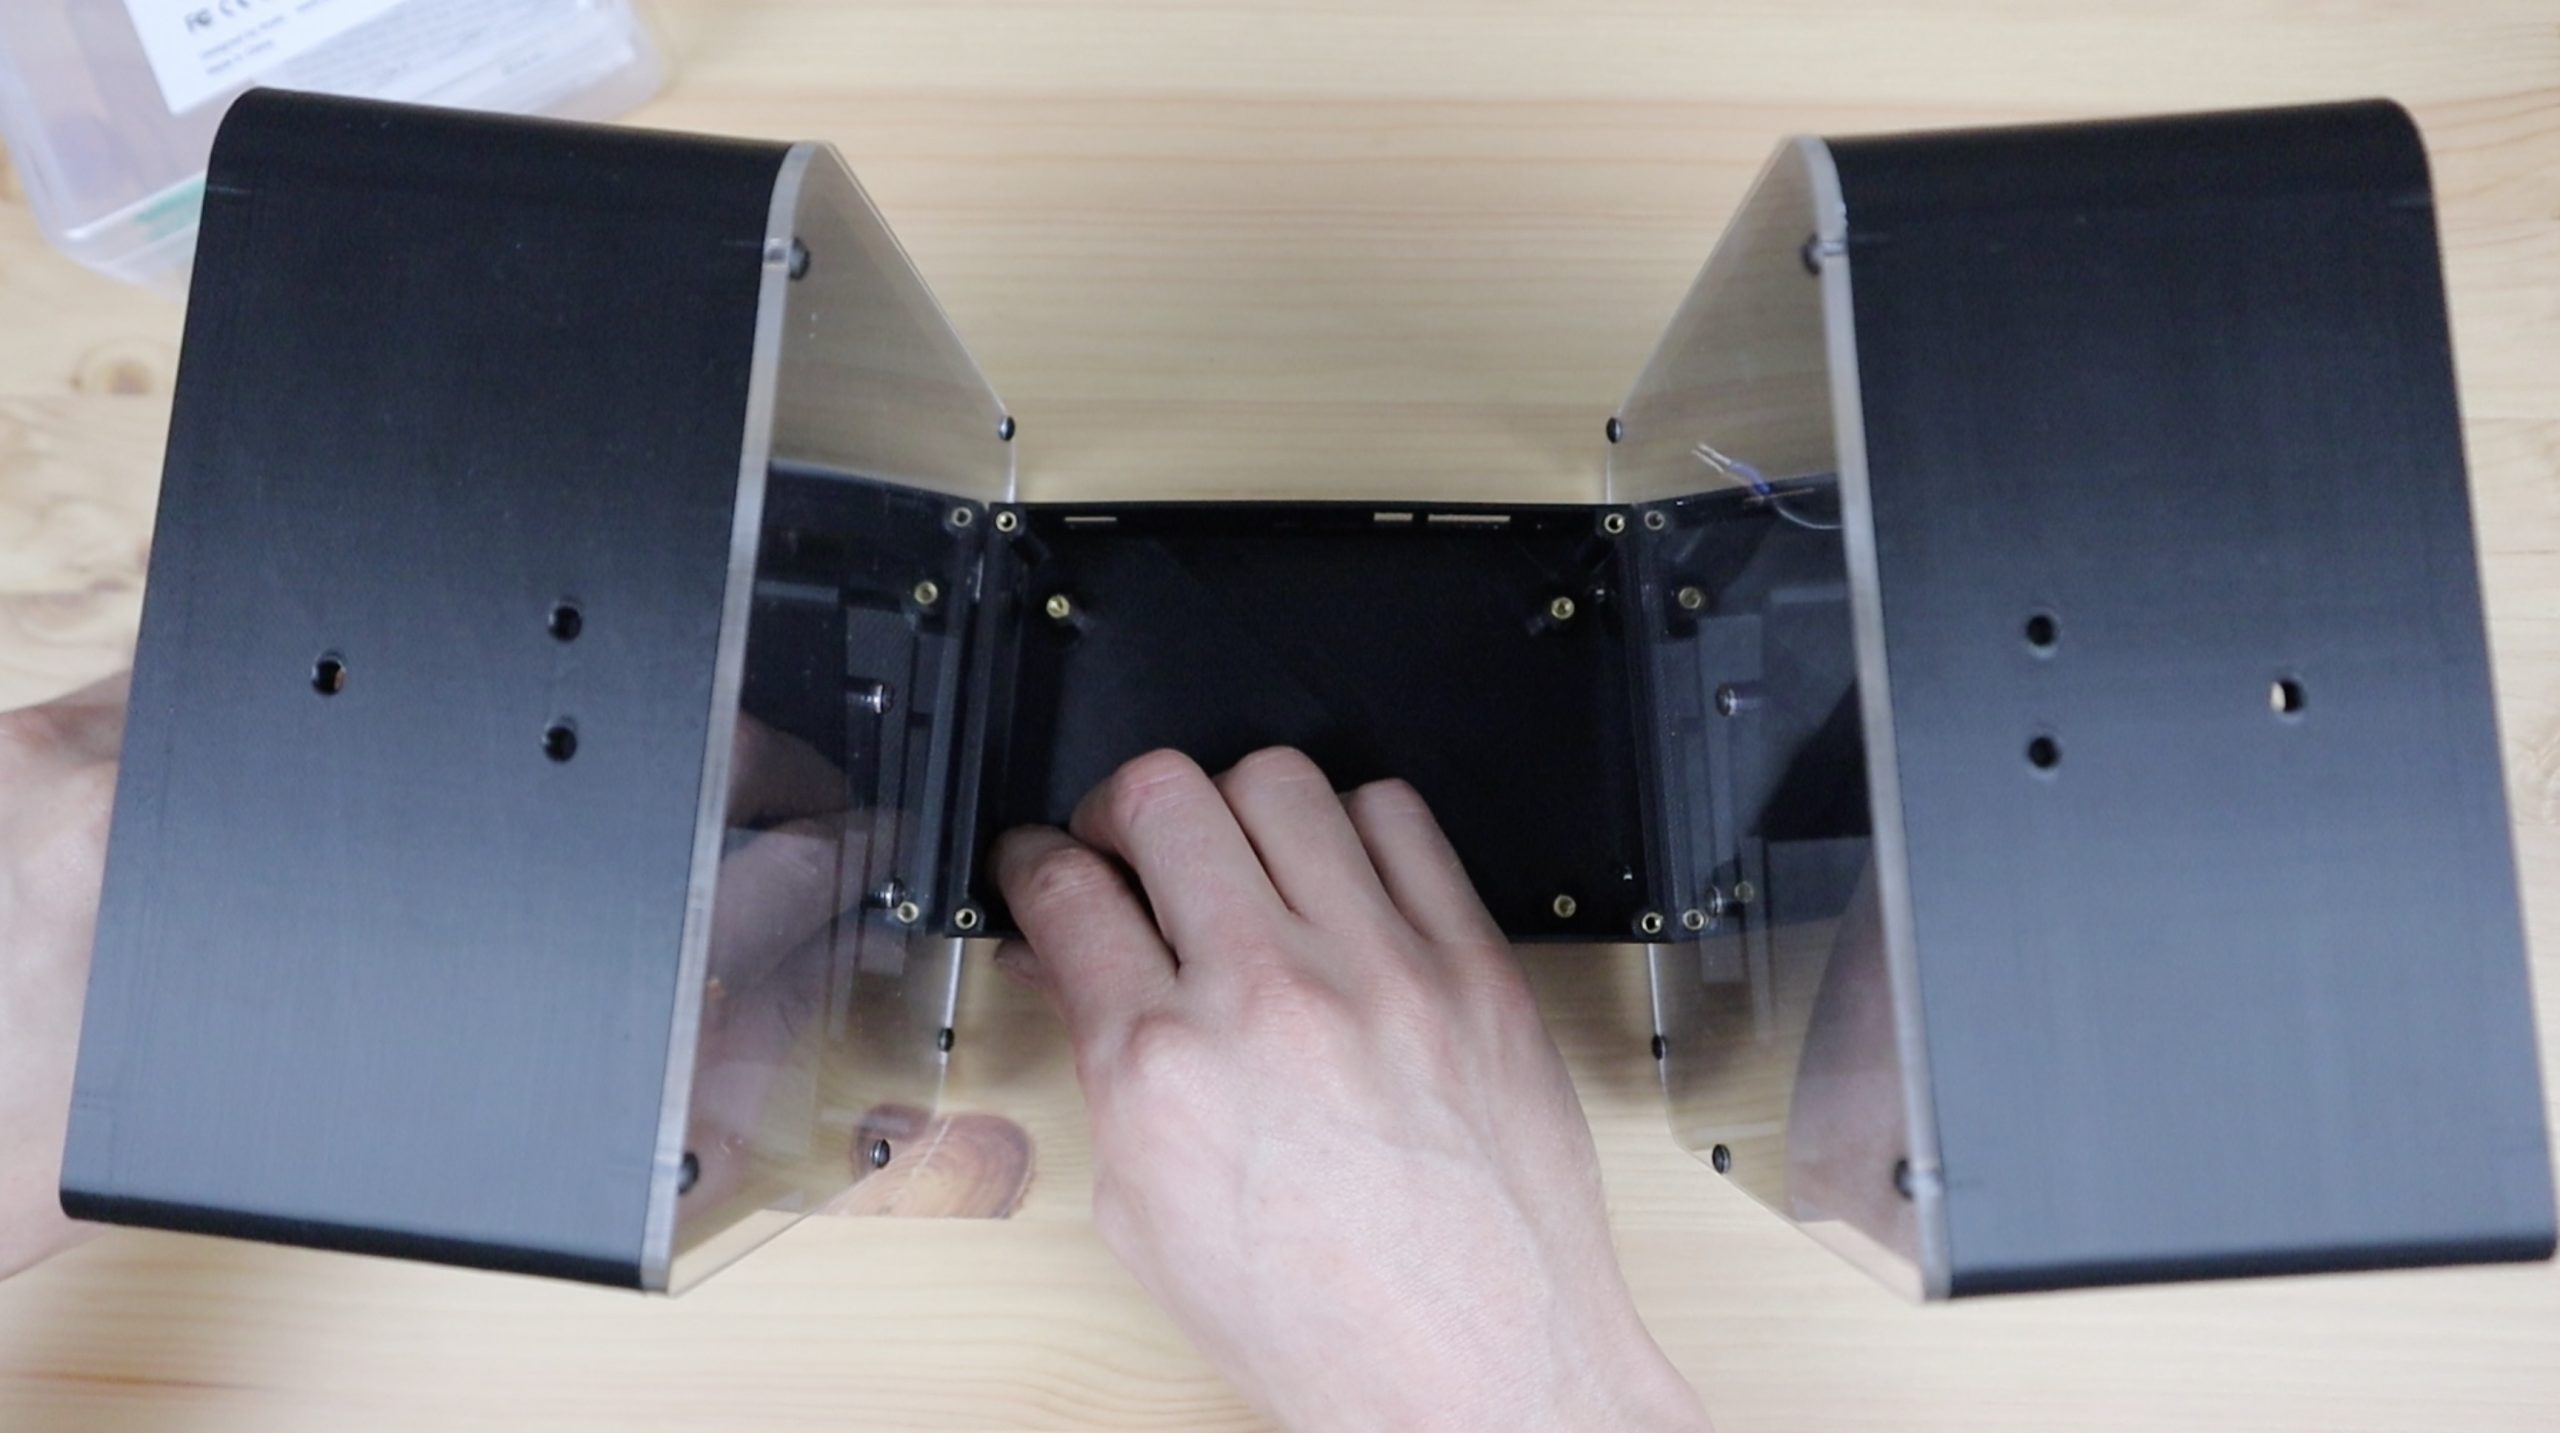
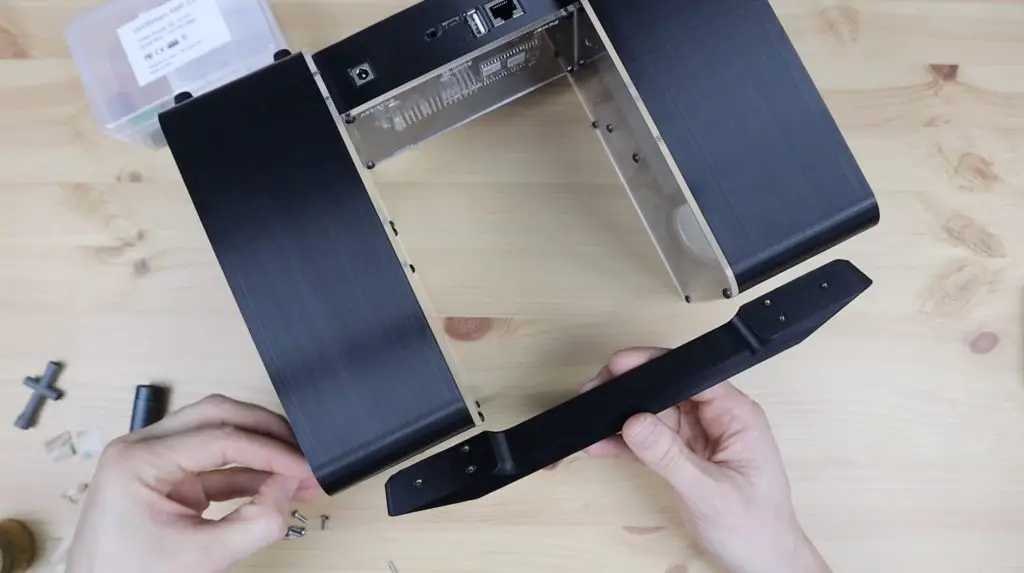
To start off, we need to re-design the amplifier housing to hold the Arylic Up2Stream Amp between the two speakers. Because this amplifier is a bit wider, we’re also going to have to adjust the speaker handle to span a bit further, but we’ll pick up on the same screw holes so that we can use the speaker housings with either amplifier board.

I printed the new housing and handle out on my 3D printer and laser cut a new acrylic cover for it. I also engraved some labels onto the acrylic cover for the ports on the back and the mode LED.
If you’re making this speaker from scratch and not modifying the previous design, please visit the previous design page for more detailed information on making up the speaker housings and wiring the drivers.
Assembling The Arylic Amp & Speakers
Before we can assemble the components, we need to melt some M3 brass inserts into the newly printed parts for our screws to screw into. I did this on the previous build as well to improve the strength and durability of the screwed joints.
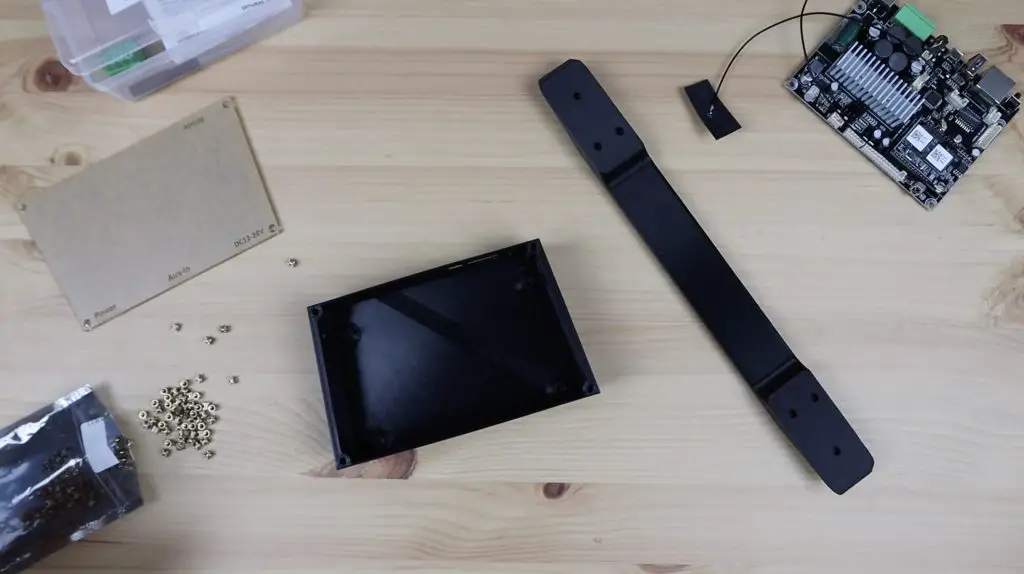
These are just melted into place using a soldering iron set to a temperature higher than the 3D printing filaments melting temperature, 250-350C works well.
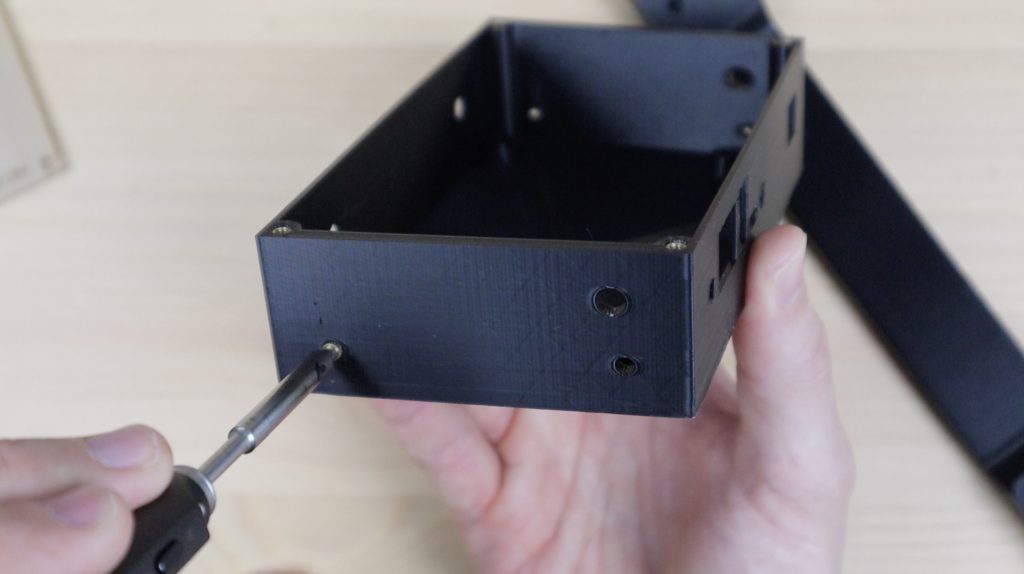
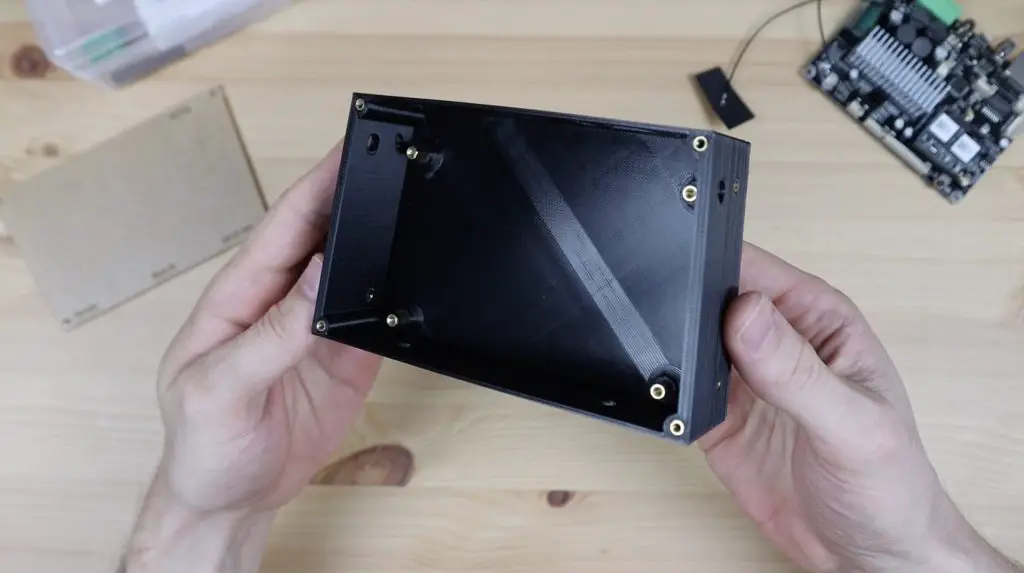
On the Arylic amplifier housing, you’ll need to add four inserts to the top four holes for the acrylic cover and then four inserts into the holes on the sides to mount to the speakers. The handle also needs six brass inserts as with the original design.
As with the previous design, the amplifier is mounted into the housing with some brass standoffs, although these are now M2.5 x 6mm standoffs. These just screw into the holes I’ve printed into the base of the housing and the amplifier is then held in place with an M2.5 screw into each standoff.
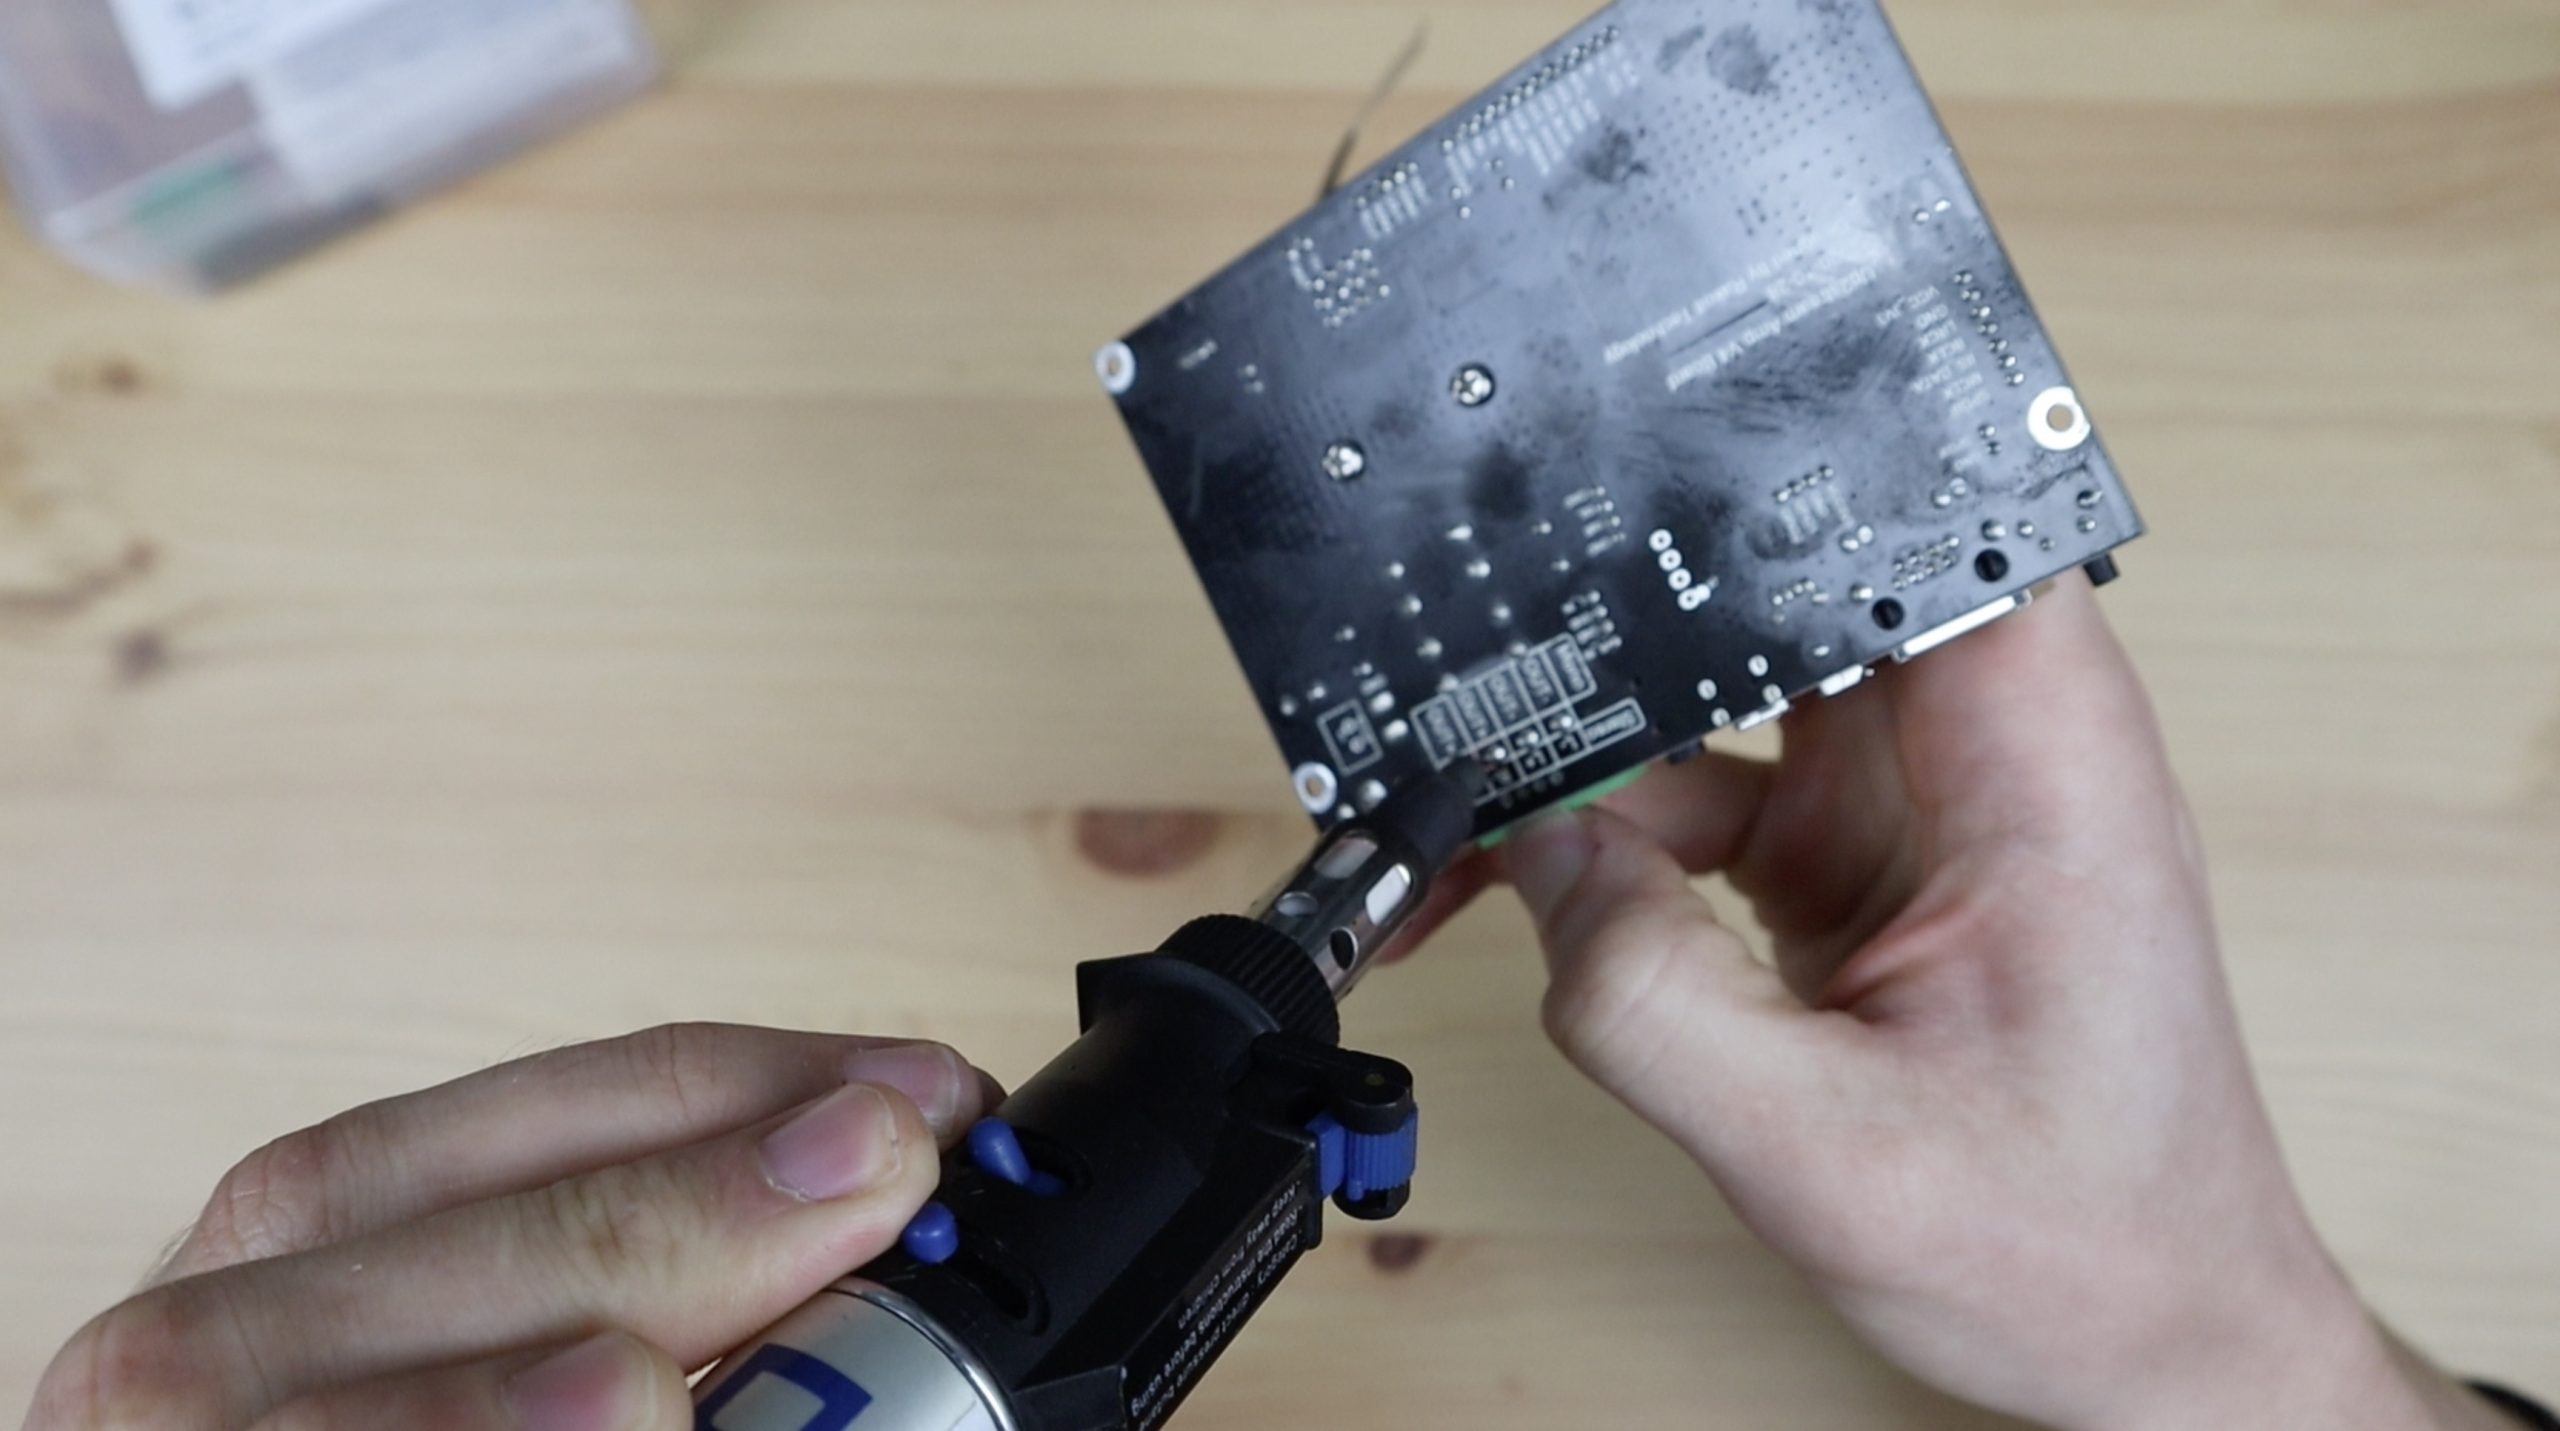
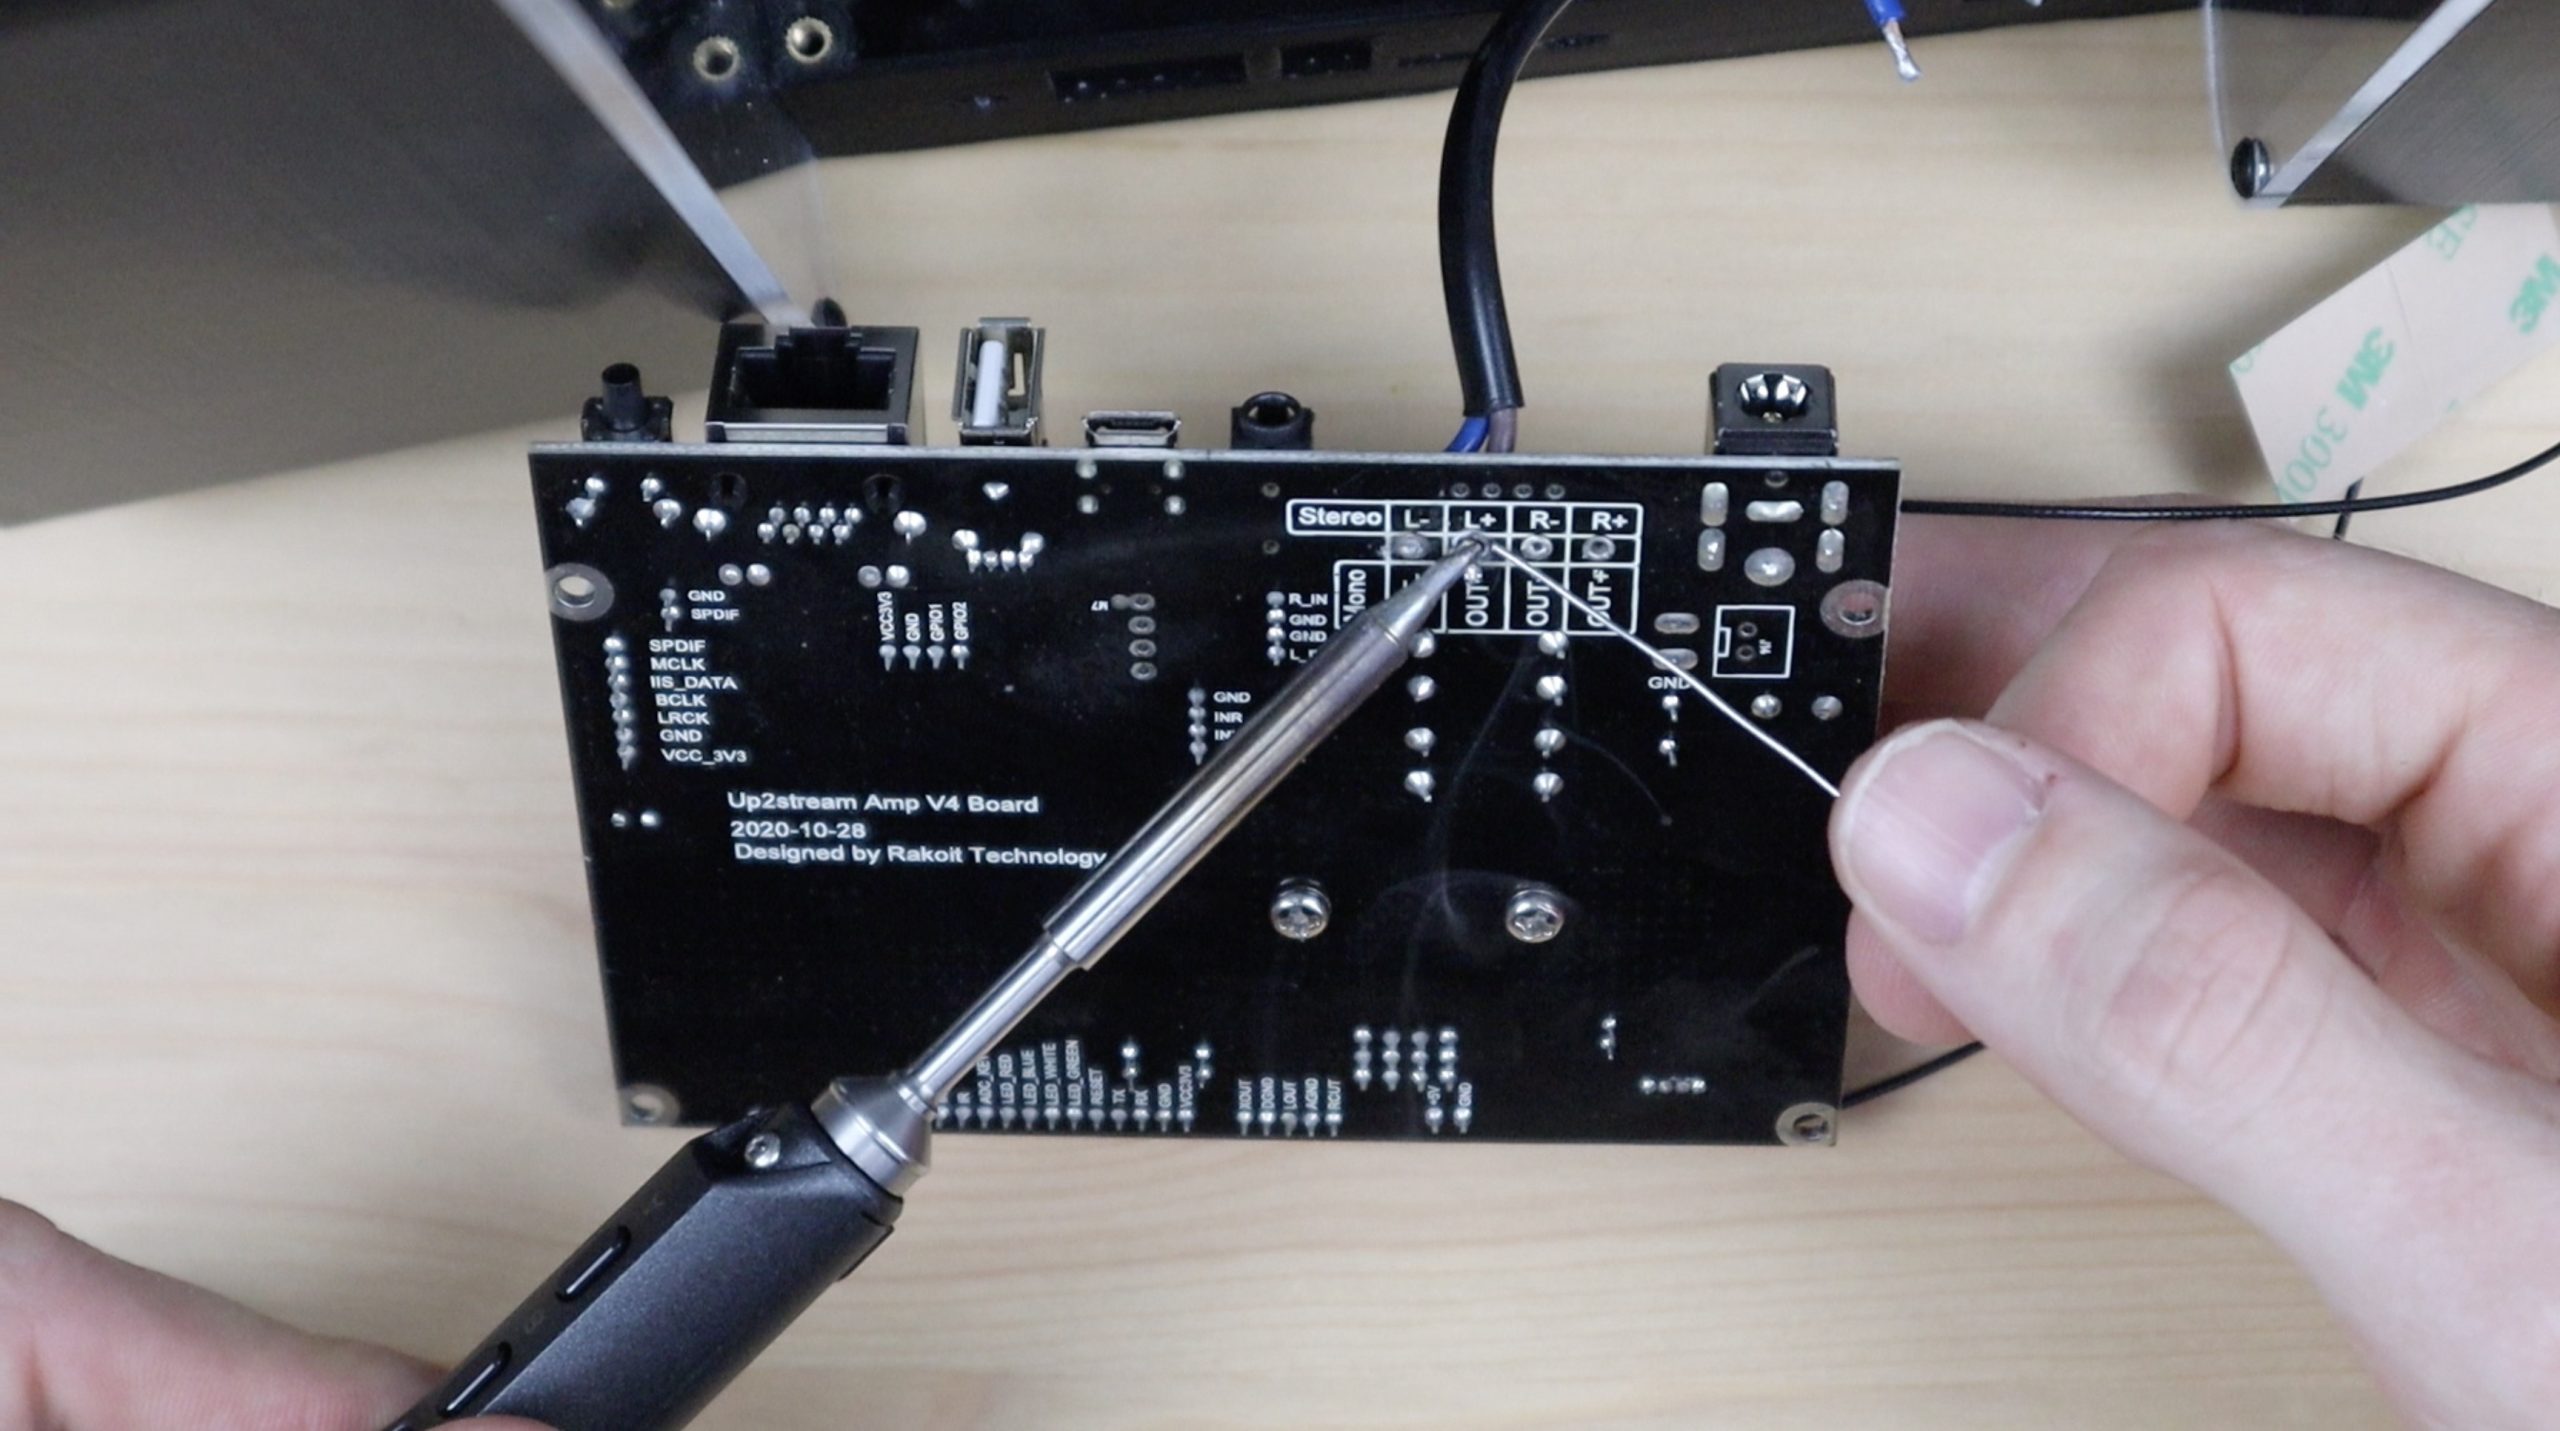
Before I screw the amp onto the standoffs though, I’m going to solder the speaker wires to the board. This is so that I don’t have to add the terminal block onto the back and have the speaker wires sticking out the back of the amp.
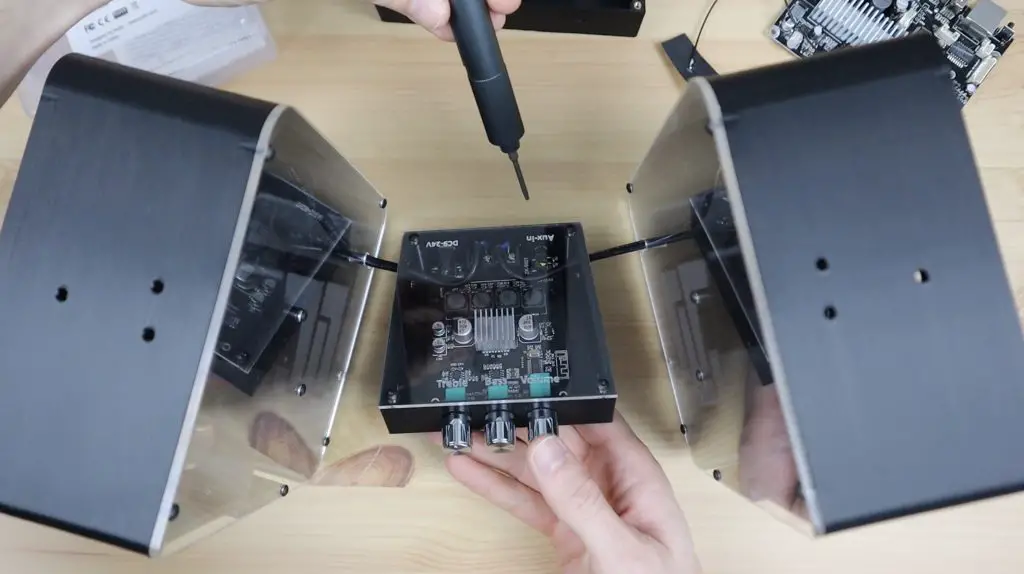
You’ll need to first remove the terminal block connector from the board by heating up the soldered joints either with a hot air device or your soldering iron.
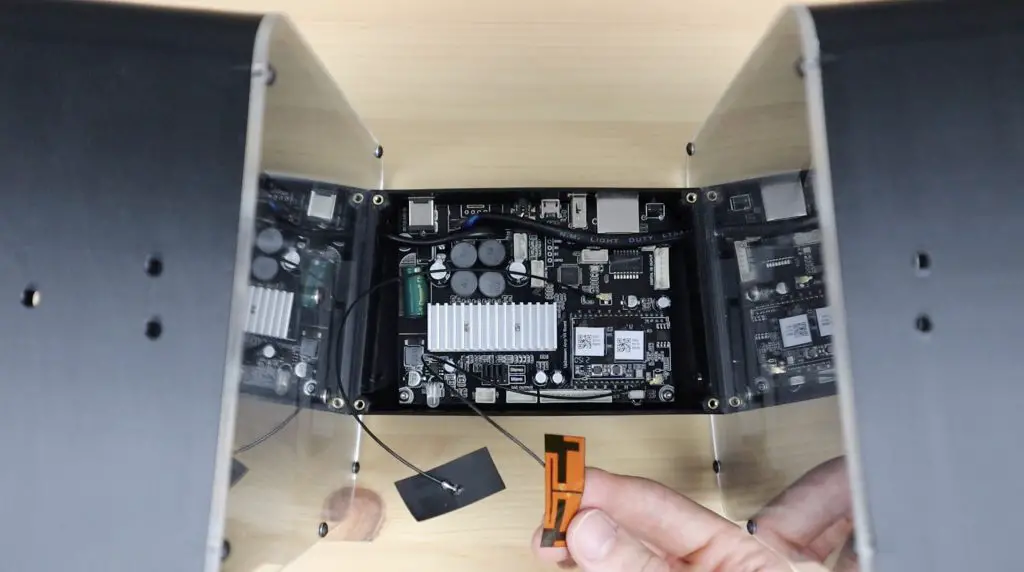
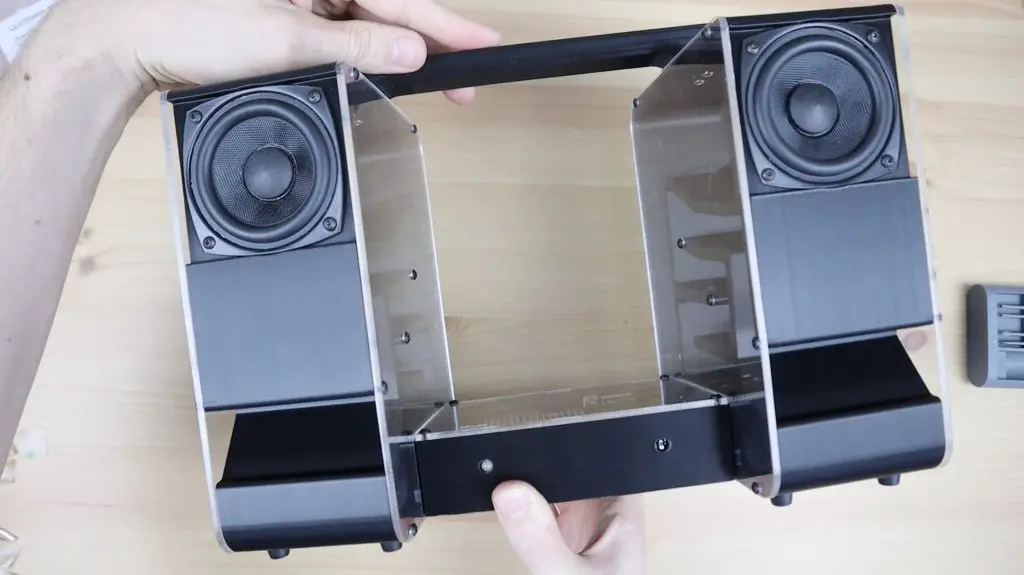
With that done, we can now screw the amp into place.
We also need to stick the WiFi and Bluetooth antennas onto the sides of the amplifier housing.
The top cover is then held in place with some M3 x 8mm button head screws.

The handle can then also be replaced with the same M3 x 8mm button head screws, three screws on each side.
We can then close up the speaker housings again by re-installing the side panels.

That’s our speaker modification complete, so let’s turn it on and try it out.
Using The Arylic Speaker & 4Stream App
I’m going to use the same 24V 3A adaptor that I used previously. It’ll also run using the 12V in-line UPS that I used previously although the battery life will likely be a bit poorer with this more power-hungry amplifier.
Once we have power to the amp, we need to download Arylic’s 4Stream App. We can then find our device and set it up on our WiF network. These steps are all guided pretty well from within the app.
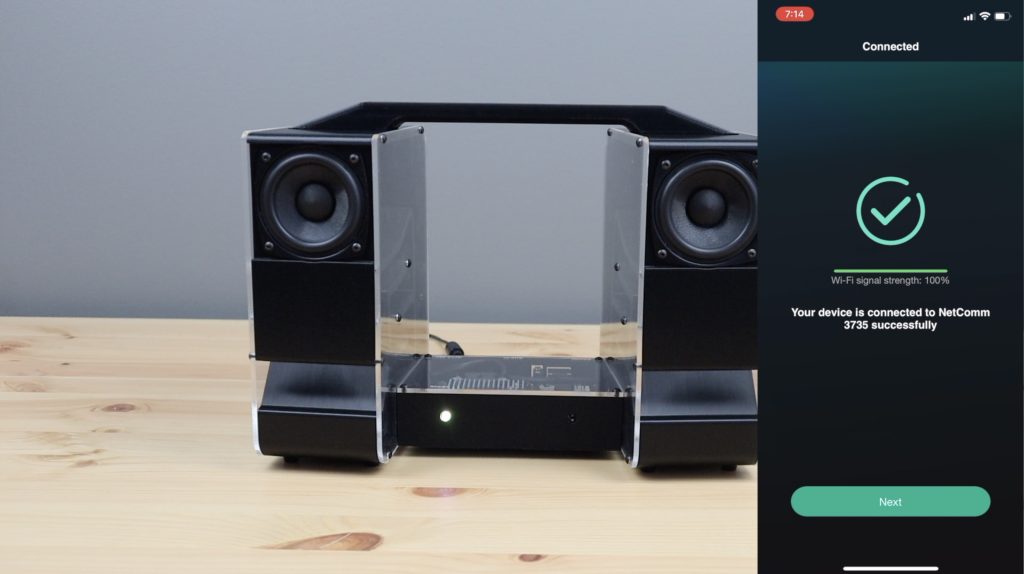
That’s it, it’s now ready to start streaming.
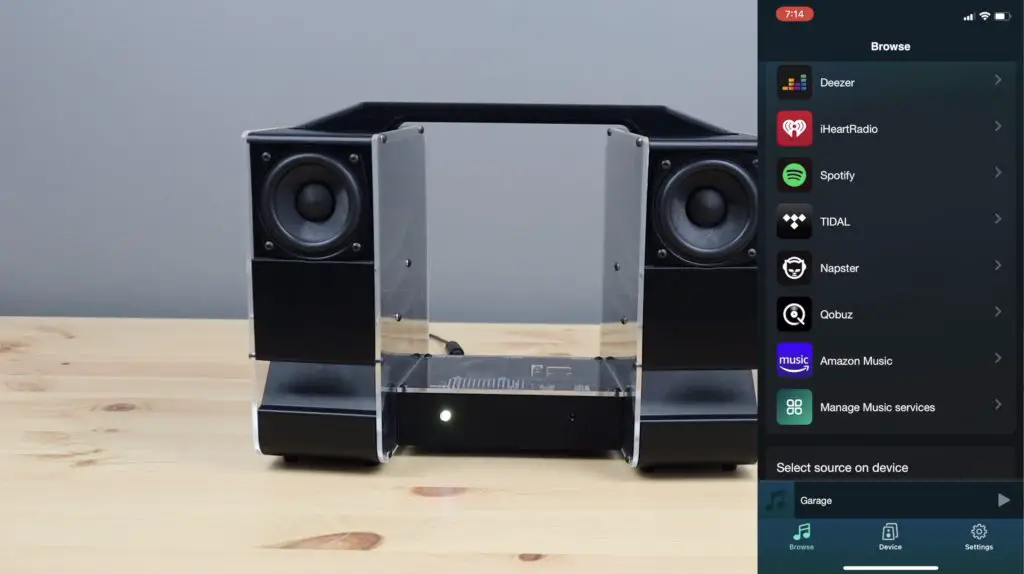
From the app, we can set up music streaming sources or play local music on the device. I obviously couldn’t stream music from Spotify or Amazon music for my test in the video, so I had to play a local file.
There was definitely a significant improvement in audio quality when compared to the Bluetooth amplifier.
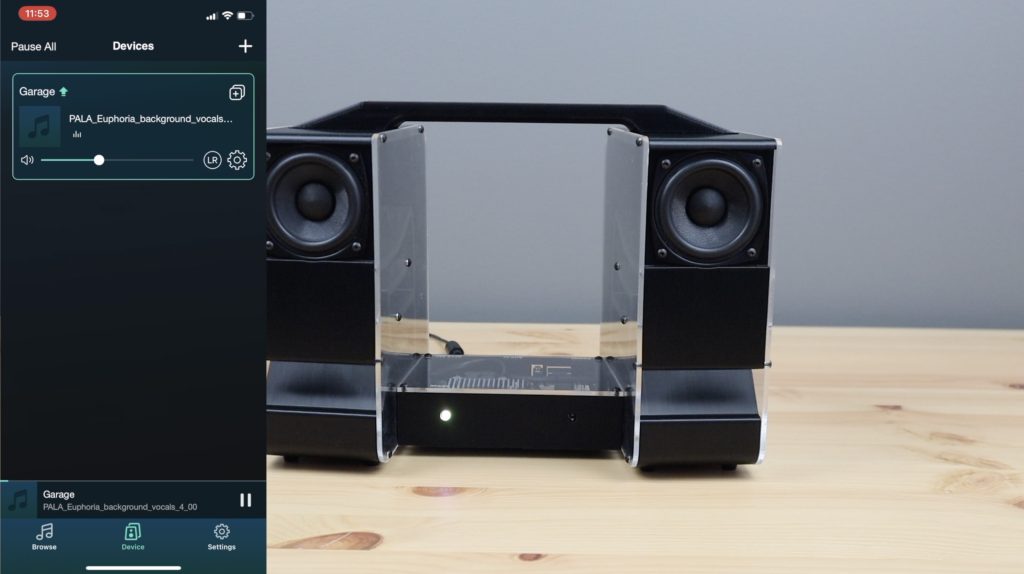
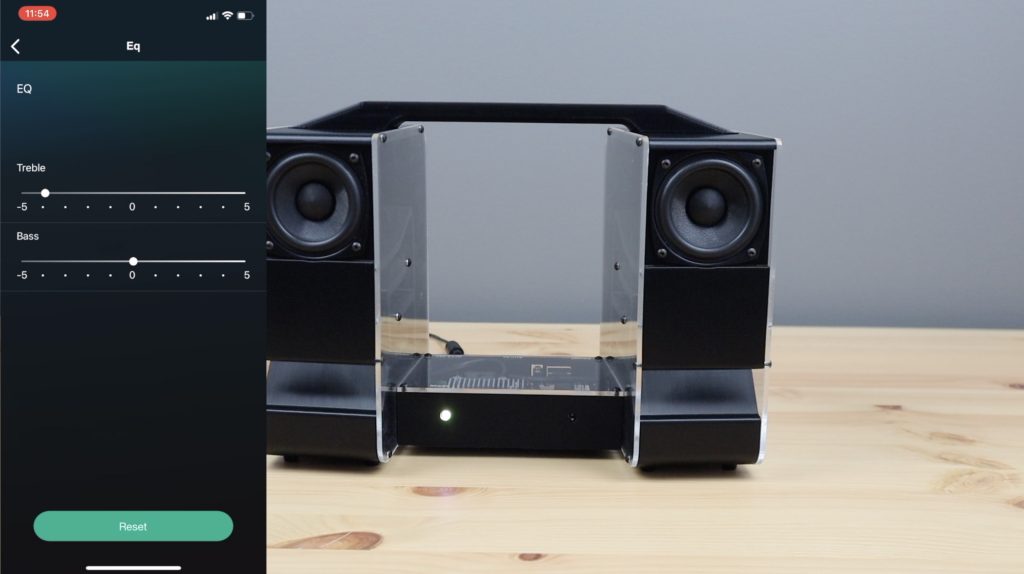
We can now control the bass and treble settings from the app, rather than the previous physical controls.
We can also playback local files or play music through Apple music using AirPlay.
The 4Stream app by Arylic also allows you to set up device names and multi-room zones. You can even set up presets to easily access your favourite music playlists from the remote control or certain buttons, and you can set an alarm clock to start and stop playing music at a specific time.
Final Thoughts On The Arylic Up2Stream Amp V4
The Arylic Up2Stream Amp V4 has made a noticeable improvement in the audio quality of my speaker and I love that I’m now able to play music without having to keep my phone nearby.
The speaker terminals are one of the things I don’t really like on the board. If your speakers are separate from your amplifier, which is most often the case, then this arrangement works well, but I would have liked some pads next to the terminals or different terminals that could be used if you want to keep the speaker wiring internal, like with my design. It’s not a big issue, I just removed the terminal block and soldered the speaker wires to the board directly, but I feel like this should have just been an option.
I also think a nice feature for this amplifier would be to add PoE support. It would be great to have a single network cable plugged in to provide both the data connection and power to the device, which seems like it would fit in with the amp’s power requirements.
Other than those, their range of DIY boards and accessories are great for building your own custom speaker sets, or even if you’d just like to add streaming support to your current setup. Check out Arylic’s web store for some other amplifier options and to see their range of accessories.
Let me know down in the comments what you think of the Arylic Up2Stream board or if you’ve used one of their other products.