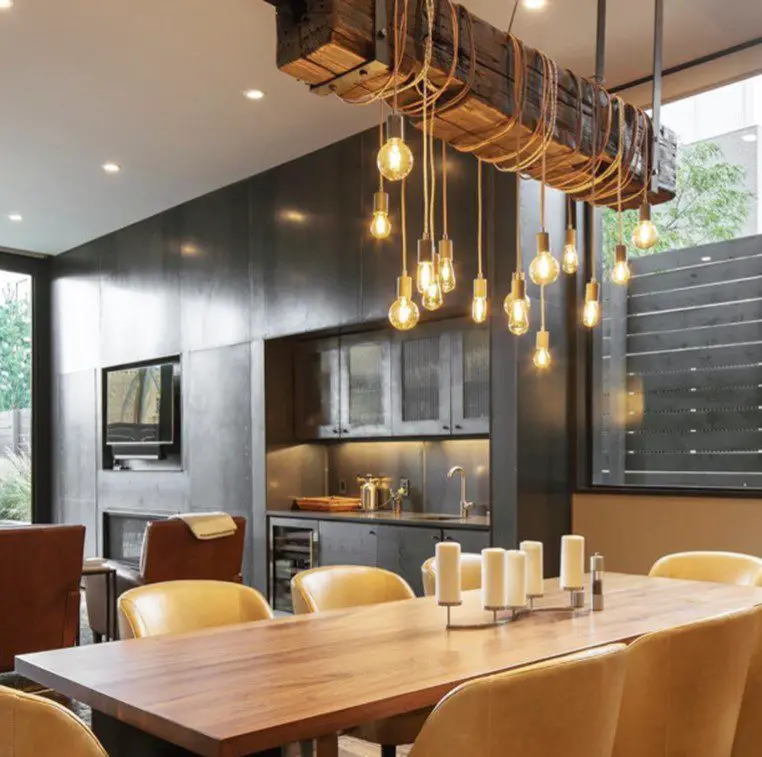
Few home decor accessories look as regal as a chandelier. The problem is that chandeliers usually cost a pretty penny. Whether you’re on a budget or just looking for a new home improvement DIY project, making your own chandelier is fun, easy, and surprisingly affordable.
As you read this guide on chandelier making, remember that these are just suggestions and not requirements. You can use the basic design as-is, or feel free to get creative and modify it to fit your unique style preferences. The possibilities are endless!
1. Gather Materials
If you do a lot of DIY projects, there’s a good chance you’ll already have a lot of these materials lying around the house. If not, you should be able to obtain them fairly easily—check hardware, junk stores, and other retailers that sell lamp and light fixture parts.
If you’re struggling to find a particular item, try to think outside the box. You should be able to come up with a solution, even if it’s not exactly what you initially had in mind.
Here’s a general idea of what types of materials you’re going to need:
- A top base to hold the suspended items (repurposed wood, a bicycle wheel, or a wire cooking rack are all great choices)
- At least 10 feet of lightweight wire lamp chain or other lamp cord
- 14-gauge (1.5mm^2) wire
- At least six small Mason jars (or exposed light bulbs of your choice)
- A one-inch circular metal ring
- A swag hook or other hardware for hanging the chandelier
- Pliers
- Wire cutters
2. Attach the Chains or Cord to Your Top Base
The metal ring is going to be your point of contact to the ceiling. When you’re finished with your chandelier, you can use the ring to hang it from a hook. Start by using your wire cutters to cut the lamp chain or cord into four equal-sized pieces. The length depends on the size of your base, but around 16 (400mm) to 24 (600mm) inches should do the trick.
If you’re using chains, take your pliers and open the top link of each chain. Attach the chain to the metal ring, and then use your pliers to squeeze the chainlink back into place. Repeat this step for all four chains. You should end up with four equal lengths of chain hanging from the ring.
If you’re using a flexible cloth-covered cord, consider wrapping the material around your base in a way that matches the aesthetic you’re going for.
3. Attach the Cord to the Base
Now you’re going to repeat the same process to attach the bottom of the chains to your wheel, wire cooking rack, or other base. If your base is thicker than your chain links, you might need to get creative. You could use wire to wrap the bottom chain link to the perimeters of your base.
When you’re done attaching all four chains, you should be able to hold the top ring, and the base should hang evenly. If it’s crooked, you might need to trim the chains to make sure they’re all the exact same size.
4. Create Wire Handles on the Jars
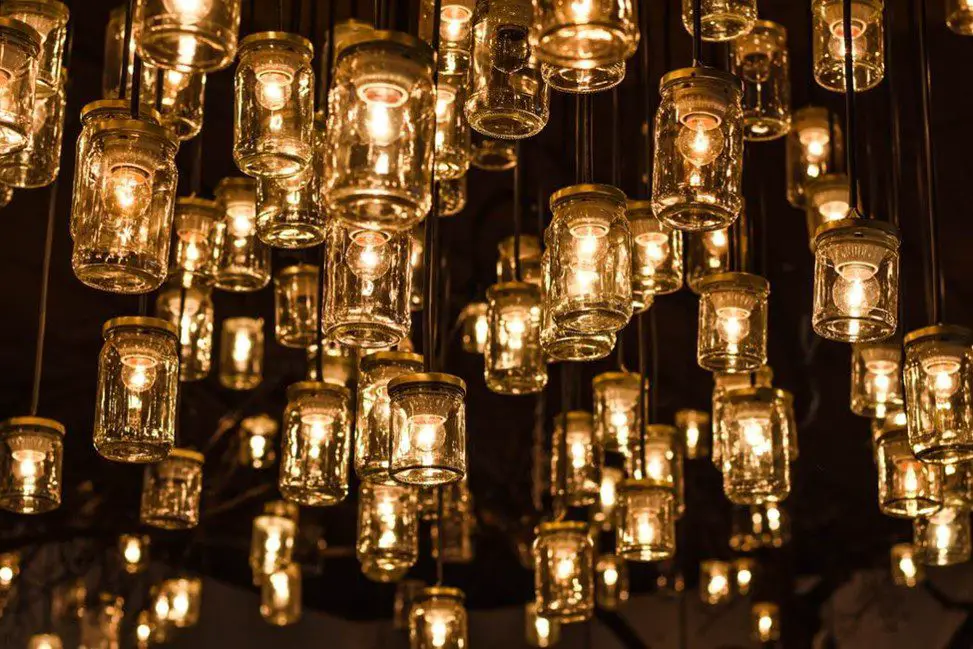
Next, you’re going to create wire ‘handles’ so you can hang each jar from the base. Cut your wires so they’re 24 inches (600mm) long. Wrap the wire securely around the lip of your Mason jars, leaving at least 8 inches (200mm) of slack like a tail. You’ll attach the other end of the wire ‘tail’ to the jar eventually, but not yet.
Pro tip: You could also leave the lids on, drill a hole in the tops of the lids, and attach the jars directly to the base using rope or twine for a rustic look. Simply thread it through and tie a knot in the bottom to prevent it from slipping out.
5. Thread the Wires Through the Bottom Chain Links
Cut six (or more) pieces of lamp chain to hang the jars. You can cut the chains into random lengths, or measure them if you want a symmetrical design. Now it’s time to thread the ‘tail’ of the wire handles on your jar through the bottom chain links. Secure the end of the wire to the other side of the jar, creating a U-shaped handle. Repeat these for all of the jars.
6. Attach the Jars to the Base
Now you have six or more jars with chains attached. You might need a friend for this next step. Hang your base from the ceiling, and attach the top of the chains to the base, one-by-one. Be sure to position them in areas that keep the weight of the structure balanced. It’s important to attach the jars while the chandelier is hanging, otherwise, you risk it being lopsided.
7. Add More Flair
You can leave the chandelier as-is if you want a classic, bucolic look. Minimalism is a popular architecture trend, so feel free to keep it simple. For a stronger visual effect, you could use your leftover light cord or chain to hang beads, crystals, shells, ornaments, antique bottles, or anything else that catches your eye. Feel free to get creative with it.
If you really want to make your new chandelier pop, consider painting it. A quick coat or two of spray paint will help to transform an old wheel or baking rack into a more realistic base. A coat of white paint is a safe and elegant option, but don’t be afraid to match it to your home’s unique colour scheme.
8. Light It Up

Congratulations, your chandelier is finished! The last step is to light it up and enjoy. If you’re using candles, simply light them and drop them into the jars. Just make sure you follow candle safety guidelines to prevent fires.
If you prefer electricity, you could also consider using lamp parts and an extension cord or even wireless LEDs to add bulbs to the jars. Or, you could consider hanging your chandelier underneath an existing ceiling light fixture so the light can radiate off the glass naturally. Be sure to follow electrical safety guidelines if you’re doing any wiring on your own, or hire a contractor to help you with wiring your new light fixture.
Note: Make sure that you check your local regulations before doing any electrical work, some area do not permit unlicensed electrical work to be carried out.
Keep Adding To Your Chandelier
The great thing about this project is that you can keep modifying it over time. Just keep some spare chain and wire on hand, and you’ll be able to attach new pieces whenever the mood strikes. If your first chandelier doesn’t turn out as well as you were hoping, learn from your mistakes and try again! The materials are cheap, so why not experiment with your design?
Have you tried making your own chandelier? Let us know what you made in the comments section below.