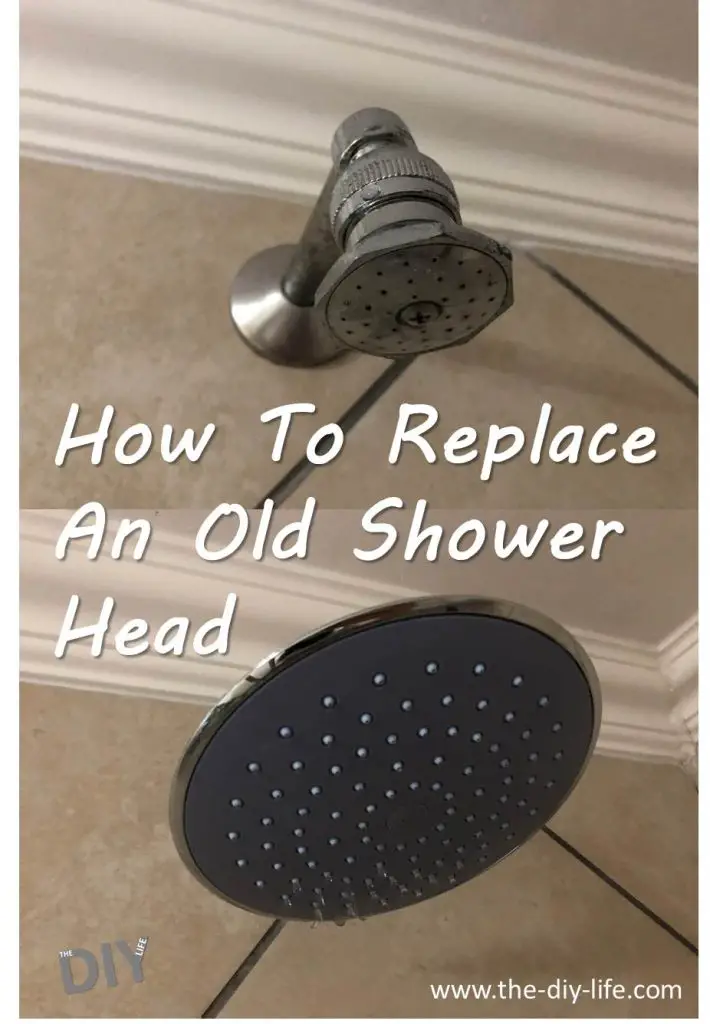
An old or broken shower head can be a frustration to use, spraying water in the wrong directions, leaking or frequently getting blocked up. Rather than continually struggling with the old one, you can replace it yourself in a few minutes and with a single tool.
Having decent quality and modern fittings in your home increases your home’s value and are often the first thing guests and potential buyers notice in your bathrooms and kitchen.
If your shower head is still in good condition but some of the holes have become blocked, try effortlessly cleaning out your blocked shower head.
If your shower door is leaking or leaving puddles on your bathroom floor, have a look at this guide on how to replace your shower door seals.
Be sure to check your local regulations before continuing with this replacement. In some areas or countries it is illegal to carry out unauthorized plumbing work on your home.
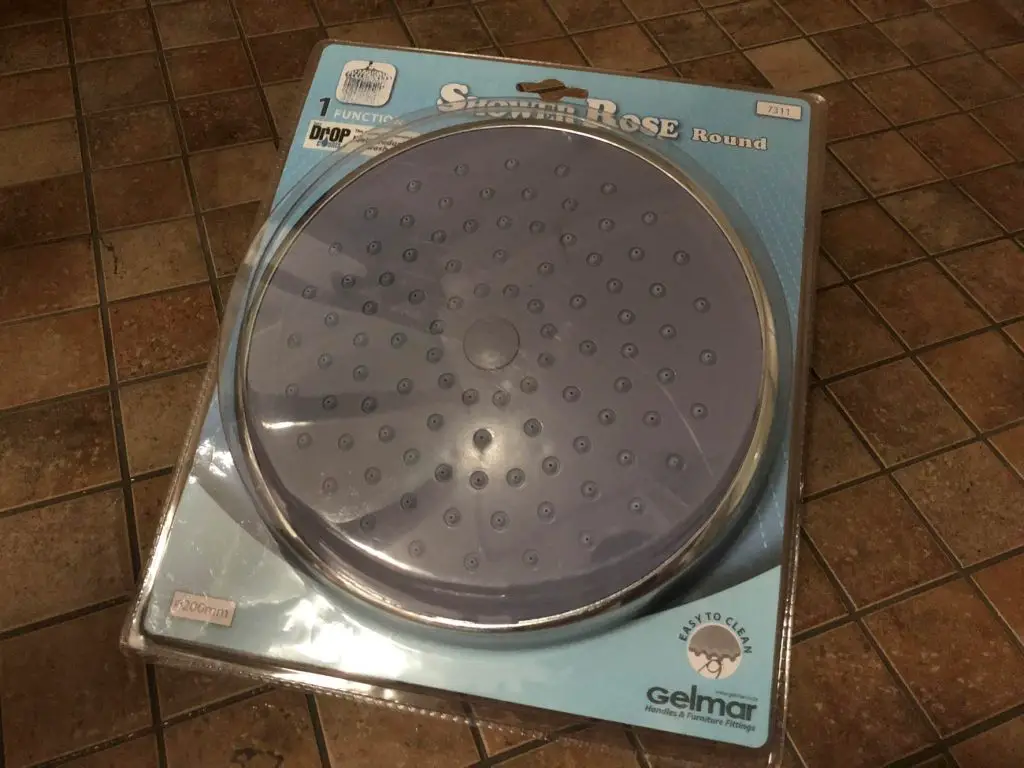
What You Need For The Replacement
How To Replace Your Shower Head
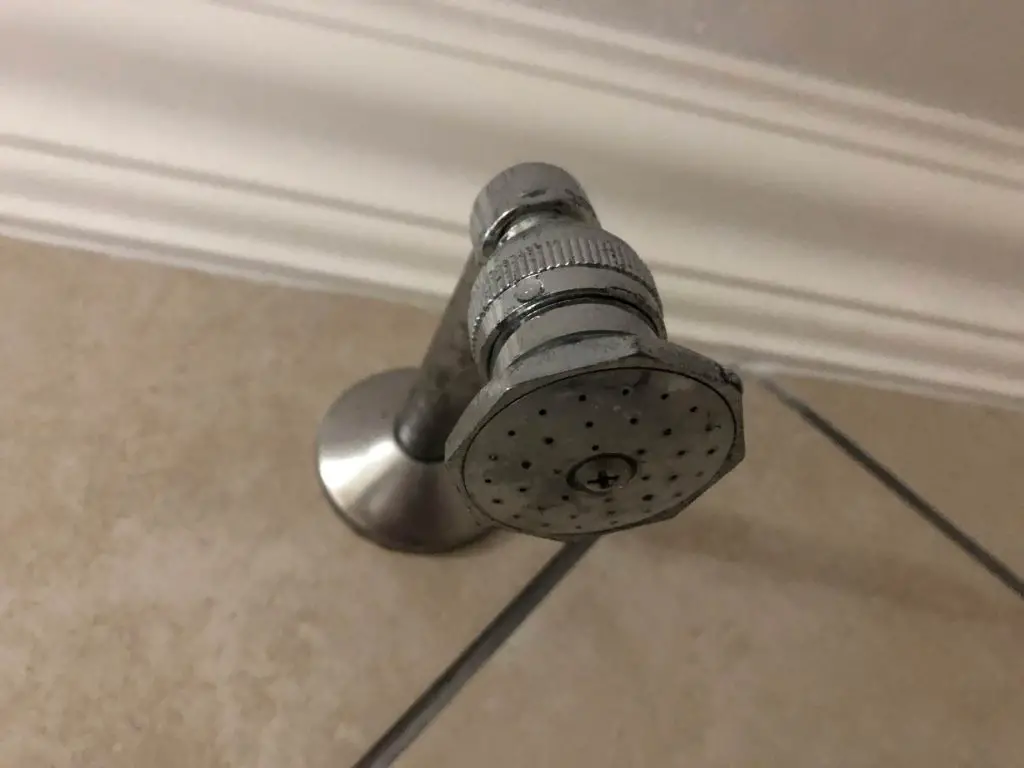
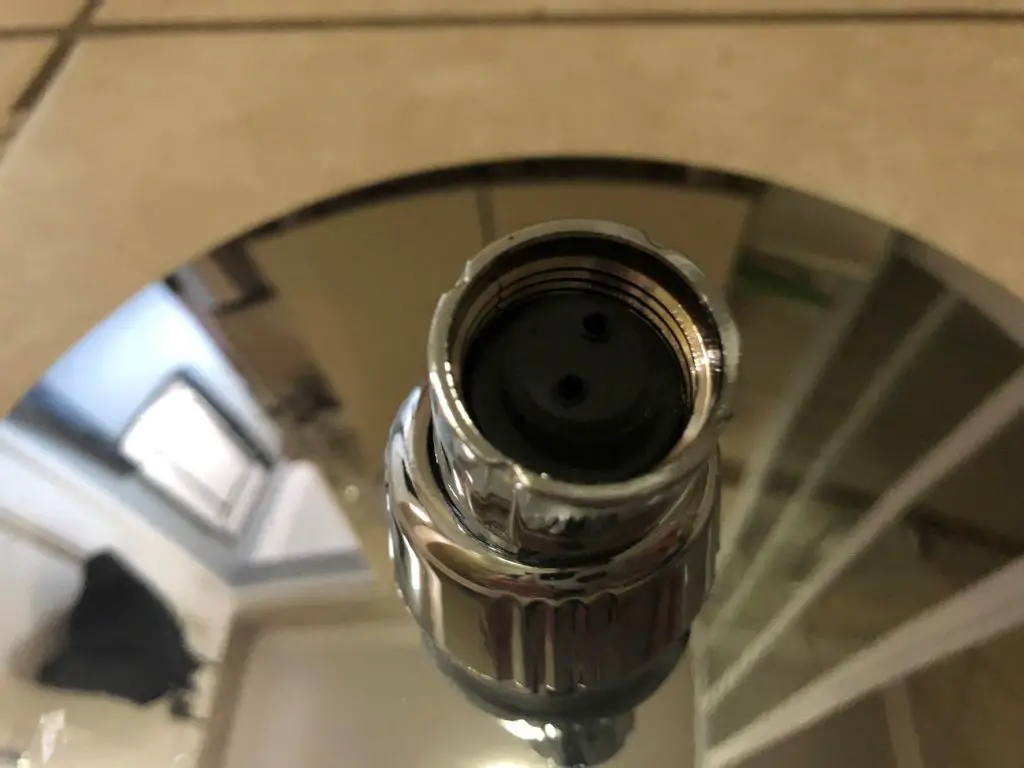
To start with, you’ll need to remove the old shower head. You’ll notice that there is a small round nut which connects it onto the stem which protrudes from the wall.
If you find that your shower stem is loose, follow this guide to secure your loose shower stem again.

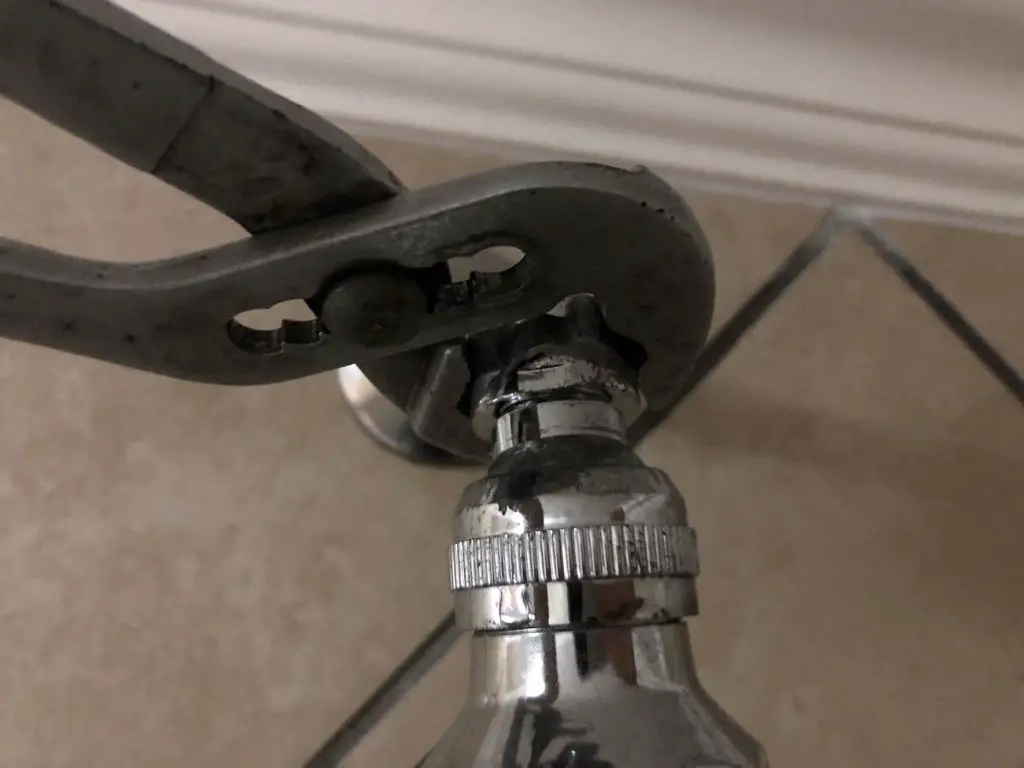
Use your water or plumbing pliers to grab hold of this nut and turn it counter clockwise to unscrew the old head from the stem. If the nut is stuck due to mineral deposit build up, you may need to soak it in vinegar for a couple of hours to loosen it up.
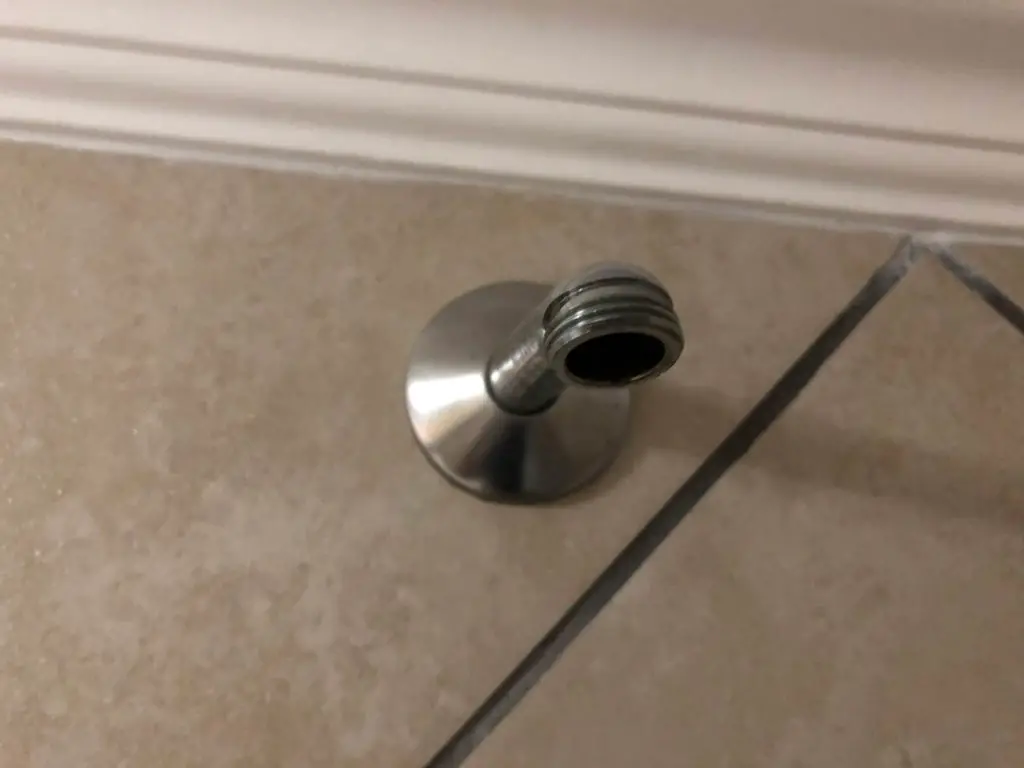
You’re now read to install your new one.
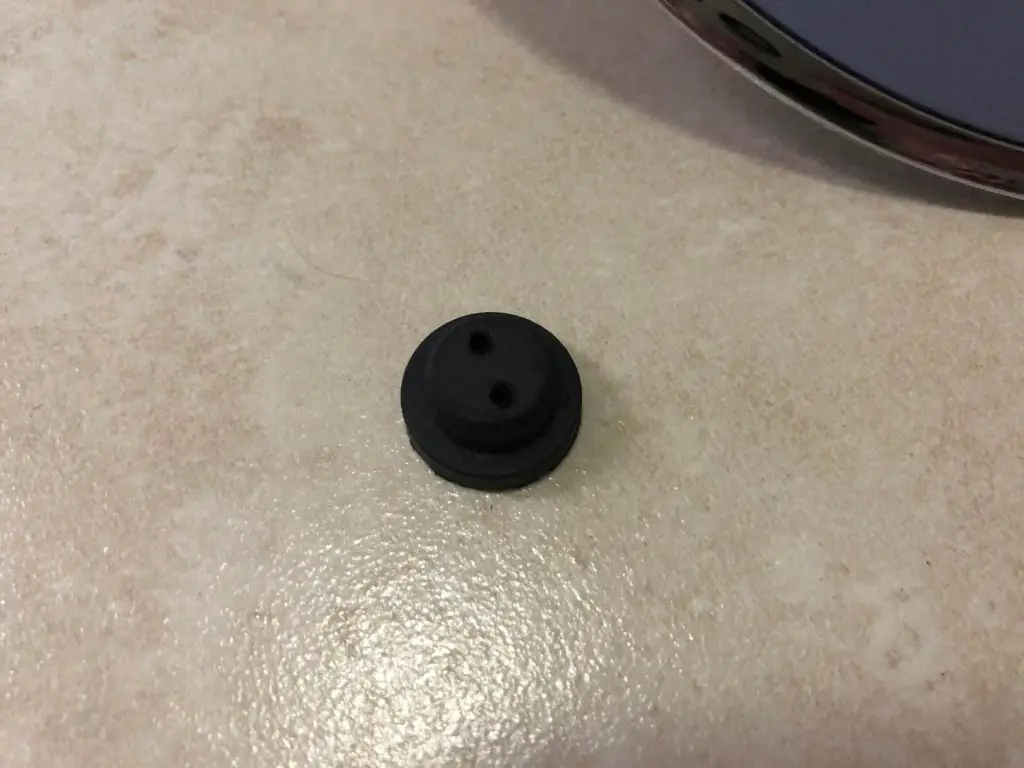
Some modern shower heads come with an optional flow restrictor which reduces the flow rate of water in order to save water while you are showering. This is usually a small plastic or rubber insert which is installed between the head and stem as shown below. The small holes limit the flow rate of water through the insert and therefore save water.
Screw the new shower head onto the shower stem by turning the nut clockwise onto the stem. Tighten the nut using your plumbing pliers, it doesn’t need to be very tight so don’t over tighten it or you’ll risk damaging the chrome finish on the nut. You can also use an old cloth or rag around the nut when using the pliers to further protect the nut from the teeth of the pliers.
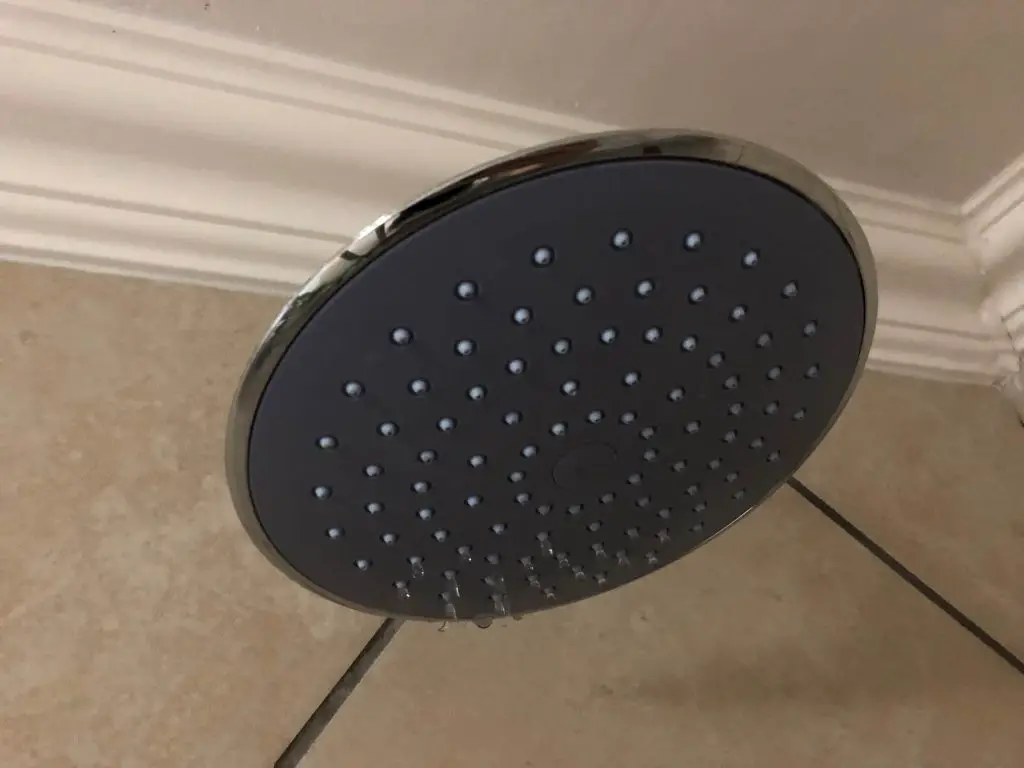
Turn on the water and check that there are no leaks around the joint it is ready to use.
Have you changed your own shower head? Let us know your tips and tricks in the comments section below.
Share this guide: