The M1 is a new new product by xTool, a company that is already well-known in the CNC diode laser space. This laser is quite different to their others though because it is fully enclosed, so it is much safer to use than open gantry style lasers, it properly manages smoke and fume extraction, and it’s got a trick up its sleeve for hobbyists.
Not only does it have a 10W diode laser module for cutting and engraving, but alongside it is a blade cutting tool, allowing you to accurately cut vinyl, paper, leather, fabrics and felt, all without leaving burn marks around the edges.
Here’s my video review and build, read on for the write-up:
What You Need To Make Your Own Keyboard
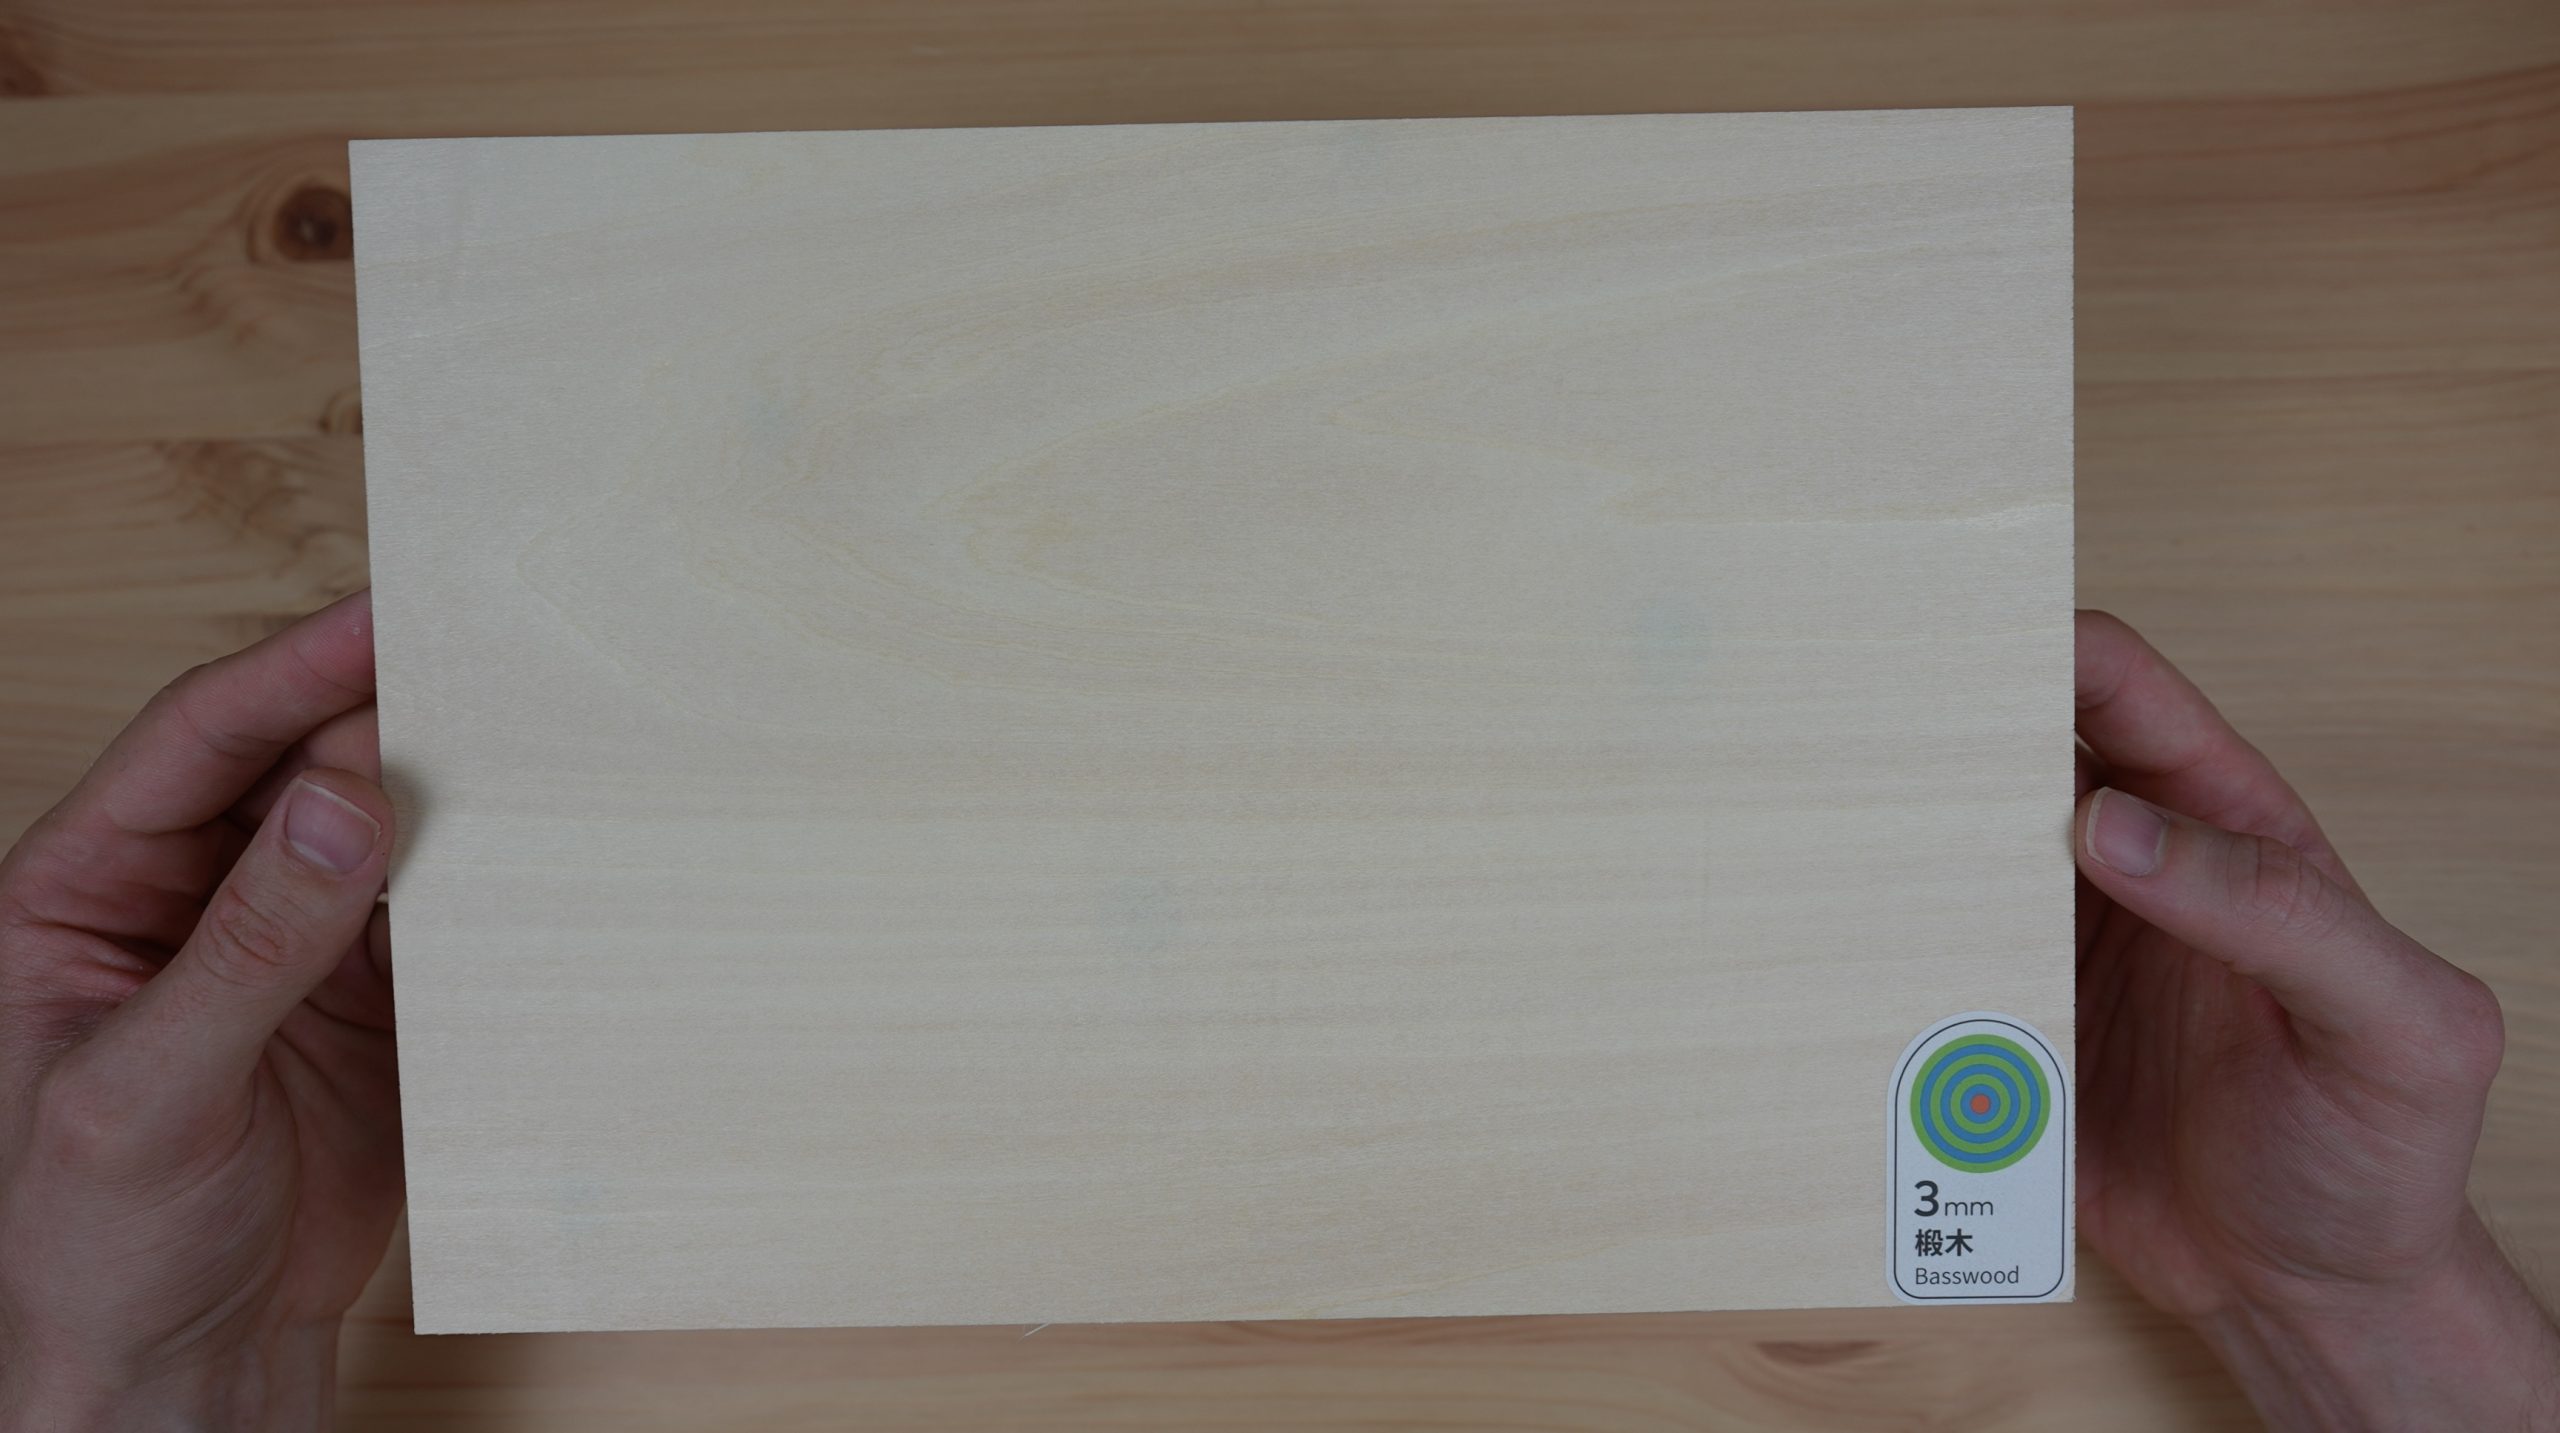
If you don’t get the deluxe bundle, you’ll also need two A4 size sheets of 3mm plywood to make up the keycaps.
- GK61 Mechanical Keyboard – Buy Here
- Gateron G-Pro Series Red Switches – Buy Here
- Superglue – Buy Here
- Masking Tape – Buy Here
- White Spray Paint – Buy Here
Equipment Used
- Creality Ender 3 S1 Pro – Buy Here
Some of the above parts are affiliate links. By purchasing products through the above links, you’ll be supporting my projects, at no additional cost to you.
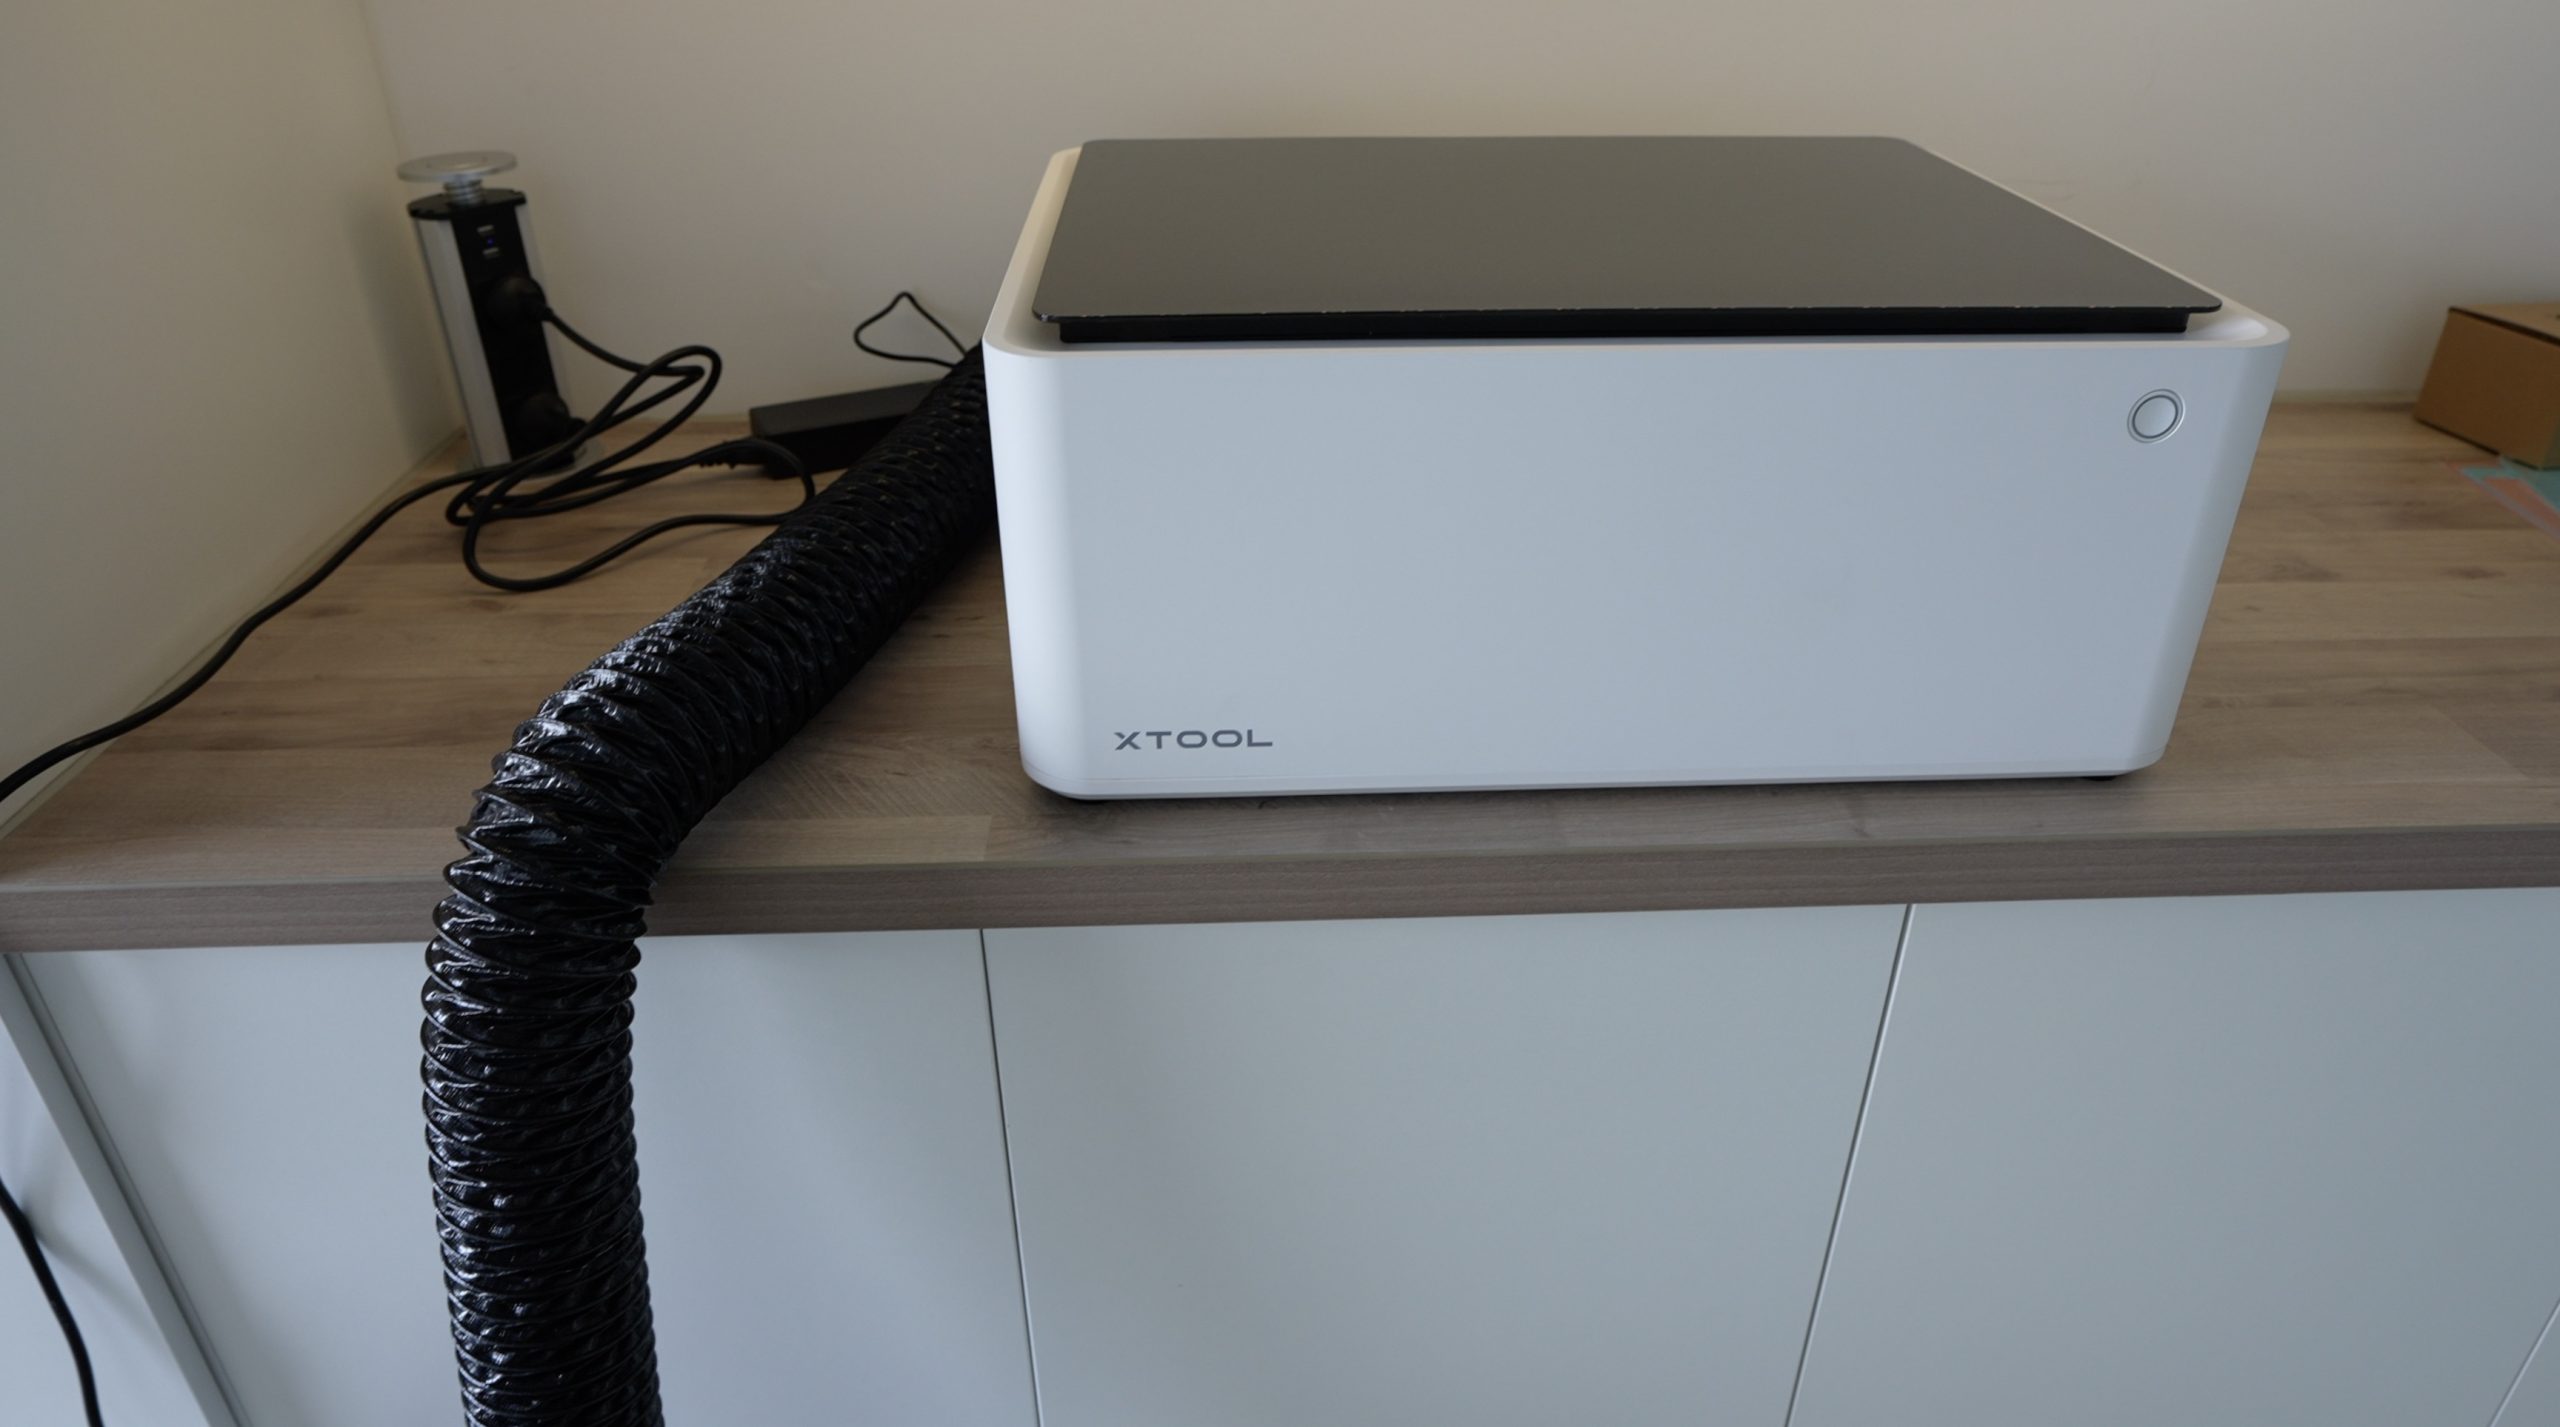
Unboxing The xTool M1
The M1 is available in with a 5W laser and a 10W laser, with a $100 price difference between the two. I personally think that the additional capabilities of the 10W diode make it well worth the increase in cost.
The 10W version is available in a bundle with a rotary tool and materials pack and then a deluxe bundle which also includes an air purifier. This is the bundle that xTool have sent me to try out, so that’s what we’re going to be using in this project.
This bundle includes everything you’re going to need to get started using both the laser and blade cutting modes on the M1 and will allow you to use the machine indoors without having to vent the machine out of a window or door.
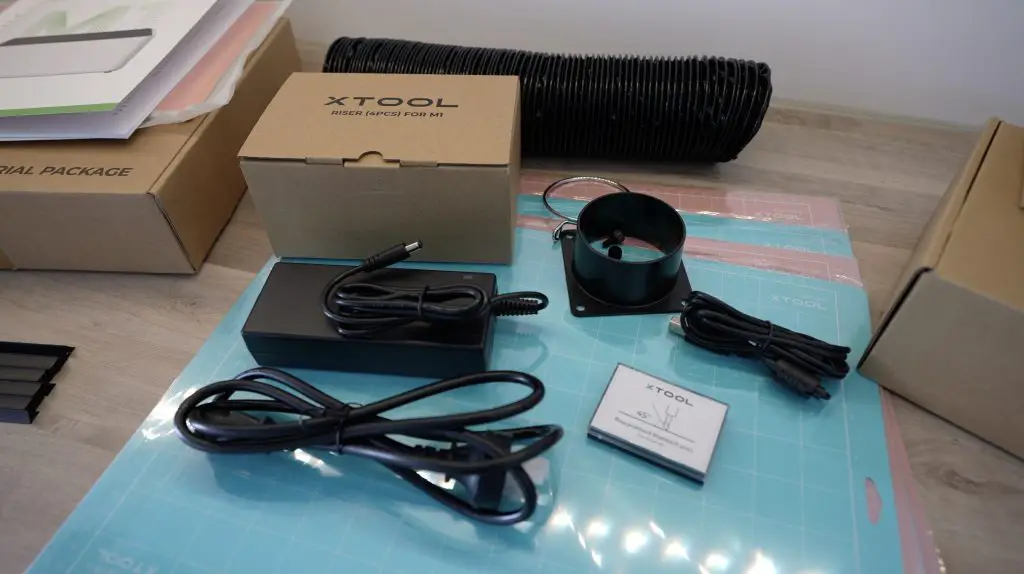
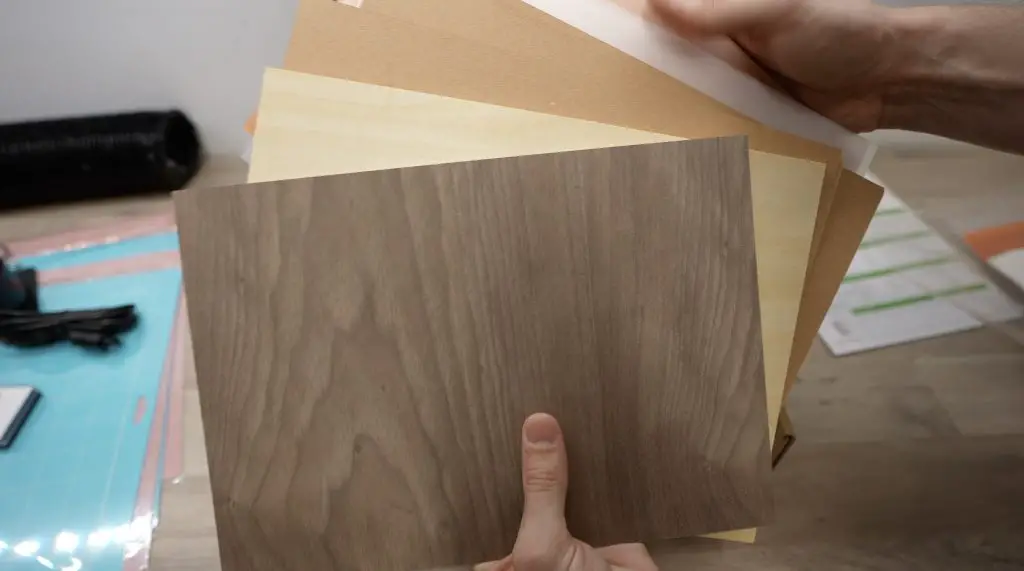
The materials pack includes coasters, dog tags, a mobile phone stand and wooden tags to engrave on, and then a range of sheets of wood, pvc, vinyl, card to try out.
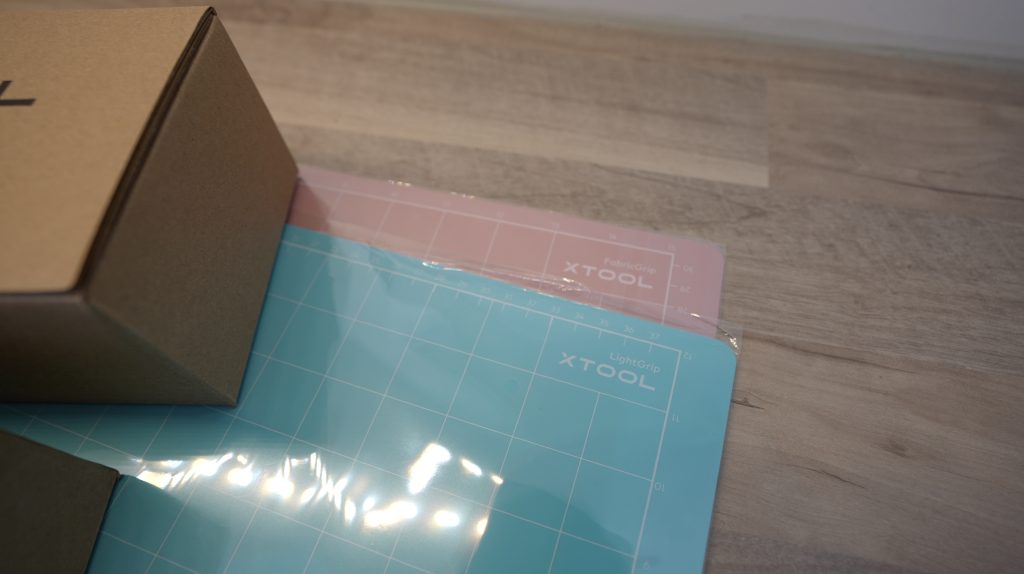
They also include four cutting mats which you’ll use in the bed of the machine to grip your sheets when using the blade cutting tool. There are two of each type included, one light grip mat for PVC and vinyl and one strong grip mat for fabrics.
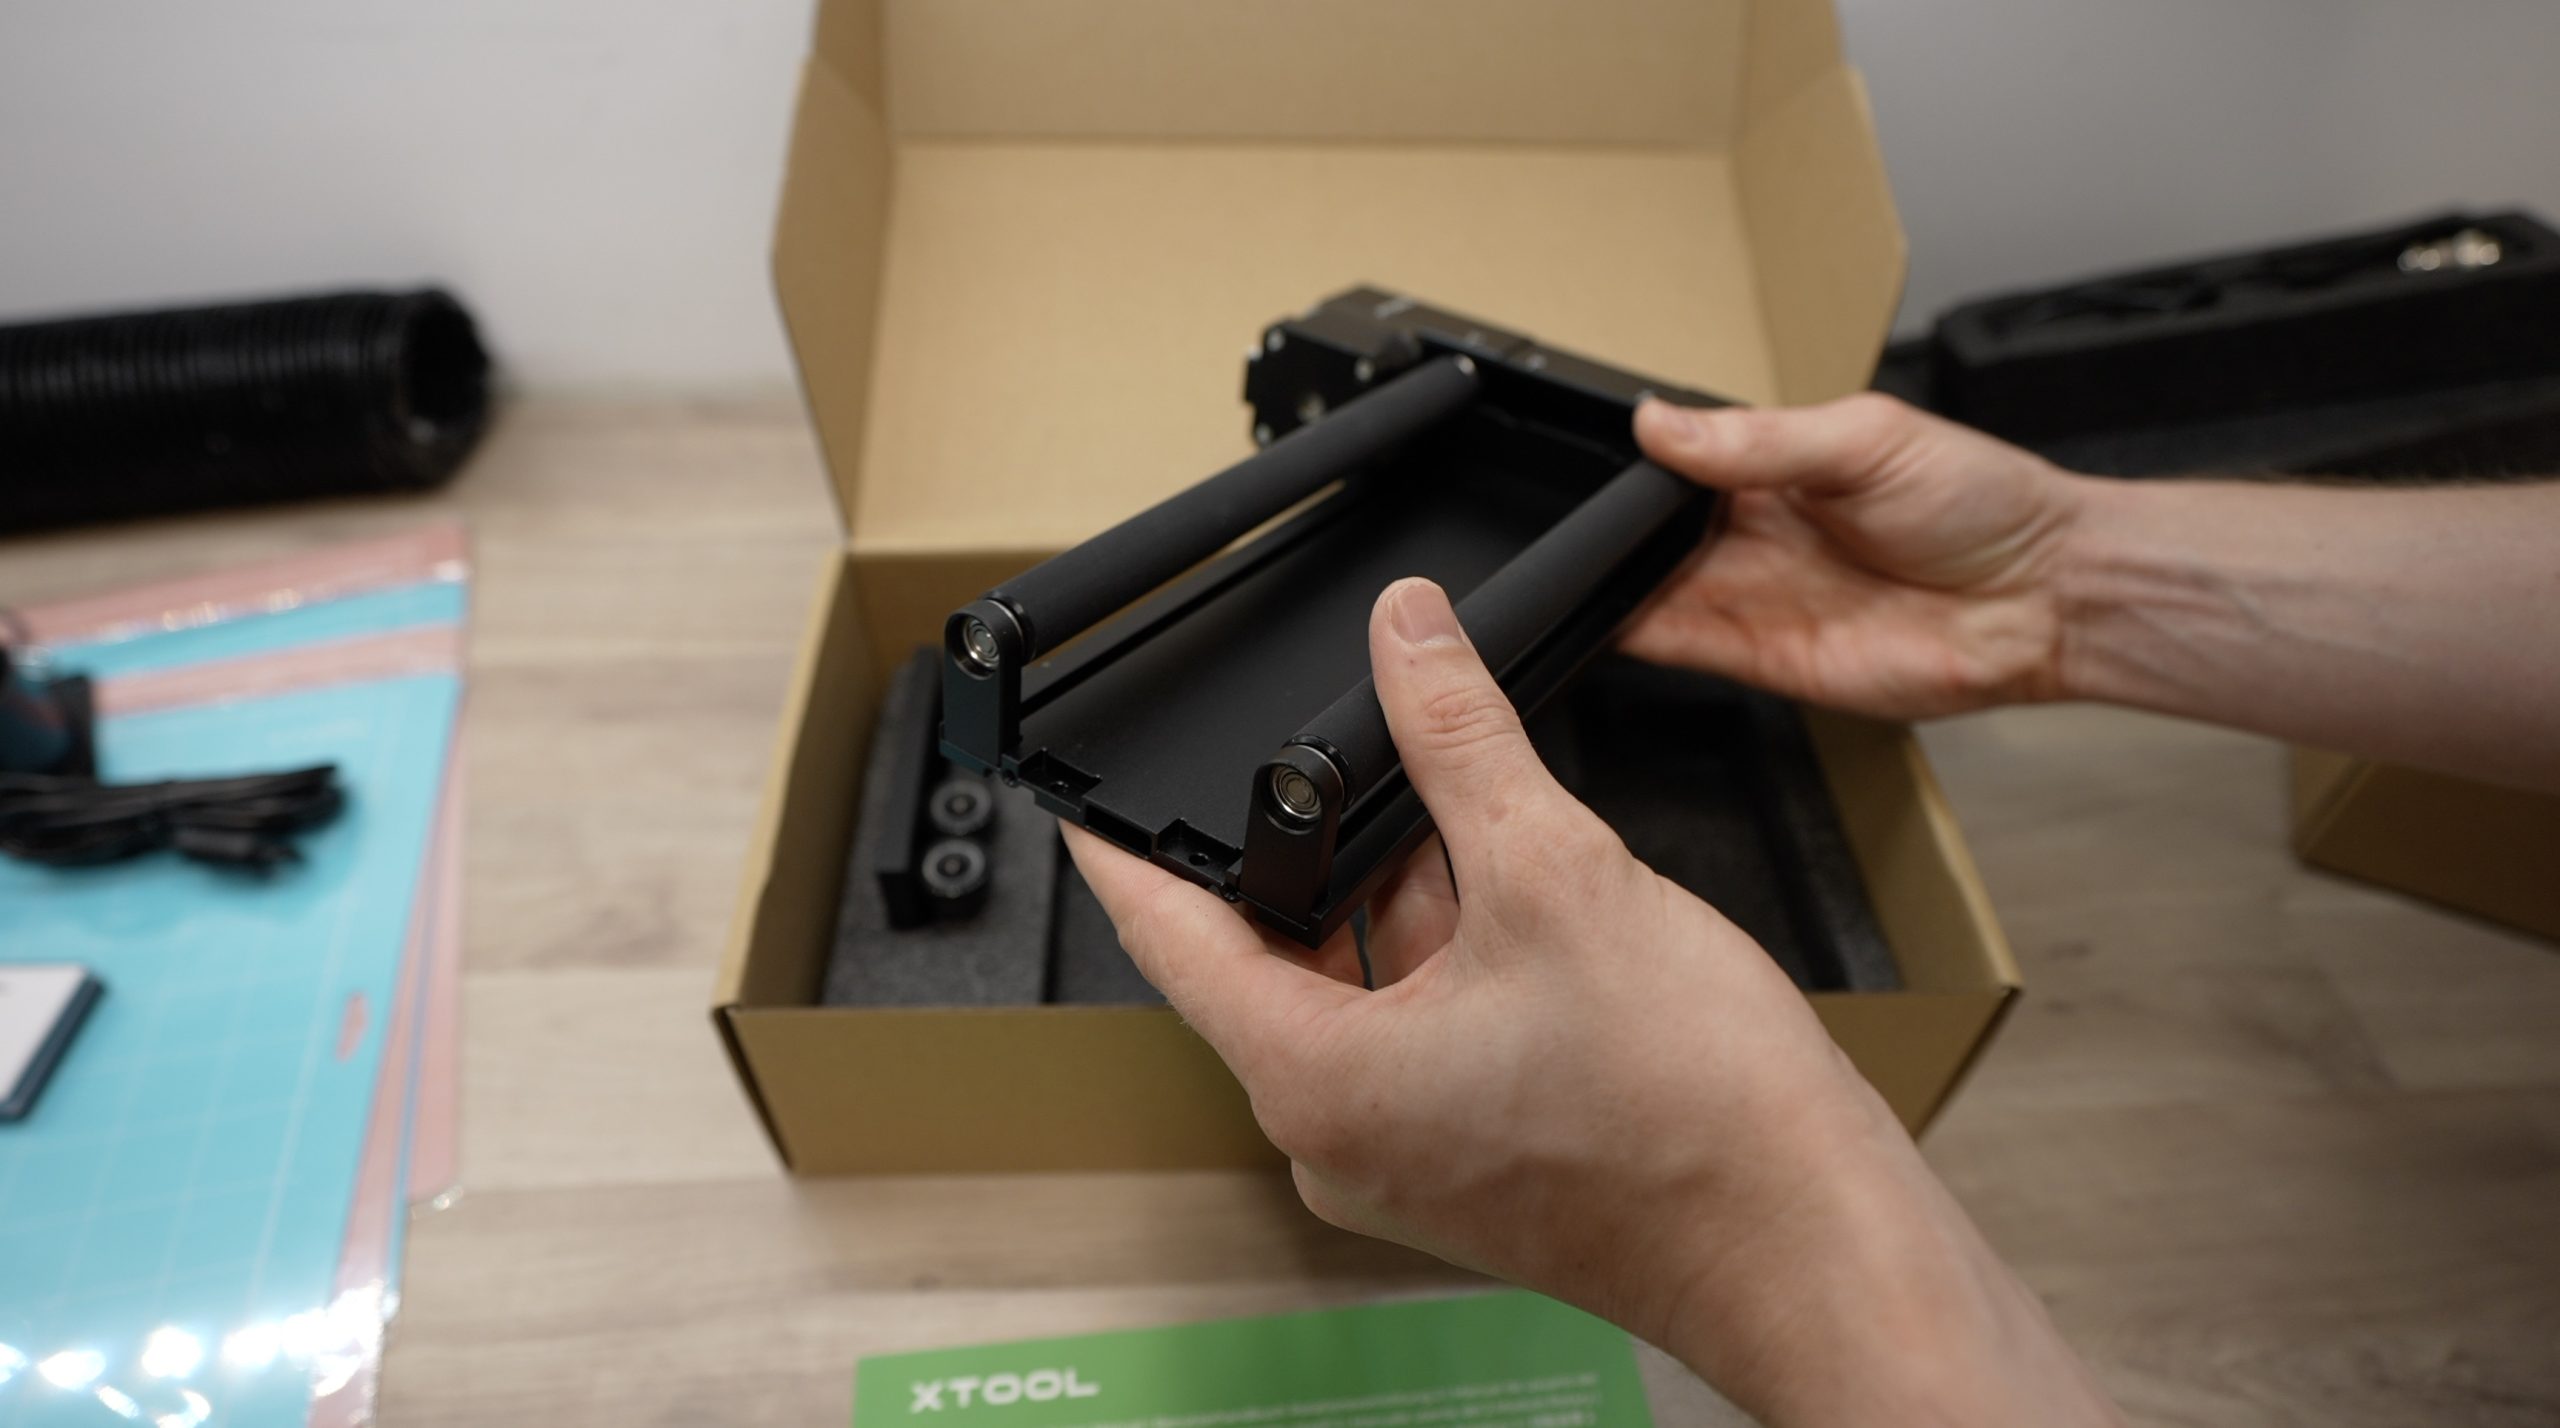
The rotary tool is really cool, the main system is a standard two-roller design with adjustable distances between the rollers. They also include a stand to help level odd-shaped cylindrical objects like wine glasses or tapered mugs and then they also have a chuck attachment which can be used to grip objects like pencils, round handles or dowels and even balls.
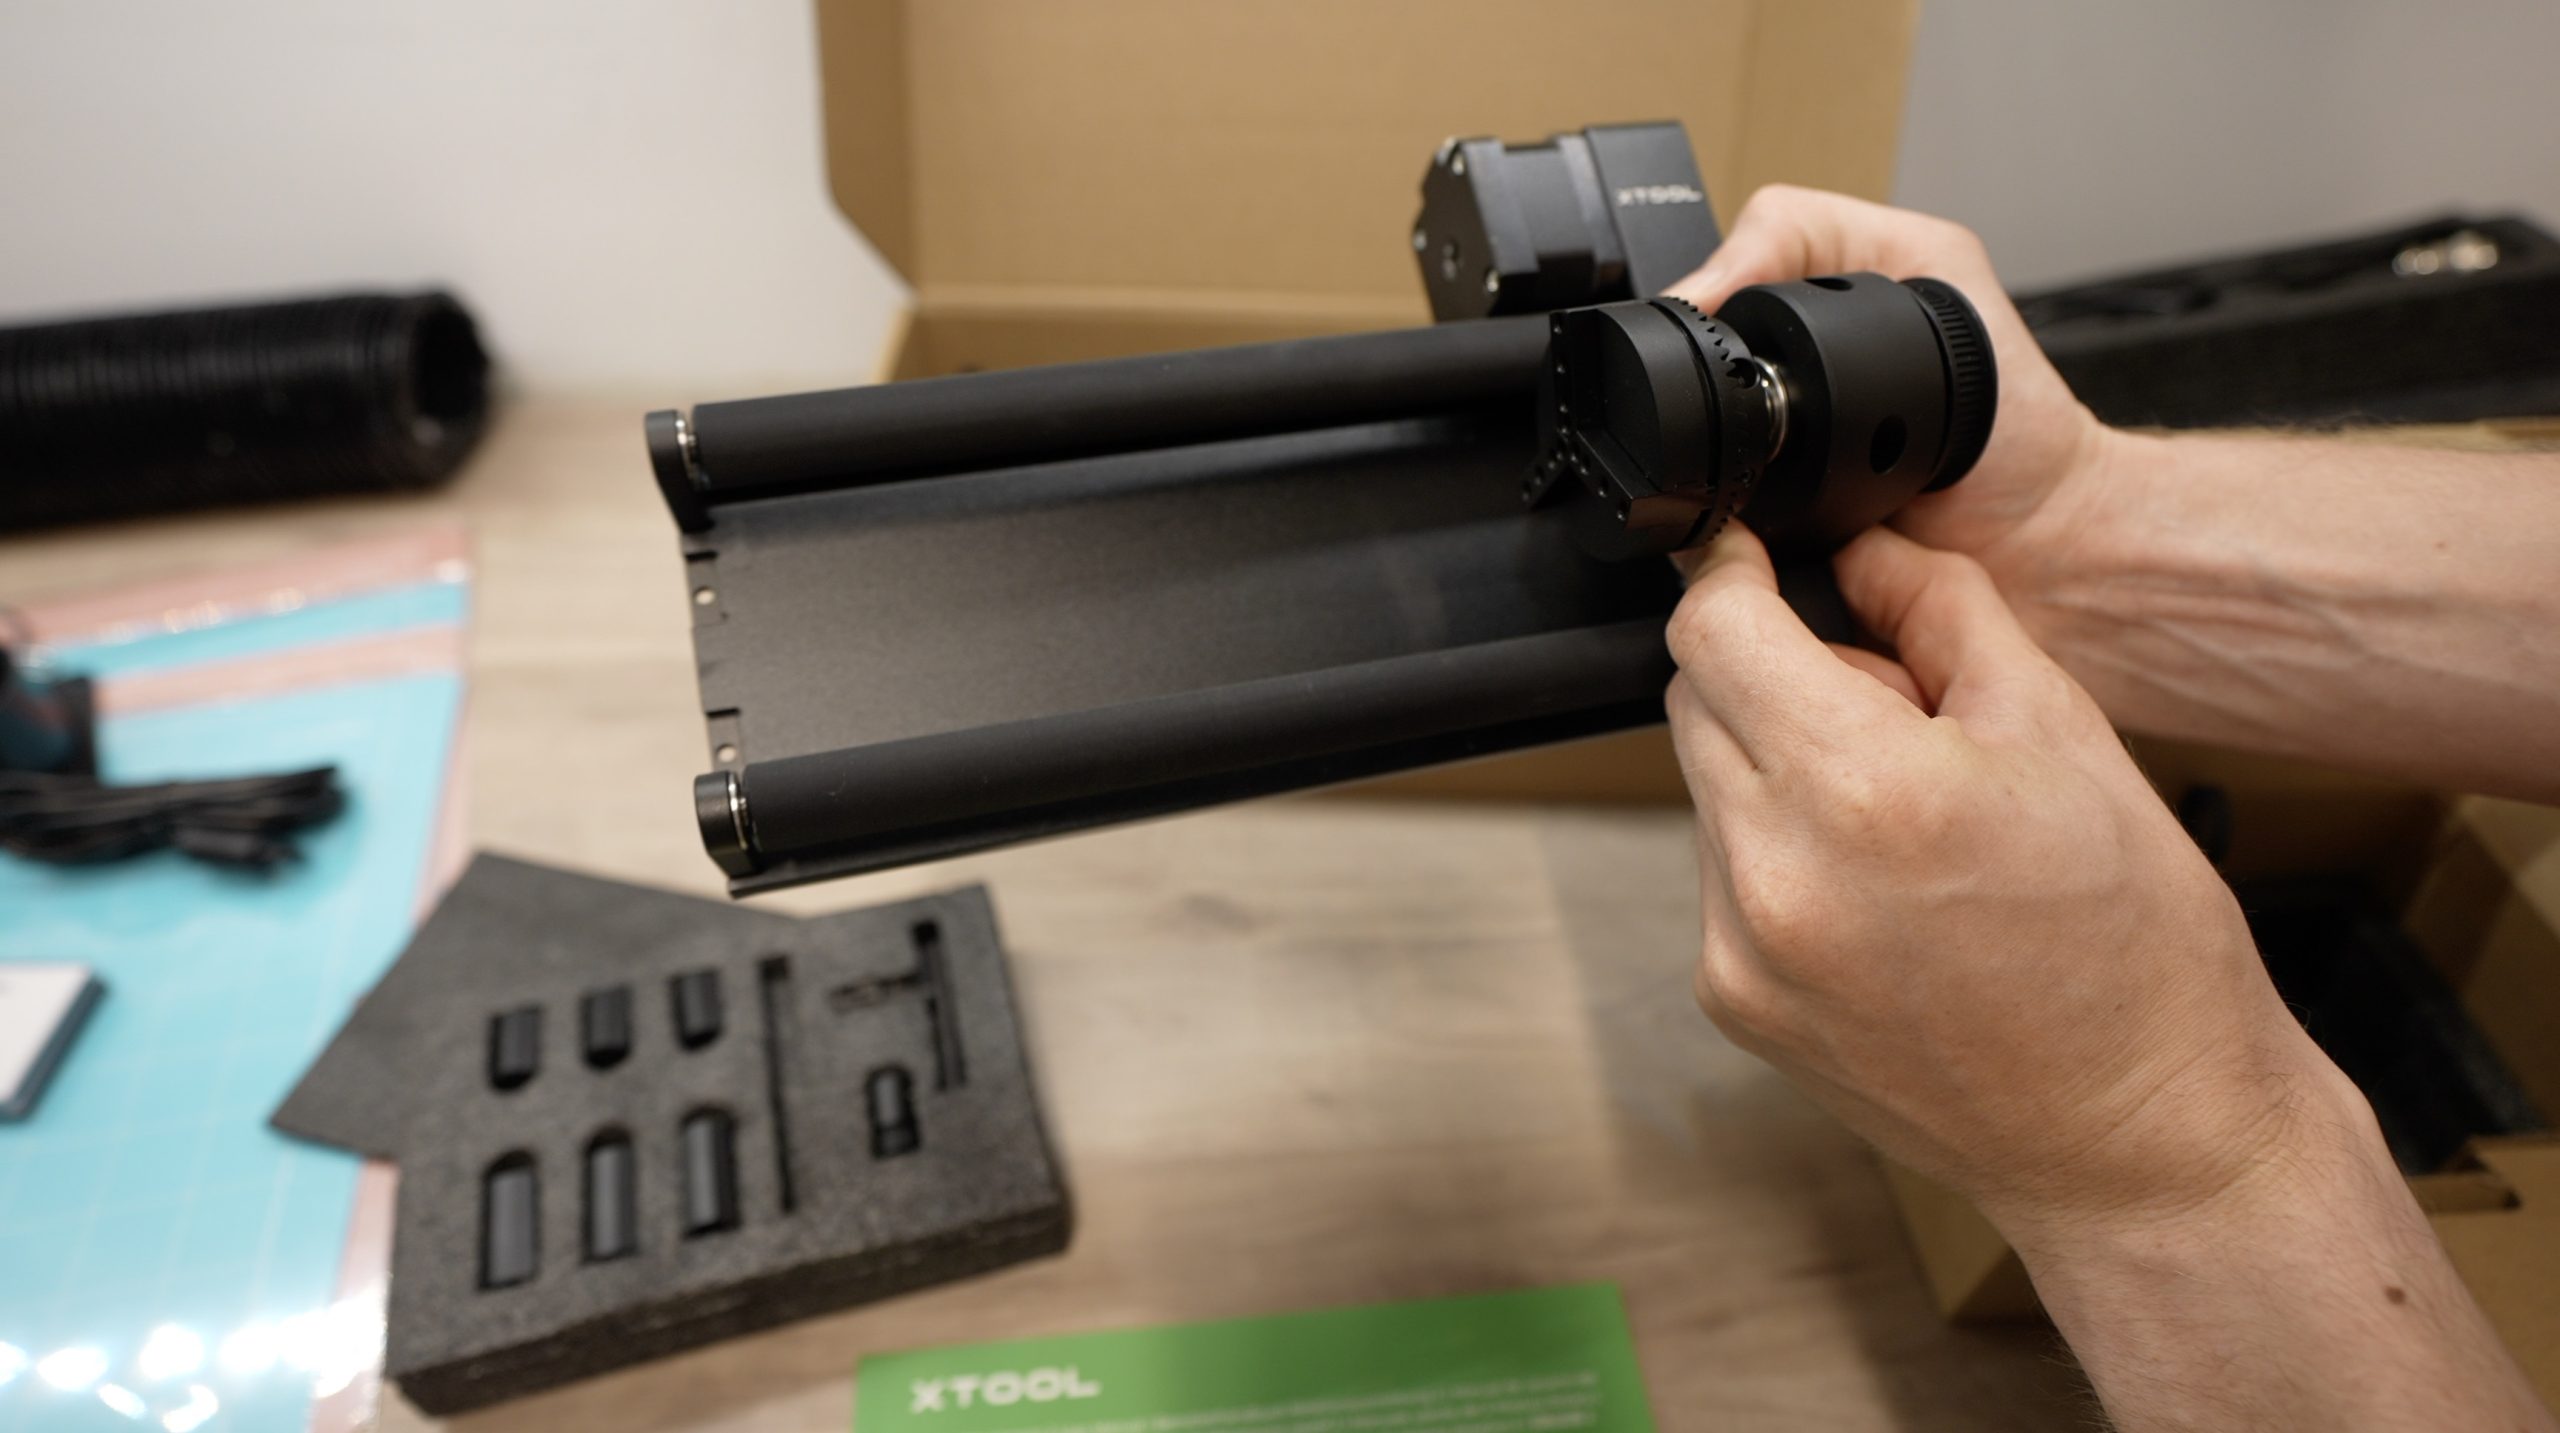
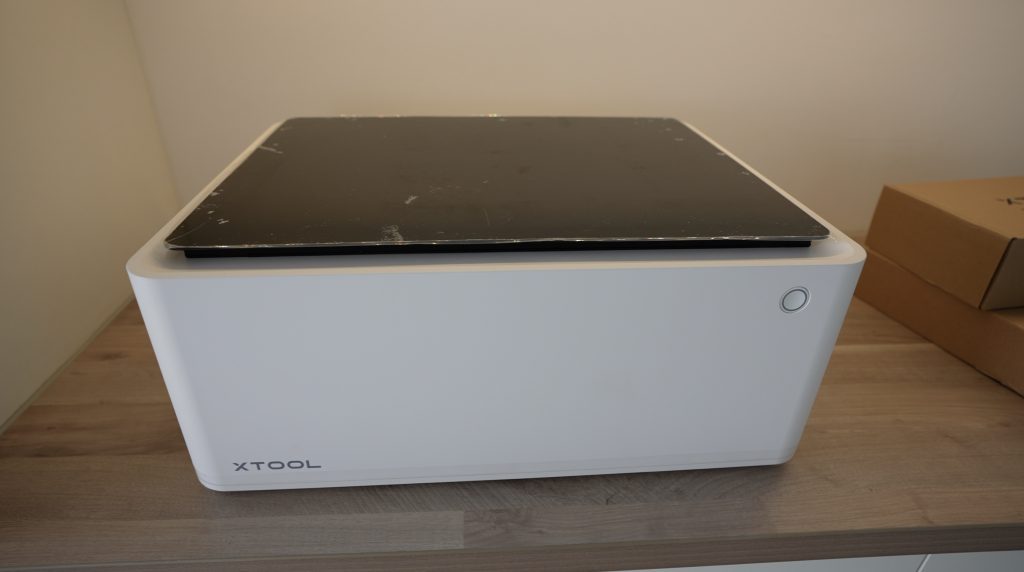
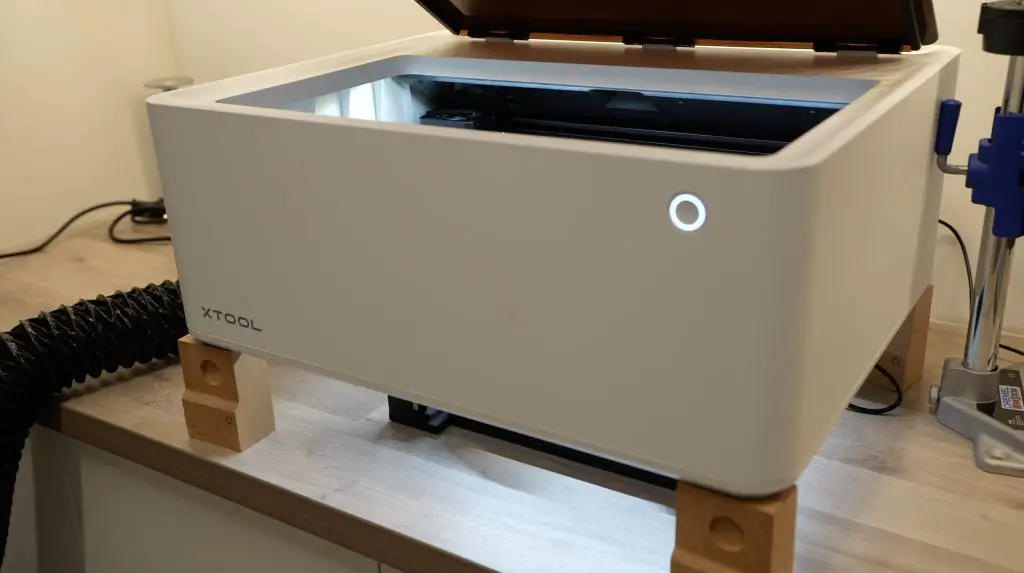
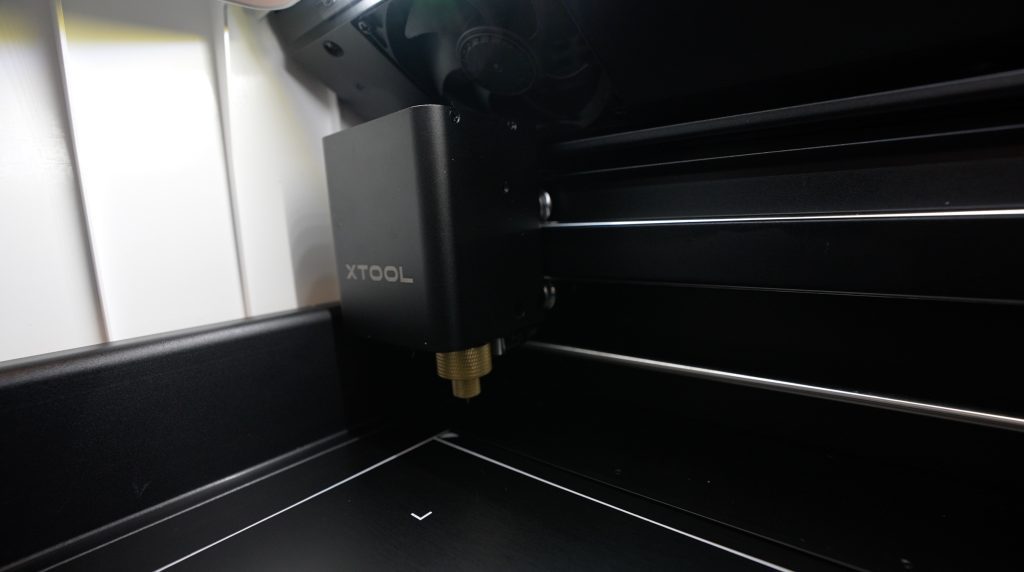
Unlike most other CNC diode lasers, and largely owing to the housing that fully encloses the laser, the M1 comes pre-assembled, so you only really need to remove the packaging, connect your ventilation system if you’re using one and then download their software package on your computer.
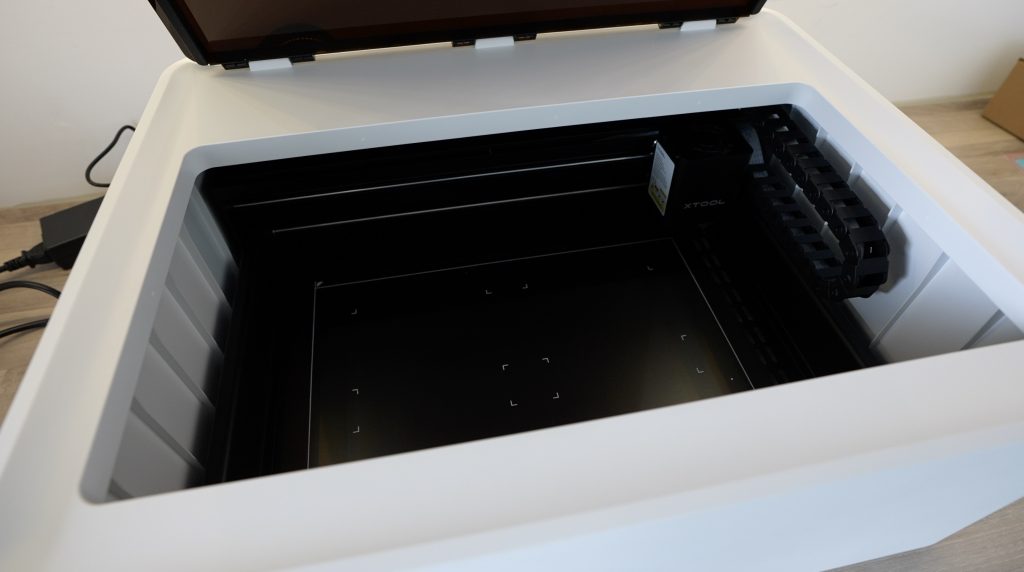
Although the enclosed design makes the M1 quite a lot larger to ship and results in a smaller working area than most of their other machines, it’s definitely a safer and more user-friendly long-term solution. The amount of smoke that comes off the open gantry style CNC machines that I’ve used makes them impractical to use in a space that isn’t very well ventilated. I usually land up running mine on a table outside, which is unpleasant in the extremes of summer or winter and impossible when it’s raining. The second, and probably more important benefit to this design is safety. The laser is fully enclosed in a Class I FDA-certified housing and the transparent cover filters blue light to protect your eyes.
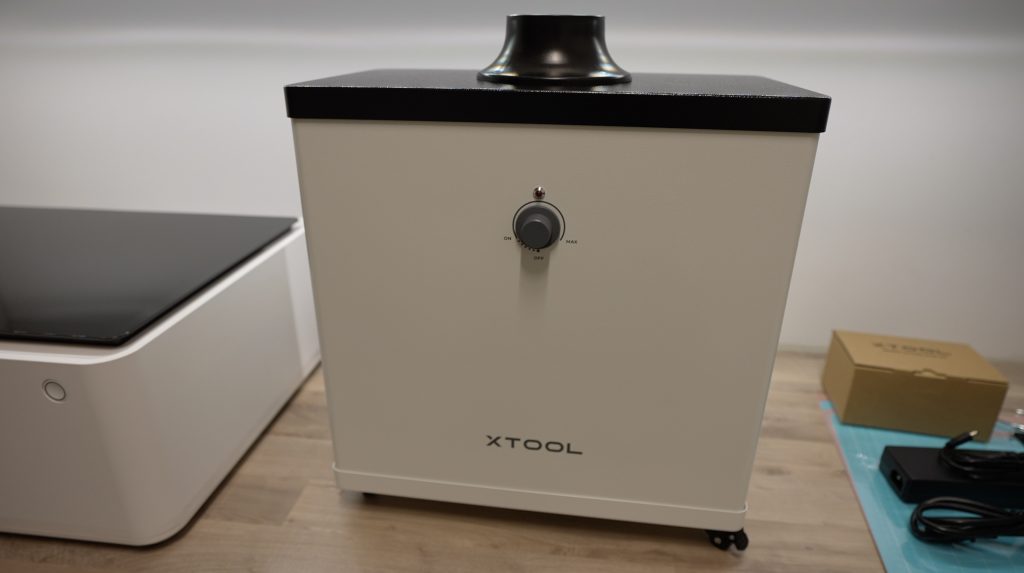
xTool’s Air Purifier
The air purifier included with the deluxe bundle allows you to use the machine in an enclosed area by filtering the exhaust fumes and then recirculating the air. It’s also compatible with xTool’s D1, D1 Pro, Laserbox Rotary and Laserbox Pro models.
It consists of an all-metal housing with a fan speed adjustment knob on the front, the power input and switch on the side and the input at the top.
Inside the housing is a stack of filtration media. There’s a pre-filter to capture the larger visible particles, a middle filter that removes particles down to 0.3um and then the main filter which absorbs harmful gases and odours.
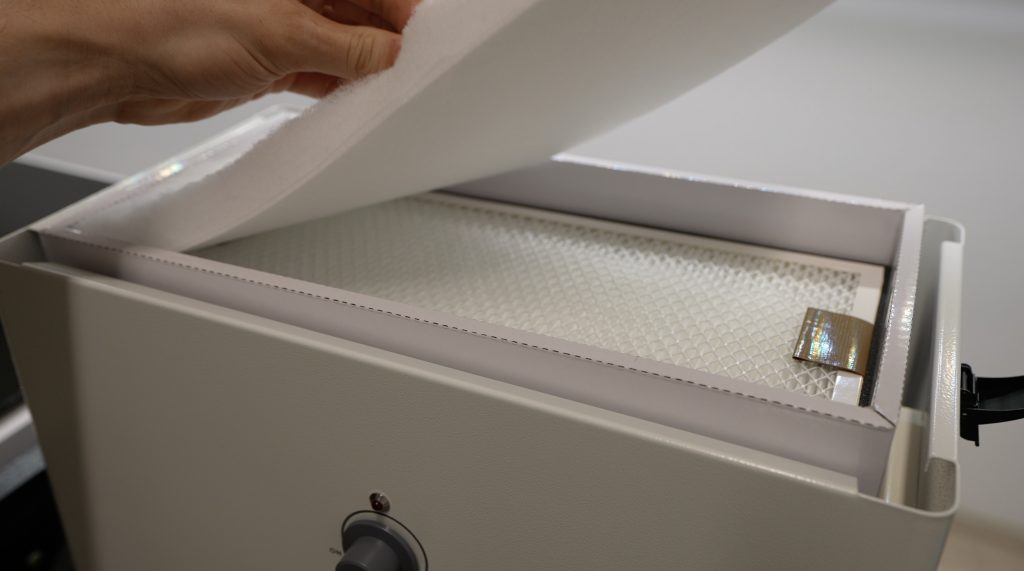
They supply a spare pre-filter with the purifier and you can get a replacement filter kit from their web store. They don’t really provide any information on how long the filters should last or how often to replace them, although this obviously largely depends on what materials you’re usually cutting or engraving.
If you don’t go with the air purifier, the included ventilation fan and exhaust pipe will still allow you to duct the smoke produced by your machine out of a window or door.

Designing The Mechanical Keyboard For My Pi
Now that we’ve got the xTool M1 set up, let’s use it to make something. I’ve been wanting to make my own custom keycap set for a while and to be honest this project took a lot more time than I had initially anticipated.
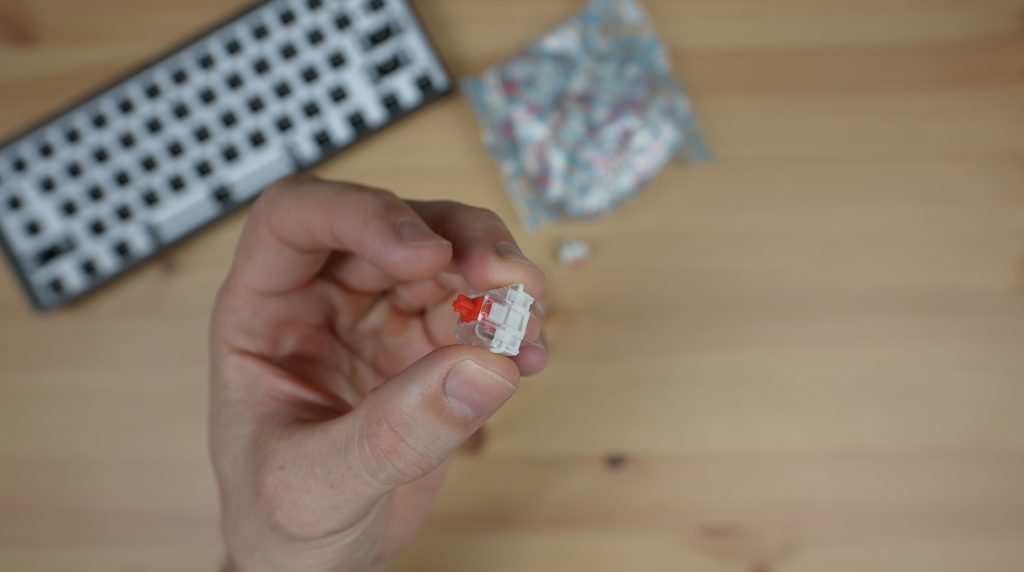
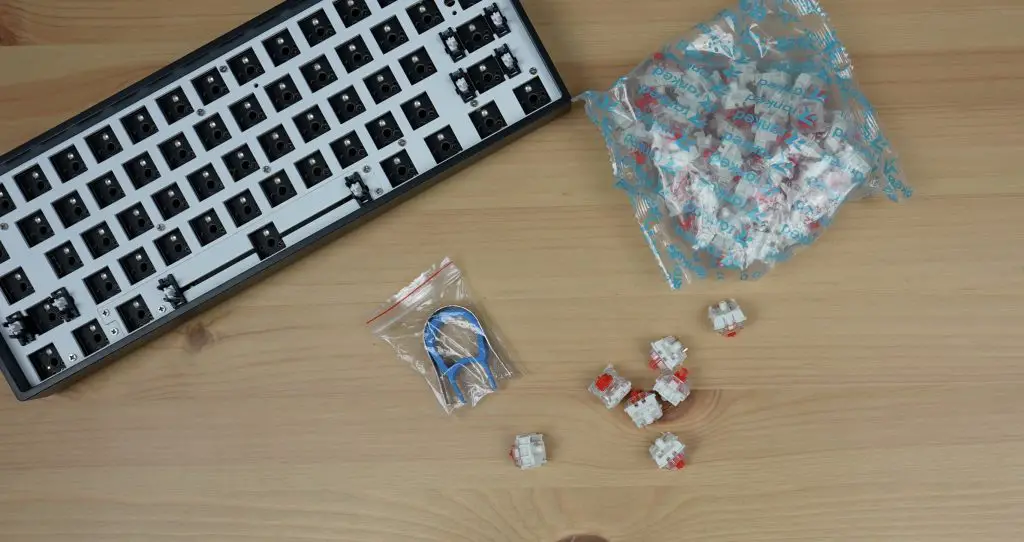
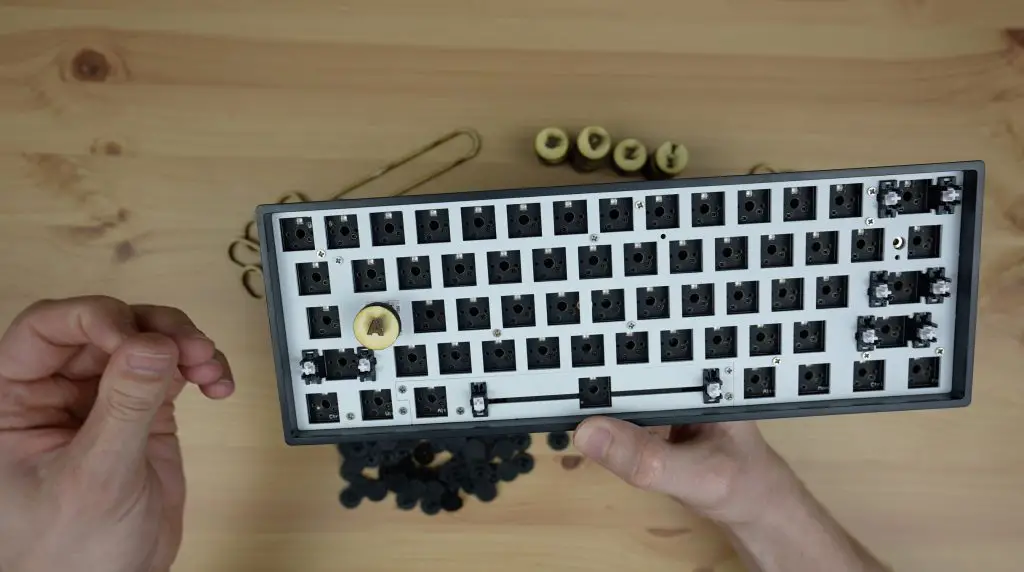
To start with, I bought a DIY GK61 mechanical keyboard base. This is essentially a keyboard PCB with a base. You can then add your own key switches depending on the feel you’d like to go for and then add keycaps to the top of the switches to complete it.
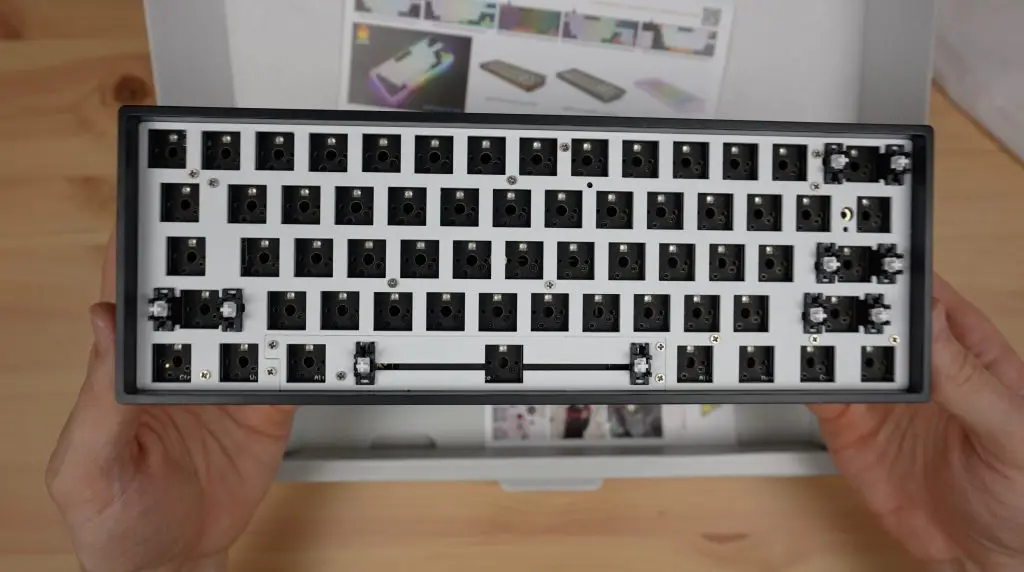
The switches I went with are Gateron G-Pro series red switches. I chose these switches because they looked like a good mid-range starting point, not being too sensitive, not making much noise and most importantly not being overly expensive.
I quickly discovered that you can spend upwards of $1,000 making your own keyboard, which seems crazy when over 40,000 people are perfectly happy with a $35 one from Amazon that comes with a mouse as well.
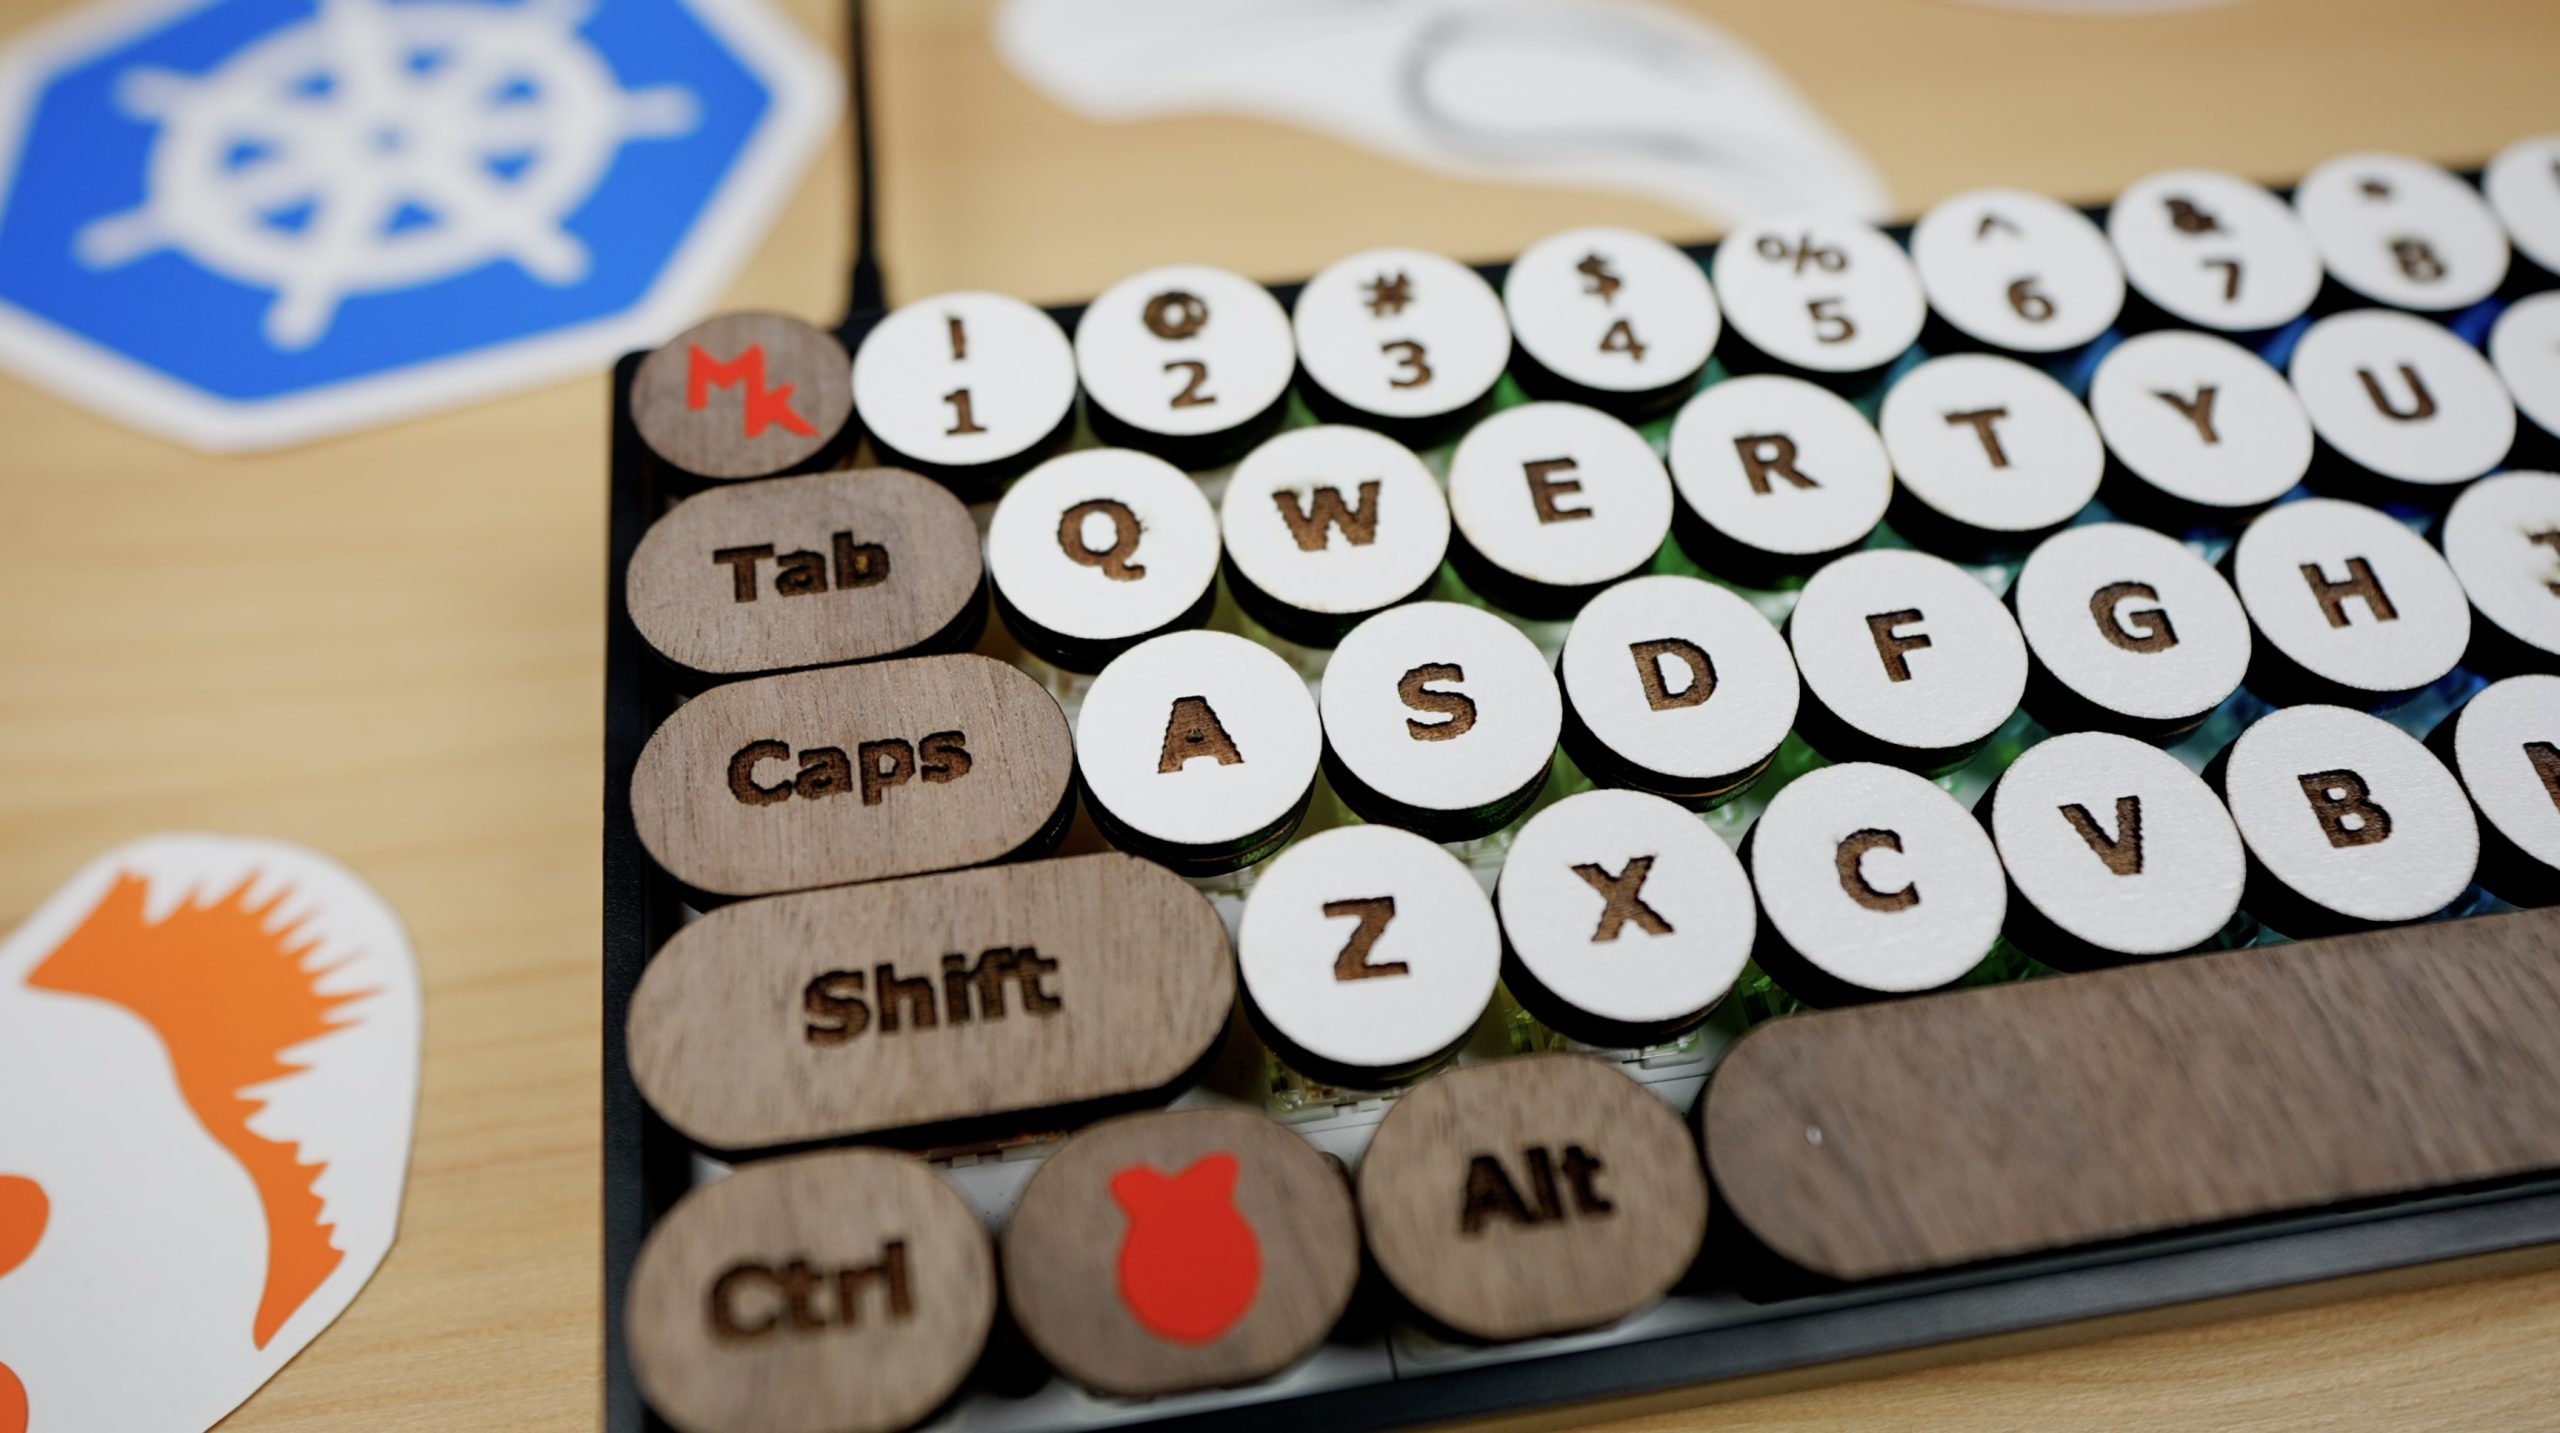
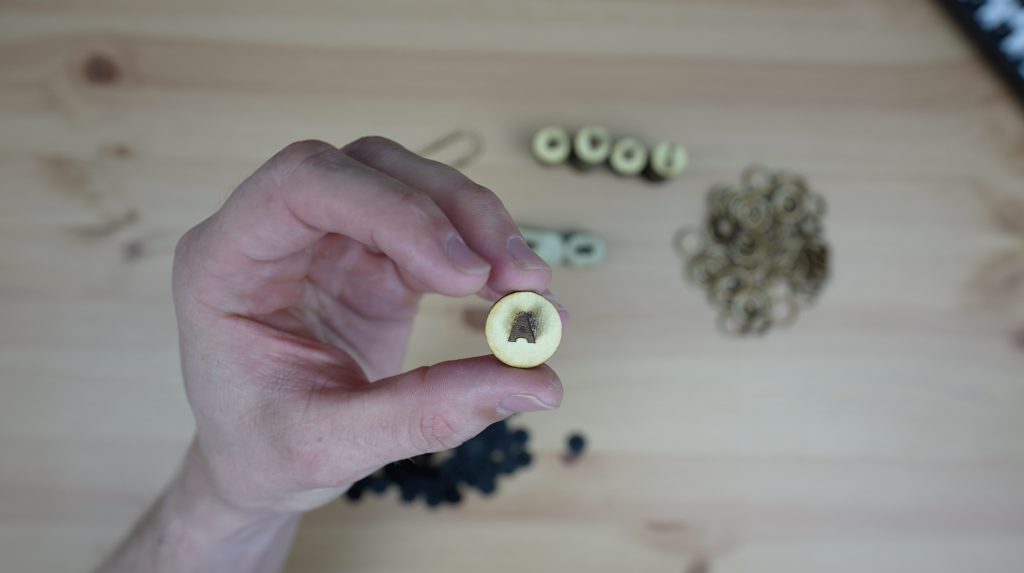
With my base and switches unboxed, I then got to designing my keycaps, which took a few iterations to get right. I tried a range of options including square and round keys, different sizes, and different fonts. I also redesigned the part that attaches the keycap to the switch about 10 times before it felt like it fitted both the switch and the laser-cut cap correctly.
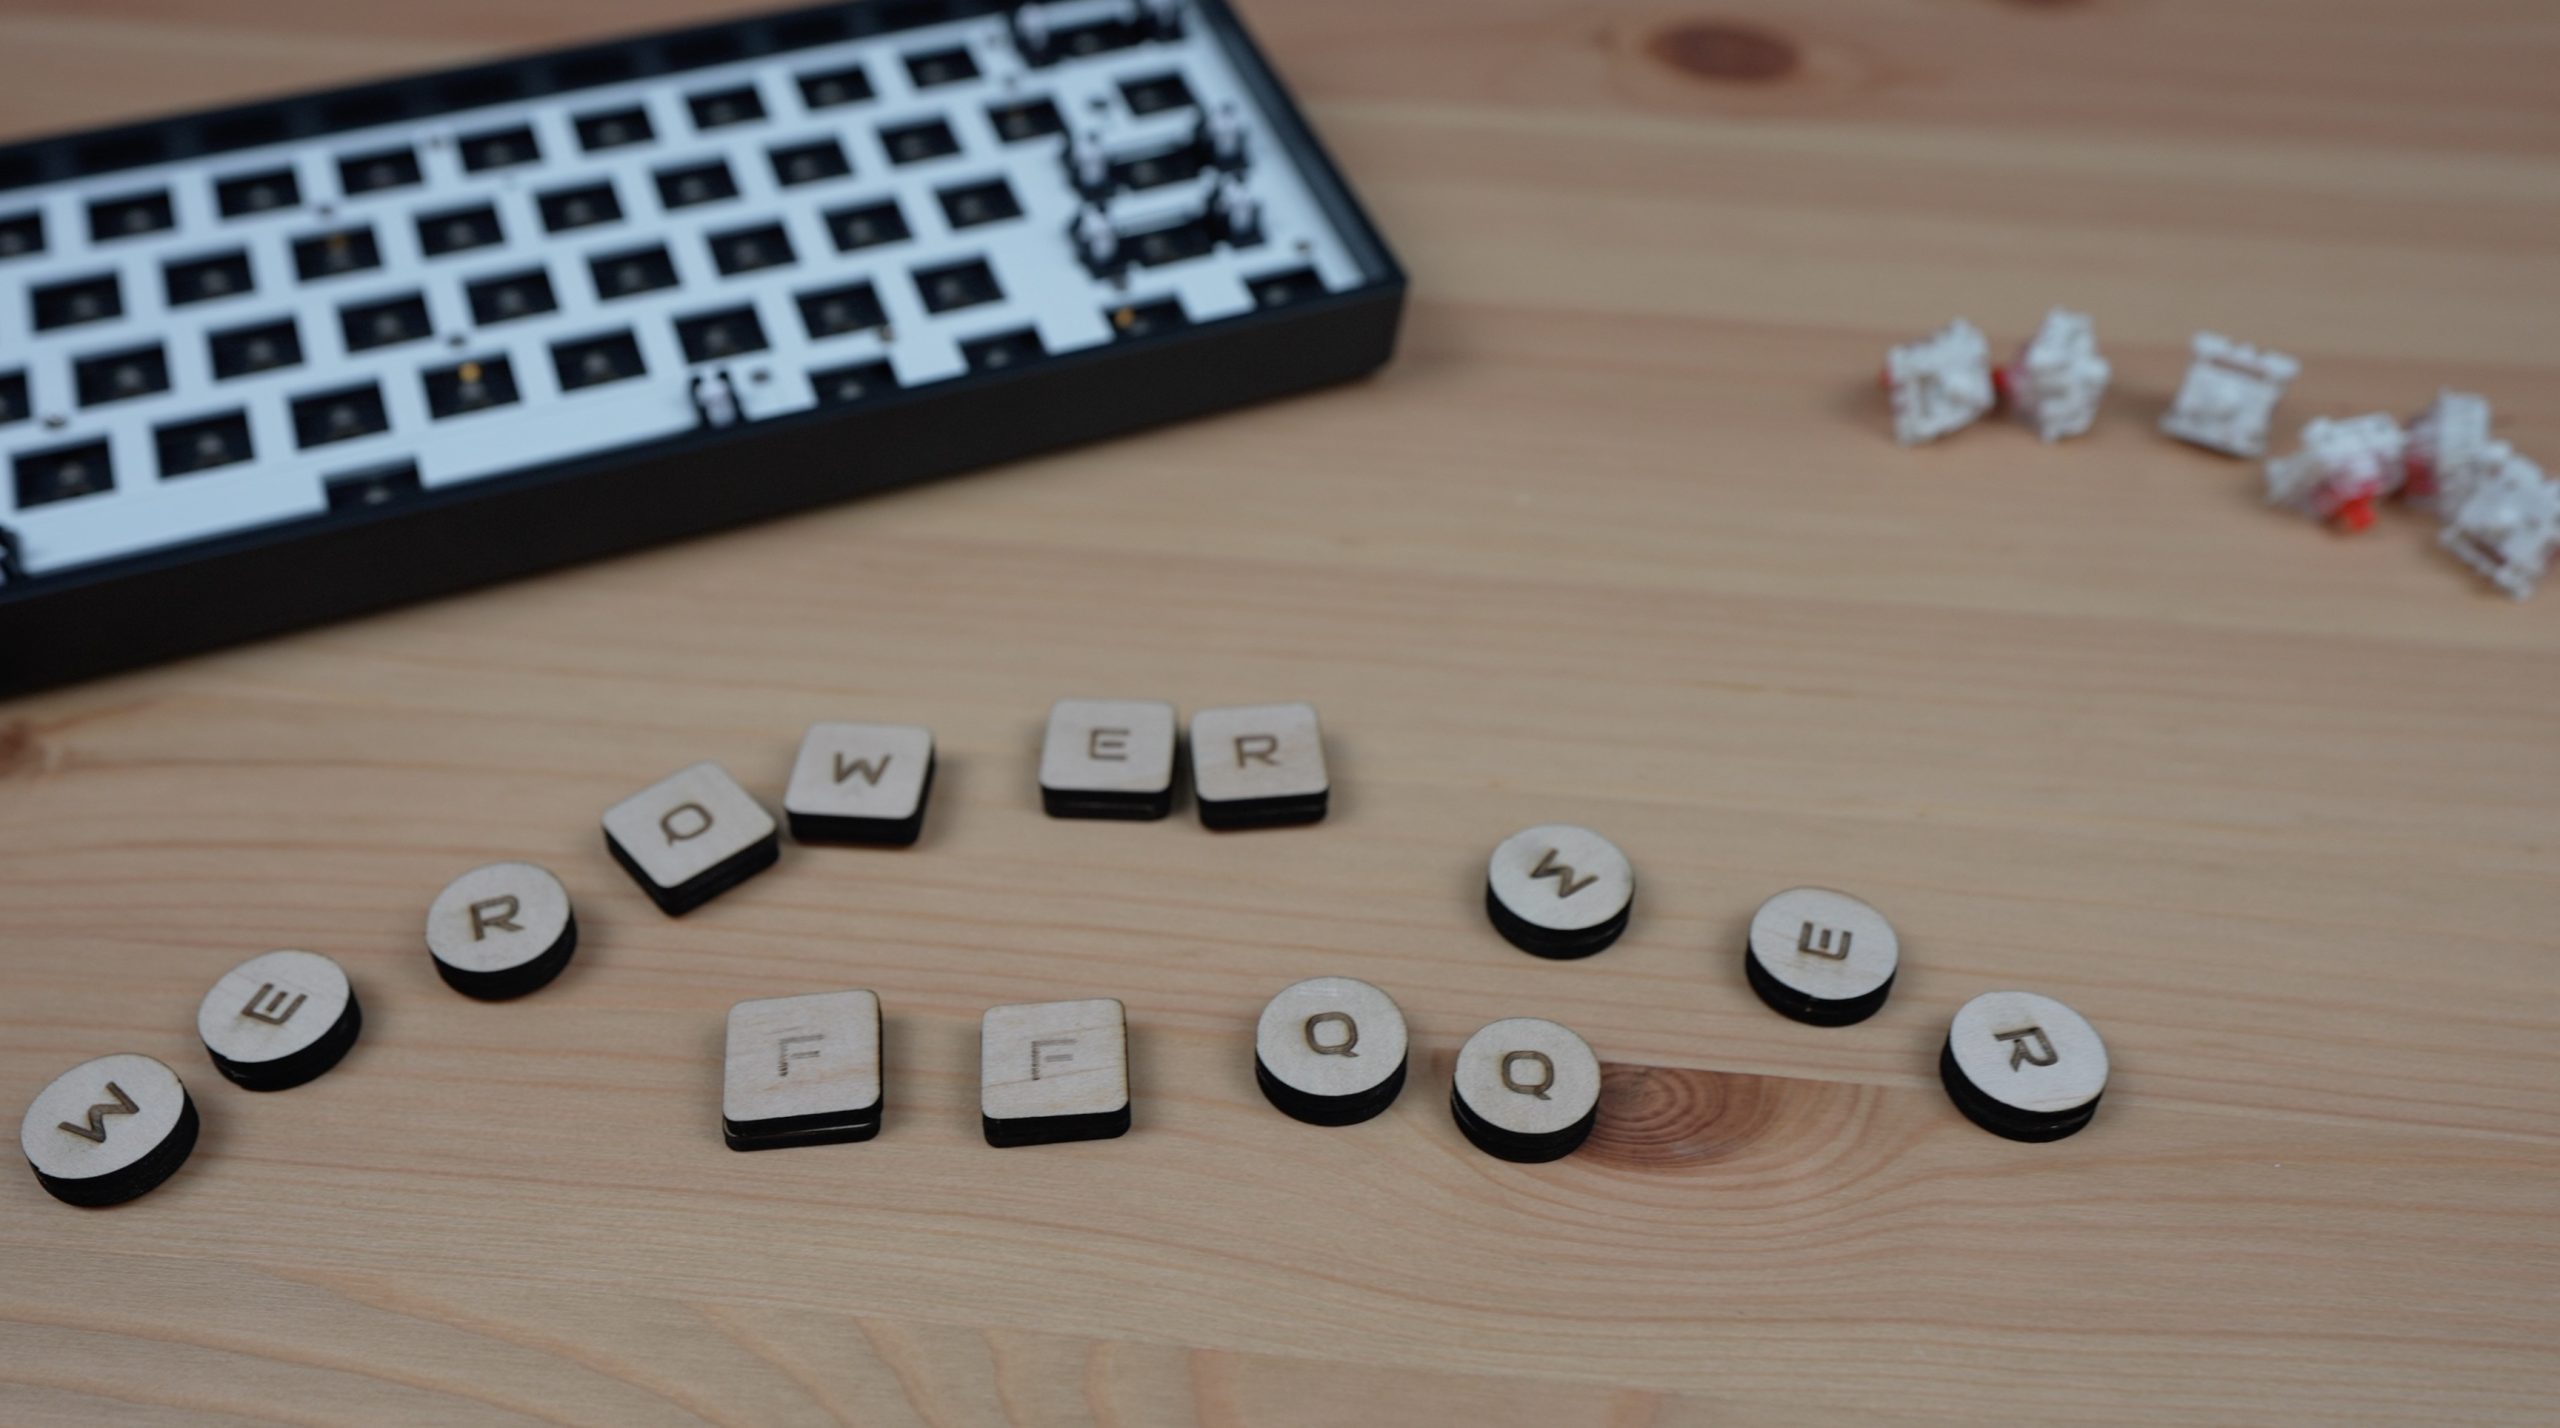
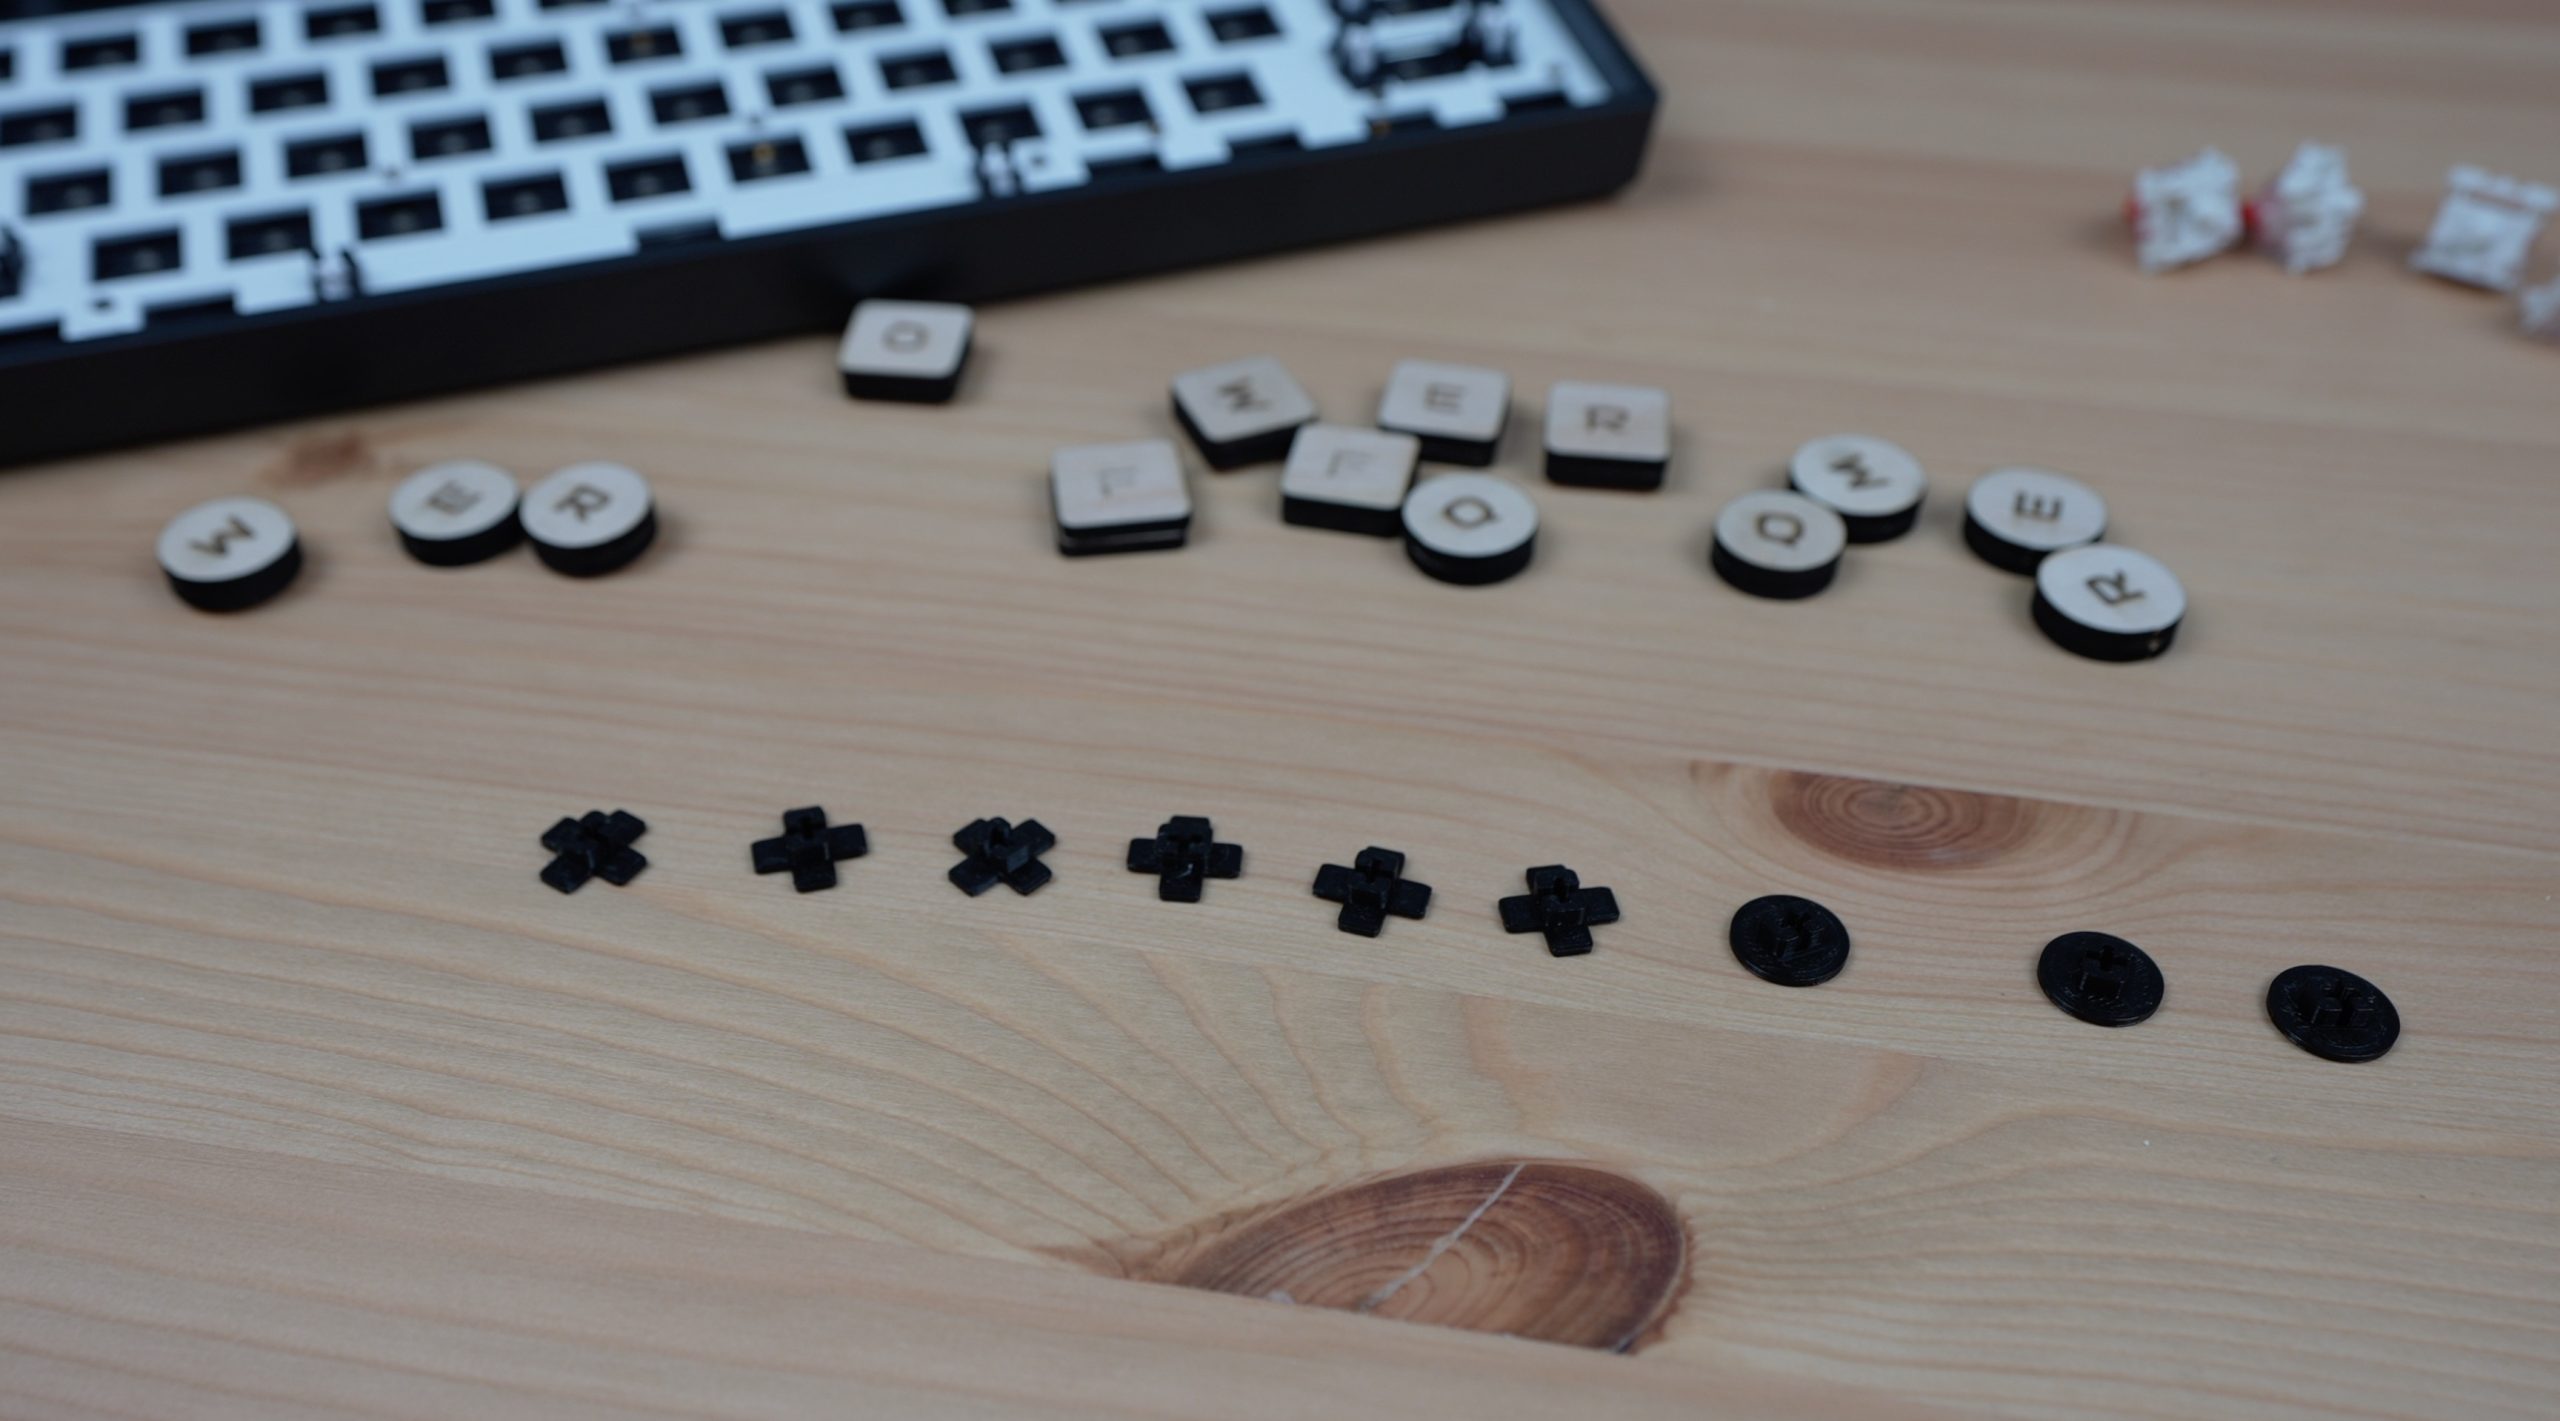
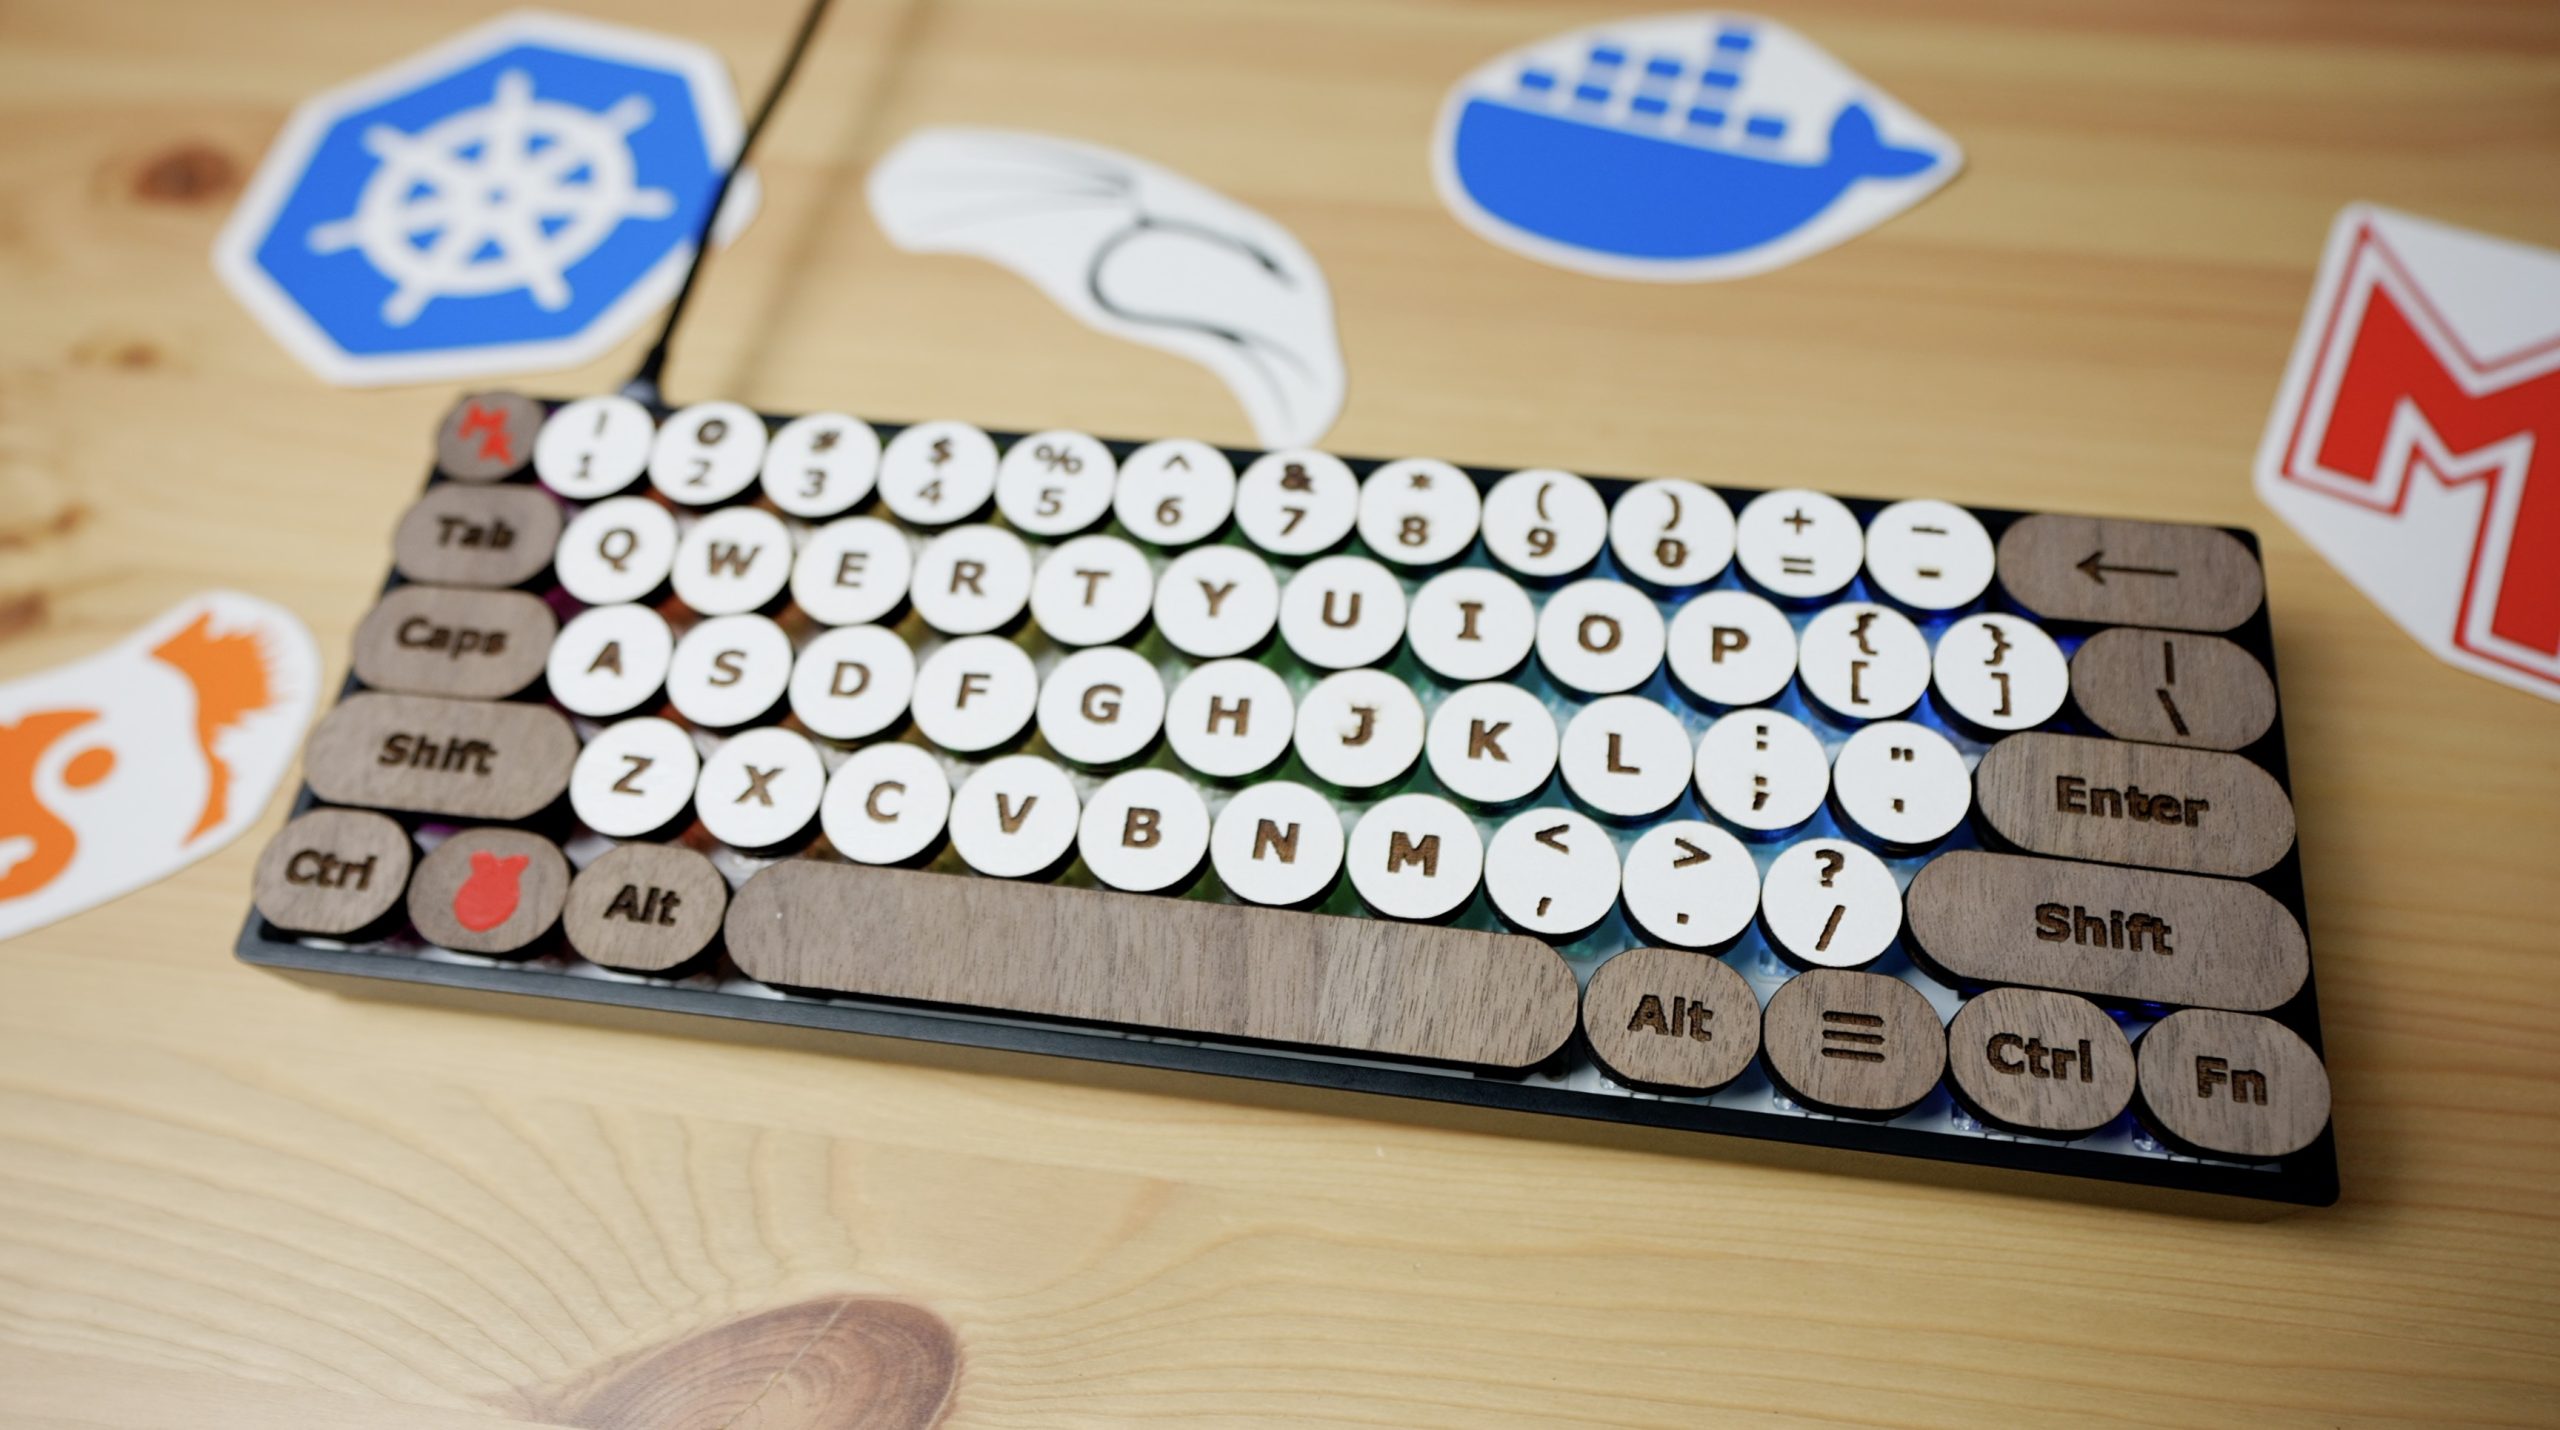
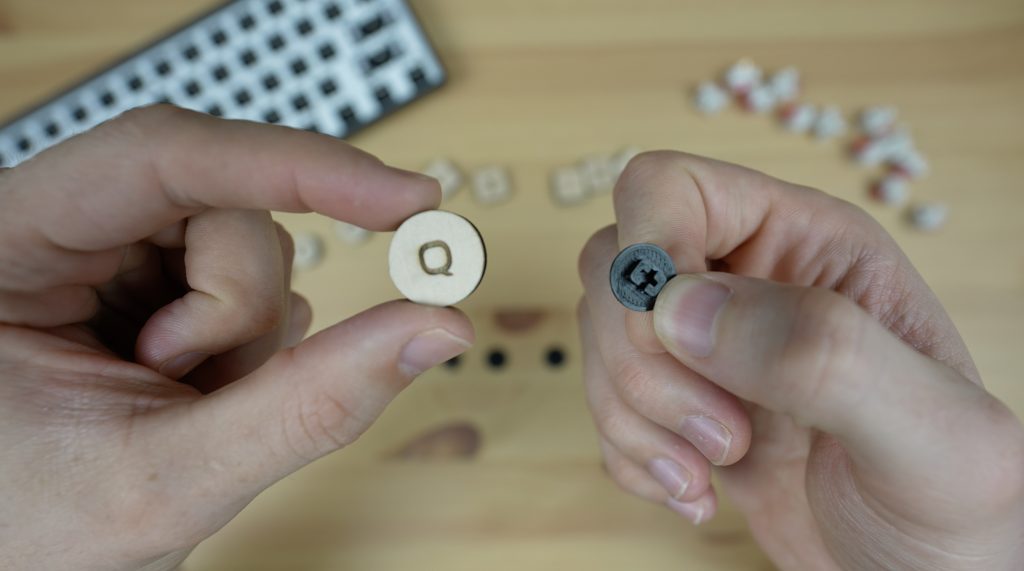
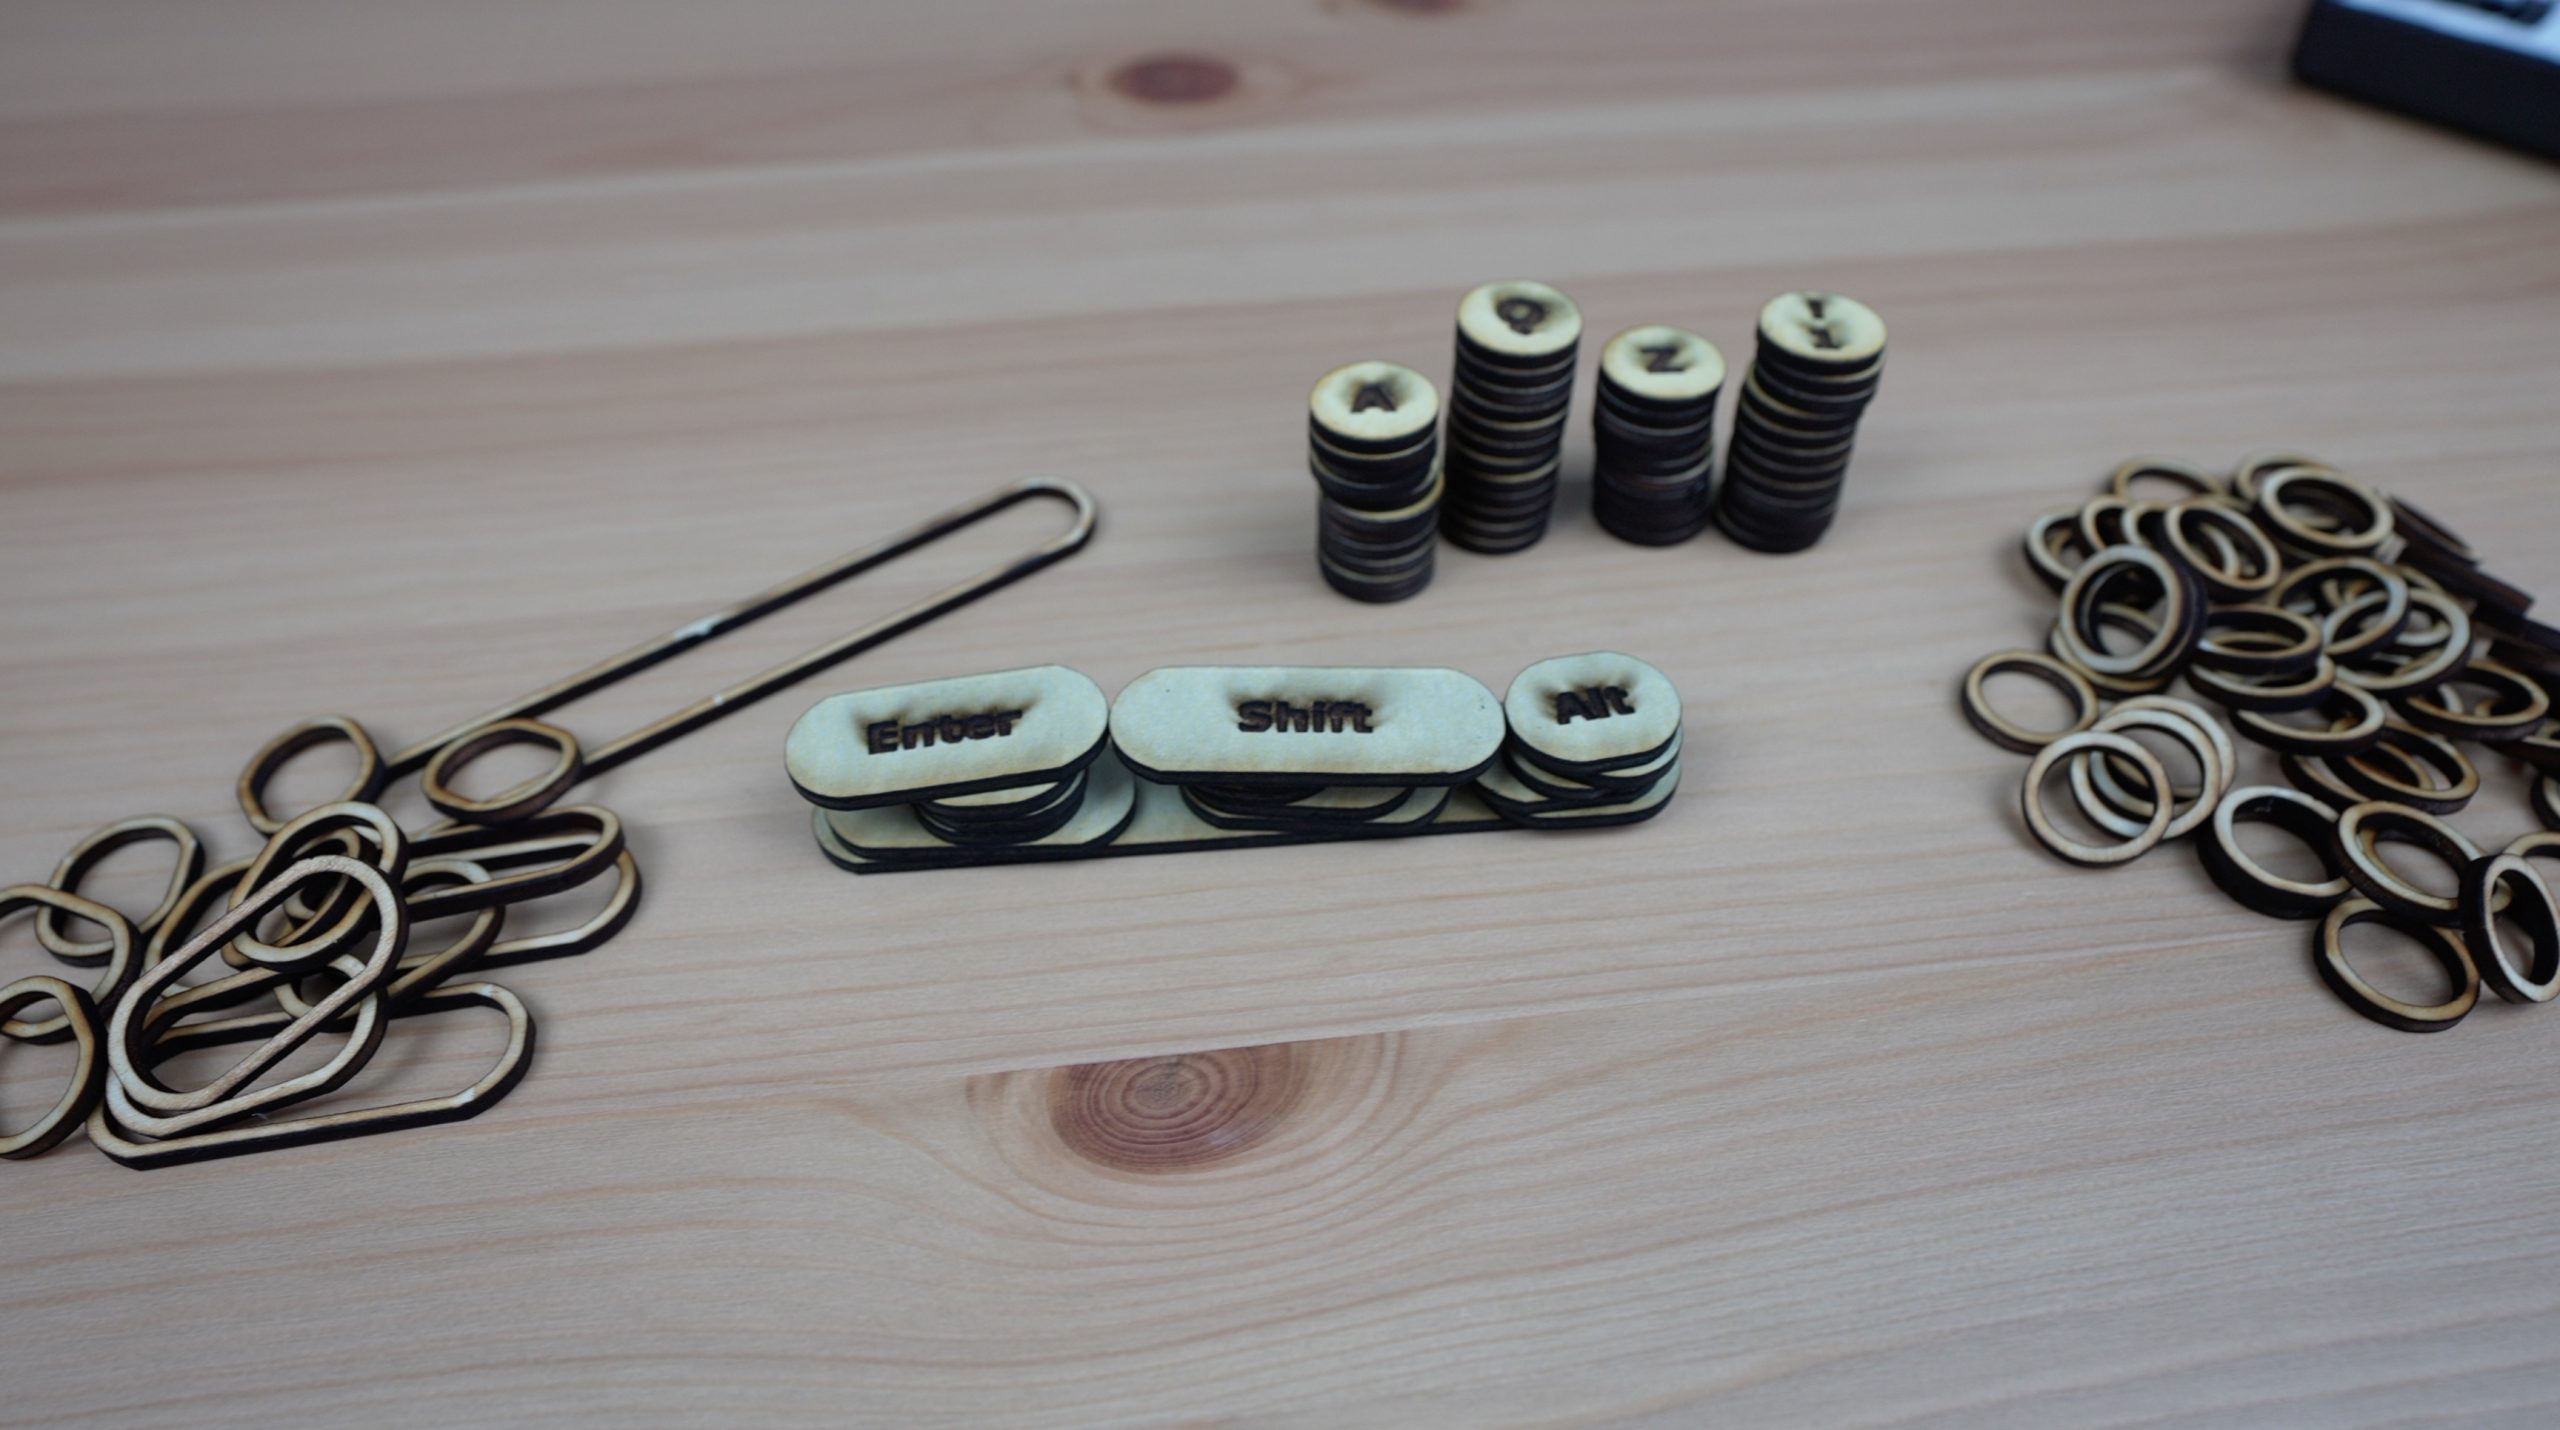
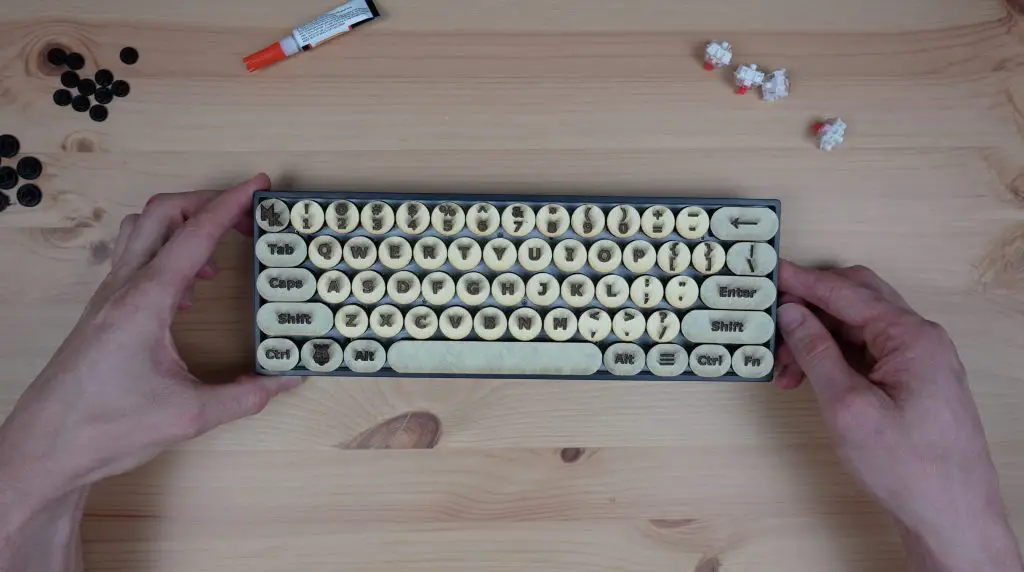
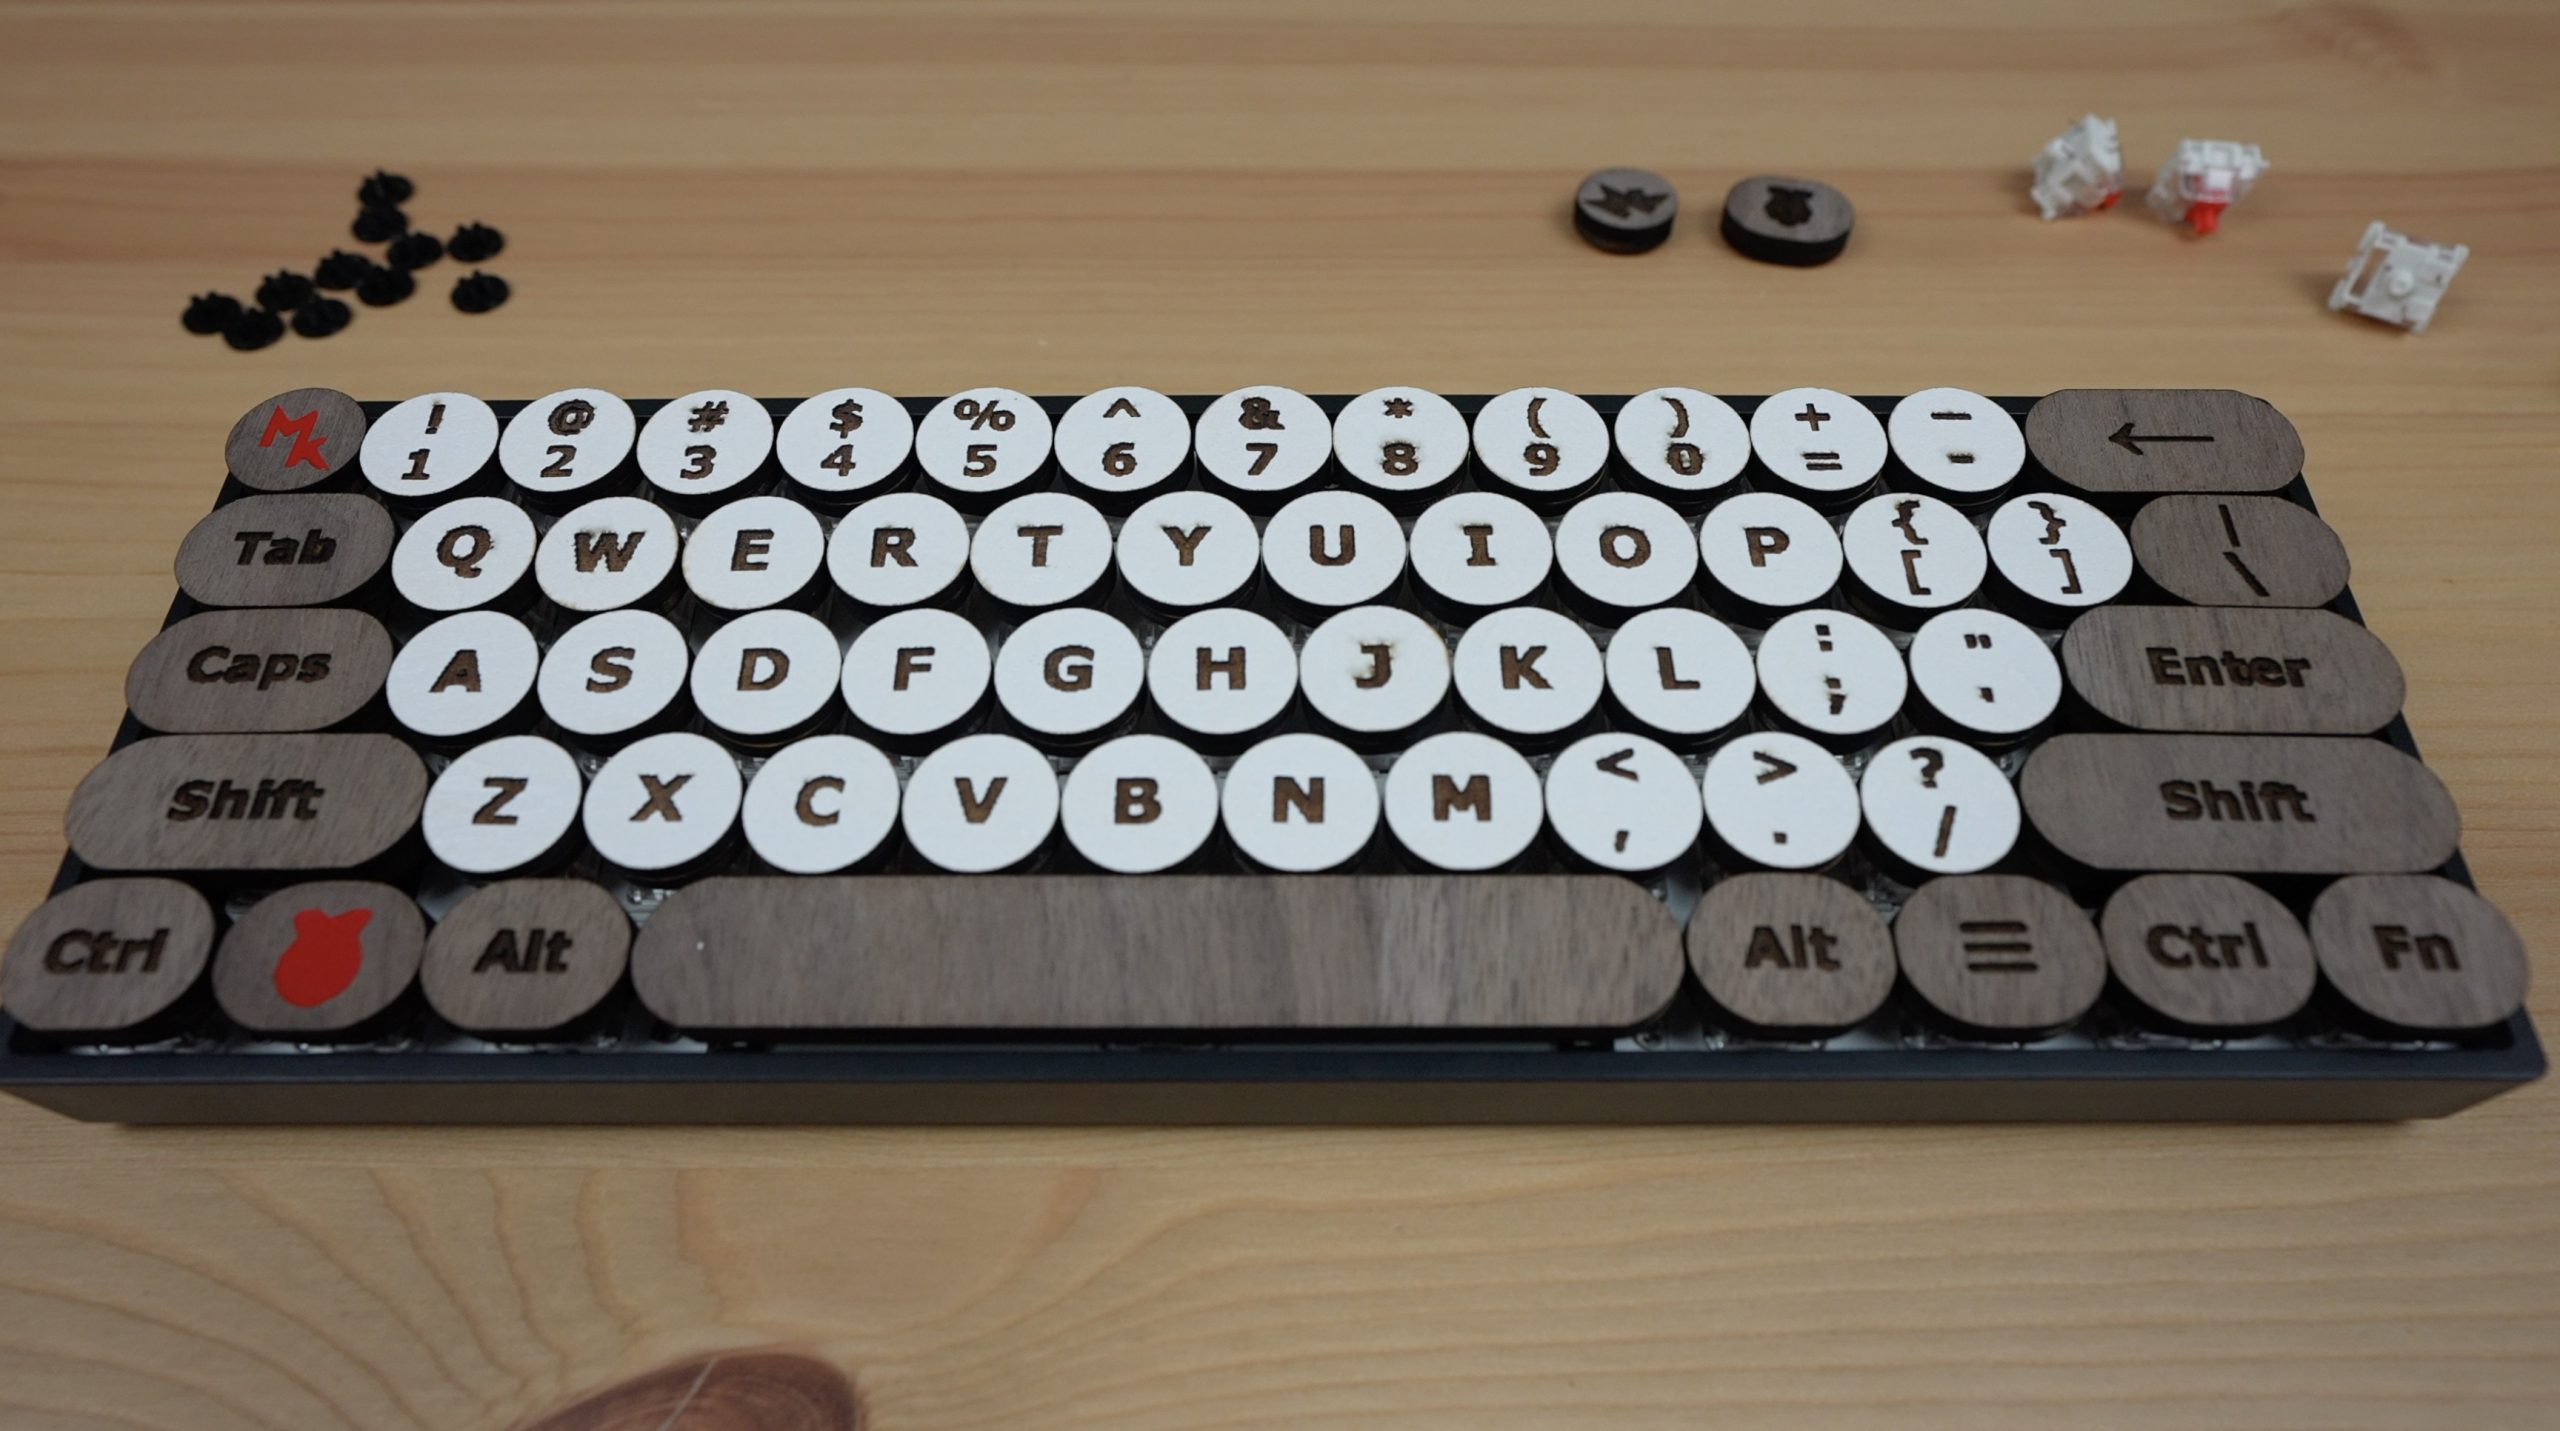
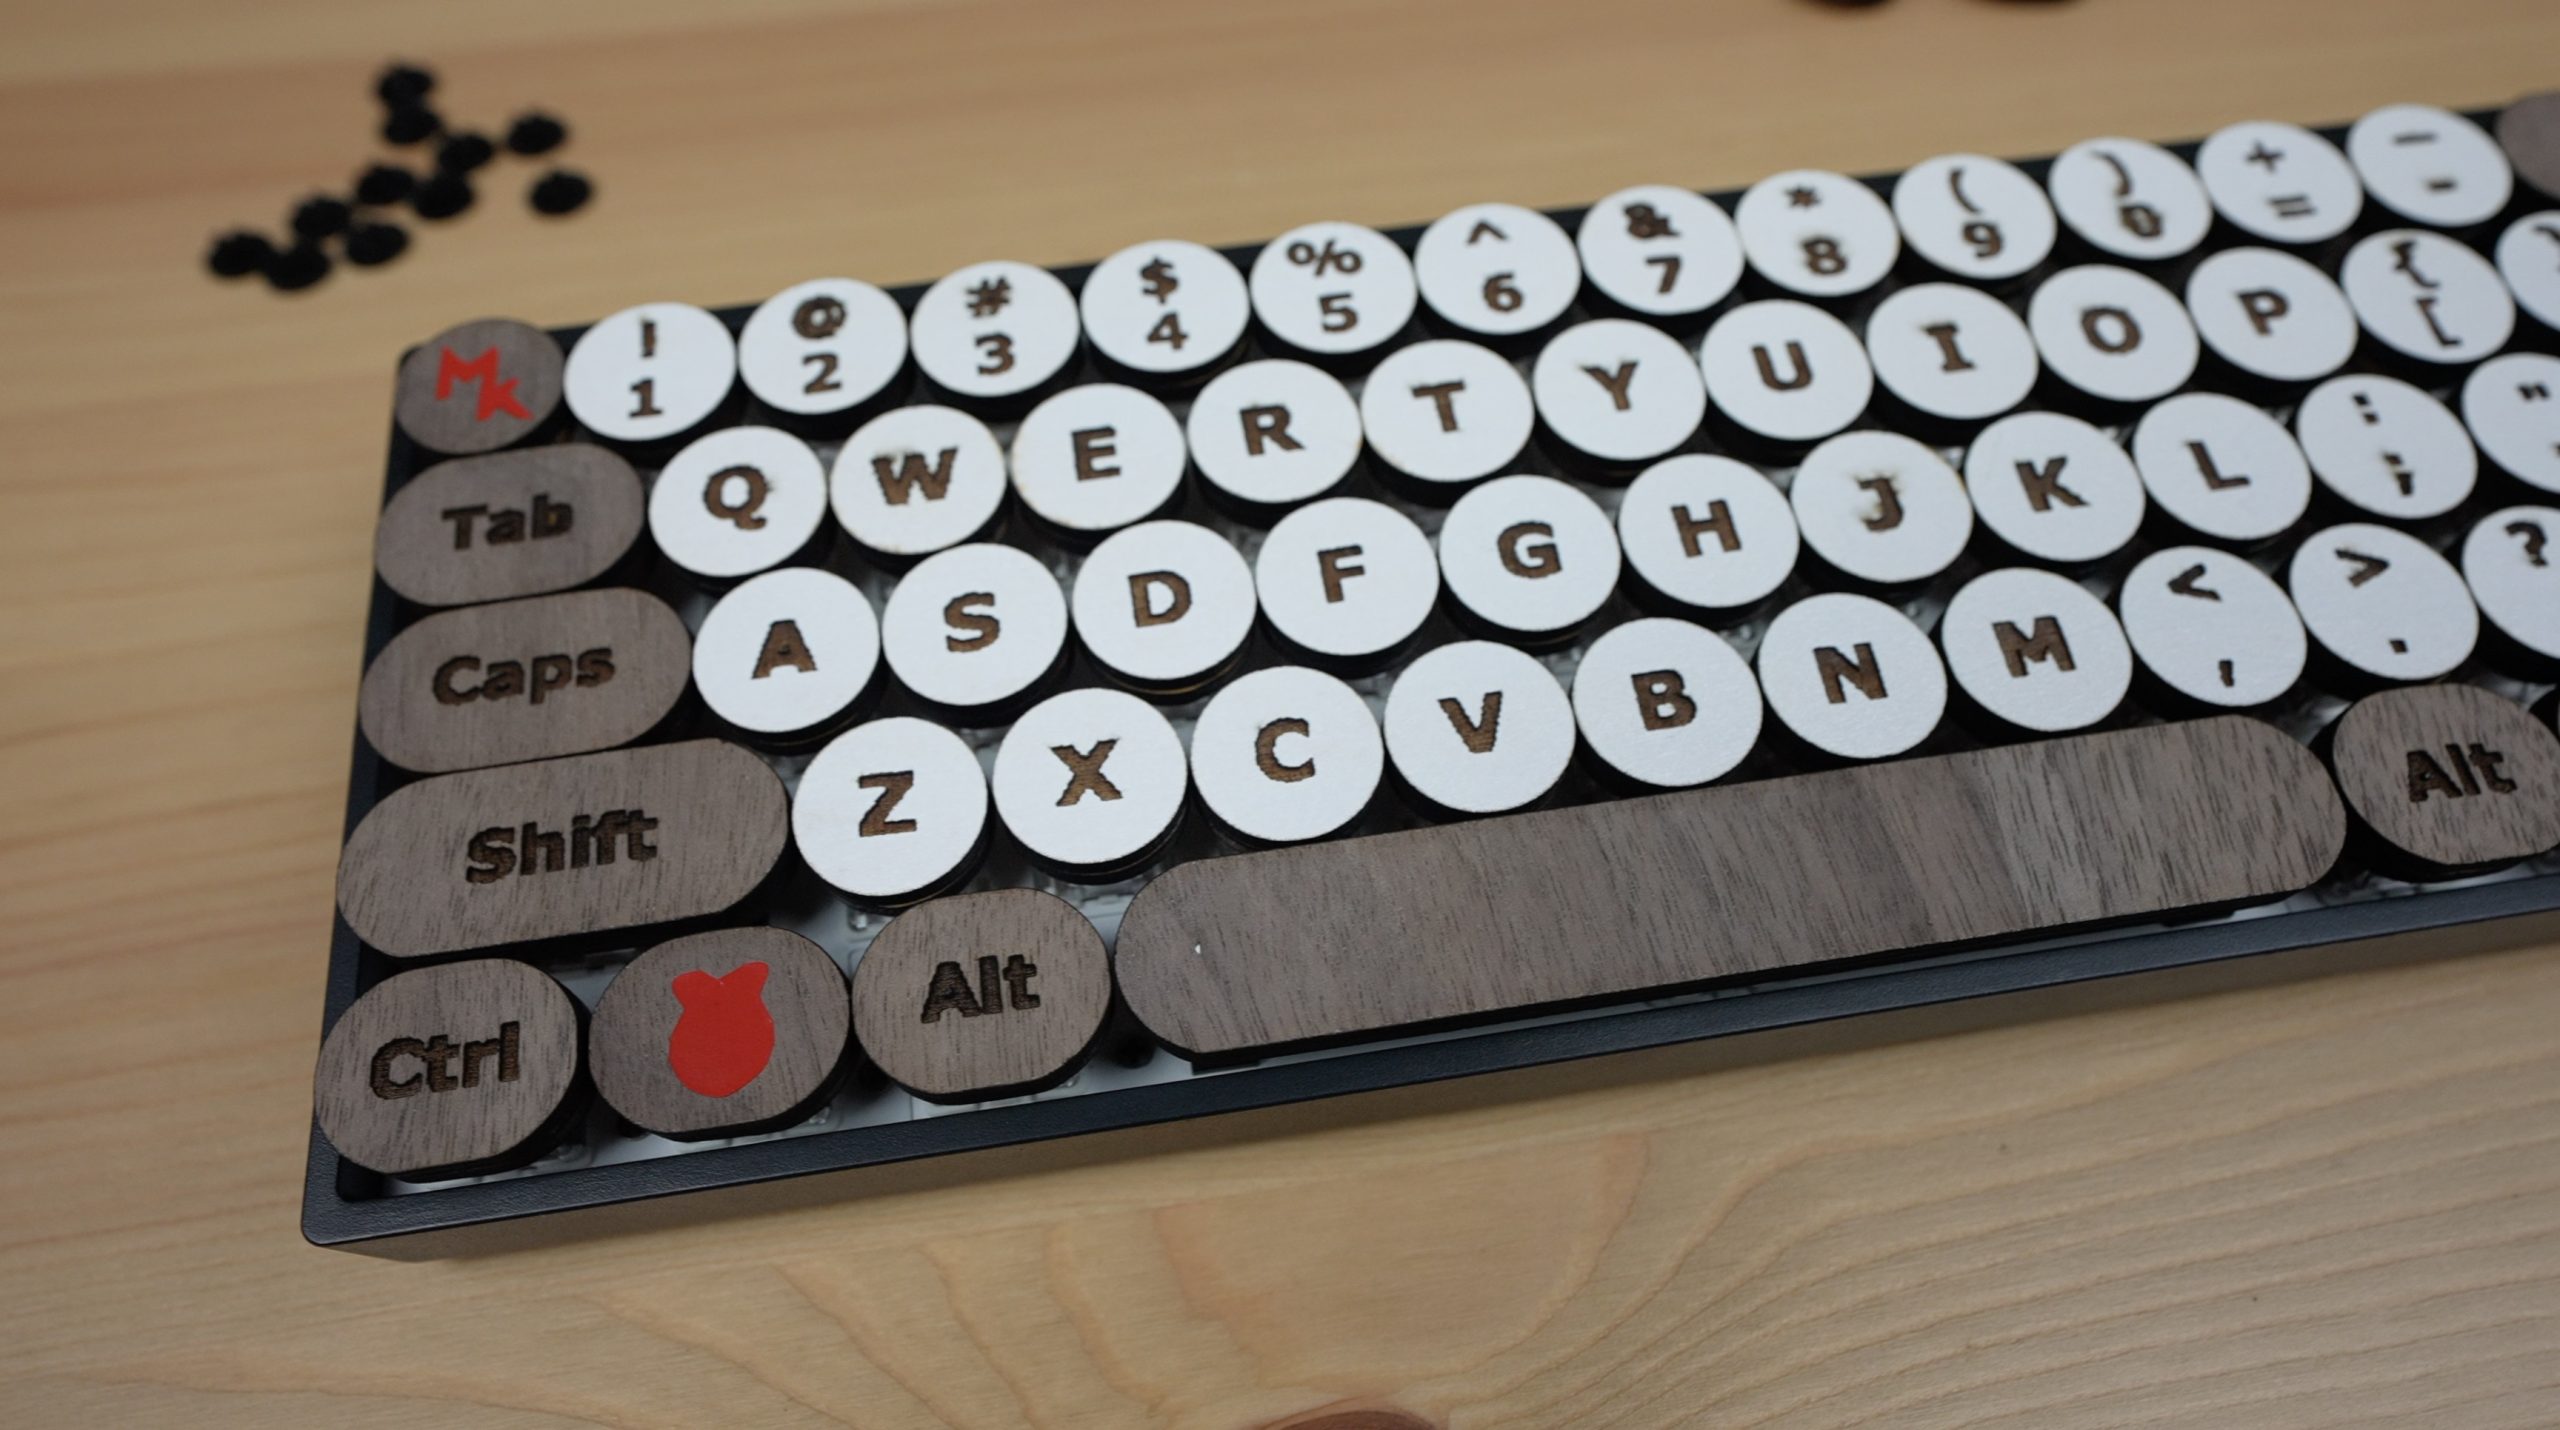
I finally settled on this design, the keycap is made up of two round wooden parts, both laser cut from 3mm plywood and then glued together. The keyboard letter is then engraved onto the top of the key and a 3D-printed holder is glued to the bottom to attach to the key switch.
This is obviously only one key, and I need 60 more of them, so let’s get them designed.
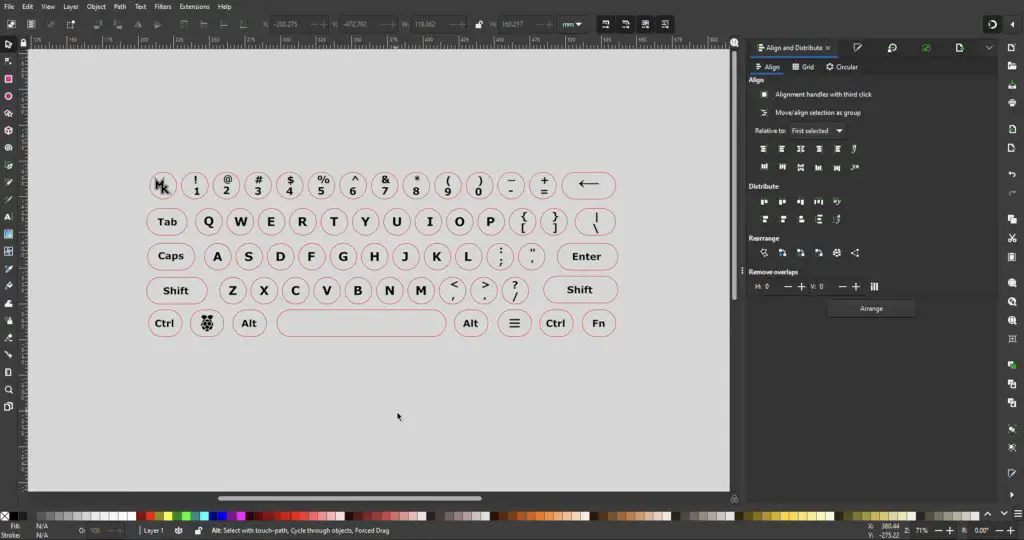
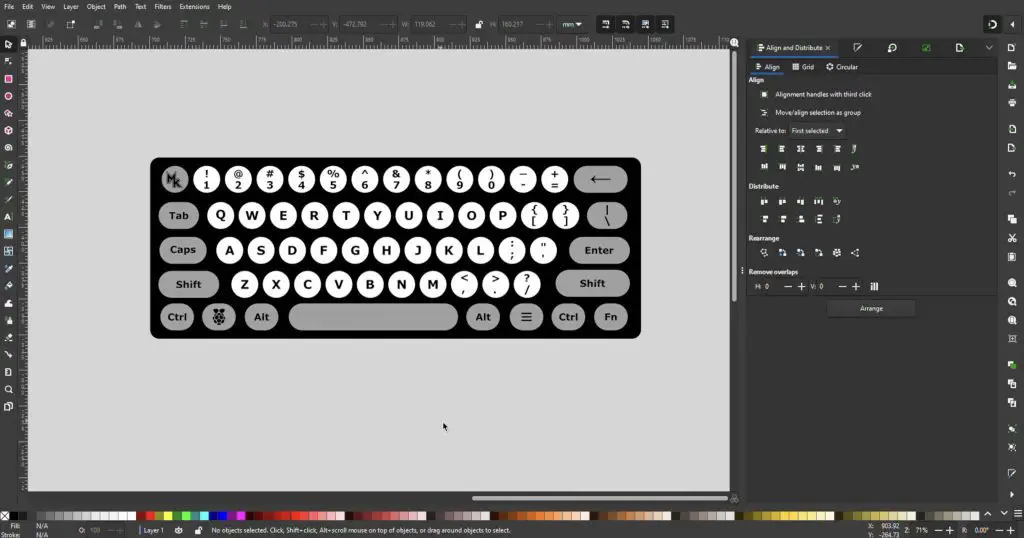
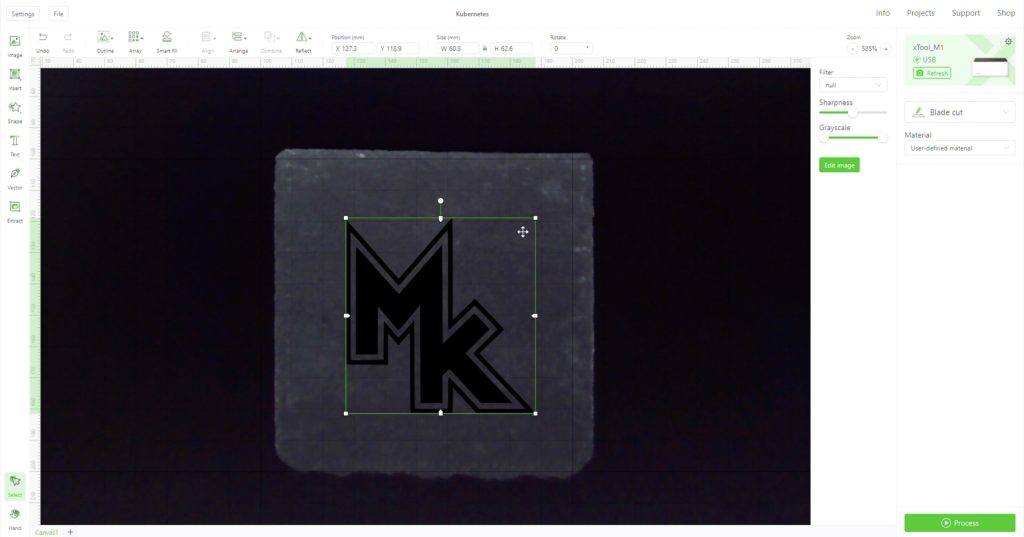
I drew up the keys in Inkscape, then gave them each a letter, symbol or name and then played around with some colour options.
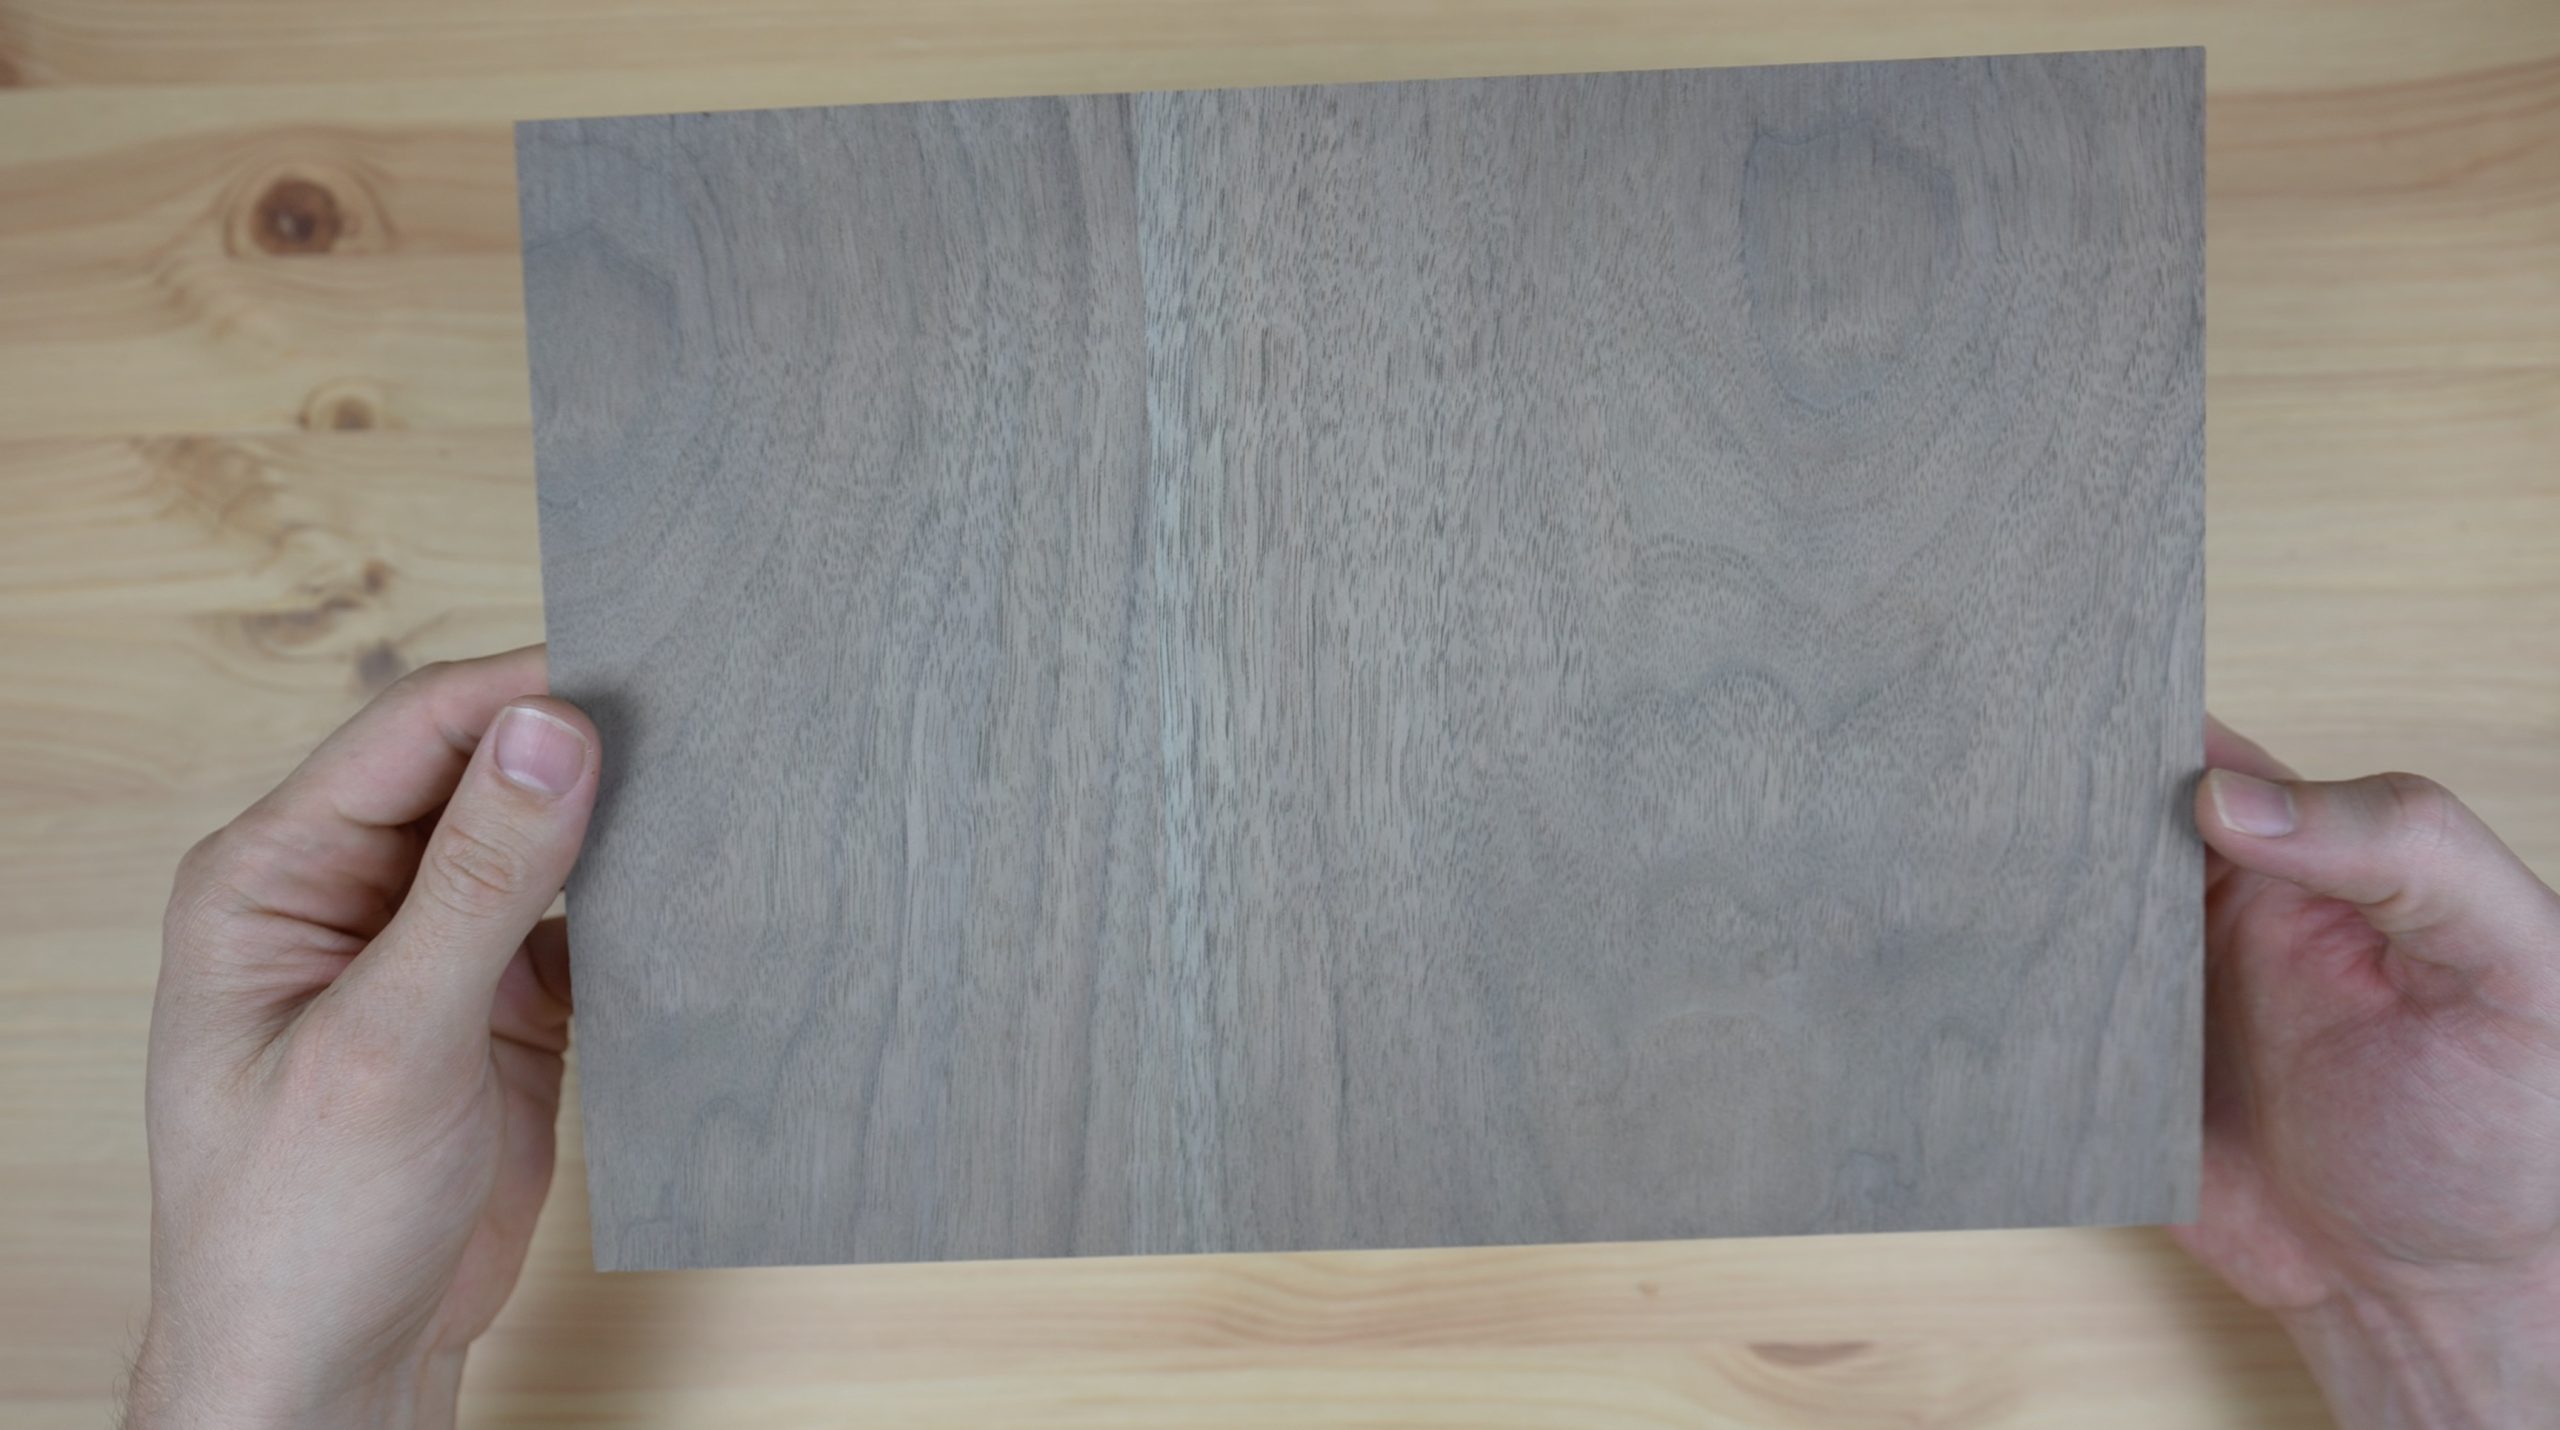
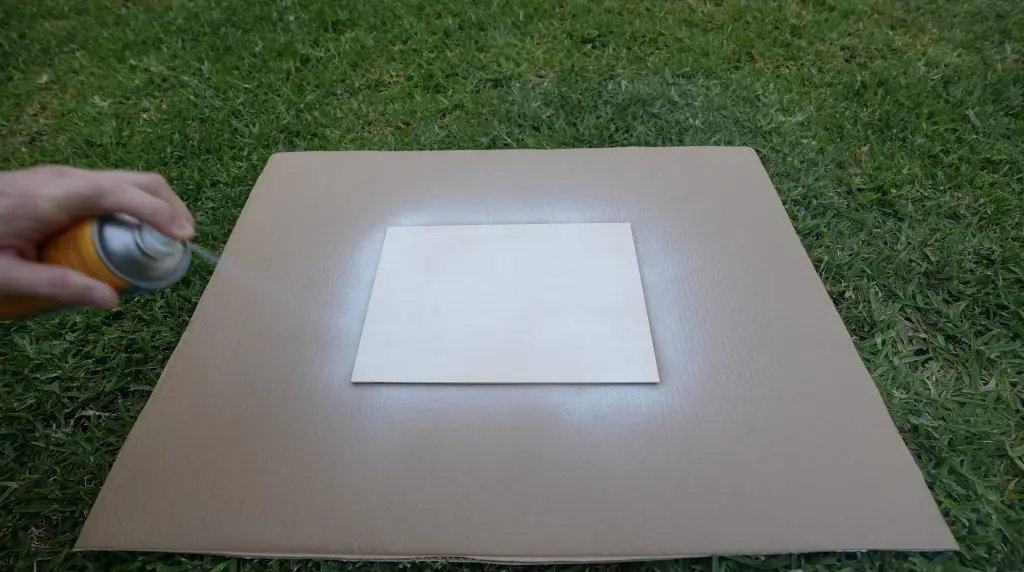
I quite like this piece of grey walnut-looking plywood that was included in the material pack that came with the M1, so I’m going to use this as is for the larger keys and I’m going to spray a piece of plywood from the material pack white for the smaller keys.
I’m not going to do too many coats of white so that we still get a slight wooden texture on the white keys as well.
So the finished keyboard should look something like this.
Cutting The Keycaps On The xTool M1
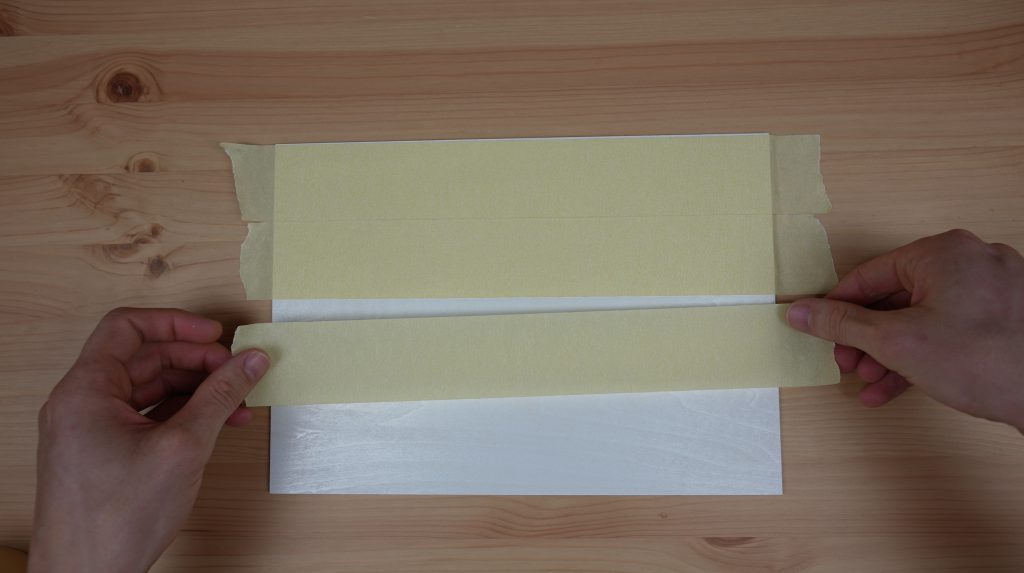
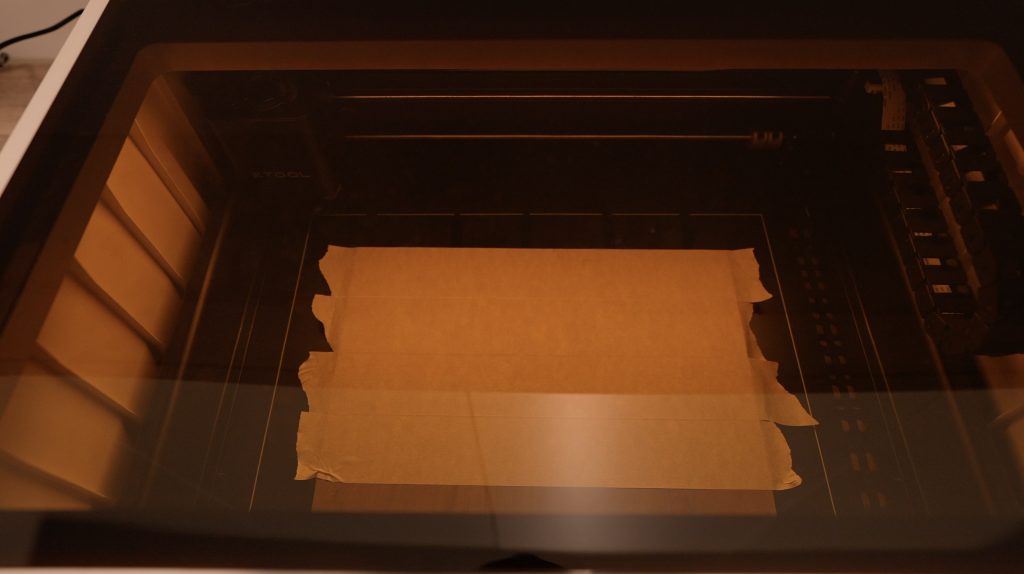
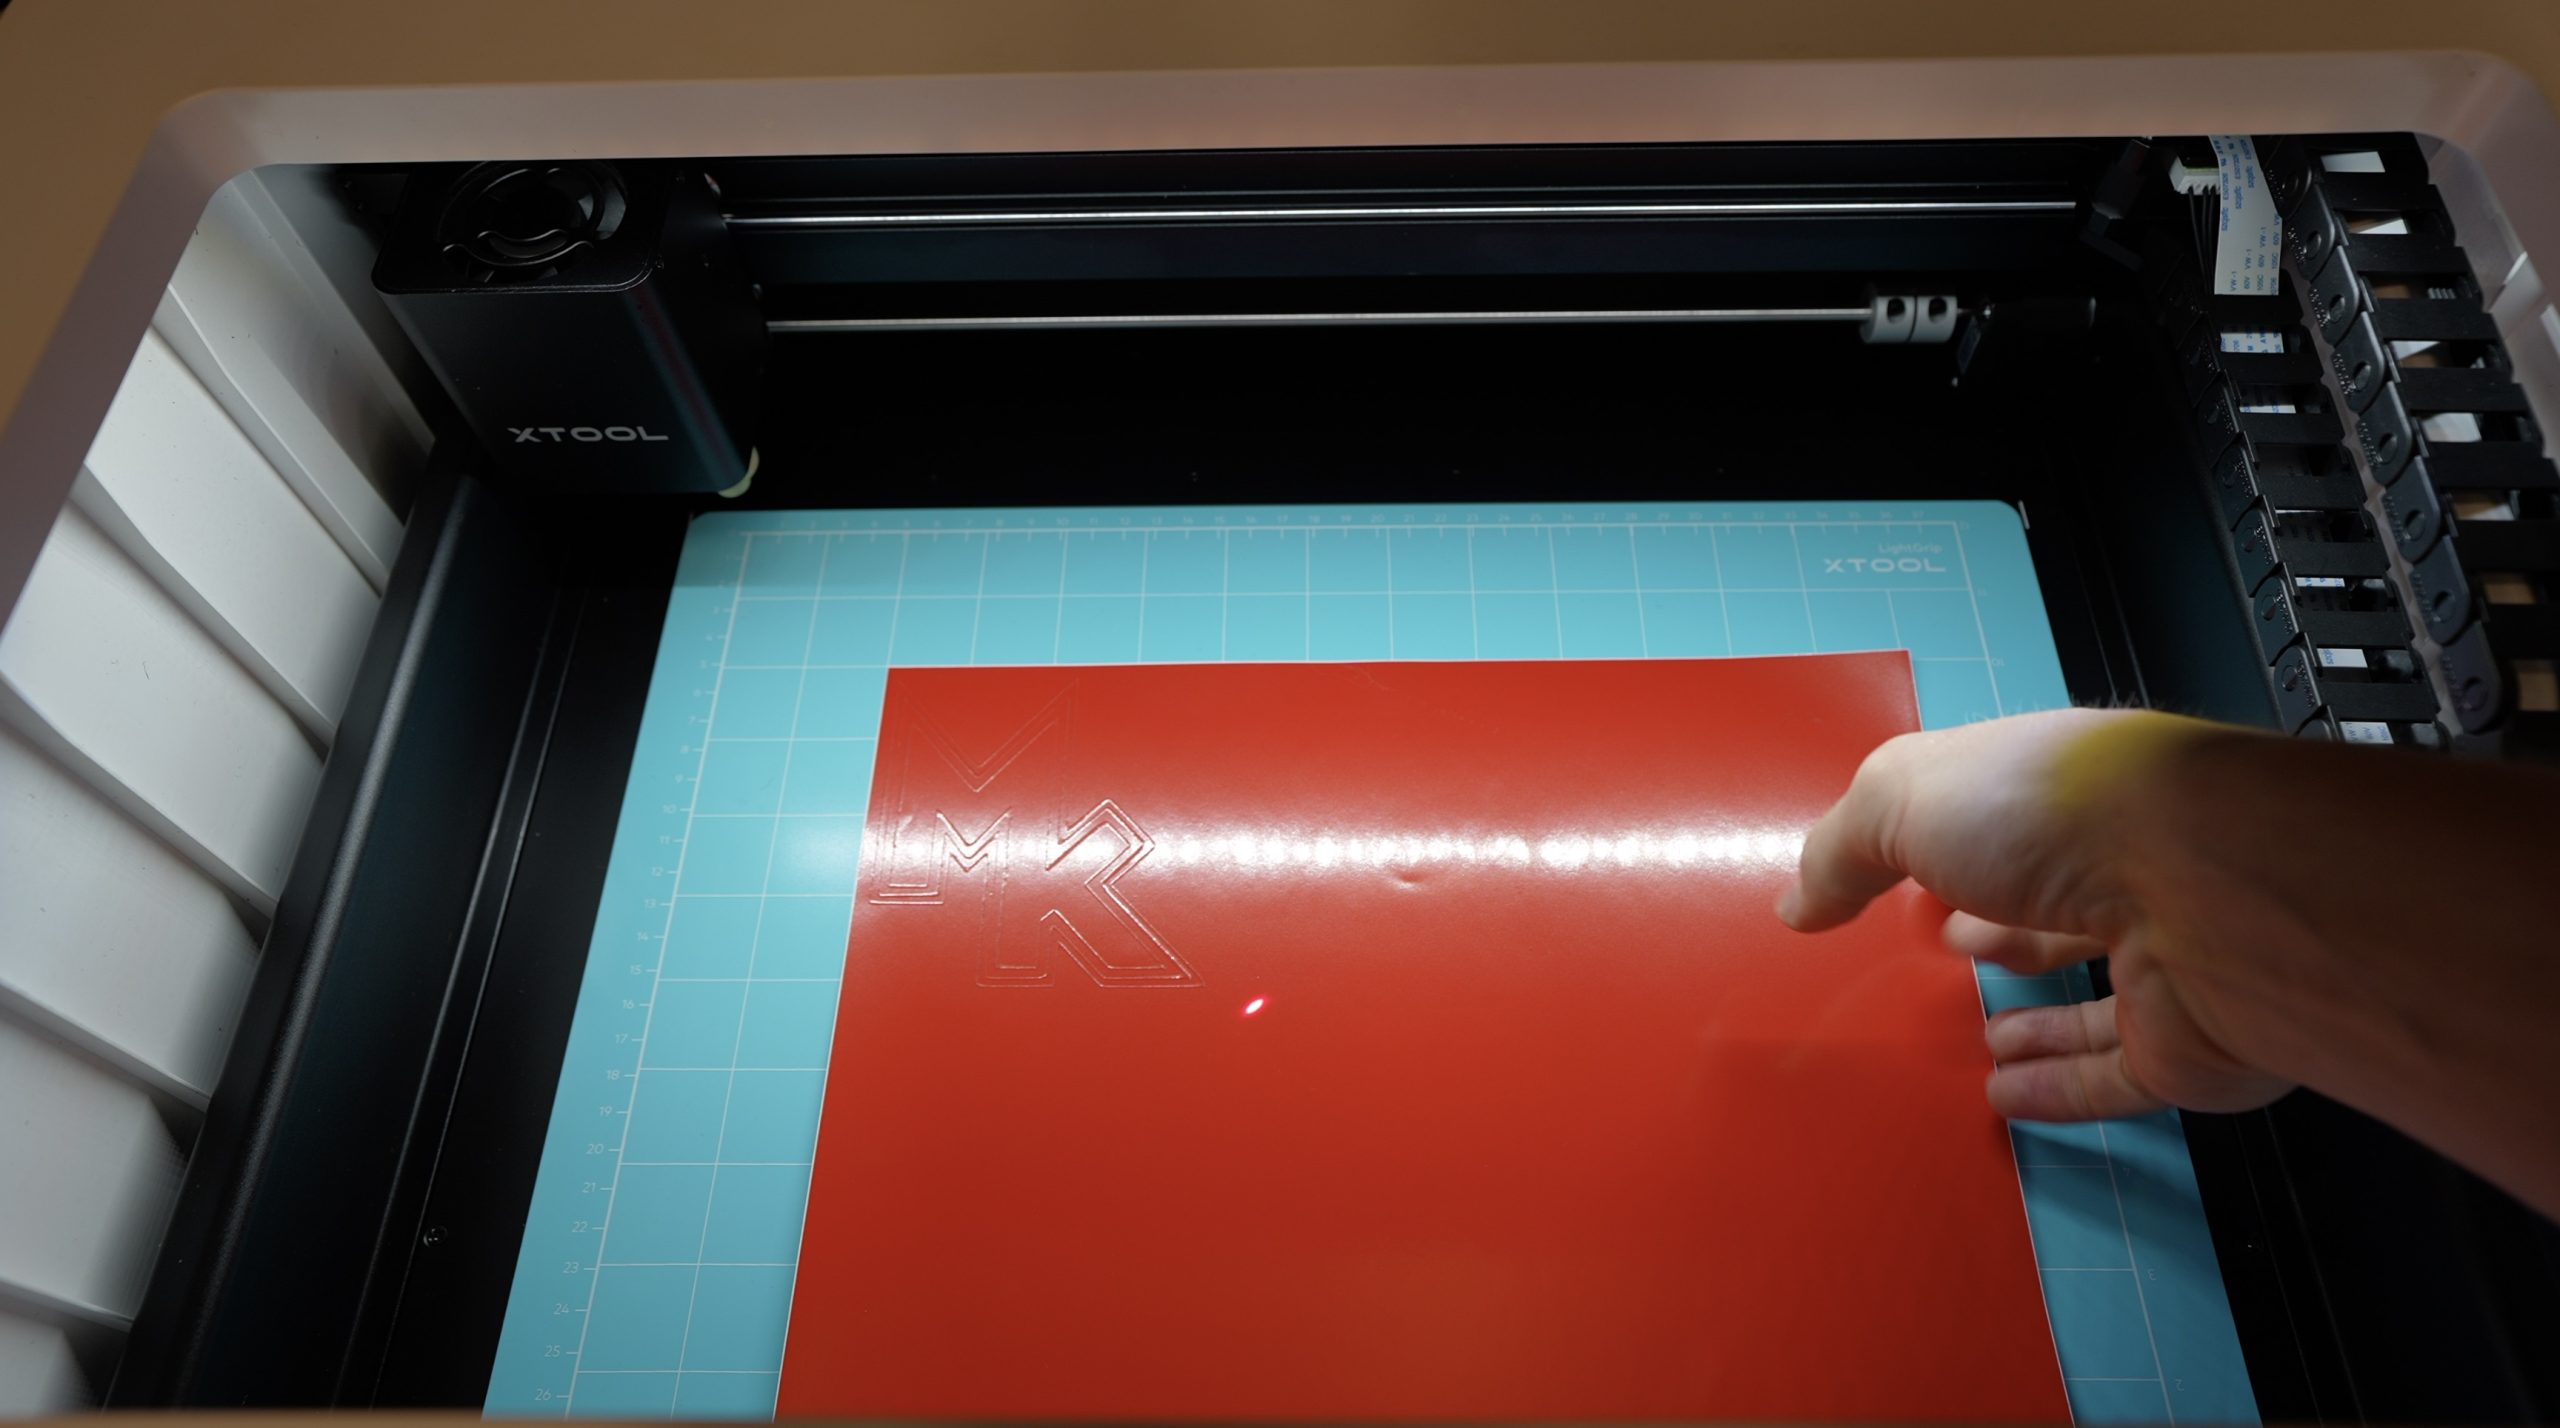
To get nice clean engraving without smoke marks surrounding the letters, I’m going to cover the wood sheets in masking tape before cutting the pieces out. I’ve used this technique quite often in the past when engraving on light sheets like these. The smoke from the laser then just marks the masking tape and we can peel it off afterwards.
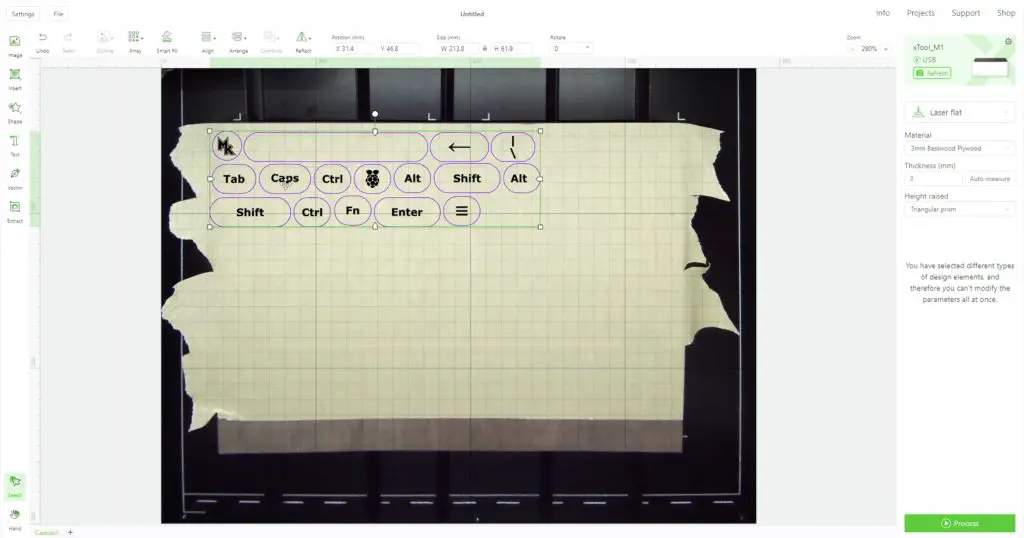
To use the M1, you need to download and install their xTool Creative Space Software. Unfortunately, the M1 is not currently supported by Lightburn. Creative Space is an offline software package that doesn’t require registration or a connection to the internet to run, which I like.
It works quite well and allows you to create basic designs or import designs made in other packages, like Inkscape or Lightburn. You can then use or adapt these designs to laser cut, engrave, or cut out using the blade tool.
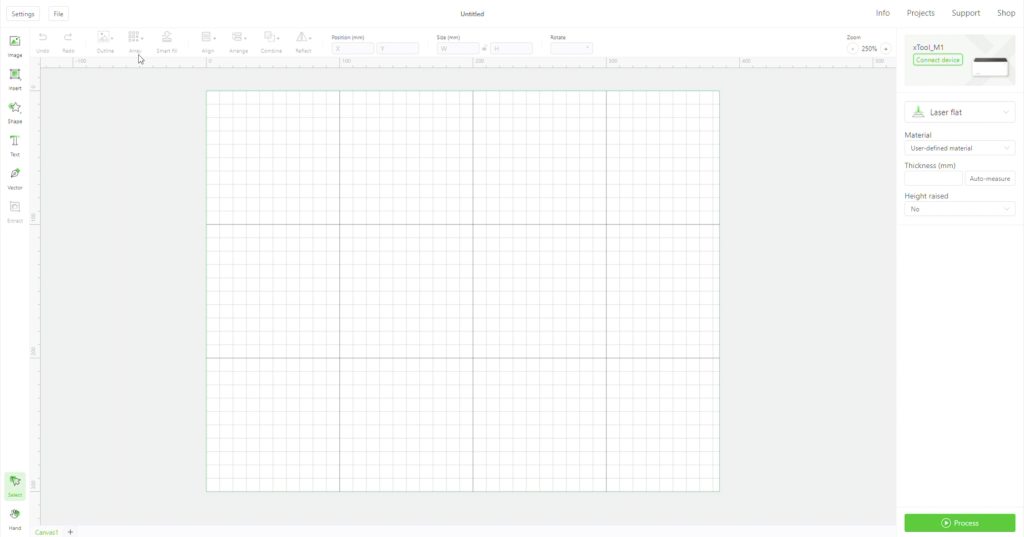
Creative Space includes a wide range of free-to-use design elements and shapes, including prepared connectors for making up 3D models. It’s also got a selection of ready-to-use project files if you’re not quite ready to start making up your own designs. So it’s quite a capable package to do some design work in.
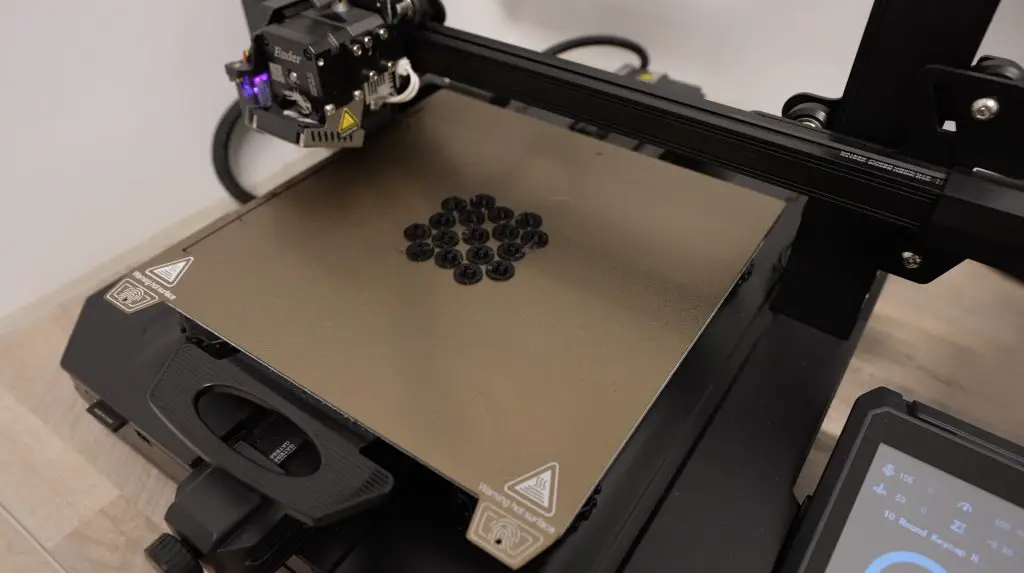
I’m going to load the grey sheet into the bed of the M1, propping it up on the supplied triangular prisms to allow airflow underneath the plywood.
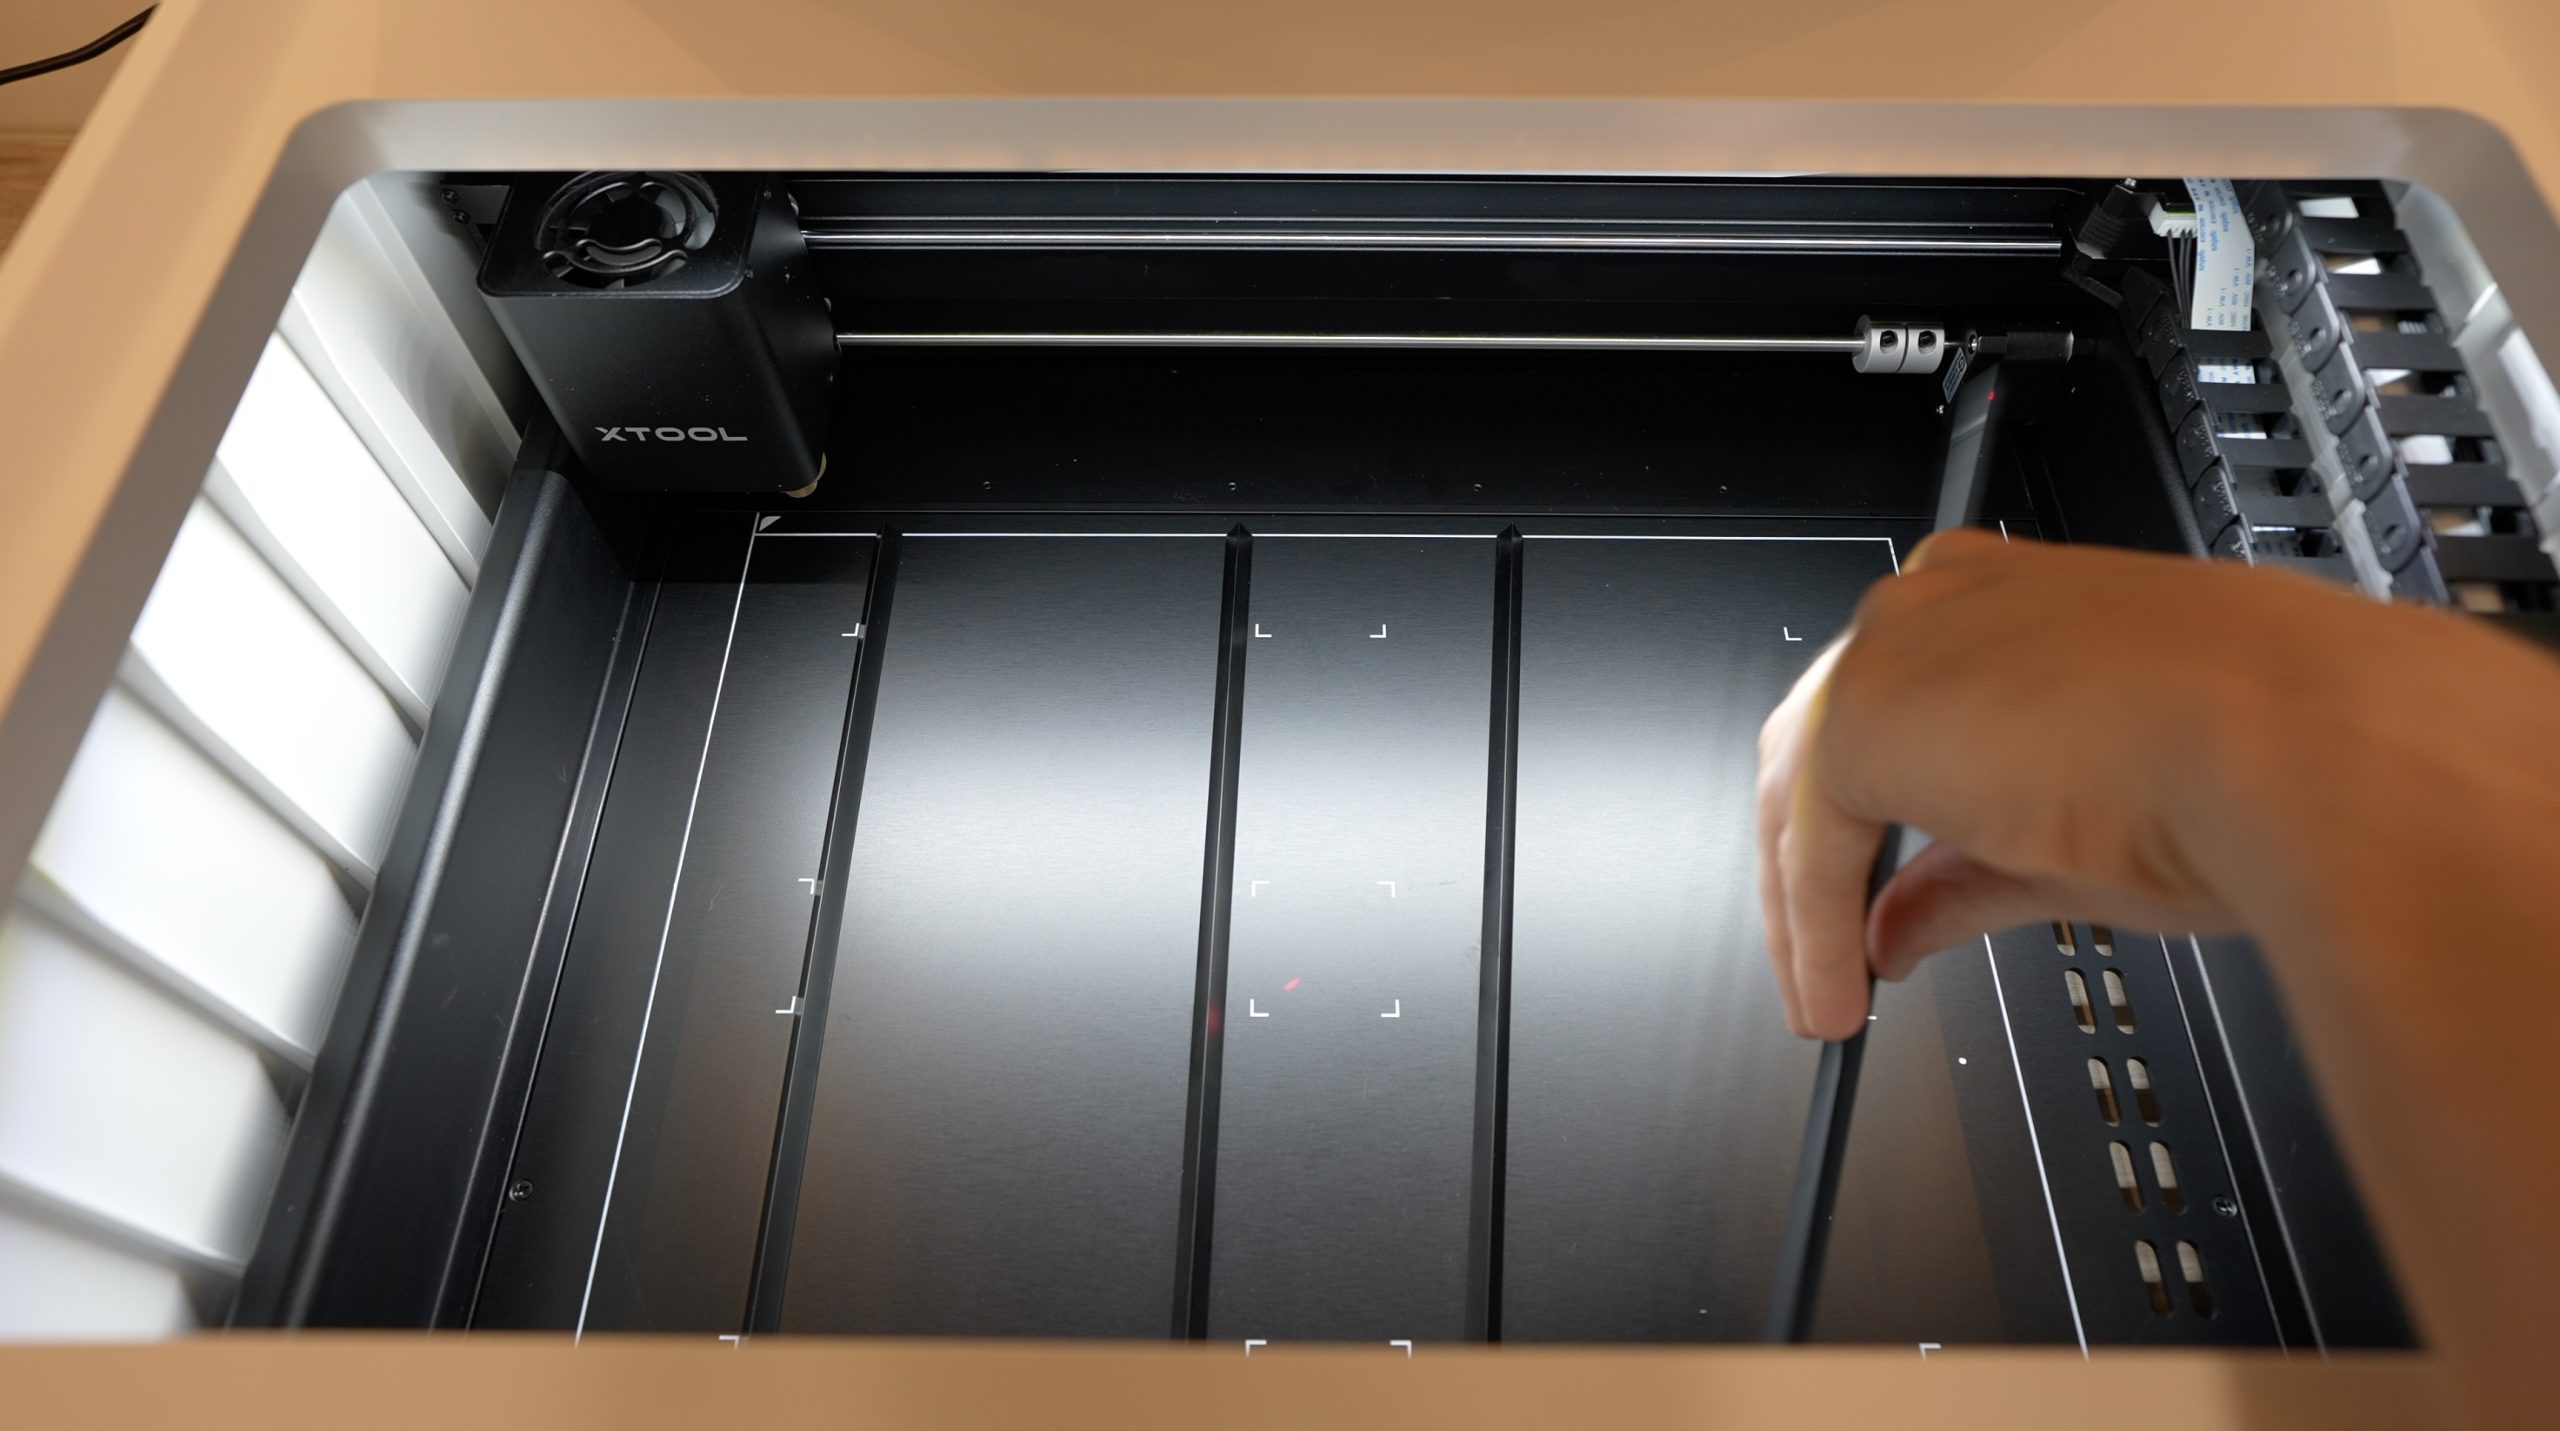
When I close the lid it automatically takes a photo of the bed using an internal 16MP camera which then shows up in the software to help out with positioning the design without having to do any guesswork.
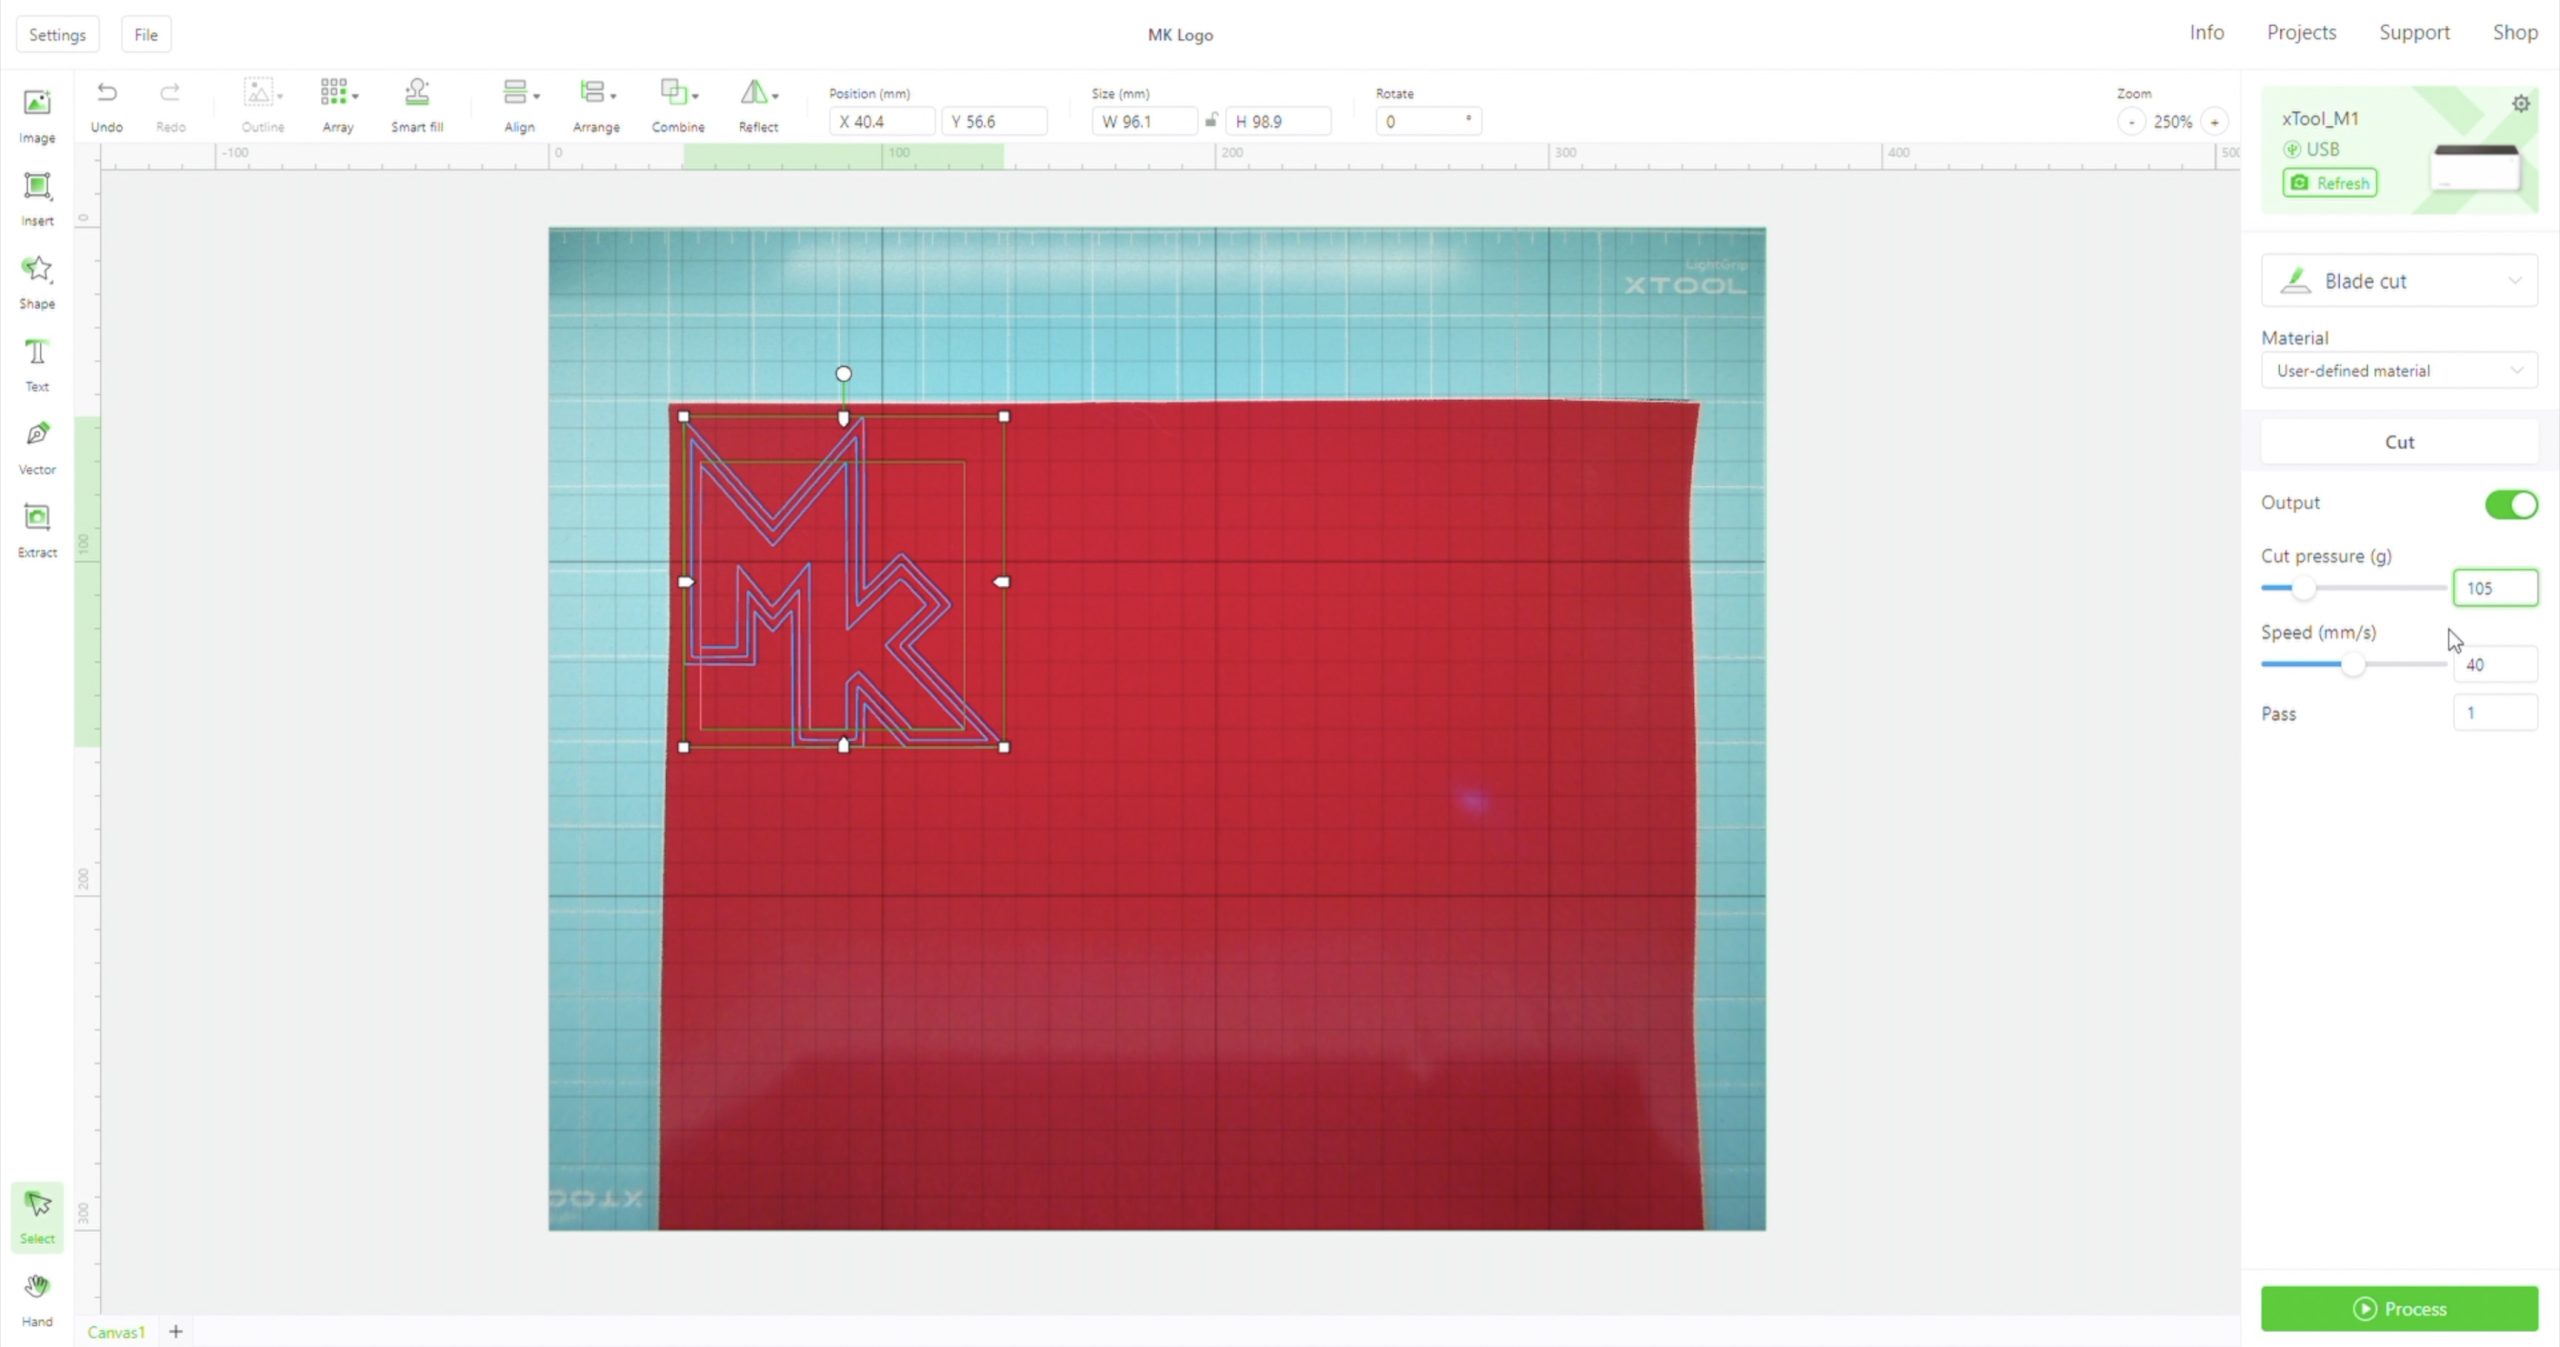
We can then import the keyboard design that I made in Inkscape to cut out, I’ve split the keys up into the white keys and the grey keys, and I’ll cut the bottom halves of the keys separately.
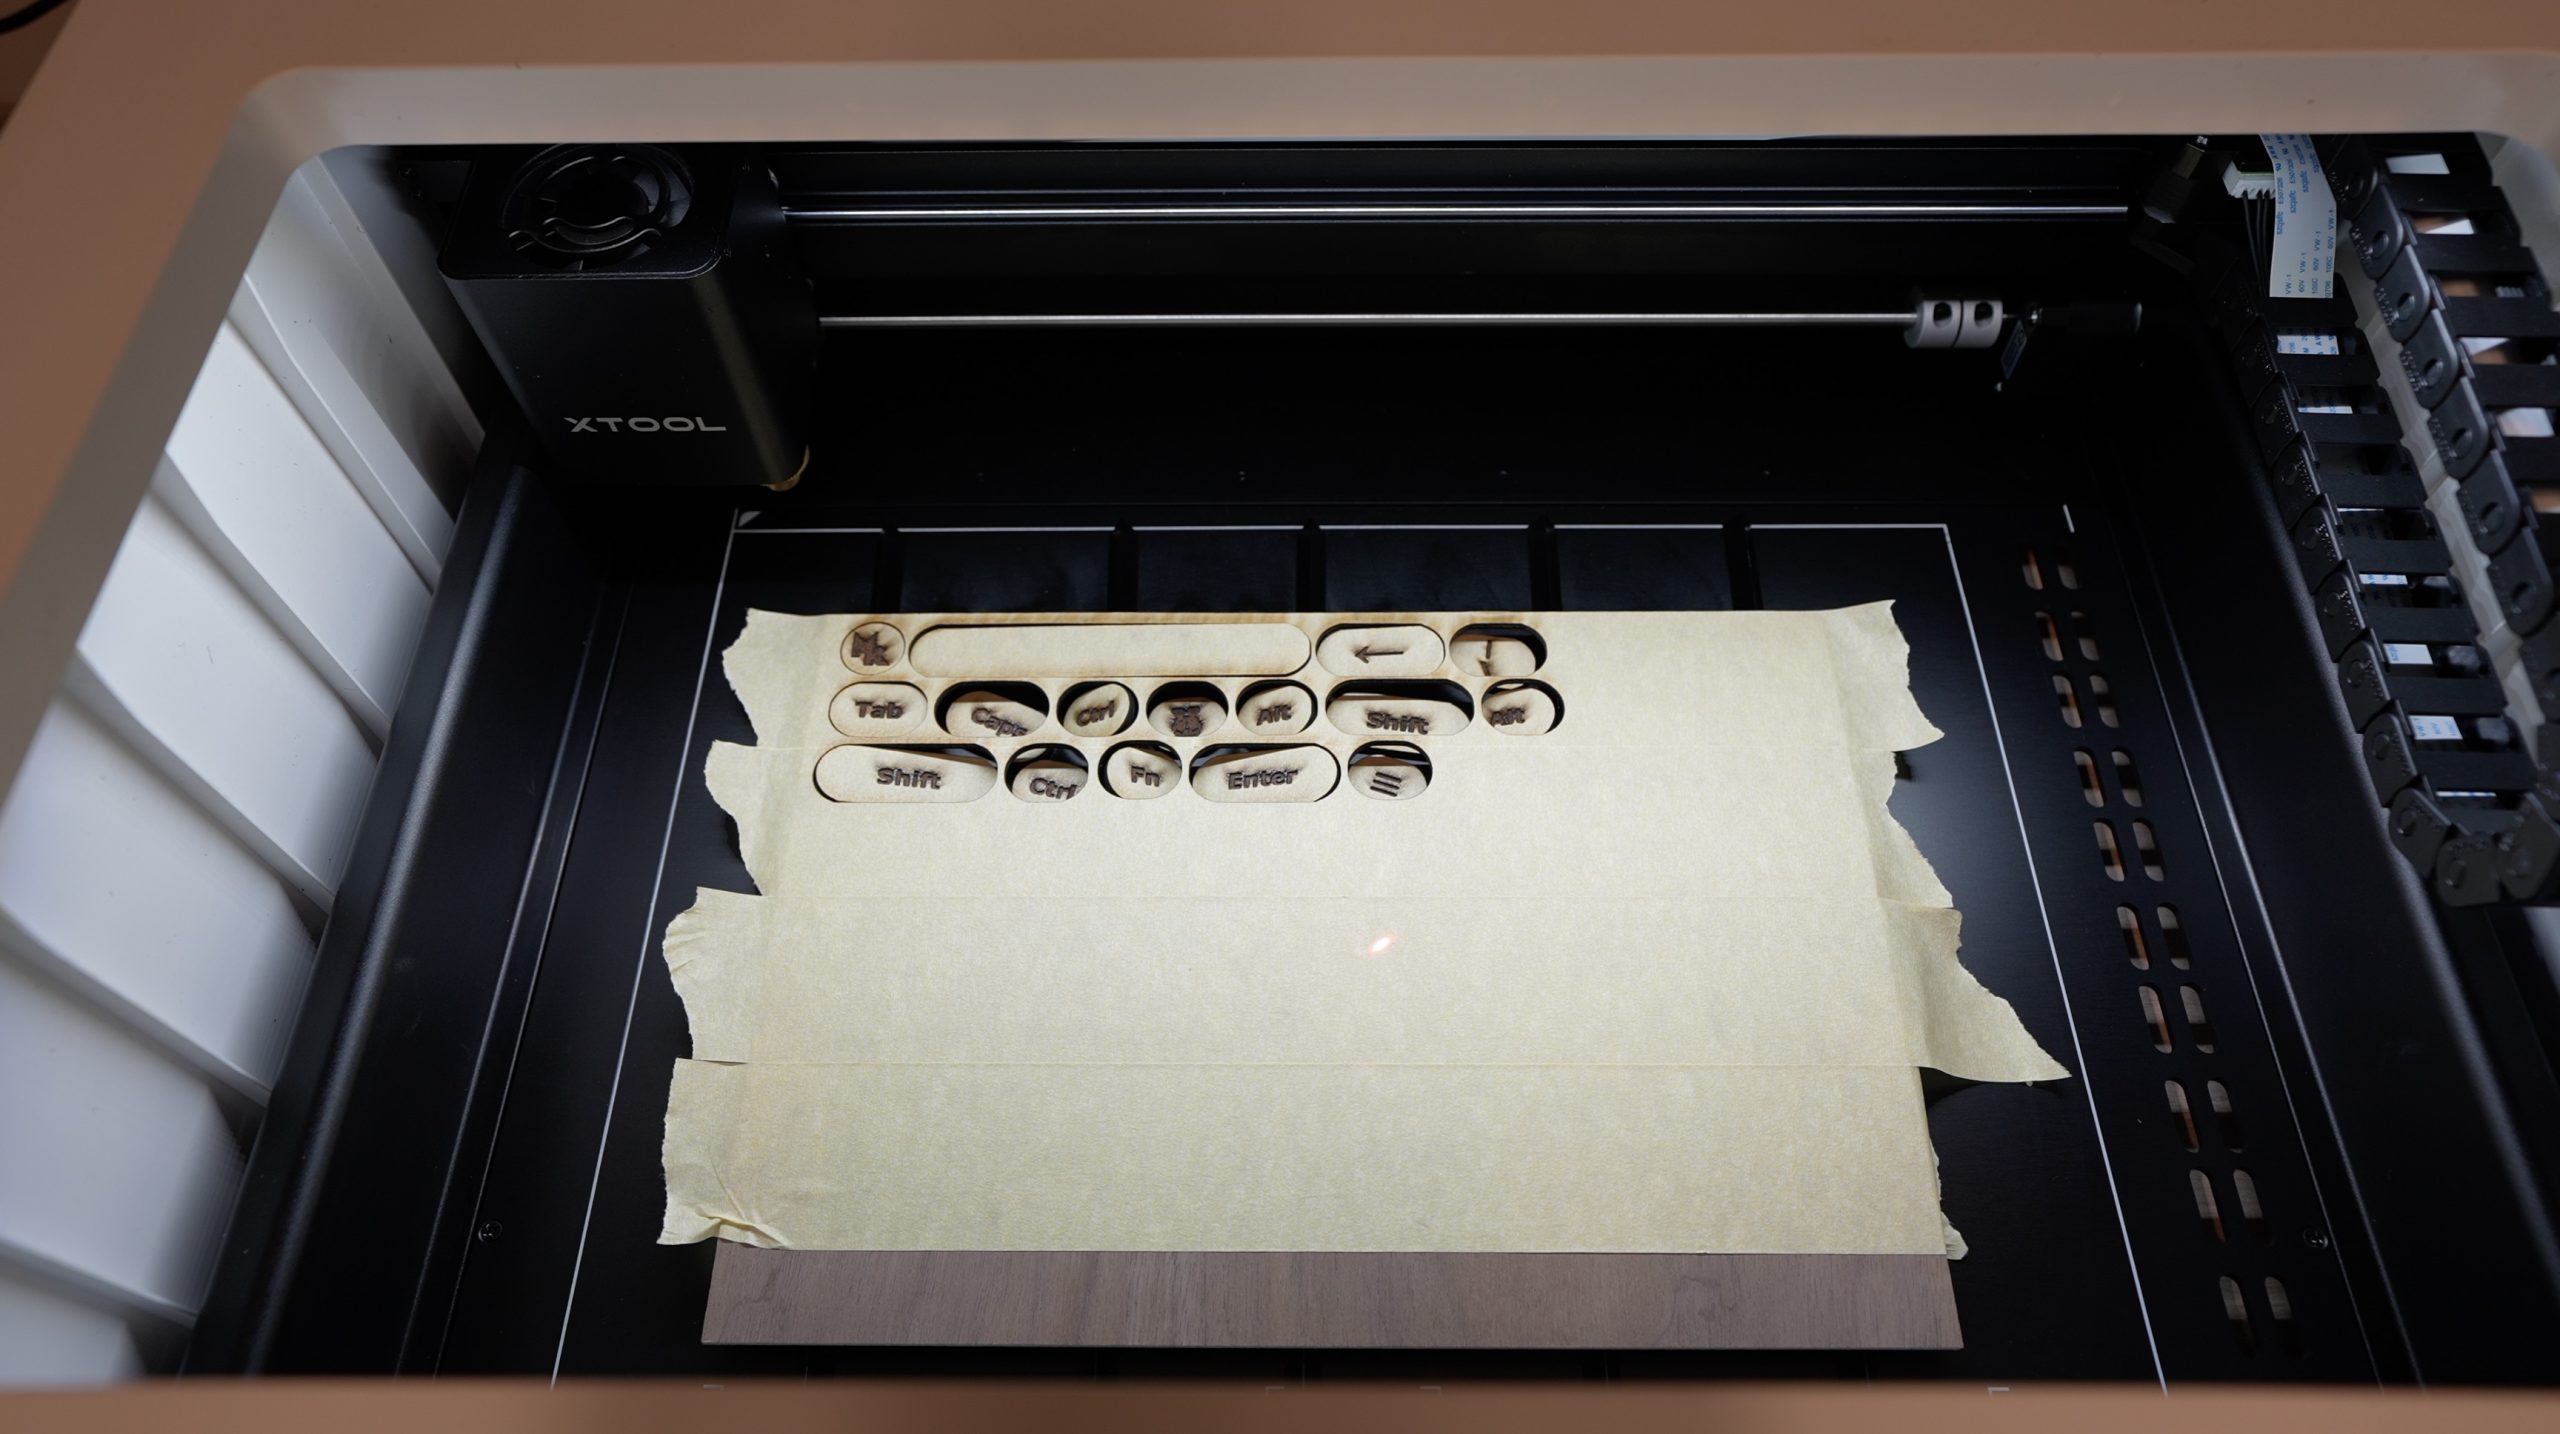
The 10W laser is made up of two 5W lasers that are combined into a single spot, allowing it to cut up to 3mm acrylic and 10mm wood sheets in a single pass. The plywood supplied in the materials pack is only 3mm, so it should easily cut through it.
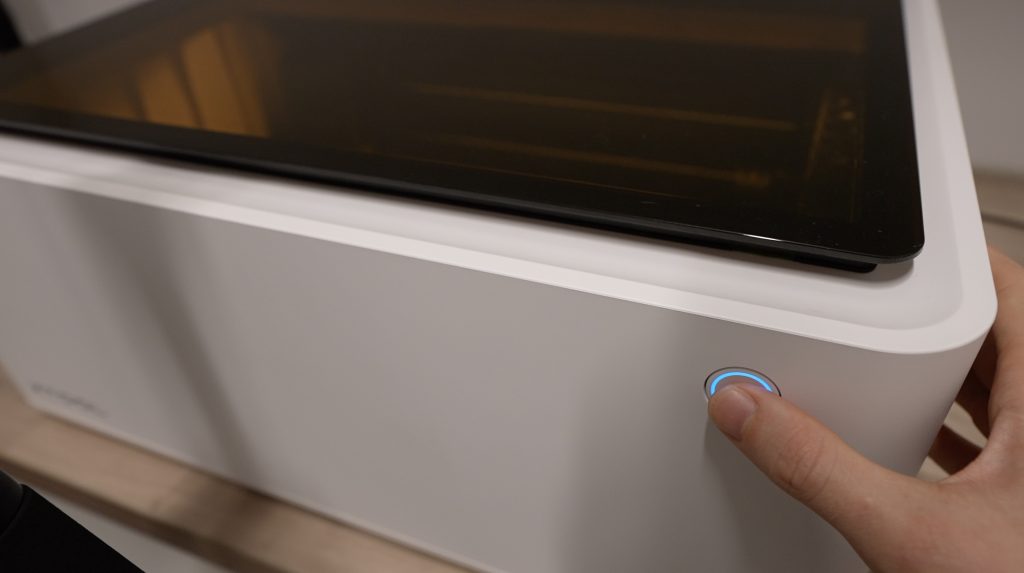
I’ve done a few tests already and found that the recommended settings for cutting worked perfectly, the engraving was a bit lighter than what I wanted for the keyboard so I’ve increased the laser power and reduced the speed a bit. We can then send the design to the M1 and press the button on the front to start.
While operating, Creative Space gives you an estimate on how long it’s going to take to complete the engraving and cutting – although this seems to be roughly accurate for engraving but can be quite far off for cutting, especially if you’ve got detailed design work.

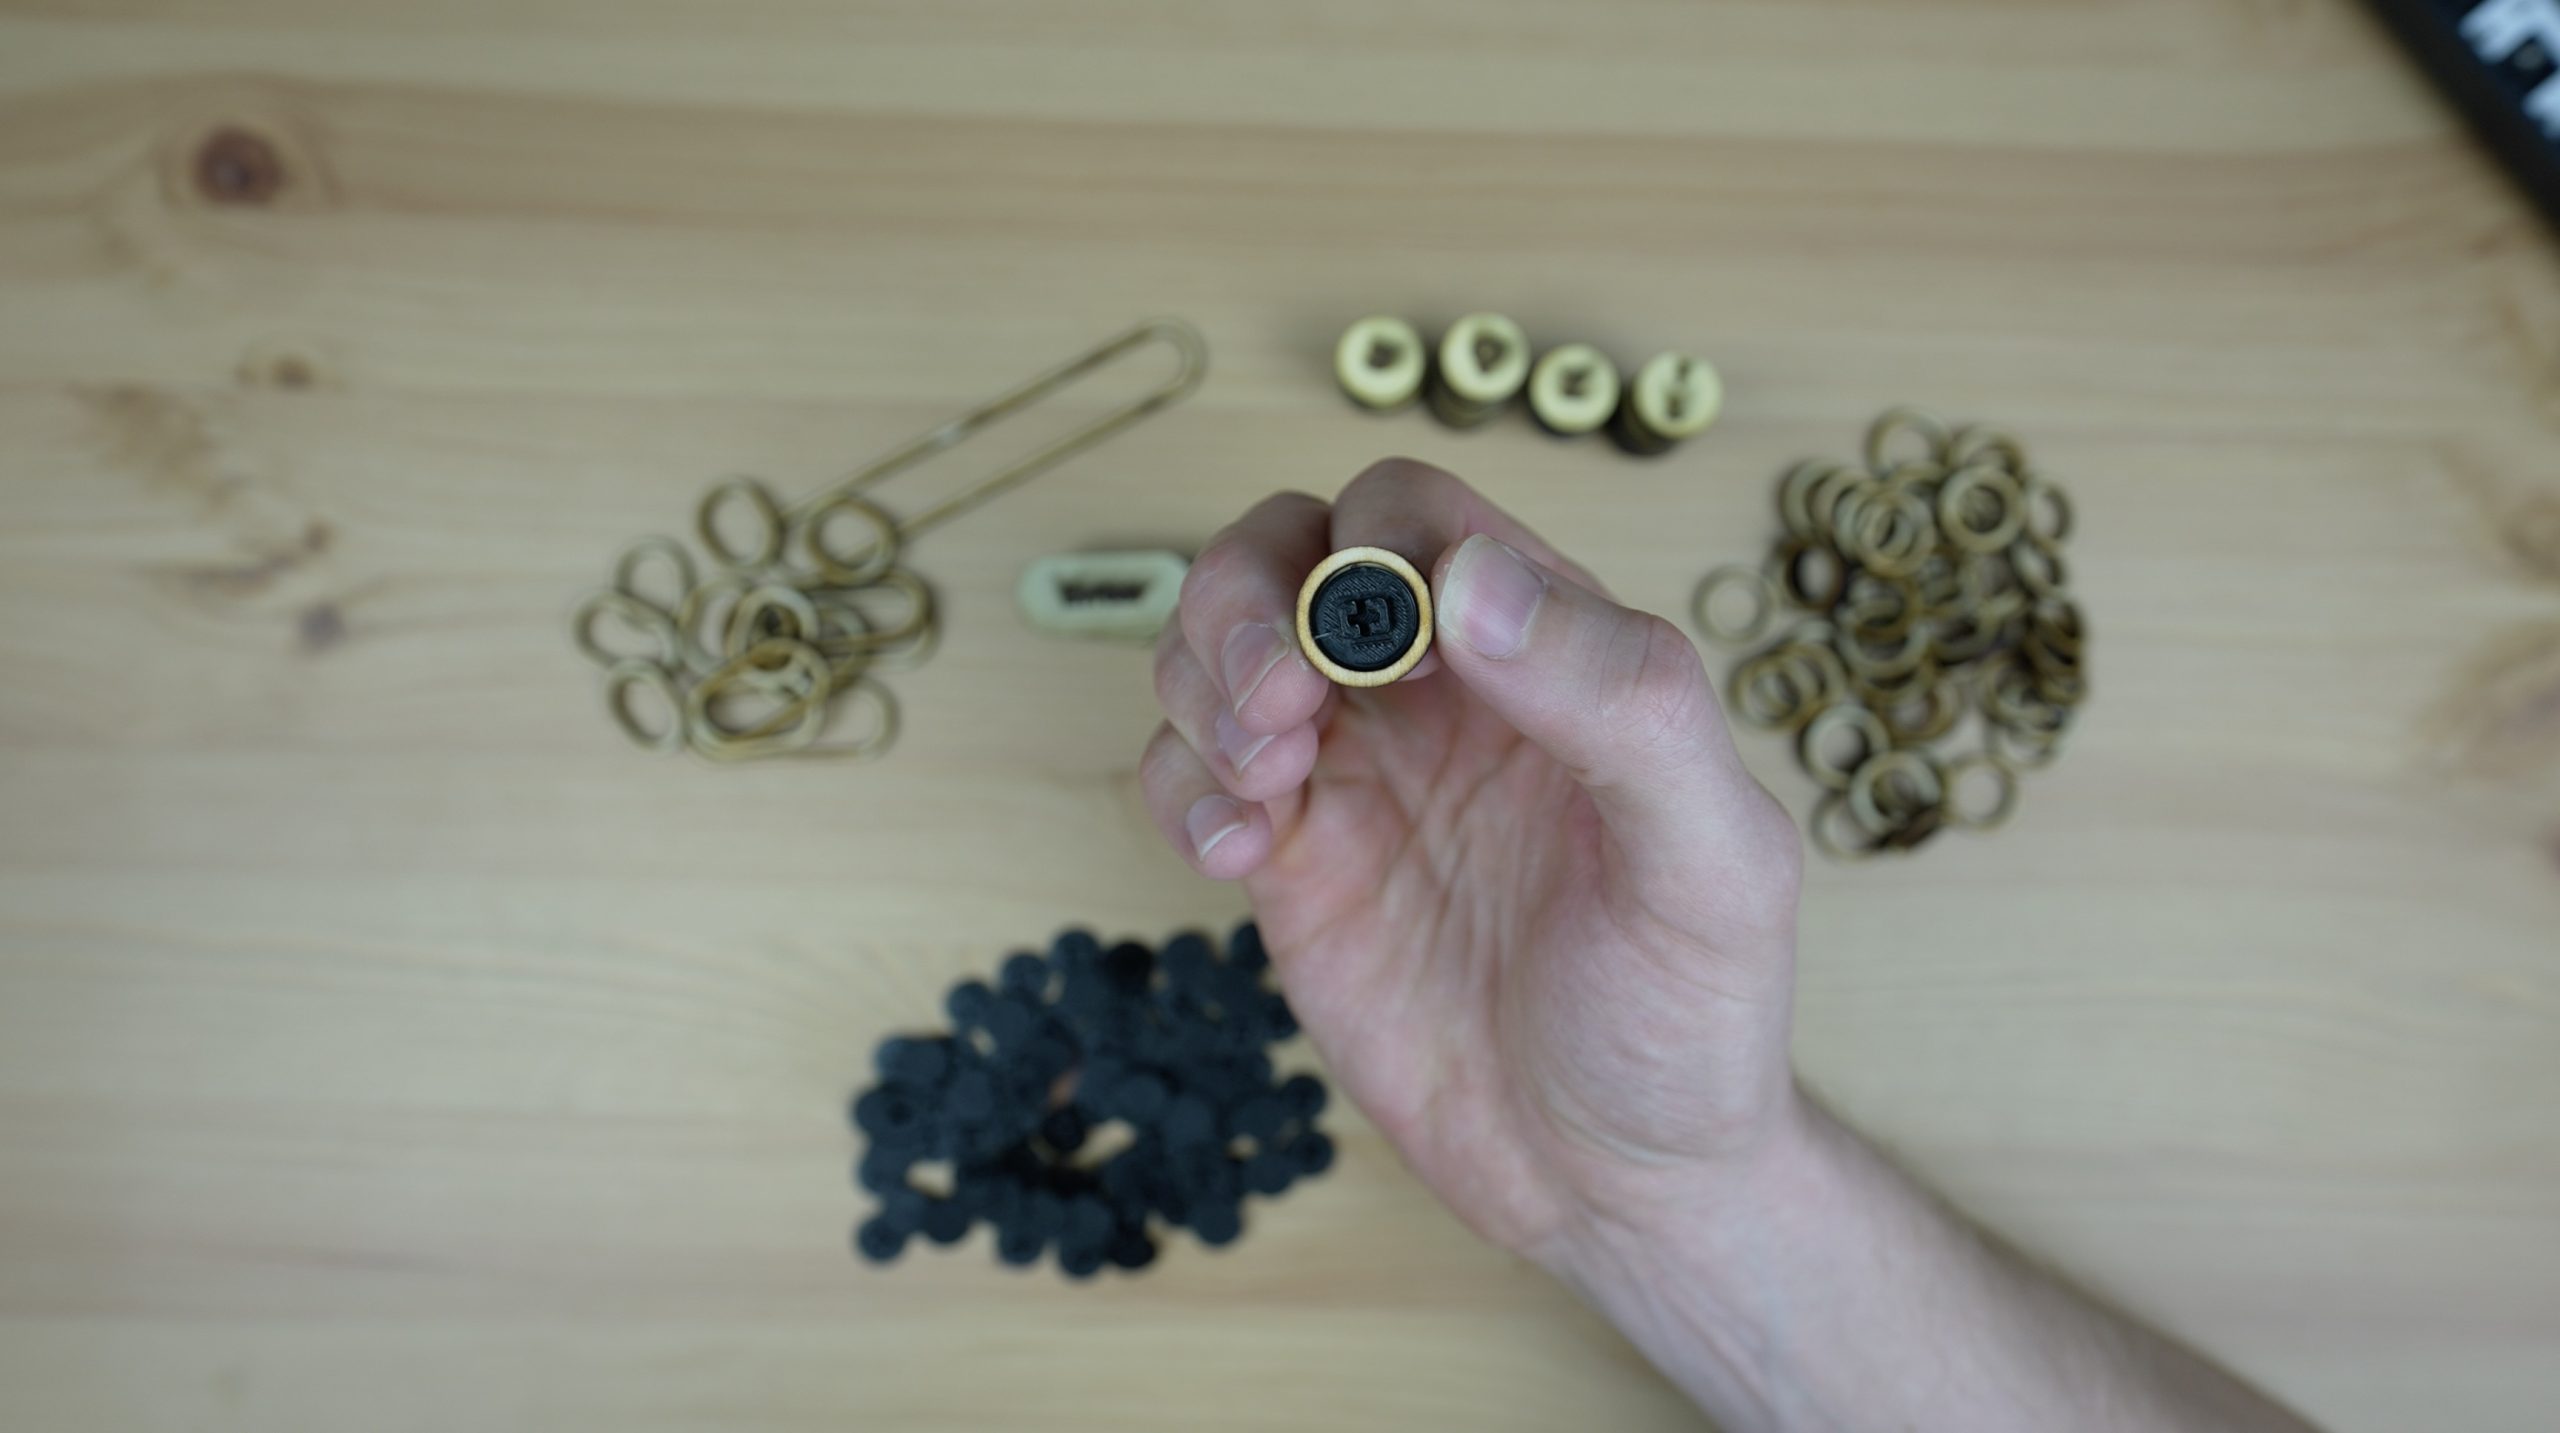
While the xTool M1 is finishing off the keycap rings, let’s get the 3D-printed parts made up as well. These are just small inserts that go on the underside of each key to properly attach them to the key switches. I printed these out 17 at a time from black PLA filament using a 0.4mm nozzle and 0.15mm layer height.
The keys came out quite well. There is a bit of smoke and charring on the surface as expected, but that’s why we added the masking tape so that should peel off when we’re done assembling them.
Assembling The Mechanical Keyboard
To make up each key, we need to glue the ring onto the underside of each letter and then add a 3D-printed holder.
Now I just need to glue the other 60 keys together and get them installed on the keyboard.
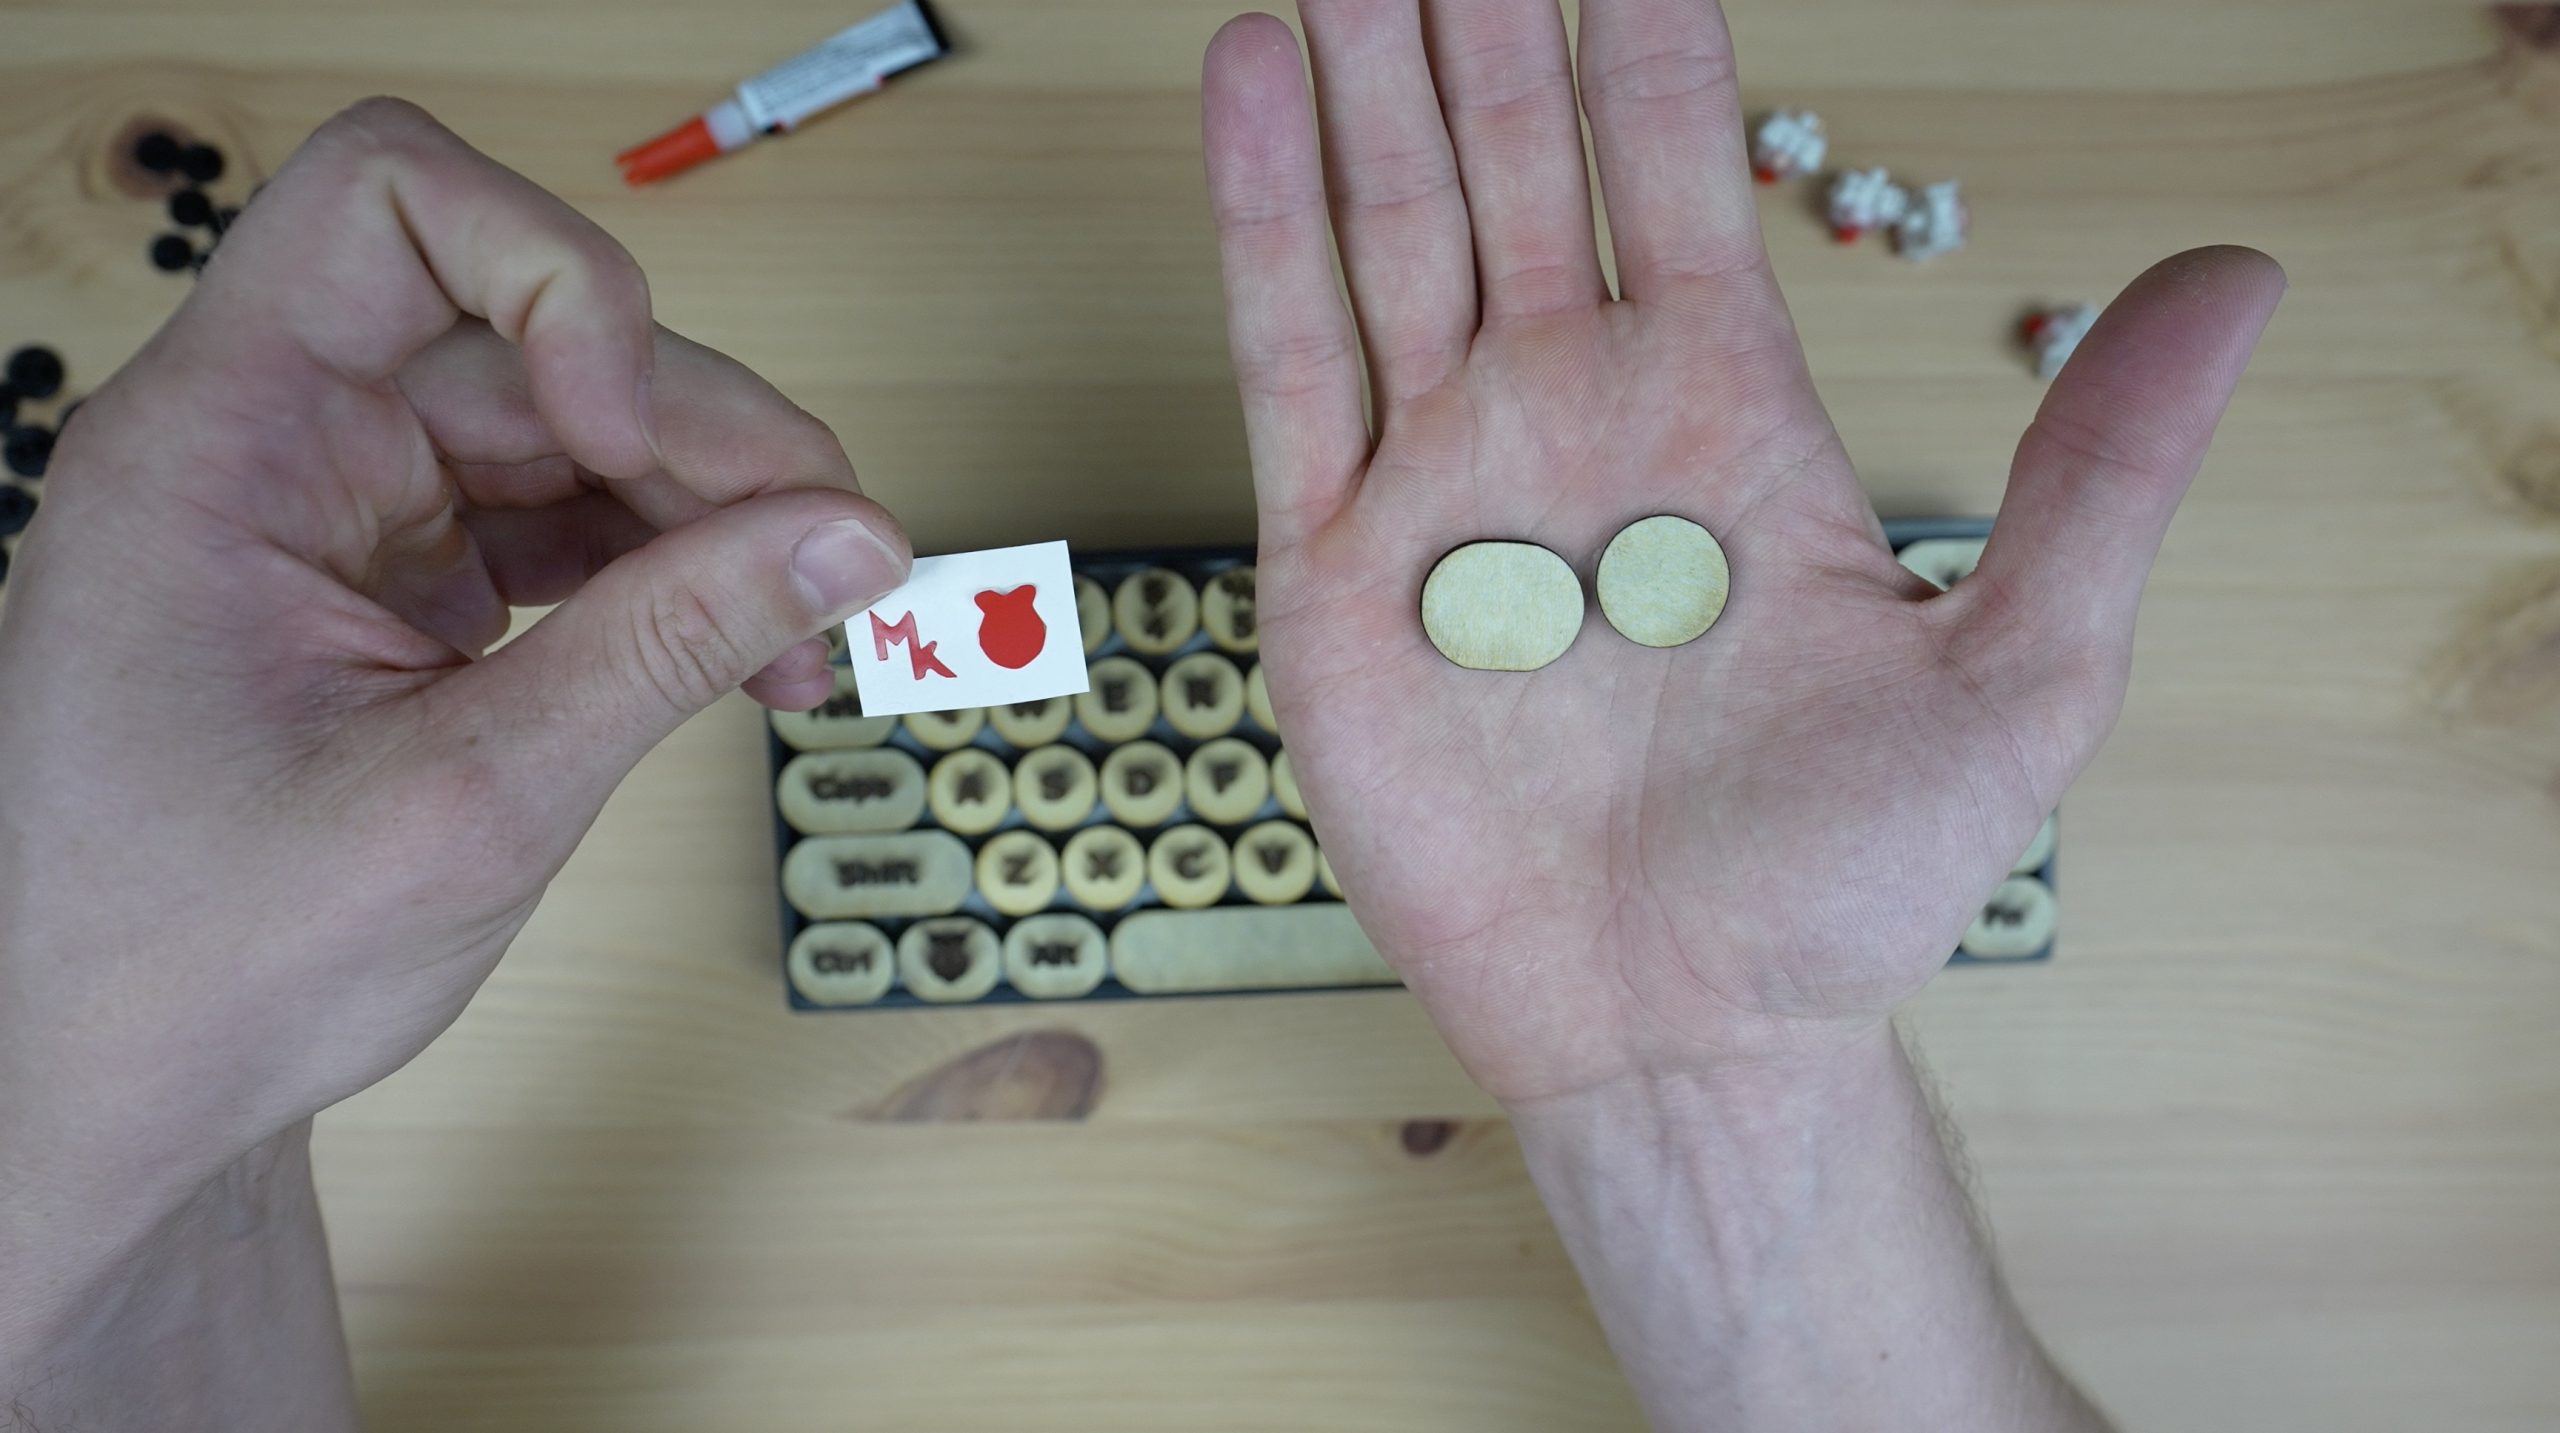
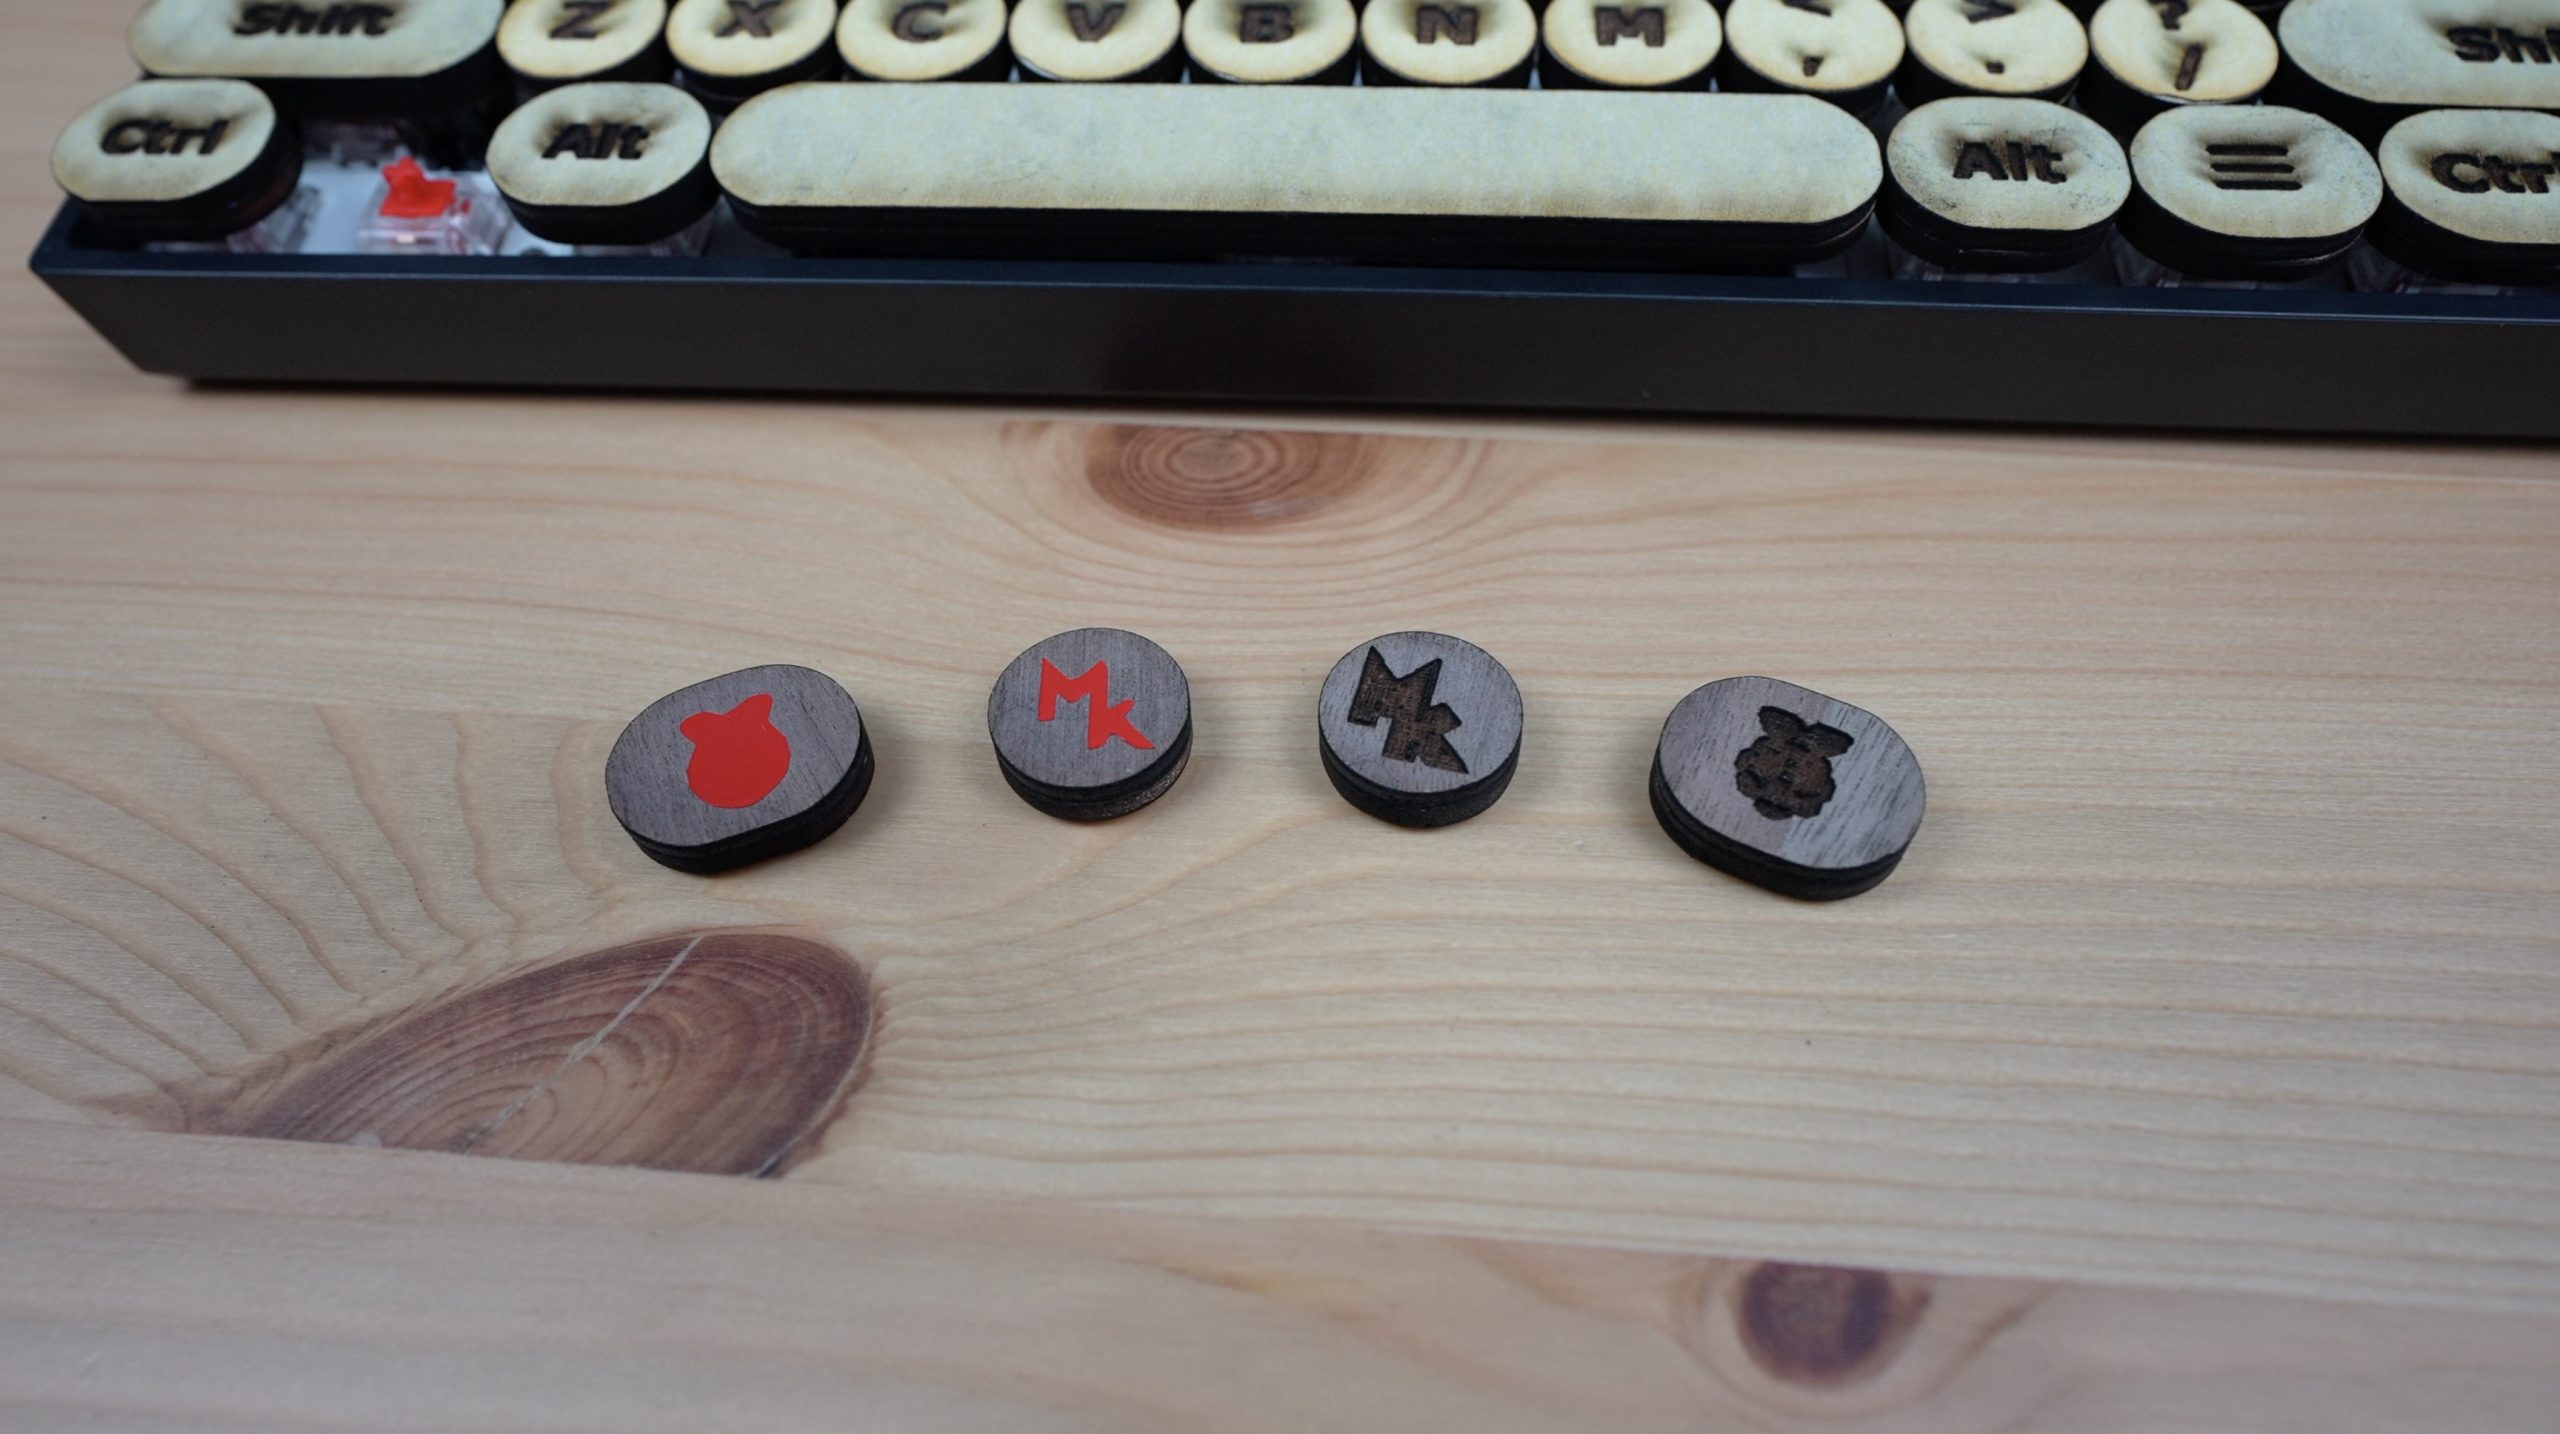
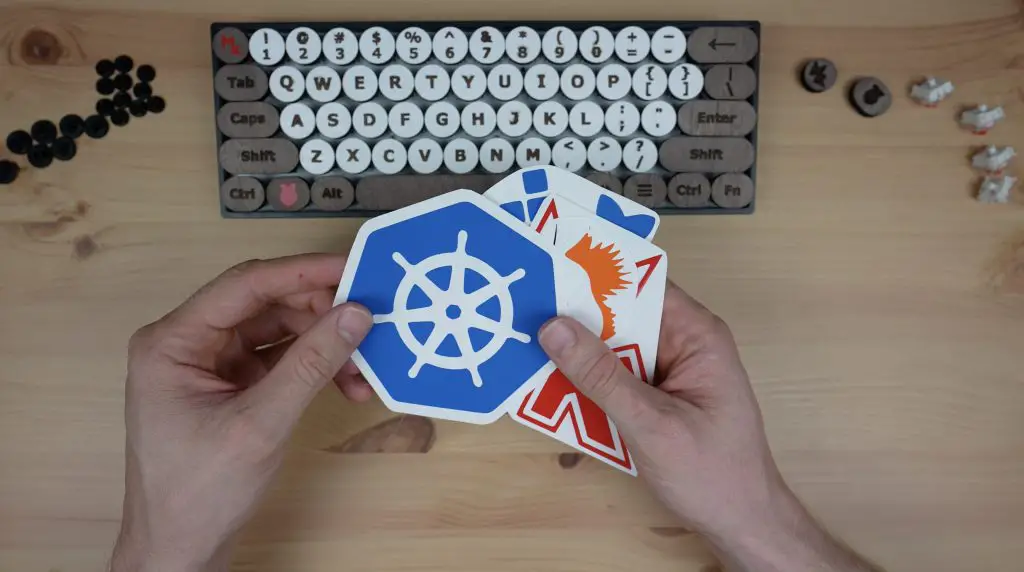
With the keys all in place, I thought it might look better to add some colour to the keyboard, so I’ve cut out two more keys and cut my logo and a raspberry outline from some red stick-on PVC sheets that I used the blade-cutting tool to cut out.
I really didn’t expect much from them because they’re so small, but the xTool M1’s blade cutting tool actually managed to cut them out reasonably well.
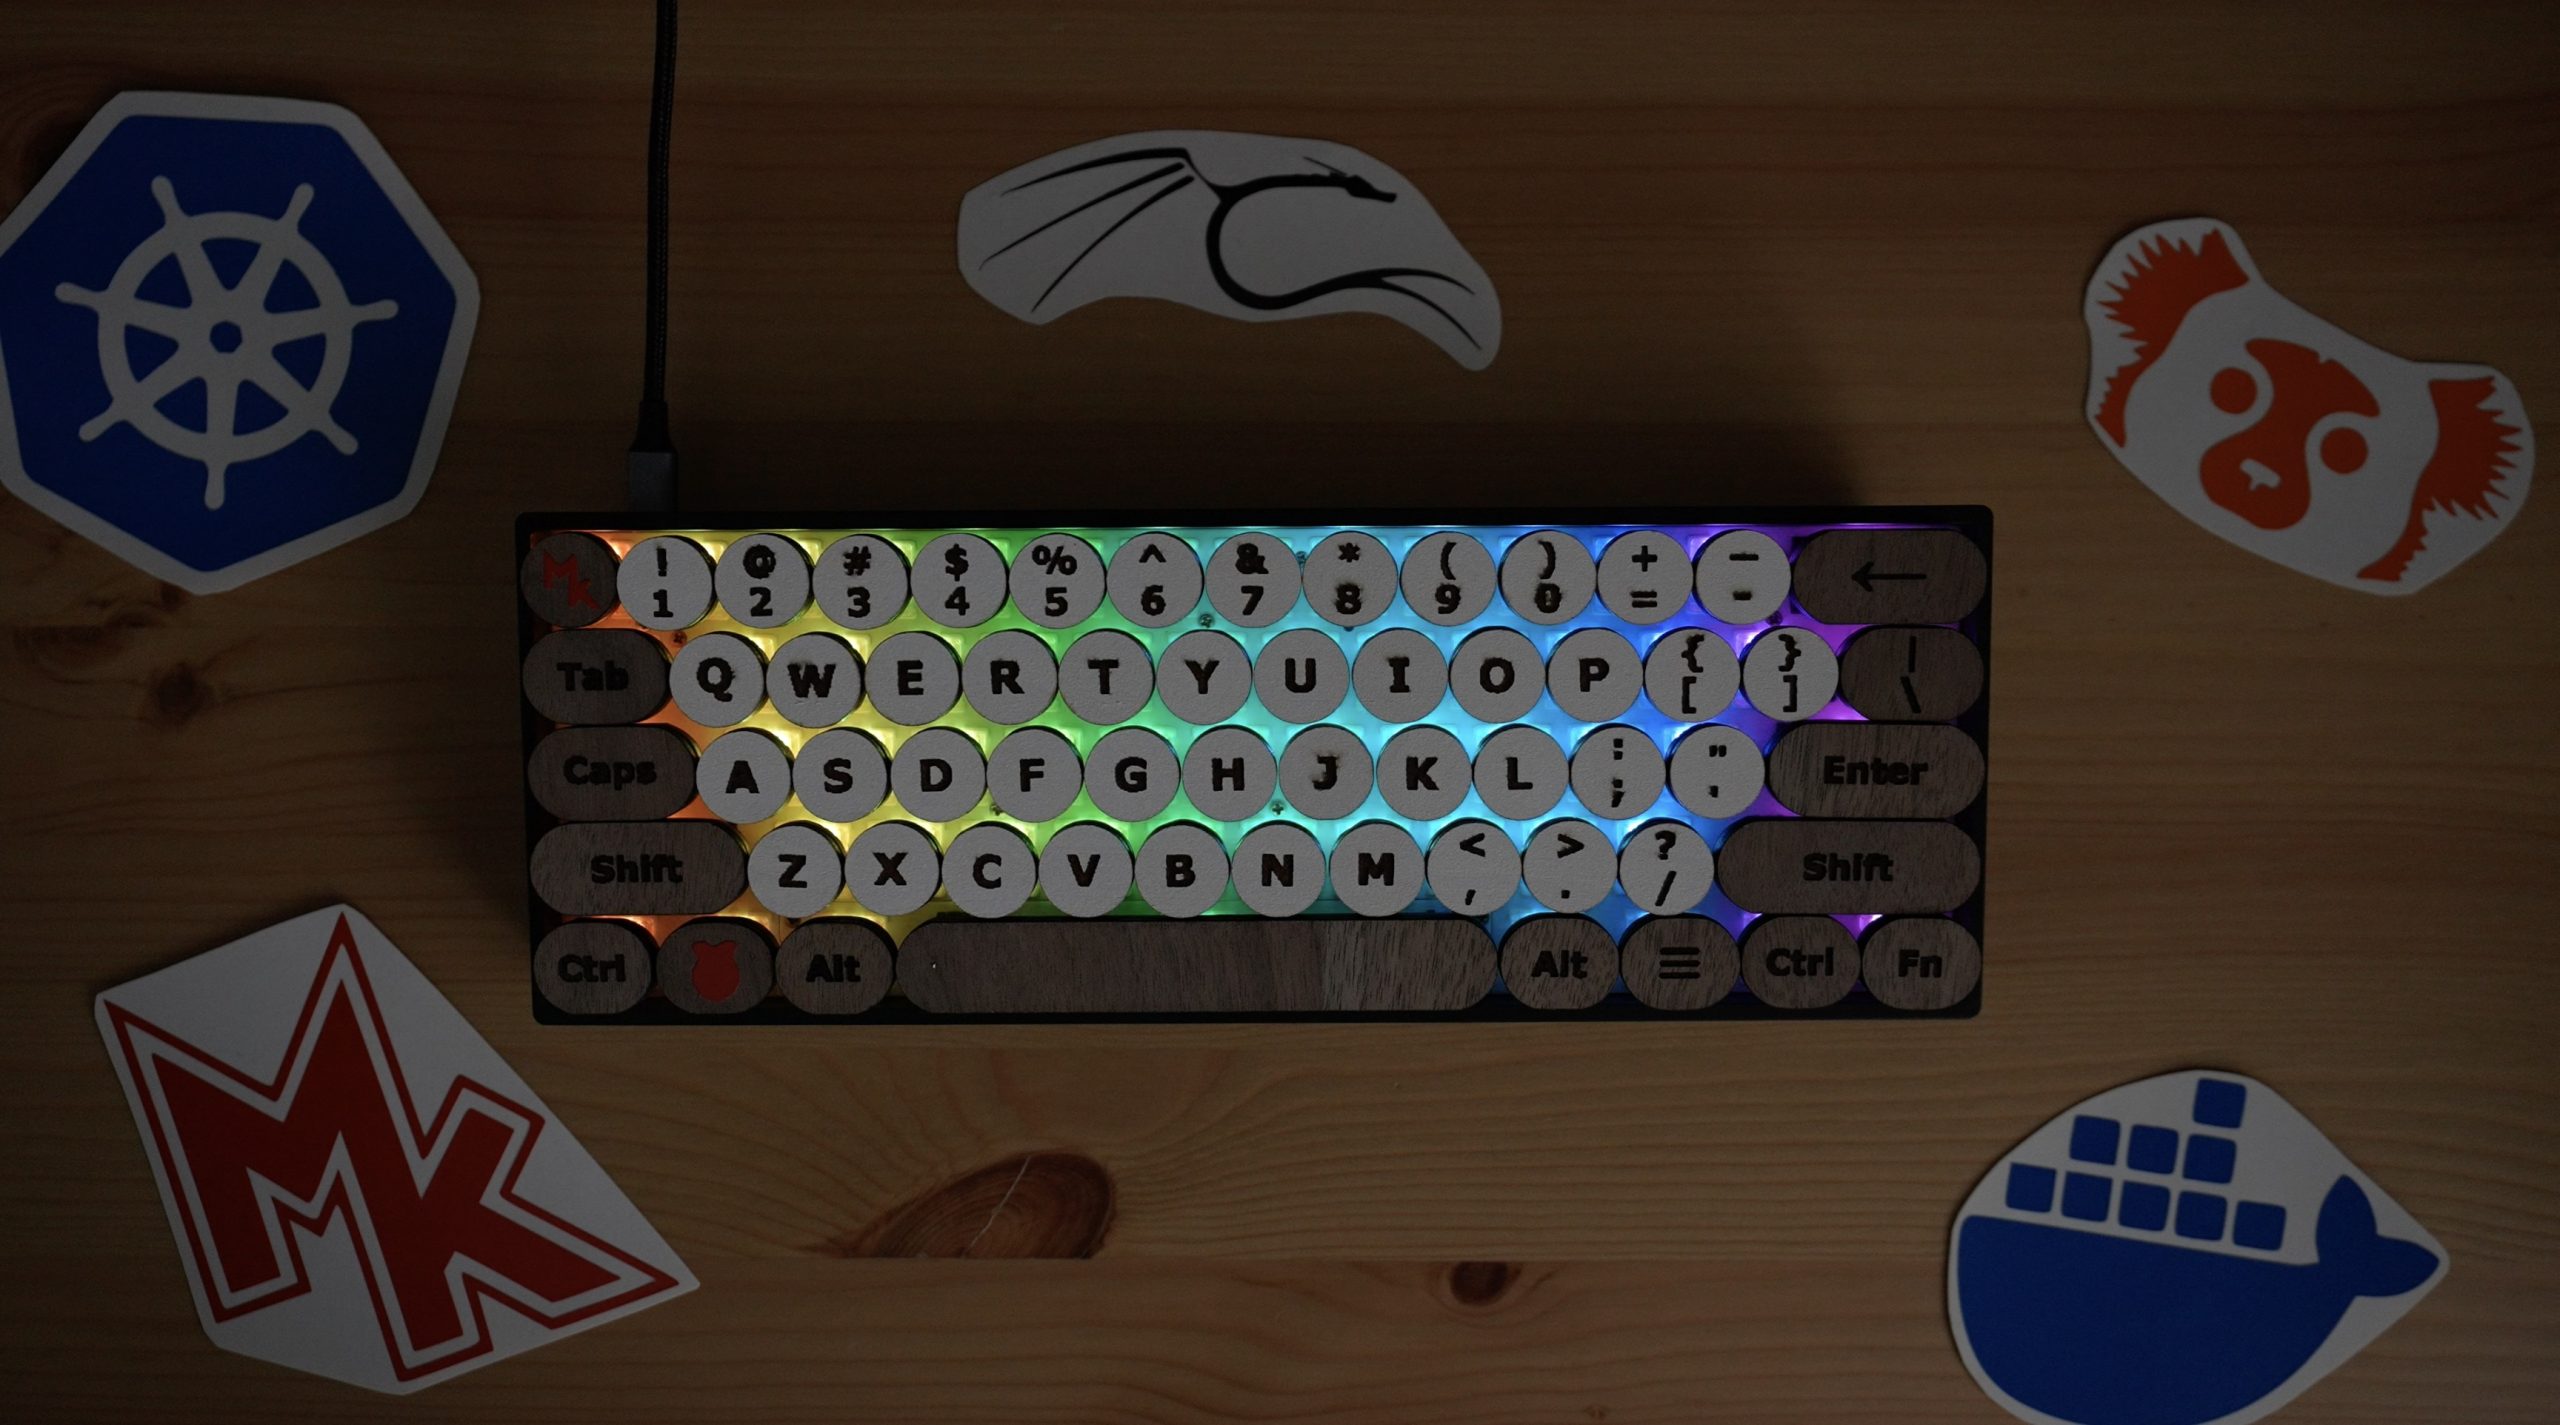
The Finished Keyboard
Now that the keyboard is finished, let’s peel off the masking tape and see how it looks.
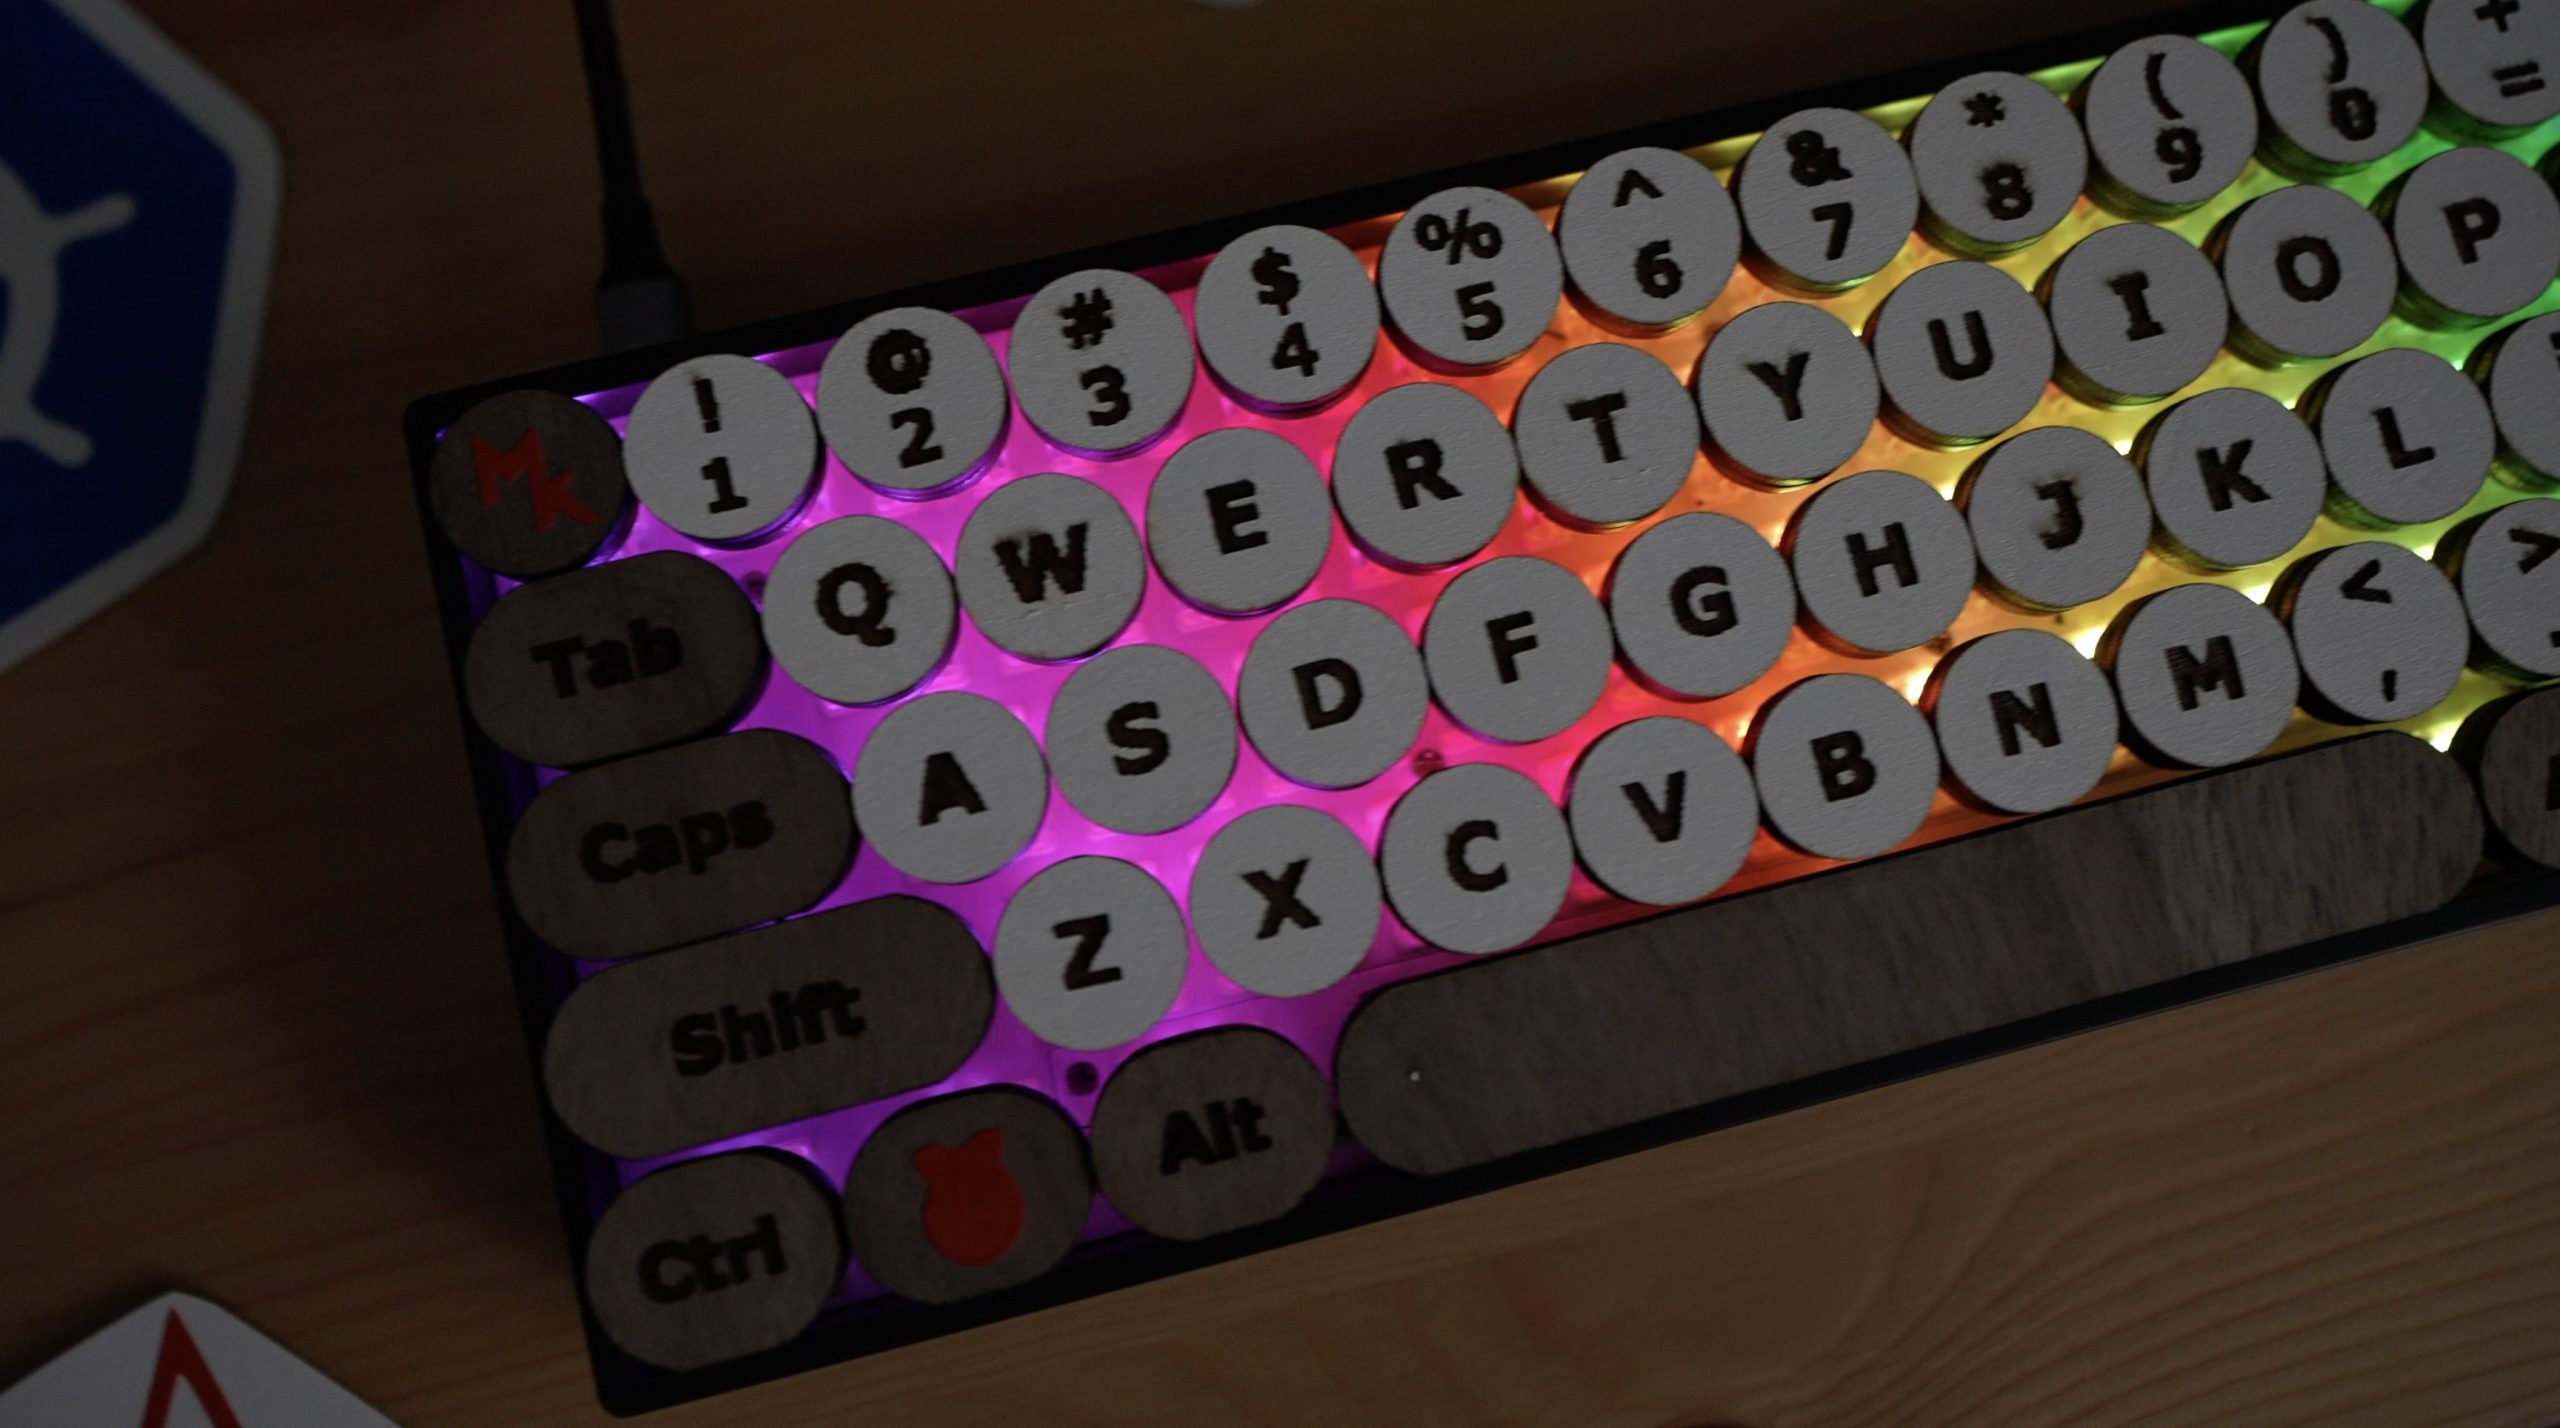
I forgot to mention that it’s also got RGB lighting behind the keys, so that’s one of the reasons why I went with the round keys instead of the square keys.
I also tried cutting out some additional designs for my home server rack using the blade cutting tool. I also cut these from the PVC sheets included in the materials pack.
Engraving Other Objects On The xTool M1
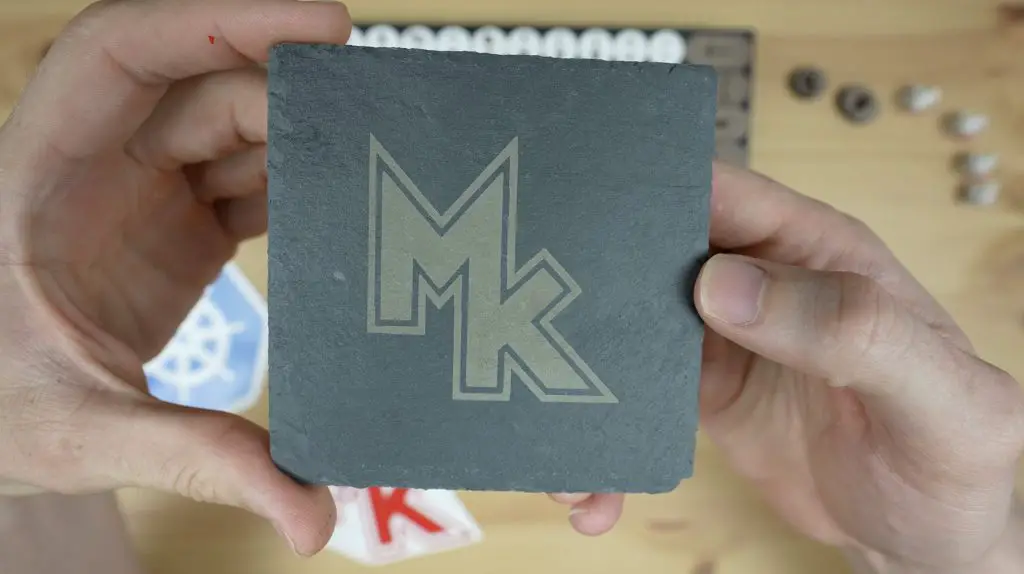
Out of interest, I played around with some of the other included objects in the materials pack. I first tried engraving my logo onto one of the included slate coasters.
I used their suggested settings and these came out amazingly well. I haven’t engraved onto slate before, but the result was much better than I had anticipated.
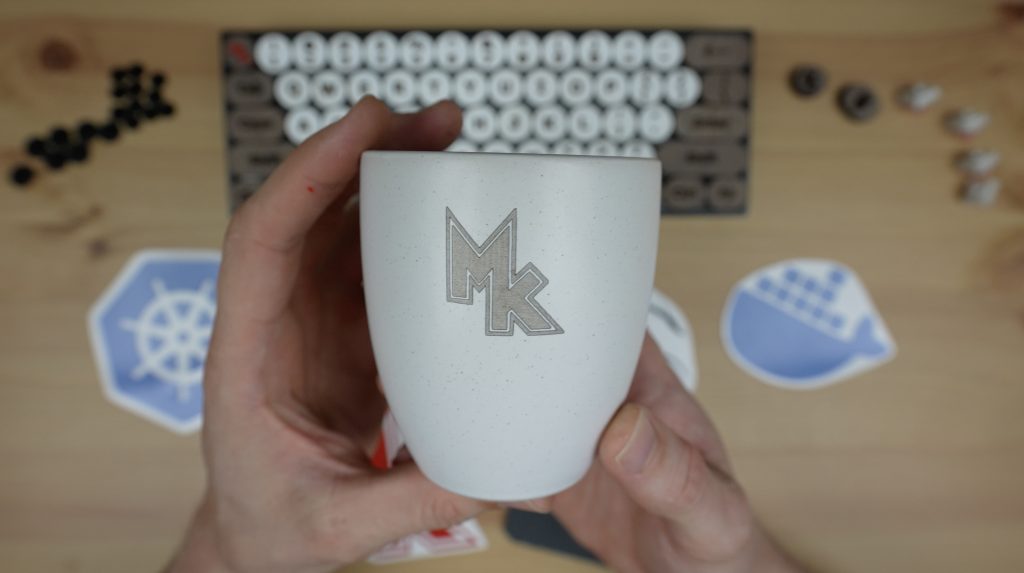
I then used the rotary tool to engrave onto a mug. I used the roller tool along with the height-adjustable stand to support the mug. I also had to prop the laser up on the risers to allow the rotary tool to fit in beneath the laser head at the correct focus distance.
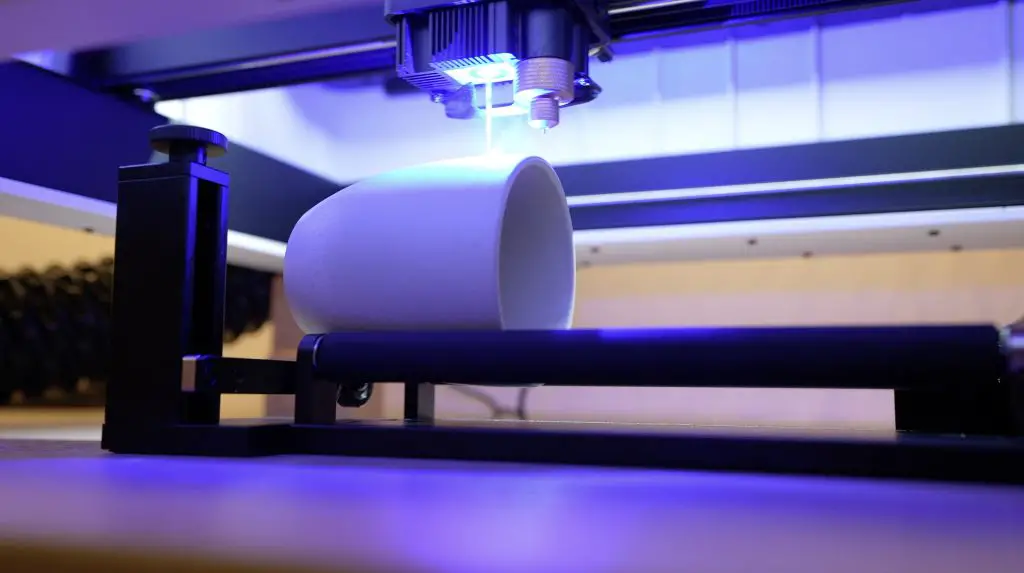
I used Cermark on the mug to get a better finish and I was again impressed with the final results.
Final Thoughts On The xTool M1
Through using the machine for the past two weeks, I don’t really have too many negative things to say about it. The machine is great, it works well in both modes, it’s easy to use and I haven’t run into any problems with it.
If you’re wanting to use the machine for cutting plywood, then I’d definitely suggest getting the more powerful 10W version. I haven’t tried the xTool M1’s 5W laser, but from experience with other lasers, you’ll either need to do multiple passes or run really slowly to cut 3-5mm plywood.
The air purifier is quite noisy but it is also moving quite a lot of air through it. I haven’t got a calibrated air quality meter in my workshop, but it does a good enough job at filtering the air that you can’t smell any traces of wood or acrylic being cut. After cutting and engraving everything in this project, the first layer of the filter is clearly showing signs of being used, but it’s still got a lot left in it before it’ll need to be replaced.
The materials pack that was included is really useful if you’re a crafter, although I think it is a little bit too heavily weighted towards the blade cutting tool. There is a lot of included vinyl, leather, pvc, cardstock and sticker sheets, but only one piece of walnut plywood and one sheet of regular plywood. There are also a lot of objects to engrave, but I personally would have liked to have a bit more plywood and possibly a sheet of acrylic as well. They do however have a wide range of materials packs available from their web store and these are tailored to particular applications.
The rotary attachment was easy to hook up and use and I like the included height adjustable stand so you don’t have to try and balance the rollers or the object you’re engraving at weird angles.
The blade cutting tool works better than I expected on a dual-purpose machine, it’s able to cut very fine details without any issues and it’s great that they include a few spare blades as well. I’d also like to see xTool develop some additional attachments for the tool holder, like tools for embossing, scoring or even drawing.
The xTool M1 is clearly aimed at crafters for home or small business use, it’s going to be perfect for creating home decor items, small home or business signs, customising clothing or other textiles and making or customizing jewellery.
It’s much easier to set up and use than traditional CNC diode laser machines due to its fully enclosed, pre-assembled design. So it’s perfect for people who have never used a CNC machine before. The included camera really helps out with positioning your designs on your materials, making sure you don’t waste them.
As for limitations or downsides to this machine – due to the enclosure design, the bed area of 385 x 300mm is quite a bit smaller than the 430 x 400mm you’d get on an open gantry style laser like their D1. The maximum laser power also caps out at 10W, so if you’re wanting to cut thick materials then you’ll probably want to go with a 20W laser on an open gantry machine.
xTool also make a number of add-ons and accessories for the M1, like a complete air assist system and a riser base with a honeycomb bed and acrylic sides, so check out their web store to see what is available.
Let me know what you think of the xTool M1 and the keyboard I’ve made in the comments section below.