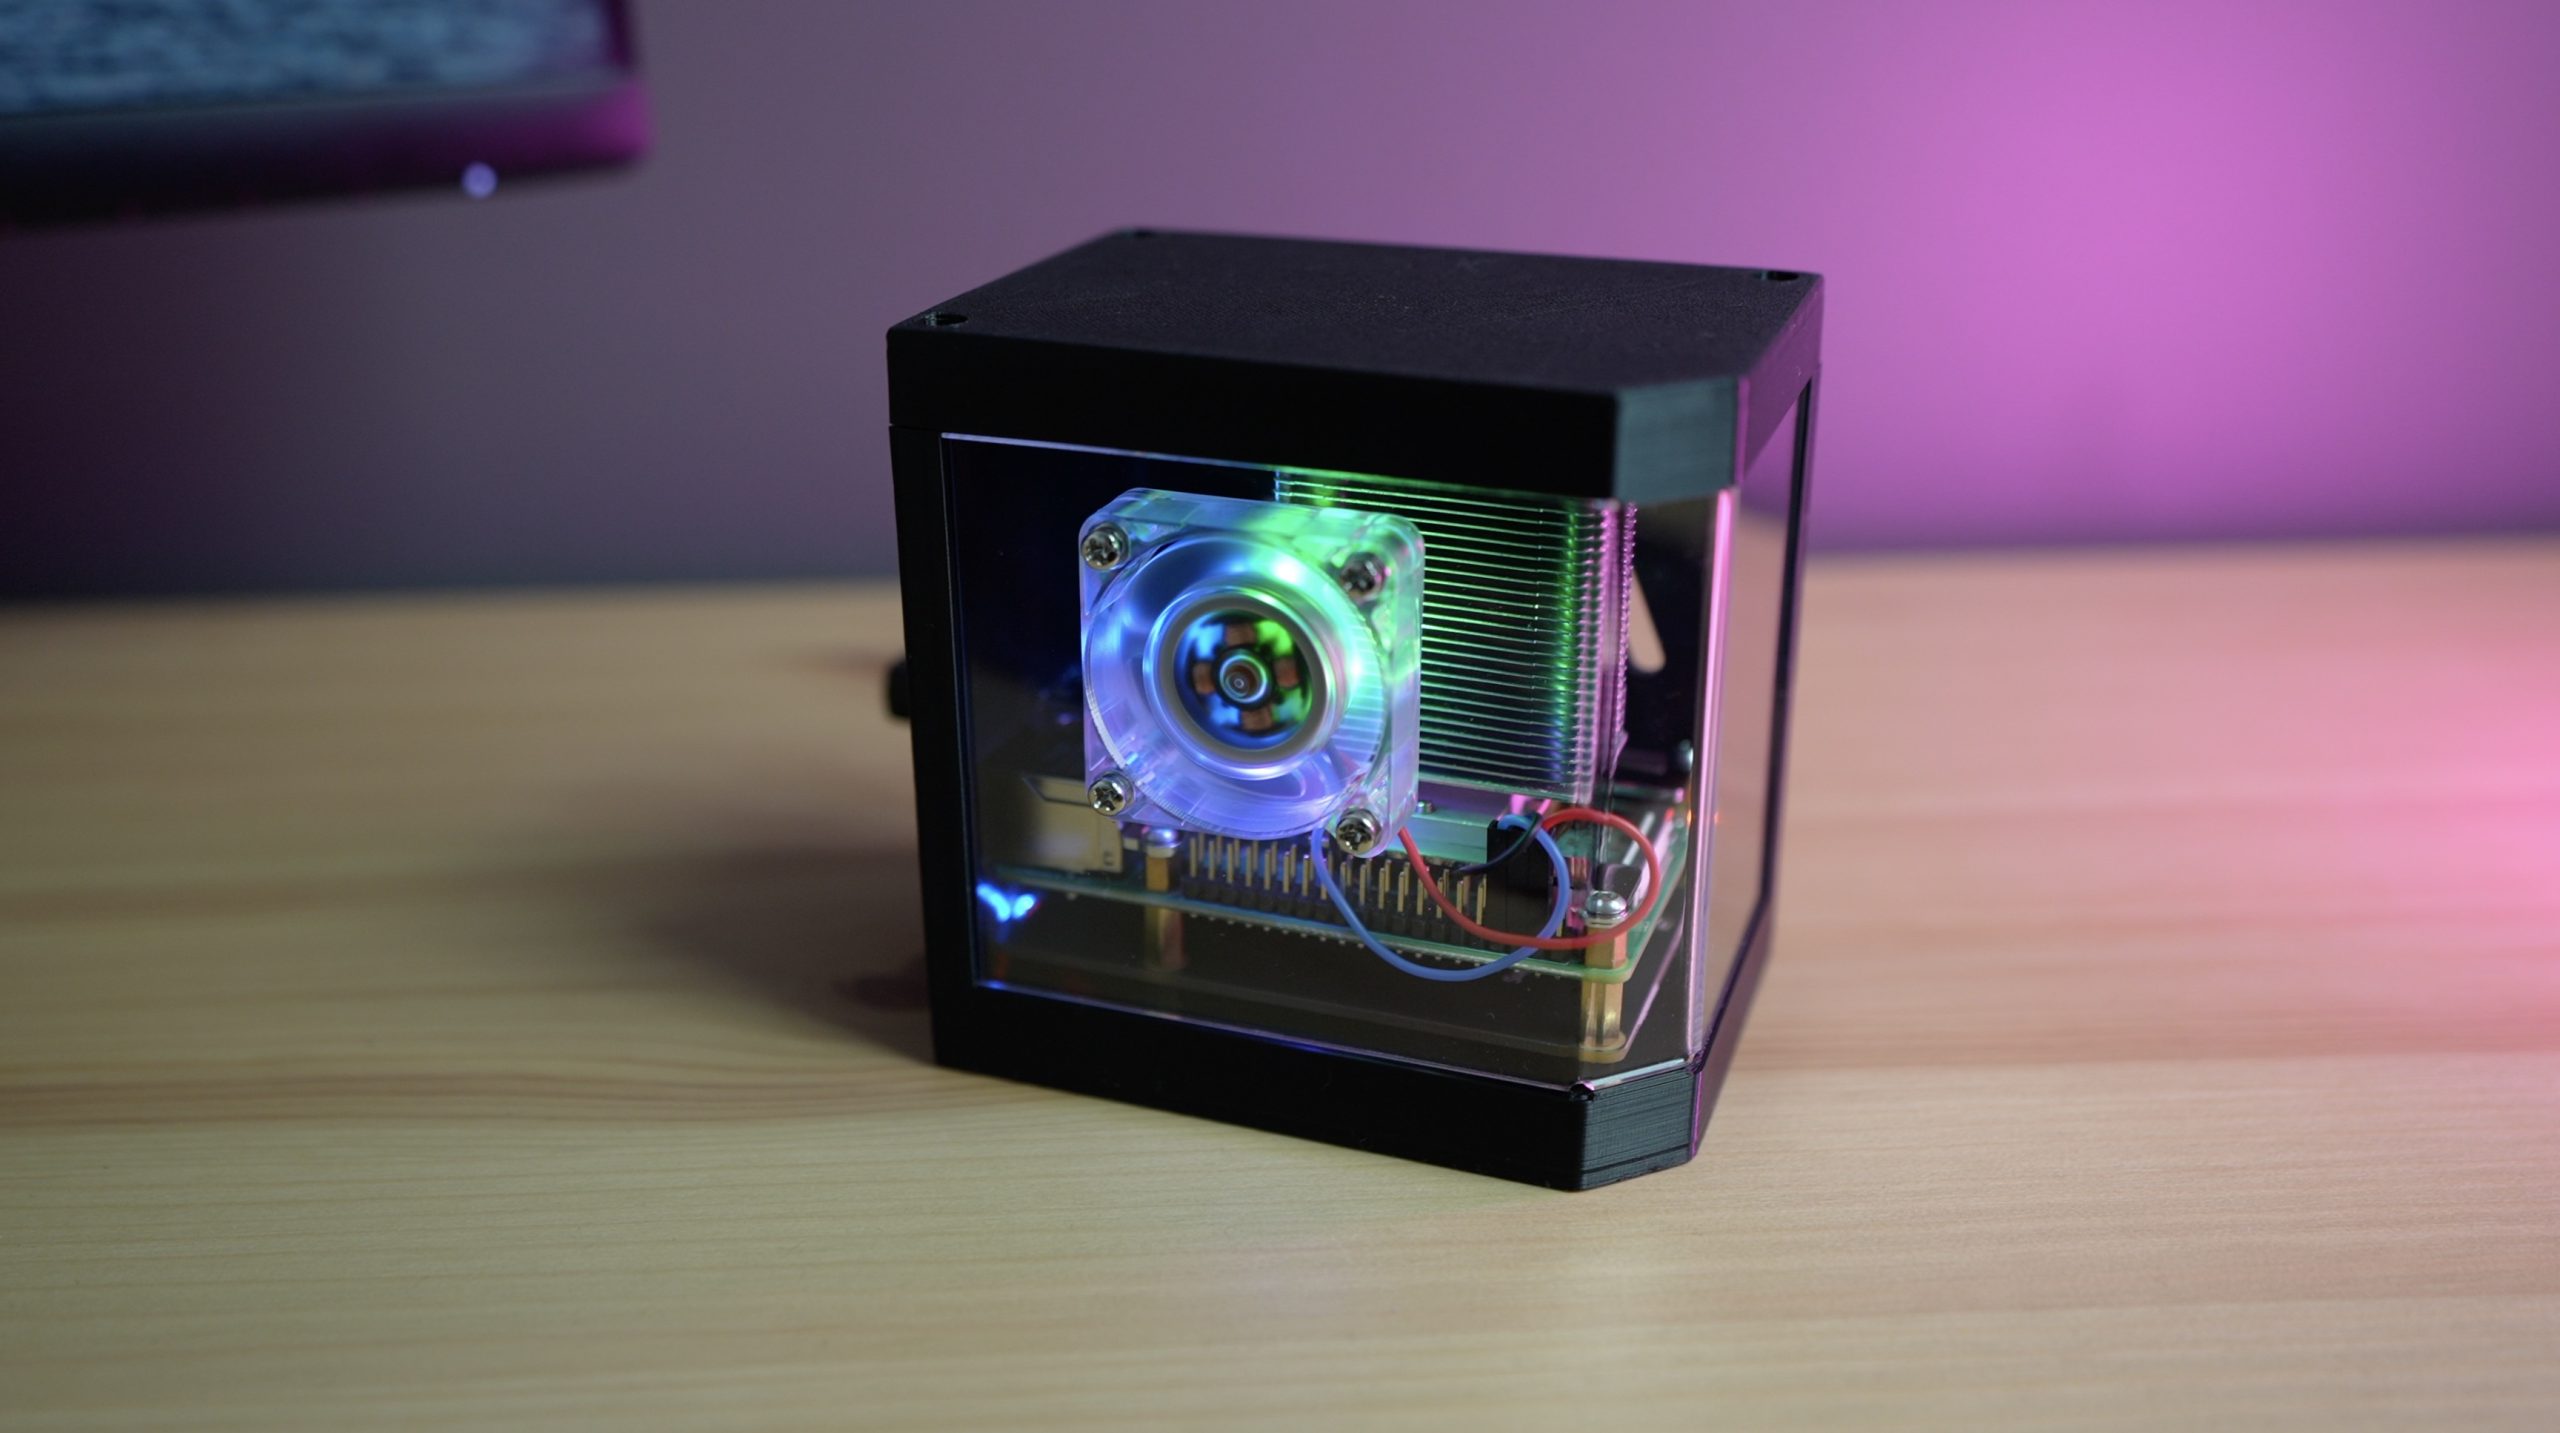
I’ve been using one of my Raspberry Pis in my case with a wrap-around acrylic panel for the past few months, but one of the things that has been missing is an SSD. I don’t mind using a microSD card for tinkering with the Pi and for switching operating systems but when I start using it a bit more regularly with the same OS, then I prefer to use a faster and more reliable storage medium.
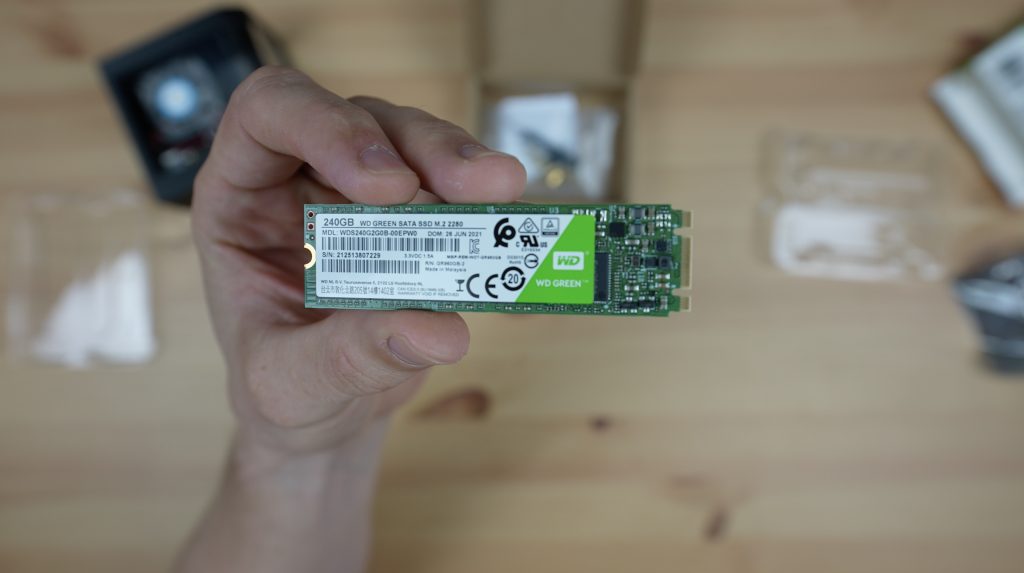
I used an mSATA drive in my last case and that has been serving me well, but this time I thought I’d try out an M.2 solution. The shield I’m going to be using is an M.2 NGFF shield from Geekworm that supports an M.2 B Key SATA SSD with a 22×80 form factor.

I chose this board because it seems like one of the most widely available SSD shields, and it is reasonably priced, selling for around $30 depending on where you buy it from.
A number of people in the comments on my last SSD build asked why I didn’t use a faster NVME drive. That’s because there really won’t be any speed benefit. The bottleneck in adding an SSD to a Raspberry Pi is with the Pi’s USB 3.0 ports, which only support a maximum speed of up to 600MB/s. This aligns pretty well with what you can expect from a SATA or mSATA SSD but is way under an NVME drive’s speed, which can typically be over 3,000MB/s. While the price of NVME drives has been steadily decreasing, until they’re the same price or cheaper than SATA SSDs, there really isn’t any point in using them on a Pi.
I’m using a 240GB SSD, which is way more than I really need for my Pi, but was only a few dollars more than a 120GB one.
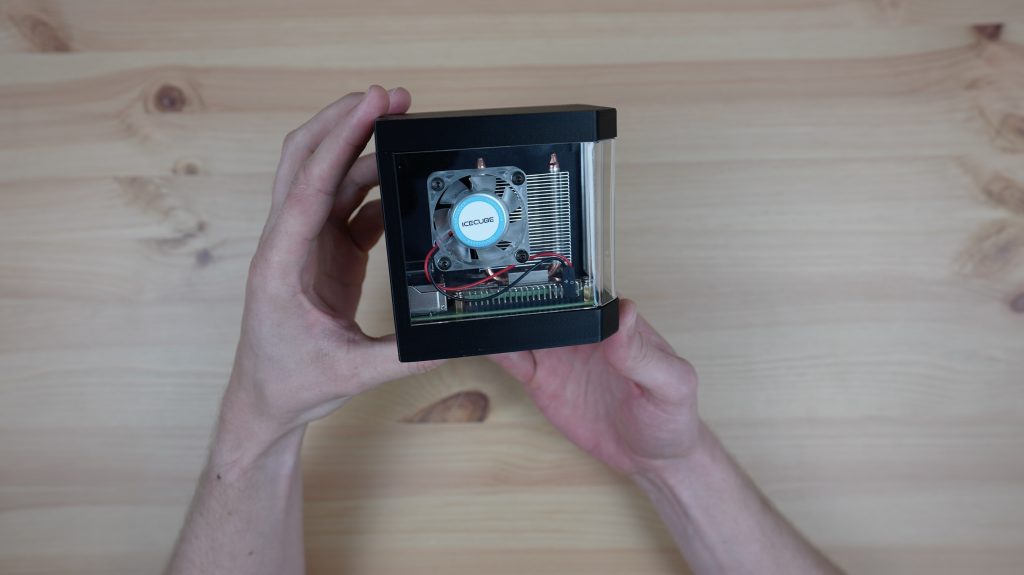
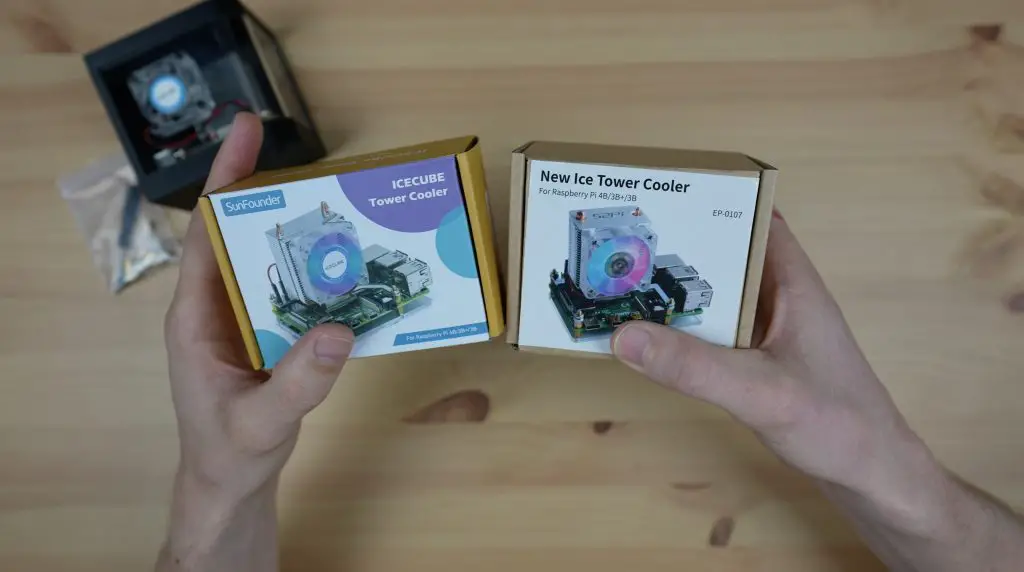
To cool my Pi, I’m going to be using an Ice Tower. I used an Ice Cube cooler on my previous build and I actually prefer this cooler as it provides cooling to the USB and Ethernet controller chips, and it feels like it’s better quality. I only have one of them at the moment though and this is still installed in my previous case, so I’m going to use an Ice Tower for this particular build.
Here’s my video of the build, read on for the written guide:
What You Need To Build Your Own M.2 SSD Pi Case
- Raspberry Pi 4B – Buy Here
- Geekworm M.2 NGFF Shield – Buy Here
- Ice Cube Cooler – Buy Here
- or Ice Tower Cooler – Buy Here
- 32GB Sandisk Ultra MicroSD Card – Buy Here
- M3x8mm Button Head Screws – Buy Here
- M3 Nuts – Buy Here
- Carbon Fibre Fan Grill (optional) – Buy Here
Tools & Equipment Used
- Creality Ender-3 S1 Pro – Buy Here
- Gweike Cloud Laser – Buy Here
- Use my discount code MK200 on checkout to get $200 off
- Electric Screwdriver – Buy Here
- Acrylic Bender – Buy Here
Some of the above parts are affiliate links. By purchasing products through the above links, you’ll be supporting this channel, at no additional cost to you.
Making The M.2 SSD Raspberry Pi Case Components
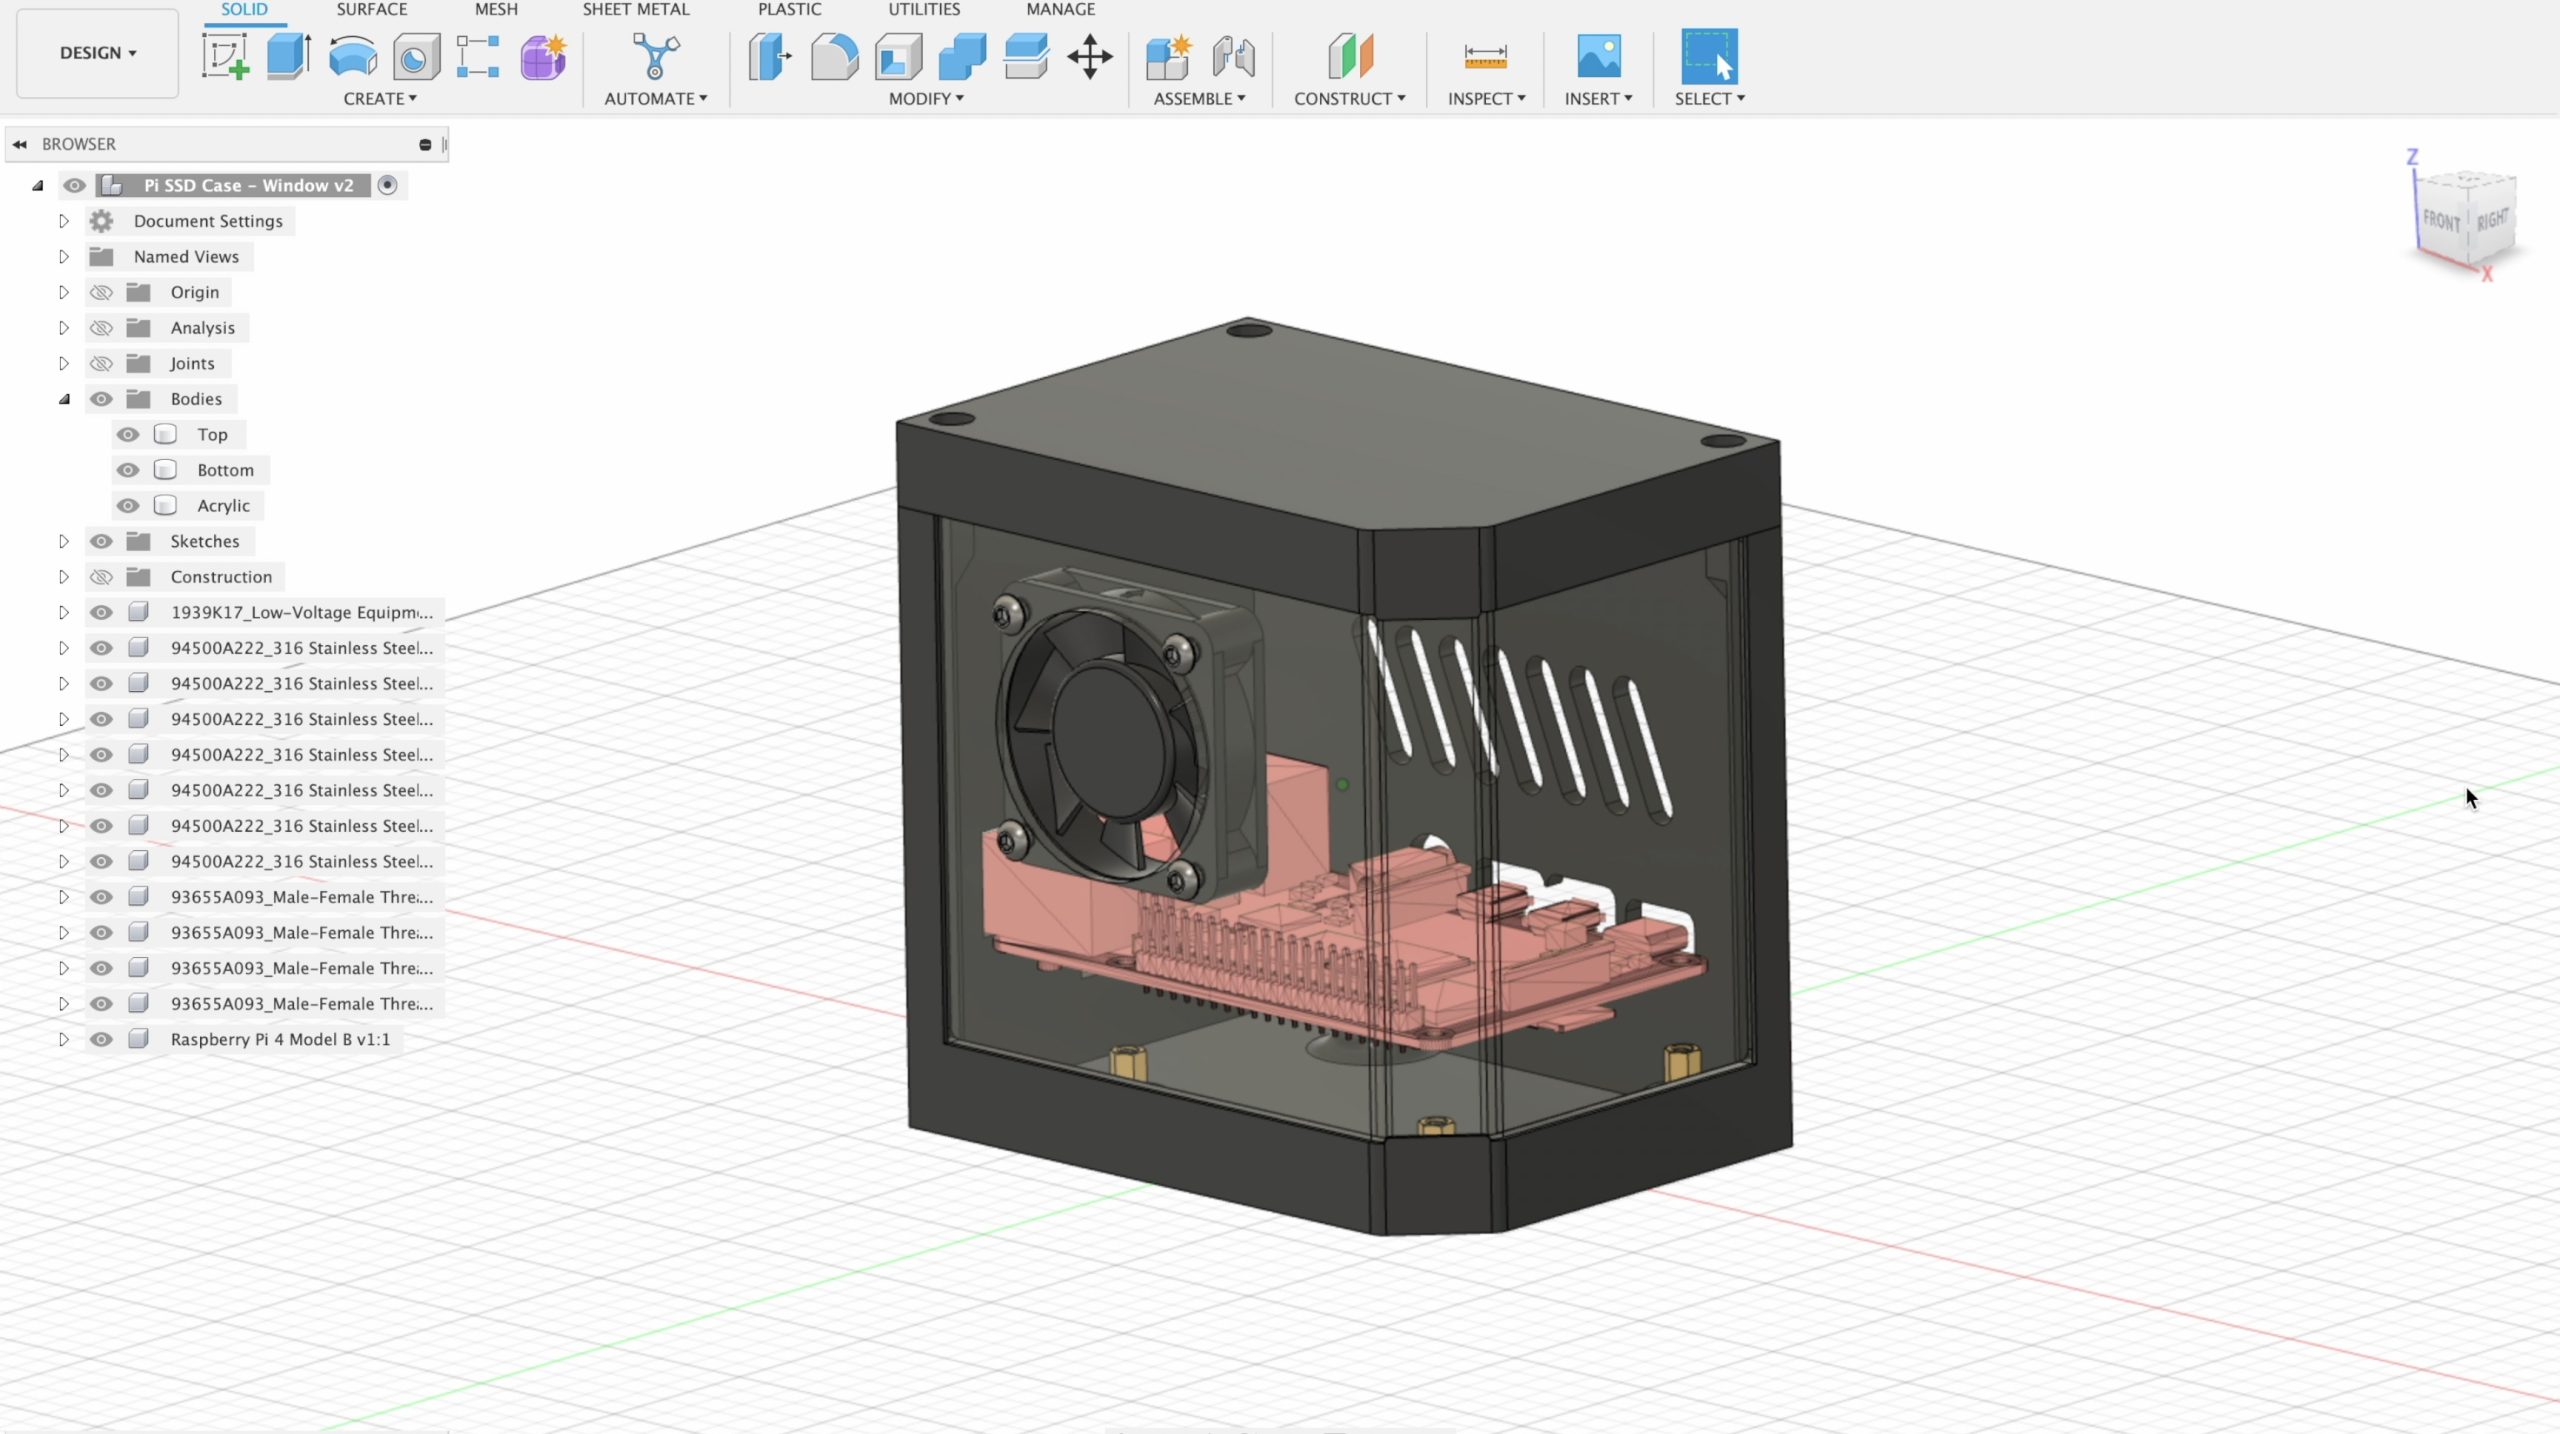
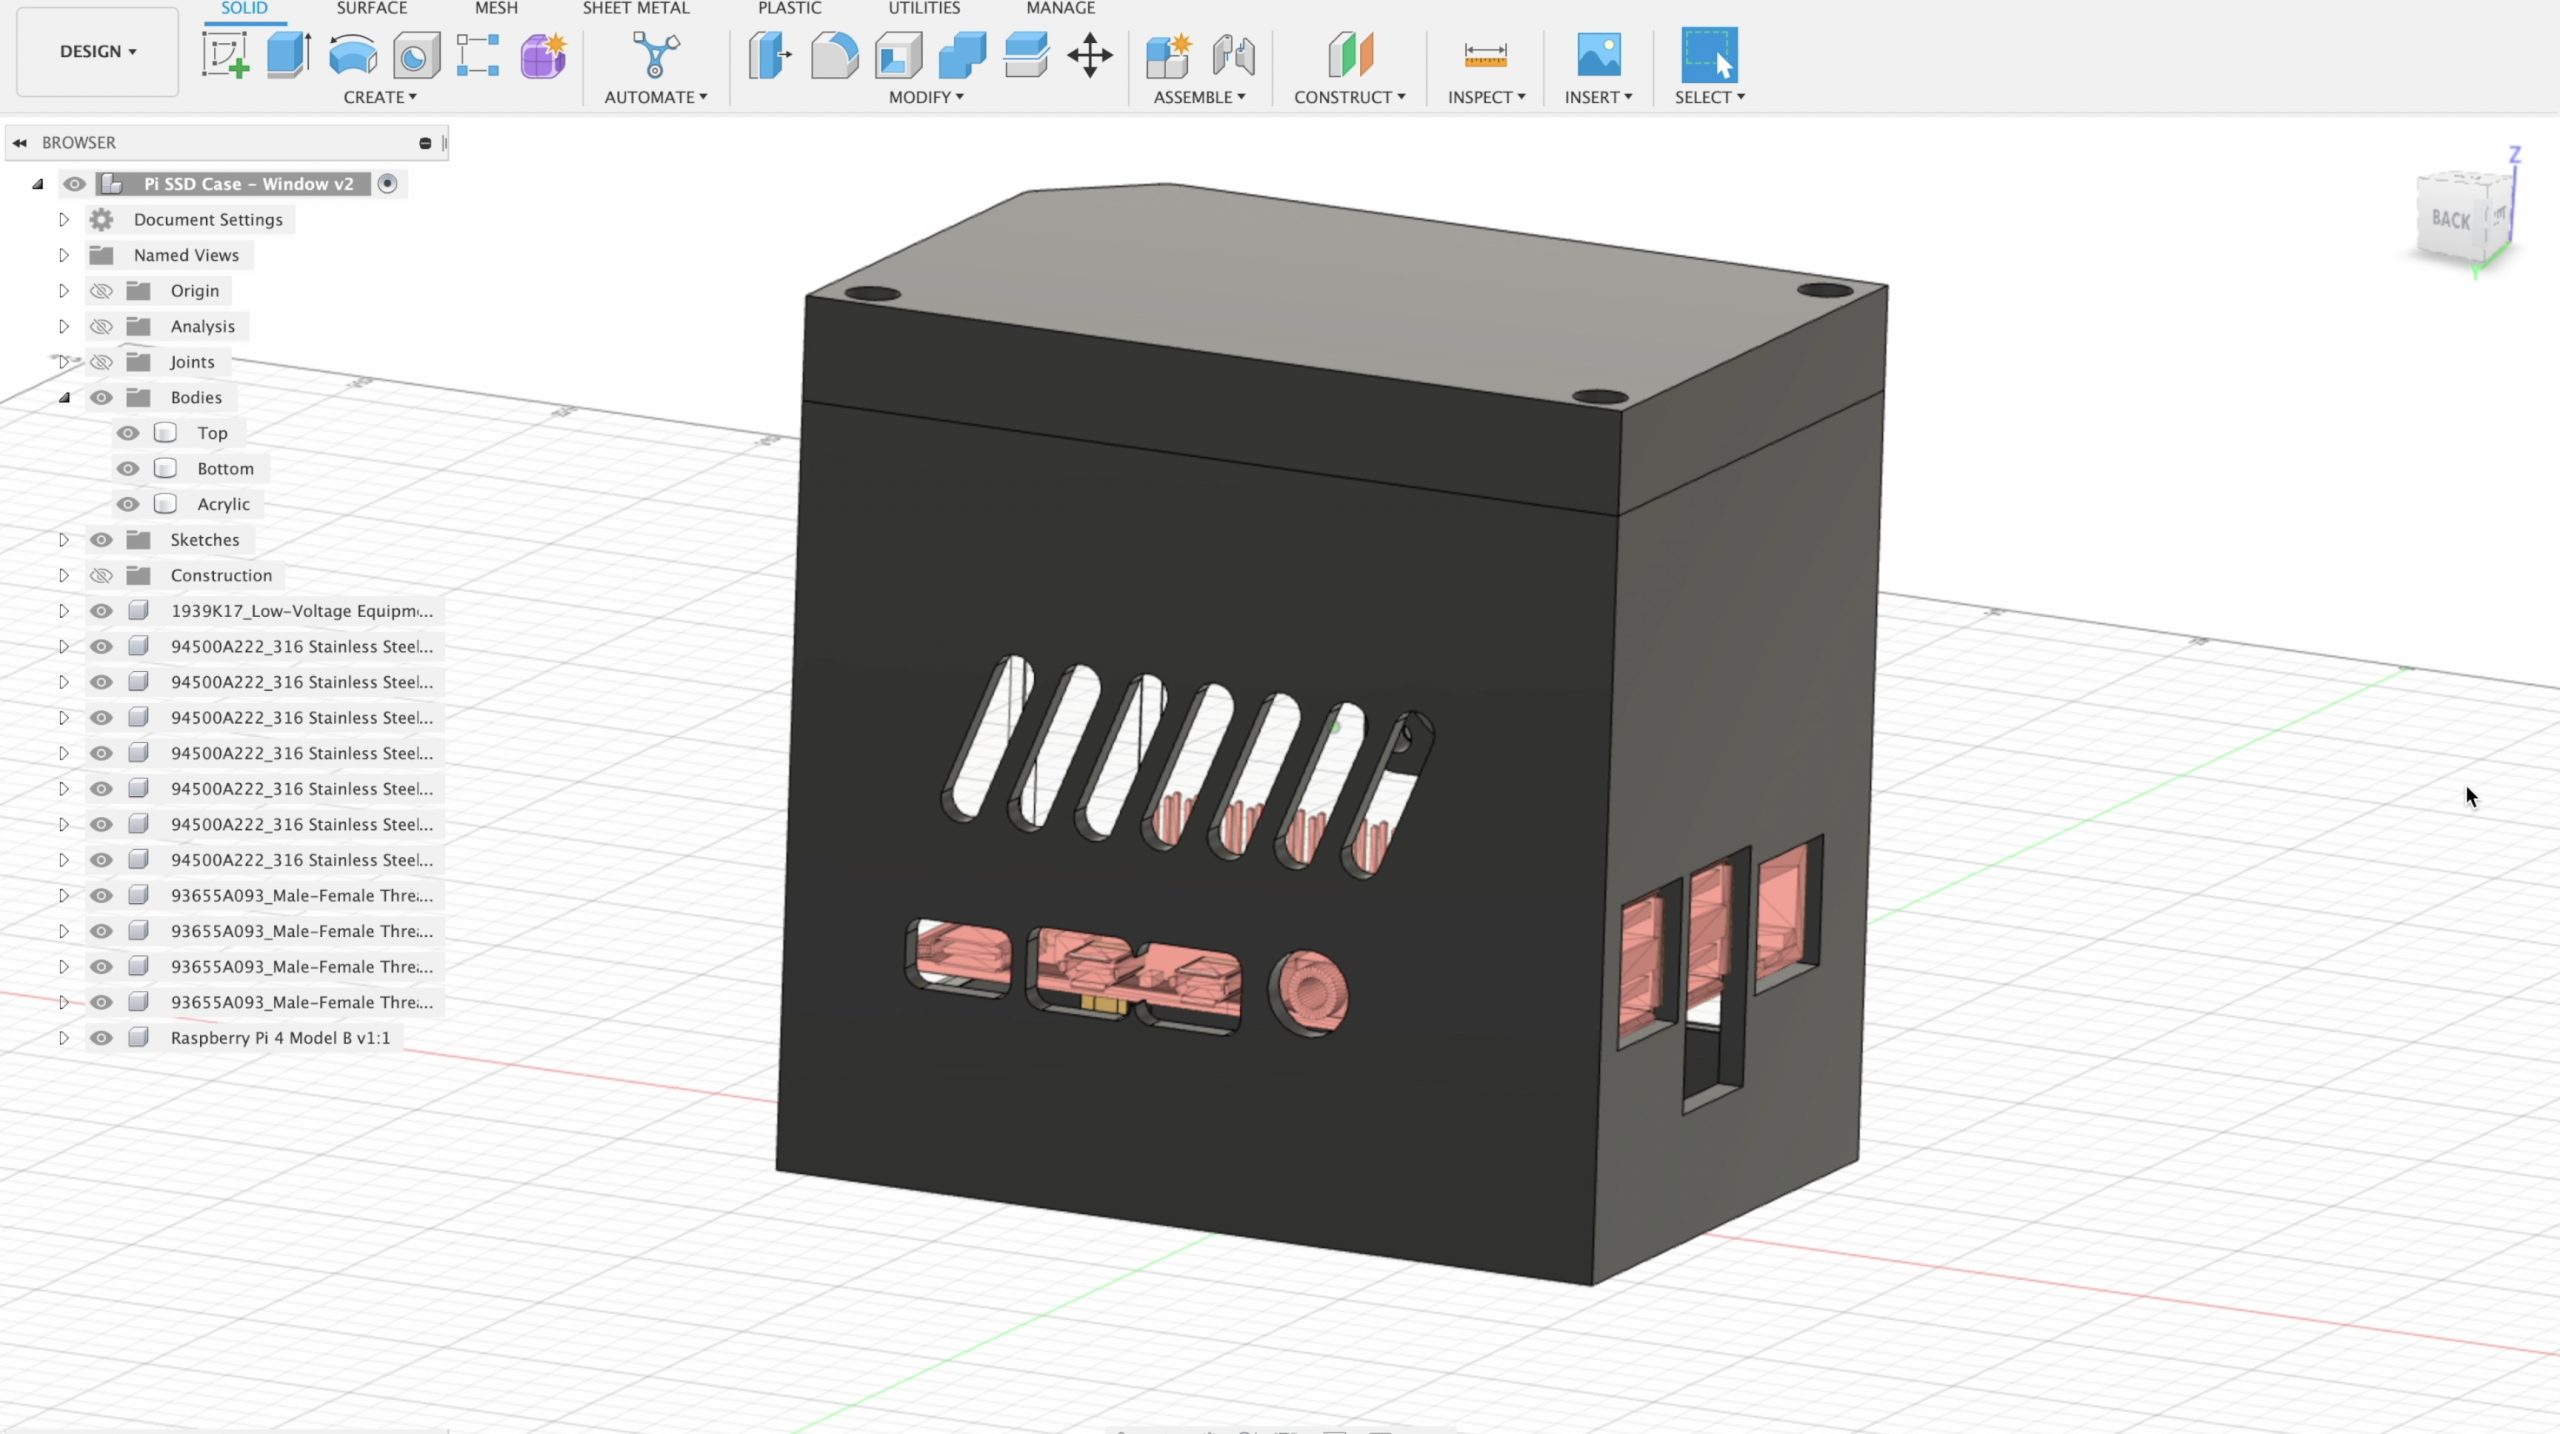
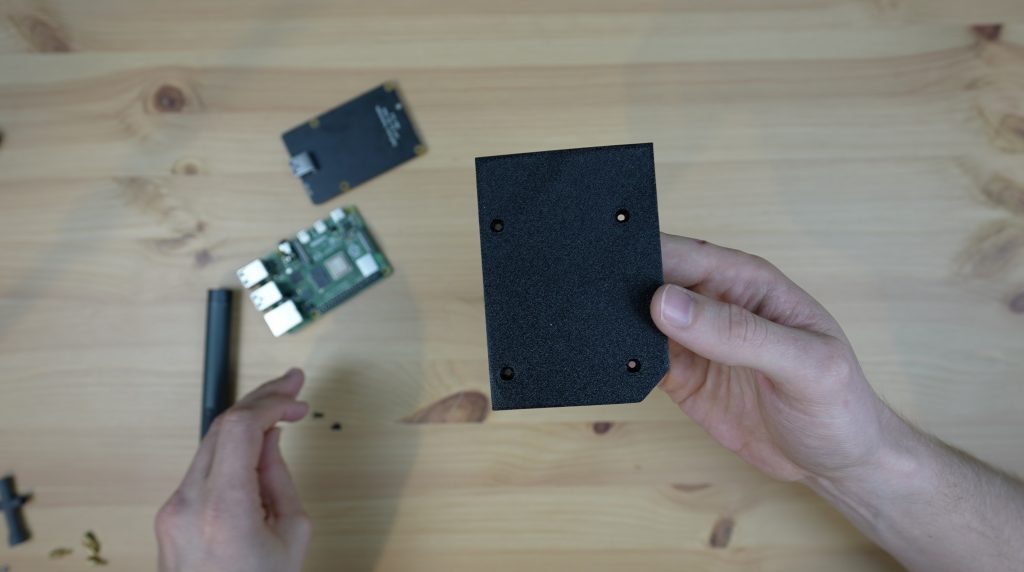
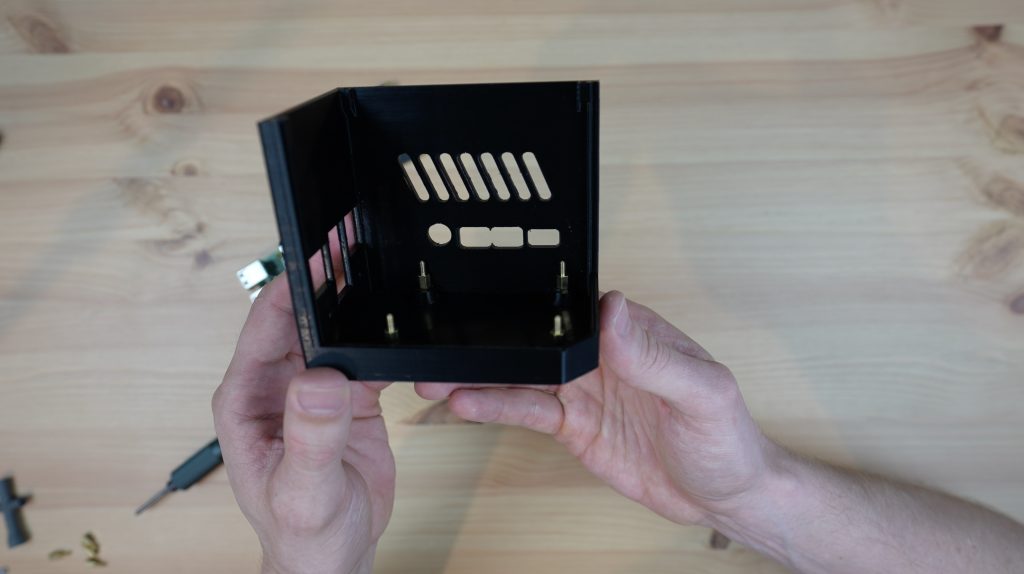
To start off, we need to make some modifications to the existing case to fit the SSD underneath the Raspberry Pi. To do this, I raised the Raspberry Pi’s cutouts on the case and moved the ventilation cutouts higher as well. I also made some small changes to the standoff positions, enlarged the centre USB port cutout for the USB jumper and moved the fan up a little to clear Pi.
Download the 3D model files to print and cut your own case.
There still seems to be enough headroom above the Raspberry Pi for the Ice Tower, so let’s get it printed and see if it fits.
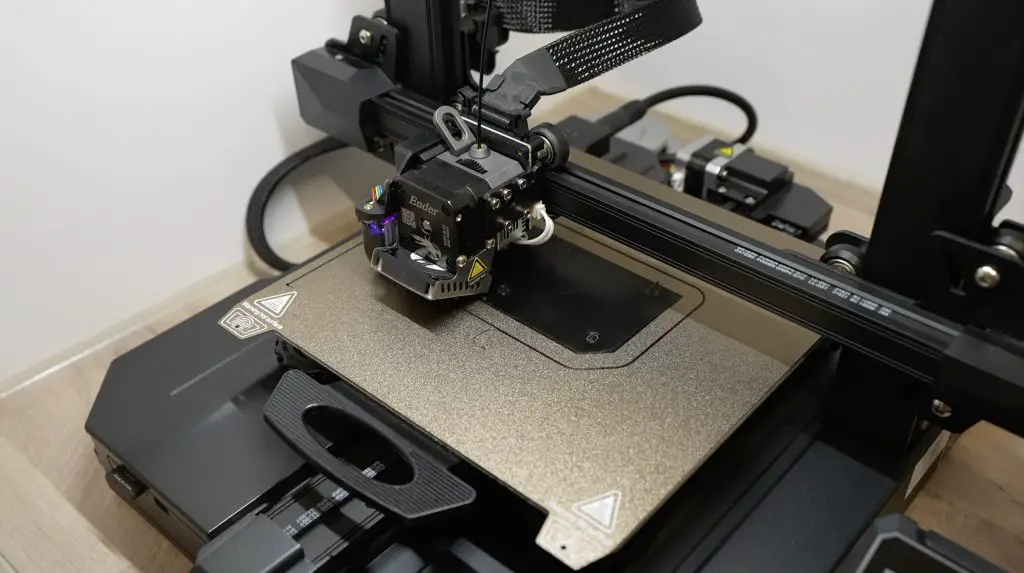
I printed the case components out on my Creality Ender 3 S1 Pro using black PLA filament with a 0.2mm layer height and 20% infill.
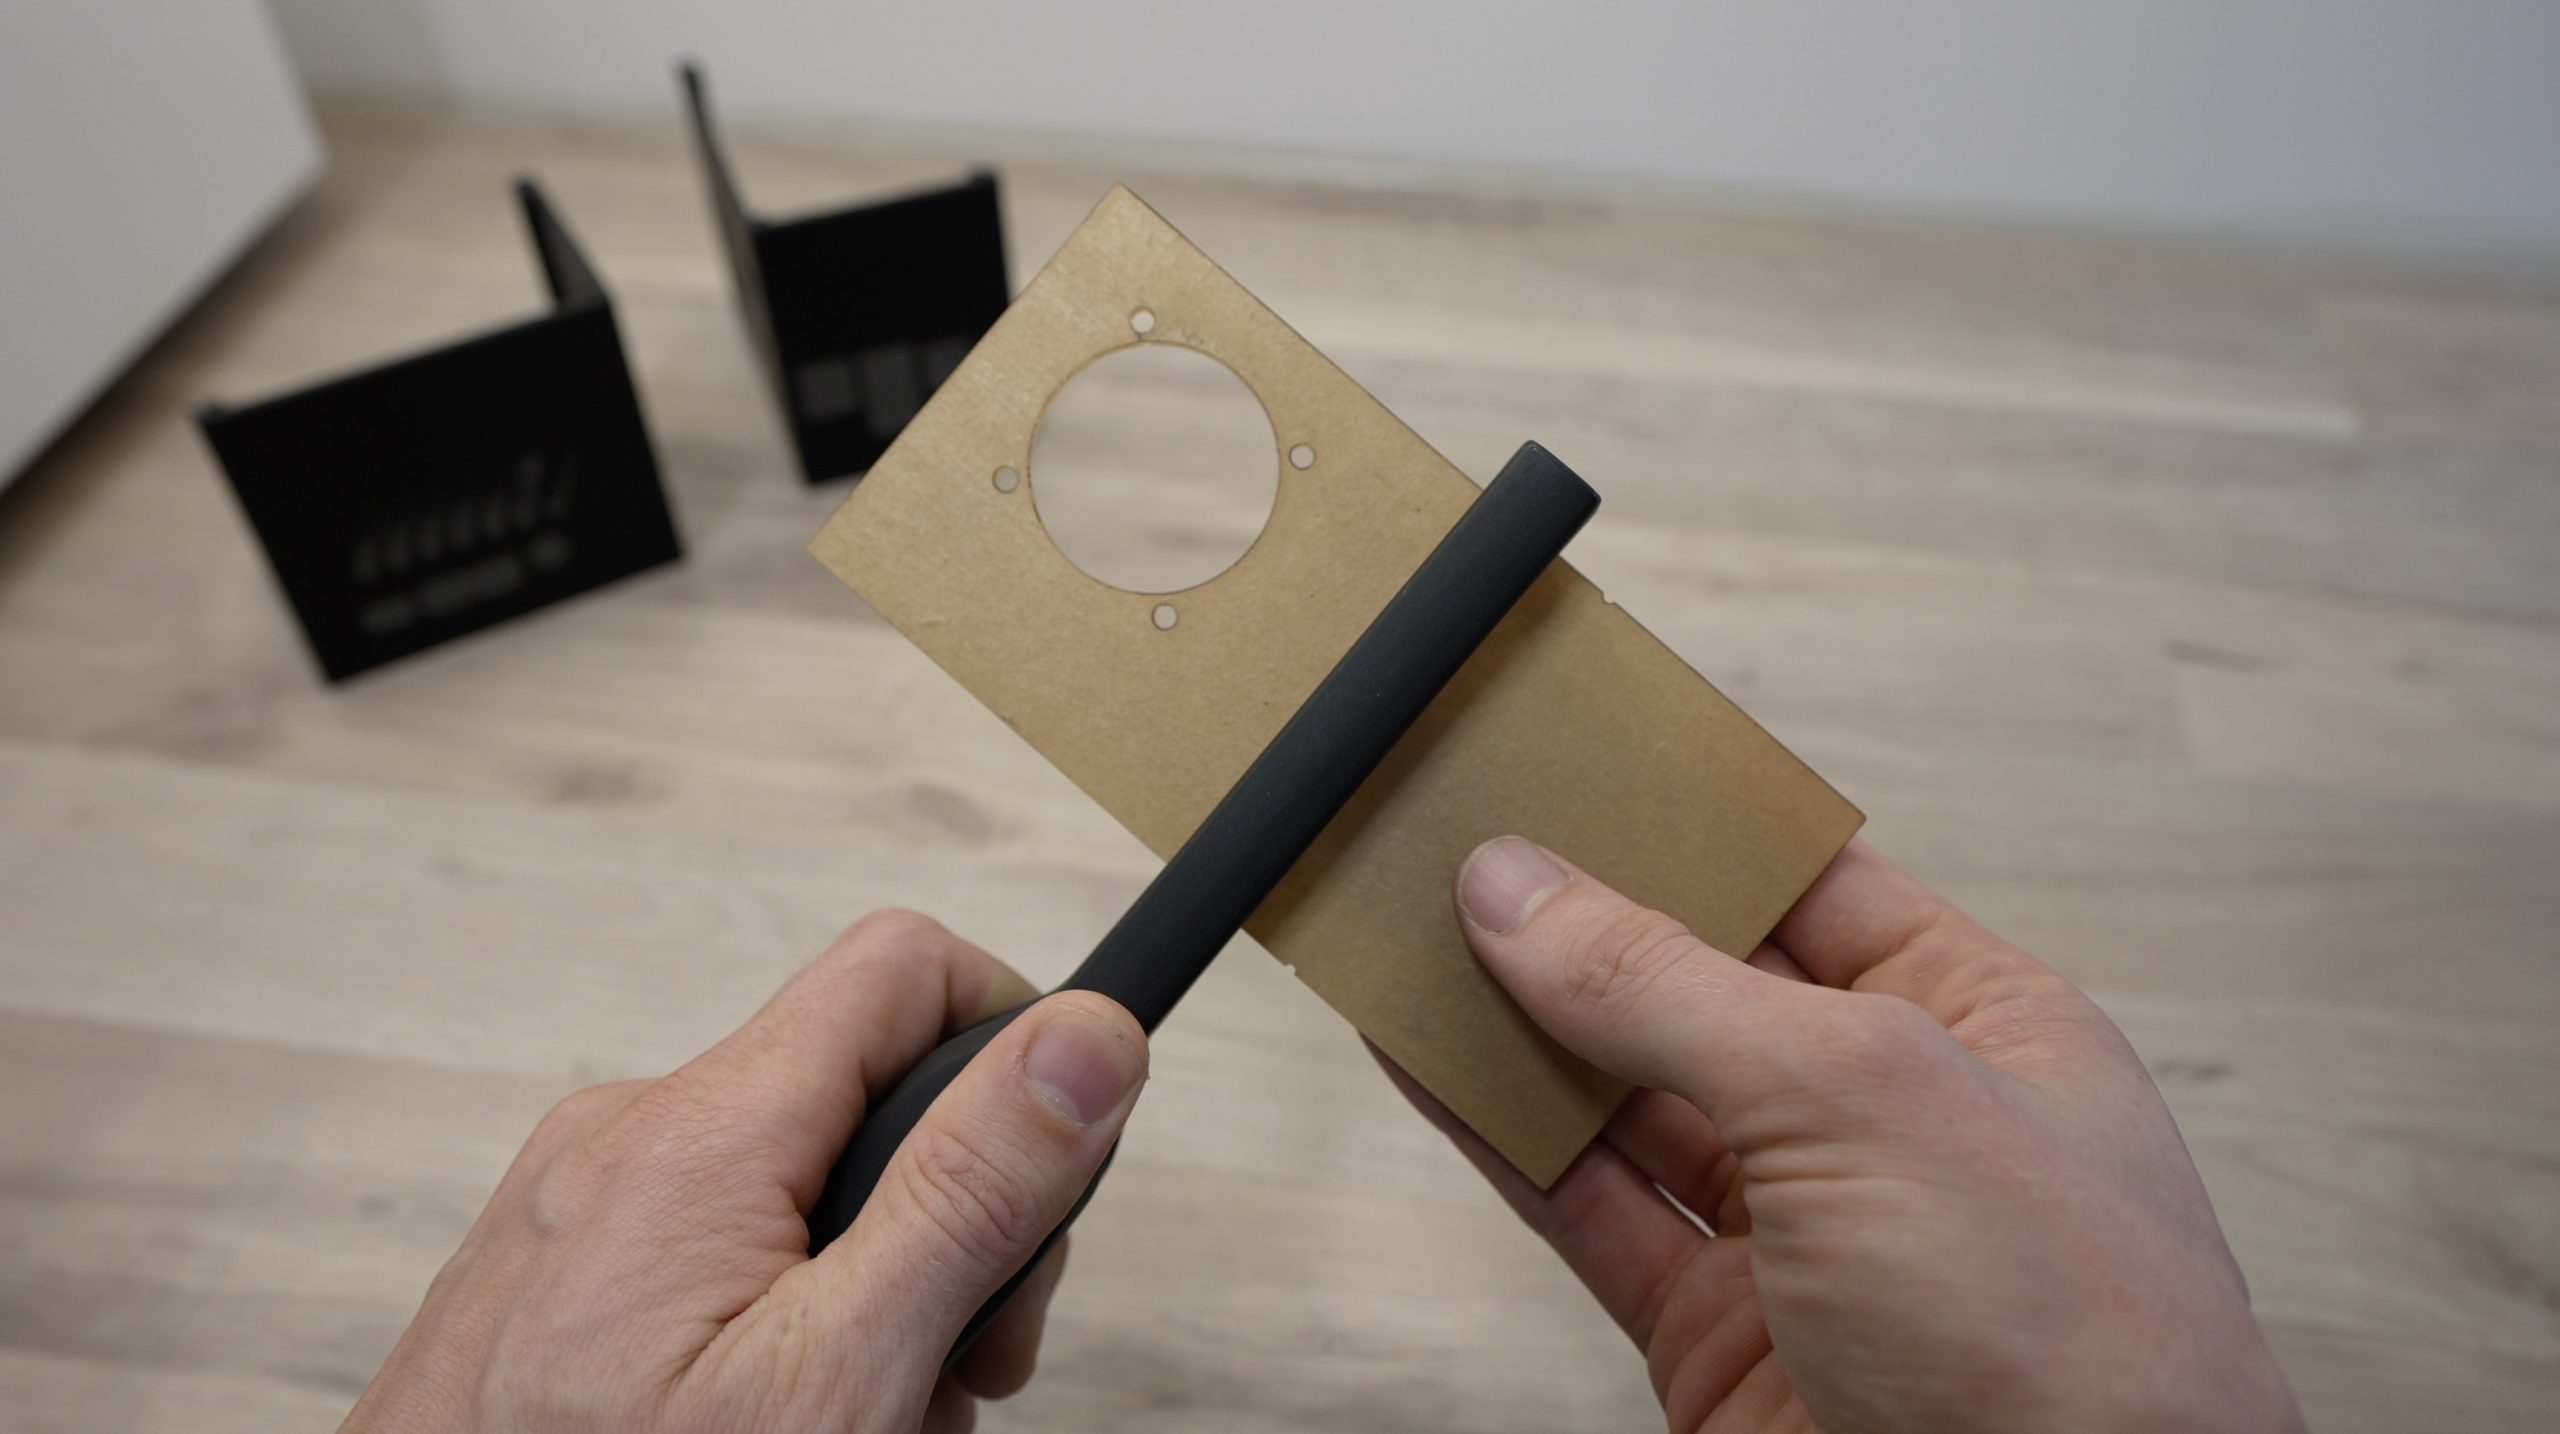
While the case is printing, let’s make up the acrylic side panel. This is just laser cut from a piece of 2mm clear acrylic.
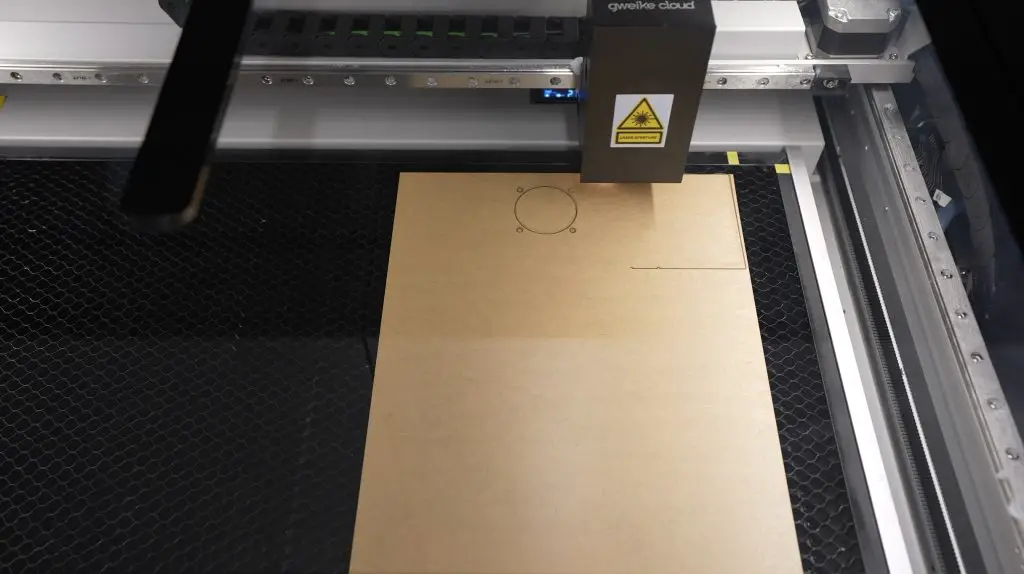
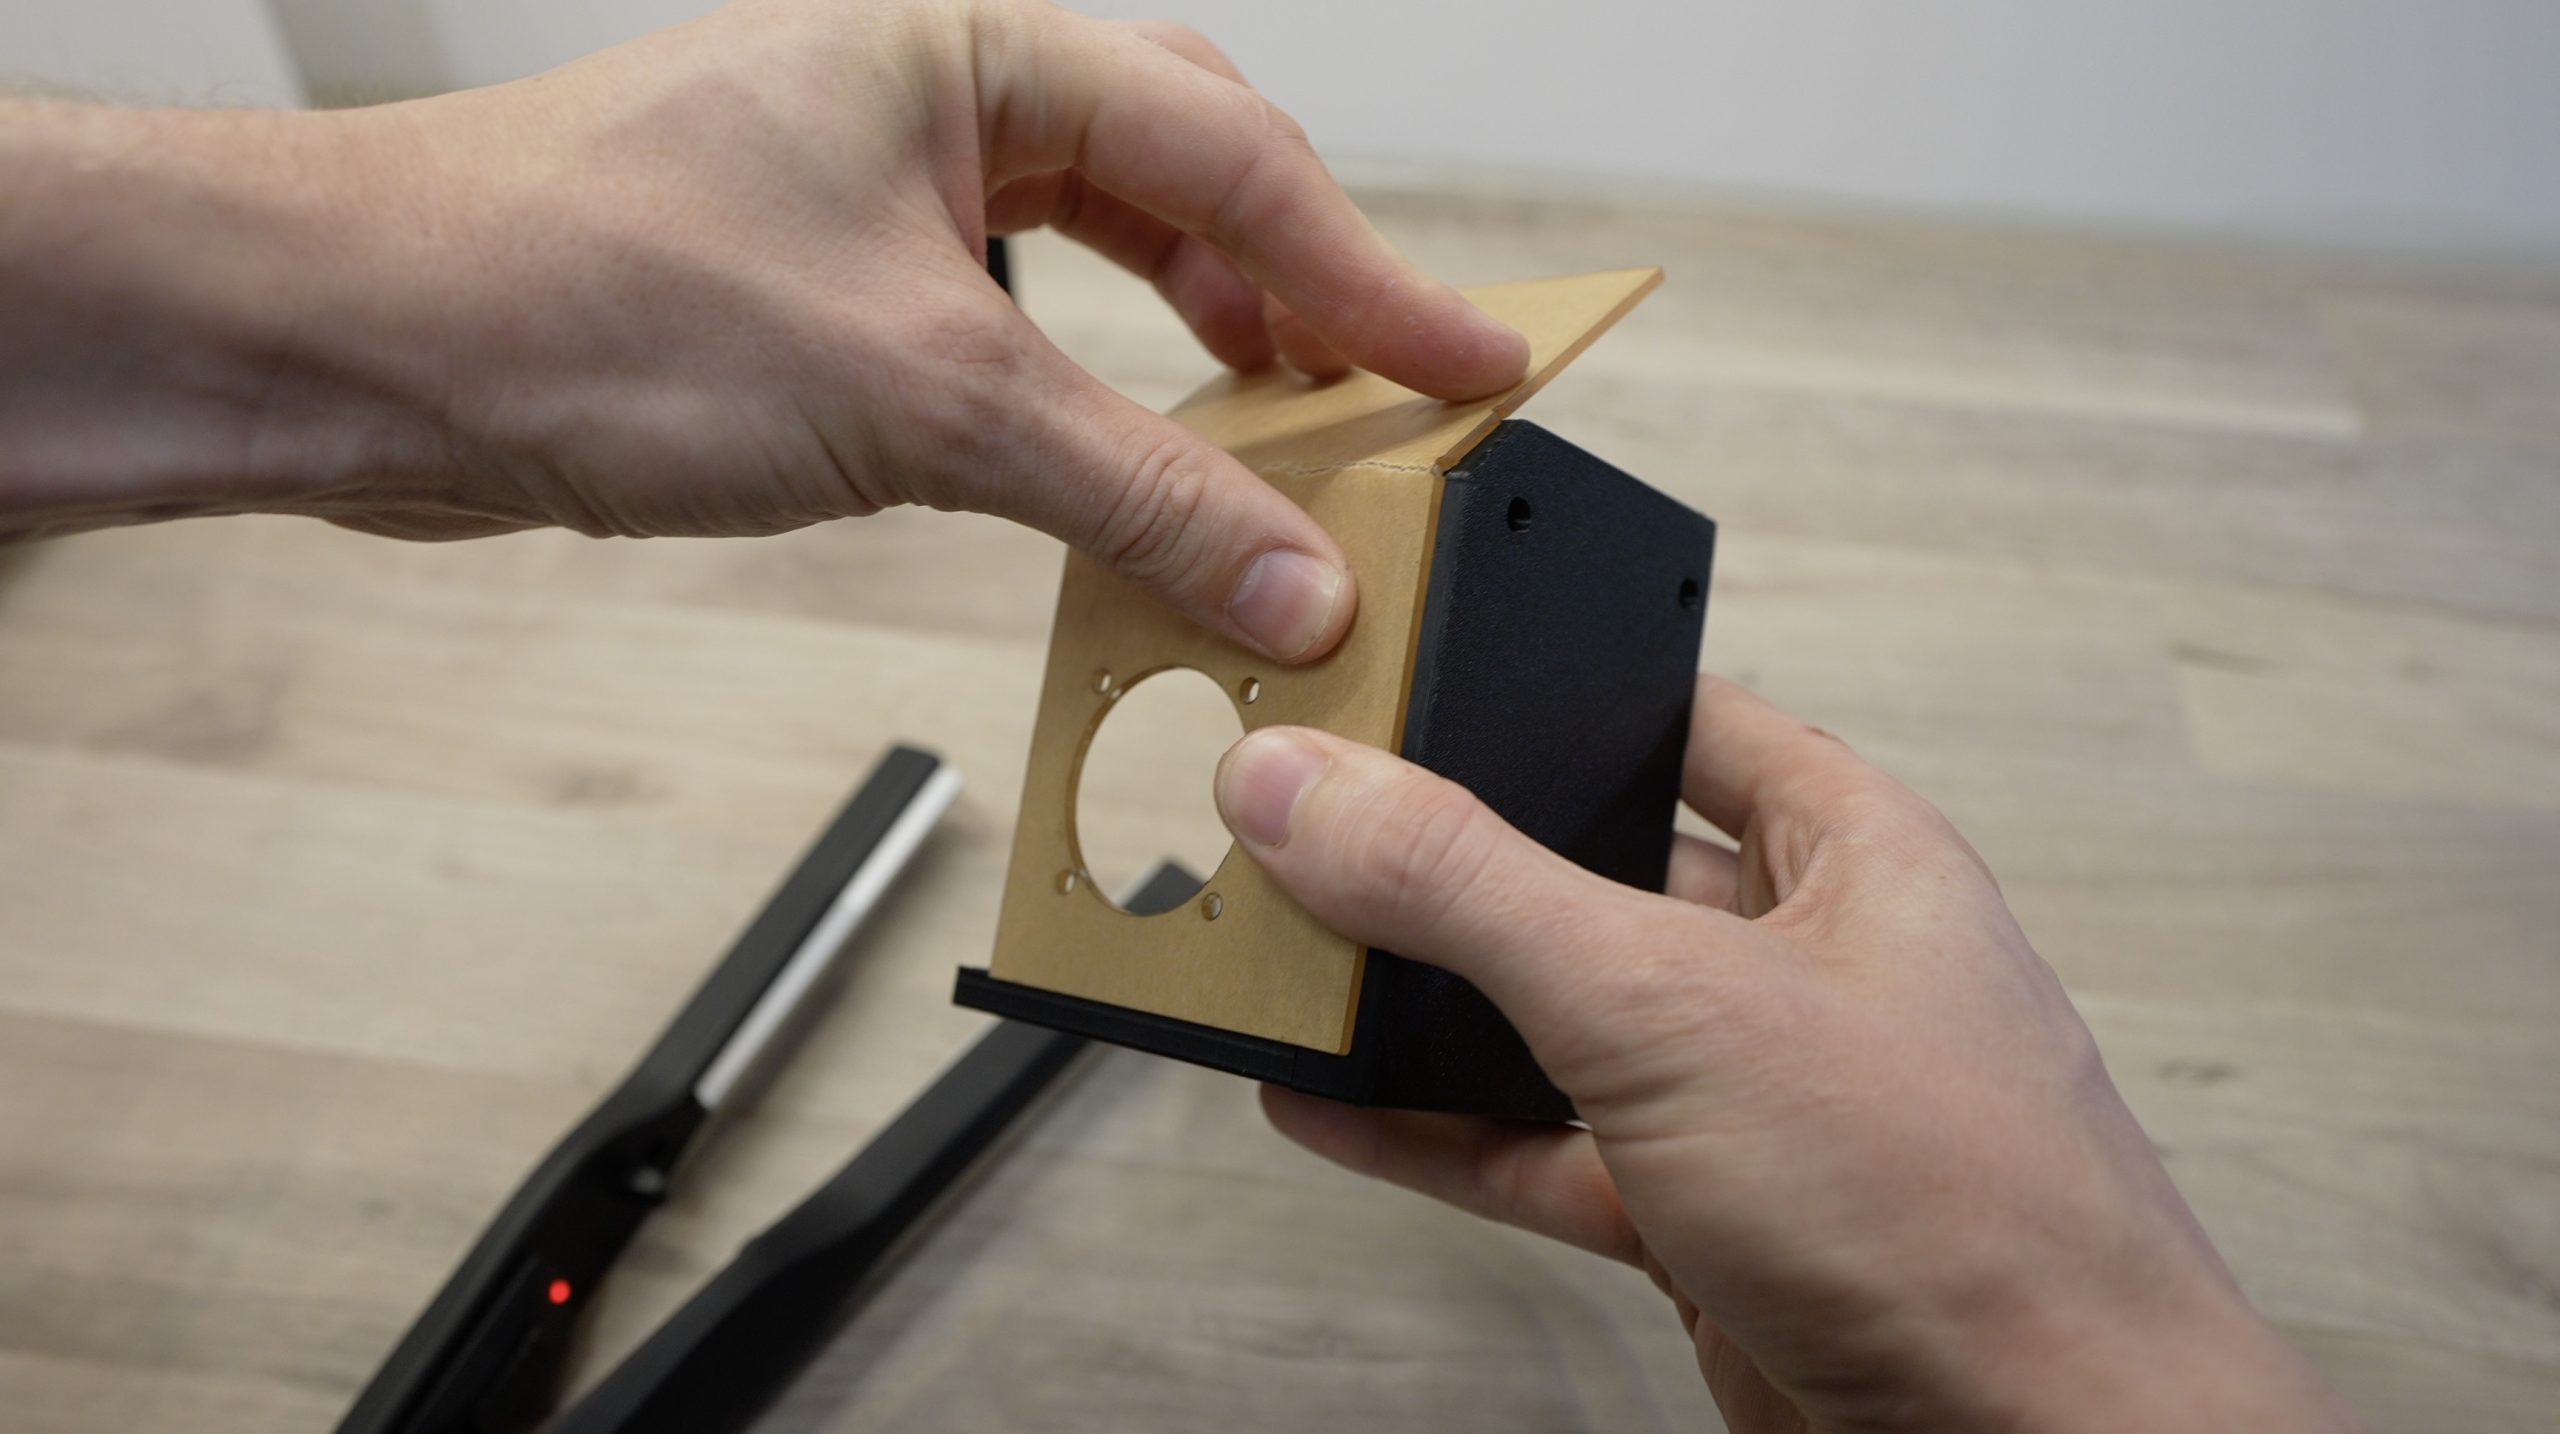
To bend the acrylic panel, I’m going to use an acrylic bending tool that heats up a line between the two notches I’ve cut into the side panel. Once the acrylic has been heated, we can just use the side profile of the case to bend it.
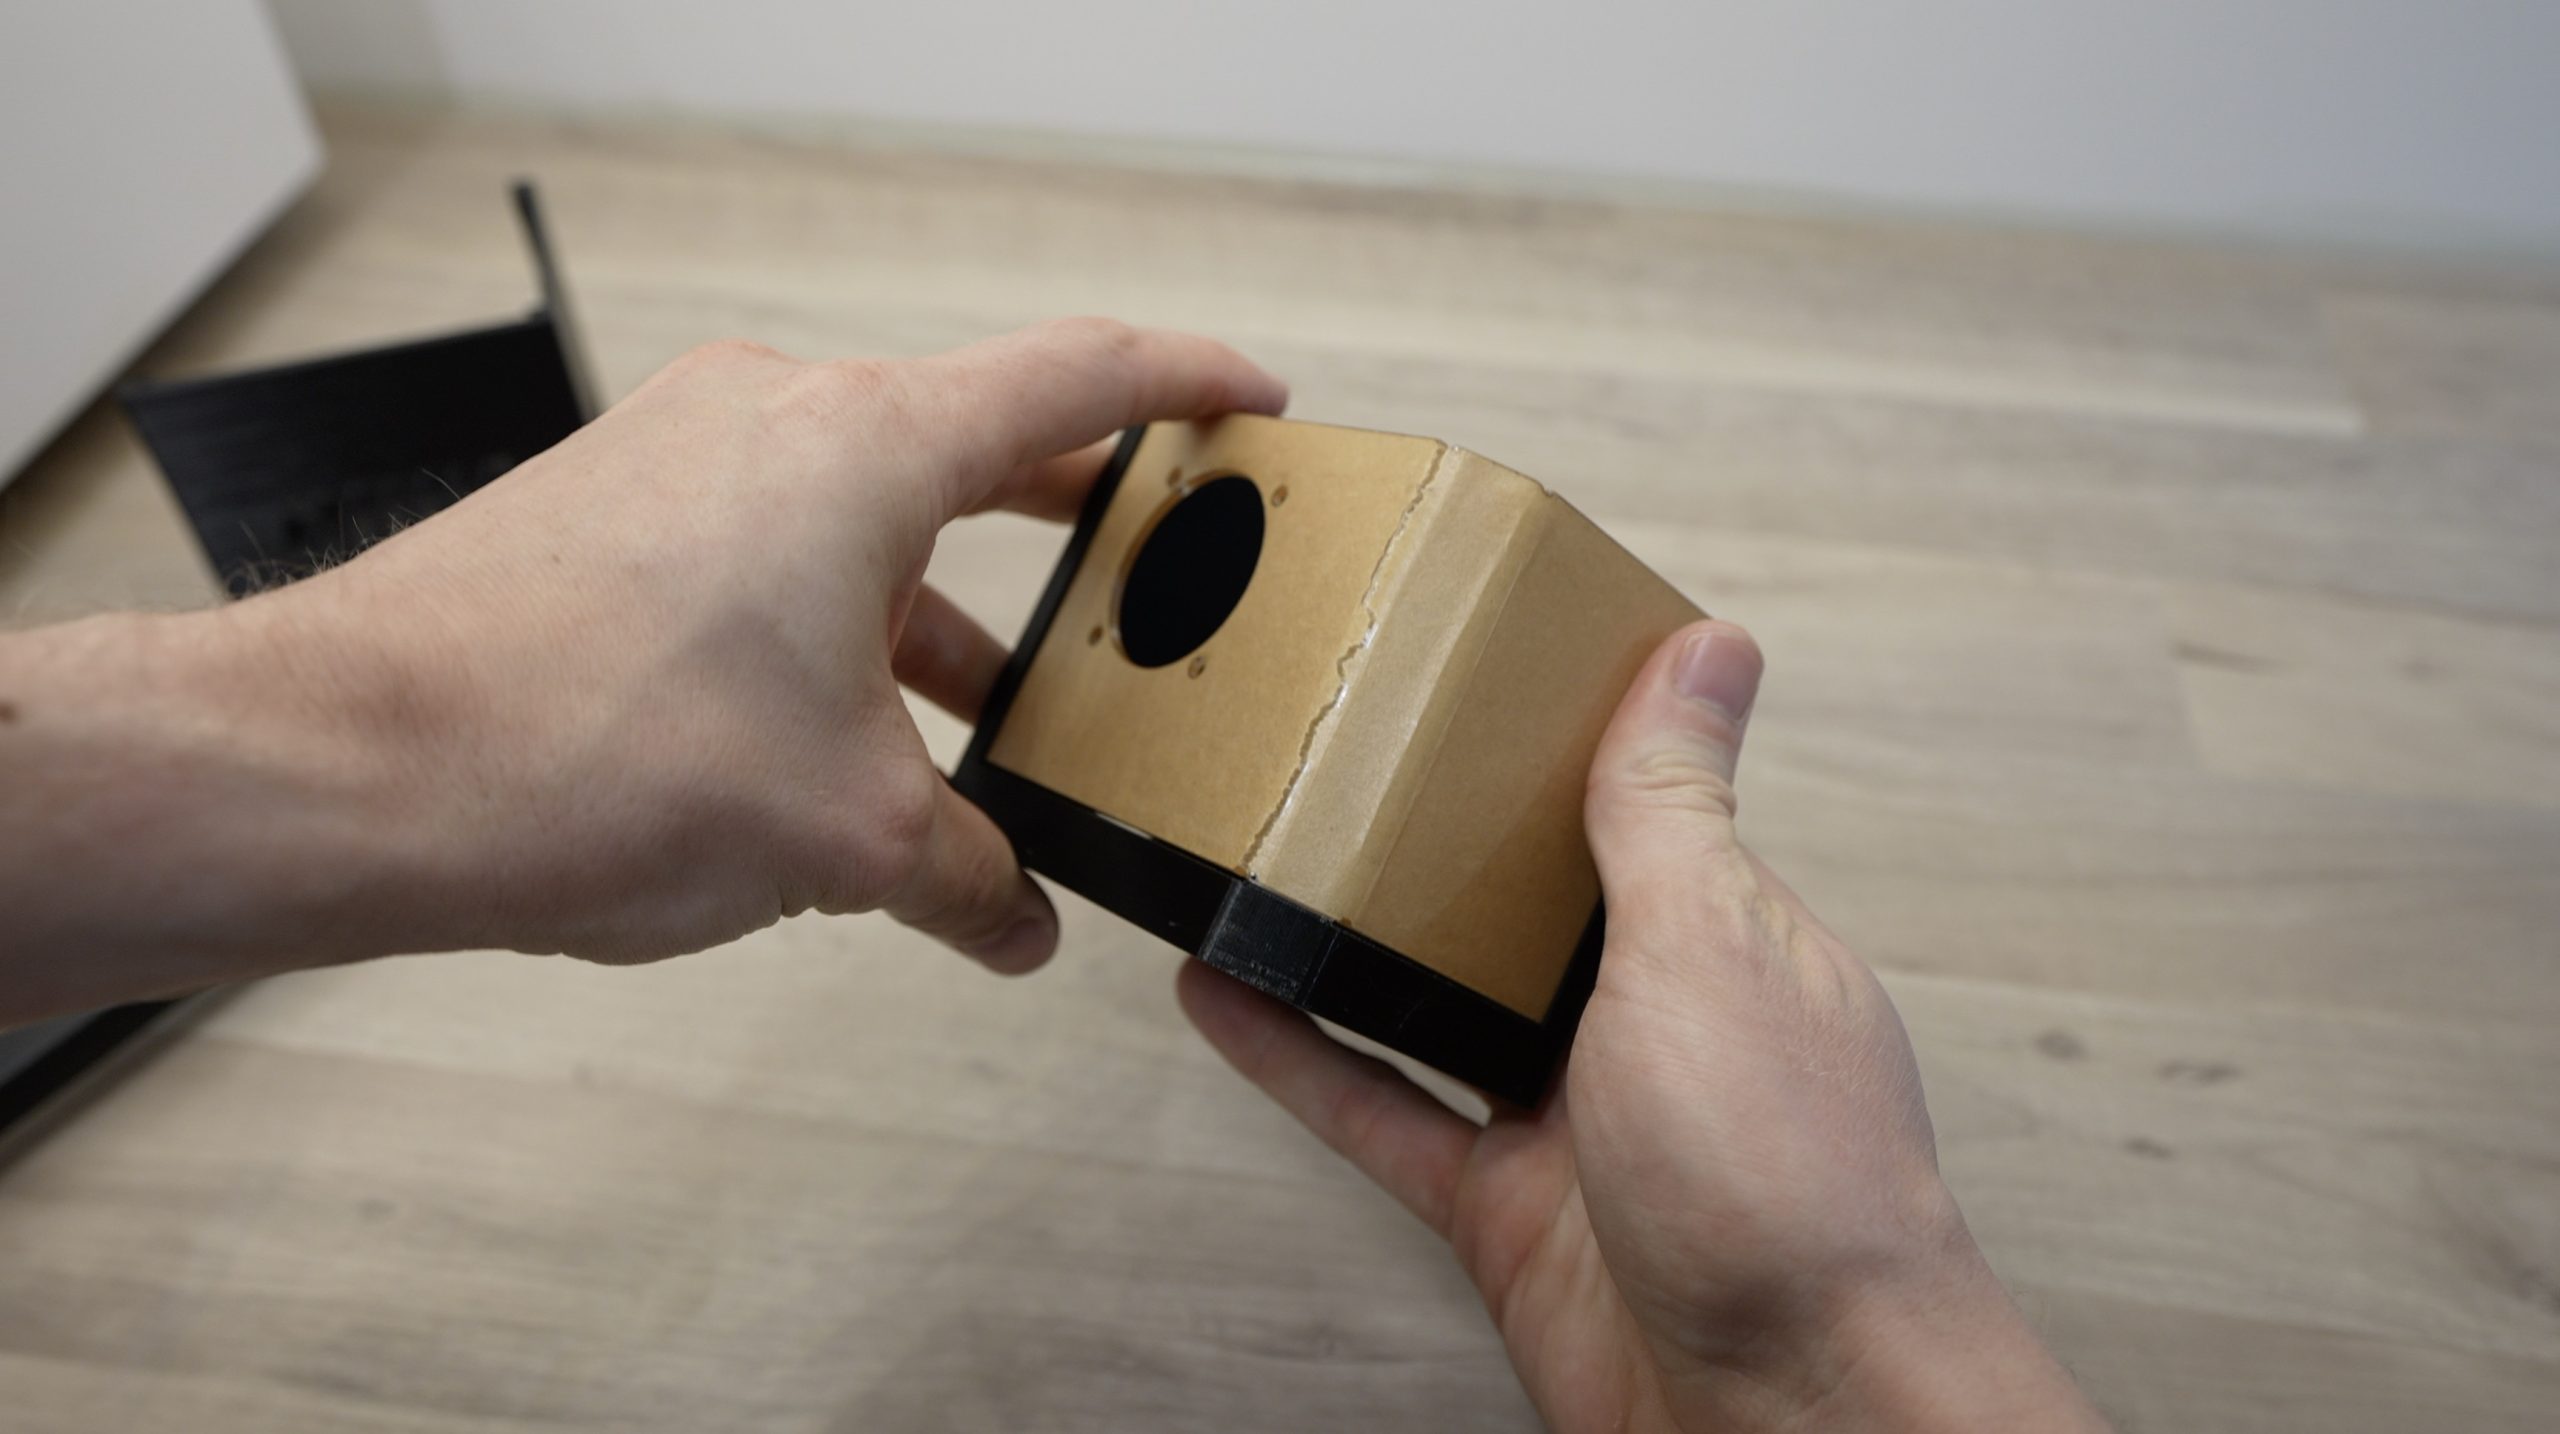
With the side panel and 3D printed case components completed, we can now move on to installing our Raspberry Pi and SSD.
If you don’t have a 3D printer or laser cutter, you can also buy a case kit from my Etsy store.
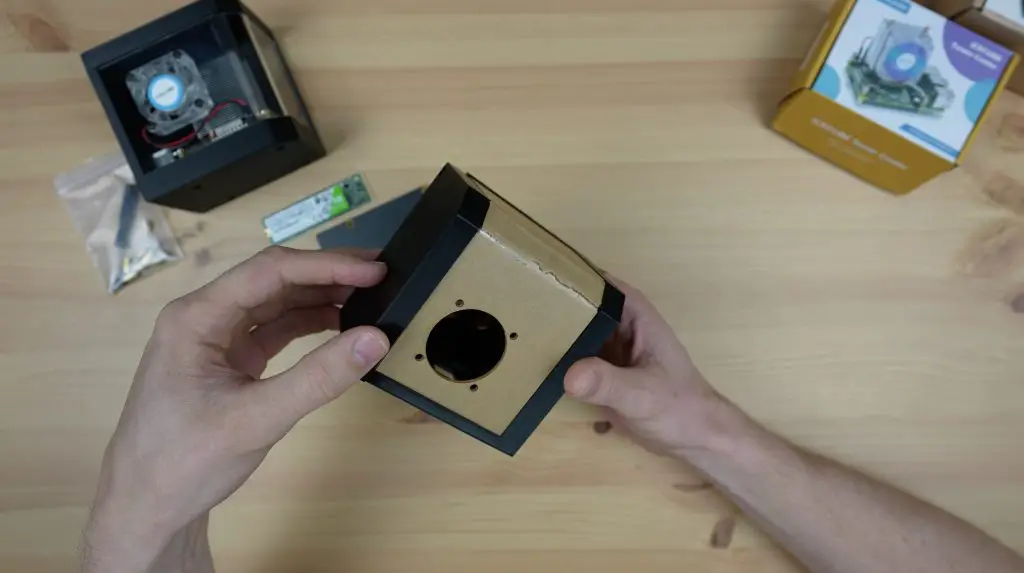
Installing The Raspberry Pi & M.2 SSD Shield
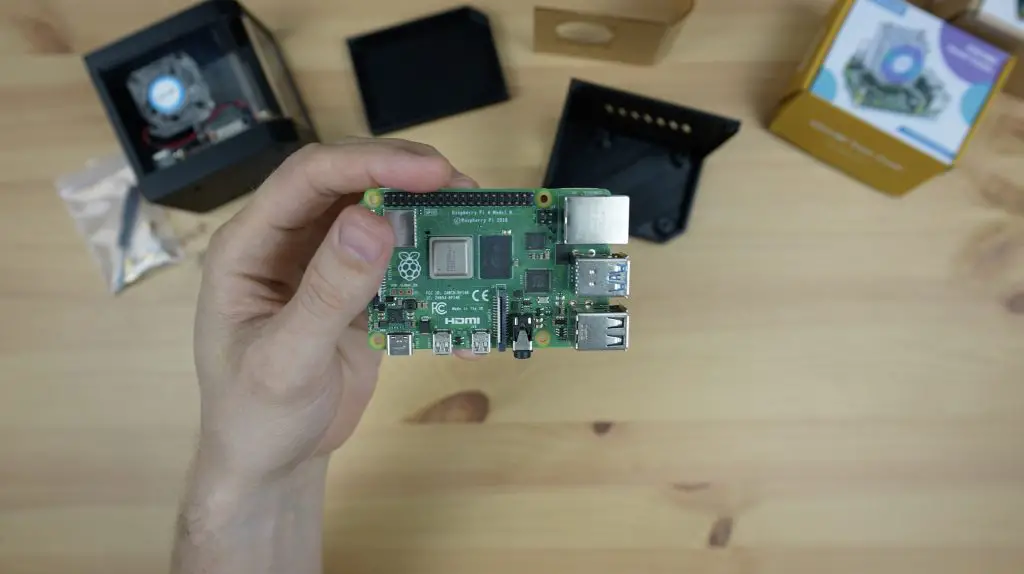
For this build, I’m going to be using a 2GB Raspberry Pi 4B
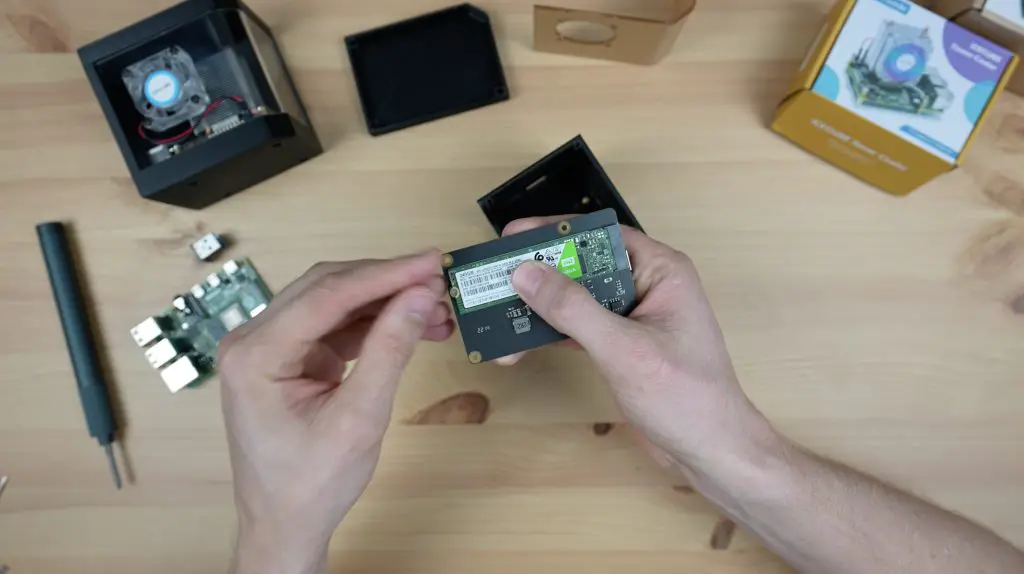
Before we start installing the components in the case, let’s install our SSD on the M.2 SSD shield. This just plugs into the socket and is held in place using a single small screw supplied with the shield.
Next, I’m going to secure the M2.5 x 6mm brass standoffs to the bottom of the case using the M2.5 screws that come with the SSD shield.
If you’re trying this build for your Raspberry Pi, make sure that you use a set of 6mm standoffs for these, the ones included with the M.2 SSD shield are slightly longer and will then cause your Pi’s ports to not be aligned with the cutouts in the case.
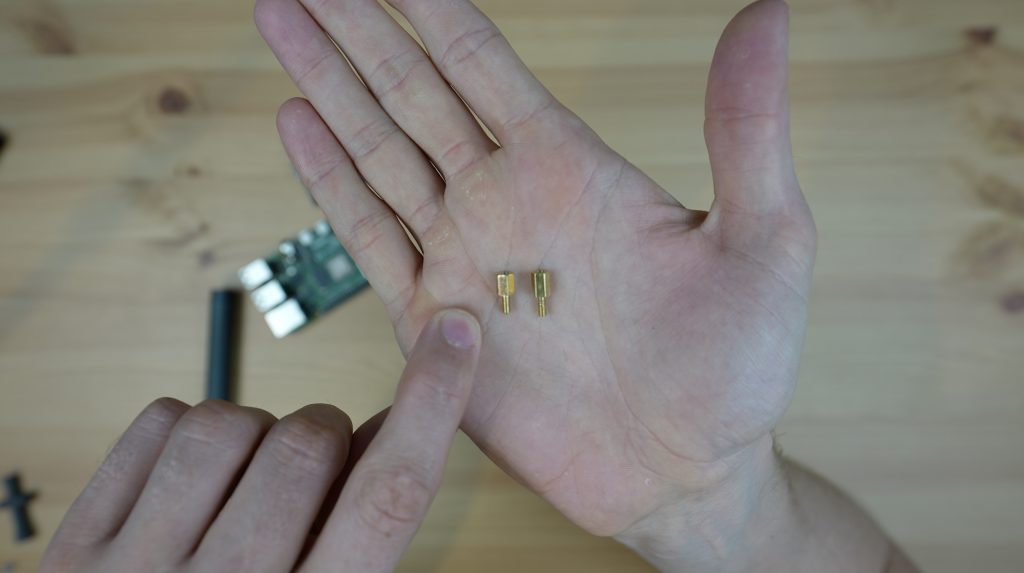
The screws go into the female side of the standoffs through the base of the case so that you’ve got the male sides of the standoffs facing upwards for your M.2 SSD shield to fit onto.
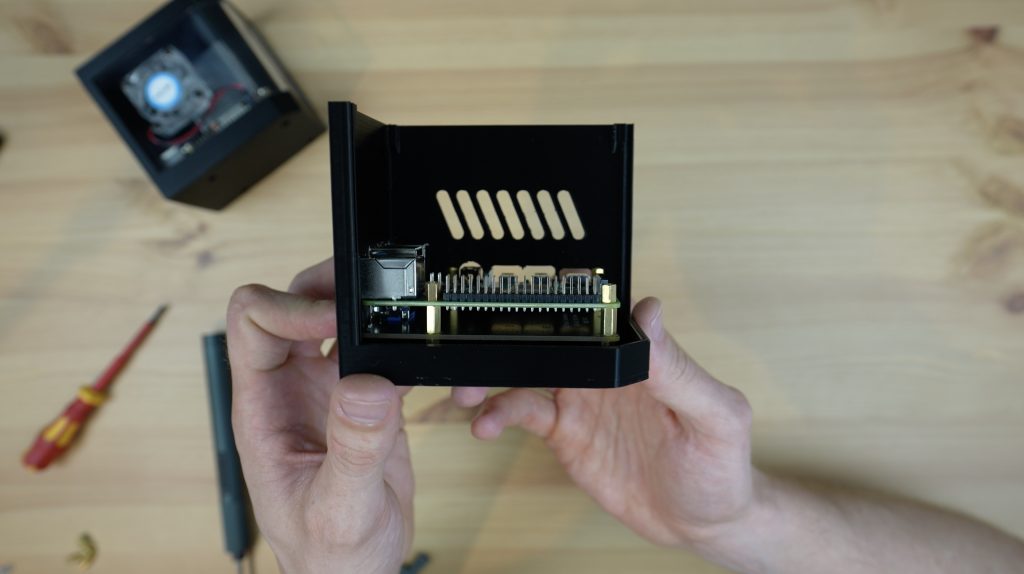
We can then put the M.2 SSD shield in place on the standoffs on then hold it in position using the longer brass standoffs that came with the shield. The shield is installed with the drive facing down towards the bottom of the case.
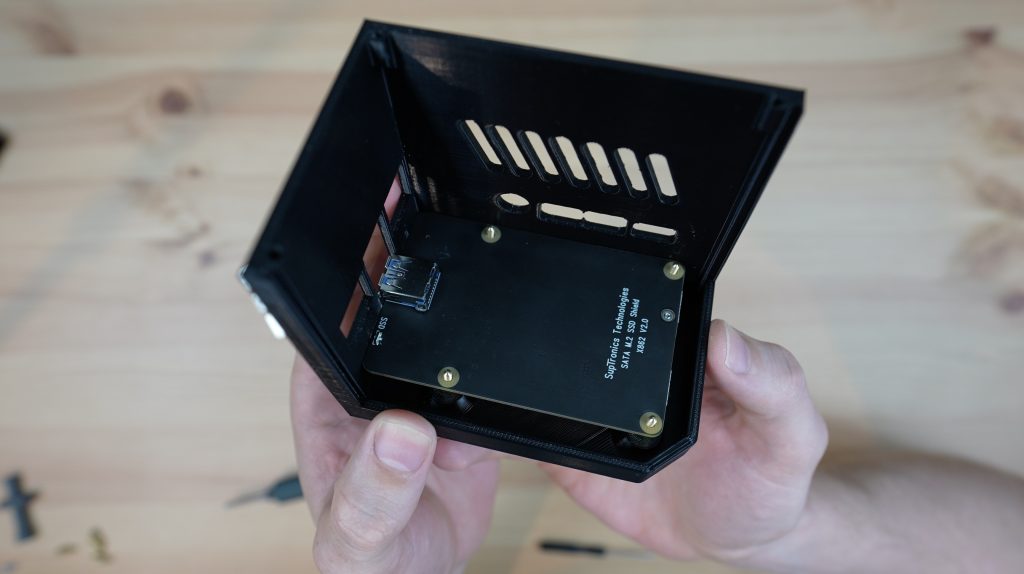
We can then hold the Raspberry Pi in place with the standoffs from the Ice Tower or Ice Cube kit.
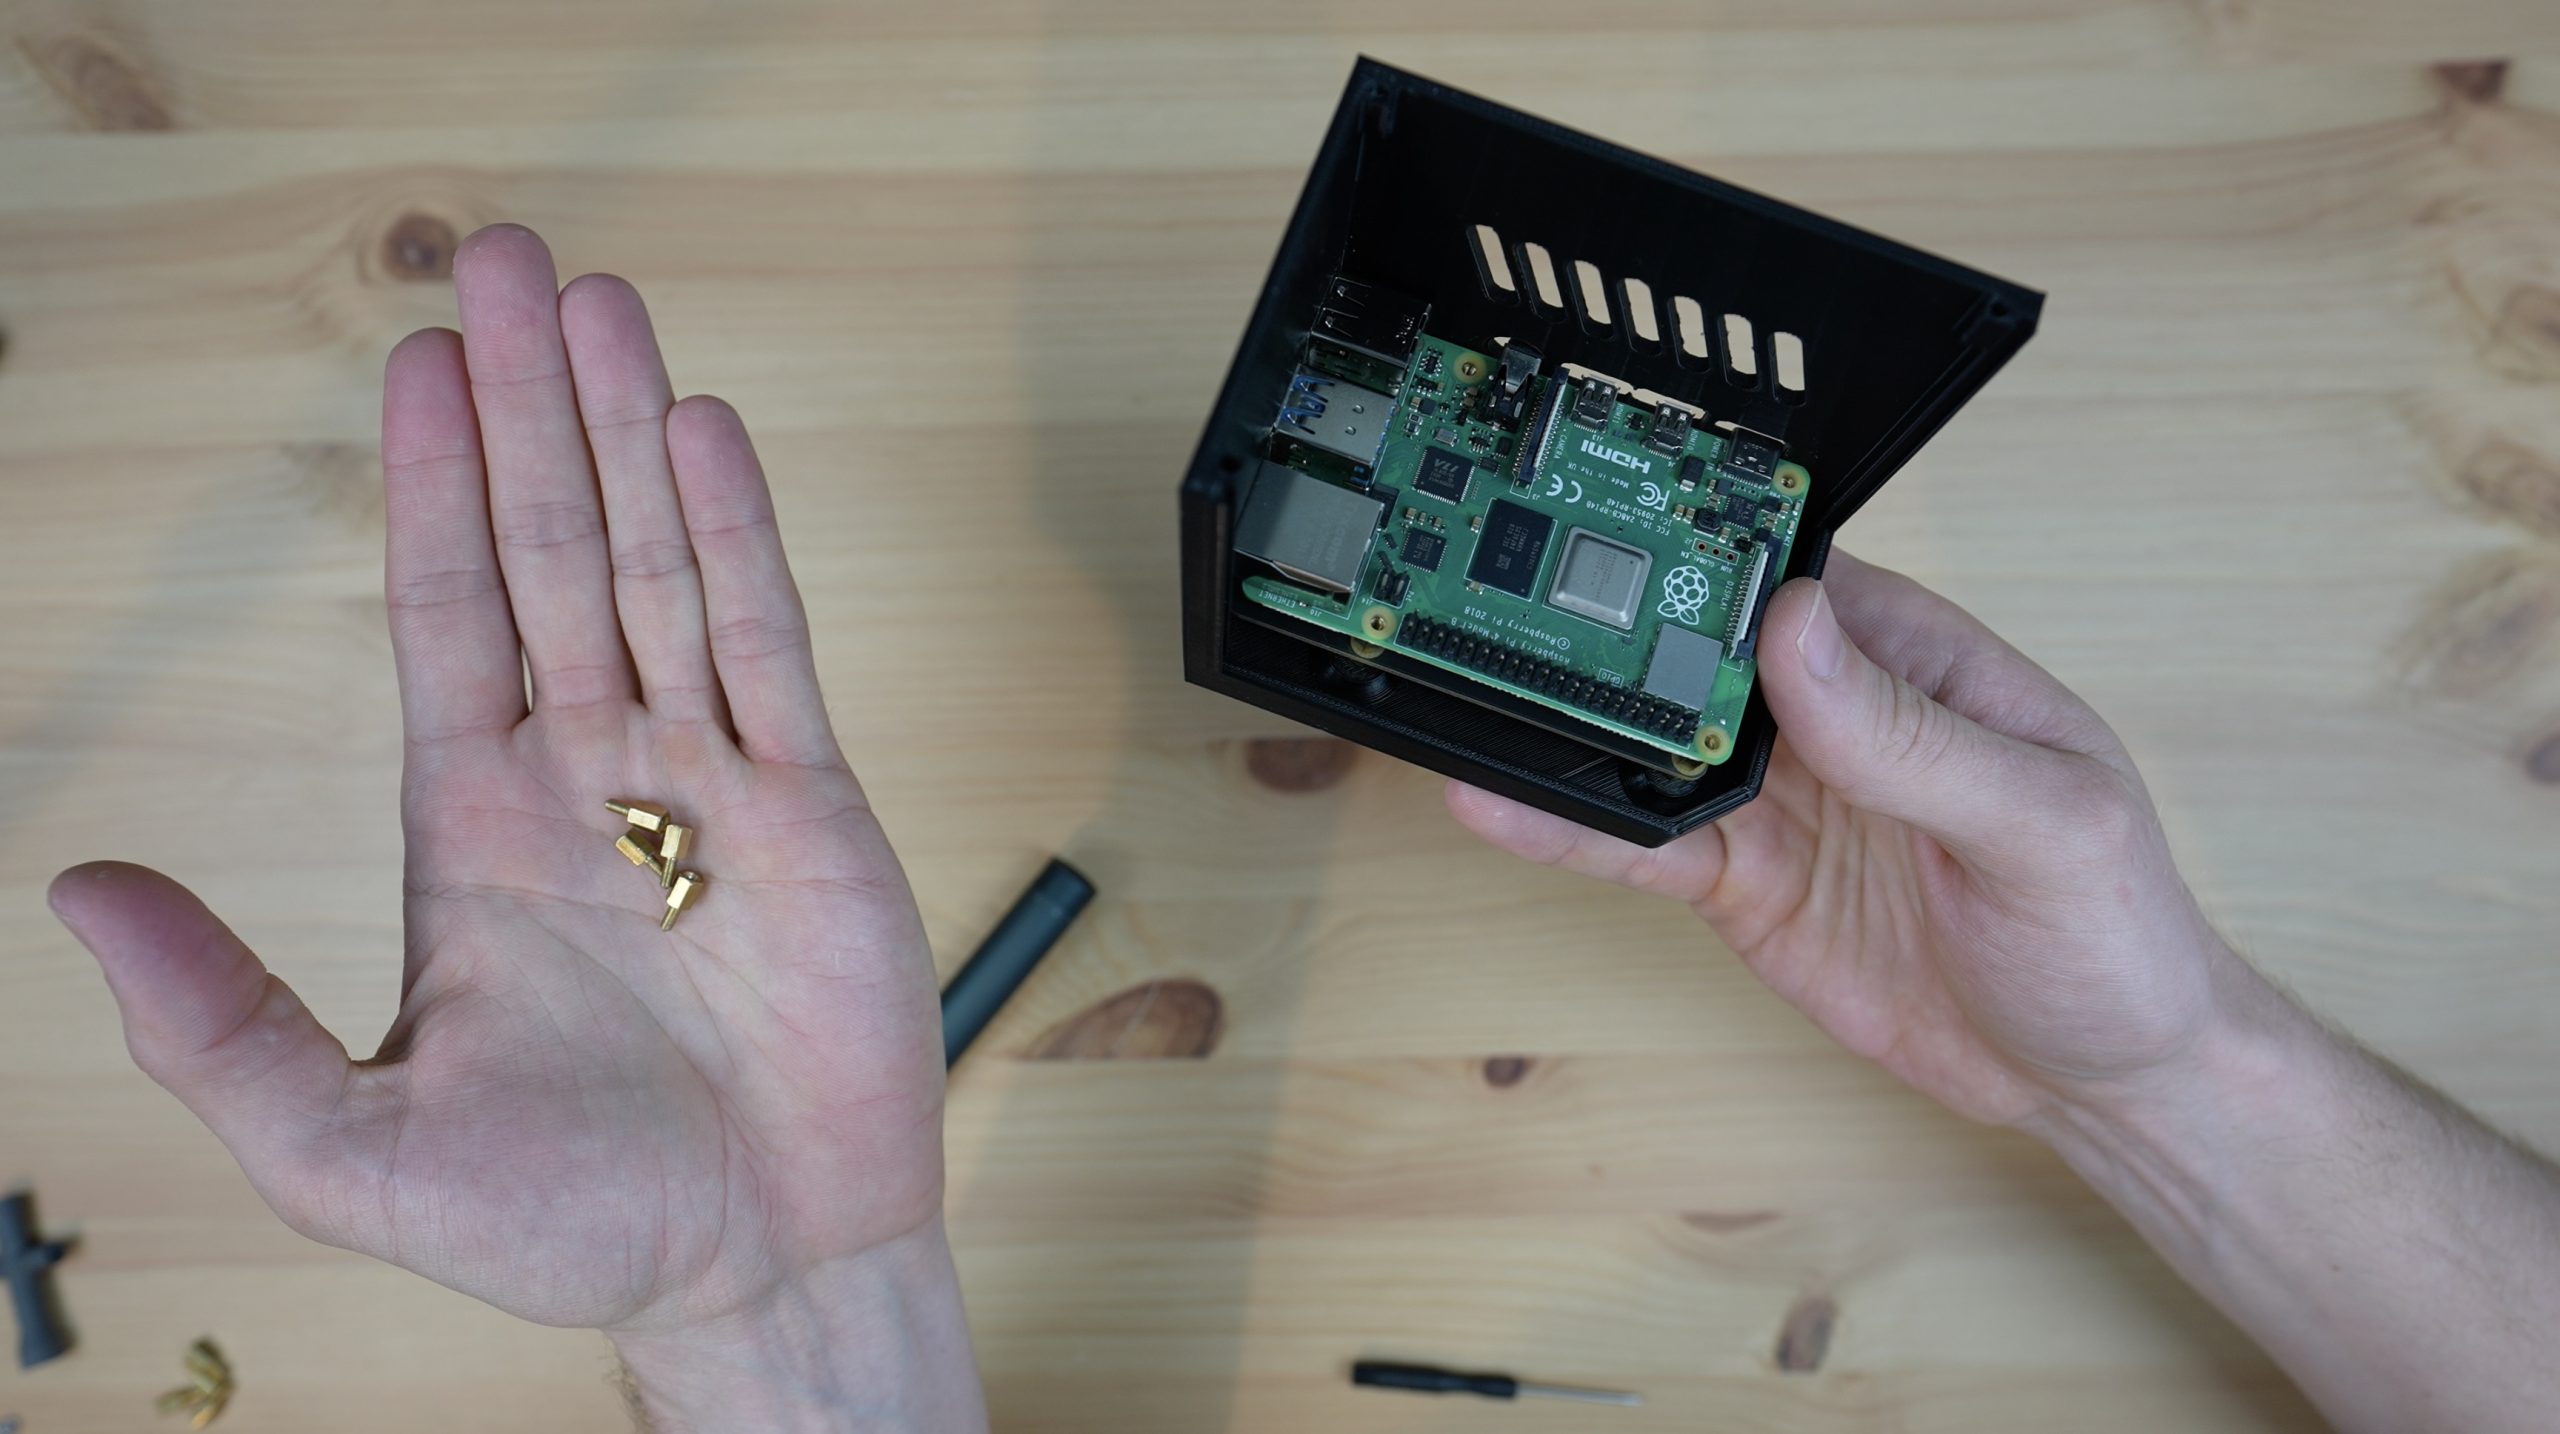
It looks like our ports are all positioned correctly within the cutouts. So let’s get the Ice Tower cooler installed.
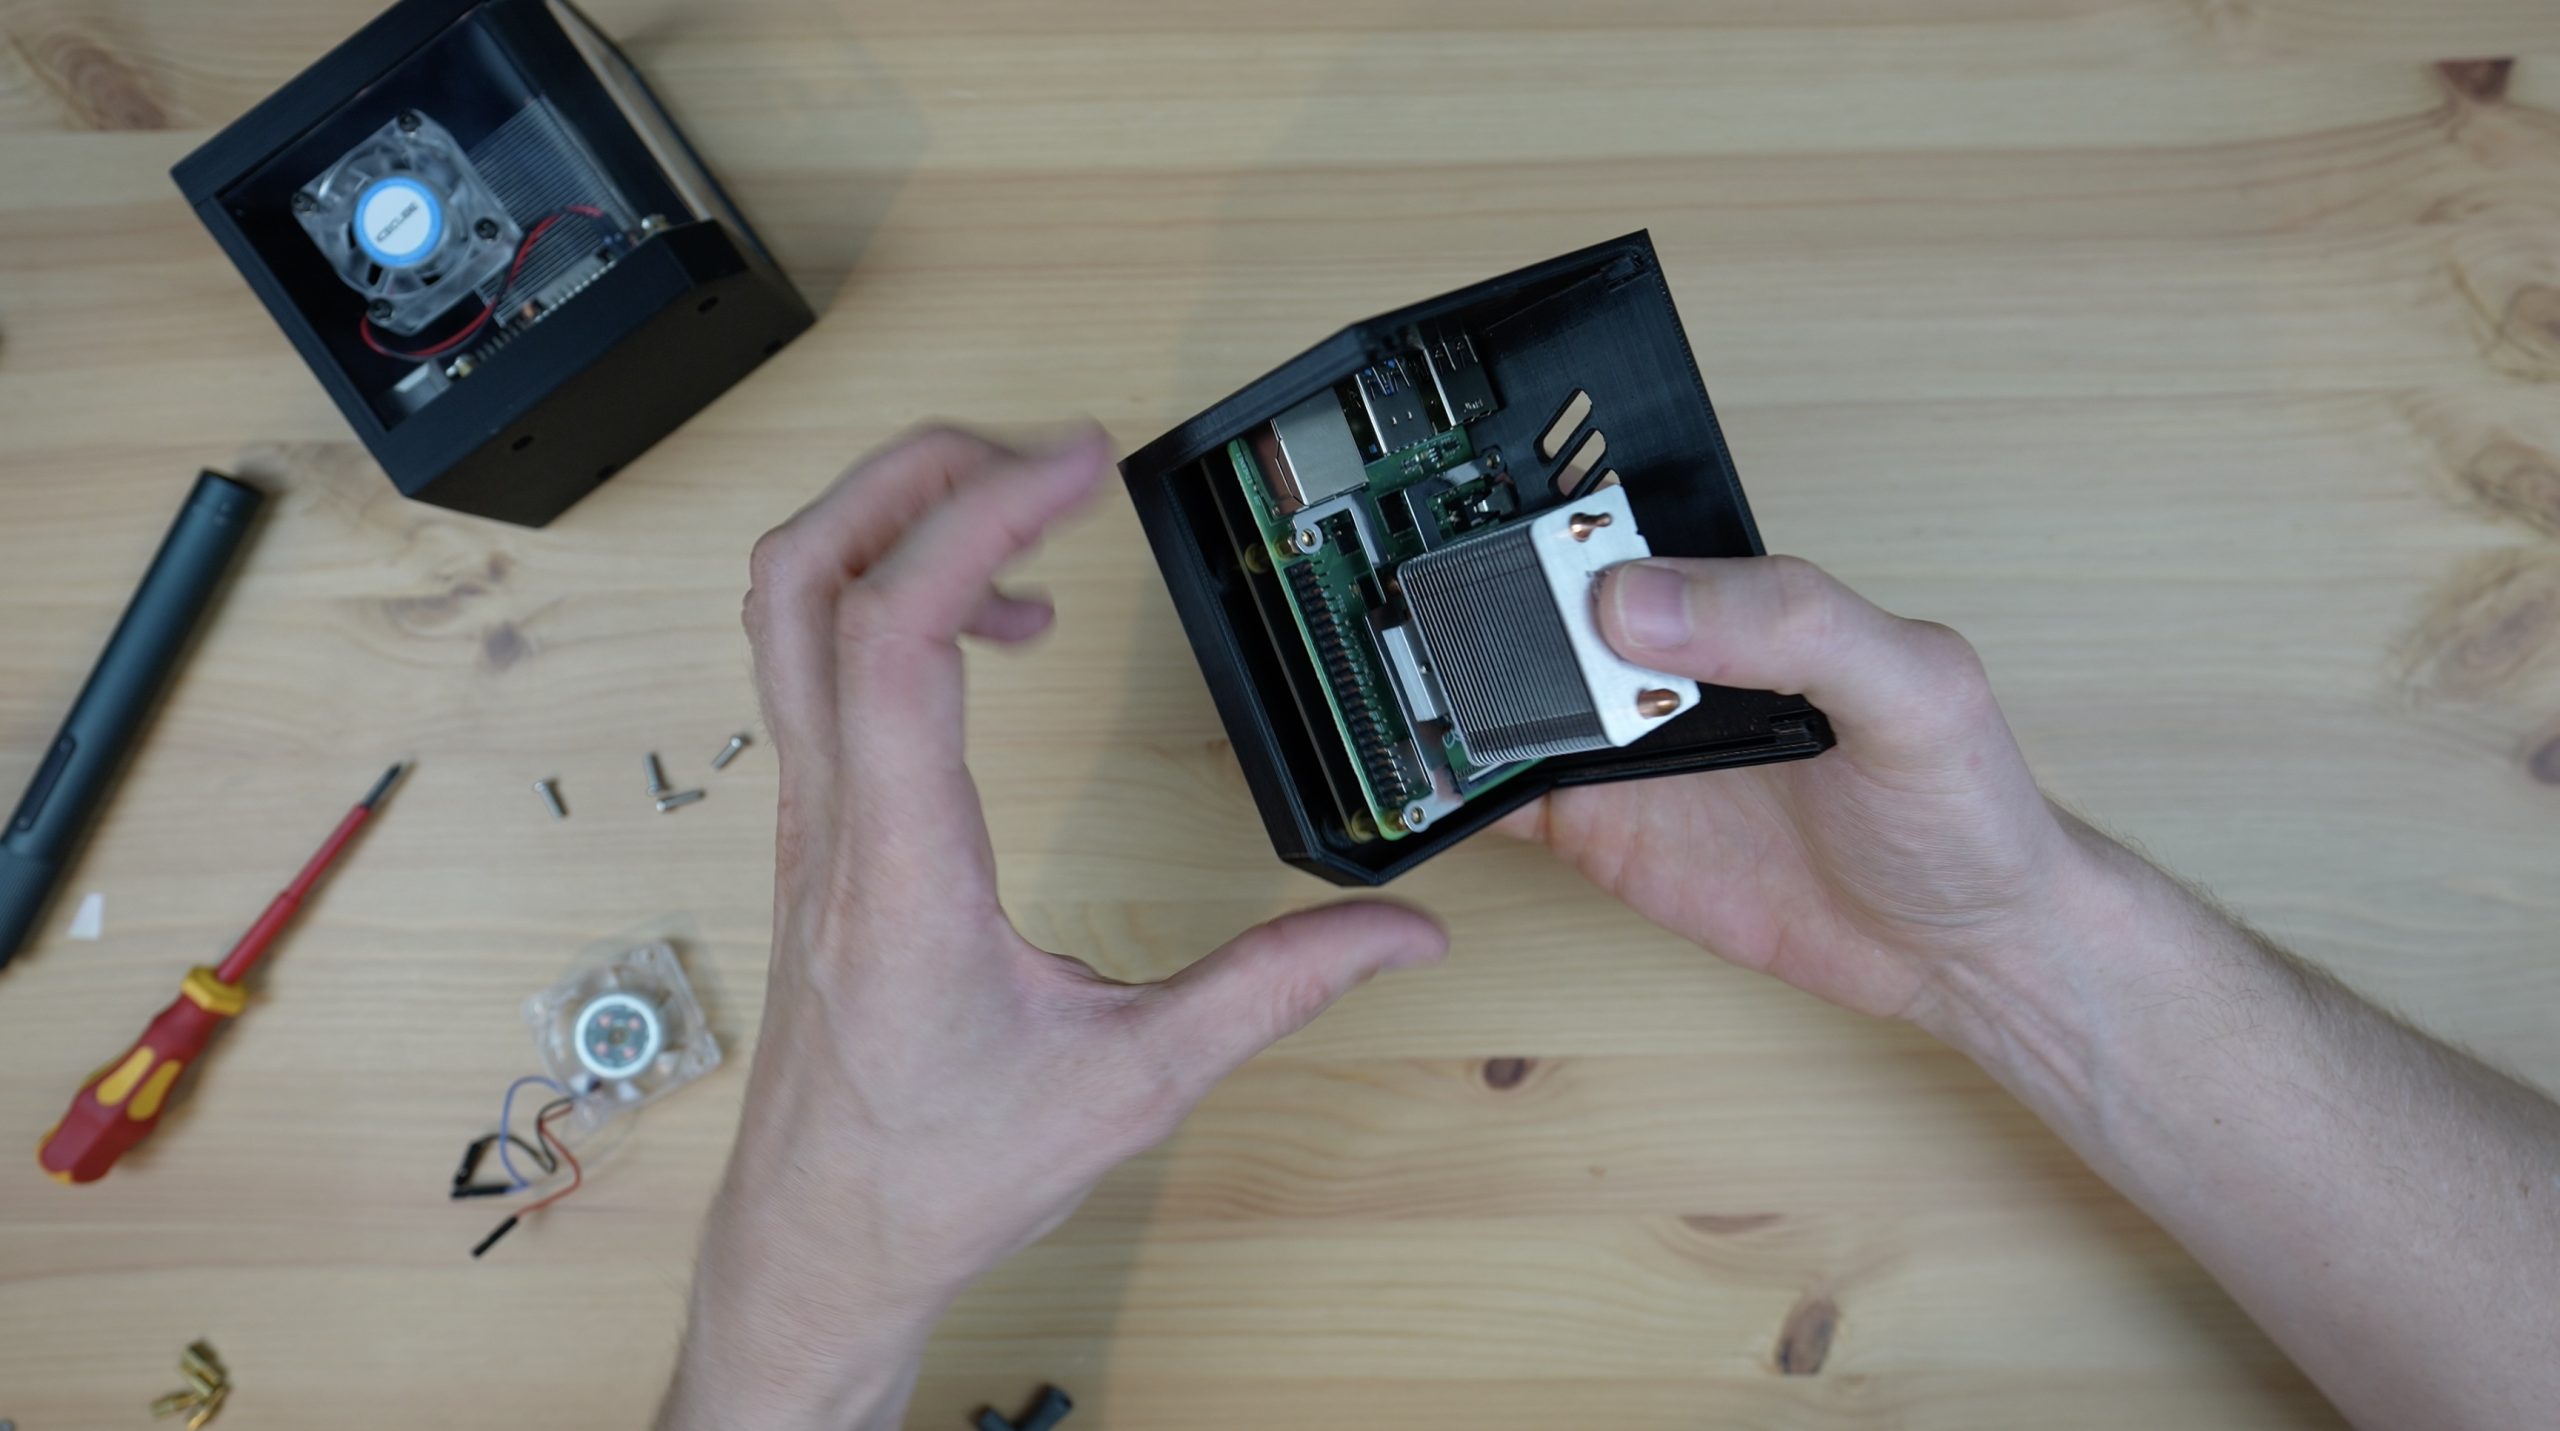
If you’re using an Ice Tower cooler, stick the cooling pad onto the CPU. If you’re using an Ice Cube cooler, it’s easier to stick the pads onto the bottom of the cooler first so that they line up with the components on the Pi.
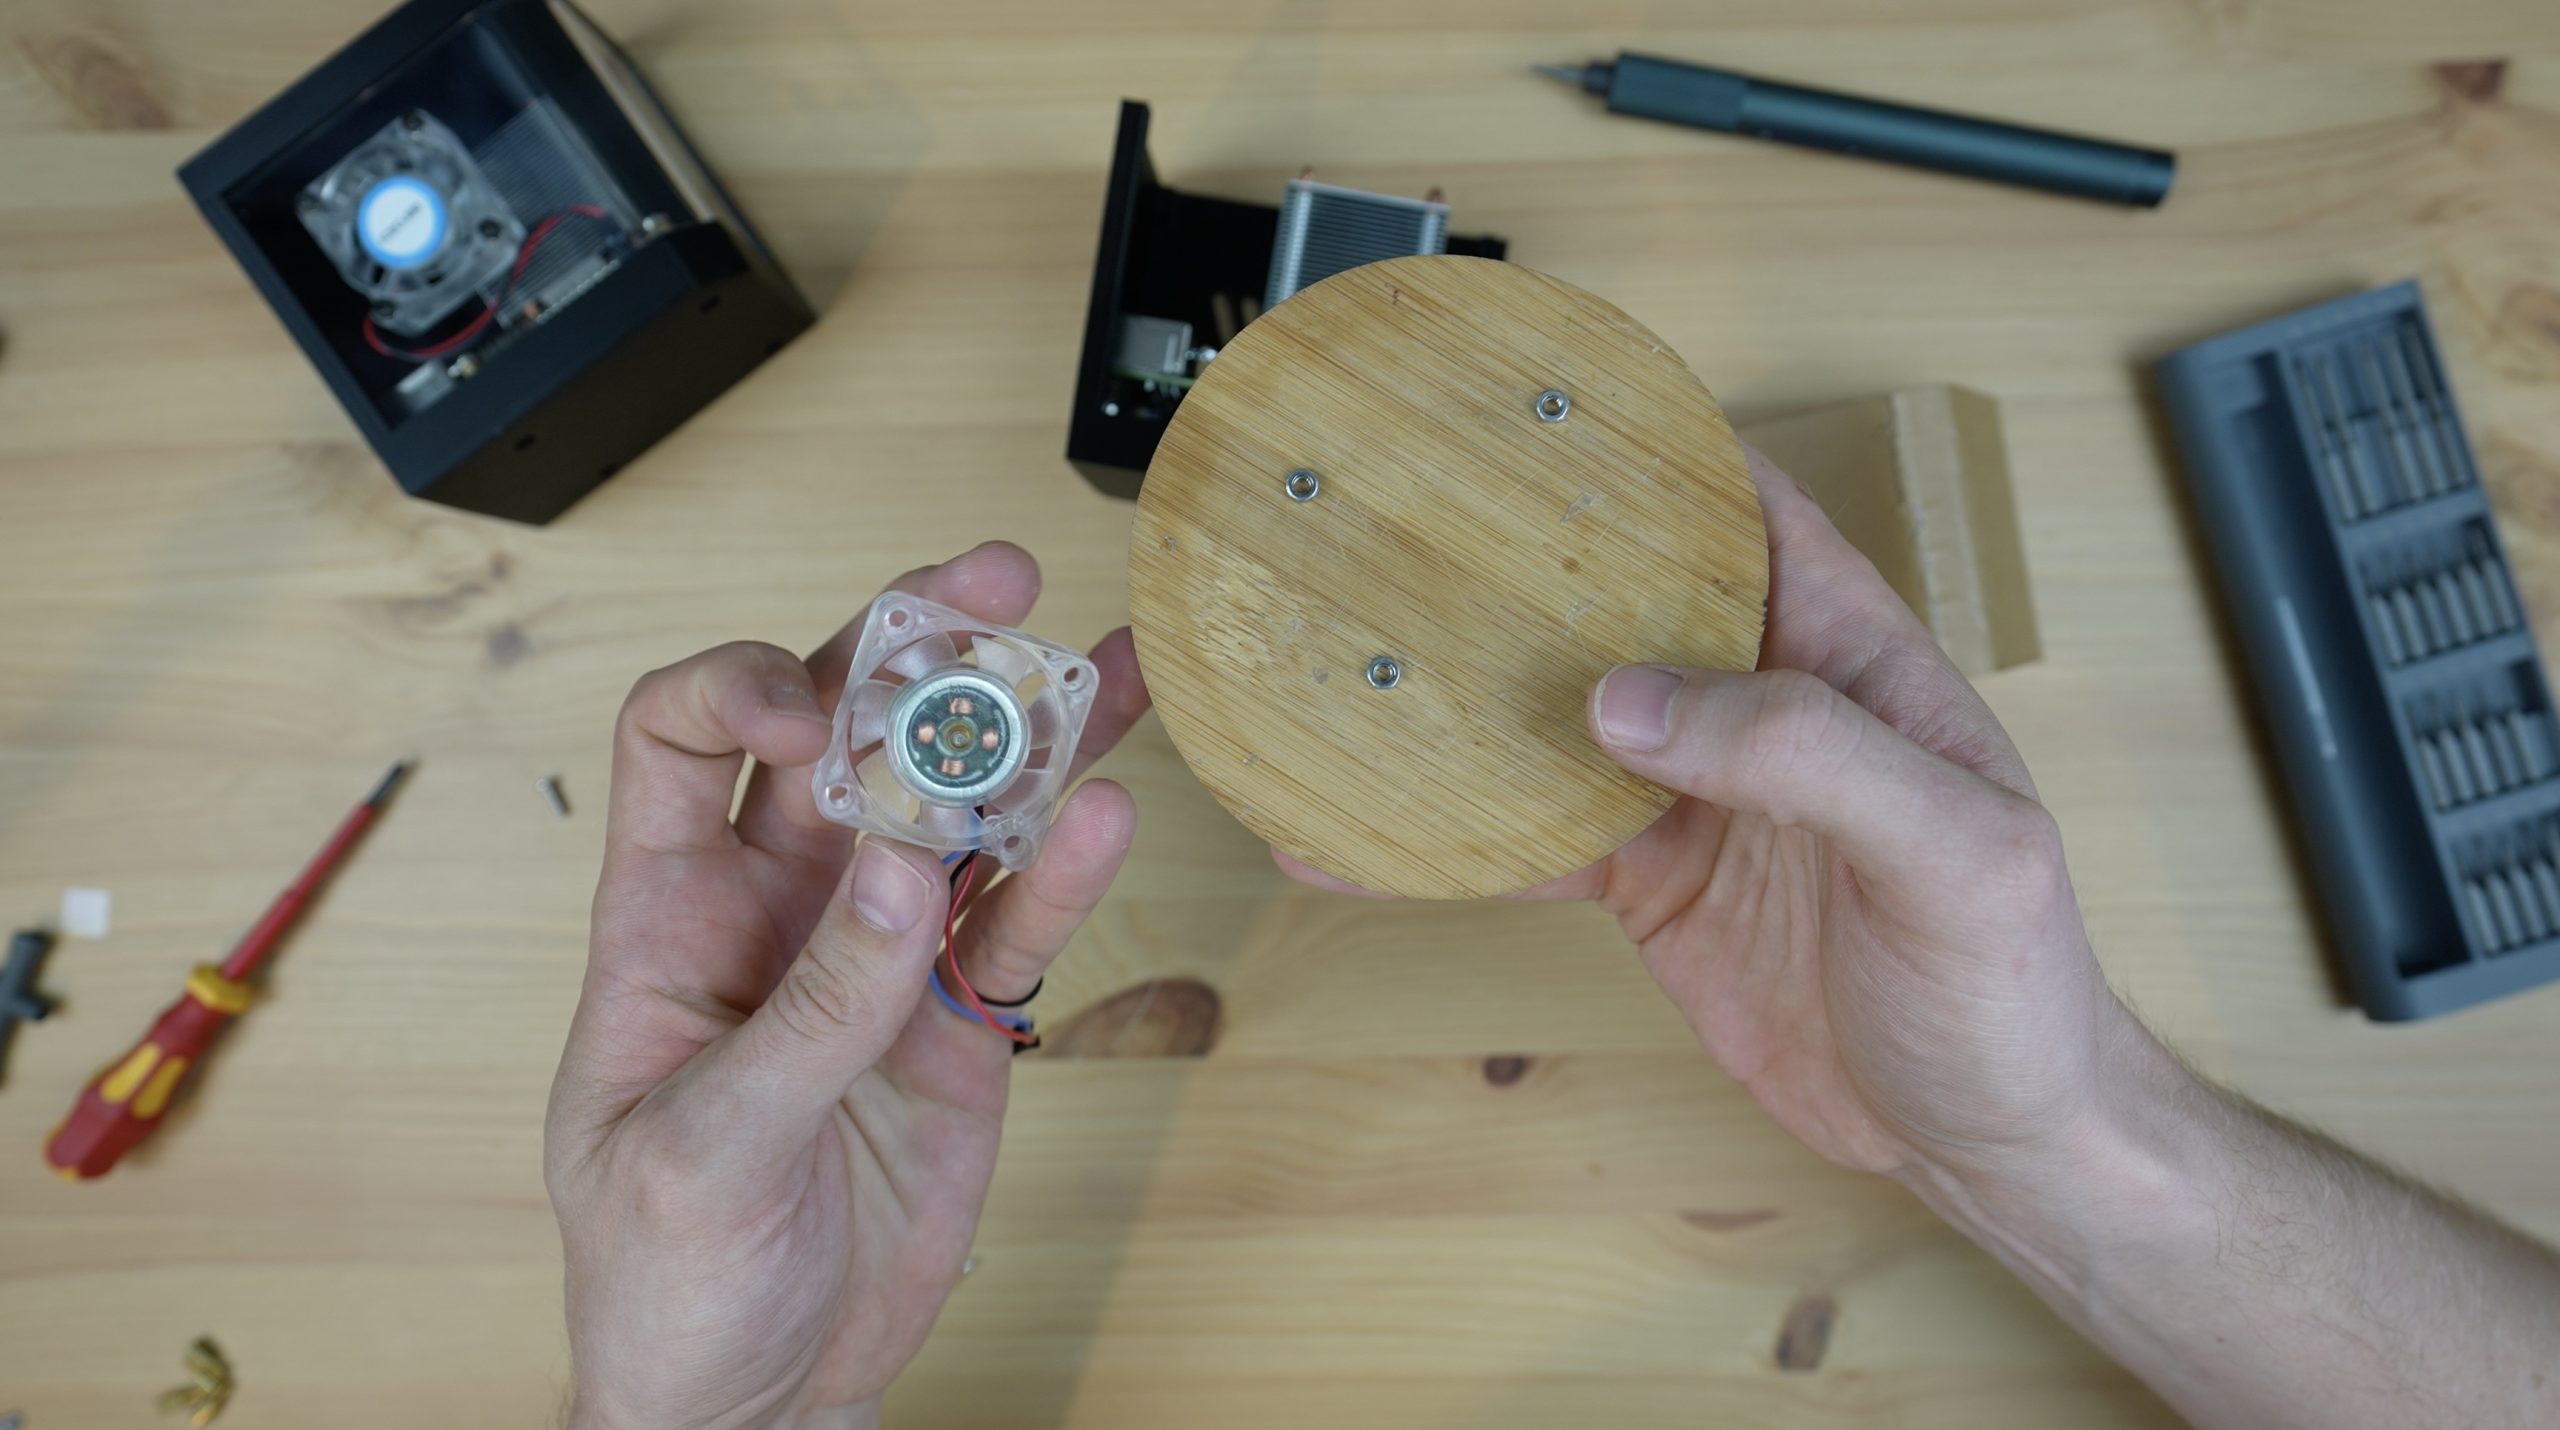
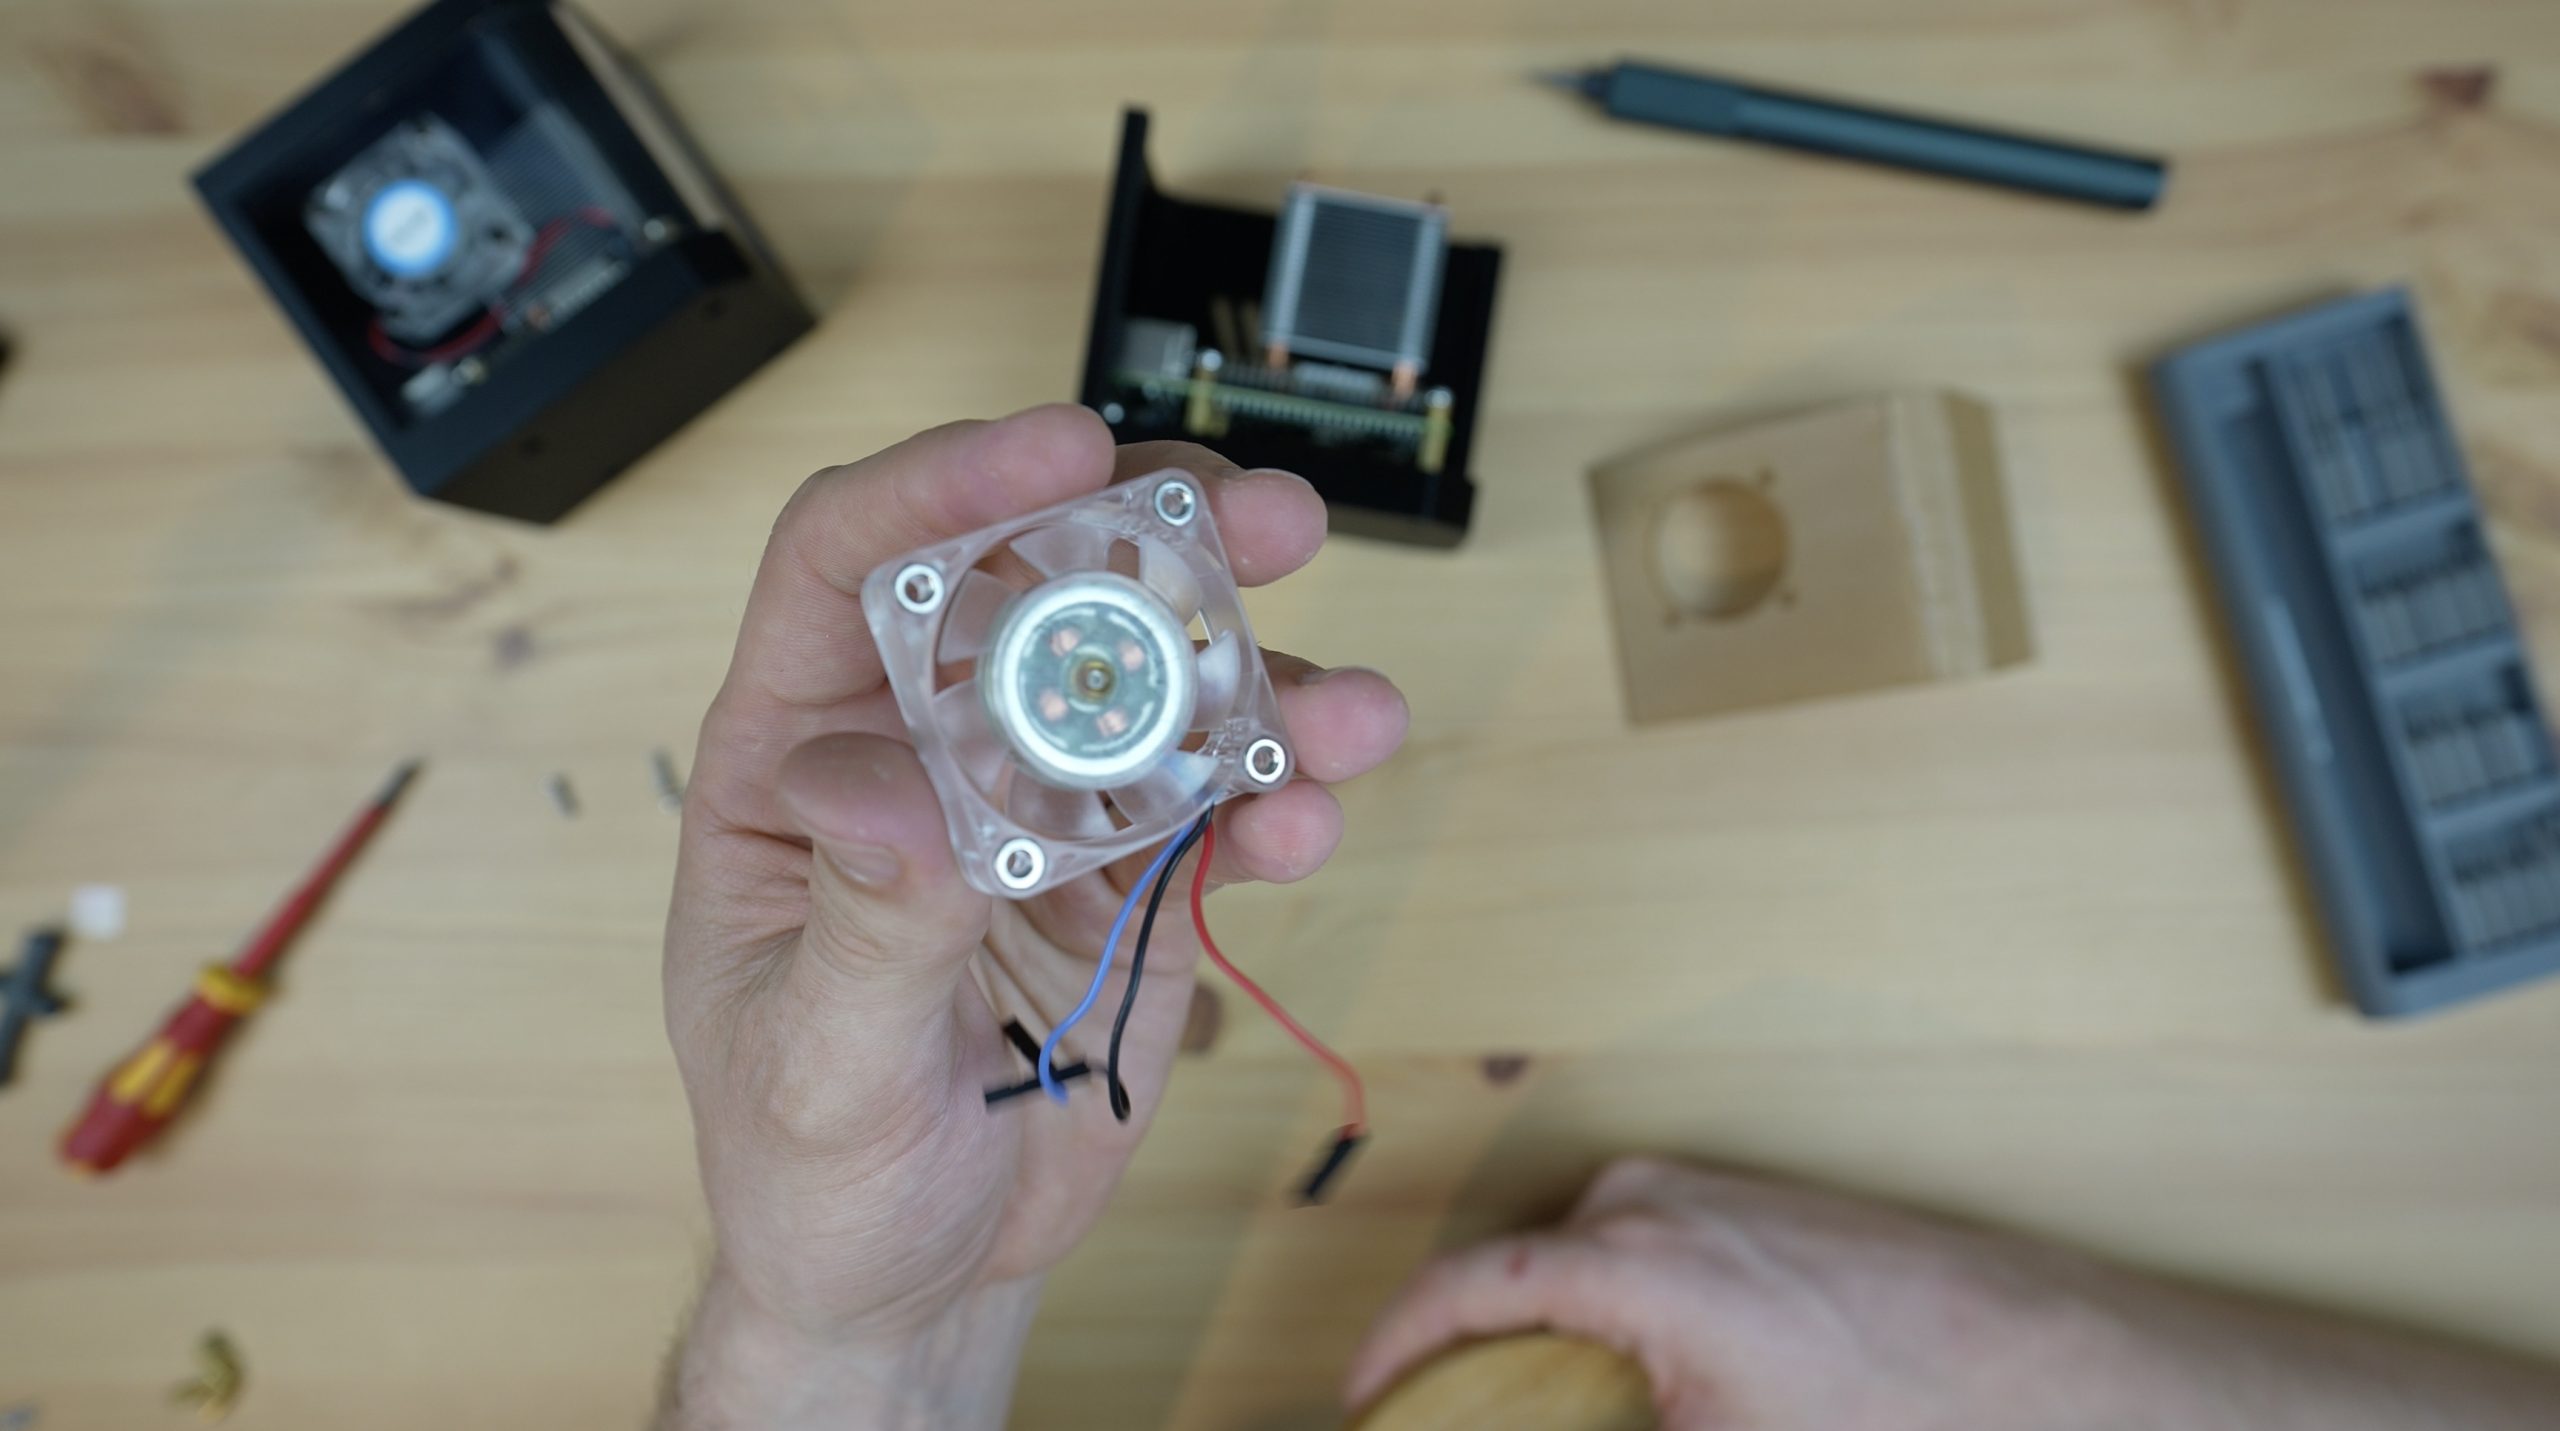
I’ve already installed the legs on the bottom of my cooler, so now I’m going to remove the fan from the cooler to mount onto the acrylic side panel.
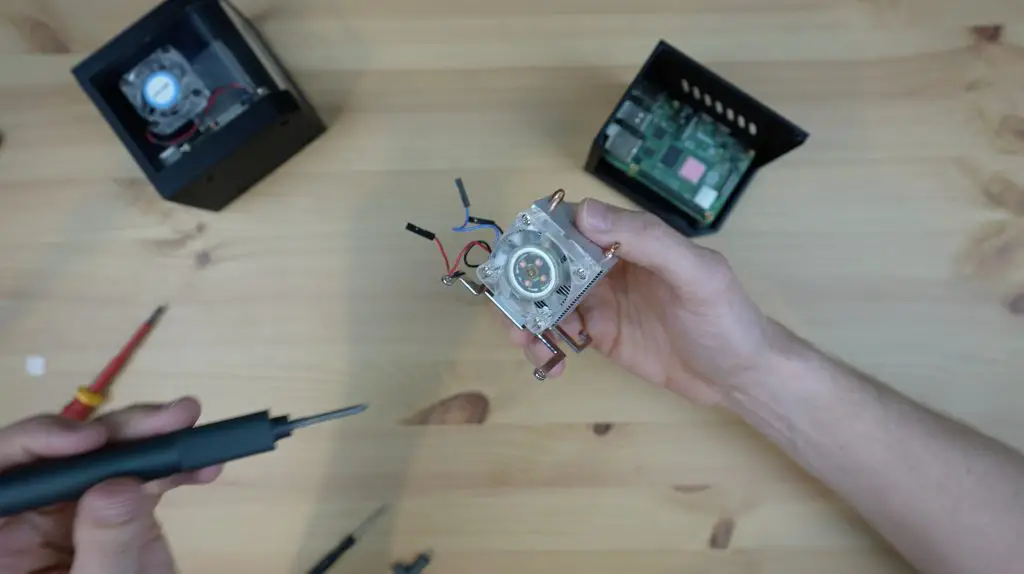
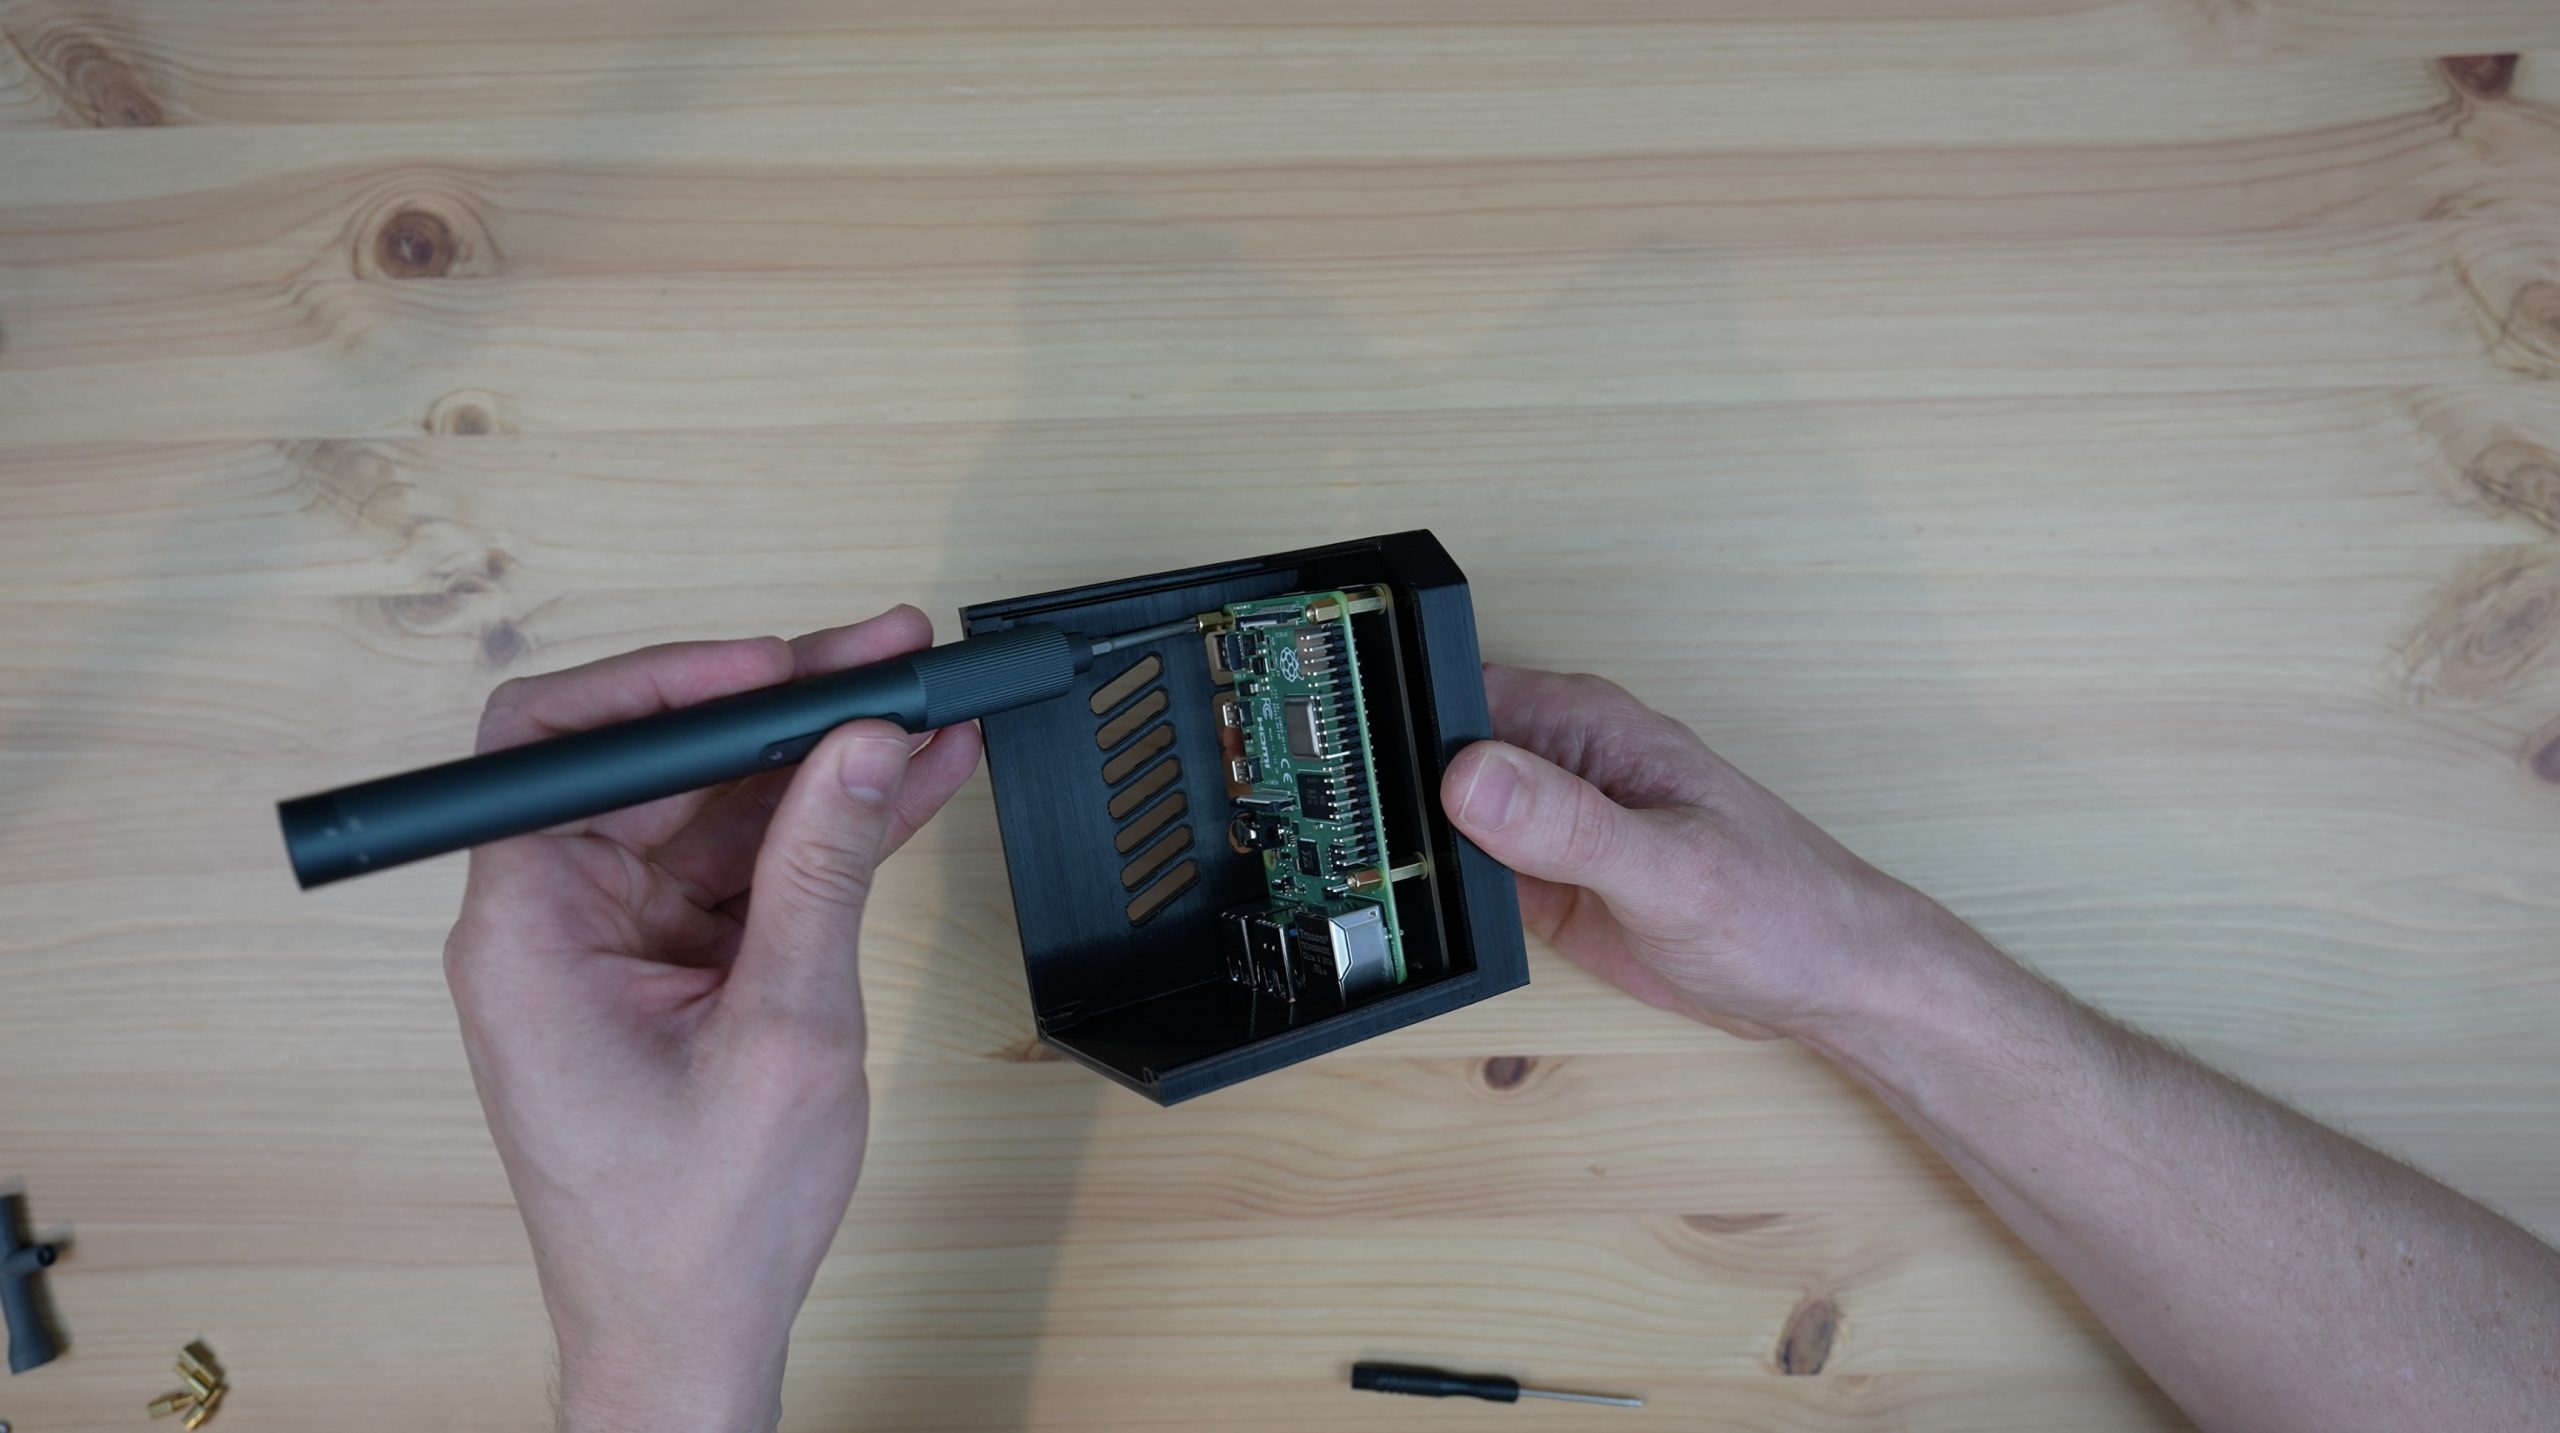
We can then install the Ice Tower and secure it with the M2.5 screws that were supplied with it.
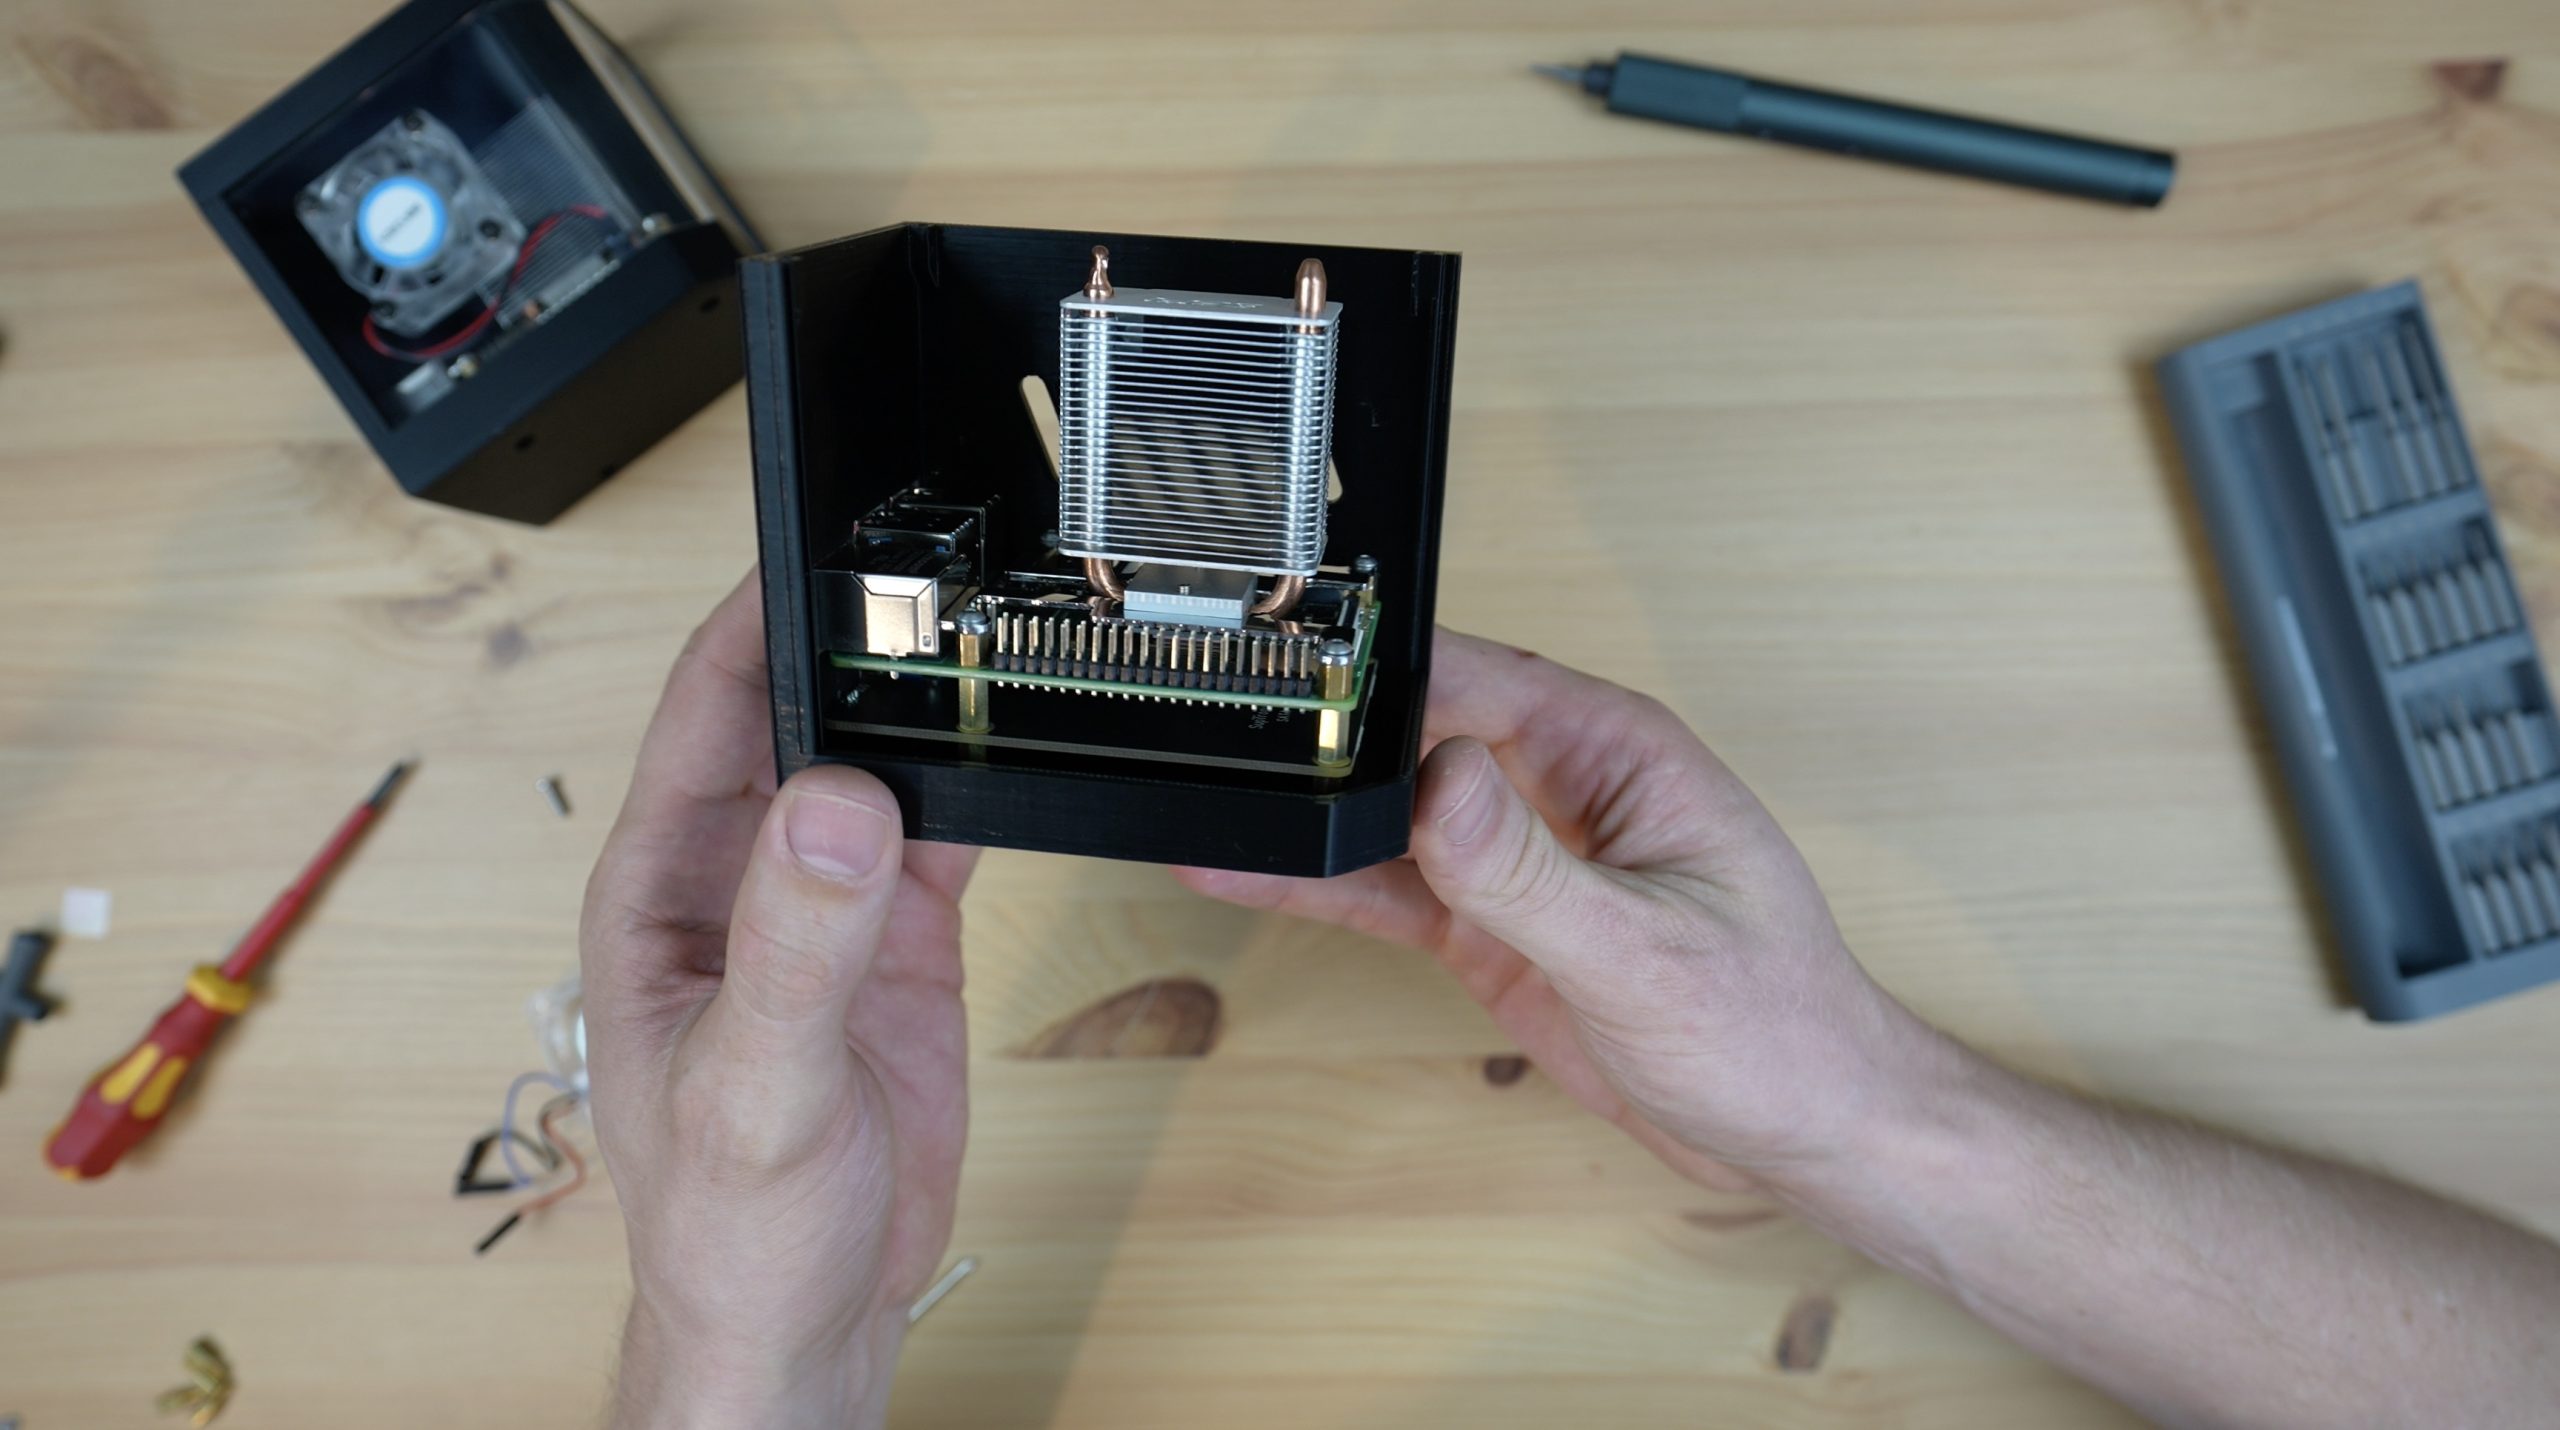
Installing The Fan On The Acrylic Side Panel
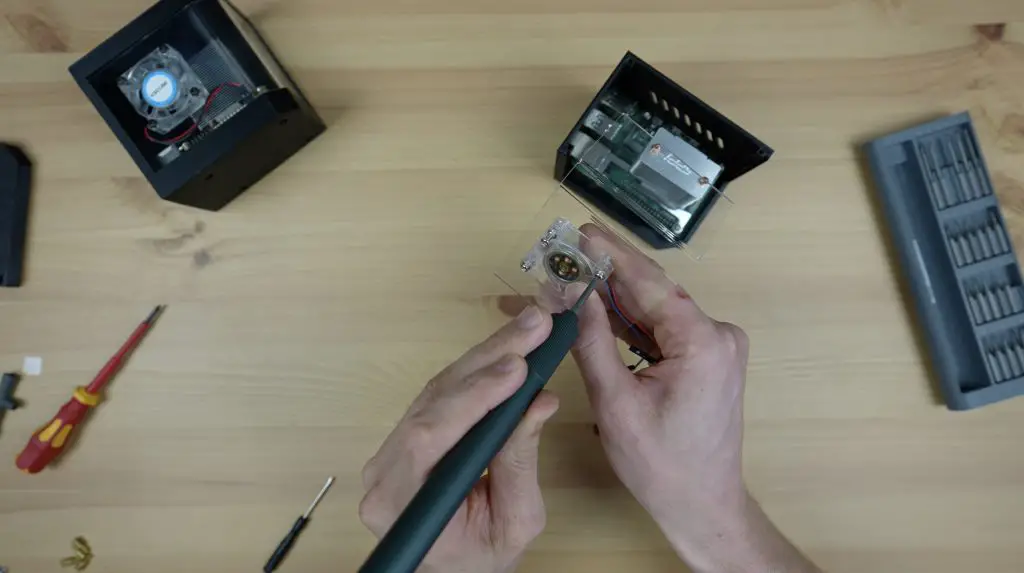
To hold the fan onto the acrylic side panel, we need to press some M3 nuts into the pockets on the front of it. This is easiest to do by laying the nuts down on a flat surface and then pressing the fan down over them.
We can then hold the fan in place with some M3 screws through the acrylic side panel, I’m just using the screws that were holding the fan in place on the Ice Tower.
If you’d prefer, you can swap out the M3 screws for slightly longer ones and then just use the nuts on the back of the fan as it would typically be installed. Make sure they’re only a little longer than the fan and nut so that they don’t clash with the cooler once installed.
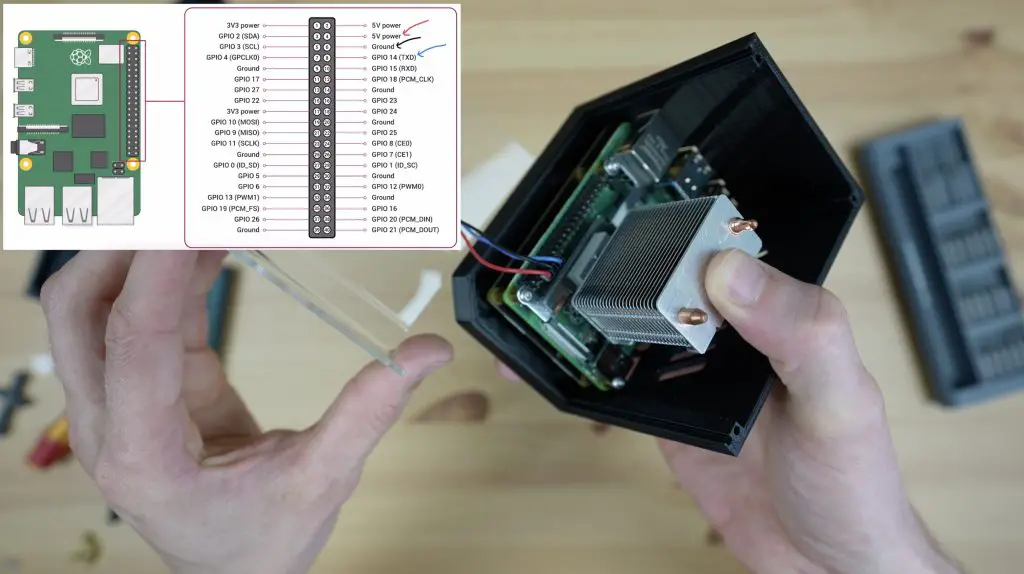
Now let’s plug the fan into 5V and GND, if you’re using a PWM fan like the one I’m using then you can either leave the PWM pin disconnected or plug it into a GPIO pin to control the fan. I’m going to plug it into GPIO pin 14, which is the one next to the ground pin so that I can turn it on only when I need it.
I don’t like using these fans with a PWM speed control script because they’re actually noisier when slowed down, for a silent fan you’re better off using a good quality Noctua fan.
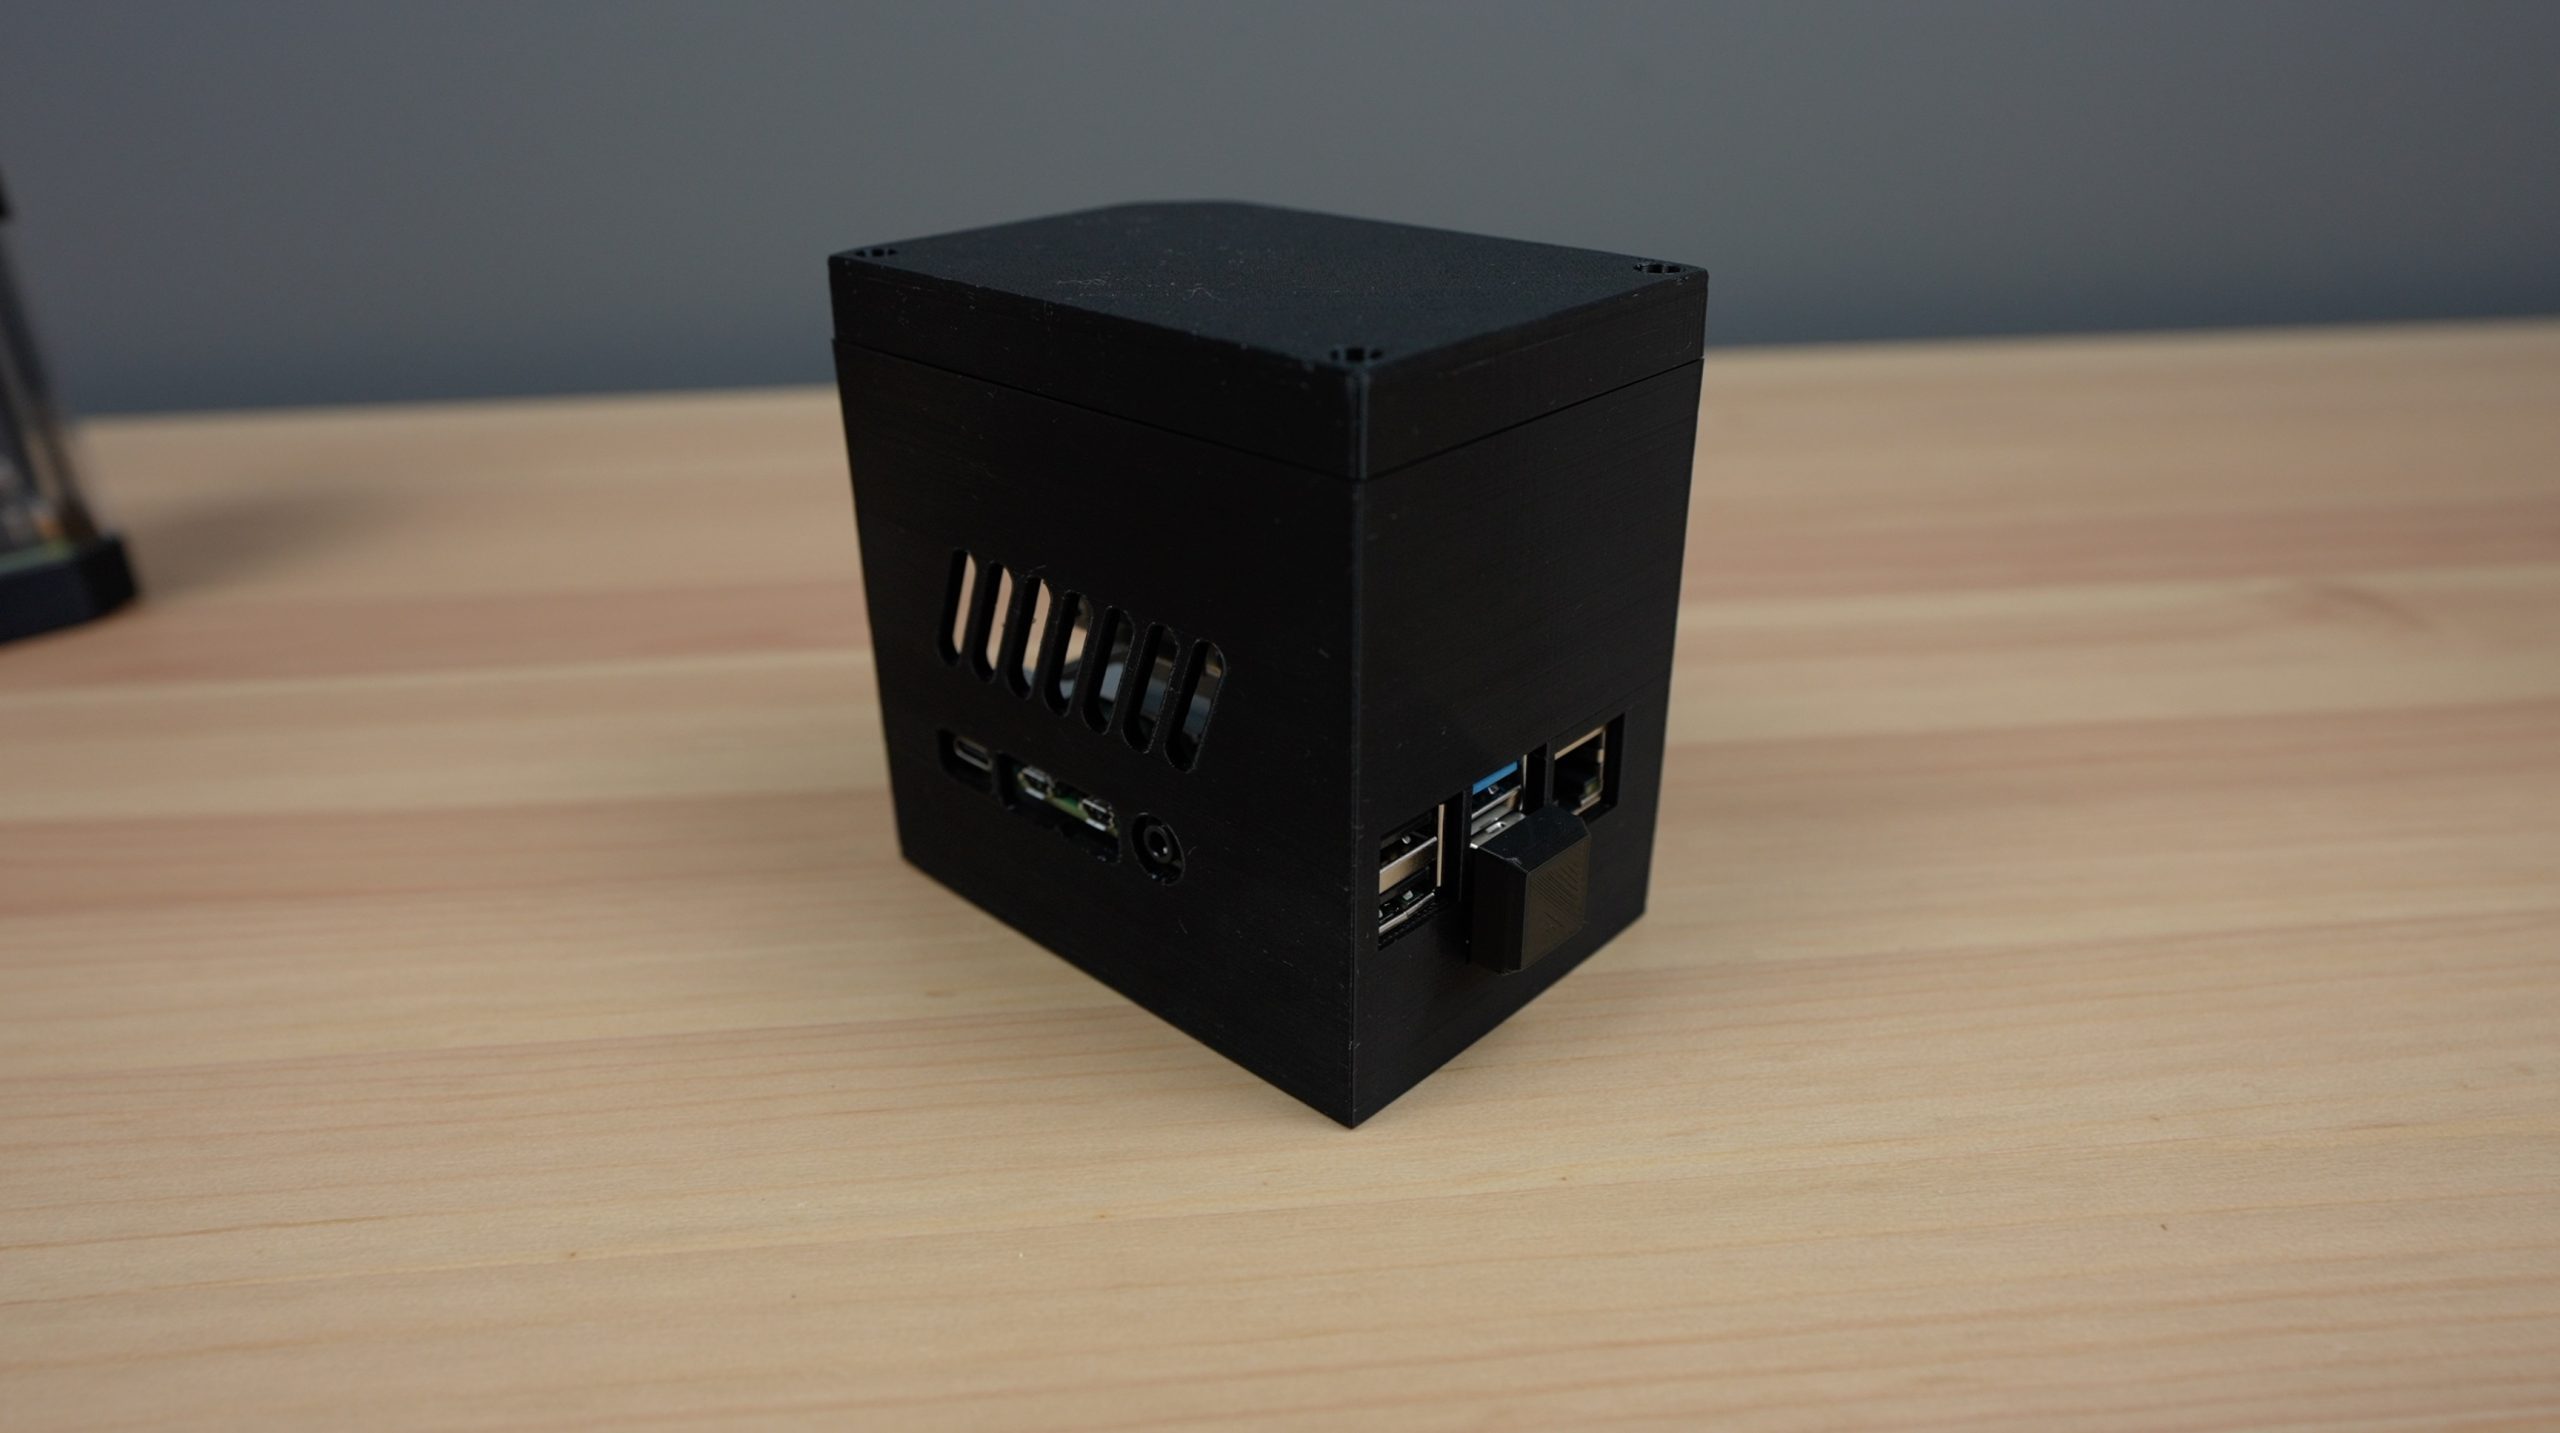
The top cover is held in place with three M3x8mm screws. Hold off on doing this just yet if you haven’t prepared your SSD as you might want to use the microSD card slot to do so.
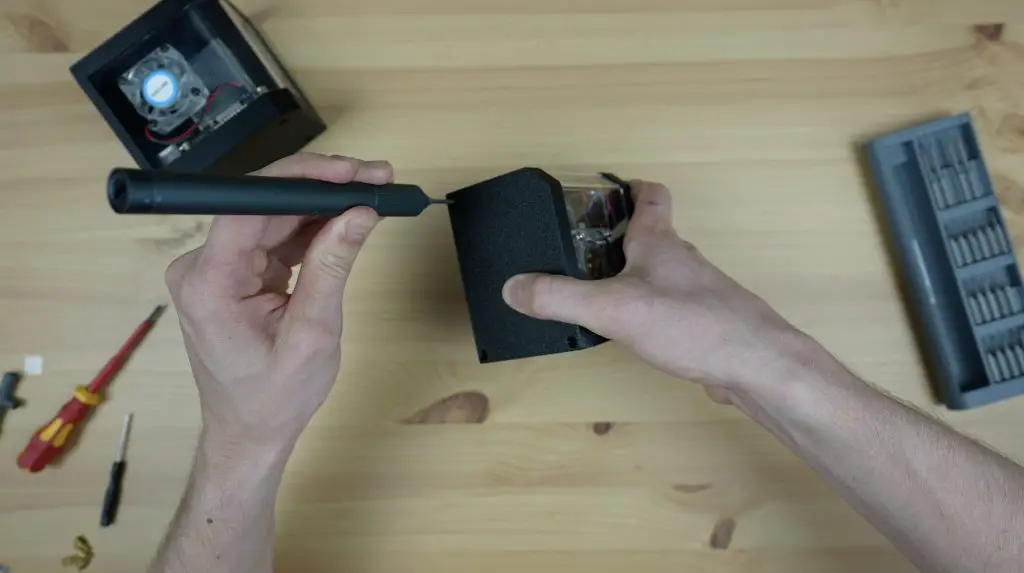
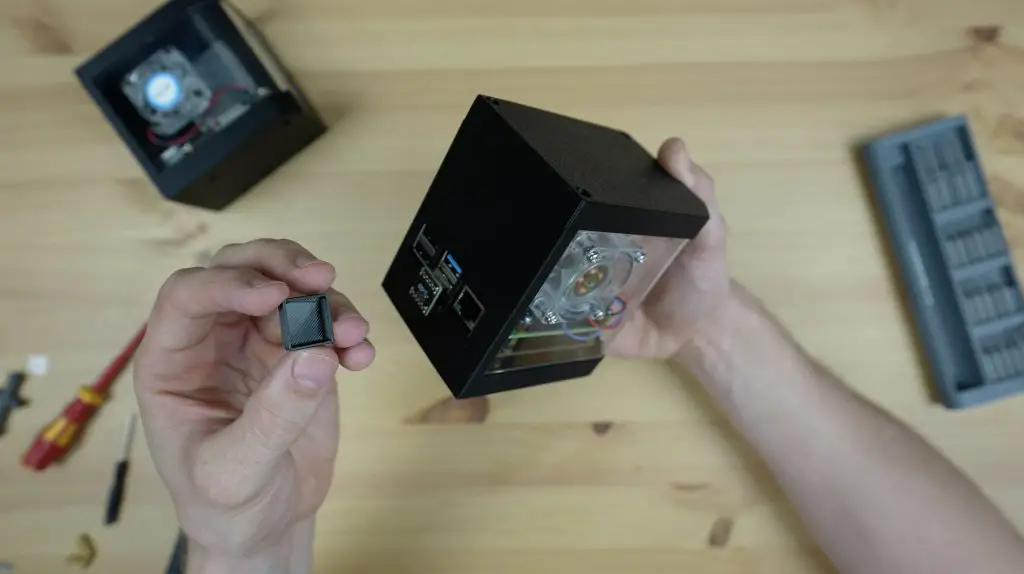
To finish it off, we just need to plug in our USB jumper and put the 3D-printed cover over it.

Loading The Operating System Onto Your SSD
Before closing it up, if you haven’t already flashed your operating system image onto your SSD, there are two easy ways to do this;
The first is to use a USB A to A cable to plug the shield into your computer and then use Raspberry Pi imager to flash the operating system image directly onto the SSD like you would with a microSD card.
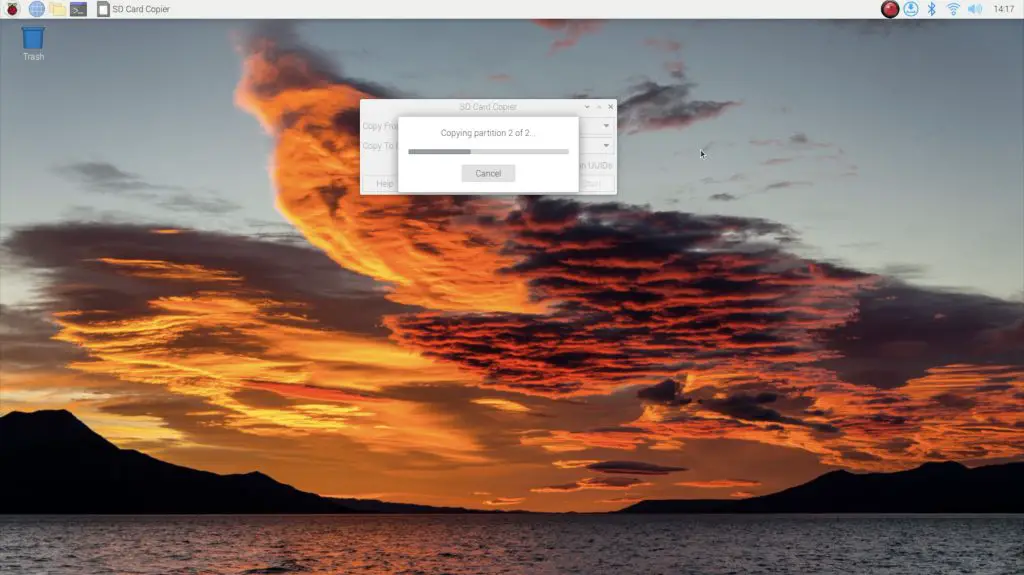
The second, if you already have your Pi running on a microSD card, is to boot it up with the microSD card plugged in, then use the SD card copier utility to copy the microSD card to your SSD, then remove the microSD card.
If you need help with this, I’ve got a separate guide on booting your Raspberry Pi up from an SSD.
Testing The M.2 SSD On Our Raspberry Pi
Now that we’ve copied the microSD card to our M.2 SSD, let’s boot it up and see how our SSD performs.
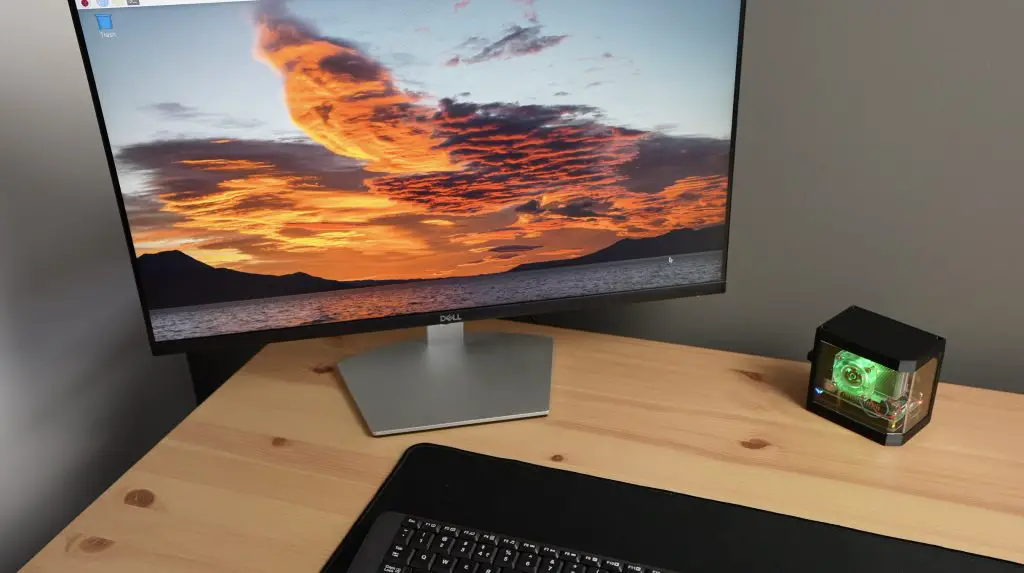
You’ll likely already notice a dramatically reduced boot time, but we’re also going to run the built-in SD card speed test, which will test the speed of the SSD if the Pi is booted from it.
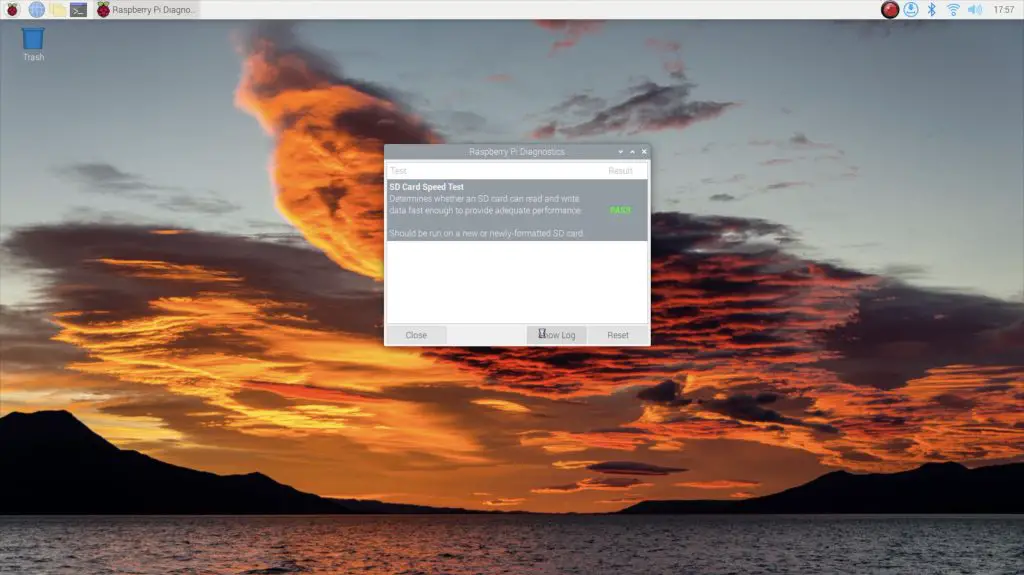
If we open up the results, we get a sequential write speed of just under 200MB per second, which is a substantial increase over the 10MB/s required as a pass for the test.
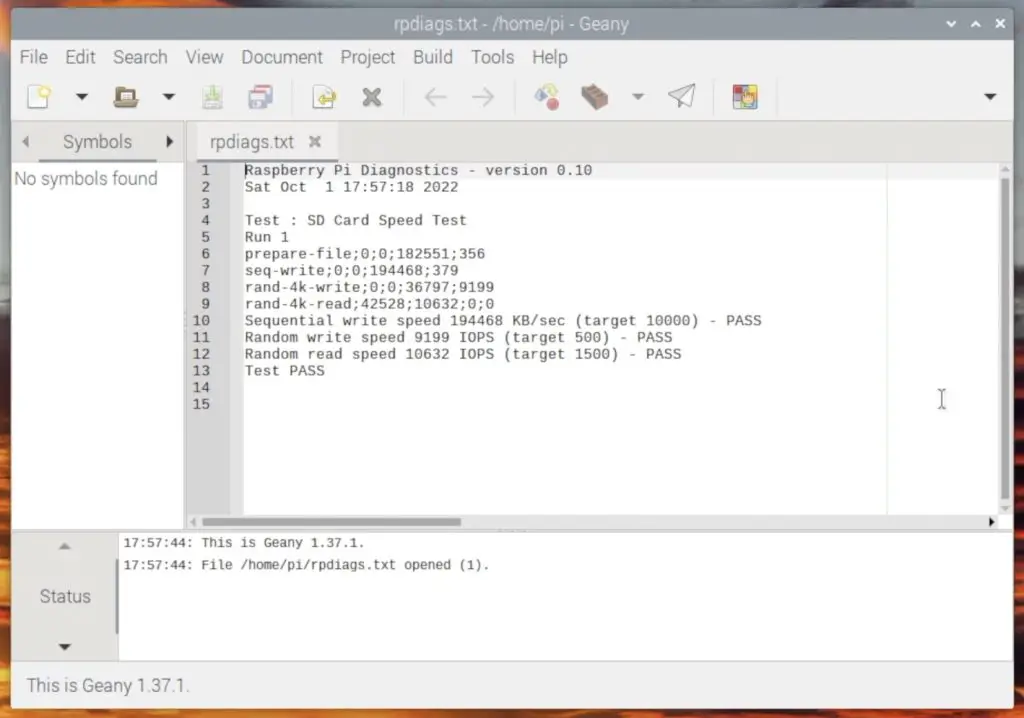
We also get a random write speed of 9199 IOPS – IOPS stands for Input/Output Operations Per Second, which is also way over the target of 500 and a random write speed of 10632 IOPS.
So those are really good results and they’re much better than what you’d get from even a good quality microSD card. Our Raspberry Pi now boots up faster than it did from the microSD card and will be a lot more reliable going forward.
Let me know what you think of this modification to my case in the comments section below and also let me know if there is anything else you’d like to see me do with the case design.