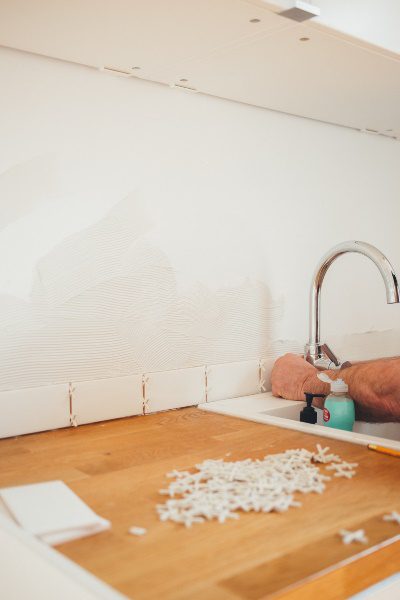
Installing your own backsplash can be a relatively quick and easy task, but the process can get a lot more complicated if your counter outlets are an afterthought in planning. The following are some useful tips for what to focus on and how to be safe while installing your backsplash. If you need some creative inspiration for your backsplash, have a look at these 10 DIY Backsplash Ideas Which Look Great.
This article is a guest post written by Caryl Anne Crowne, a contributing writer and media specialist for Mr. Electric.
Turn the Power OFF
It should go without saying, but turning off the power is a step you do not want to forget. Turn off all electricity in the area where you will be working, and double check that it is off to your outlet using a voltage detector. This is the most important step to eliminating risk!
Outlet Extenders
Once the power is off, you can remove the outlet cover and insert outlet extenders in to the outlet boxes. When the outlet boxes are more than ¼ in. behind the wall surface, the National Electrical Code requires the use of extenders, so go ahead and put them in before you start working on the backsplash. These will also serve as a guide for placing the tile. Extenders can be removed later when you begin to grout.
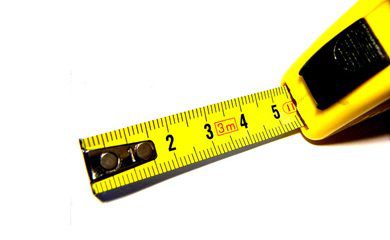
Measure Twice, Cut Once
Every installation is different, but you should always start from the left or right bottom corner of the area you plan to tile and work until you get close to the outlet. Once you have reached the outlet, hold up the tile sheet that is meant to be installed in that area. Using a grease pencil, you can mark the location of the outlet on either the sheet or the tiles themselves. PRO TIP: A quilter’s square (a clear ruler found in craft supply stores) makes a great tool for marking cut lines since you can see the tile underneath the ruler.
There may be many different ways to cut the sheet down to fit, so before you cut, make sure your plan for cutting gives you the least number of pieces. This will make it easier to line up the joints. Also, make sure you are using the appropriate tool for the type of tile that you are installing, whether it’s a utility knife or a tile nipper. You don’t want the tiles to shatter when you start to cut.
Check for Gaps
Once your tiles are cut and installed around the outlet, you are going to want to check for gaps. The goal is for your tile to end just below where your cover screws in. Take the cover plate that you removed earlier and gently place it over the outlet. You will want to make sure that the edges of the plate are touching the edge of the tile before you begin to apply the grout. You should have about twenty minutes after the tile is installed where the tile can still be moved and made to fit.
After your installation is complete, just secure the outlet cover back in place and turn the power back on. Congratulations! By following these troubleshooting tips, your backsplash is sure to look professionally installed, and you have kept yourself safe in the process.
If you’ve installed your backsplash already and you need another, try Add A Plug Outlet To A Drawer.
Have you installed your own kitchen backsplash? Let us know how it went in the comments section below.