Bring your 2011 Mac Mini up to 2018 specs with a 16GB RAM upgrade. It’s one of the cheapest and most effective upgrades you can do, it takes less than five minutes and requires no tools. After upgrading your Mac Mini’s RAM, you’ll notice a substantial increase in the load times of applications and an increase in speed when switching between tasks and applications.
The most important part of this upgrade is to ensure that you buy the correct RAM for your Mac Model. You can find your model information by looking in your “About This Mac” window or through a serial number search.
If you enjoy this post, you may be interested in How To Replace A Shattered Screen on iPhone 7 or an iPhone 6
What You’ll Need For The Upgrade
You don’t need any tools or materials to do this upgrade, you just need the replacement RAM modules. These are usually sold in either an 8GB or 16GB upgrade kit online.
Here are some of our recommendations for a range of model numbers:
- A-Tech 16GB Kit (Used In This Guide)
- Late 2011 Mid-2010 Mid-2011
- A1311 A1312 A1347
- A-Tech 16GB Kit
- Late 2009 Mid-2010
- A1278 A1342
- Timetec 16GB Kit
- Mid 2011 Mid 2011 Server
- MC815LL/A MC816LL/A BTO/CTO MC936LL/A
- Corsair 16GB Kit (Lifetime Warranty)
- Mid 2011 and newer systems
- No Model Numbers Listed But Claimed Best Compatibility
Note: The model numbers above and compatibility thereof are as stated by the seller, only the compatibility of the first has been tested on a Mid 2011 Mac Mini Server.
How To Upgrade Your Mac Mini’s RAM
Watch the video below on how to do the upgrade, alternately you can follow the image guide further on.
Here’s the guide broken down into image steps if you’d prefer to follow these:
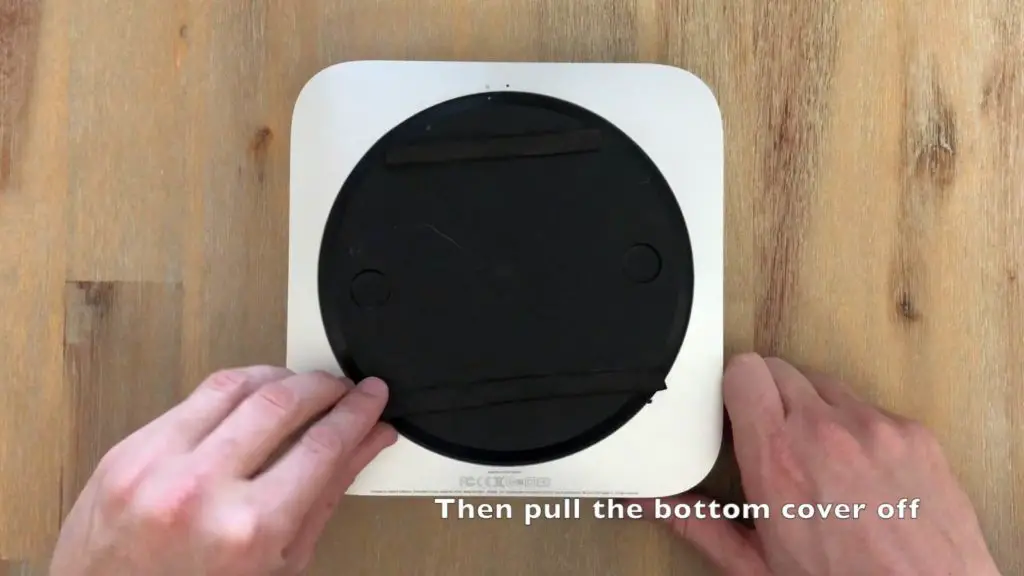
Flip your mac mini over and use the two thumb grips on the bottom black cover to rotate it until the two white dots align.

Lift off the bottom cover.
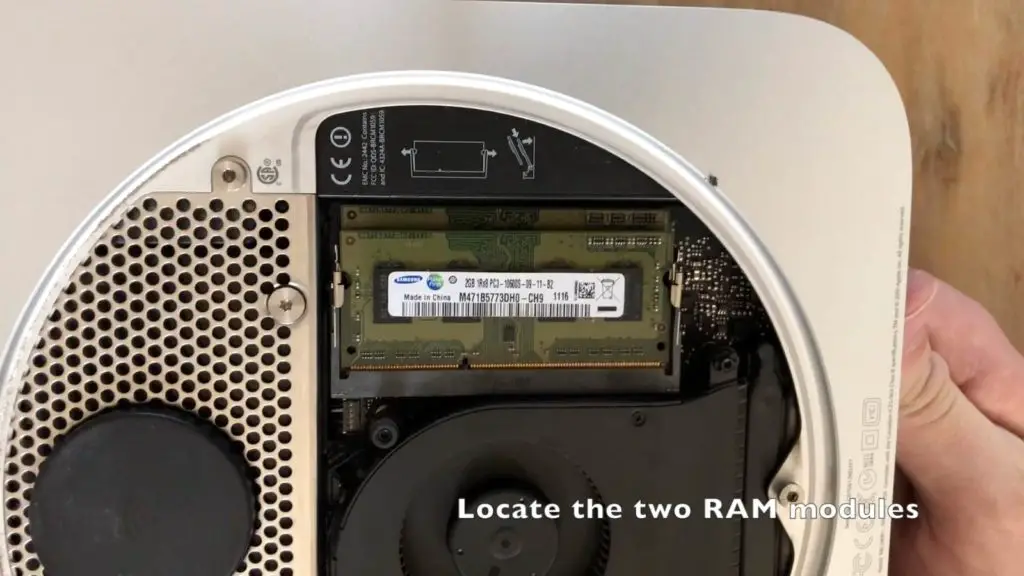
Locate the two green RAM modules. They are stacked one underneath the other.
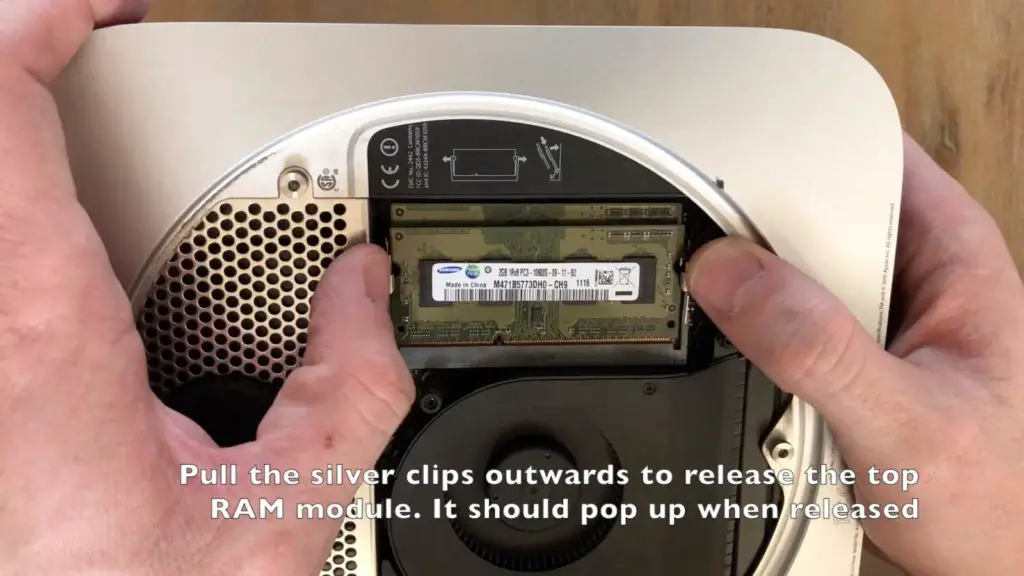
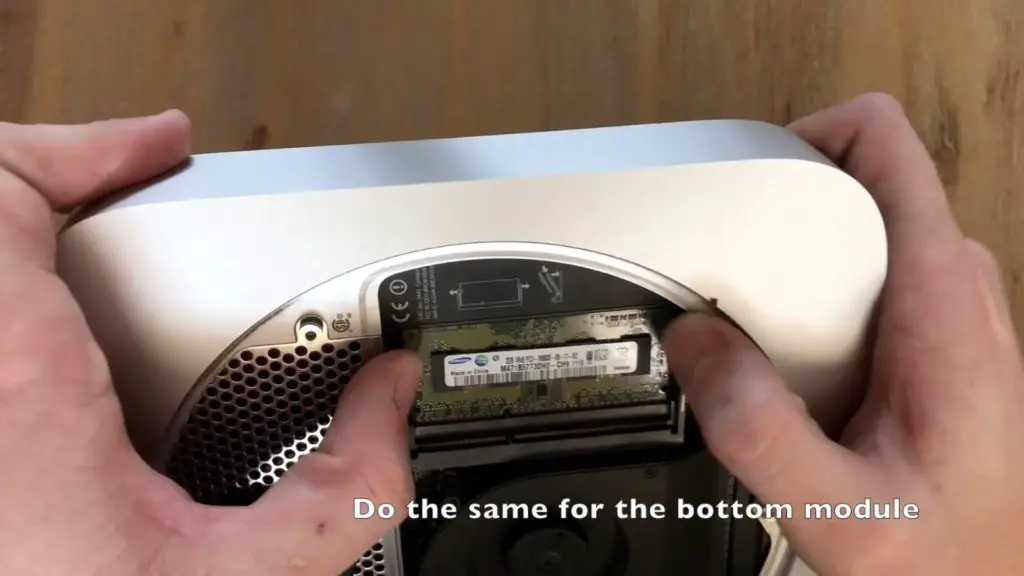
Pull the silver clips on the sides of the top module outwards and the top module should pop up.
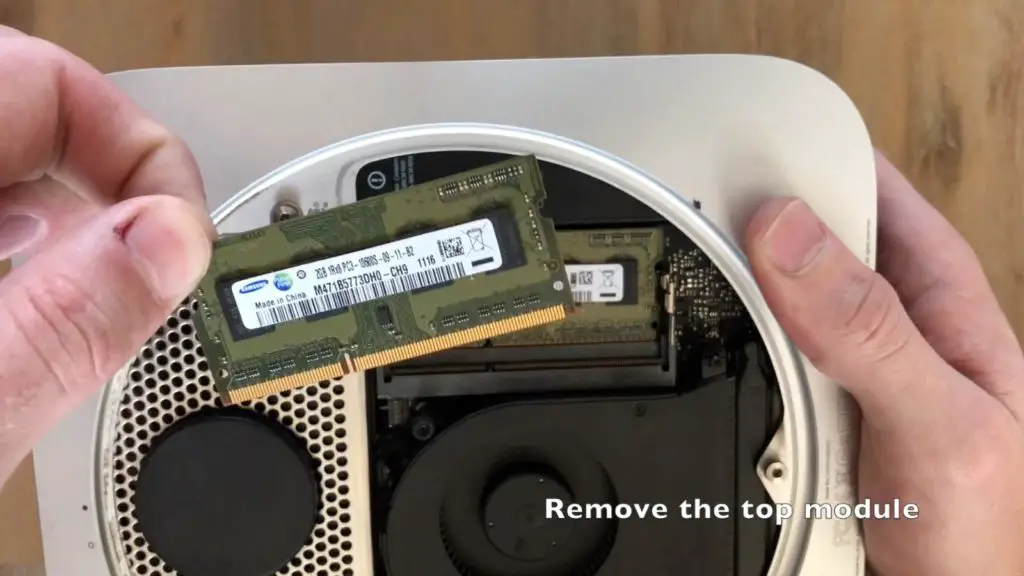
Pull the top module out of its slot.
Repeat the same process for the bottom RAM module, it is a bit more difficult to get your fingers onto the clips as there is less space around the module.
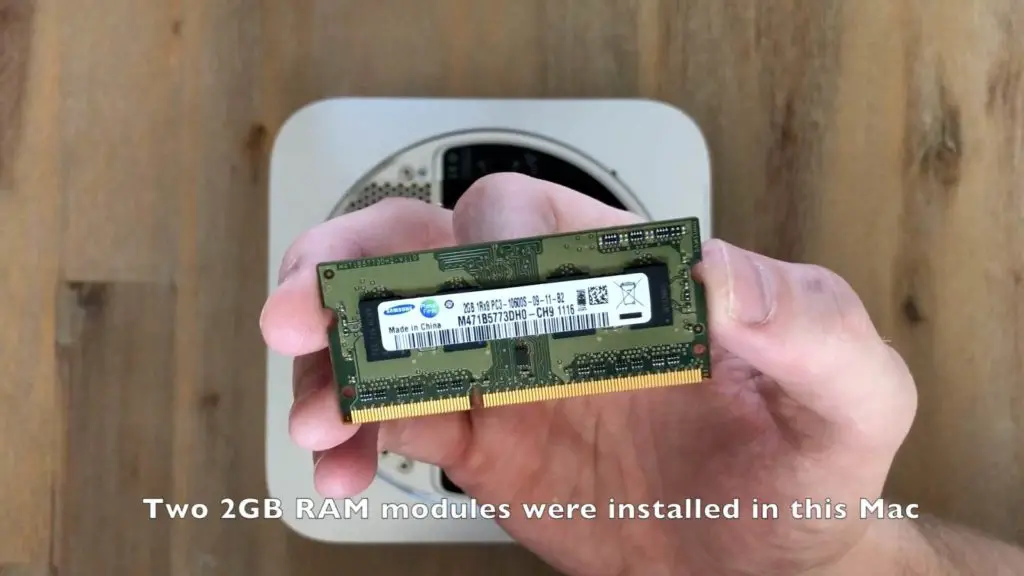
This mid 2011 Mac Mini Server had 2 x 2GB modules installed.
Now you can insert your new modules. Start with the bottom one. press the gold pins into the slot first and then press down on the top of the module until it clicks into place. The silver clicks should then be holding it down firmly.
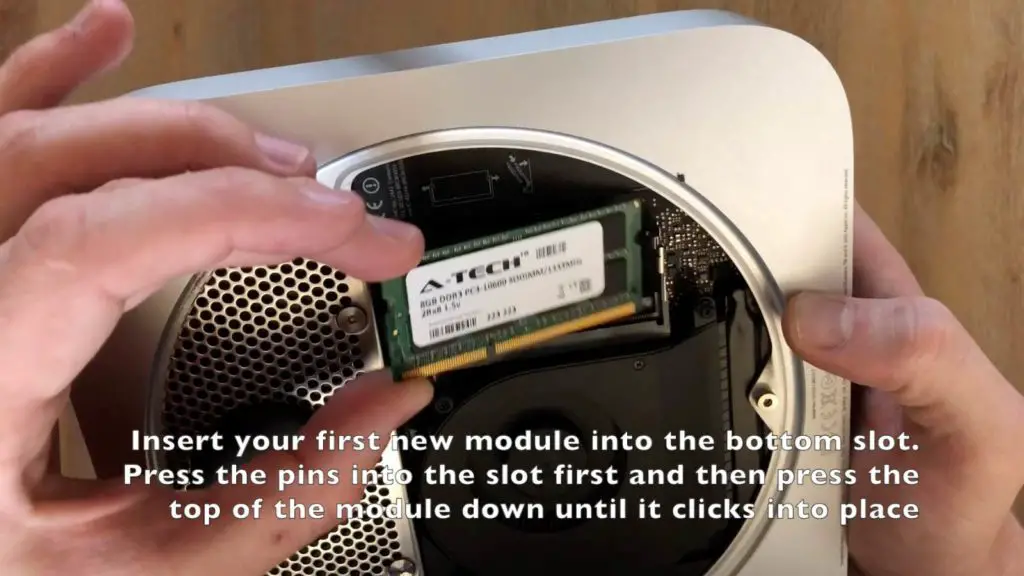
Your new module is seated correctly if the top of the gold pins align with the top of the black slot and the clips are both snug and secure around the module.

Install the second module in the same way, push the pins into place first and then push the module down until it clips into place.

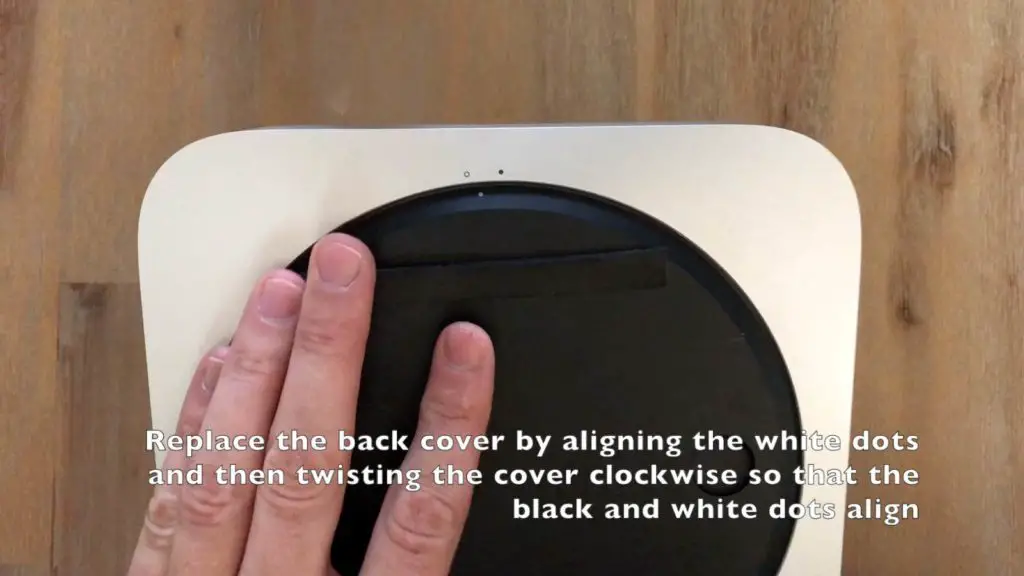
Replace the black bottom cover by aligning the two white dots, seating the cover correctly and then twisting it clockwise so that the black and white dots are aligned.
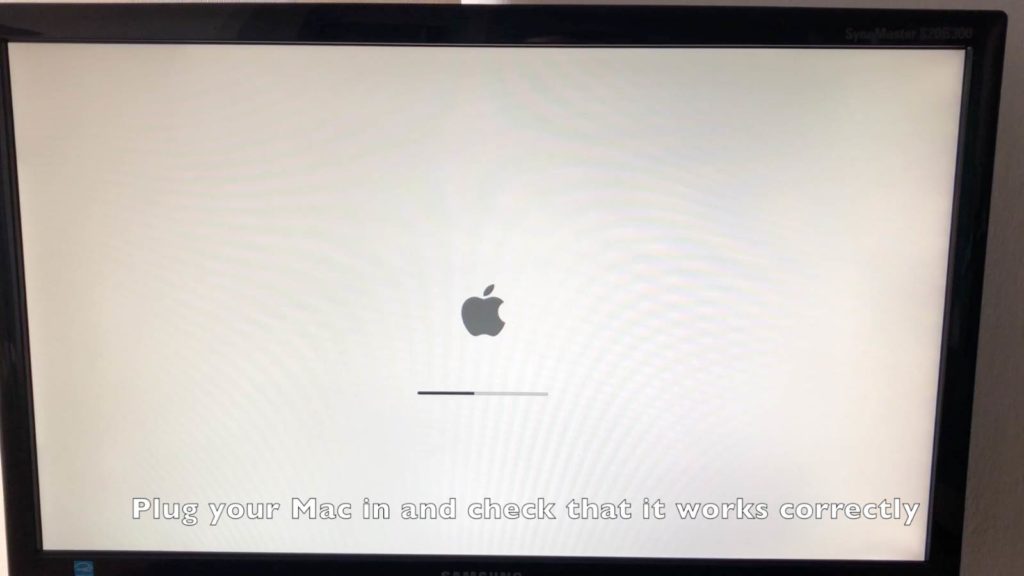
Plug all of your peripherals back in and power up your Mac Mini to check that it is working correctly.
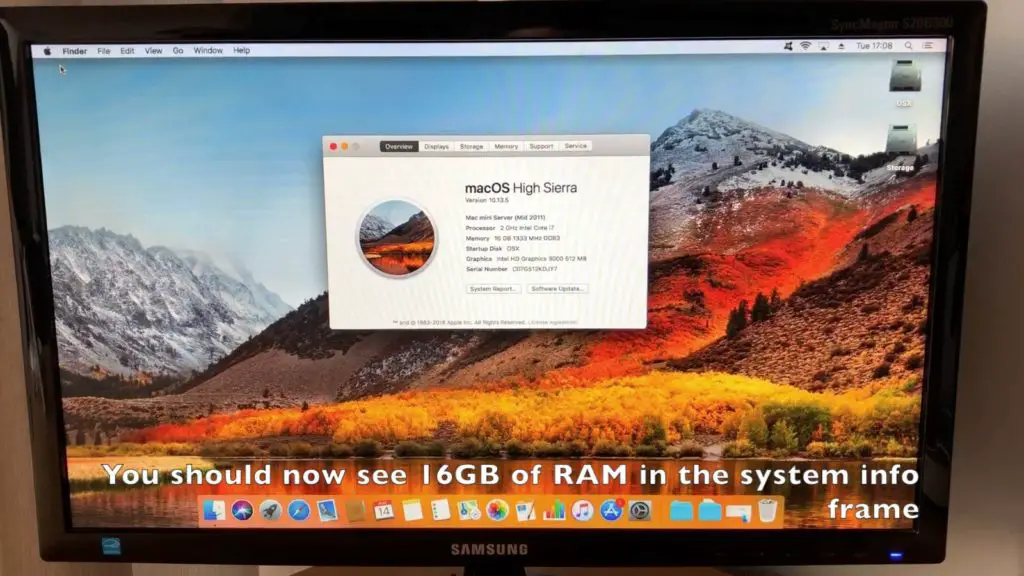
If you click on the Apple menu and then About This Mac, you should see a window which shows that you now have 16GB of RAM installed.
You should see a substantial speed increase especially in the load times of programs and switching between tasks or programs when multitasking.
Have you done this upgrade to your Mac? How did it go for you? Let us know in the comments section below.
Hi, i just did the above – But my Mac Mini only sees the two RAM modules as 4 Gb ….. any ideas ?
Hi Christian,
Do you know what model Mac Mini you’ve got? My only other suggestion would be to try reinsert the RAM modules and see if that makes any difference.