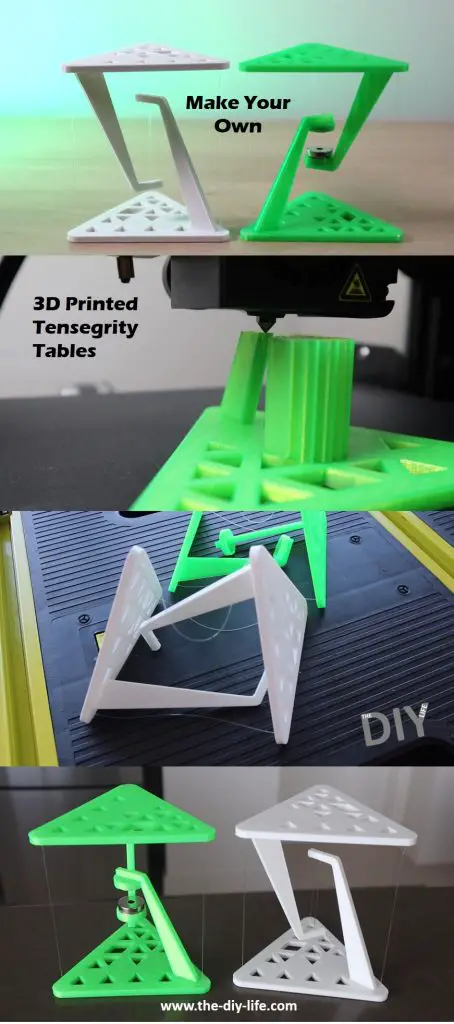
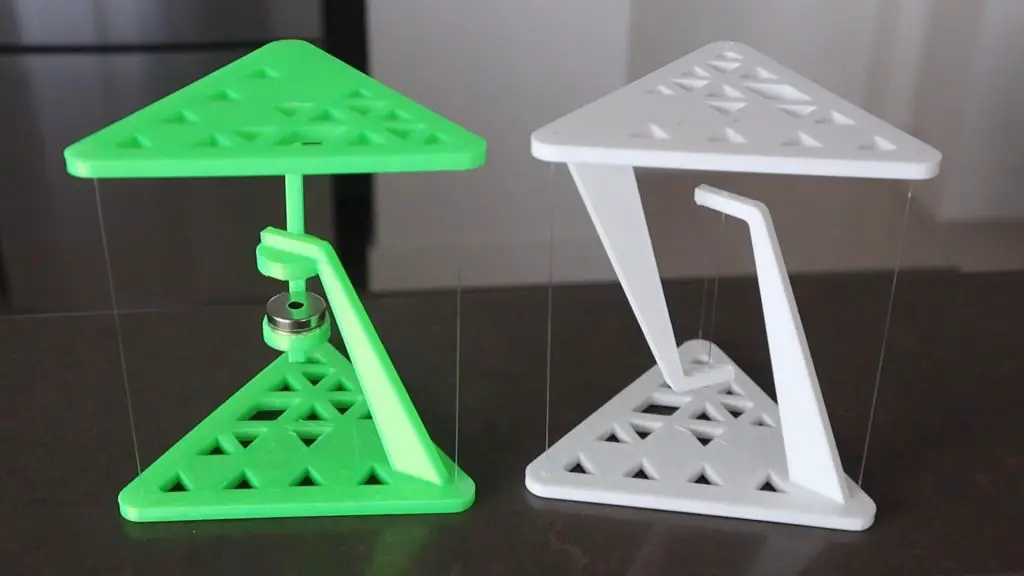
I made a laser-cut desktop tensegrity table set a few weeks ago and since then a number of people have asked for a similar 3D printable version. Have a look at those tables if you haven’t already. I made two designs, one which uses fishing line as the center support and another which uses two magnets. I’ve converted both of them into 3D printable parts as more people have 3D printers at home than access to a laser cutter.
The tables look like they’re floating, but they’re actually a clever demonstration of the principle of tensegrity. The principle of tensegrity originated in the nineteen fifties and is still used in the design of modern buildings and structures. The world’s largest tensegrity structure is currently the Kurilpa Bridge in Brisbane, Australia.
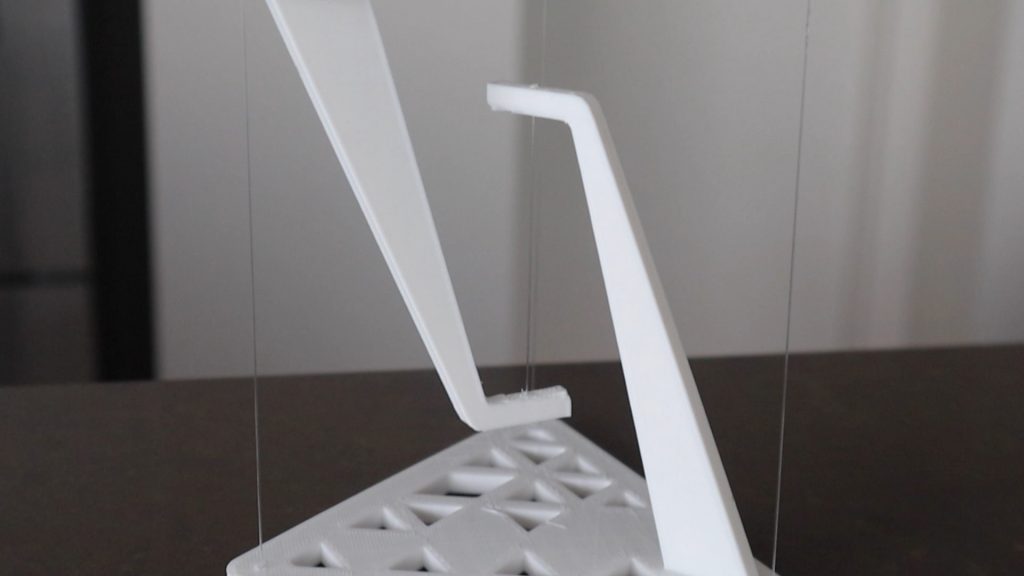
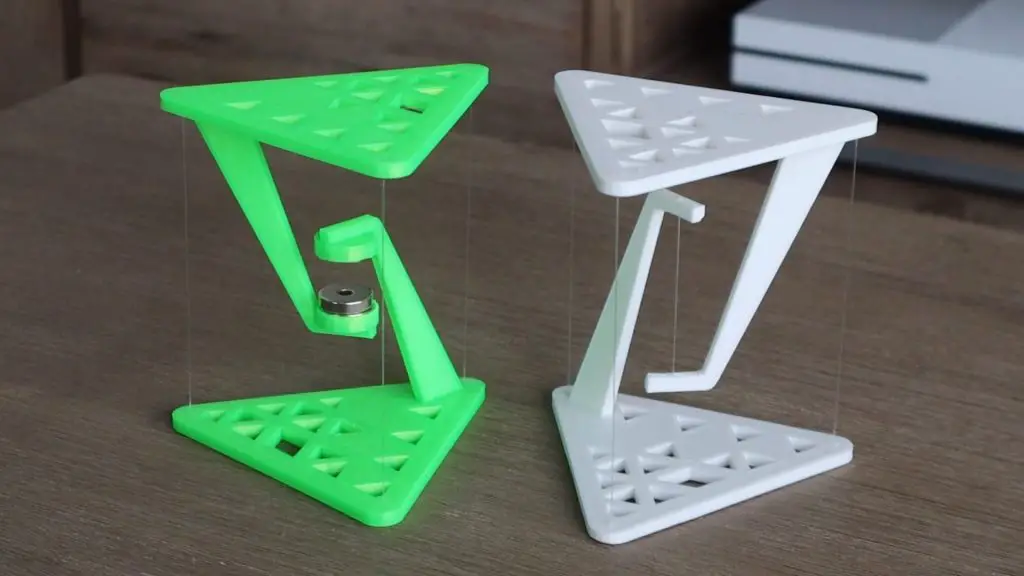
When you first look at them, it appears that the top surface is being supported by the three outside pieces of fishing line, but taking a closer look, you will see that the line doing all of the work is actually the one in the centre. The piece of fishing line in the centre of the structure is in tension and is supporting the load of the surface of the table and whatever is placed onto it. The three pieces of line on the outside are simply holding the top surface in place so that it remains directly overhead the centre line and doesn’t fall over. If any of these four lines are cut, the table will collapse under its own weight.
Here’s a video of the build, read on for the full step by step build instructions.
What You Need To Make Your 3D Printed Tensegrity Tables
- White PLA Filament – Buy Here
- Green PLA Filament – Buy Here
- Clear Fishing Line – Buy Here
- Neodynium Magnets – Buy Here
- Super Glue – Buy Here
You’ll also need a 3D Printer,
- Creality Ender 3 Pro used in this guide – Buy Here
How To Build The Tables
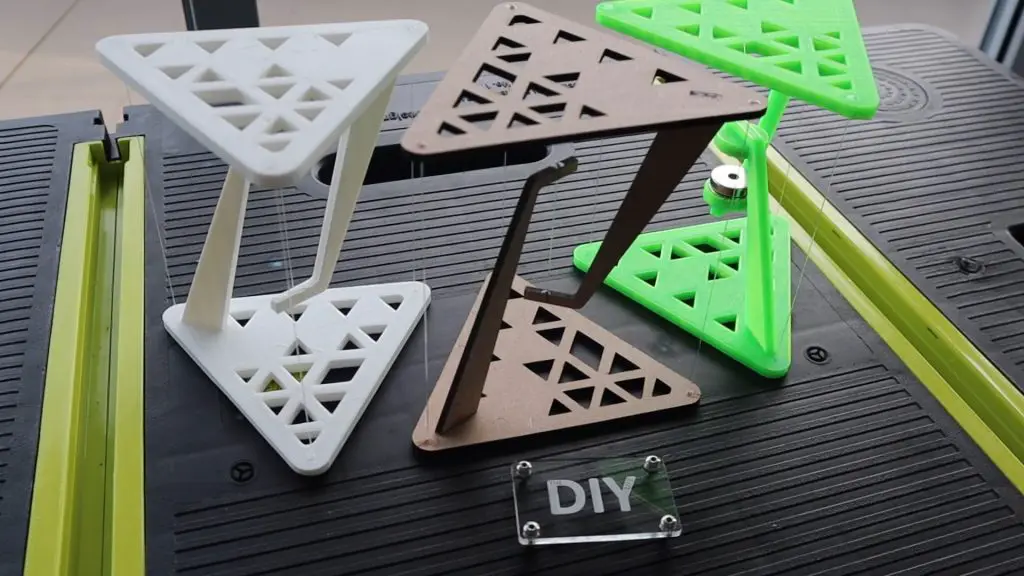
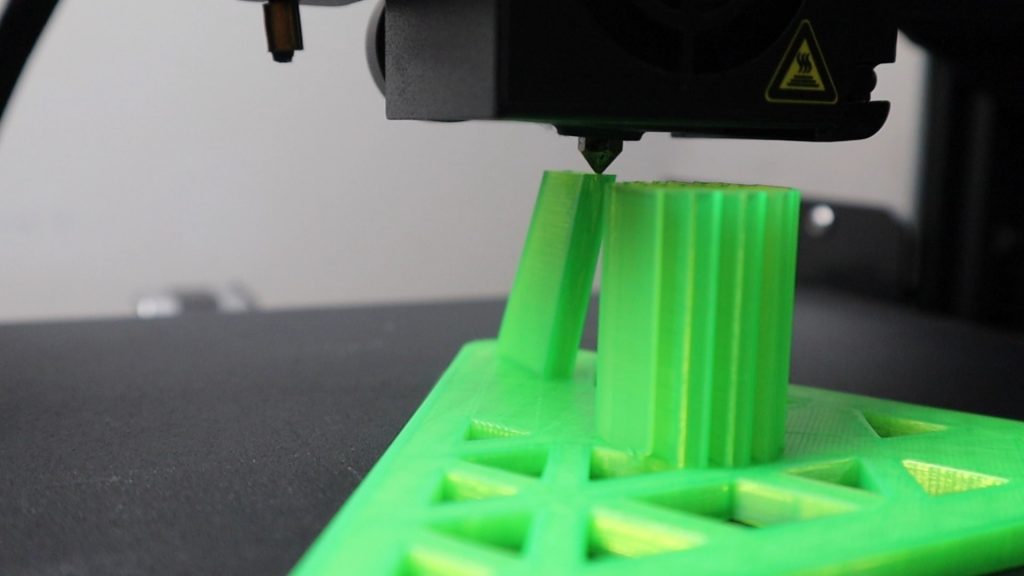
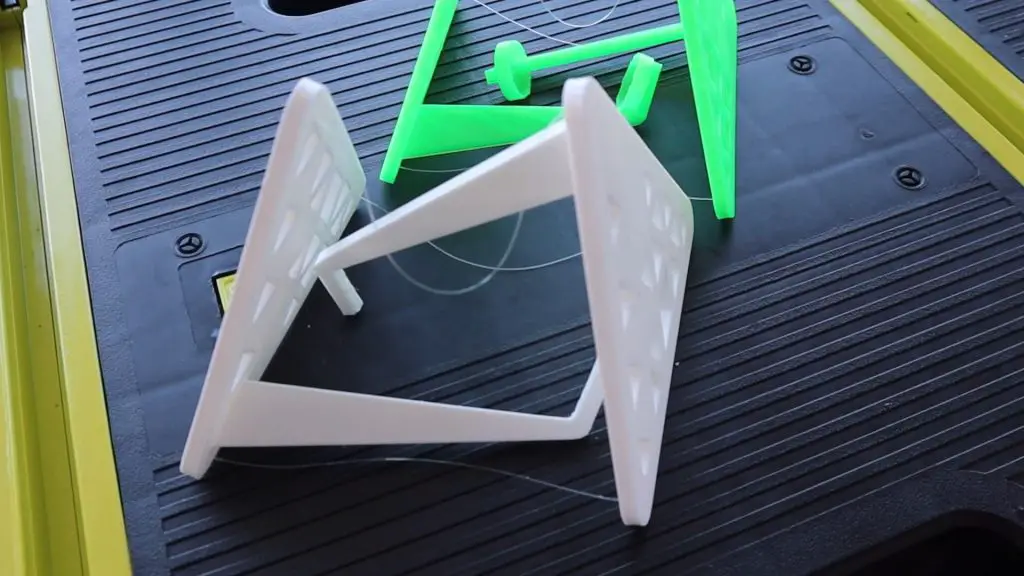
To start off, you’ll need to 3D print the table parts.
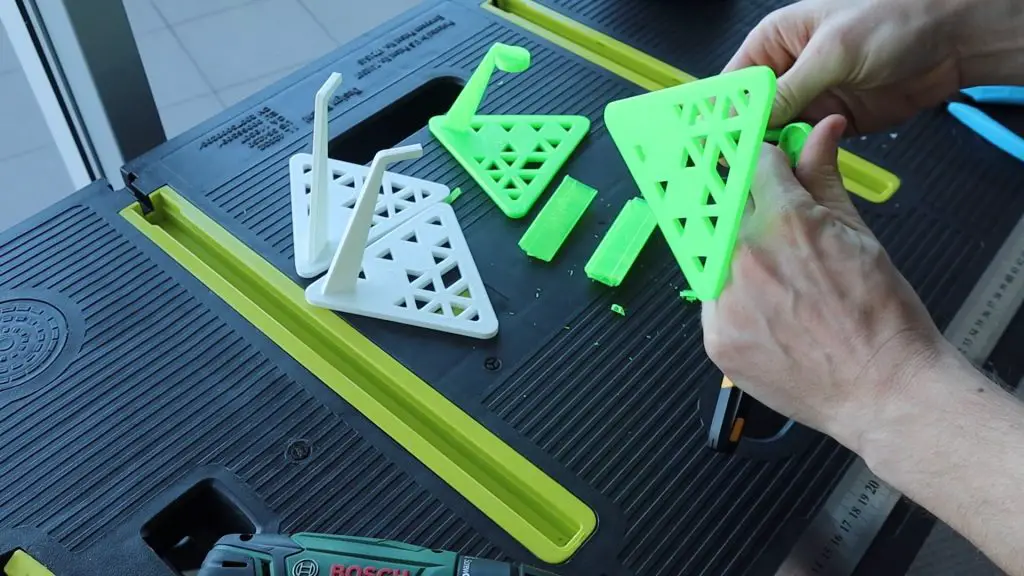
For each version, there are two print options. One which is a print in place model which requires some support structure to be printed to support the overhanging arm.
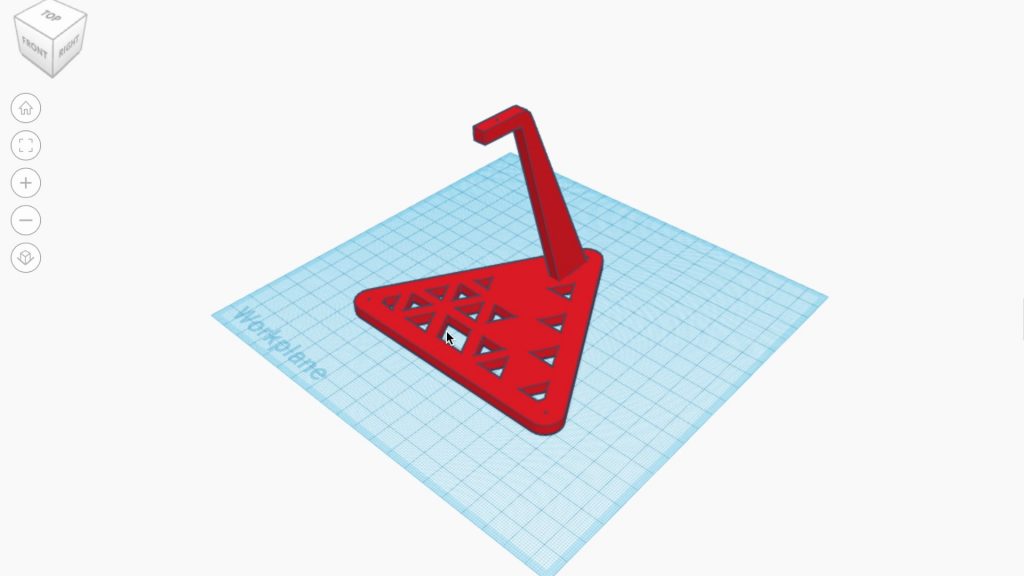
Then another flat version which allows the table surface and the arm to be printed separately and then glued together. If you choose this option then you’ll need to simply clean up the edges and then glue the arm into the slot.
Print the models using PLA or ABS and a 15-30% infill.
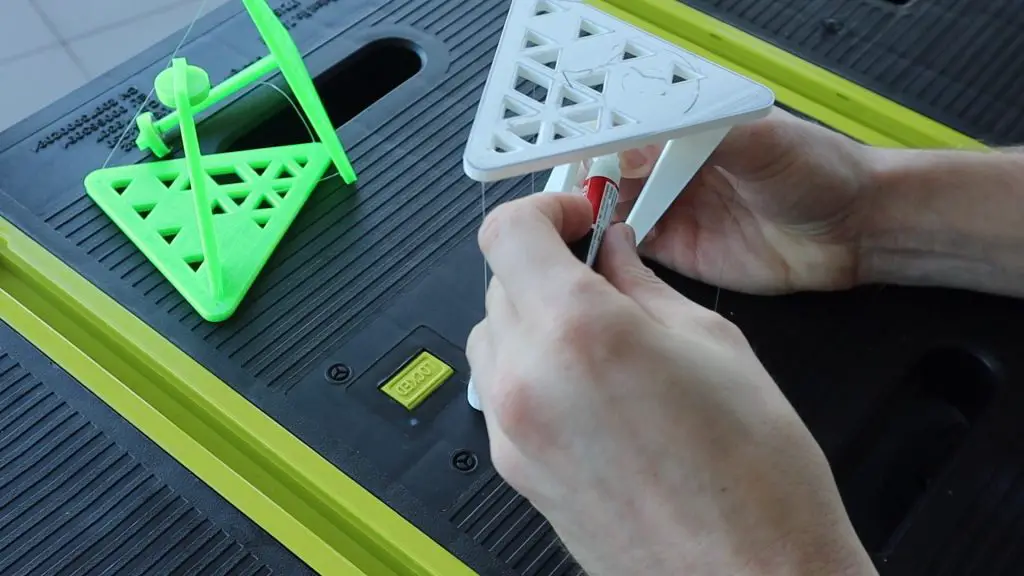
Once your models are printed, remove the supports and clean up any excess print material.
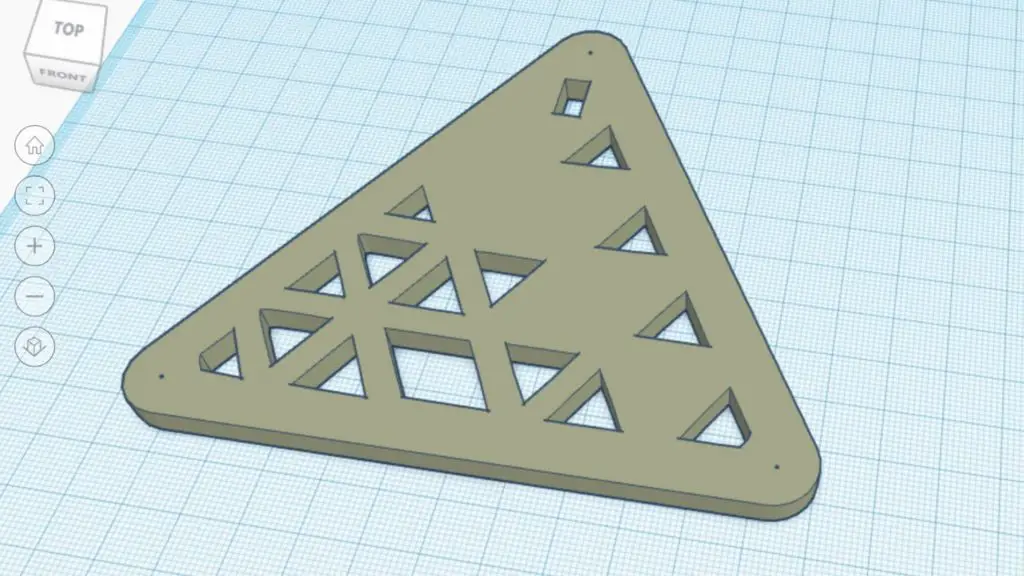
I’ve added a 0.5mm hole in each corner of the table surfaces for the fishing line. Your 3D printer probably won’t be able to print these accurately enough to use right away but at least the slicing software will add the necessary walls in the area so that you can clean up the holes with a 0.5mm or 1mm drill bit, depending on your fishing line diameter.

I used fishing line because it doesn’t fray and it’s a bit more rigid than cotton or string, so it’s easier to thread through the holes.
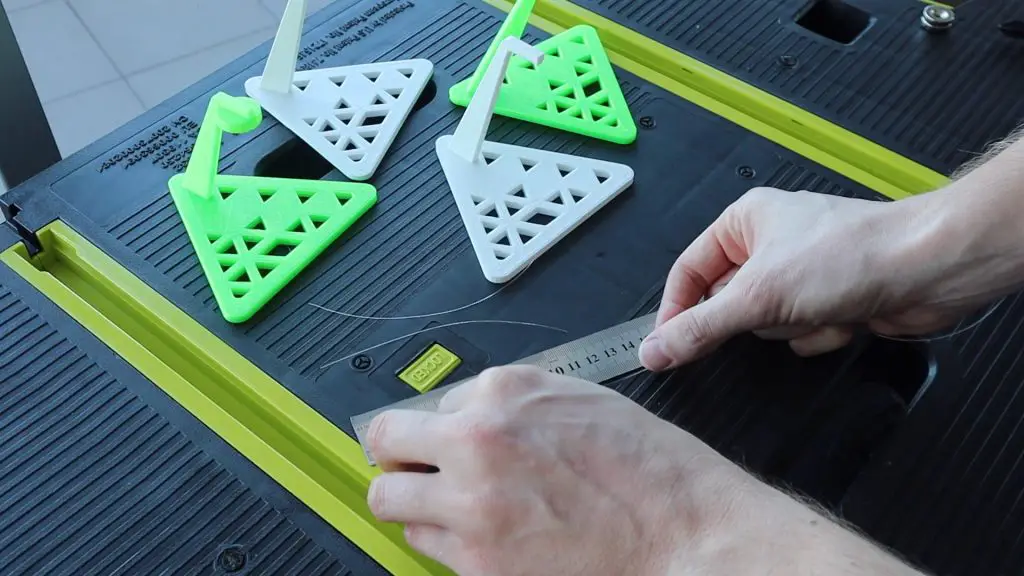
Cut four lengths of fishing line, one around 8-10 cm long and another three of exactly the same length, around 12 to 13cm. If you’re using knots instead of glue then cut them a bit longer to allow for the knots.
Start by gluing the three longer pieces into either the top or the bottom table end.
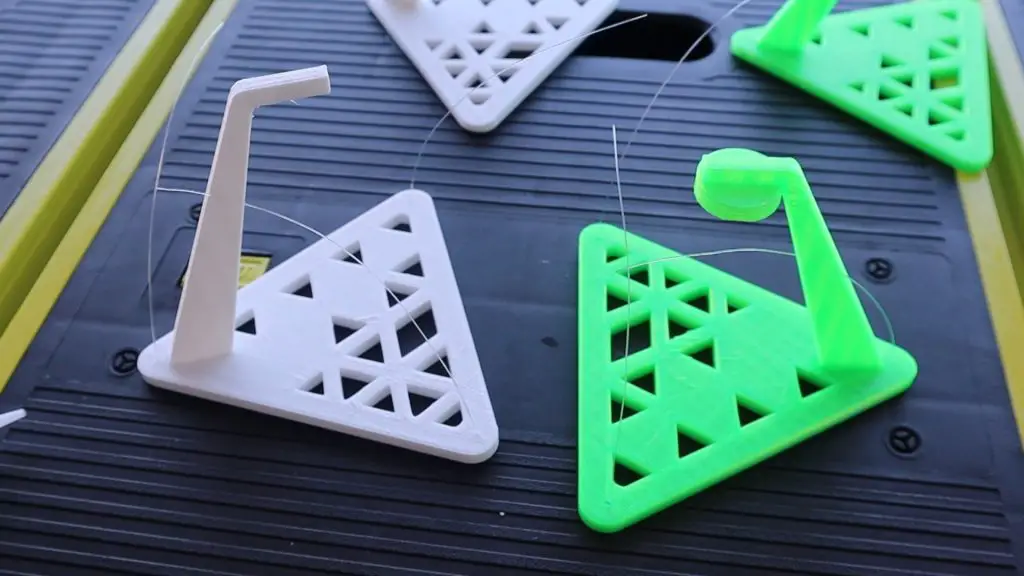
Next, glue them to the second half, making sure that they’re exactly the same length on each of the three sides. This part is more difficult if you’re knotting the line.
Then glue the centre line into place to pull on the three outside lines and hold the table up. It should be tight enough that the table stands without feeling loose or wobbling around but not too tight that the ends of the table bend.
Once you’re happy with your table, trim any excess fishing line and make sure that the glued joints are secure and dried.
If you’re using magnets, glue the outside three lines into place at the correct and even length and then add the magnets to the middle afterward with opposite poles facing each other.
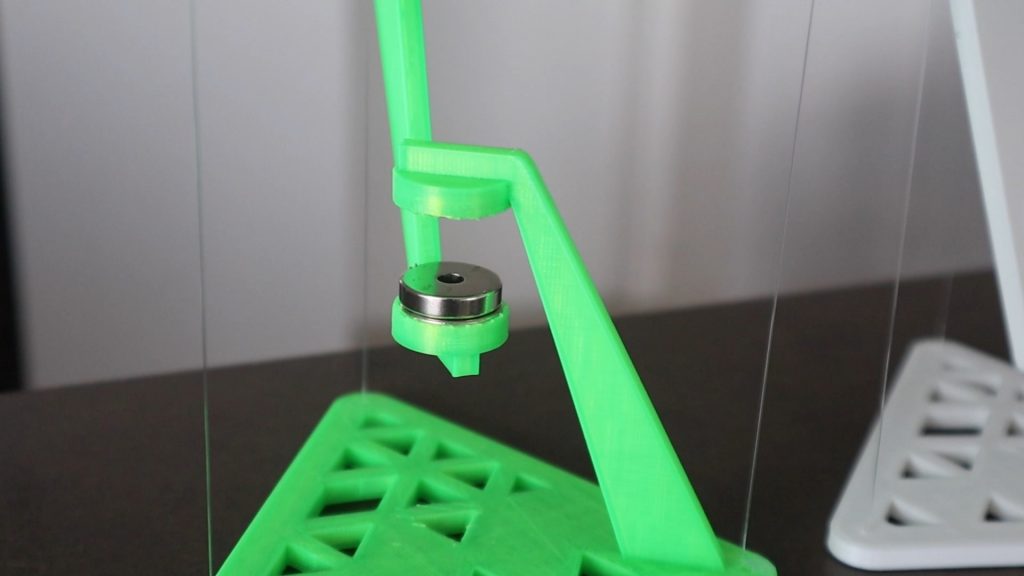
The magnetic table can’t really hold much weight, but you could get more by positioning the magnets closer together. There is a bit of a tradeoff here though because if they’re too close together then you can’t see the gap between them well and then it just looks like the magnets are rigidly holding up the tensegrity tables.
I tested the fishing line table in my previous guide, to see if it could hold up my phone. It held up around 200 grams but the outside lines did start flexing, so it probably couldn’t take too much more than this.
Enjoy making your own tensegrity tables. Let me know how it goes in the comments section below.
Share This Guide