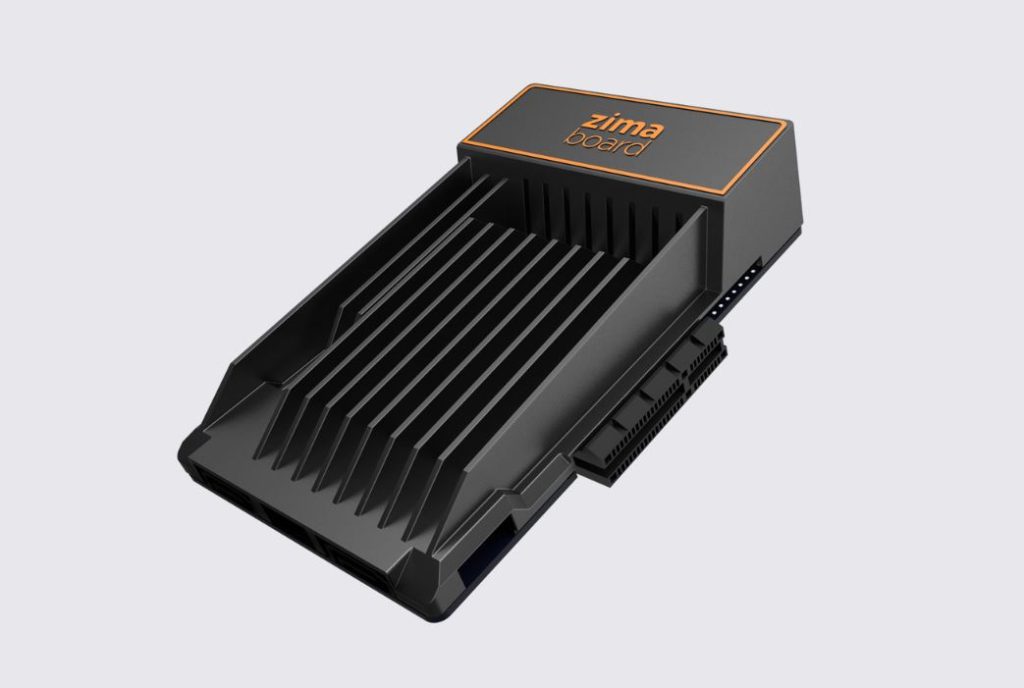
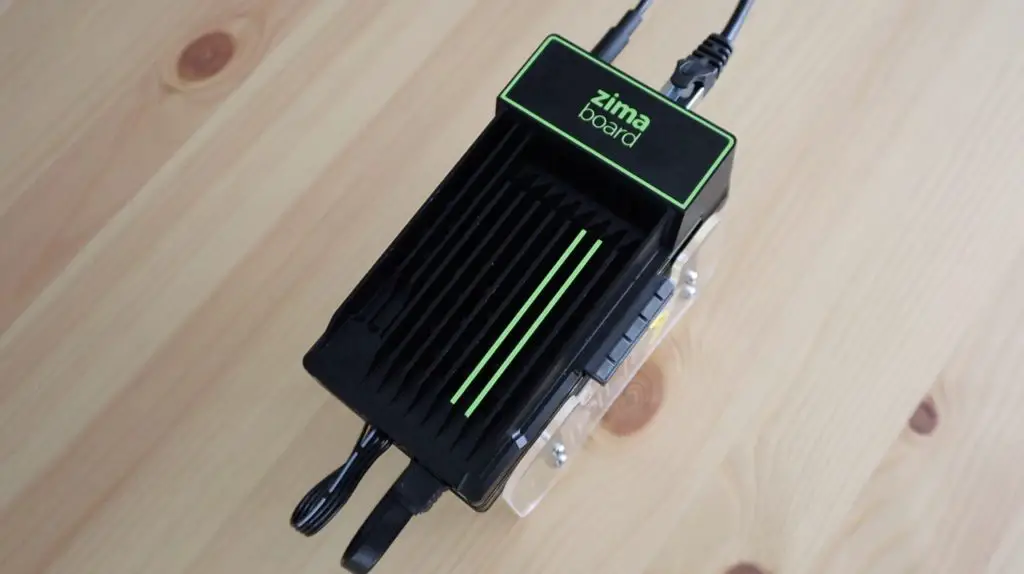
In this project, we’re going to be making a Mini Plex Server with SSD storage using a ZimaBoard. If you haven’t heard of a ZimaBoard before, it’s a low-cost, feature-rich single board server – we’ll take a look at some of its features once we get it unboxed.
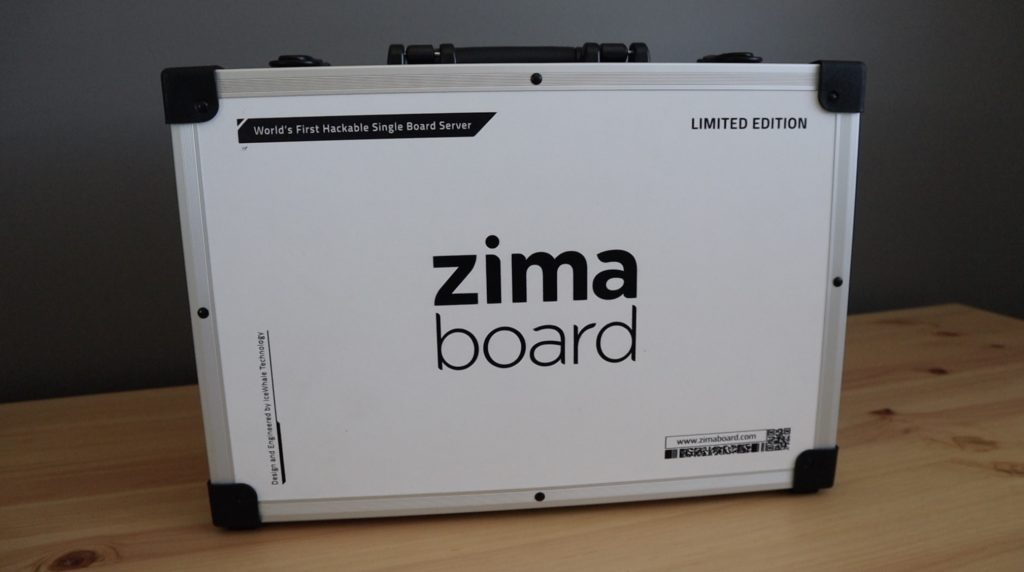
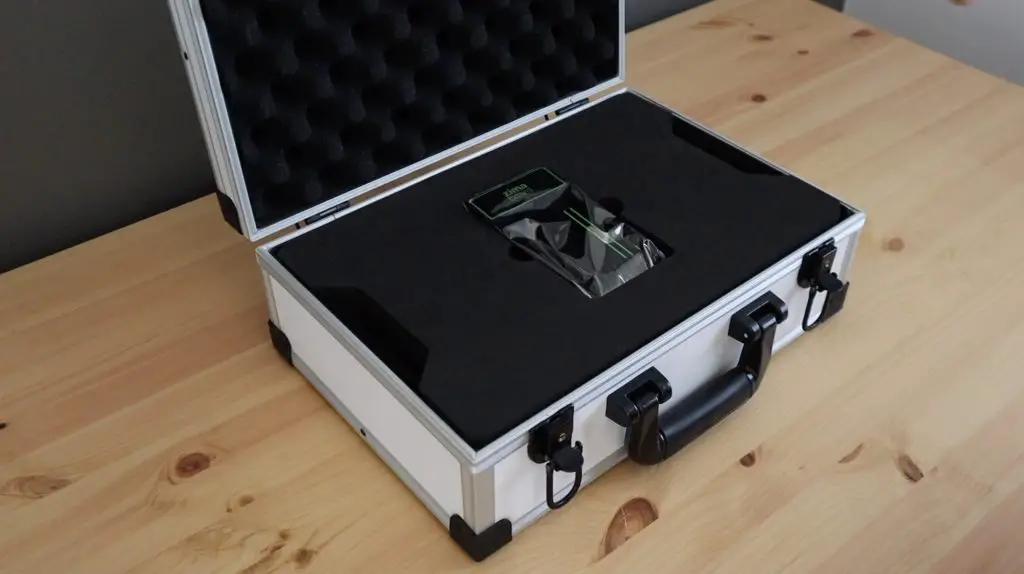
This is a limited edition set that was sent to me by Seeed Studios to try out and share with you. It comes in this awesome branded case with the components all packaged and protected with foam cutouts.
Take a look at the video of my build, or read on for the written instructions. The video is particularly helpful for the software setup.
What You Need To Make Your Own Mini Plex Server
- ZimaBoard 832 Single Board Server – Buy Here
- Kioxia 480GB SSD – Buy Here
- 3mm Clear Acrylic – Buy Here
- M3 Screw Set – Buy Here
Equipment Used:
- Creality Ender 3 V2 3D Printer – Buy Here
- K40 Laser Cutter/Engraver – Buy Here
- Electric Screwdriver Set – Buy Here
Some of the above parts are affiliate links. By purchasing products through the above links, you’ll be supporting my projects, at no additional cost to you
Unboxing The ZimaBoard Limited Edition Set
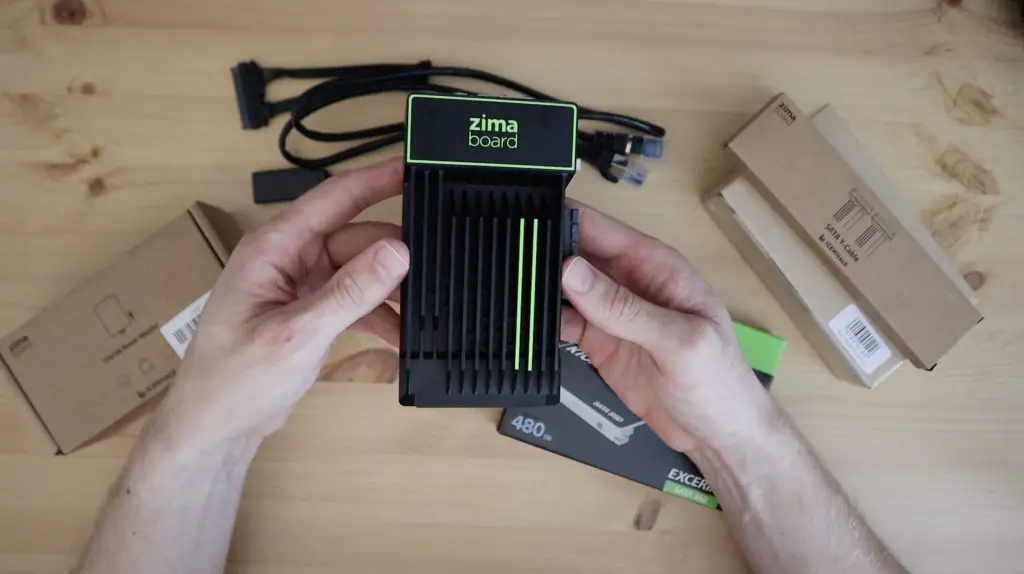
The box is divided into two layers, each with foam cutouts. On the top layer, we’ve got the Zimaboard 832 single-board server.
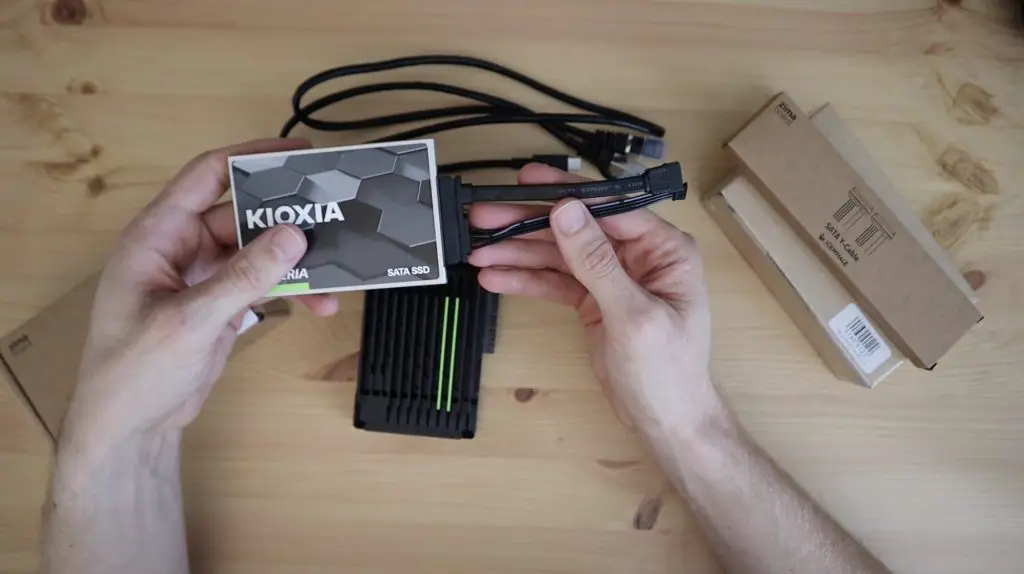
On the layer underneath it is a Kioxia 480GB SSD, a 12V power supply, a PCIe adaptor, a SATA Y splitter, a SATA cable, an Ethernet cable and a Mini DisplayPort to HDMI adaptor.

The Zimaboard runs a quad-core Intel CPU, and it’s x86 architecture means that it can run a wide range of operating systems, including Linux, Windows and Android. There are three variants of this board, the one included with this set is the most powerful 832 varient. This board has a 4 core Celeron Apollo Lake processor that runs at 1.1Ghz, with a 2.2Ghz burst frequency. It also has 8GB of LPDDR4 RAM and 32GB of onboard eMMC storage.
The full specifications for the ZimaBoard 832 and other variants are available from their website.
Its a fanless design with a dual purpose housing and heatsink on the top and a gloss acrylic bottom. What separates this board from other similarly sized single board computers is the inclusion of a PCIe 2.0 x 4 slot and two SATA ports. On the opposite side to the SATA ports are two USB 3.0 ports, two Gigabit Ethernet ports, a Mini DisplayPort and the power input. So you’ve got a lot of options for connectivity and peripherals.
One thing to mention is that it doesn’t have WiFi connectivity, so you’ll need to use a dongle if you’re not planning on using a wired connection.
The included SSD is a 480GB Kioxia 2.5” SATA drive, which the included SATA cable plugs into. The included SATA cable looks like a proprietary cable with a unique power plug, but it seems to be included in the individual board packages as well.
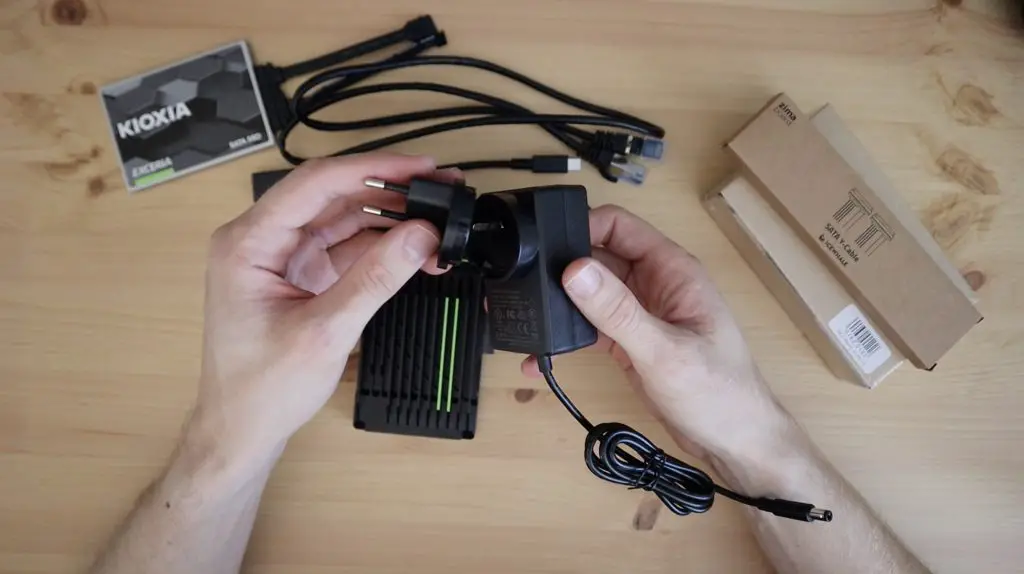
The 12V, 3A power adaptor can deliver up to 30W, so there is plenty of power available for storage drives and USB devices as well. It also includes a couple of different wall adaptor options to suit different countries.
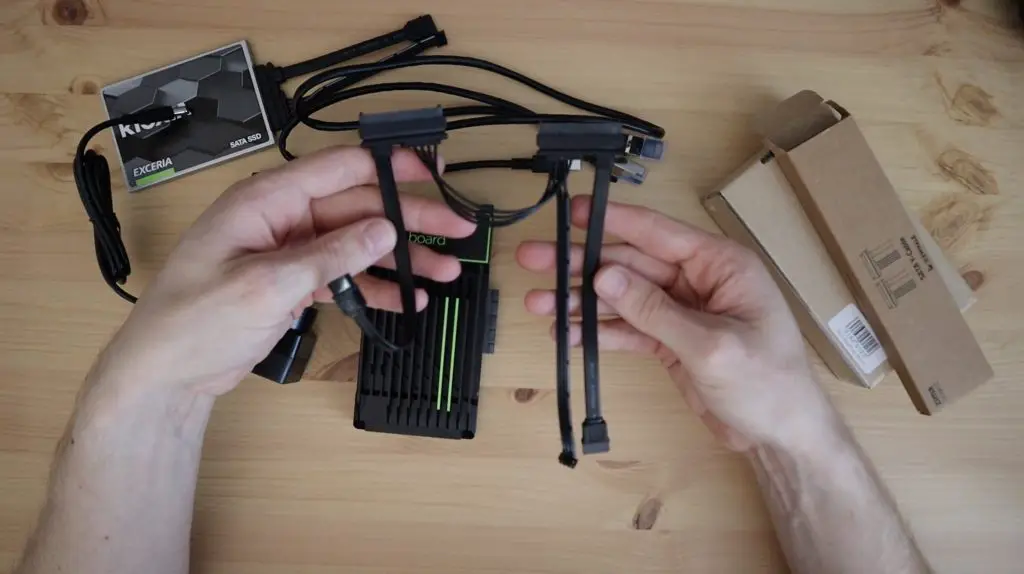
The SATA Y splitter allows you to power two SATA drives from the single power supply on the Zimaboard.
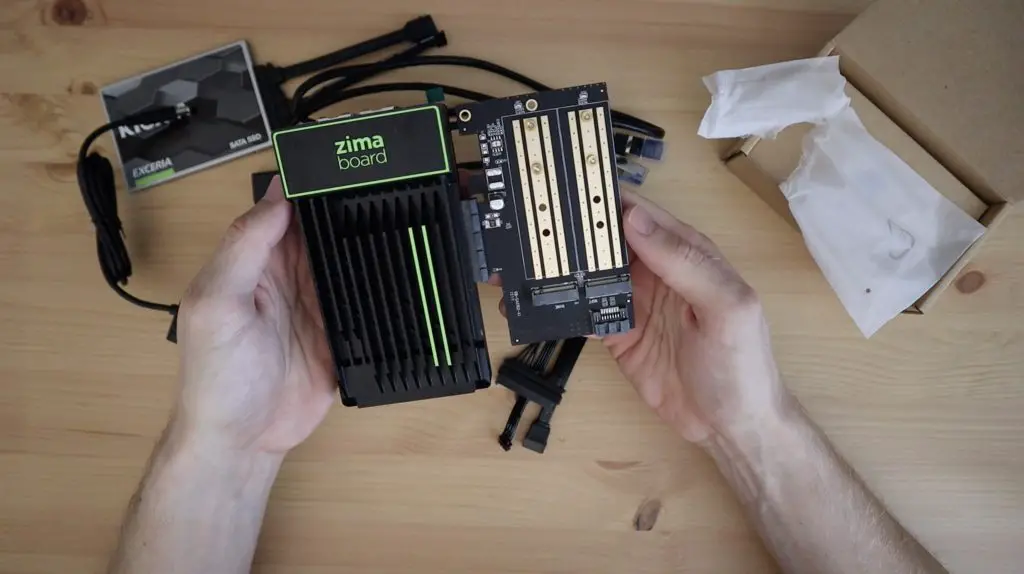
Then lastly, the included PCIe adaptor allows you to connect an M.2 NGFF or NVME drive to the board. It would have been nice to have a way to “secure” any PCIe cards to the ZimaBoard somehow, perhaps using the backplates provided for use with computer cases, but it’s great to have the option to use PCIe cards with the ZimaBoard.
So that’s a basic overview of the ZimaBoard and what’s included in the Limited Edition set, so let’s move on to setting up our Plex server.
Designing The Plex Server Stand & Making The Components
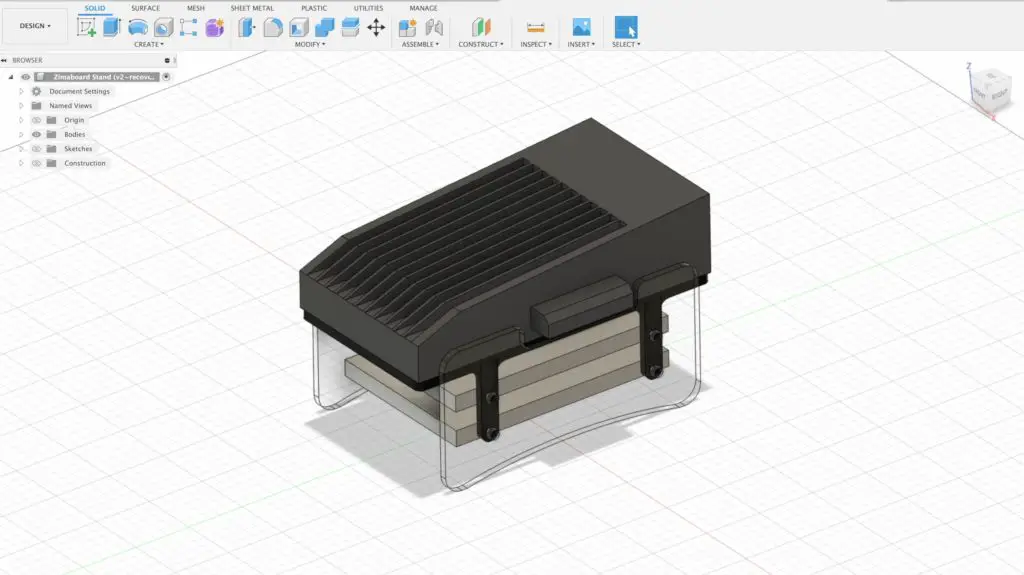
As usual, I don’t like having loose cables and drives lying around, so I’m going to start by designing a drive holder and stand for the Zimaboard to hold two 2.5” drives underneath the board. I did this in Fusion360.
The 3D printed stand picks up on the holes underneath the ZimaBoard to hold the acrylic sheets in place and then provides a bay for each of the 2.5″ drives. The screws that secure the drive to each bay will also be used to hold some clear acrylic side panels in place as a stand.
One side panel is notched at the top to clear the PCIe port on the ZimaBoard.
I’ll make the files for this stand available to my Patrons on Patreon if you’d like to make your own.
I’m going to 3D print the adaptor bracket in black PLA and laser cut the clear acrylic sides.
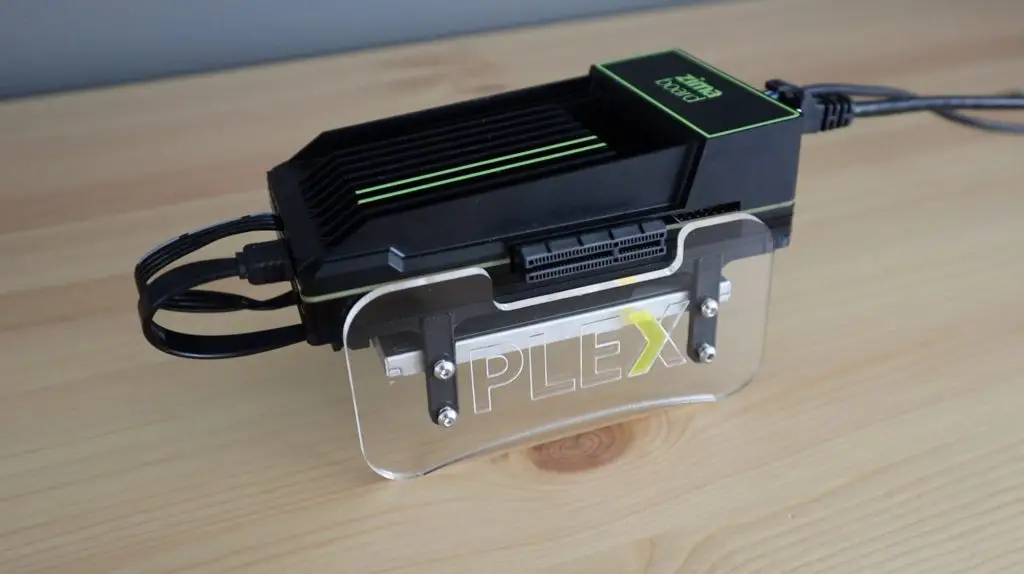
Since I’m going to be using it as a Plex server, I’m going to laser engrave the Plex logo onto the side and try to put a coloured insert into the acrylic for the orange part of the logo.
Let’s laser engrave and cut the side panels first.
Now we just need to cut two orange inserts for the section of the logo that I cut out. I cut these from a separate sheet of translucent orange acrylic.
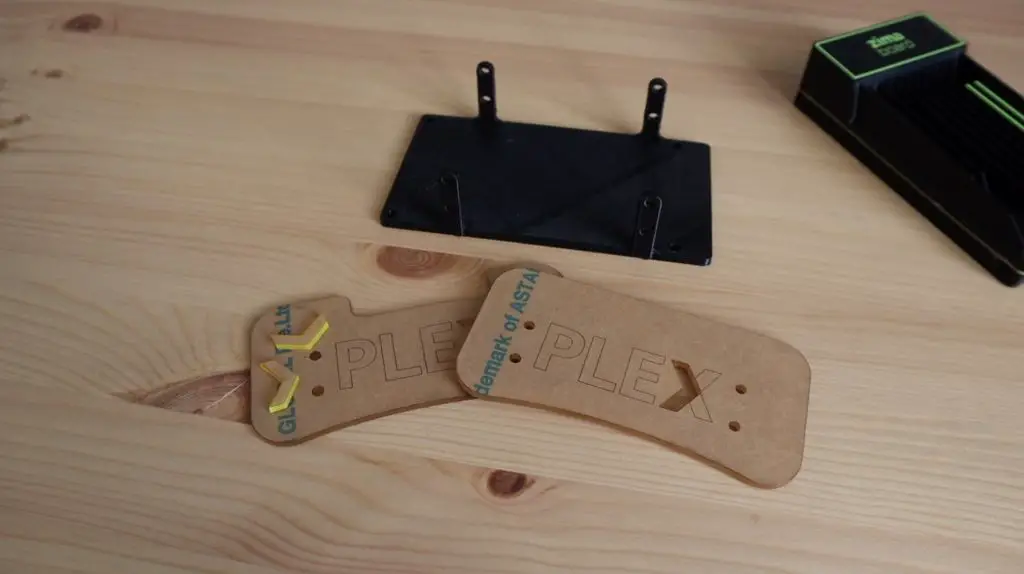
We can then add these to our 3D printed bracket, and we’re then ready to start assembling our Plex server.
Assembling The Mini Plex Server
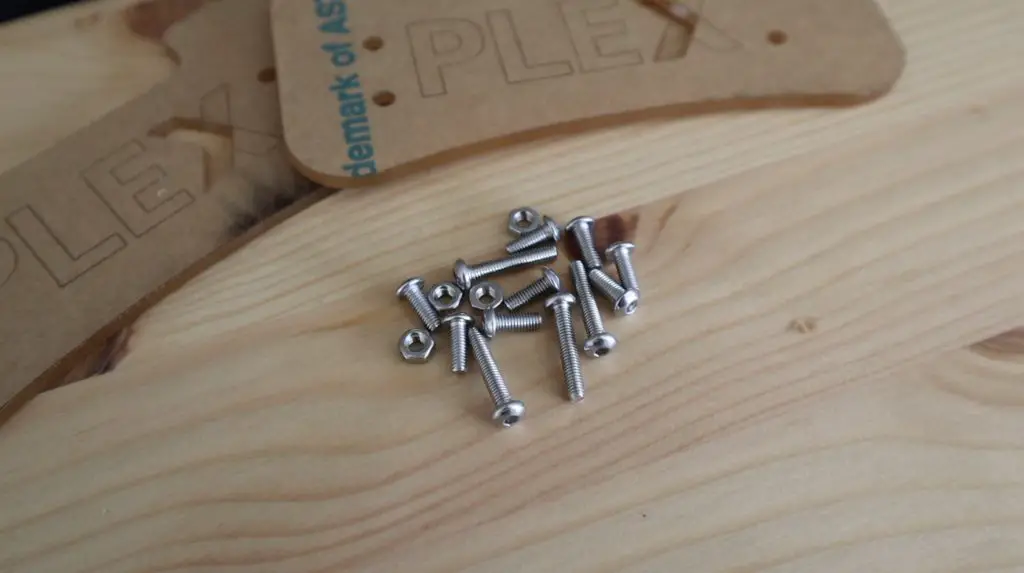
To assemble our Plex server, we’ll also need a couple of M3 screws and nuts.
I’ve put aside four M3x16mm screws to go into the Zimaboard and then eight M3x8mm screws for the drives. I’m using the four M3 nuts because I’m not installing a drive in the bottom bay for this build, so these will secure the M3x8mm screws in place of the second drive.
To finish off the side panels, we need to first glue the inserts into place. I’m going to do this with a drop of super glue along the top and bottom edges of each insert.
I’m not going to remove the protective film yet as this helps stop any glue or vapour from marking the acrylic.
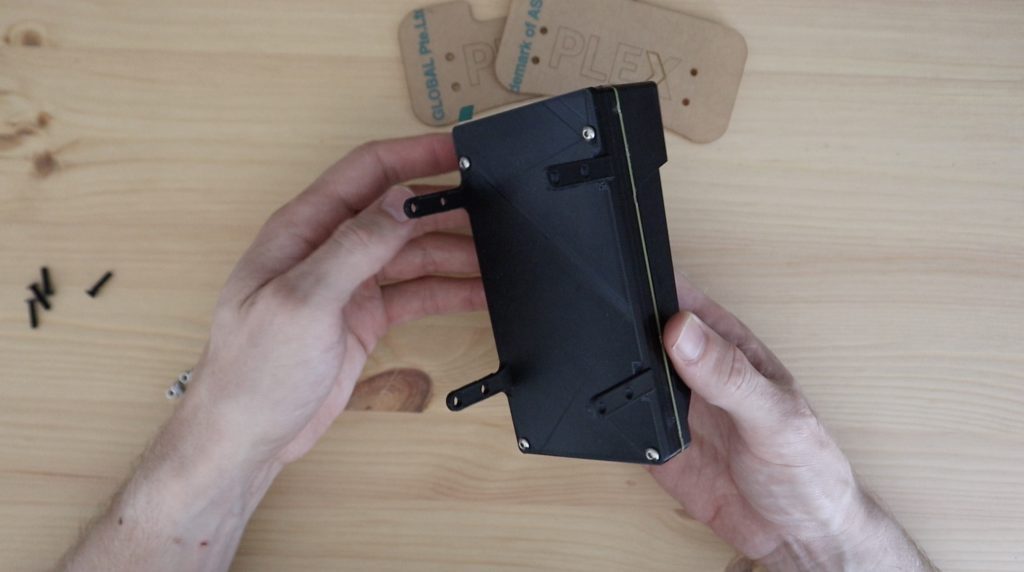
While the glue dries, let’s install the bracket onto the bottom of the Zimaboard.
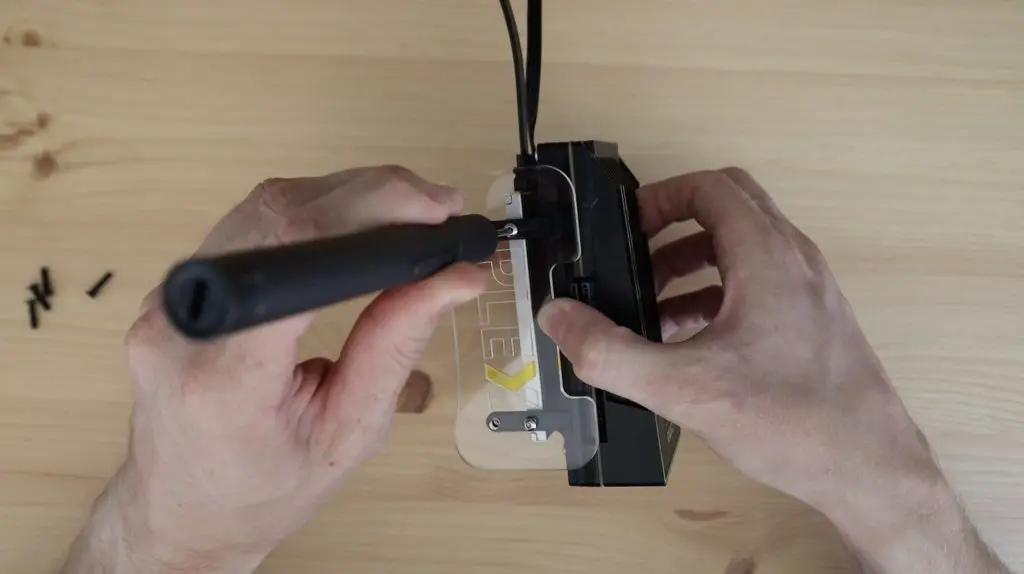
Start by removing the four black screws on the bottom of the ZimaBoard. Make sure that you hold the acrylic in place while you do so, else these layers will drop off. Keep the black screws in a safe place in case you want to remove the drive holder in future.

Place the stand onto the bottom of the Zimaboard, with the edges aligned with the board, and then replace the screws with the M3x16mm button head screws. These should just be long enough to get three to four turns into the board.
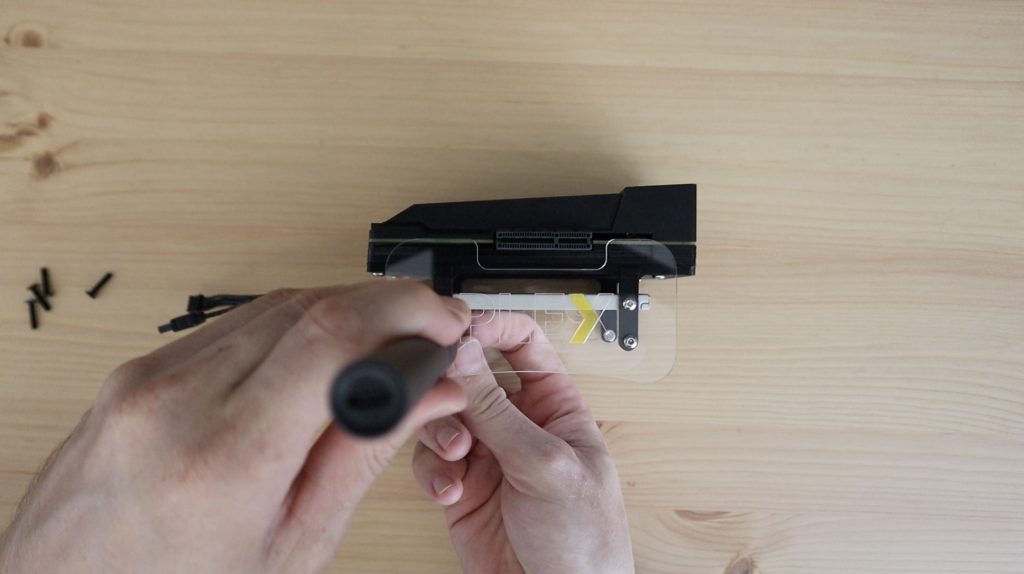
With the stand in place, we can now peel the protective film off of the acrylic panels so that we can install them.
The insert is a bit less orange than I would have liked, but it still looks quite good I think.
I’m going to use the top bay for the SSD so that I can easily add a second drive through the bottom in future if I’d like to.
The drive and panels are held in place using the M3x8mm screws, which screw into the SSD.
Now I’m going to add some M3x8mm screws and nuts to the bottom holes. This will give the side panels a bit more support and will close up the holes so that the finished assembly looks a bit neater.
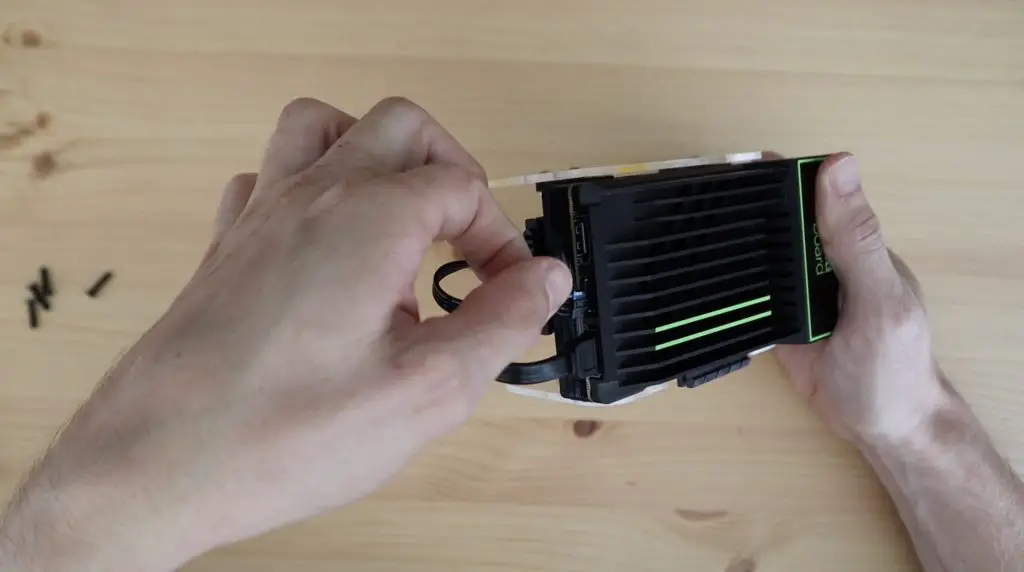
Now we just need to plug in our cables to finish it off.
For the SSD, I’m going to use the single SATA and power cable that came with the set. This can easily be replaced if a second drive is added in future.
On the opposite side, we need to plug in our power and Ethernet cables. You’ll also want to plug in your mini DisplayPort adaptor so that you can plug your ZimaBoard into your monitor or TV to configure it.
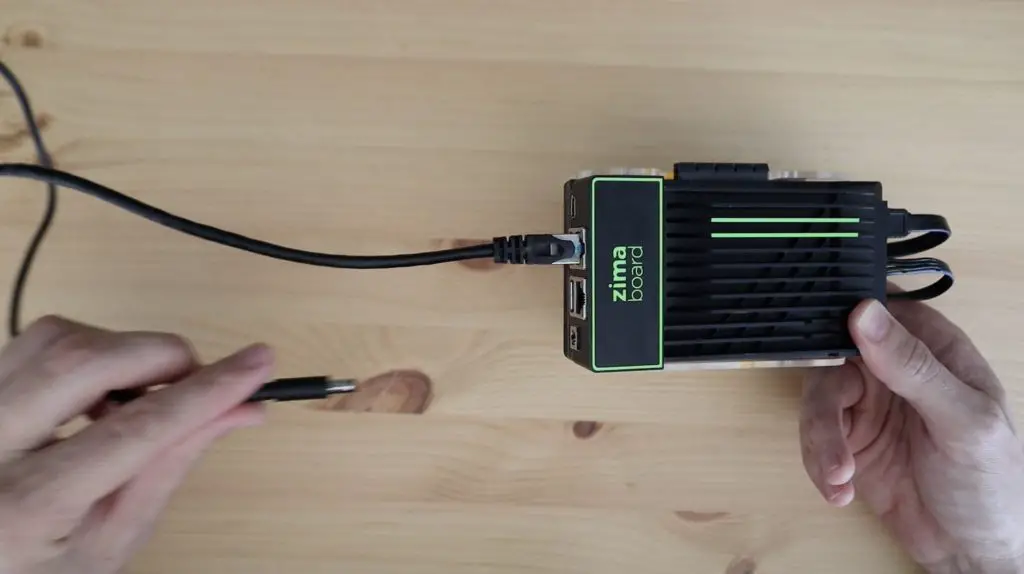
Our Plex server is now built, so we can move on to configuring it.
Booting The ZimaBoard For The First Time
The first time I booted the Zimaboard, it required a few updates, so I did those first. It comes preloaded with CasaOS, which is a software package by IceWhale that is built around the Docker ecosystem, but with a user-friendly web interface. Have a look at the CasaOS GitHub repository for some additional resorces on the package.
The default password is CasaOS and you’re then taken to the desktop.
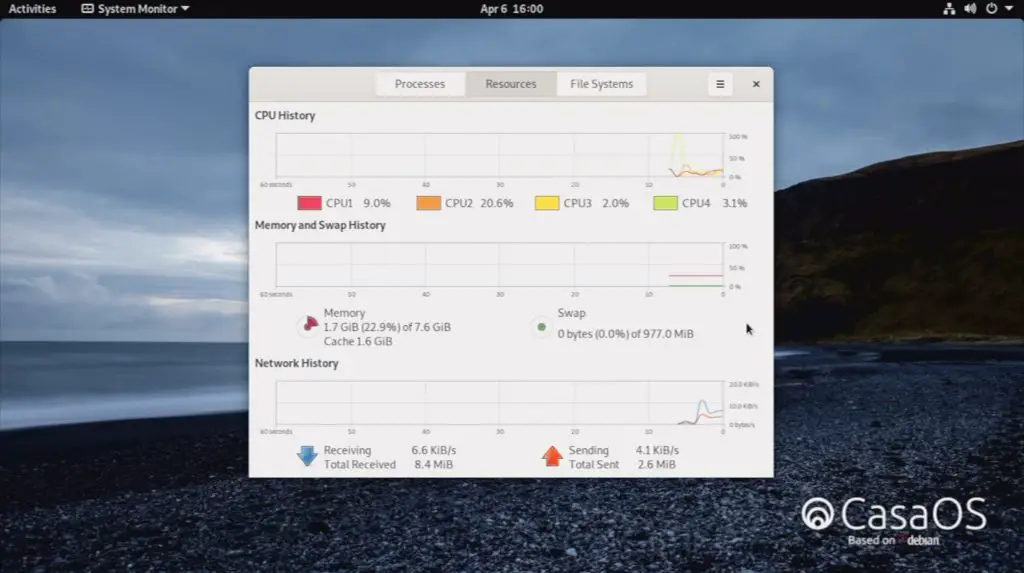
If we open the system monitor, we can see that we’ve got our 4 processor cores, 8GBs of RAM and 32GBs of eMMC storage.
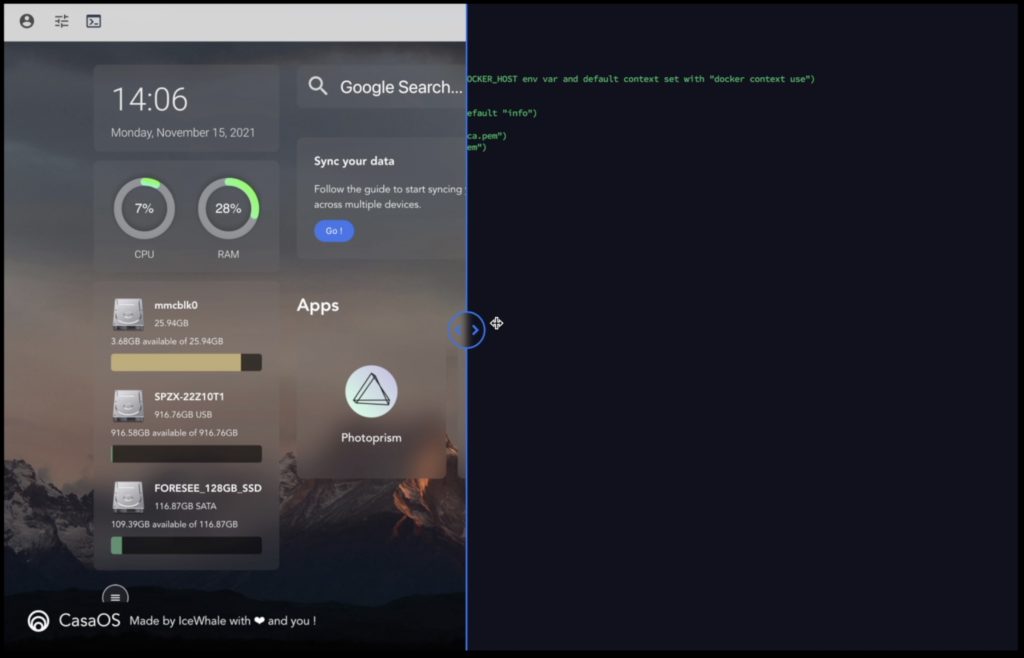
Once your Zimaboard is connected to your local network, you’ll be able to access the web interface through the assigned IP address. You can also access the web interface locally through the quick launch on the toolbar.
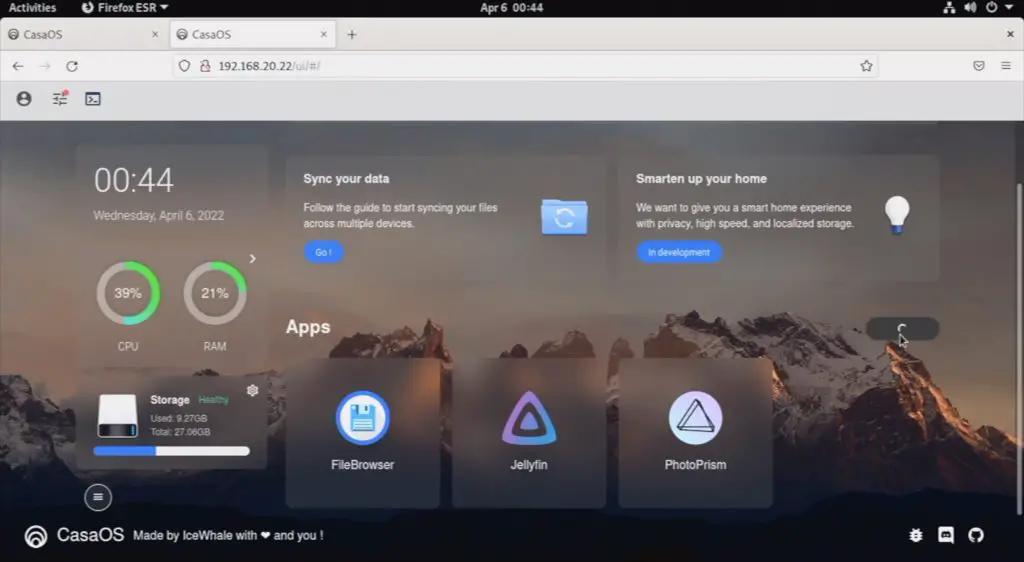
The first time you log in to the CasaOS web interface, you’ll need to create an account and you’ll then land on the dashboard shown below. This is where you will manage your server and monitor its performance.
Installing Plex On Your ZimaBoard
From this step onward, it’s best to watch the video at the beginning of this post. The video shows you a lot more detail about what to click on and where to type commands etc. I’m now going to connect the Zimaboard to my network and re-load the web interface so that we can install Plex.
If we open up the App Store, we can find Plex and then click on install. This will download a preconfigured Docker image and launch it on our Zimaboard.
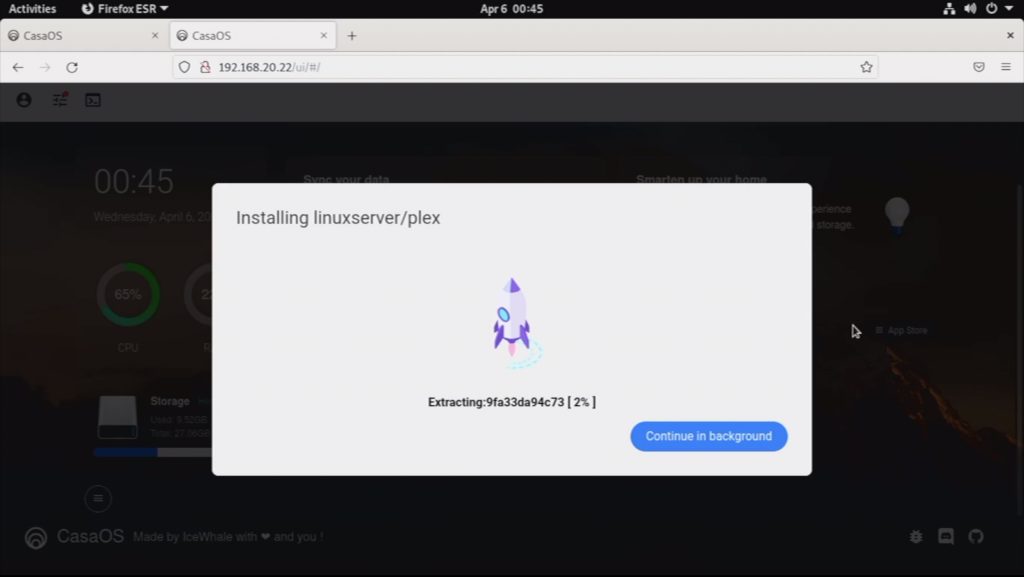
It’ll then appear alongside the other containers running on our board and we can click on it to open up its web interface as well. The IP address for your Plex server will be the same as your ZimaBoards – but on a different port.
We’ll then need to create another account, this time for our Plex server.
Plex will then run through a configuration wizard.
We’re not going to be using any premium features for this build, so we can just close the window about monthly subscription offers.
You’ll then be asked to name your server, I’m going to give mine the name – My Plex Server.
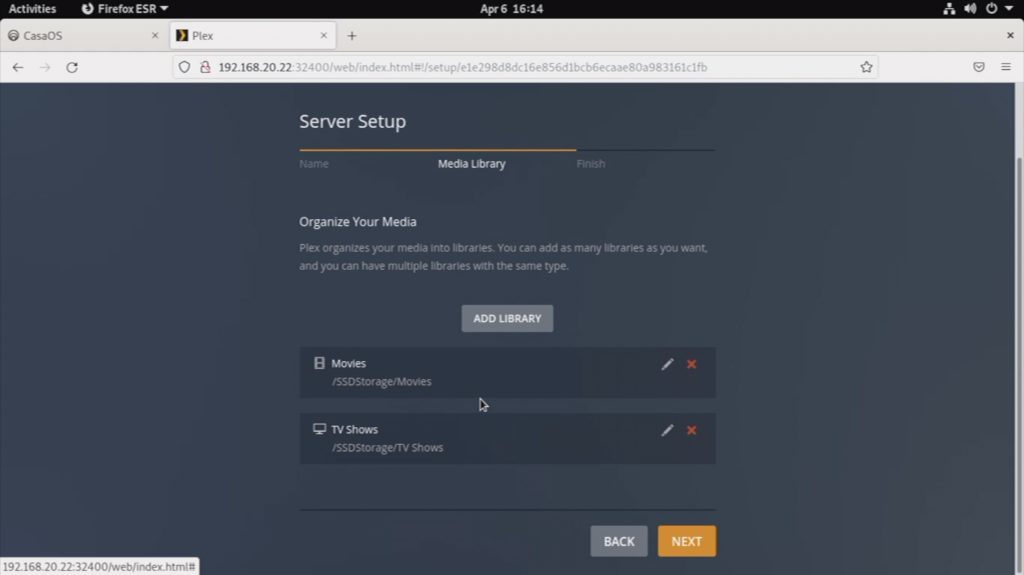
We can then start adding our Media Libraries. These are basically locations or folders that contain our media files.
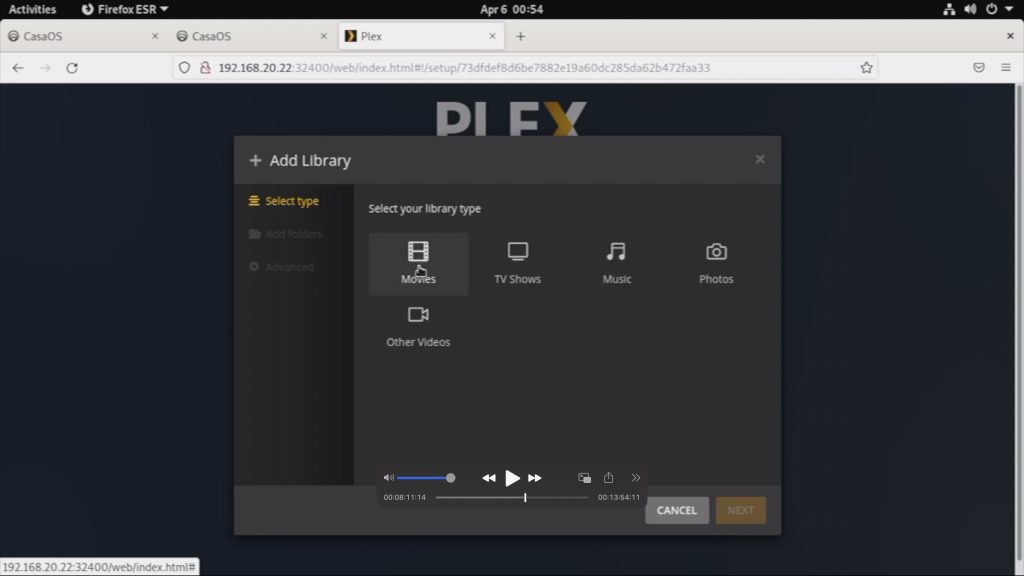
I’ll set up Movies and TV Shows as these are what I’m going to be using my Plex server for. Before we can finish this step off, we need to know where our media is being stored on our Zimaboard.
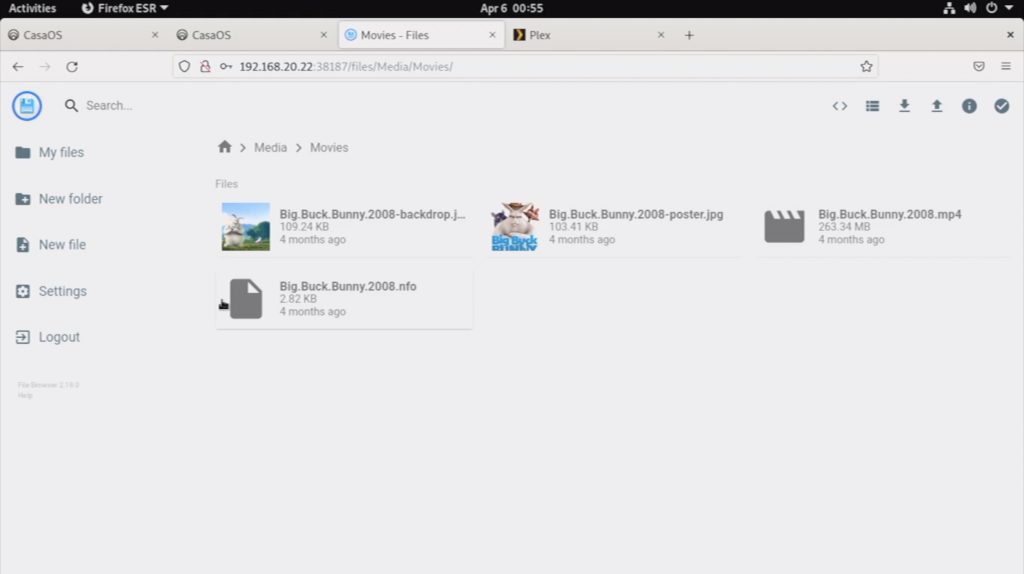
So let’s open up the File Browser app from our CasaOS web dashboard.
File Browser’s default username and password is usually admin, so it took me a few tries to figure out that it has been configured as CasaOS as well.

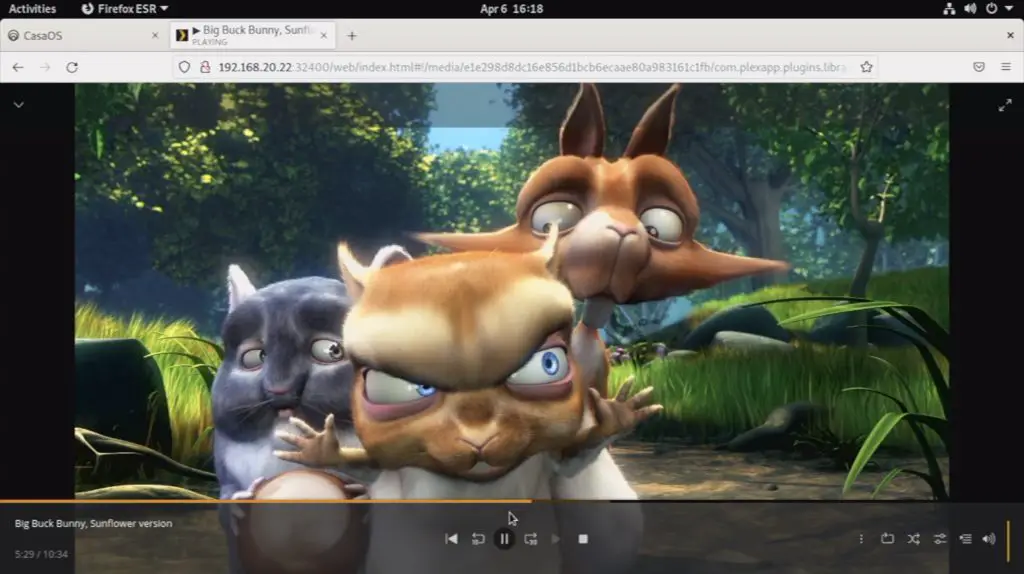
We can now see our files stored on the Zimaboard and we can see that there is a folder called Media. This folder contains further folders for Movies, Music and TV Shows. We’ve got the Movie Big Buck Bunny preloaded in our Movies folder. So let’s add these locations to our Plex server as libraries.
We’ll start by adding Movies and then add the Movie folder that we found in our File Browser app. Then we can do the same for TV shows.
Lastly, we can choose what content we want to be visible as pinned sources and we’ll then land on our Plex server’s web interface home page, where we can see our Movie is available.
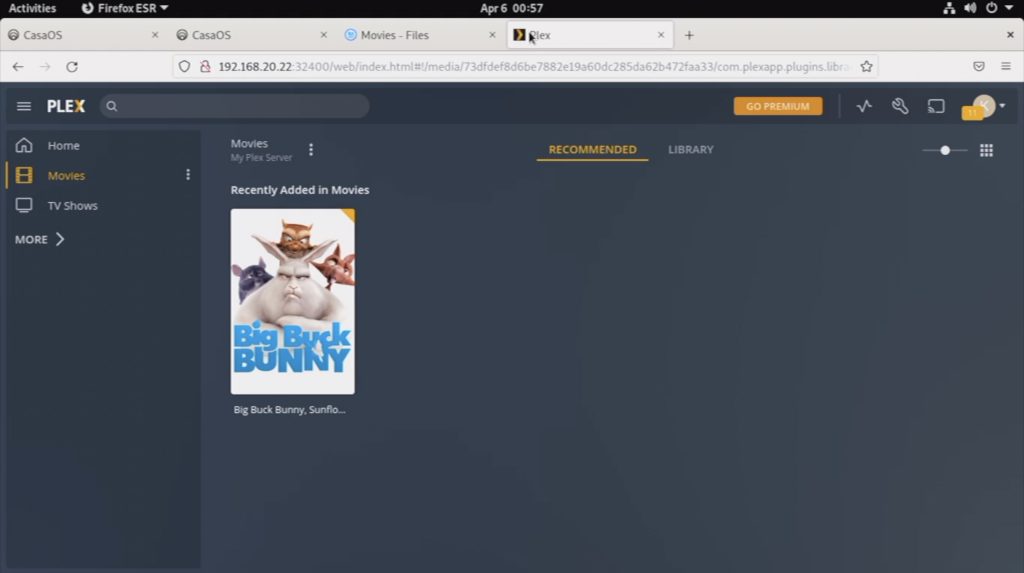
TV Shows is empty because we had nothing in this folder yet.
You can add media to either of these folders using the File Browser app, which can be accessed using it’s IP address and port on any other computer on your network.
Adding Our SSD Storage To The Mini Plex Server
We’re almost finished, but we still need to make the media on our SSD available on our Plex server. Currently only the content on our onboard eMMC storage is available.
If we open up storage on the CasaOS dashboard, we can see that our drive is being seen, but it’s not available as a storage location.
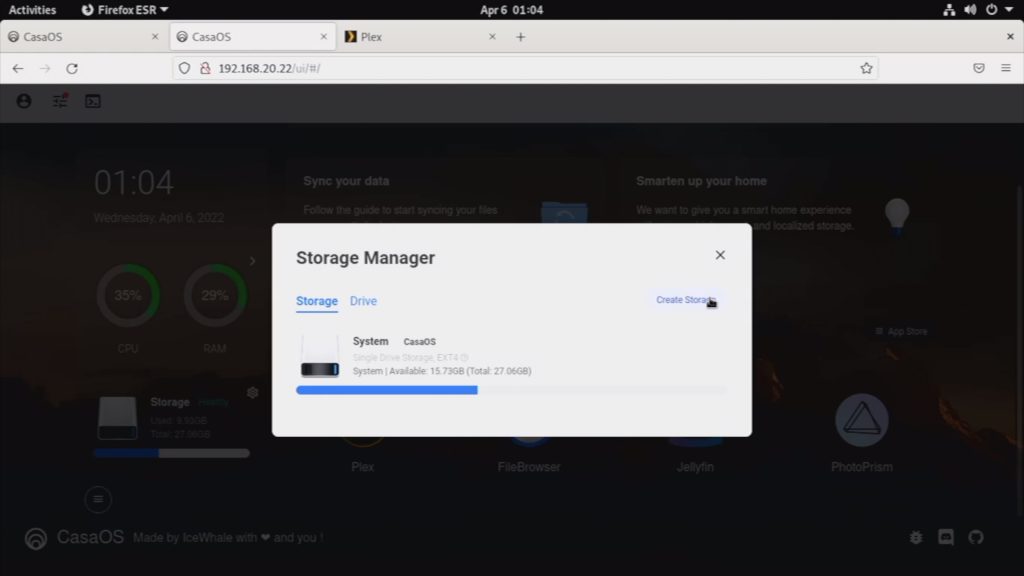
I ran into a bit of an issue here. I tried using this tool to create a storage location a number of times. I left it open for a while and the storage location never popped up. I tried creating it again. I tried restarting the system. I tried again after restarting, but I couldn’t get this tool to work. If anyone with more experience using CasaOS knows what I’m doing wrong here, please let me know in the comments section below – this looked like it should have been pretty straightforward.
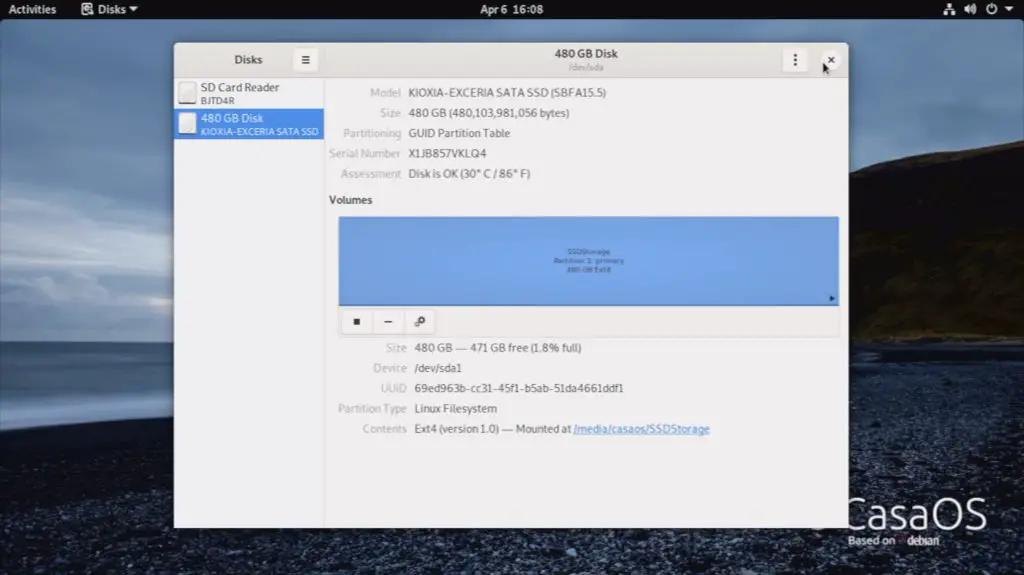
I eventually managed to get the drive formatted and mounted using the Disks utility on the desktop. Remember to mount the drive after it is formatted, otherwise it still won’t be available.
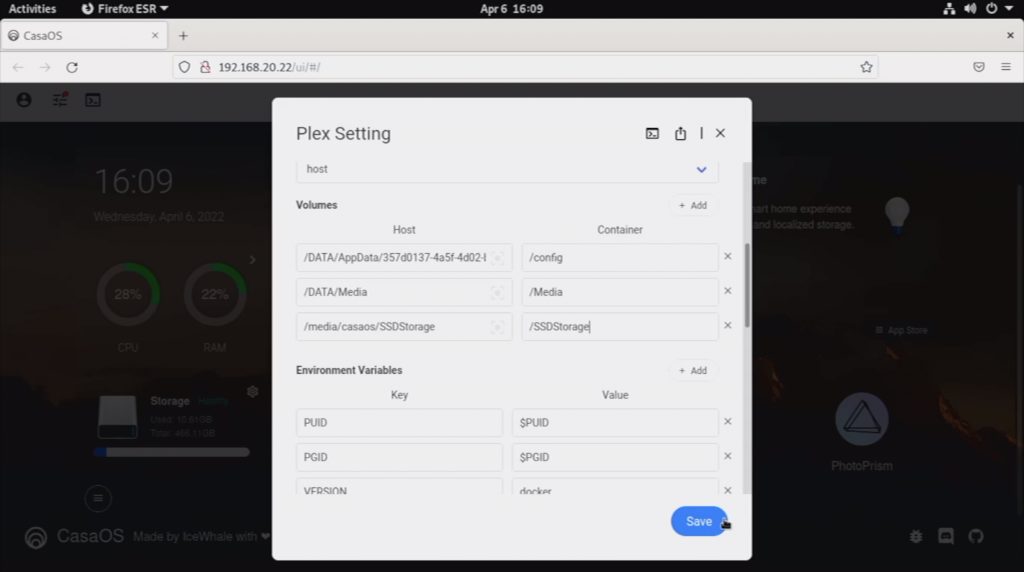
Once the new storage location on our SSD is available, we need to open up the App settings for Plex and add the volume to make it available to our Plex server as well.
Do this by adding the Host location as /media/casaos/SSDStorage and the container as /SSDStorage.
When you click save, it’ll relaunch Plex with the new configuration, so you’ll need to give it a few seconds to start up and you’ll then be guided through the wizard again, so we’ll just repeat what we did previously.
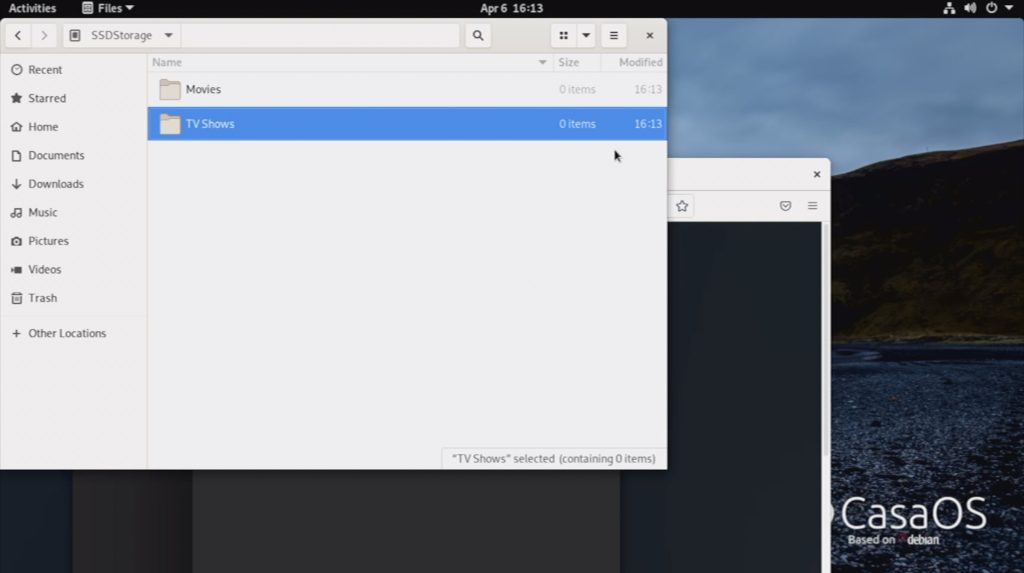
When we get to the libraries step, we need to add a folder to our Movies and TV Shows media type. You’ll see that we now have our SSDStorage folder available, but it’s got nothing in it. So we need to create folders for Movies and TV Shows.
I’m going to do that quickly through the CasaOS desktop, and they’ll then be available on our Plex server.
If you also want the local eMMC storage locations to be available on your Plex server then you can either add them as additional libraries or you can add their storage locations to the existing two libraries you’ve just created.
If you add them as additional libraries then you’ll have multiple libraries for Movies and TV Shows and they’ll each only have the content from their respective folders.
If you add their storage locations to your existing libraries then you’ll have a single library for Movies and a single library for TV Shows and they’ll be pooled from the two storage locations. I prefer this option as I can then add media to either location and it’ll show up in one of the two libraries.
And that’s it, our Plex server is now ready to use.
Playing Media From The Mini Plex Server
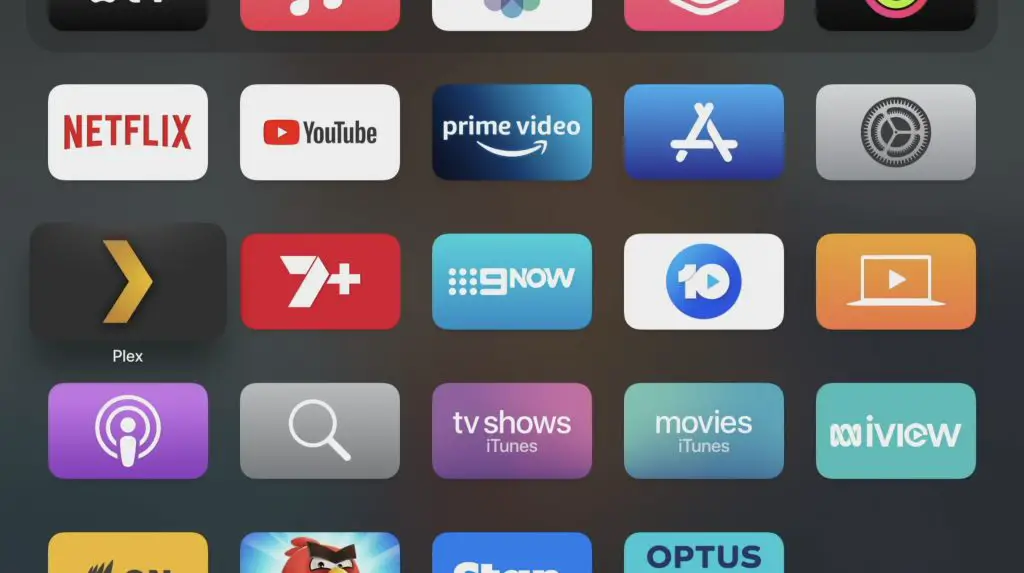
You can play media locally, directly on the Zimaboard or on a network-connected device like a tablet or Apple TV. Plex also has an option to make your media available outside of your local network as well, so you can access your media library from any internet-connected device.
It’ll also remember where you stopped watching and will allow you to resume playback on a different device.
I have installed the Plex app on my Apple TV, so I’m able to watch my media on my computer, tablet or TV with ease.
Final Thoughts On The ZimaBoard
With CasaOS and docker, you can also use your Zimaboard to run a range of other applications along with Plex. I’m going to use mine to run PiHole and Home Assistant as well. You can install these apps through the App store on the CasaOS web interface in the same way that we installed Plex.
Overall I think it’s a great option if you’re looking for a low-power device to run server applications on your personal network. It’s got a host of useful ports and interfaces and it’s powerful enough to comfortably run a few applications without slowing your network down.
Let me know what you think of the Zimaboard and my Plex server in the comments section below.
They’re currently being shipped to backers from their Kickstarter campaign and they’ll then be made available for sale. Be sure to have a look at Seeed Studio’s product page if you’d like to get your ZimaBoard. As I mentioned earlier, they have three variants available, so there are some options available depending on your requirements.