I think we can all agree that the size of modern graphics cards has gotten a little bit out of control. It’s not uncommon for the graphics card to be the deciding factor in how big your computer case needs to be. So that got me thinking, what if instead of putting a graphics card into a computer, I rather put a computer into a graphics card? Well at least into a graphics card enclosure.
I kind of forgot about this idea for a few months and then the other day while I was browsing Printables, I found this cool money box that is designed to look like an RTX 3080.

It’s obviously partially hollow, so that’s perfect to put a small single-board computer into. So I’m going to be using this model as a basis to build an RTX3080 all-in-one computer.
Here’s my video of the build, read on for the written project;
What You Need For This Build
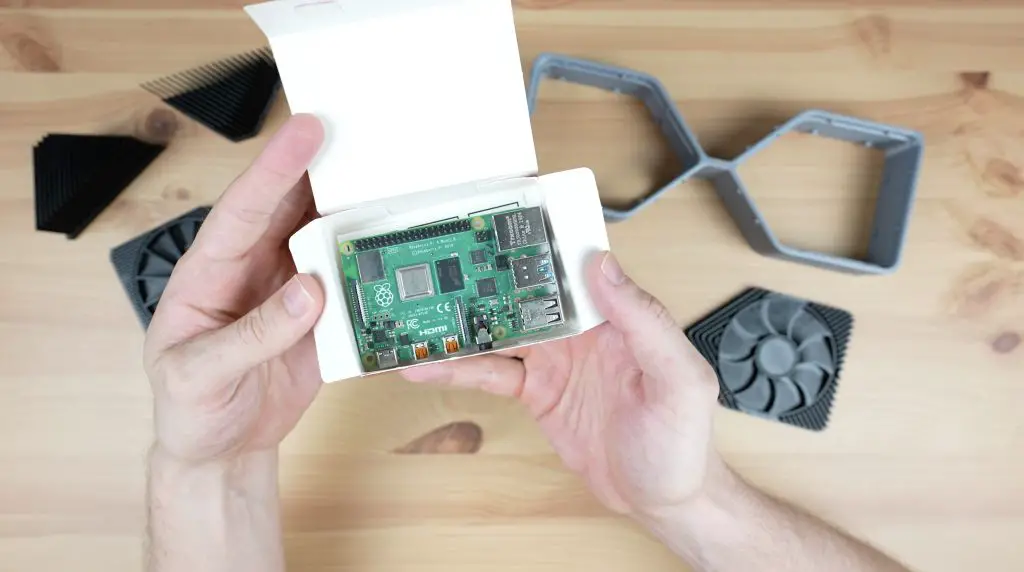
- Raspberry Pi 4B – Buy Here
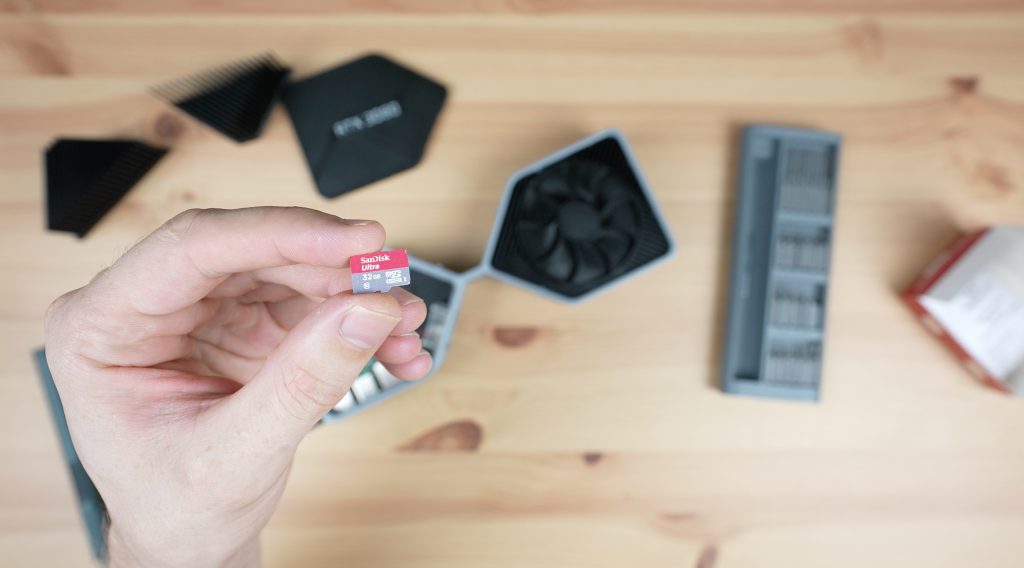
- MicroSD Card – Buy Here
- Raspberry Pi Power Supply – Buy Here
- M2.5 Brass Inserts – Buy Here
- M2.5 x 4mm Brass Standoffs – Buy Here
- M2.5 x 4mm Button Head Screws – Buy Here
- M3 x 12mm Button Head Screws – Buy Here
Tools & Equipment Used
- USB C Electric Screwdriver – Buy Here
- TS100 Soldering Iron – Buy Here
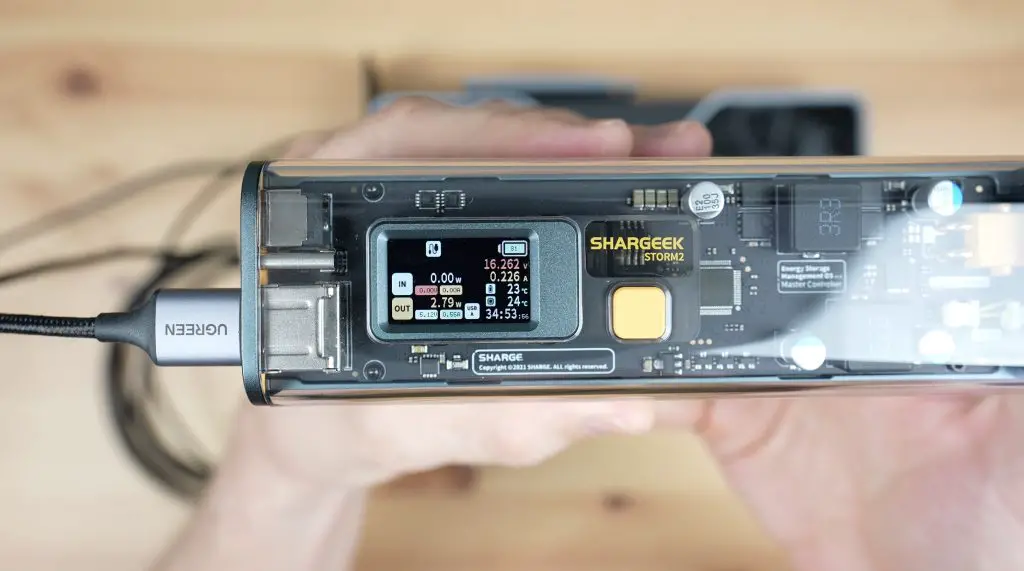
- Shargeek Storm 2 Powerbank – Buy Here
Making Modifications To The Enclosure
I downloaded the model files and then imported them into TinkerCAD to make the modifications required to fit a Raspberry Pi into it.
The money box model is scaled down from a full-size RTX3080, so you need to scale it up to 142% to be size for size. This exceeds my print bed size by a few millimetres, so I scaled it up to 130%.
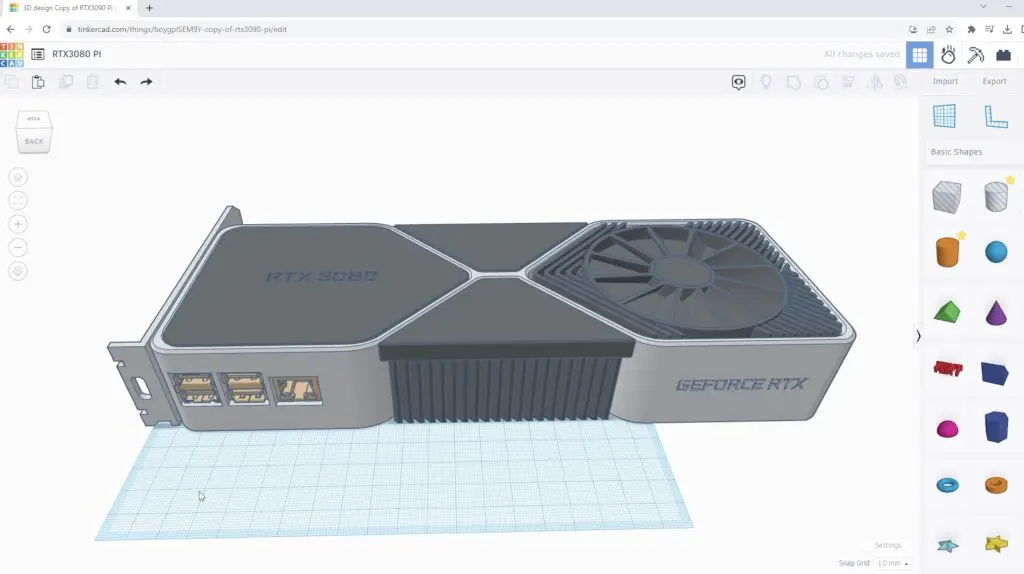
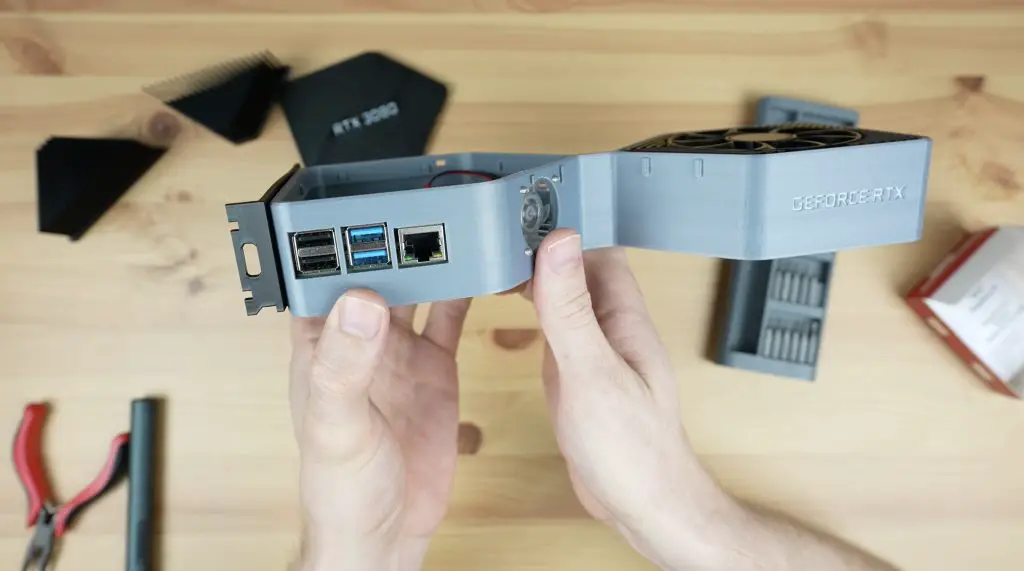
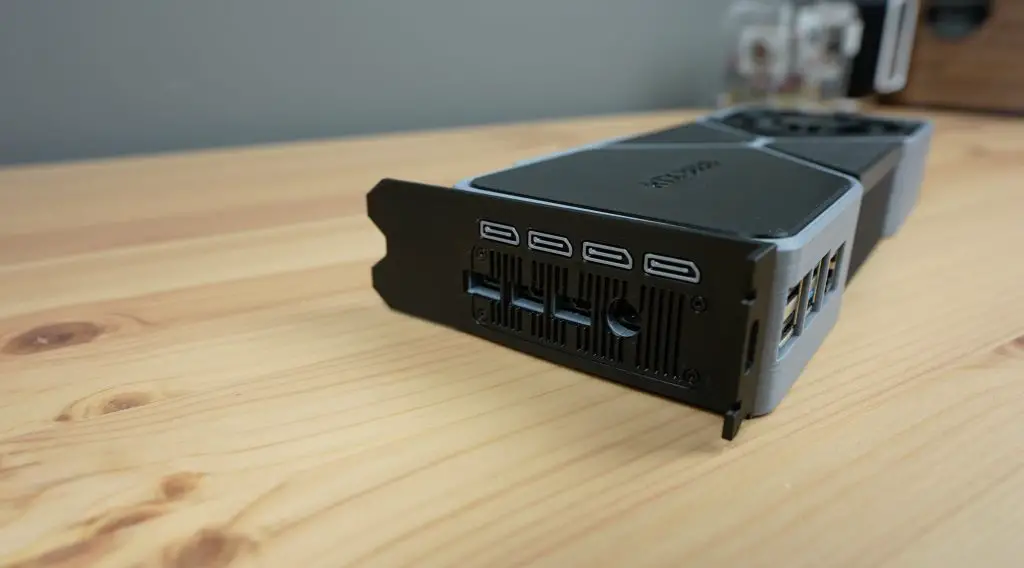
I oriented the Raspberry Pi in the back end of the RTX3080 so that the HDMI ports are in the same general area as the original display ports. We also have a power input here, which, unlike the RTX3080, can run on a USB-C power adaptor rather than requiring a small power station.
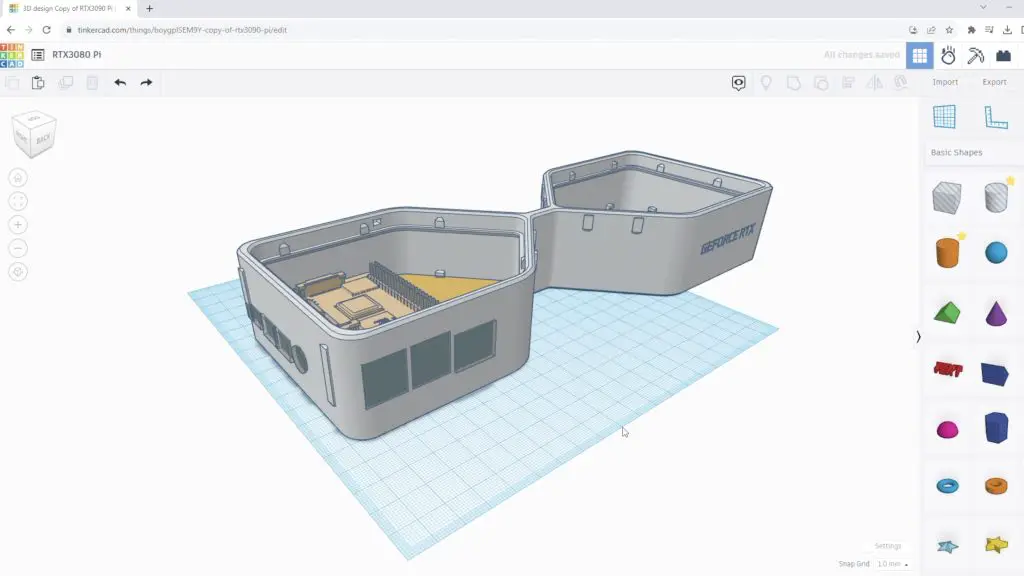
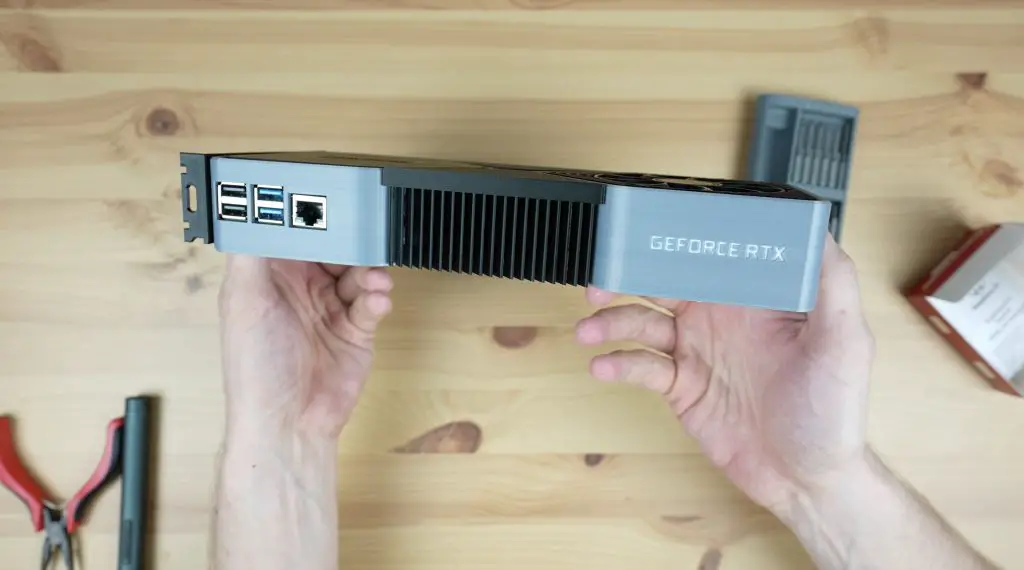
The USB and Ethernet ports then extend out the side of the GPU, which I think looks pretty cool.
I then added supports and holes to accommodate some brass inserts in the base to mount the Raspberry Pi.
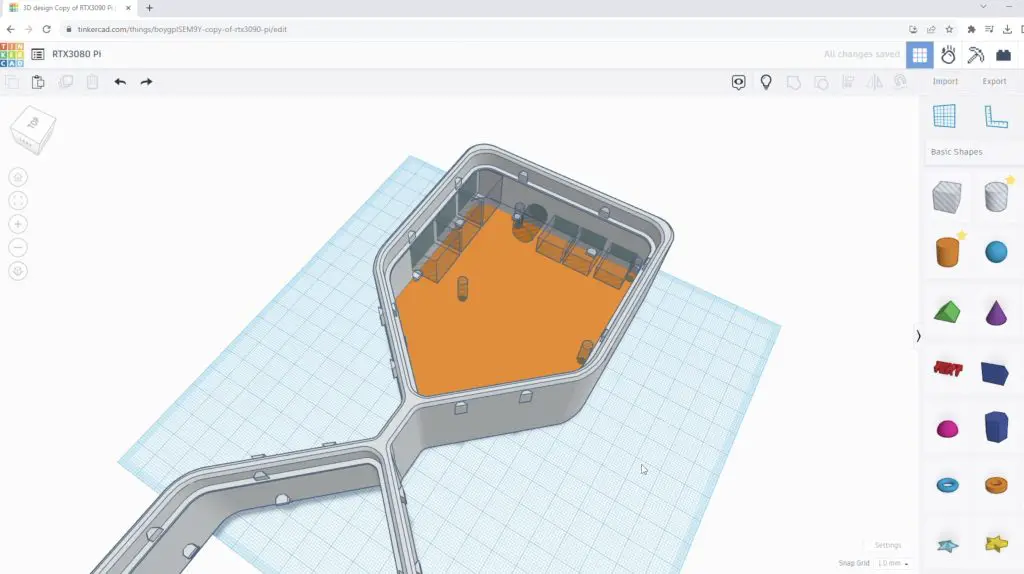
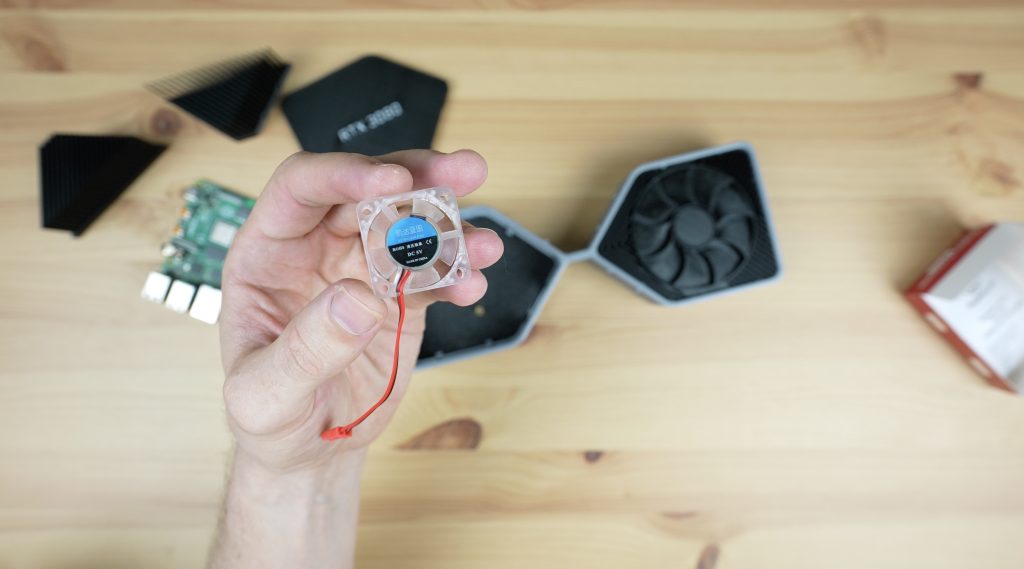
And lastly, we need to think about cooling. I initially wanted to use an actual fan in place of the 3D-printed fan covers but the fan on the Pi’s side of the card is underneath the Pi, which means that the GPU would need to be lifted off the desk to get airflow to it. It also gets in the way of mounting the Pi. So I decided to instead mount a more appropriately sized 30mm fan onto the inside of the housing and have it draw air in through the fin stack on the side. This required a fan cutout to be added to the side and a few cutaways to the surrounding heatsink parts to make some space for it.

With that done, we’ve got the 3D model complete and ready for printing.
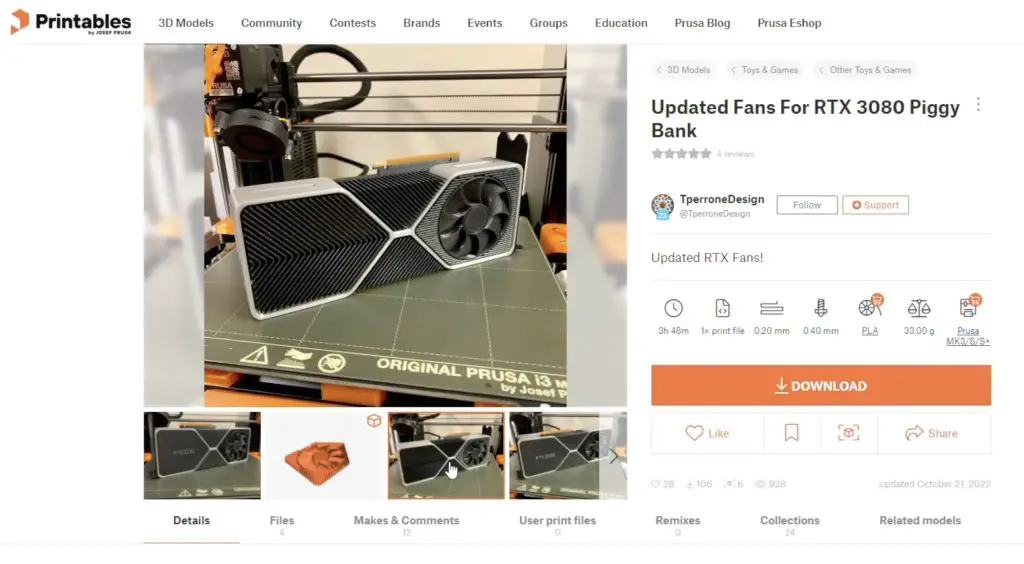
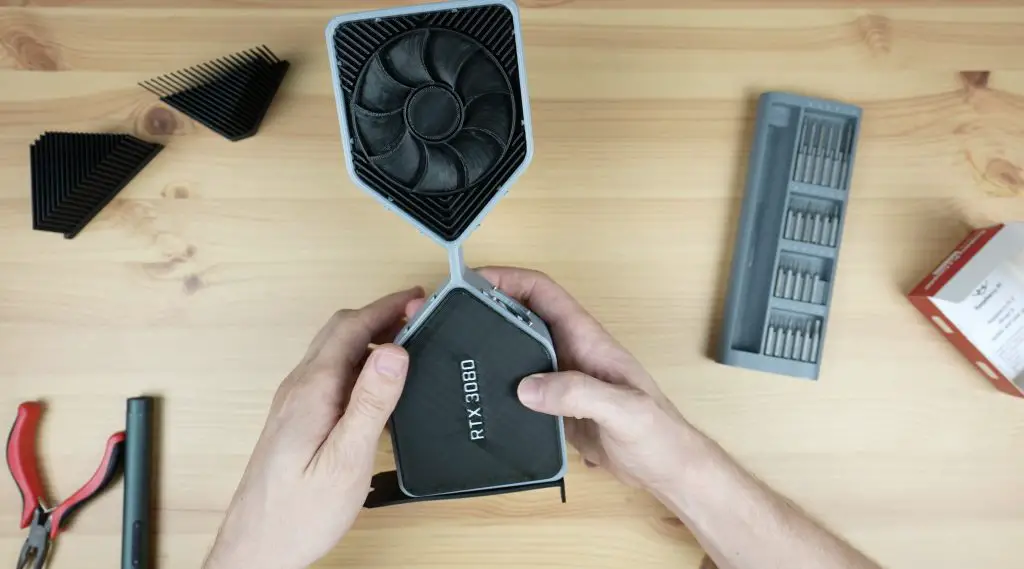
I also noticed that another user had made fans for the RTX3080 money box model that were a bit more accurate to the original design. So I went with this fan design for the top fan. The bottom one I left as the original as it was better suited to holding the supports that were needed for the brass inserts to mount the Pi onto.
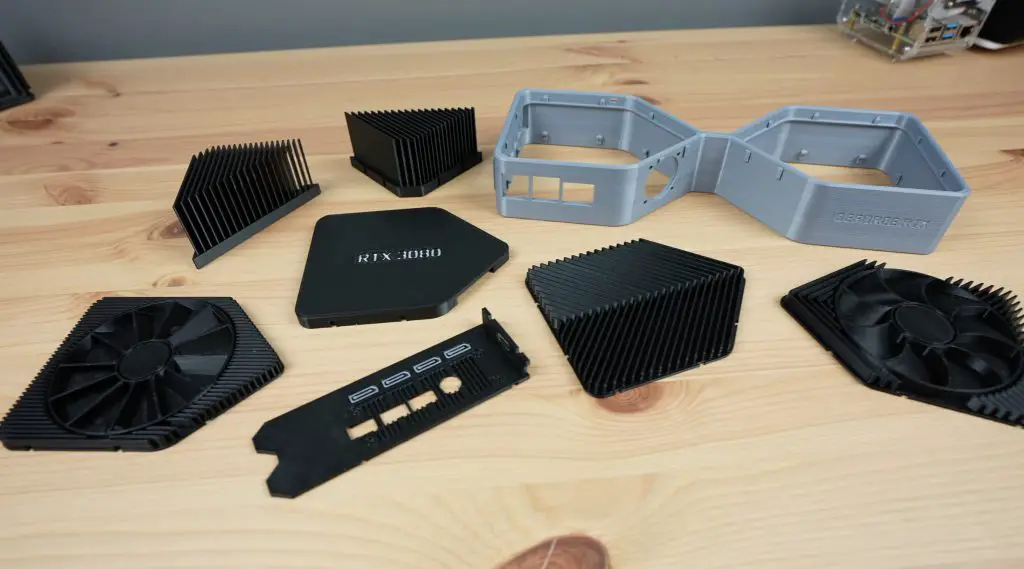
3D Printing The RTX3080 Parts
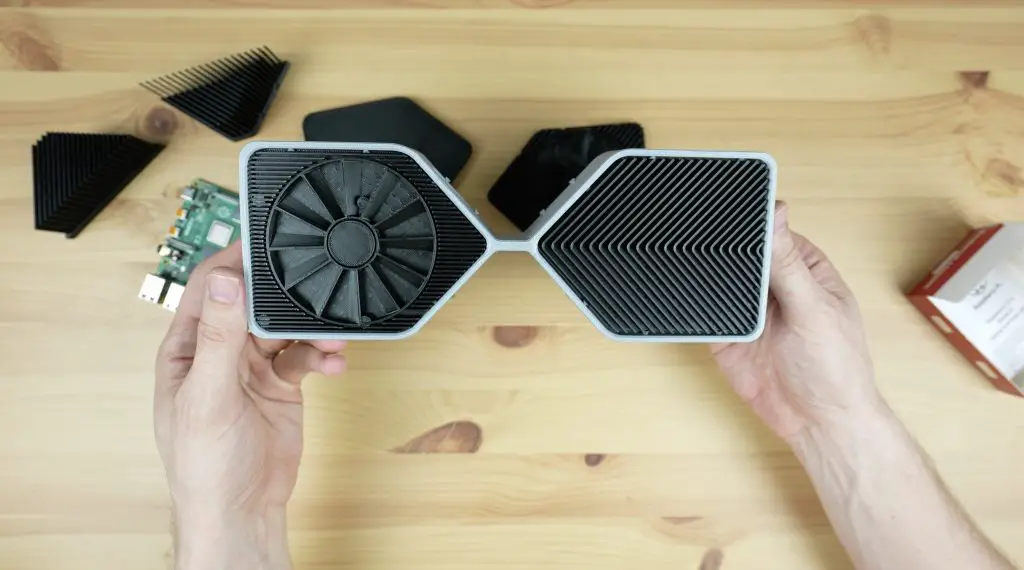
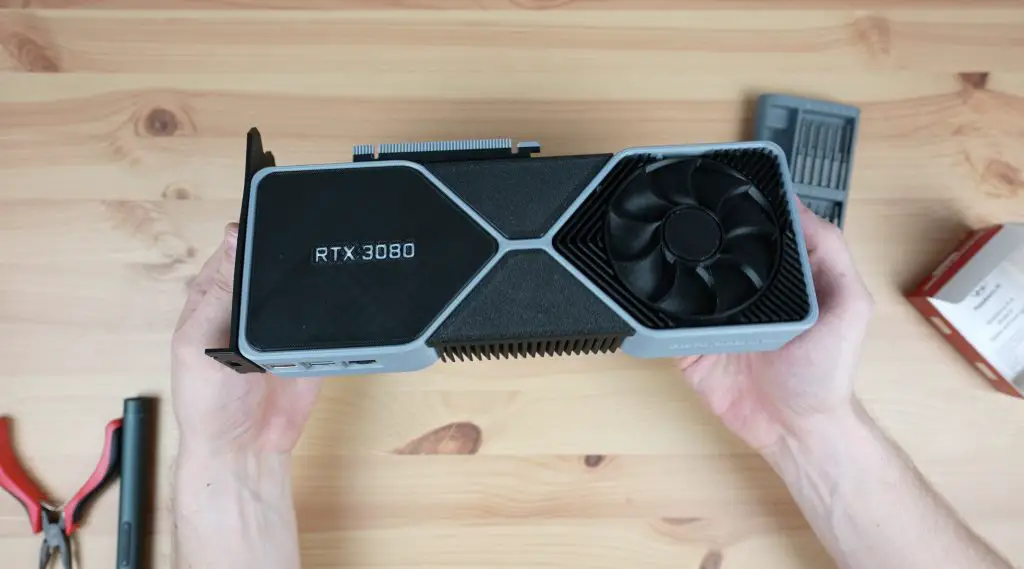
I printed out the components using grey for the main body and black for the heatsinks, fans and backplate. I coloured the text in white so that it stands out better and looks a bit more like the original card too.
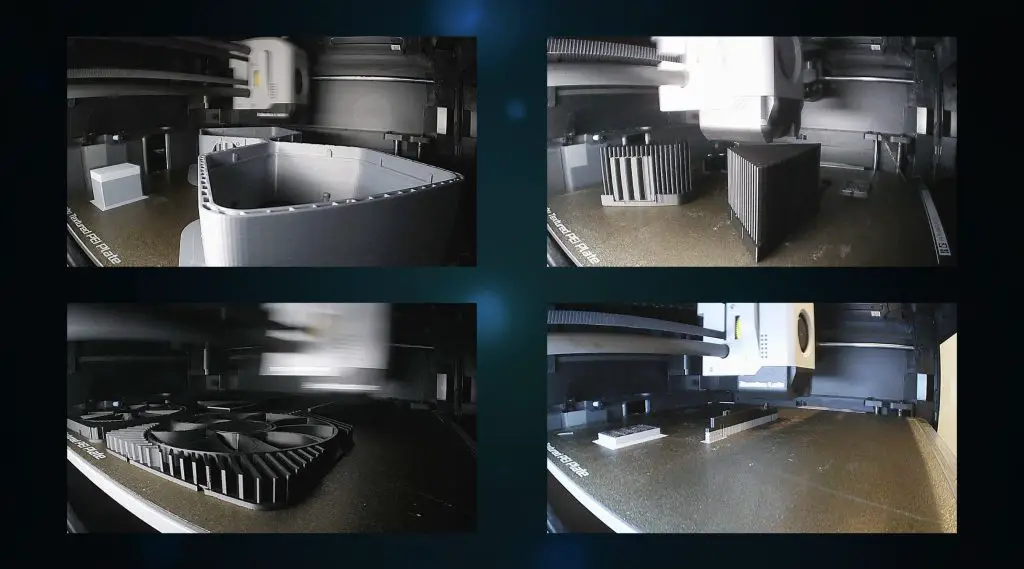
I use PLA for most of my 3D printing, as I’ve used here, and I think the parts have come our really well – particularly the heatsinks!
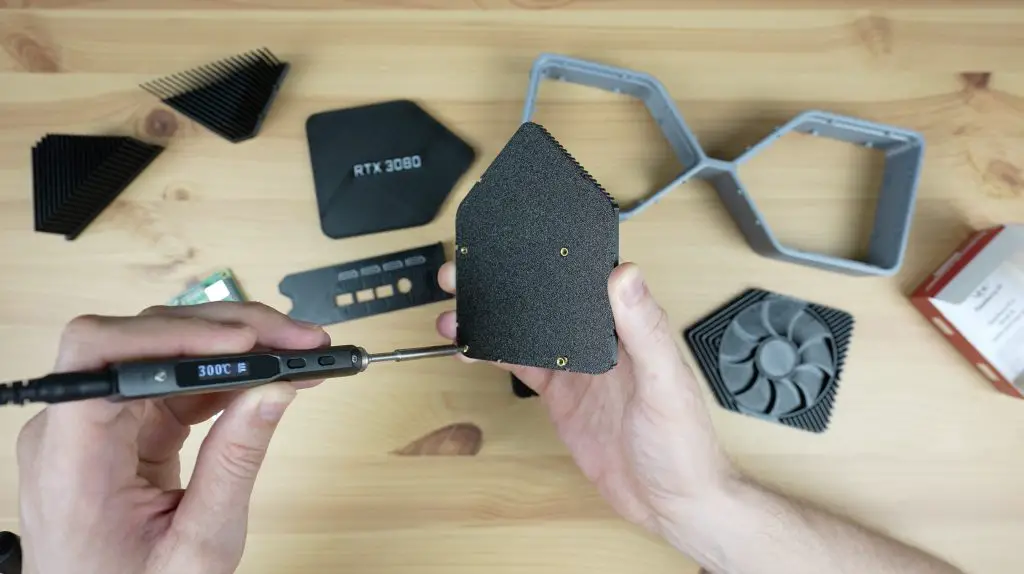
Assembling The RTX3080 Pi Case
Now we can move on to installing the Pi into the enclosure.
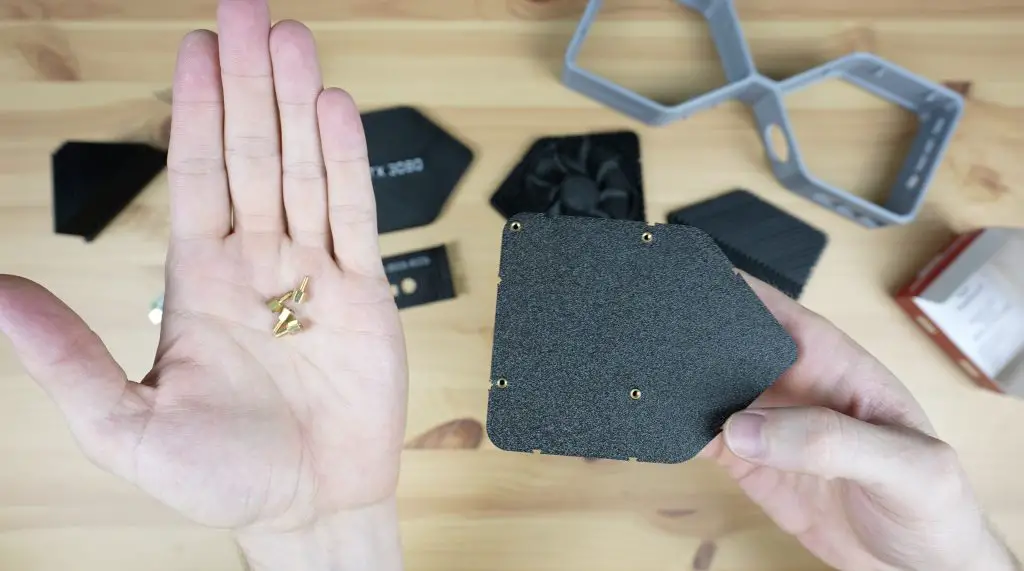
First, we need to add some M2.5 brass inserts into the bottom fan piece. We just melt these into place using a soldering iron.

Next, we can add some M2.5 x 4mm brass standoffs to mount the Pi onto. I didn’t have 4mm ones so I’ve cut the top off some 6mm ones with a Dremel to shorten them.
I’m not going to mount the Pi onto the standoffs until we have partially assembled the card, so let’s snap the components into place first.
We can push the bottom fan and heatsink pieces into place.
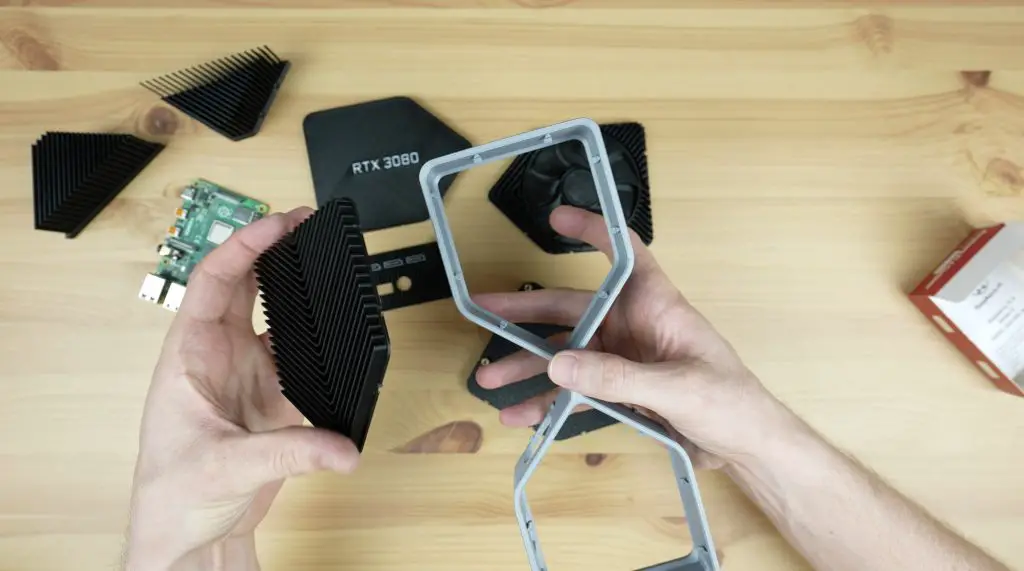
Then add the back plate and the top fan plate.
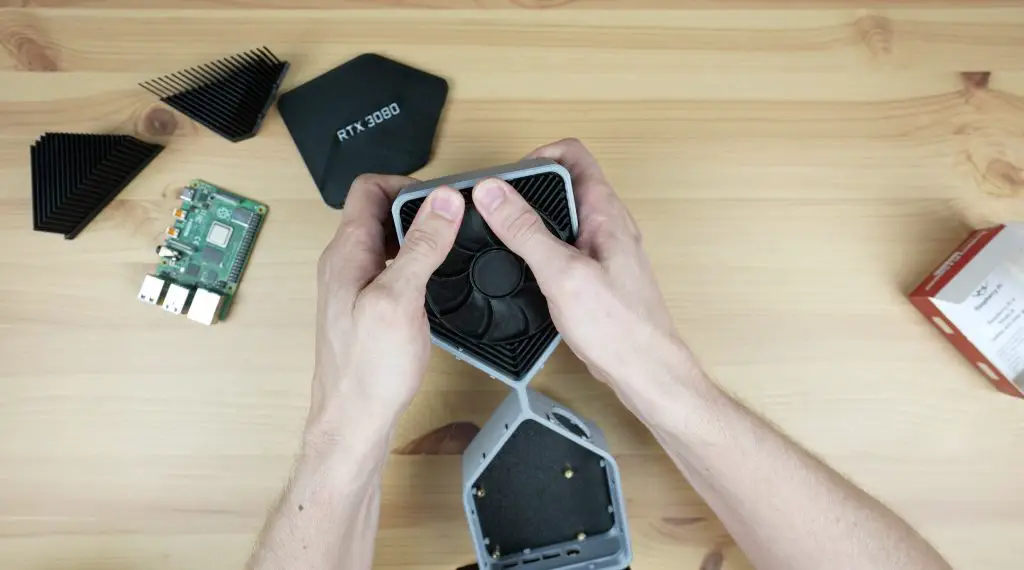
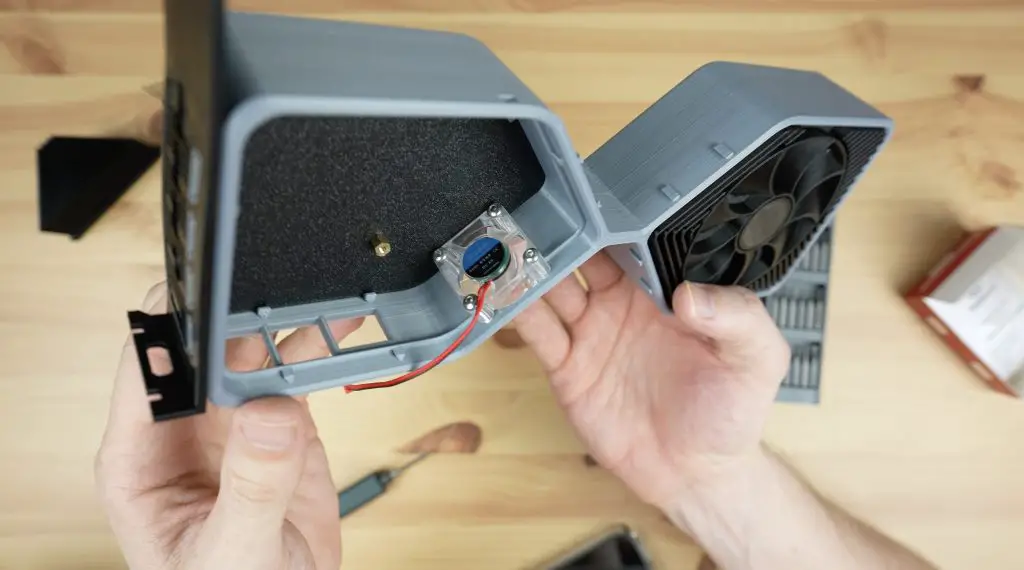
Before we add the side heatsinks, we need to mount the fan. This is just held in place with four M3 button head screws and is oriented to pull air into the enclosure.

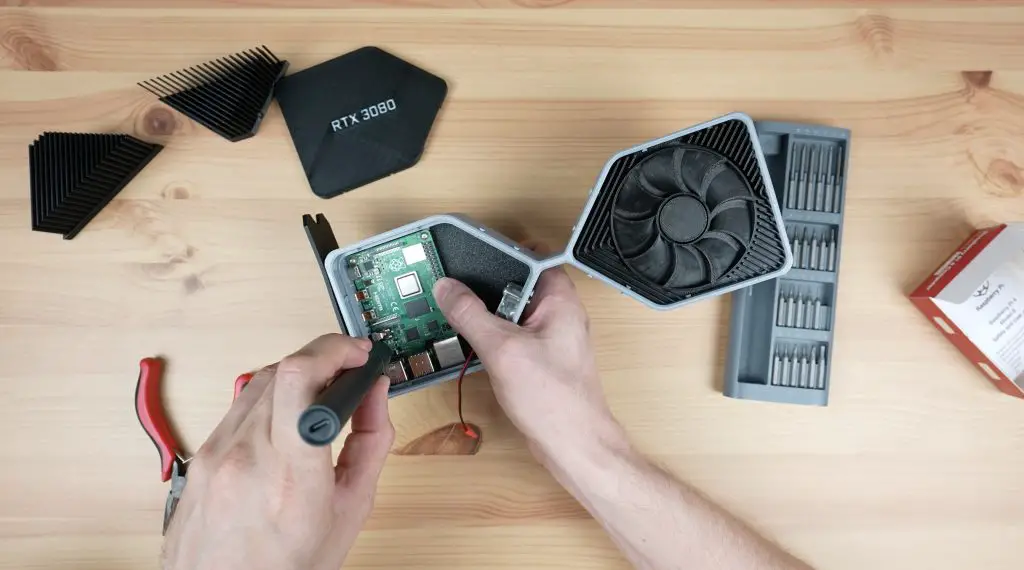
Now we can mount the Pi on the brass standoffs and secure it with some M2.5 screws.
Before doing this, install your microSD card with your OS image flashed to it. I forgot about this and had to remove the Pi again as you’ll see later on.
Then plug the fan into 5V and GND. If you’ve got a fan with separate pins on the plug (mine is a combined double-pin plug) then you can plug the fan into GND and 3.3V instead and it’ll run quieter.
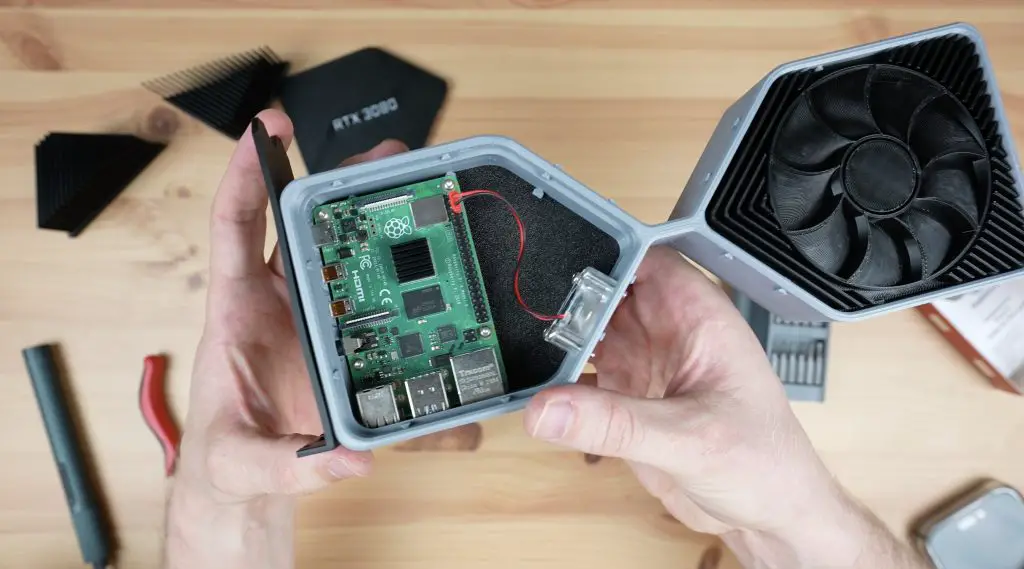
And lastly, having forgotten about the microSD card, we can remove the Pi again, add our card with the OS image and then put it back in and close up the top cover plate.
Then we need to snap the side heatsinks into place.
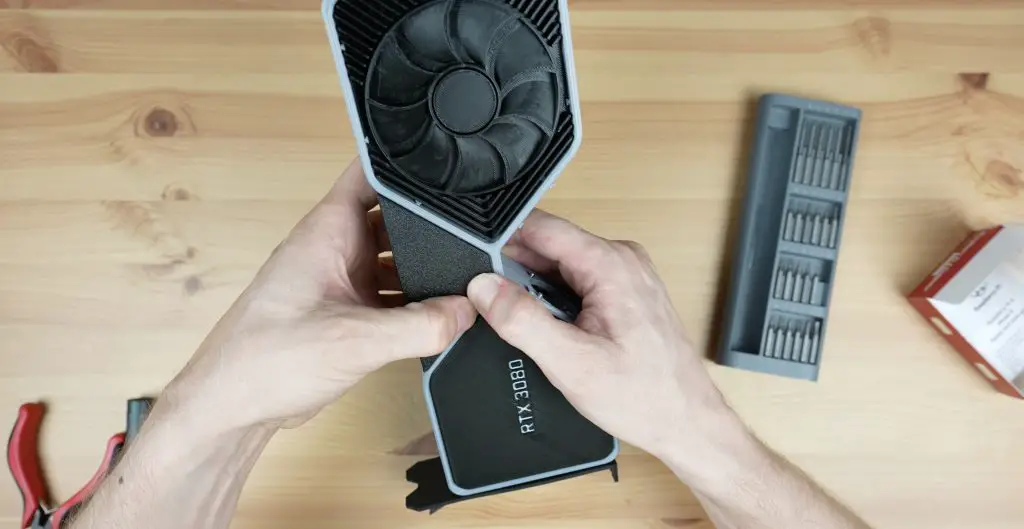
And that’s my GPU computer complete, now let’s plug it in and try it out.

First Boot & Gaming On My RTX3080 Graphics Card
To boot up my RTX3080 graphic card computer, I need to add a power adaptor, plug in a monitor and add a keyboard and mouse.
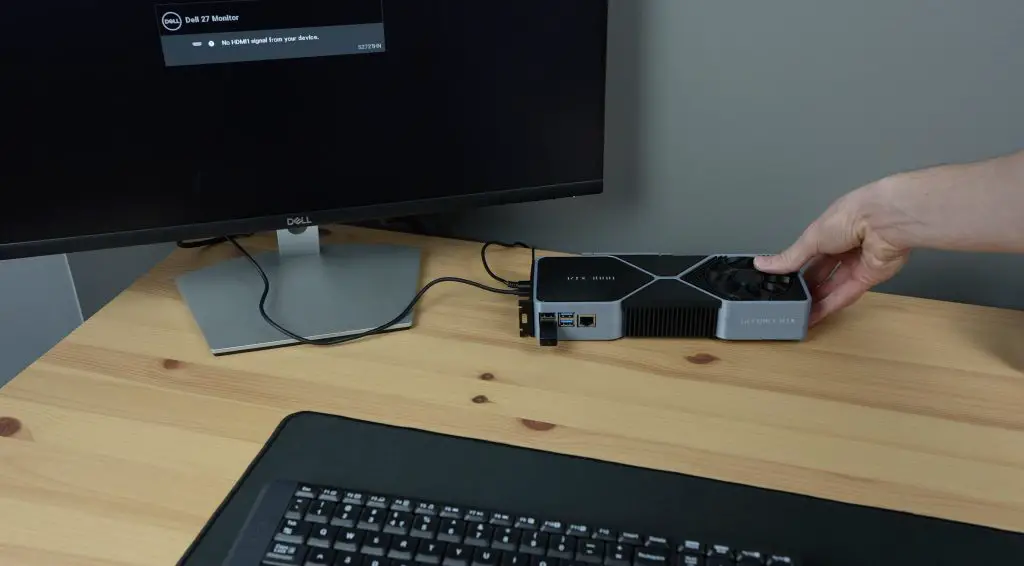
The first boot takes a bit longer to work through but once it has booted up, you’ll then have a fully functional graphics card computer.
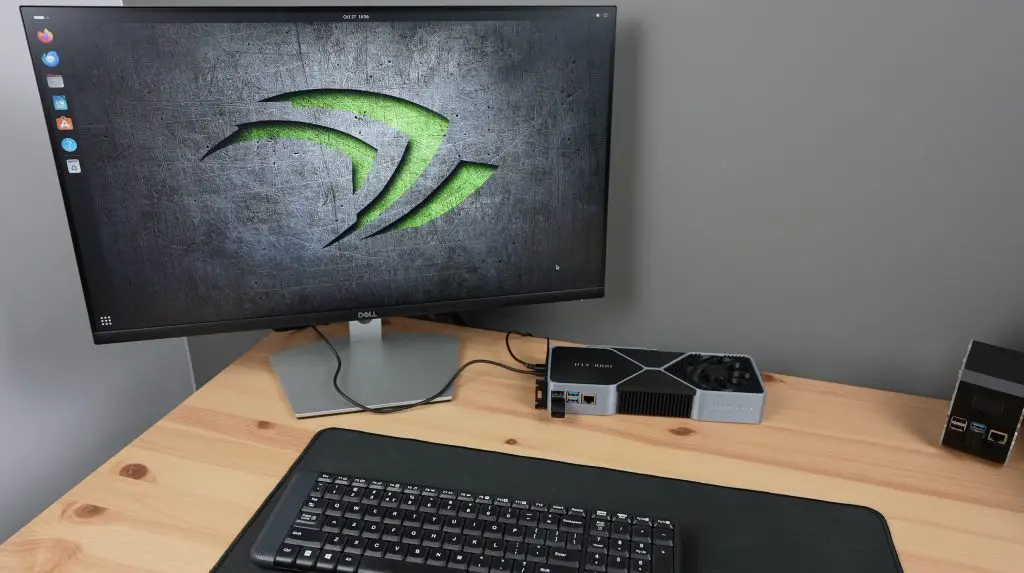
I’m running Ubuntu on the Pi. This does seem to be a bit more resource-intensive than Raspberry Pi OS but still runs reasonably well. I’ve also overclocked the Pi to 2Ghz.
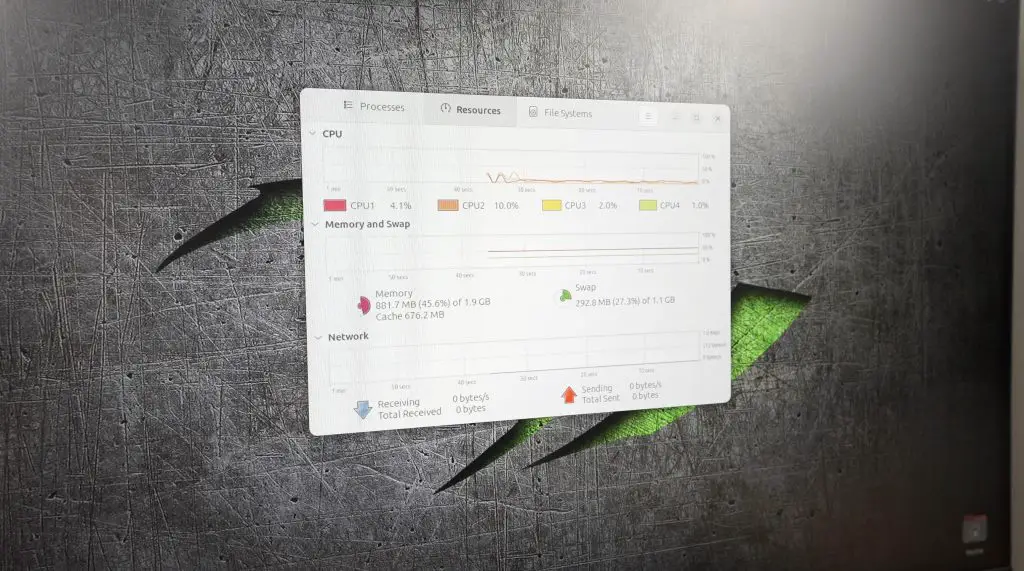
My graphics card computer has actually got a lot of benefits. It is still able to output 4K and it does so using just 3-4W, which is almost a hundred times less than a real 3080 would. I can even run it from a power bank.
It takes up a fraction of the desk space that a full-size desktop computer would.
It’s got no motherboard to fall out of during shipping or transport.
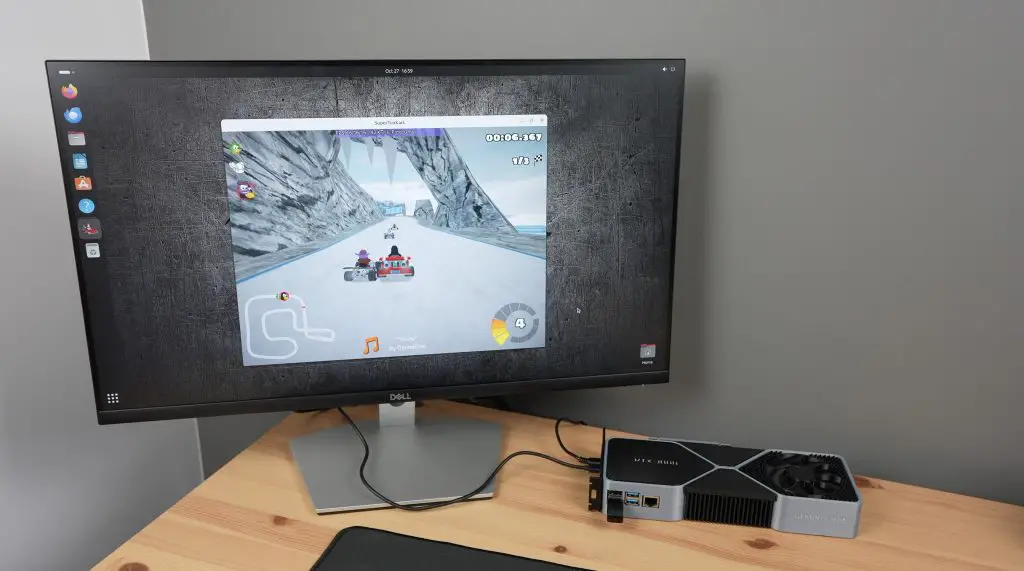
And I can still game on it, although granted the gaming quality and framerate is quite a bit lower than what you’d get from a 3080.
I tried the following games on the Pi;
- The Battle For Wesnoth – Runs well and is easy to install and play.
- Super Tux Kart – Very low FPS, not playable unless the Pi is significantly overclocked.
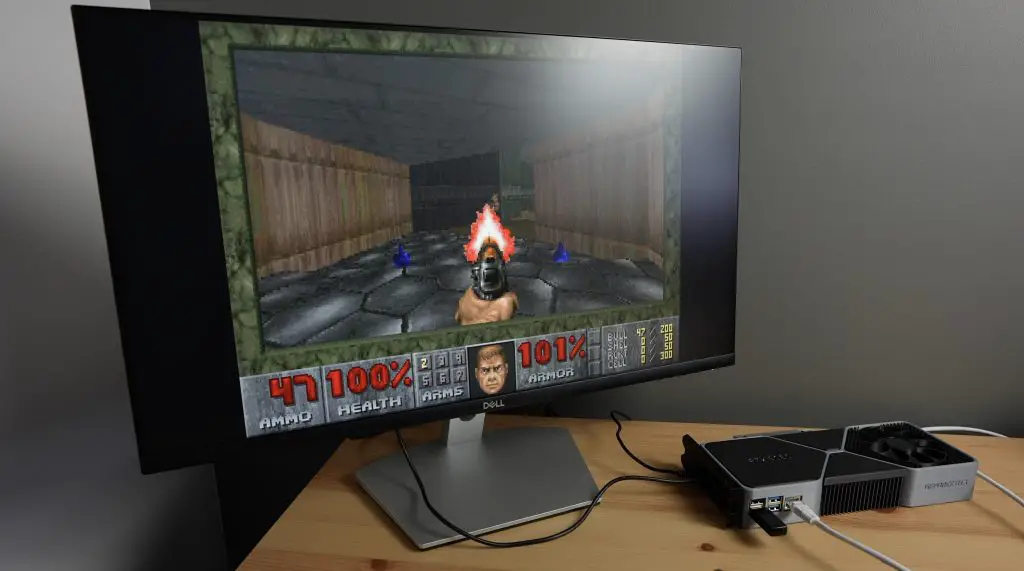
- Doom – Runs well, a bit more involved to install and find levels for but easy to play.

Let me know what you think of my improved RTX 3080 gaming graphics card in the comments section below and if you have any suggestions on how I can further improve on it.
I think that this project is wonderful RTX 3080 gaming case designed for the installation of a raspberry pi 5 next project.
Do you start sale any RTX 3080 production marketing?