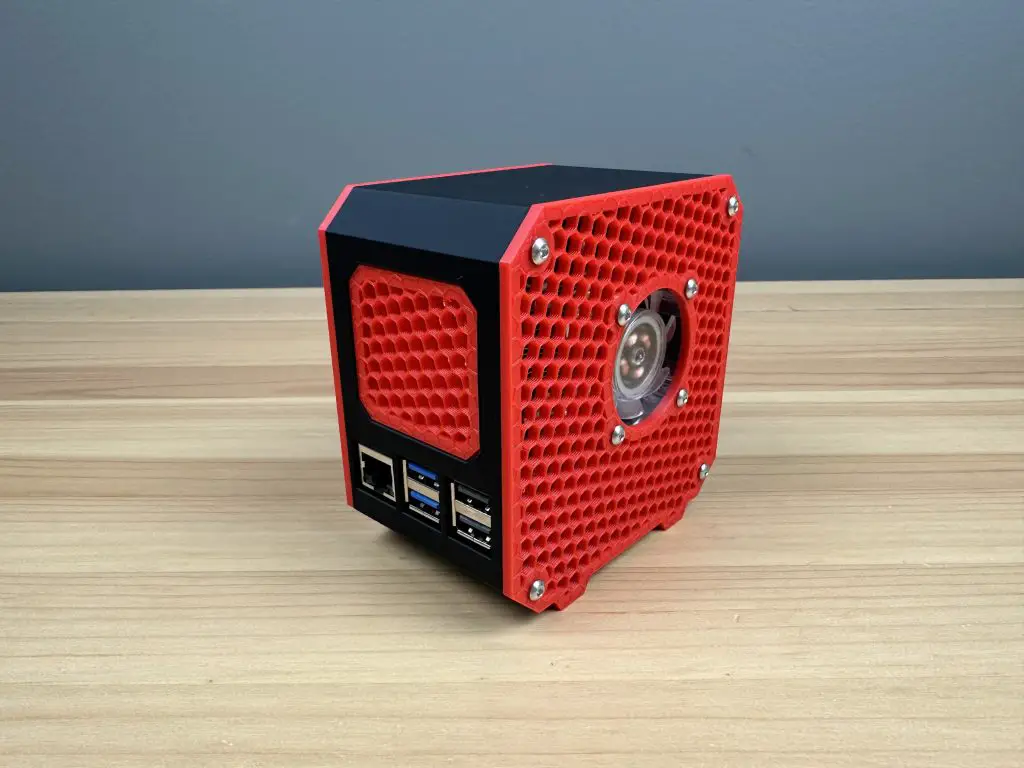
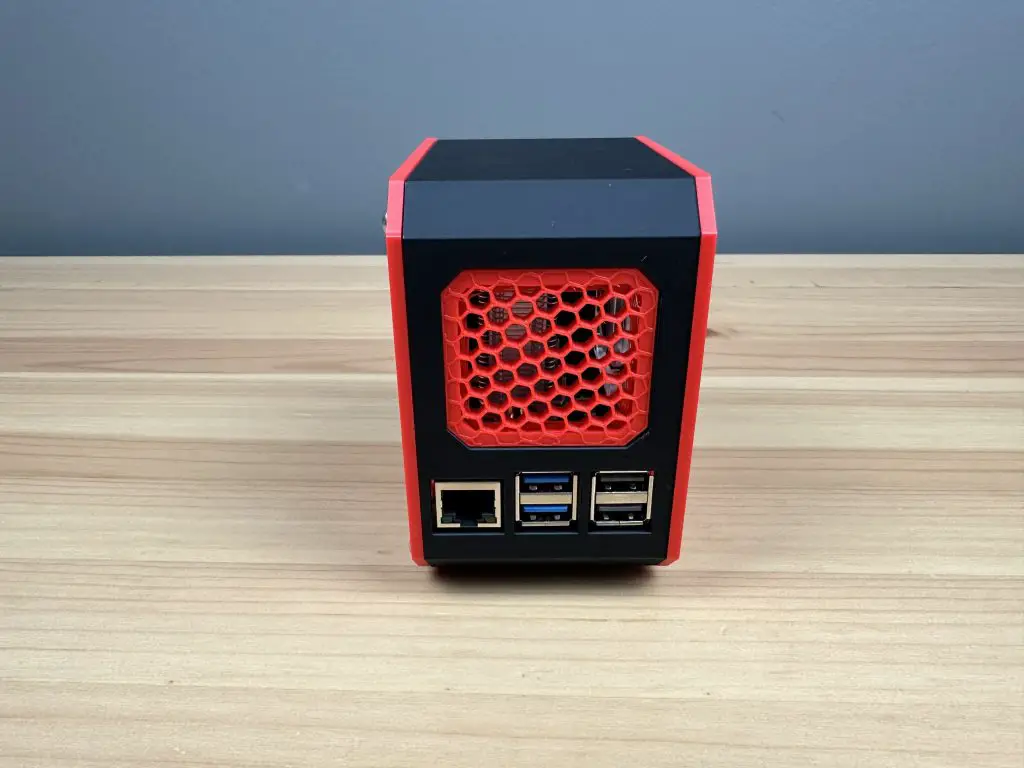
Today we’re going to be assembling a 3D-printed case for the new Raspberry Pi 5. This case is a redesign of my popular case for a Raspberry Pi 4, with adaptations to accommodate the new port layout and the power/shutdown button at the back. Let me know what you think of it in the comments section below.
What You Need To Assemble Your Case
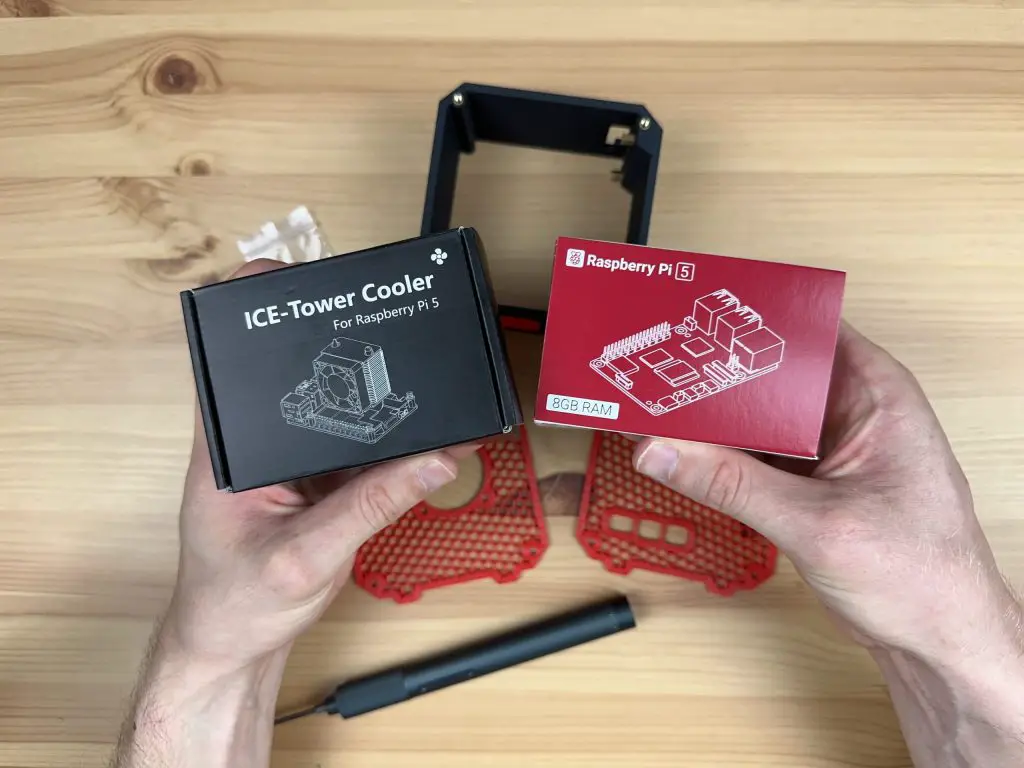
- Case Kit (3D Printed Parts & Screws) – Buy Here
- Raspberry Pi 5 – Buy Here
- MicroSD Card – Buy Here
- Ice Tower Cooler (for the Pi 5) – Buy Here
- Or Alternate Cooling Solution Below
- 40mm 5V Fan – Buy Here
- Aluminium Heatsink – Buy Here
Ensure that you get the Ice Tower cooler for the Raspberry Pi 5, the cooler for the Pi 4 will not fit.
Assembling The Raspberry Pi 5 Desktop Case
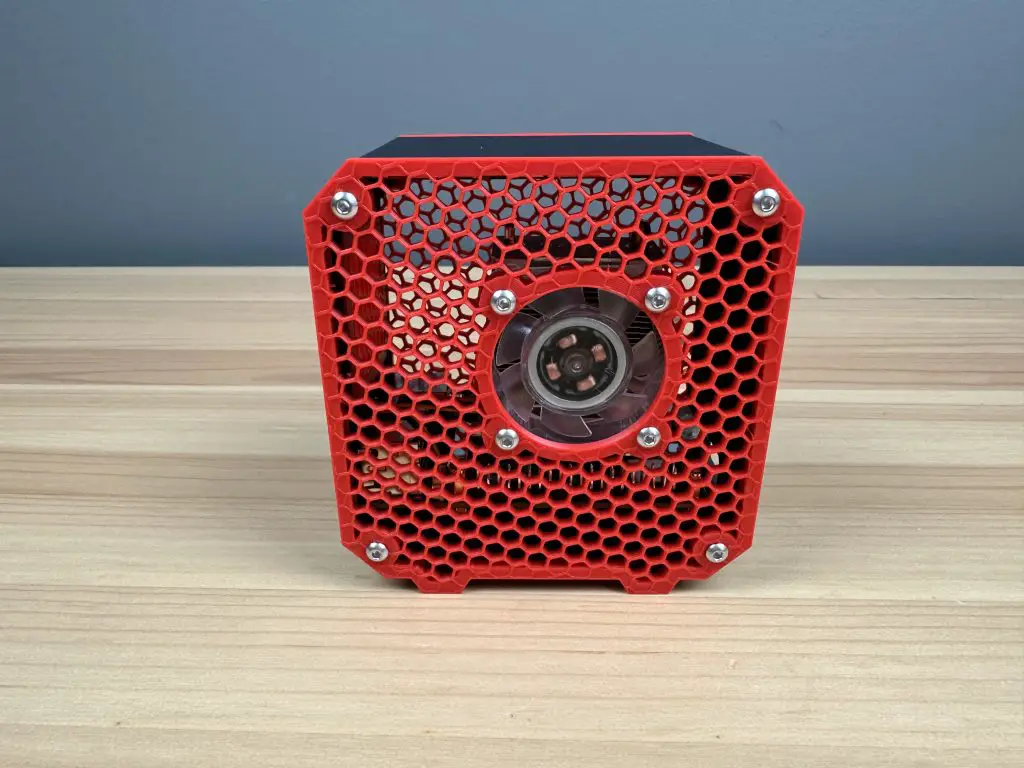
To start we need to install the front ventilation grill. This is simply pressed into place from the inside of the case with the smaller face facing outward. Because of the orientation of the print, it is best to put the right-hand edge (when looking at the front of the case) into position first and then push the left-hand edge into position until it snaps into place.
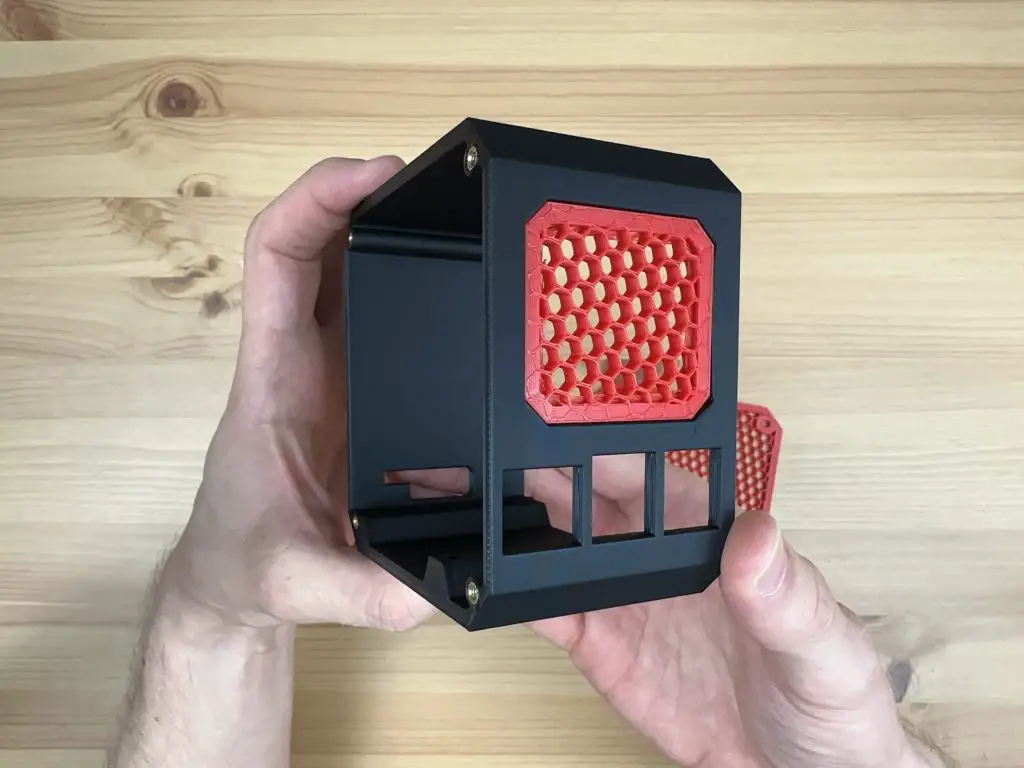
The press fit should keep the panel in place in most instances but if you’d like to make it a bit more secure, you can add a few drops of superglue or CA glue to the inside edge.
Next, let’s install the brass standoffs to mount the Pi onto. We’re going to use the four M2.5x6mm standoffs that are supplied with the kit. Don’t use the ones with the Ice Tower assembly as these are often M2.5x7mm standoffs which are too high for the port cutouts on the front and sides.
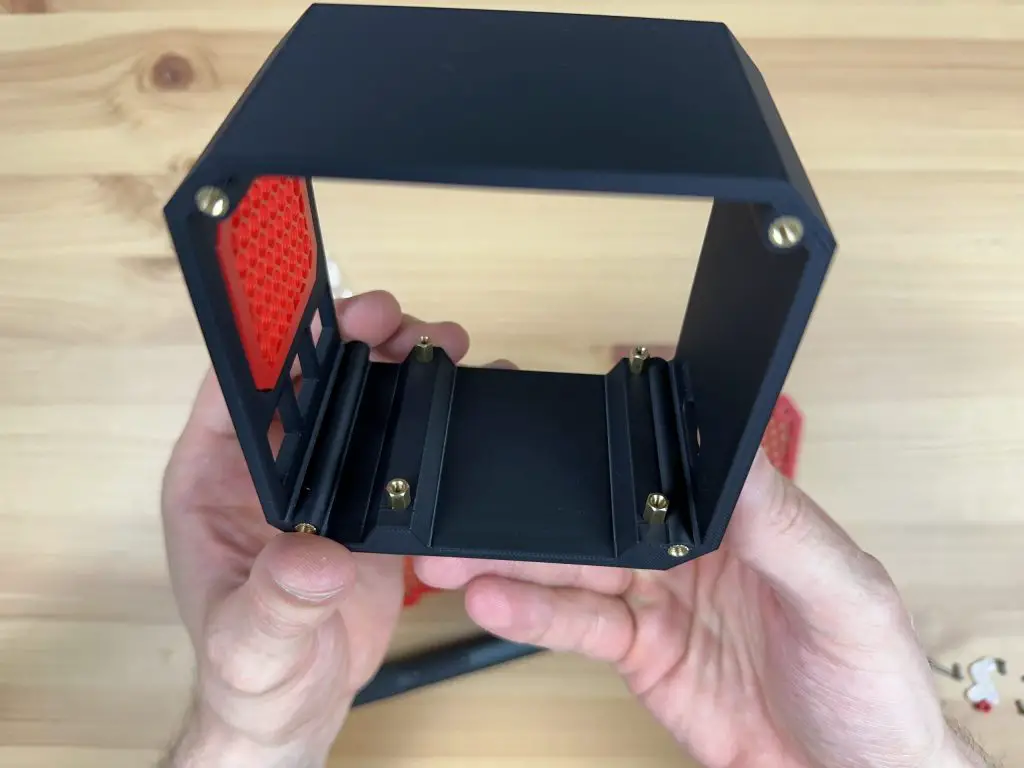
Secure each standoff with an M2.5 nut on the bottom. It can be quite fiddly to hold these in place while tightening them if you don’t have small fingers, a pair of needle nose pliers help with this step.
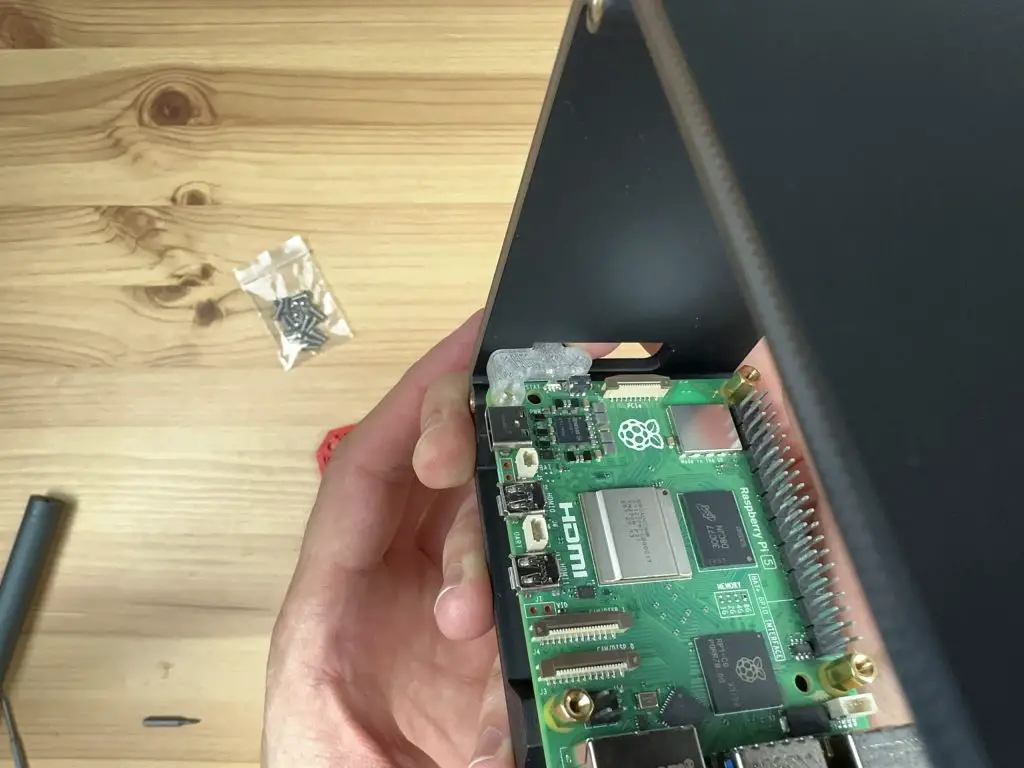
Now we can install our Raspberry Pi 5 on the standoffs. This is held in place with three M2.5x7mm standoffs that come with the Ice Tower cooler kit. We do not need to install a standoff on the mount closest to the power port as this is going to be used for the button adaptor. Leave this hole empty for now.
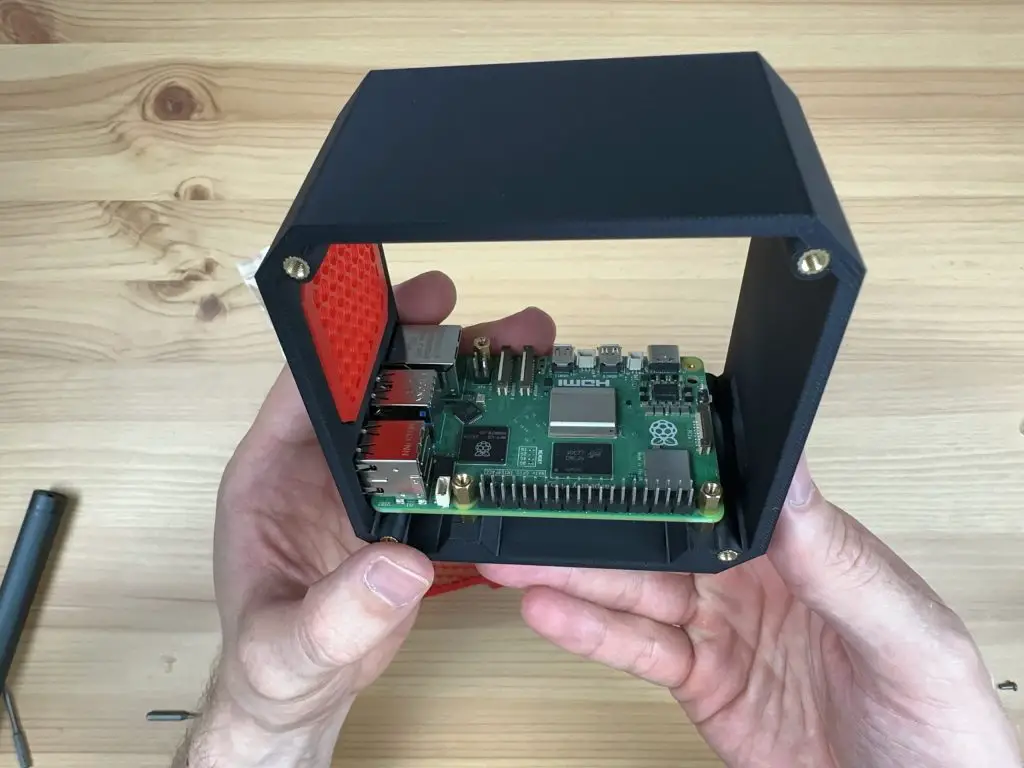
Next, we can position the button adaptor over the remaining mount. Slide the button adaptor into position through the slot at the back of the case in the orientation shown below. It should go in easily – do not force it passed the LED or button as you may damage them. If you feel resistance, rather try to remove and reposition it until it slides into place without interfering with the surrounding components.
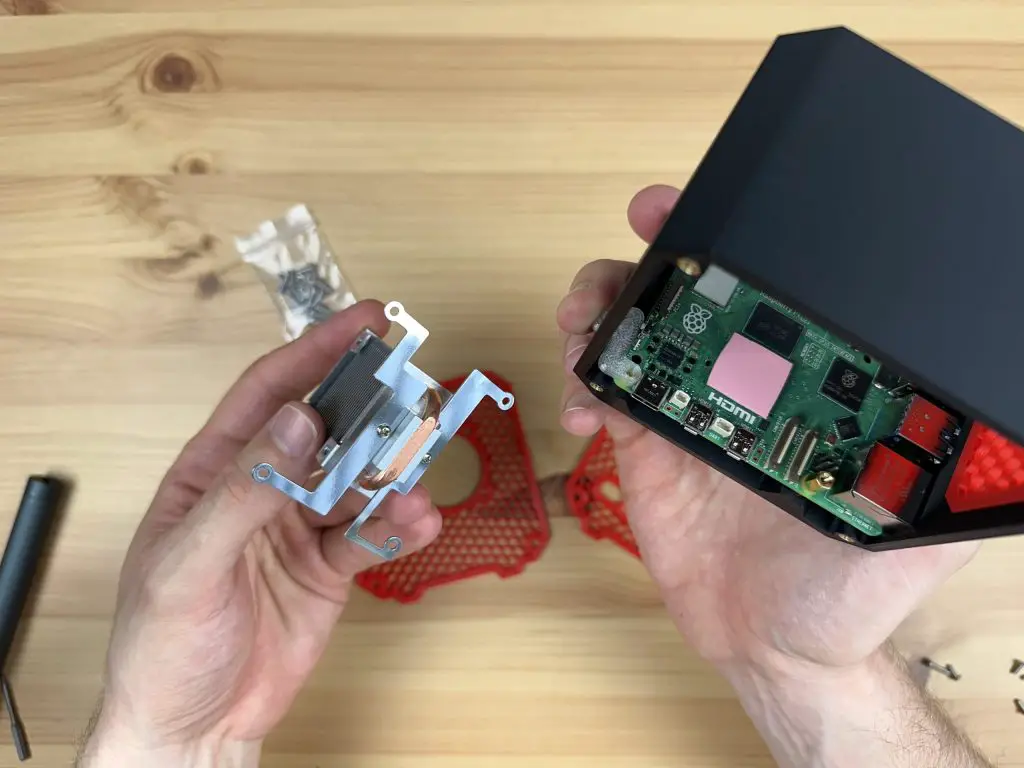
Now we can install our Ice Tower cooler. Before we install it, we need to remove the fan by removing the four M3 screws in the corners. We’re going to be installing the fan on the side panel.
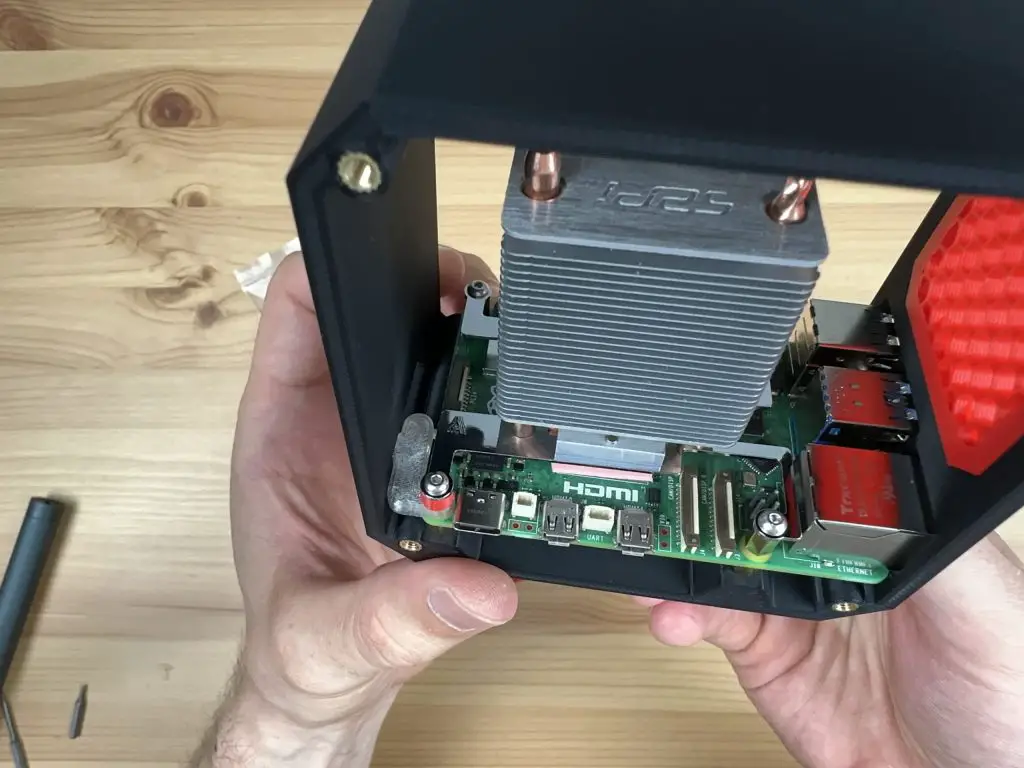
Remember to add the thermal pad to the CPU before putting the cooler into place. Secure the cooler with three M2.5x6mm screws that are supplied with the cooler, one into each of the brass standoffs. Again leave the button adaptor unsecured for this step.
Now use the M2.5x12mm button head screw that was supplied with the case kit to hold the button adaptor in place. You’ll need to add the small coloured spacer between the button adaptor and the leg of the Ice Tower cooler as well.
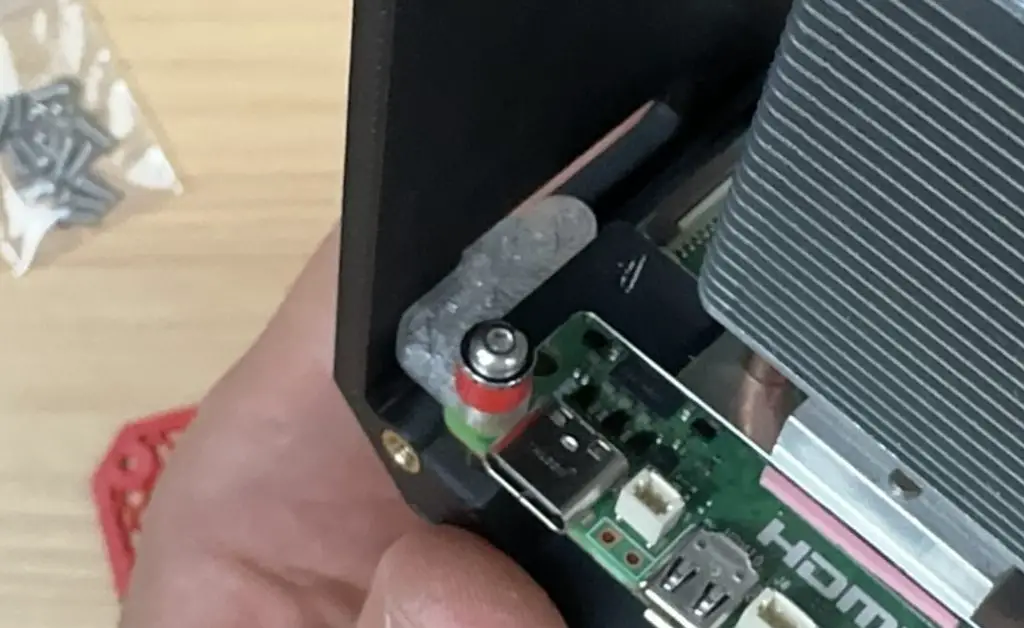
Do not overtighten the screw as you need the button adaptor to be able to move to push and release the button. You should be able to feel the button press and release easily through the button adaptor.

Next, we can mount the fan onto the side panel. We’re going to use the same method that I used on my other case designs where the screws do not go all the way through to the back of the fan. We instead press the M3 nuts into the front of the fan and the screws then hold these in place against the side panel.
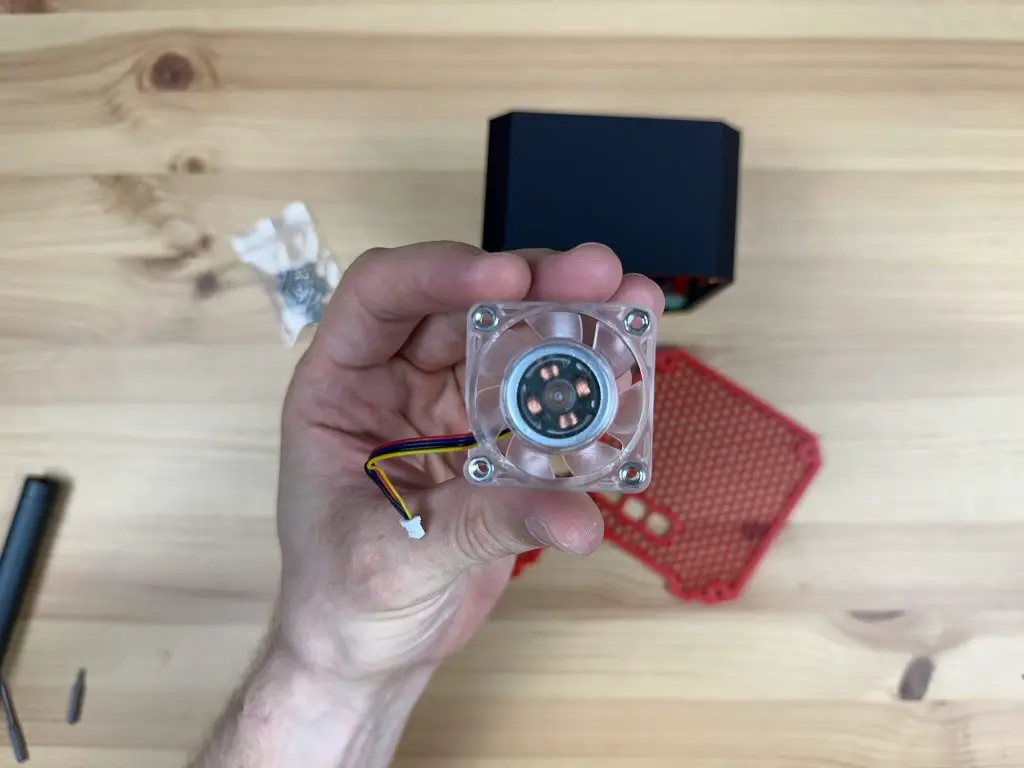
It is easiest to press these into place by placing the nuts onto a flat surface and then pushing each pocket in the corner of the fan down onto the nut. The nut is in position when it is flush with the face of the fan.
The fan can then be mounted onto the side panel using either the M3 screws that held the fan onto the Ice Tower cooler or the M3x8mm button head screws supplied with the kit. The ones supplied with the kit will give the case a more uniform appearance as they match the side panel screws.
Position the fan cable on the bottom left when looking at the fan as shown below. This allows it to be as close to the fan port on the Pi 5 as possible.

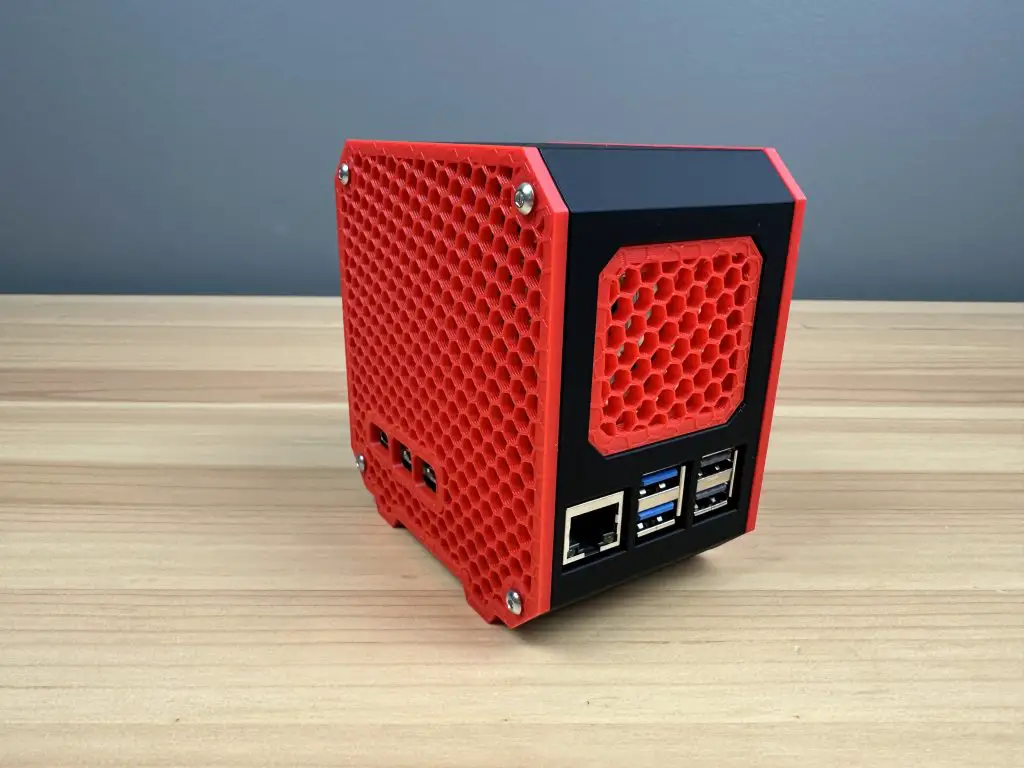
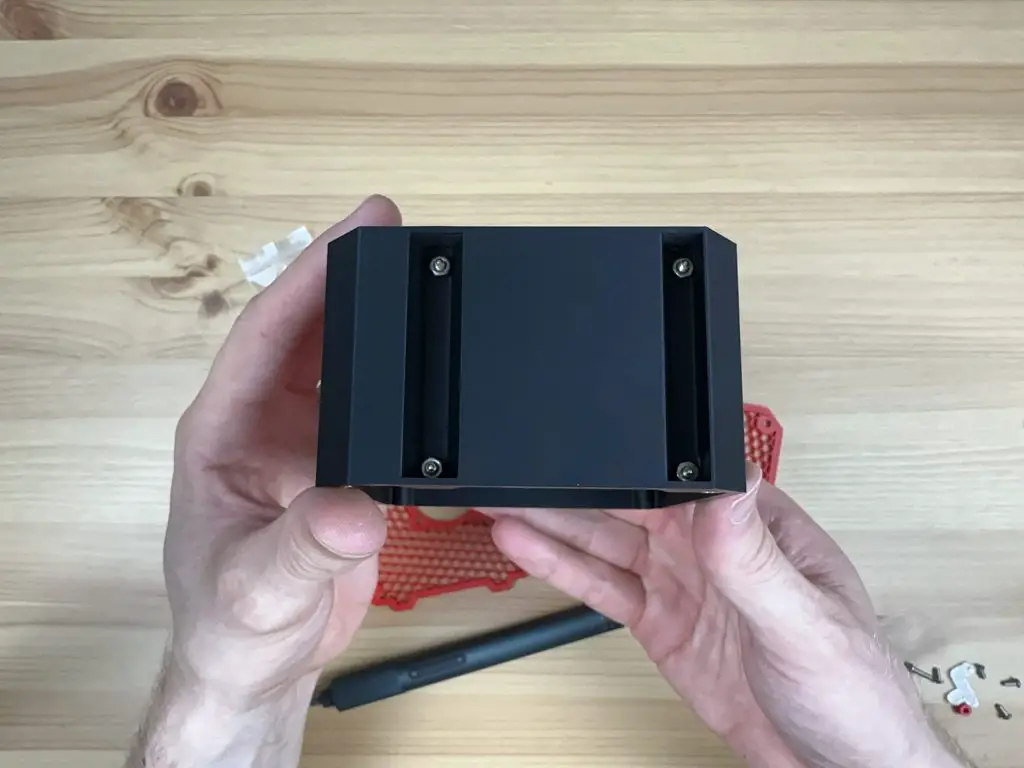
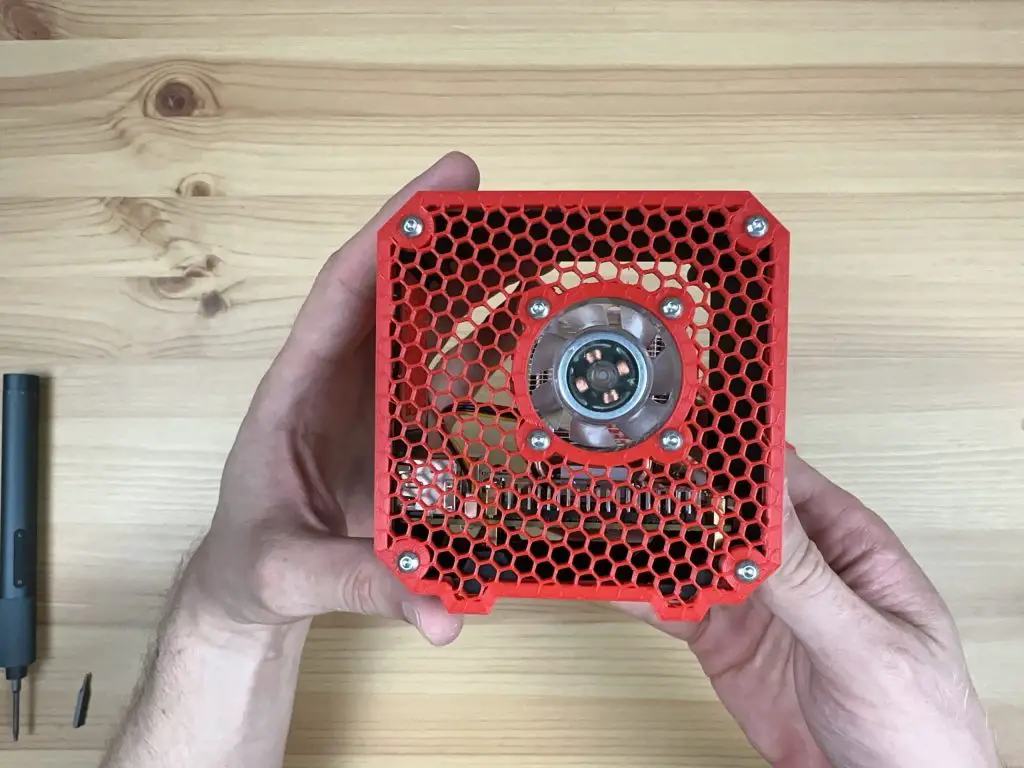
Next secure the two side panels on the body of the case with 8 M3x8mm screws, four for each side panel. Remember to plug the fan into the fan port on the Pi 5 before closing up the side panel.
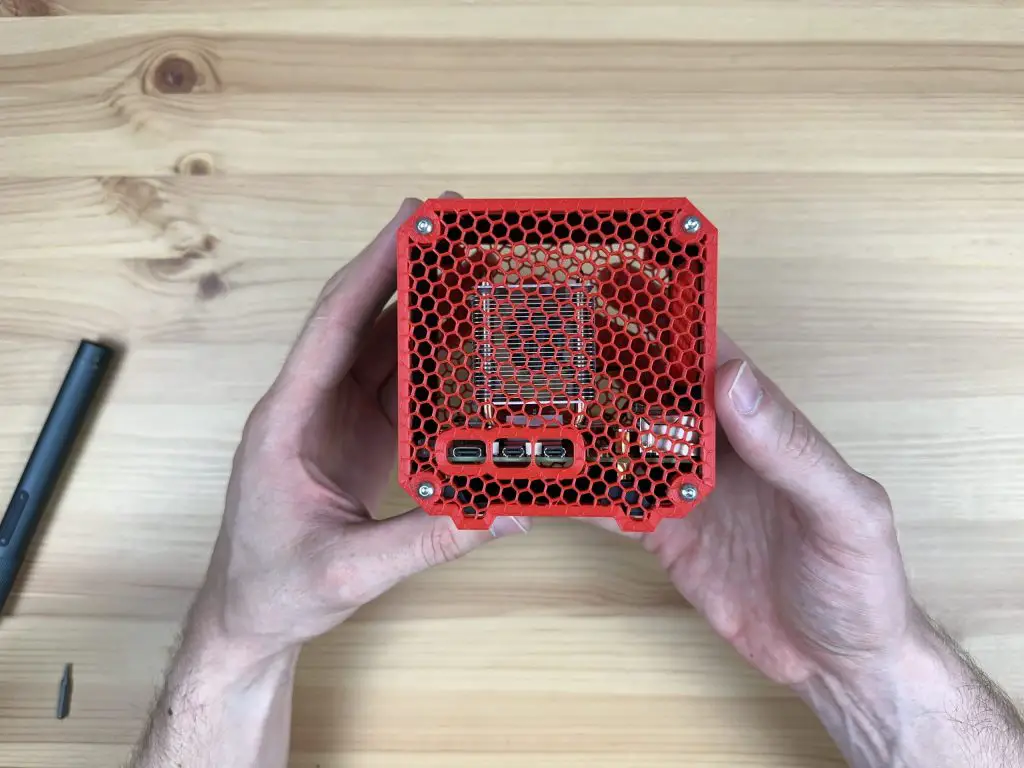
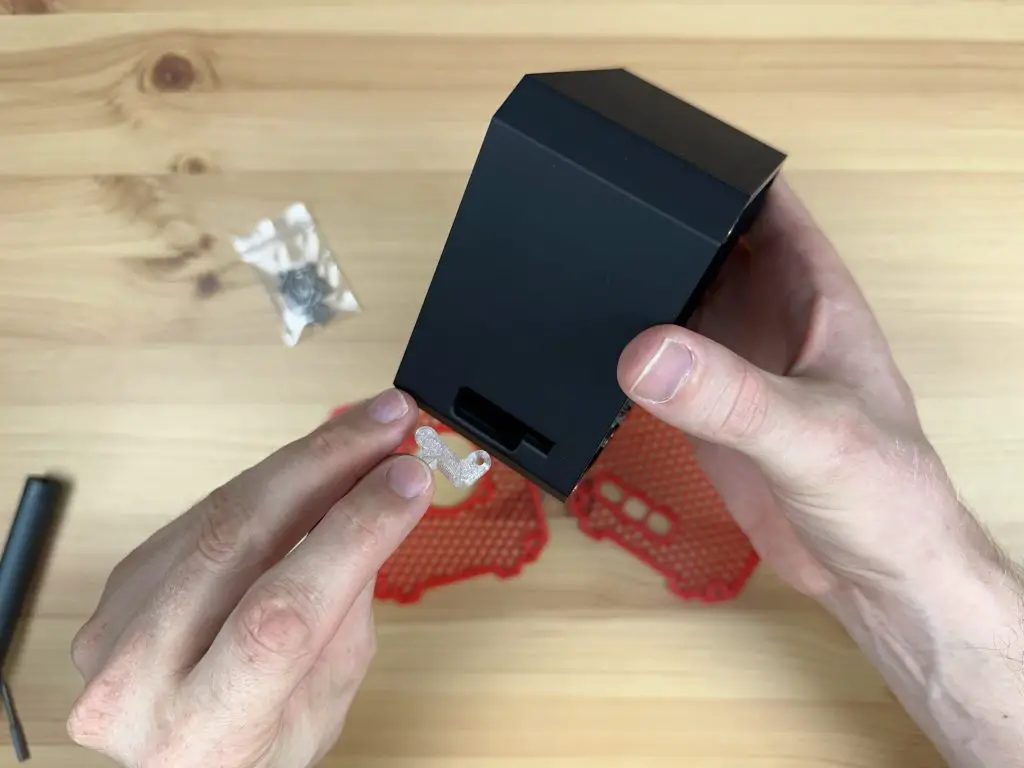
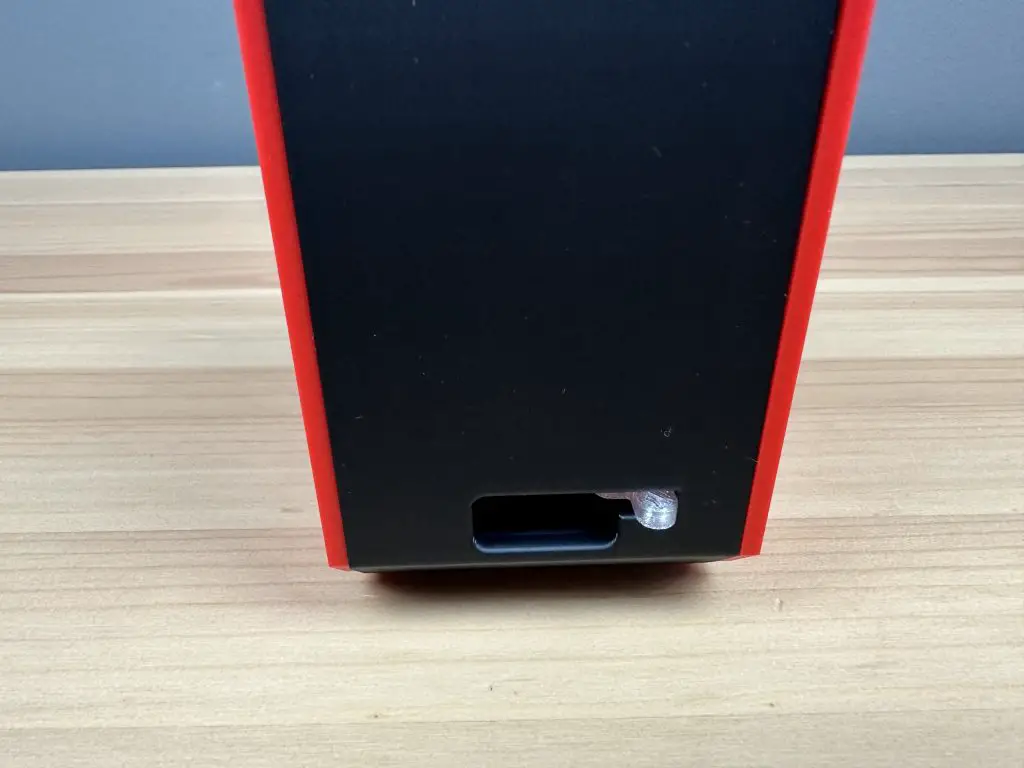
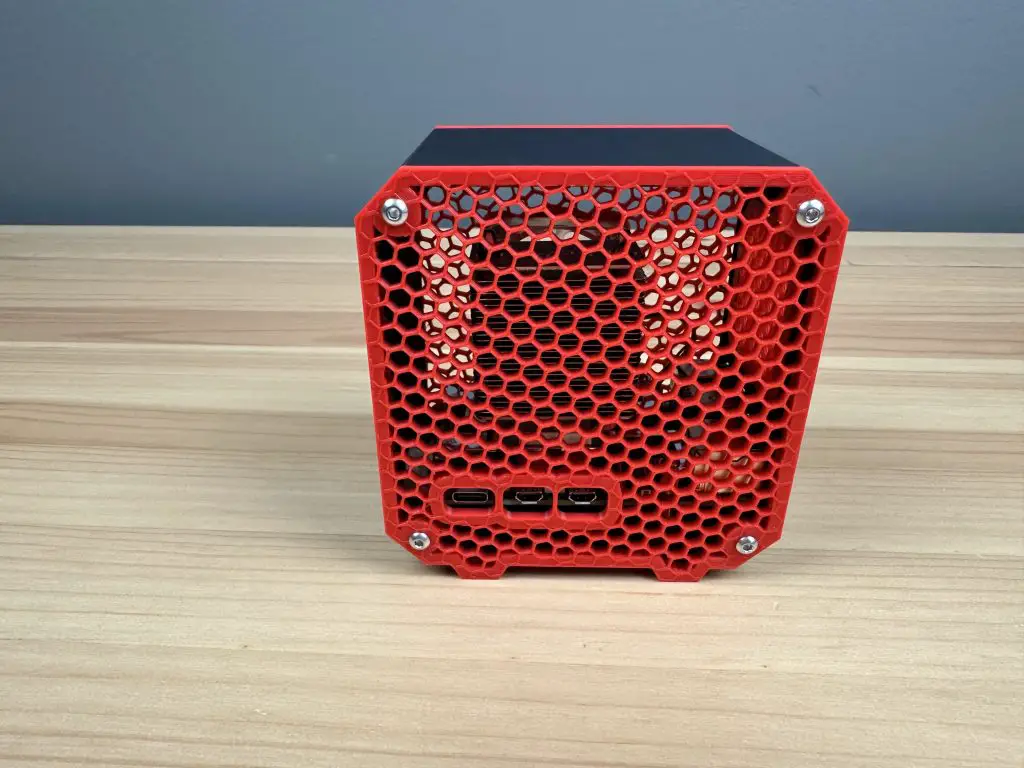
And that’s the case complete. You can now flash your operating system to your microSD card and insert it into the Pi through the slot at the back.
Enjoy your new Raspberry Pi 5 Desktop Case!
Will you be making a version of the case that will accommodate an SSD or UPS (or even better, both)?
Also will the print files be available to purchase on Etsy?
Yes once these are released for the Pi 5 I’ll make variations of the case to fit them.
I’m working on a set of print files for Etsy as well.
It’d be nice to have an OLED front display.
Unfortunately the new Pi OS Bookworm no longer supports PIP, which means most of the libraries used for the display no longer work. It’s going to take a while to get these all fixed and able to run on the new OS, I’ll then put the display back onto the case.
I got it working, but I had to put –break-system-packages at the end.
where can i get the stl files?
when can you figure out gpiozero in order to use you pwm code on pi 5? have can i add multiple fans on the pi 4 version?
do you have a location where I could purchase these stl files so i may print out this Rpi 5 case?
Thank you
Shannon
Hi, good job… I have MKS PI, it’s possible to create a box for ? Thanks