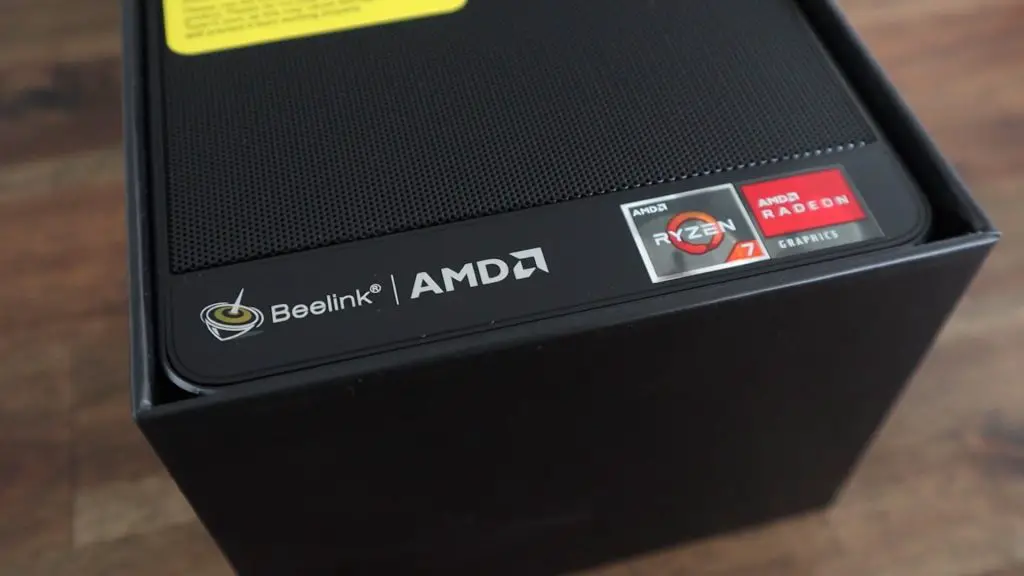
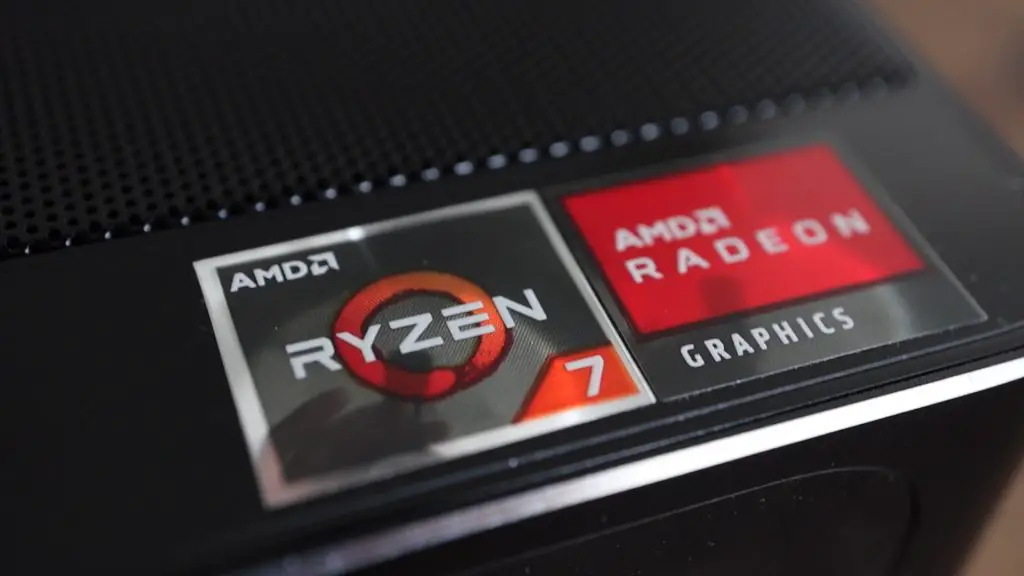
Today we’re going to be taking a look at the new SER 3 series Mini PC from Beelink which has an AMD Ryzen 7 3750H processor and Radeon RX Vega 10 graphics.
People often ask me if they can run Windows on their Raspberry Pi, and I generally answer this by saying that – yes, there are ways to run windows or windows look-a-like operating systems on a Raspberry Pi, but you’re better off running Windows on a system that was designed to run it. That’s what the SER 3 is, it’s a mini PC that has been specifically built to run Windows, and to run it really well.
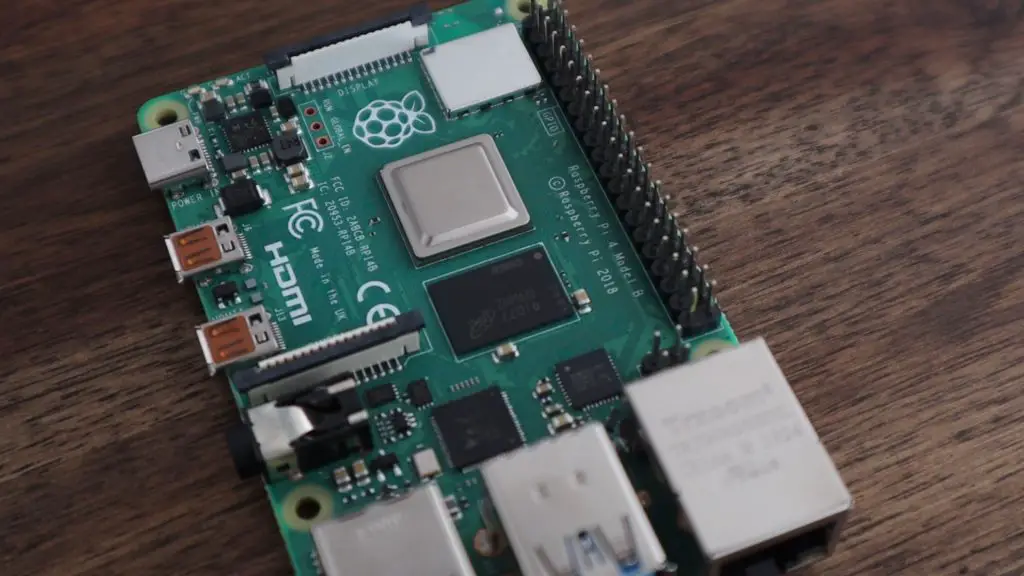
I’m obviously not comparing the SER 3 to a Raspberry Pi. This is a way more powerful computer, and it also costs a few times more than even the most powerful Pi. But, this is a compact computer that can easily be used in similar mobile environments.
Here’s my video of the unboxing and new case build, read on for the write-up:
Where To Get The Beelink SER 3
Beelink’s full range of Mini PCs are available through their website and a number of them are also available on Amazon.
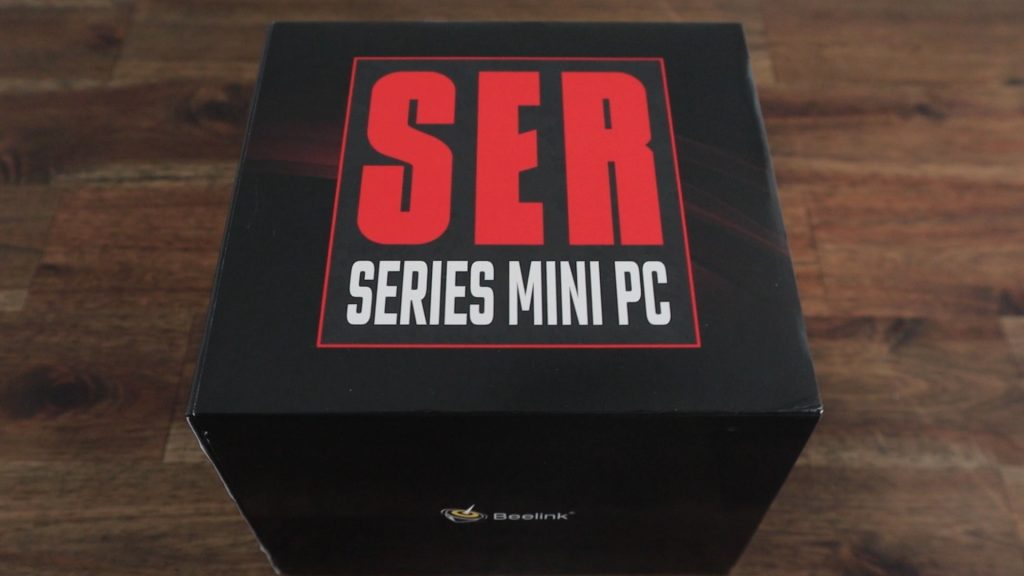
Unboxing the SER 3 Mini PC
The SER 3 comes in a black cubic box with prominent red text on the front. It has some information on the specifications on the back, but there isn’t much else printed on the box.
Inside the box, we’ve got the SER 3 on the top, which is protected by a layer of foam on the top and bottom. Taking it out of the box, it’s got some weight to it and the full metal enclosure is cold to the touch. It immediately feels like a well-built and good-quality computer.
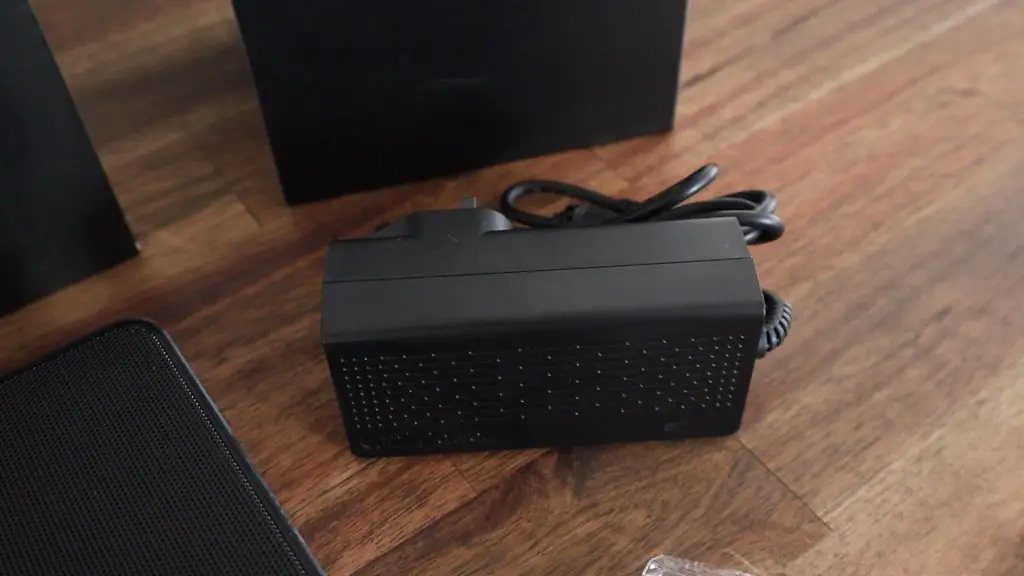
Underneath the computer is the user manual and in a compartment below that we’ve got a power adaptor, HDMI cable, short HDMI cable, VESA mount to attach it onto the back of a monitor or onto a wall, and a pack of screws.
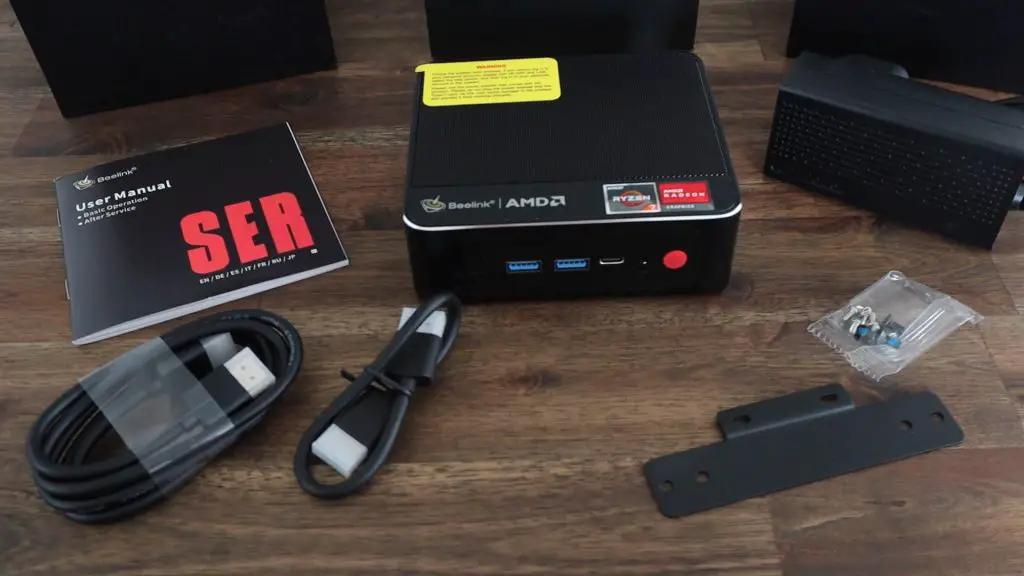
I like the addition of the mount and short HDMI cable so you don’t need to buy any additional hardware to mount it onto the back of your monitor.
The power adaptor is quite large, being able to supply 3A at 19V, or a total of 51W. It’s pretty similar to a typical laptop charger although the plug is integrated into the adaptor, whereas most laptops have another lead to the plug. It would have been nice to have swappable plug designs to suit different countries, but this isn’t really a big deal.
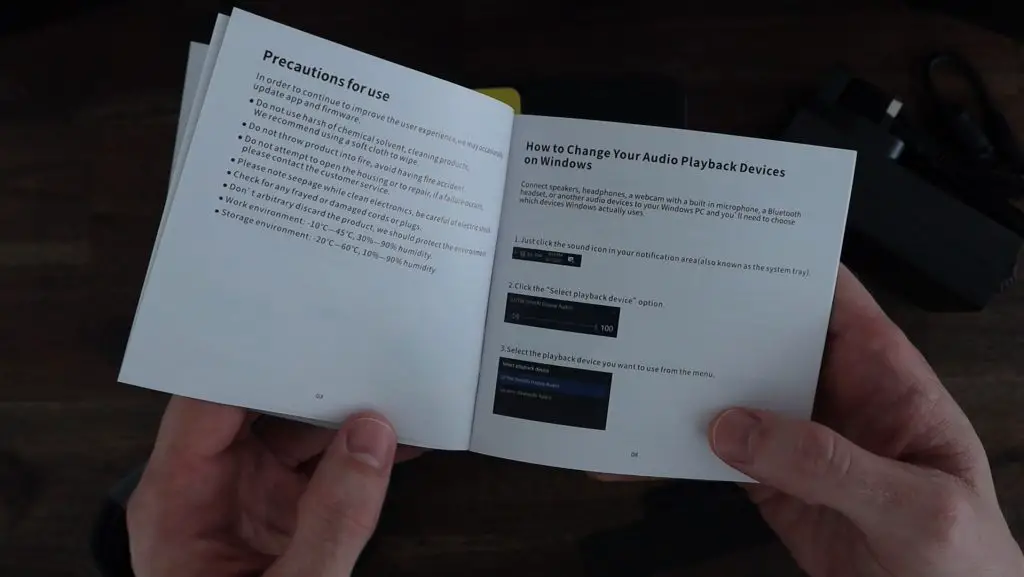
The user manual covers all of the basic functions and how to use the mounting hardware.
Exploring The SER 3 Hardware
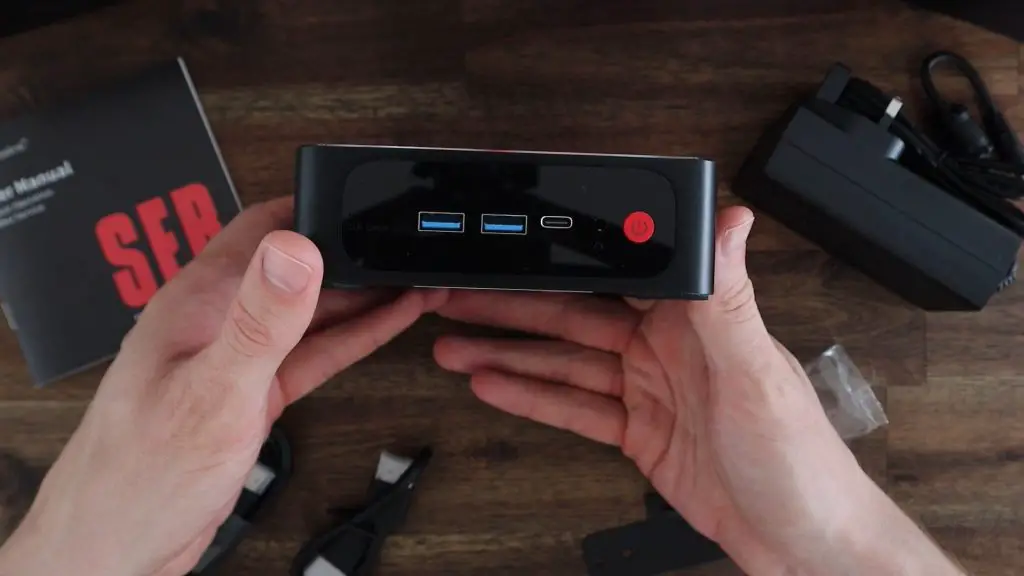
On the front of the computer, we’ve got two USB 3.0 ports, a USB C port, a 3.5mm audio port, and a power button. This USB C port is able to drive a third monitor (in addition to the two HDMI ports on the back). I like that you have the option to be able to drive an additional monitor with it, but I probably would have preferred it to be on the back if I was going to use a USB C monitor full-time. That said, for my use case, I like having the USB C port on the front.
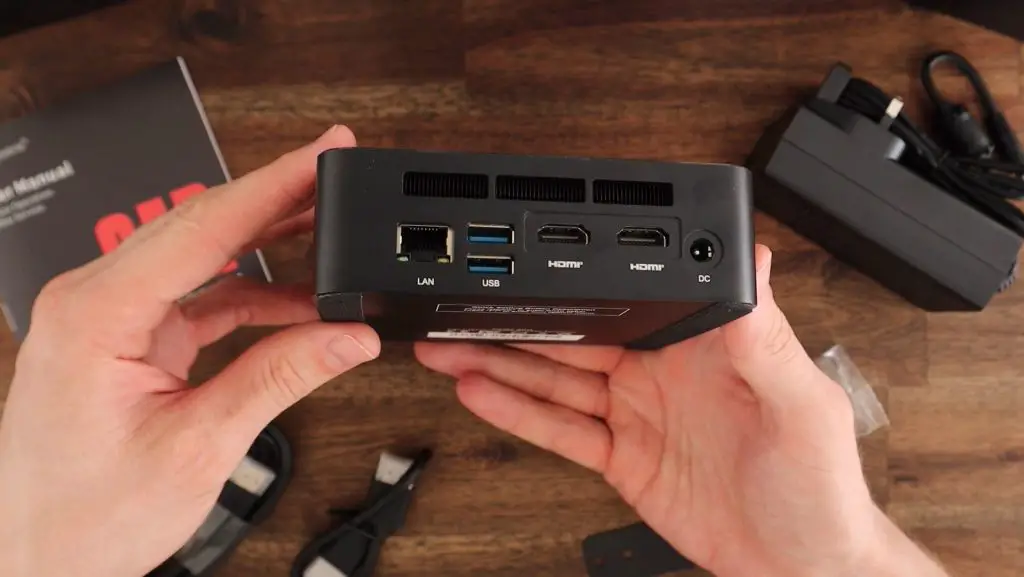
There are cooling vents on either of the two sides. On the back, we’ve got the processor fan exhausts along the top and an Ethernet port, two more USB 3.0 ports, two full-size HDMI ports, and the power port underneath them.
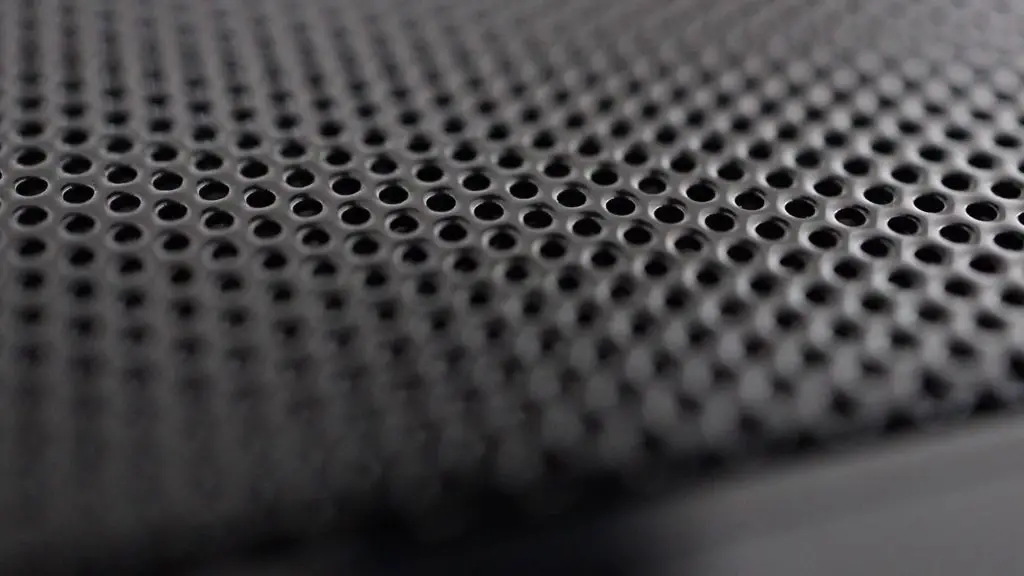
The top of the case is also vented to provide airflow to the CPU fan. I like the fine mesh finish rather than having some sort of fan intake pattern. It gives it a more refined look.
The computer is powered by an AMD Ryzen 7 3750H processor, which is a 4 core, 8 thread processor that runs at 2.3 GHz with a maximum boost up to 4GHz.
Graphics are provided by a Radeon RX Vega 10 GPU which can drive up to 3 external displays, two through HDMI and one through the USB-C port on the front.
Let’s open it up and take a look at the internal components.
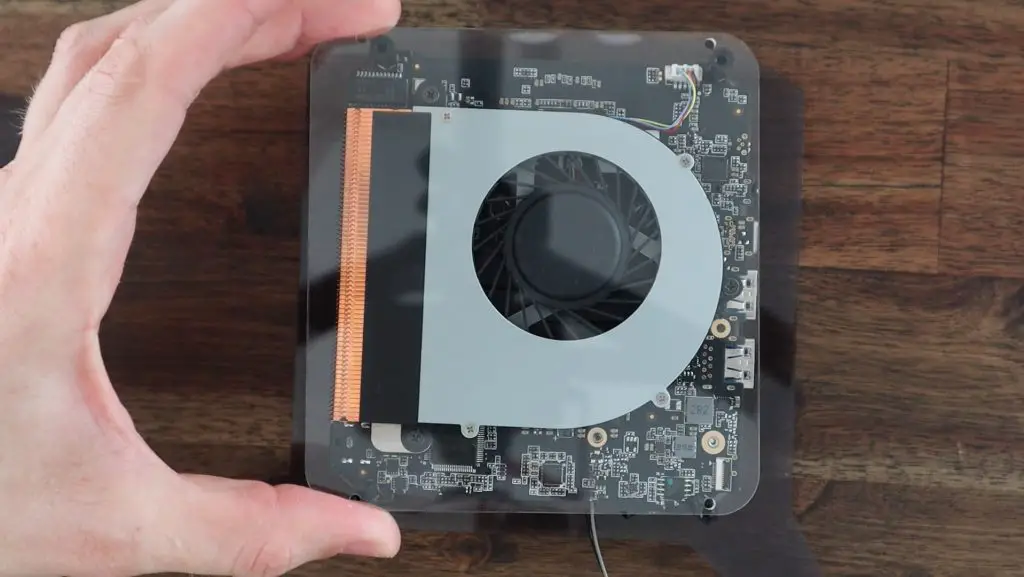
Under the all-metal shell, we’ve got a compact motherboard. This particular version has 16GB of DDR4 RAM and a 512GB NVME SSD. These are expandable to 64GB of RAM and a 2TB NVME drive, it also has a bay for up to a 1TB 2.5-inch drive on the right side.
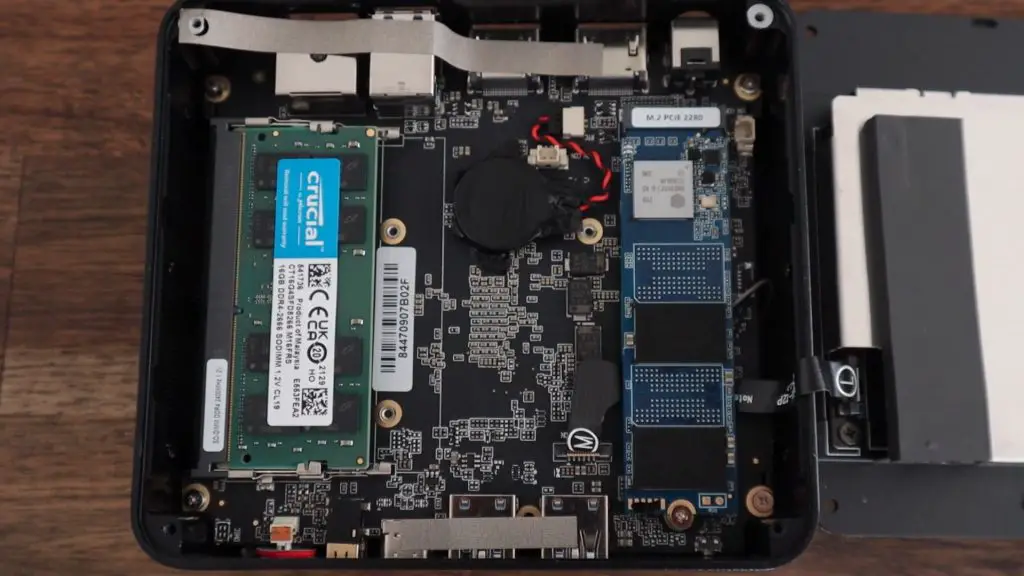
As far as connectivity goes, it’s got gigabit Ethernet, dual-band WiFi, and Bluetooth 4.0.
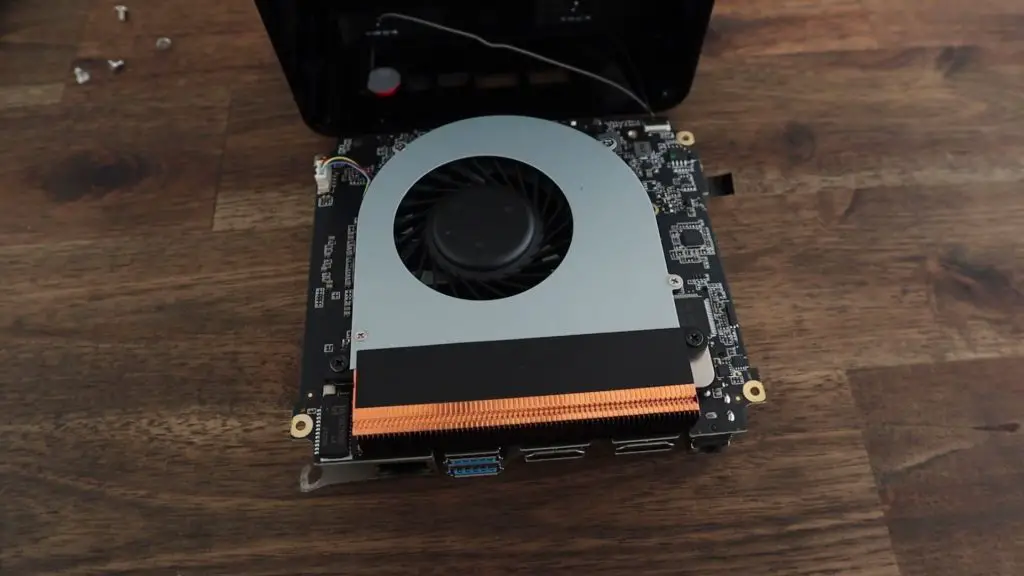
On the other side of the board is the processor and its cooling fan. The cooling system is a heat pipe and fan assembly as typically used in laptops.
Running The Beelink SER 3
When you first turn it on, it’ll take you through the usual Windows setup process on a fresh install of the operating system. It is shipped out with Windows 10 Pro loaded, so you’ll need to run an upgrade to get it onto Windows 11.
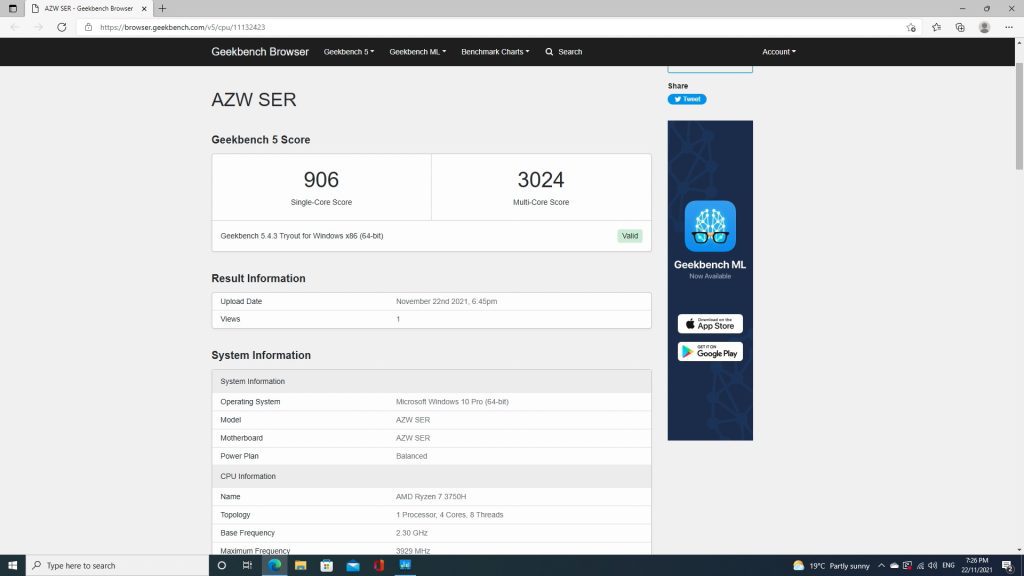
I decided to run a quick Geekbench CPU benchmark on it. With Geekbench opened up, you can see the 16GB of RAM listed as well as the processor clock speeds.
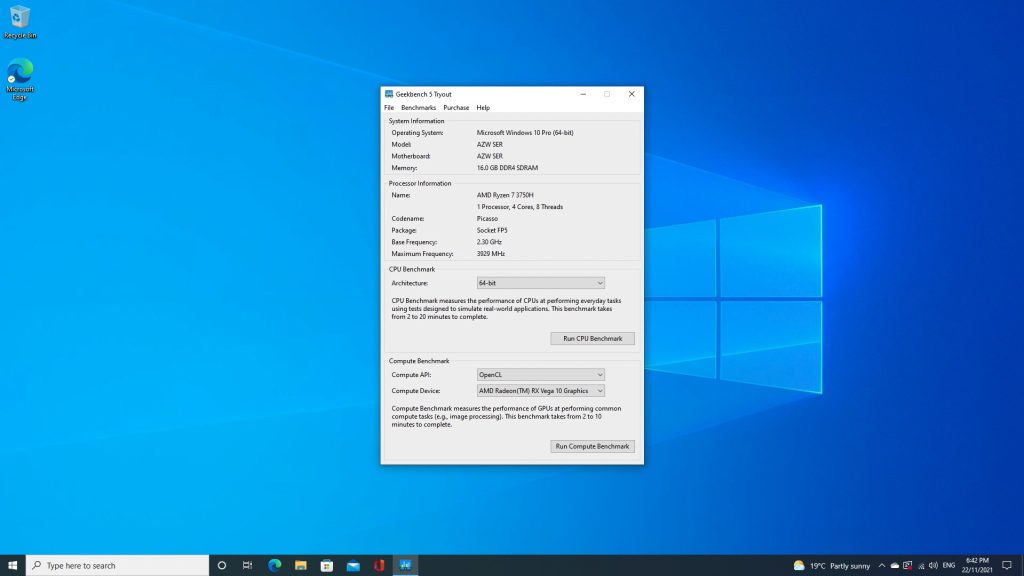
I ran the CPU benchmark and got a single-core score of 906 and a multi-core score of 3024, which for a computer of this size is not all that bad.
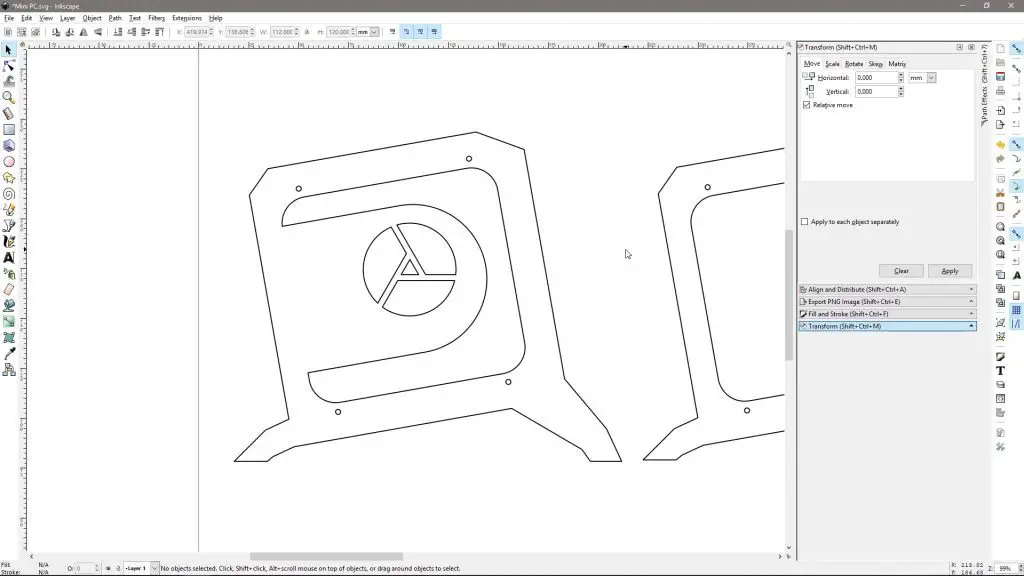
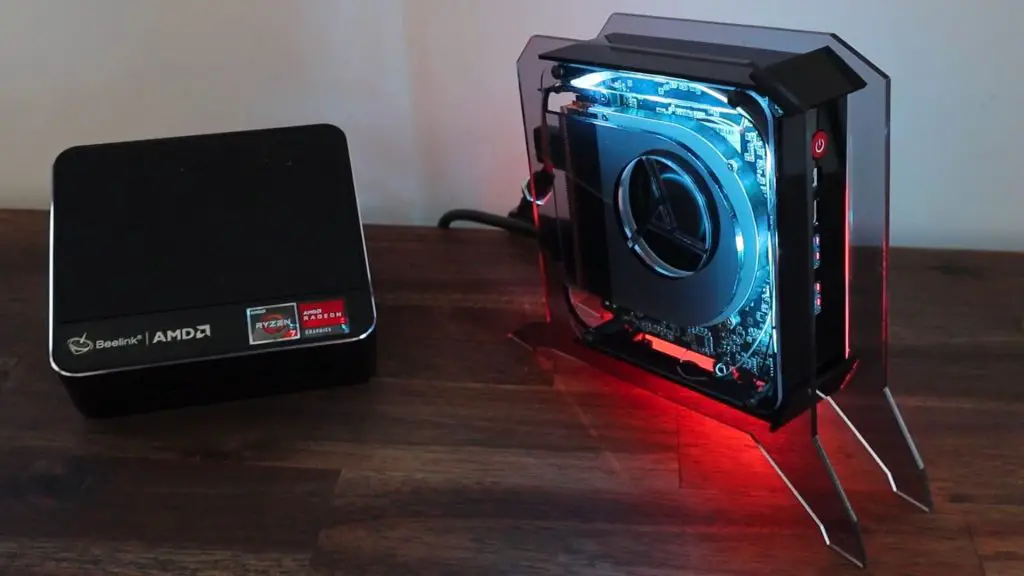
Designing and Building A New Case For The Beelink SER 3
Now that we’ve had a look at the specs, I thought it would be a good idea to take it overboard and design a new case for it. The stock case has a really clean and minimalistic look that fits in well on a modern desk, but I’d like it to be a bit more eye-catching.
So let’s open up Inkscape and get to work on a design for a new case.
I want to stand the computer upright, more like a traditional PC and I want to add clear acrylic side panels so that the internals are visible. A bonus is that both sides of the computer are interesting to look at, so I can add clear panels onto both sides of the case.
Take a look at my video on how to design your own Pi cases in Inkscape.
My idea was to build the body of the case out of dark-tinted acrylic so that it is still partially translucent and then add the clear panels on the sides to highlight the internals.
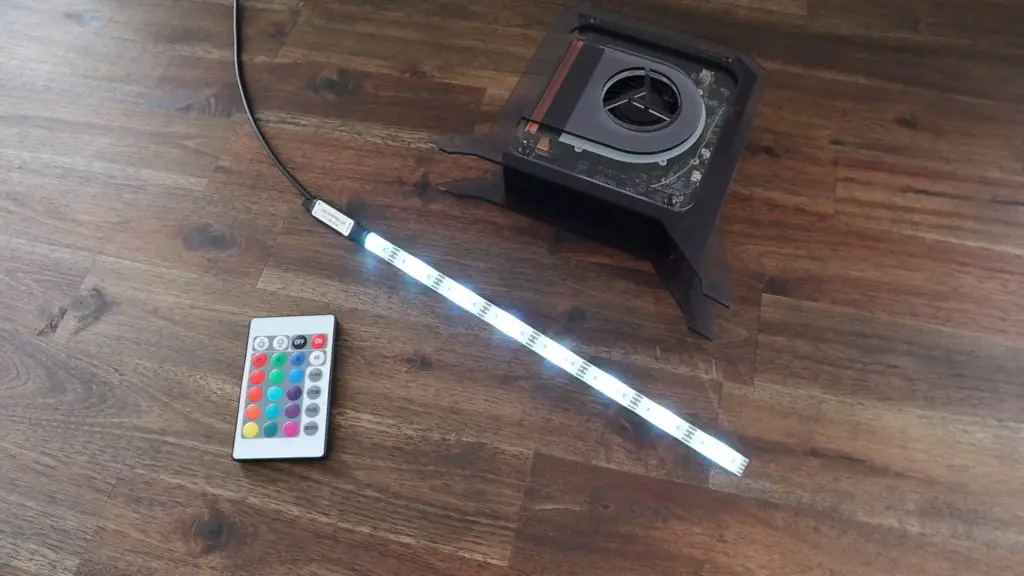
I also plan to add some LED strip lights to the inside to illuminate the components.
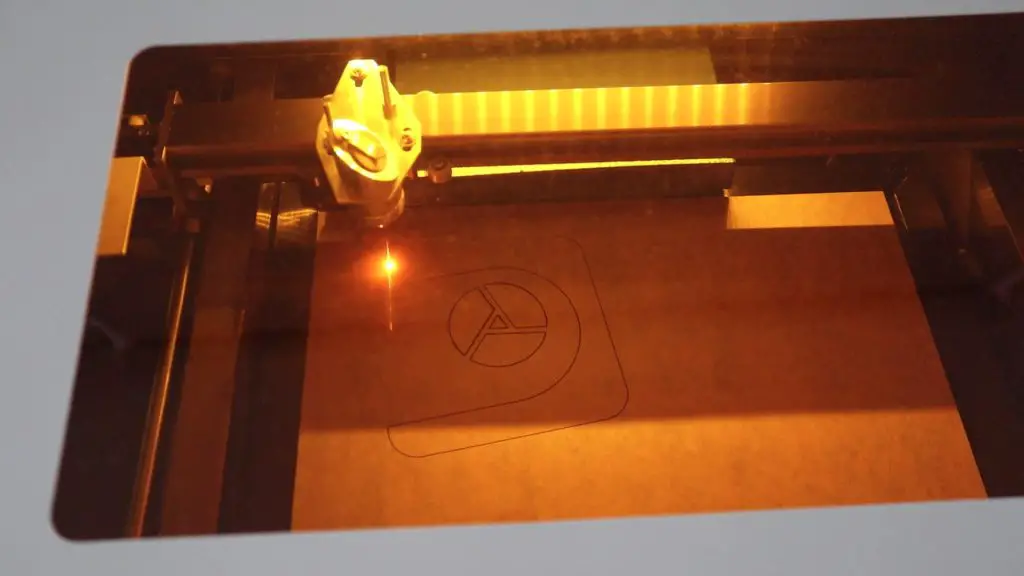
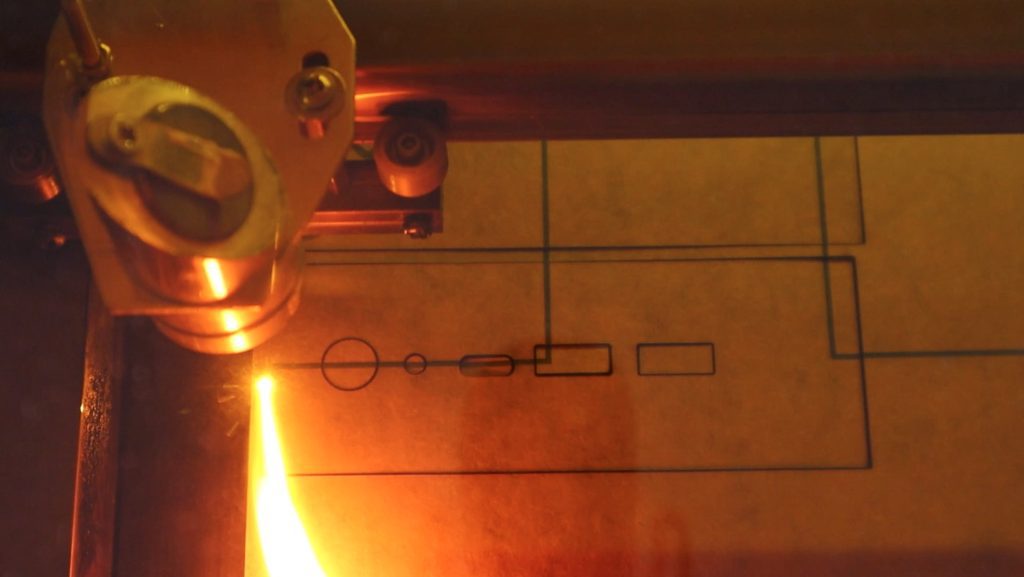
Now that we’ve got a design, let’s cut the parts out on my laser cutter.
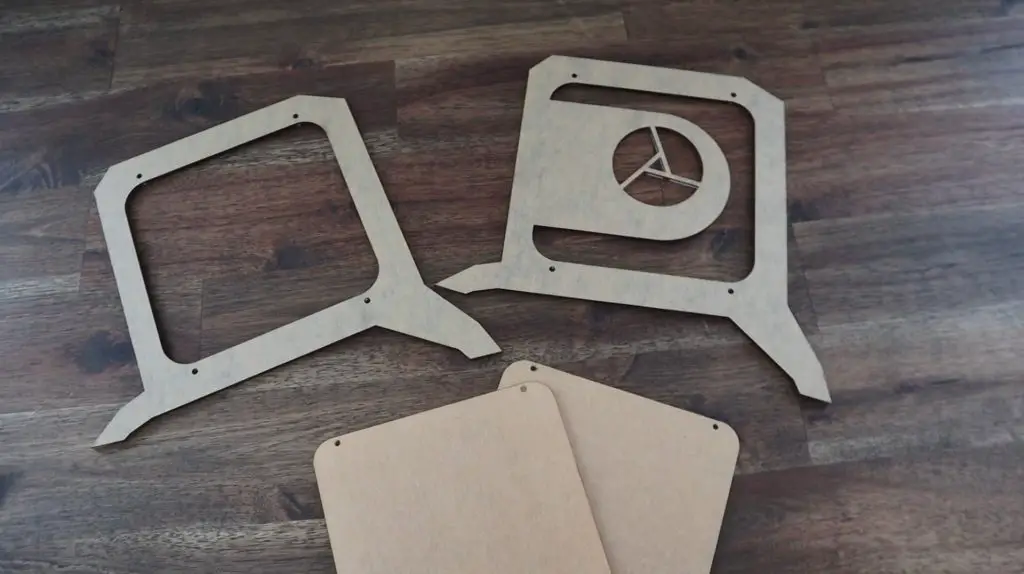
I’m going to use some nylon standoffs to mount the computer between the side panels and I’ll then measure and make up the filler pieces and port cover plate.

I realised that I didn’t make a cutout for the fan on the one clear side, so I had to revisit the design to add it afterward.
I then measured up and cut the filler pieces.
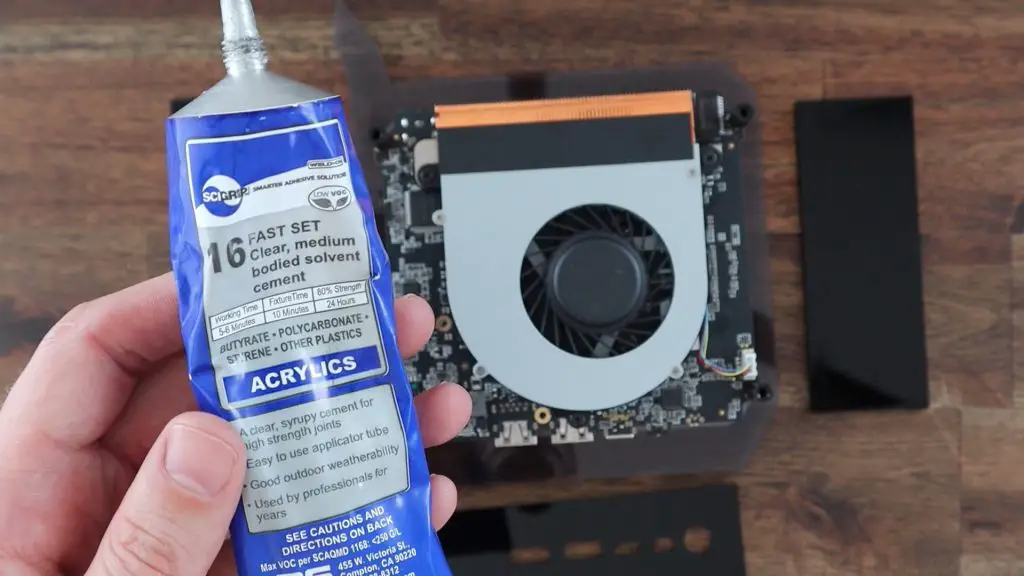
The sides are just glued into place along one edge using acrylic adhesive. I usually use a Fast Set Acrylic Adhesive.
Now let’s add some LEDs to the inside of the case to light up the internals. I cut the LED strip into two sections of 6 LEDs each and glued the strips into place around the edge of the case. I had to solder a short jumper between the strips on each side of the case.
And that’s the case complete. Let’s turn it on and see what it looks like.
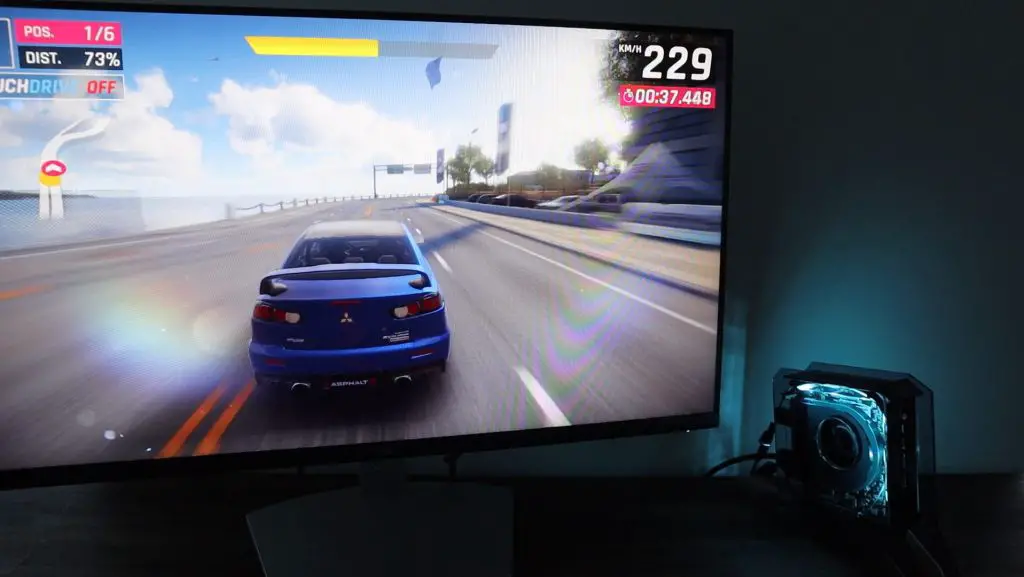
Using The SER 3 Mini Ryzen 7 Gaming PC

So now we’ve got a mini Ryzen 7 gaming PC. Obviously not having a standalone graphics card has its performance limitations, but it works well for light gaming and in a tiny package, so it’s great for taking along when you’re traveling.
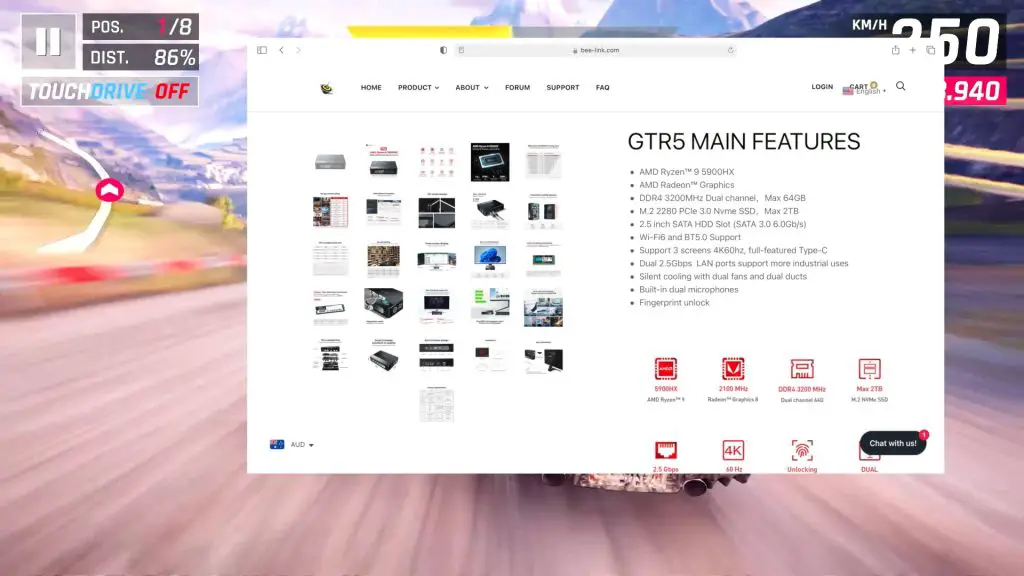
Beelink have also recently released their Ryzen 9 version of these mini PCs, called the GTR 5, I’d definitely recommend having a look at it if you’re interested in a more powerful mini PC – particularly if you’d like to use it for gaming. They’ve currently got an Indiegogo campaign running for them and they expect to start shipping them out this December.
Let me know what you think of the case design in the comments section below. Do you prefer the original modern metal enclosure or the acrylic gaming style case?
Hi
I wonder if you could tell me what size the stand offs you used for this project.
Are they the same used for the Rasberry Pi.
Can you upgrade the CPU to a Ryzen 9 on the SER 3, or is it soldered to the board?
Is the CPU soldered to the board, or can I upgrade the CPU?
Where can I get that case??
Would you sell your templates for a one time use? I would like to get one cut. I see people offer acrylic cutting sevices
Plastic side pieces? RFI emitter. No thanks.
Hey! Can you provide the template for inkscape to print one of these myself? It’d be greatly appreciated!