Today I’m going to see if I can use a PC water cooling kit to make a water cooled Raspberry Pi 4. I’ve seen a couple of people try this on older model Pi’s, using reducers and adapters to get to a small cooling block onto the CPU, but I’m going to try and make an adapter to fit a larger 30mm cooling block onto a Pi 4.
Just to be clear, this is totally unnecessary and is more of a let’s do it because we can, not because we should type of project. But we’ll have fun building it anyway, and hopefully it works well in the end!
Here’s a video of the build and the test, read on for the write-up:
What You Need For A Water Cooled Raspberry Pi
- Raspberry Pi 4 – Buy Here
- Pi Power Supply – Buy Here
- 120mm Water Cooling Kit (Not From Amazon) – Buy Here
- 240mm Water Cooling Kit (Larger, But From Amazon) – Buy Here
- Water Cooling Block Kit For Raspberry Pi 4 – Buy Here
- Alternate to Above – CPU Cooling Block (Not From Amazon) – Buy Here
- Adjustable 12V Power Supply – Buy Here
Note: Some of the above parts are affiliate links. By purchasing products through the above links, you’ll be supporting this site, at no additional cost to you.
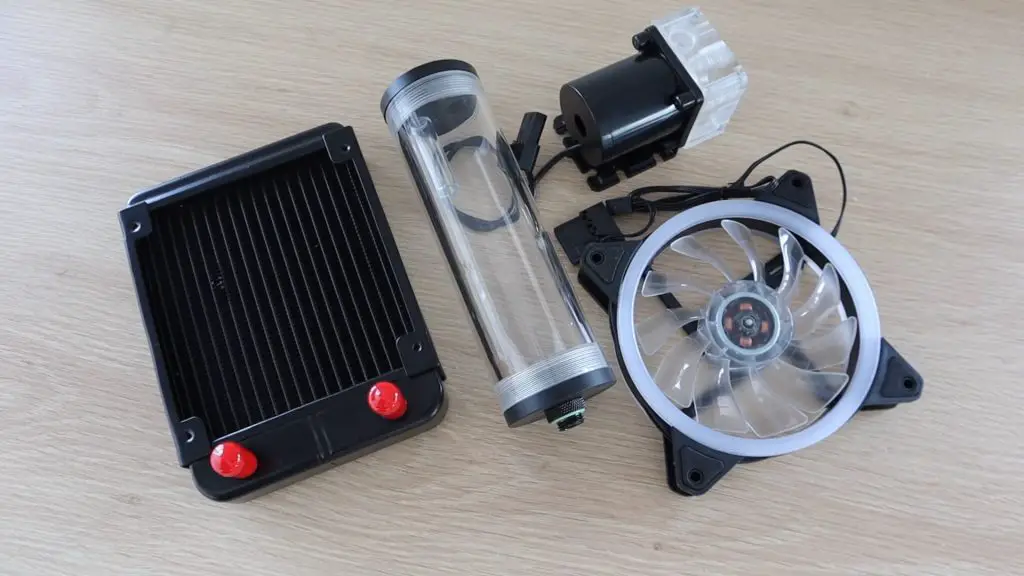
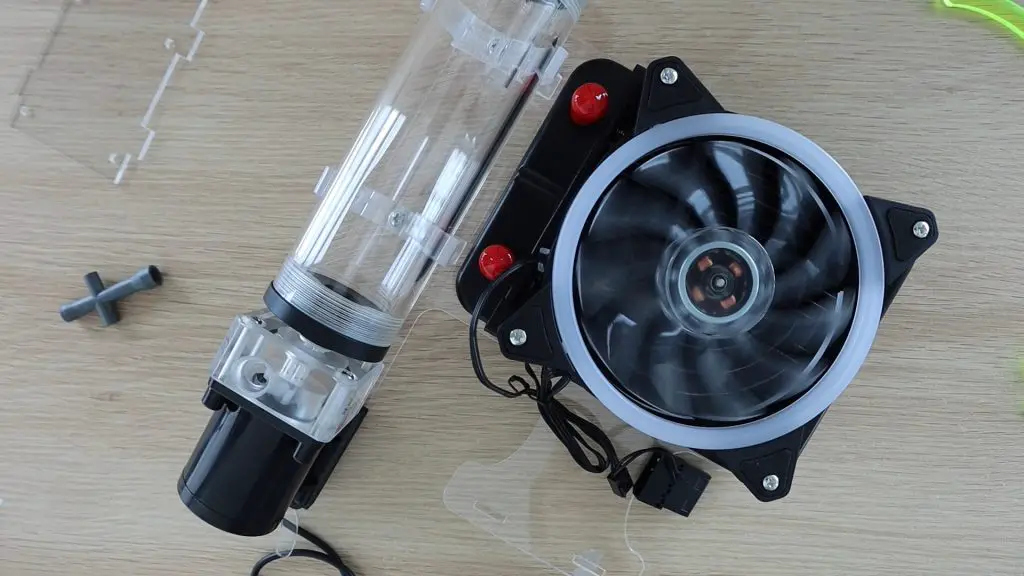
I bought a kit that included a 120mm fan and a radiator, a 12V pump, a reservoir and some tubing. These kits are commonly available online for significantly less than the name brand components sold for high-end PCs, but it’s still quite expensive just to mess around with.
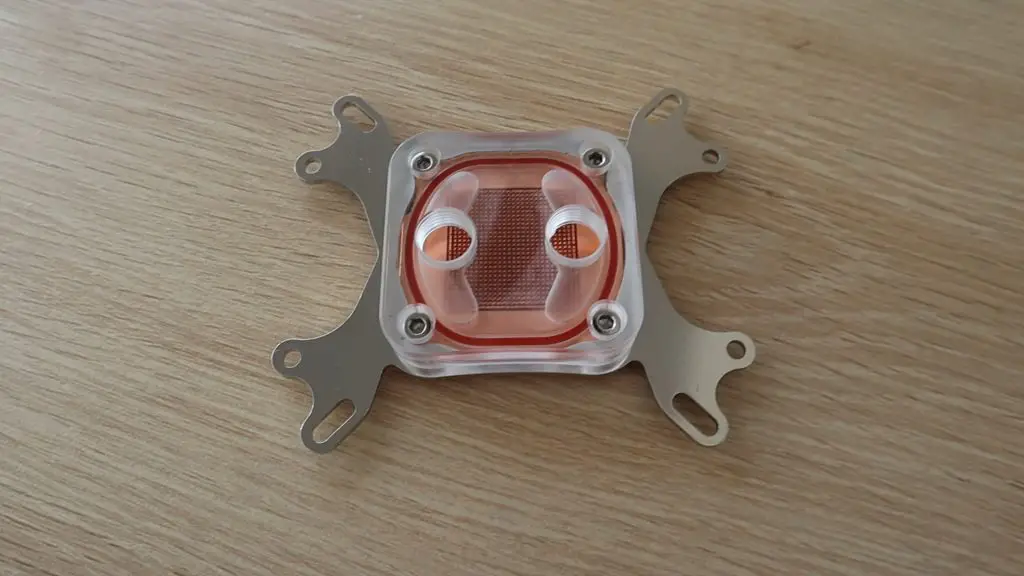
The kit also included a full size CPU cooling block. It looks quite cool (excuse the pun) but is way too big to try and fit onto the Pi, so I’m going to be using one of these smaller 30 x 30mm blocks which can accommodate a half-inch or 12mm tubing.

Building The Water Cooled Raspberry Pi 4
Mounting The Cooling Block To The Pi
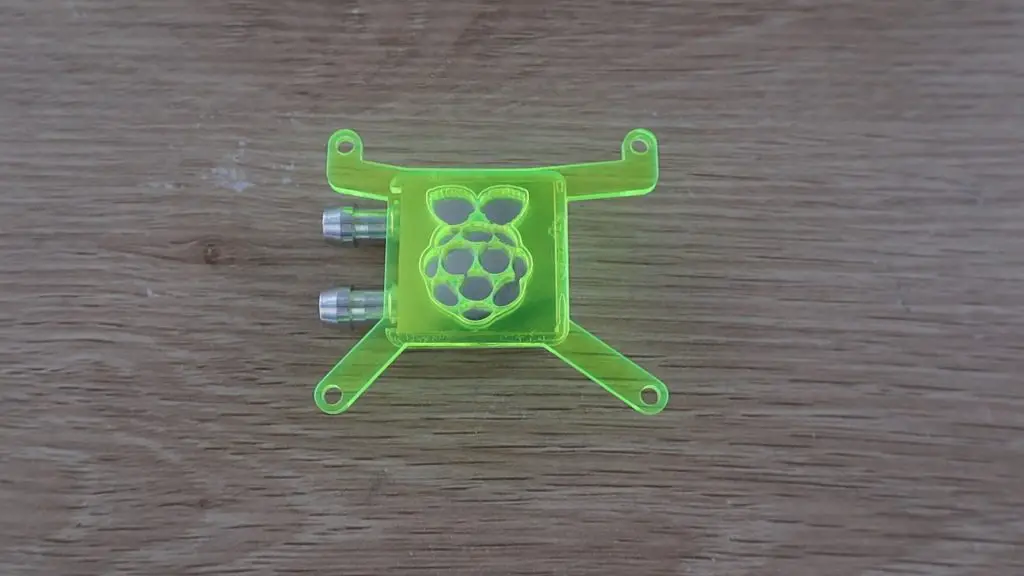
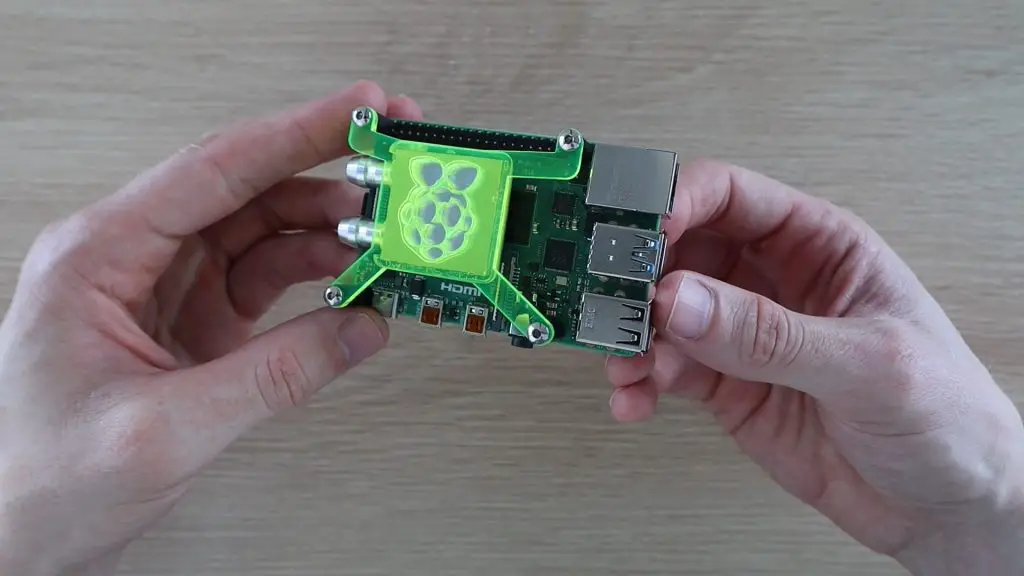
I’m going to start out by making a bracket to hold the cooling block in place on the Pi over the CPU.
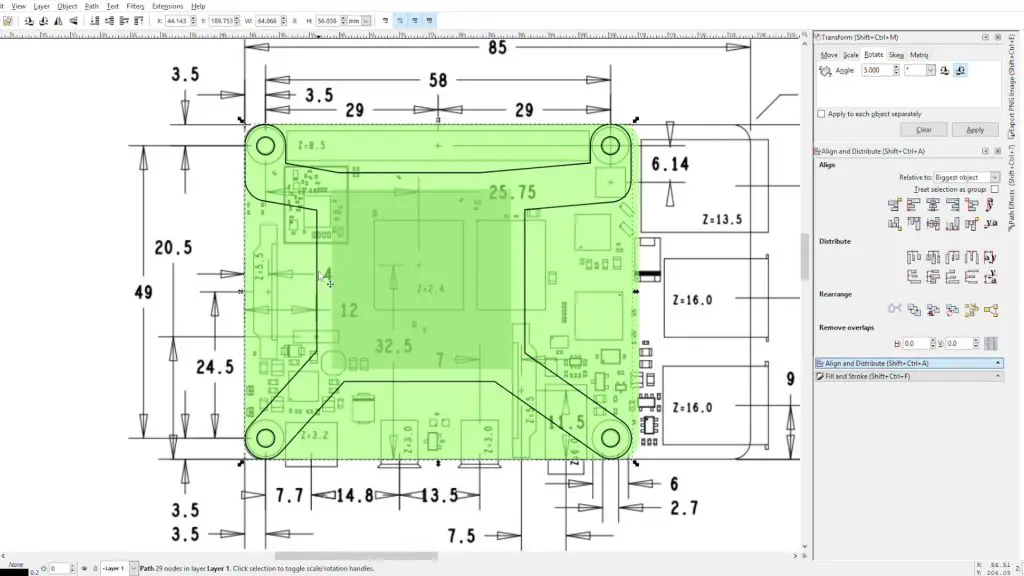
We’ll need a square section to locate the block and hold it down onto the CPU and then some legs off to the four mounting holes to hold it in place. I’ve tried to avoid covering the GPIO pins and the major components, the bracket will be quite high up, so won’t interfere with any of the surface mount components.

I cut the two parts for the bracket out on my laser cutter from 3mm fluorescent green acrylic.
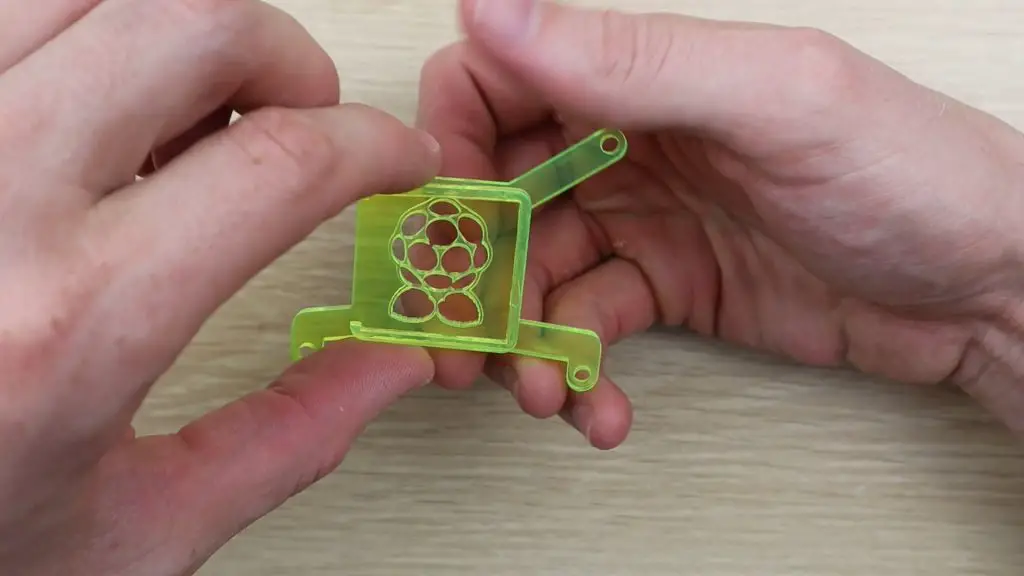
Then glued the pieces together using some acrylic cement.
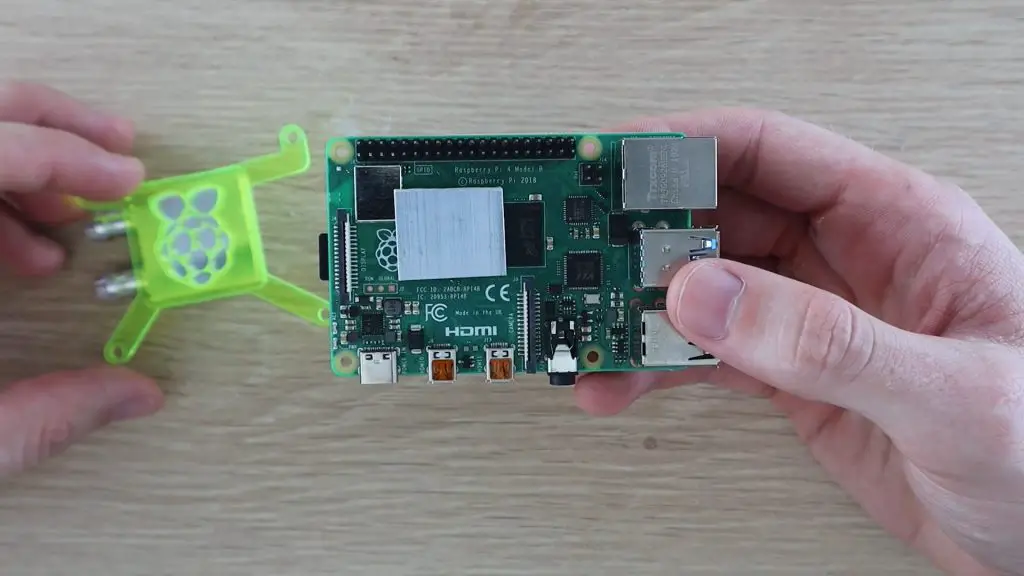
Now that we’ve got a bracket to hold the heat sink in place, lets fit it to the Pi.

The cooling block can’t be mounted straight onto the CPU as the display connector is too high. We’ll need to put a spacer in between the CPU and cooling block to lift it above the display connector, with enough room for the tubes.
I’ve cut a section of 4mm aluminium to fit on top of the CPU to space the cooling block away so that it clears the display connector.
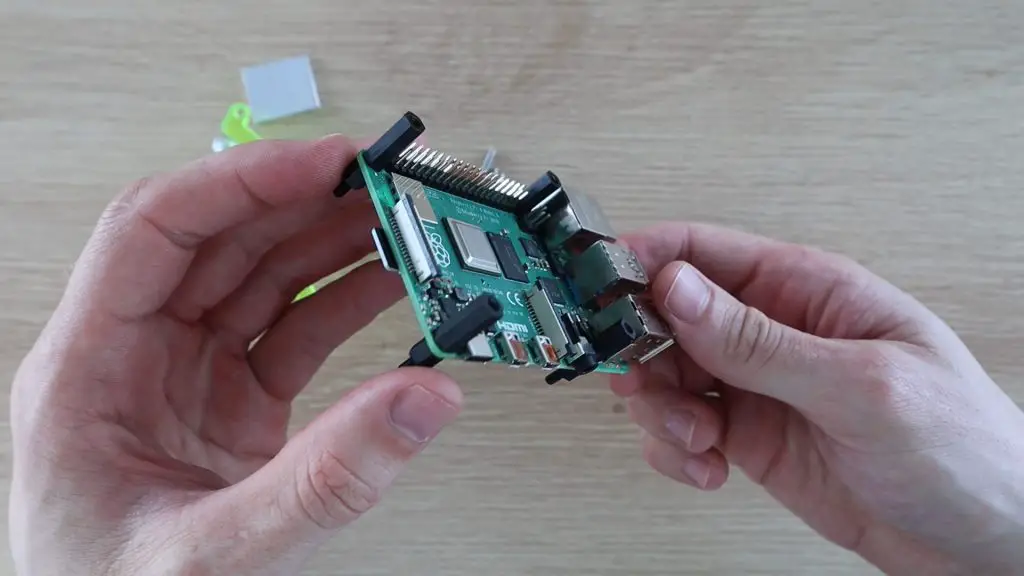
Next, I’m going to use some nylon standoff mounts for the screws which hold the cooling block bracket to screw into. I’ll hold these in place with some shorter nylon standoffs underneath the Pi.
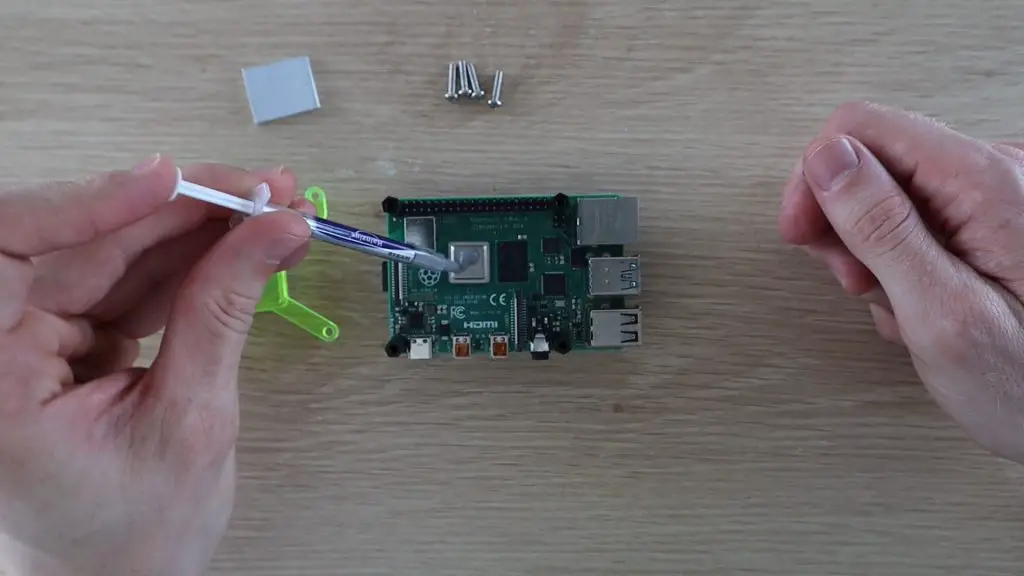
I’ll use some thermal paste between the CPU and the spacer and then again between the spacer and the cooling block.

The acrylic bracket is then clamped down onto the CPU using some M3 x 12mm button head screws.
Making The Cooling Circuit Stand
Now that we’ve got our cooling block mounted onto our Pi, we can start working on mounting the rest of the cooling circuit.
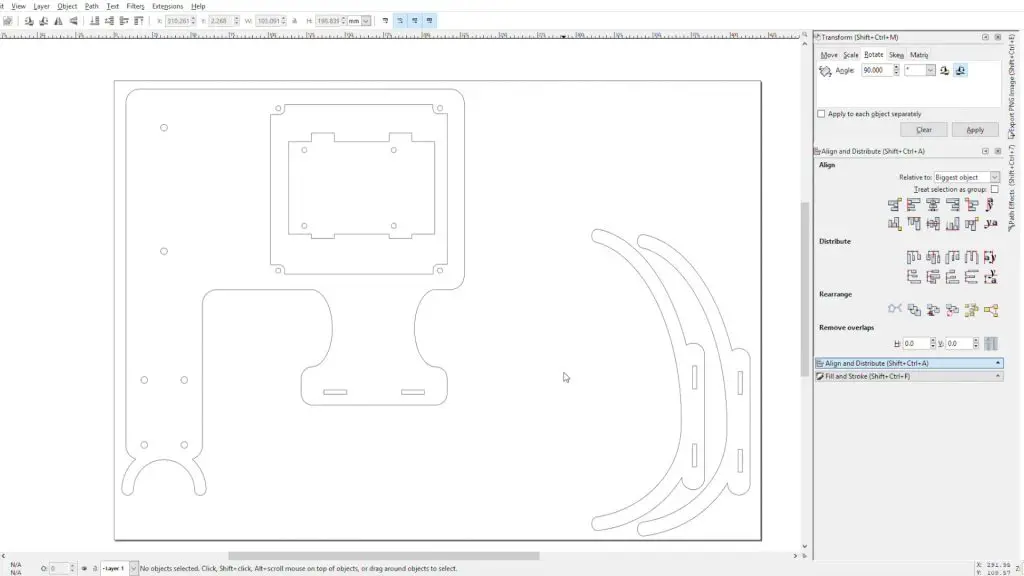
Rather than just connecting all of the components together on a desk, I decided to design a stand to mount the water cooling components and Raspberry Pi, so that it looks more complete.
I’m going to use clear acrylic for the stand with some fluorescent green legs to match the cooling block bracket. The water cooling components should just bolt straight onto this sheet once it’s been cut out.
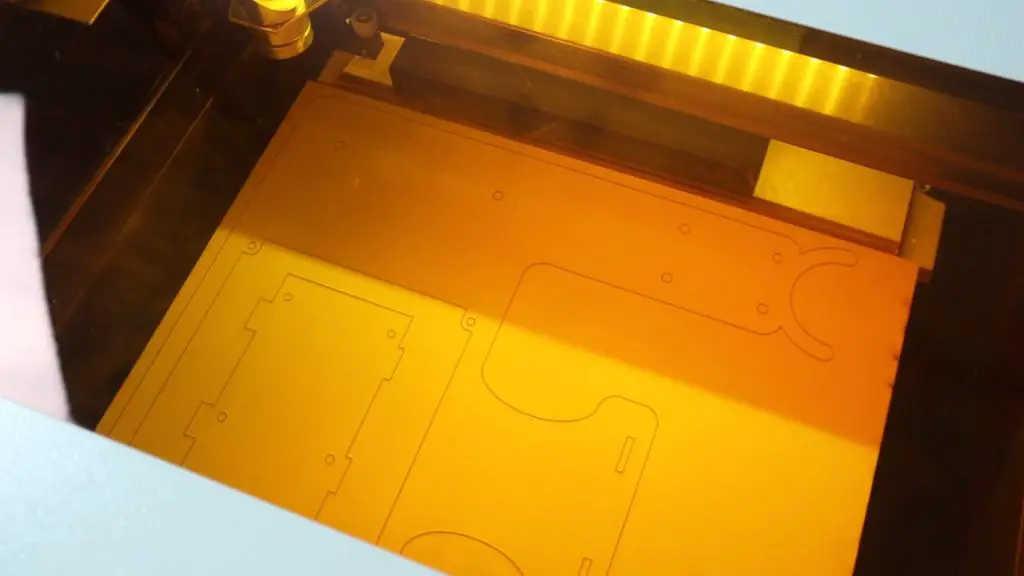
Again, I cut this stand out on my laser cutter from 3mm acrylic, this time clear.
Now that we’ve got our stand components made, lets start putting them together.
I’ll start by mounting the reservoir, pump and radiator onto the stand.

Next, I need to glue the Raspberry Pi stand components onto the main cooling water stand. I clamped the components in place and allowed the cement to cure for a couple of hours before trying to mount the Pi.
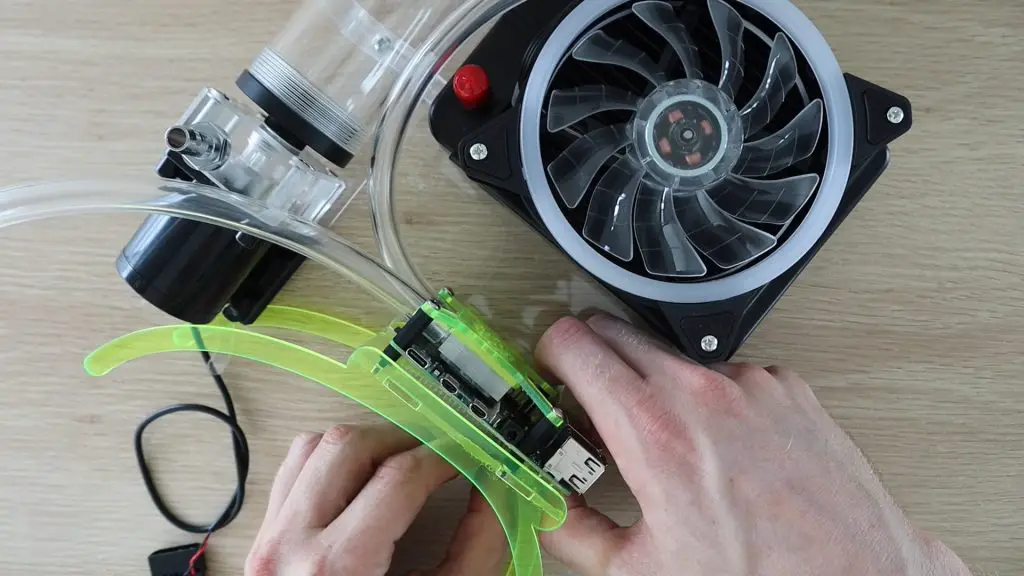
Once the glued had properly cured, I put two lengths of tubing onto the heat sink so that I didn’t have to try push them on in the tight space between the Pi and the pump, and then mounted the Pi onto the stand using four nylon M3 nuts on the bottom of the standoffs.
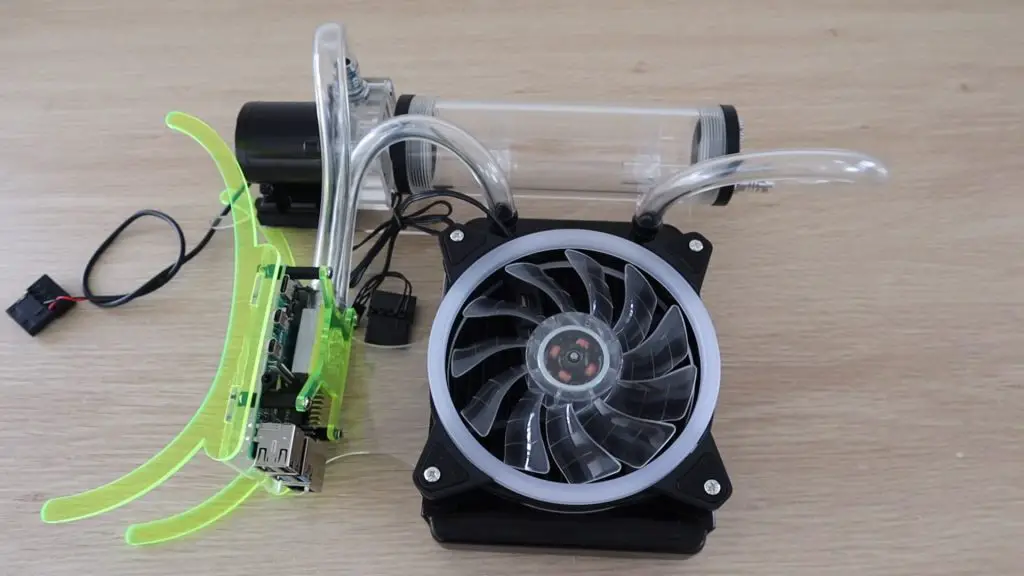
I then added the fittings and finished off the tubing.
One side of the cooling block goes to the pump and the other to the radiator. We also need a section of tube from the radiator to the top of the reservoir.
The last thing to do is to add a small acrylic block to the base of the pump to hold the weight of the pump and reservoir. The legs on the stand are not strong enough to support all of the cooling components and I didn’t want to make them bigger as I like the look of the thinner sections. You’ll also hardly notice the block under the pump if it’s clear.
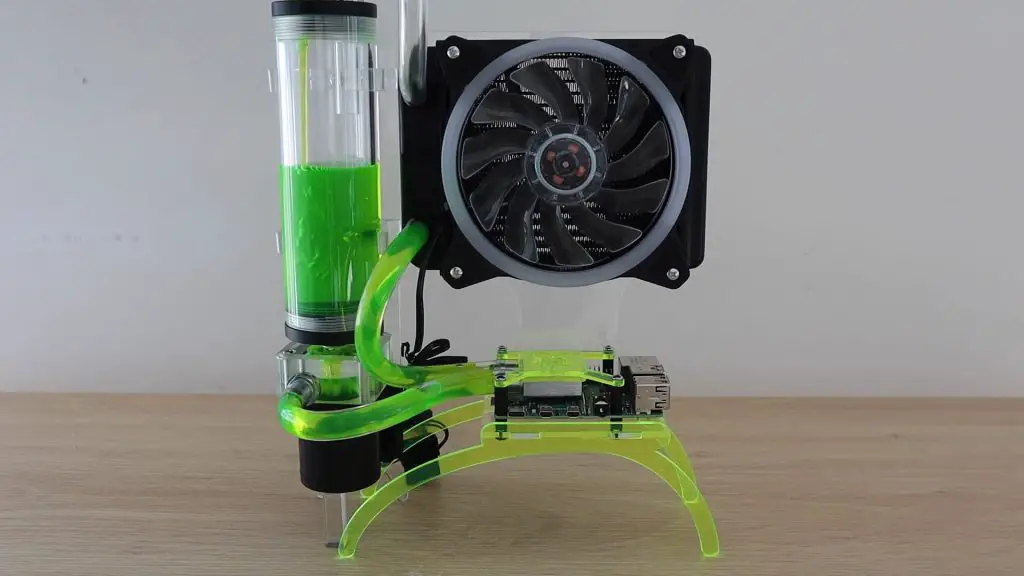
Our water cooled Pi is now complete, we just need to fill it up with water or cooling liquid and try it out. The system took around 300ml of cooling liquid to fill.
Testing The Water Cooled Raspberry Pi 4
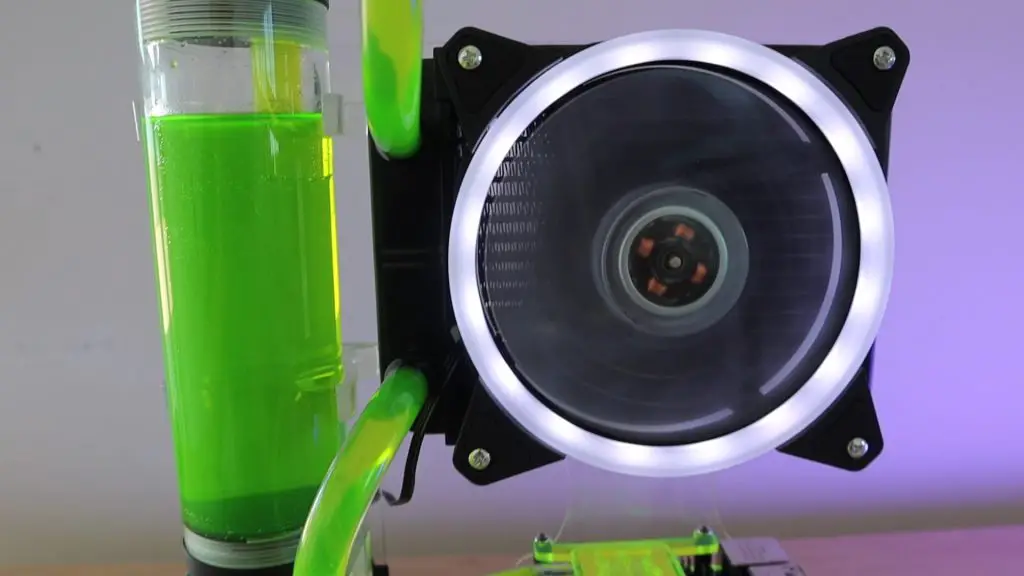
The fan and pump are actually quite quiet when running, the system is a lot quieter than some of the small case fans I’ve used on a Raspberry Pi.
Now let’s try and do a stress test on the water cooled Raspberry Pi to see how well this cooling system works.
CPU Test At 1.5GHz
With the CPU clock frequency set to the default 1.5Ghz, we start out with a temperature of around 28°C. This was in a room of around 25°C, so it was done with quite a warm ambient temperature.

I then did a 5-minute stress test at full CPU load.

There was a small spike initially where the temperature went up to 31°C but it stayed between 31°C and 33°C for the rest of the test and dropped off quickly when the test was stopped.

Here’s a graph of the CPU temperature for the duration of the test.
CPU Test At 2.0GHz
Now I’m going to try overclocking the Pi to test it at a higher CPU frequency.

I set the CPU frequency to 2.0Ghz for this test.
Let’s try doing a stress test and see what we get.

For this test we started out with a temperature of around 29°C, which then quickly spiked to 39°C when the test was started.
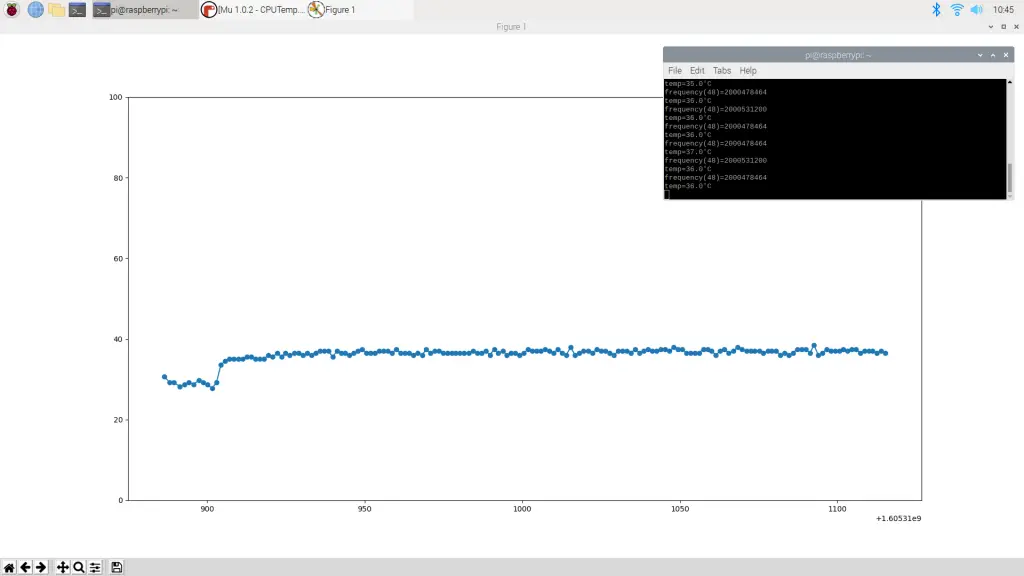
The temperature the stayed around 36°C to 37°C for the rest of the test.

Here’s a graph of the CPU temperature for the duration of the 2Ghz test.
Conclusion
The water cooling system on this Pi works really well at keeping the CPU cool. Even when overclocked to 2.0Ghz, the Raspberry Pi 4’s CPU temperature never went above 40°C. I wasn’t able to test the Pi at the maximum 2.147Ghz as my Pi wouldn’t boot up at this frequency, probably due to under-voltage. I’ll try and get this fixed and do a test at the maximum frequency as well at some stage.
To get an idea of whether this is worthwhile, I’m going to be comparing this water cooling system to an Ice Tower, a standard acrylic case and fan and then just a Pi with a static heat sink on it in the next week or two. So make sure that you check back here, or subscribe to my Youtube channel and turn on notifications so that you don’t miss out on that.
Let me know what you think of this water cooled Raspberry Pi 4 in the comments section below!
Hello, great project !
Did you share the bracket files ?
I wanna do the same
I didn’t see what laser cutter you are using. Recommendations?
Hi Harold,
I’m just using a Chinese K40 laser cutter. I’ve done a little upgrading to it, replacing the mirrors, lens and the tube with better quality ones, but it worked pretty well out of the box as well. It’s not the best quality, but really good value for money in comparison to the name brand ones.
Hey,
under the second cutout picture is a link for a .zip file.
Yes, that’s a file which contains the CAD files for the laser cut components.
How’d you hook the power from the fan and cooling block to that power supply?
The fan and pump are powered by a separate 12V supply. I used a 12V Arduino supply and cut the plug off the fan and pump.
Hi Michael !
Really great your project!
Do you have pictures of the pump / fan power supply?
And if not at the noise level what does it give? (because we do not realize on the video)
Hi Julien,
I’m just using a generic 12V 2A Arduino power supply. I cut the plugs off the fan and pump and connected them to a female socket which I had lying around.
There is a portion of the video which is silenced so that you can just hear the sound of the fan and pump. The fan is pretty much silent, the pump has a slight hum. You could probably get a quieter pump if you spend a little more.
Do you sell the support pieces?
I don’t usually, but I can make a stand up for you if you’d like. Just send me a message on my Etsy store – https://www.etsy.com/au/shop/TheDIYLifeCo
What would u charge to make and sell this set up so I can build it everything but pi4 I’m very interested I’d pay you before to make it I love that set up but don’t have a laser cutter ,everything u used my email is mrcuoco1988@gmail