Since I created the first version of my Raspberry Pi desktop case back in 2020, a number of manufacturers have made spinoffs of the design, with some less spun off than others. Some even asked me to review the case design that they unashamedly copied.
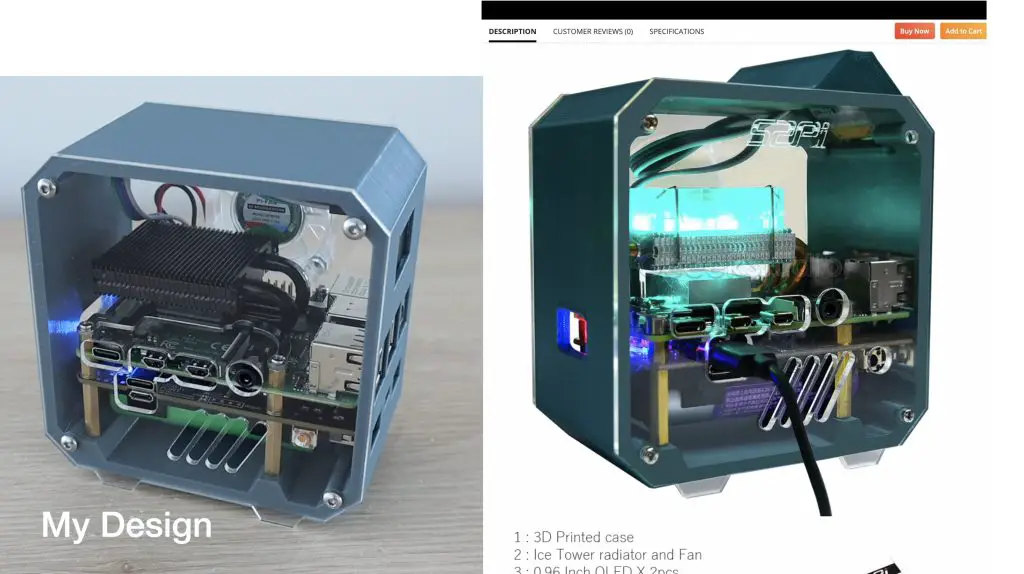
Then Sunfounder reached out a few weeks ago and asked me if I’d be interested in trying out their new Pironman case.
Unlike some of the others, this case, although bearing some resemblance, has actually been designed from scratch. They’ve also put some effort into designing a case that meets a number of the common things people look for in a Pi case.
So let’s get it unboxed, take a look at what it includes and get it set up.
Here’s my video review which also shows some of the functionality of the case at the end, read on for the written review:
Where To Get The Pironman Case
- Pironman Case – Buy Here
- Raspberry Pi 4B – Buy Here
- 32GB Sandisk MicroSD Card – Buy Here
- M.2 SATA SSD – Buy Here
Tool & Equipment Used:
- Electric Screwdriver – Buy Here
Unboxing And First Look
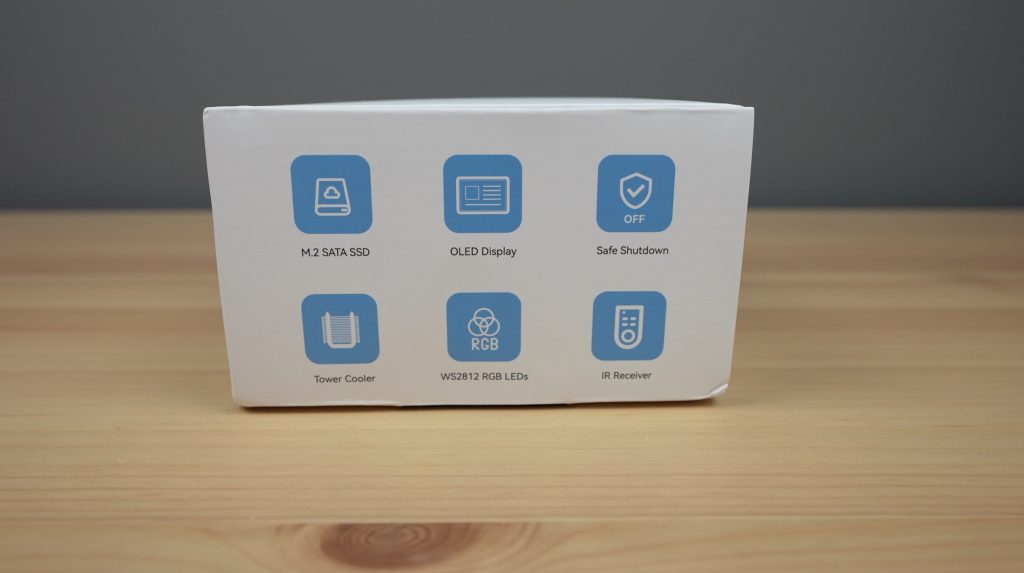
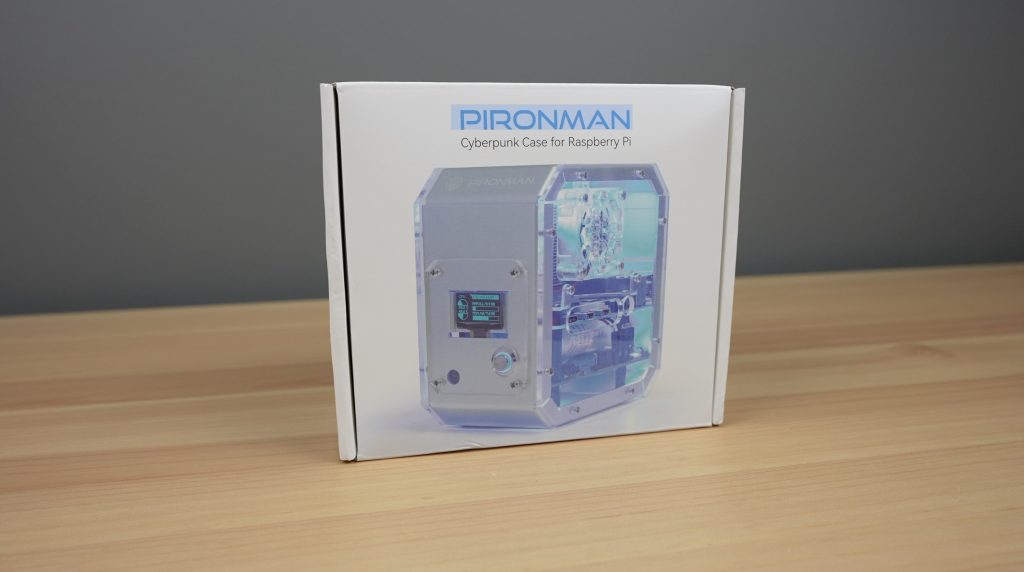
The Pironman Case comes in a branded white box with an image of the case on the front and some specifications on the back.
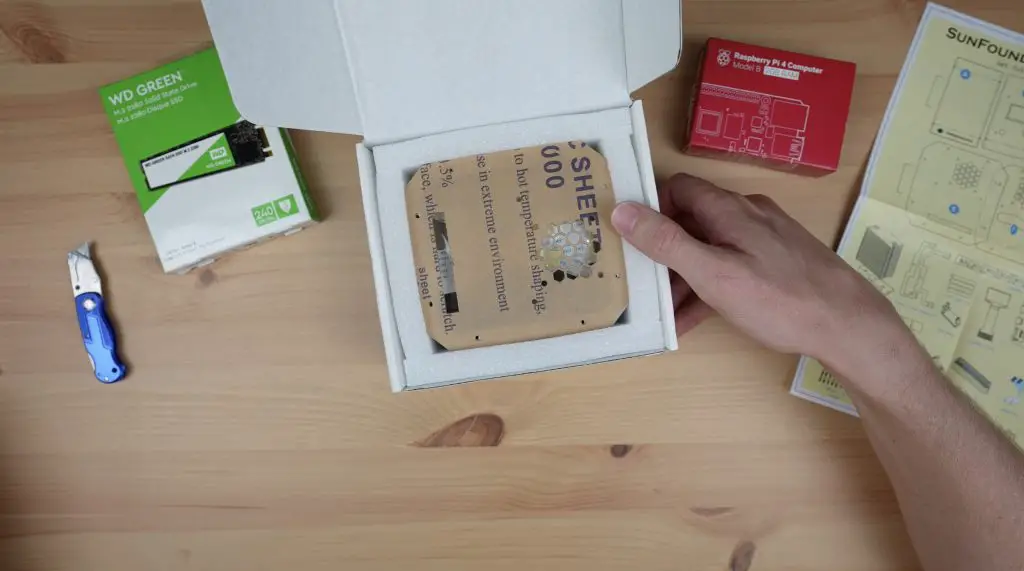
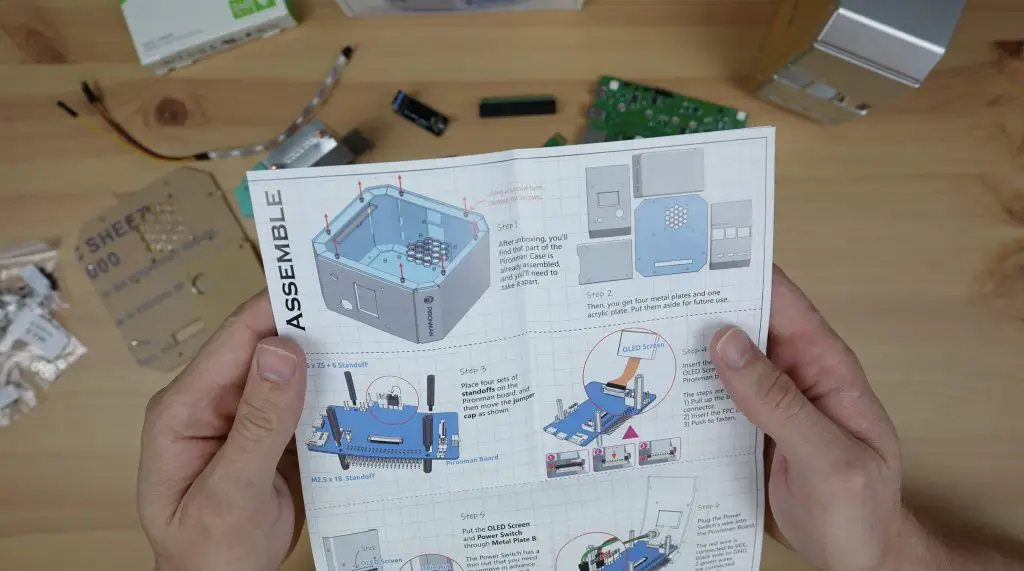
In the box, first up are the assembly instructions. I’ll go through the instructions in a bit more detail when putting the case together but at first glance, they’re quite well-written and are also illustrated to guide you through each step.
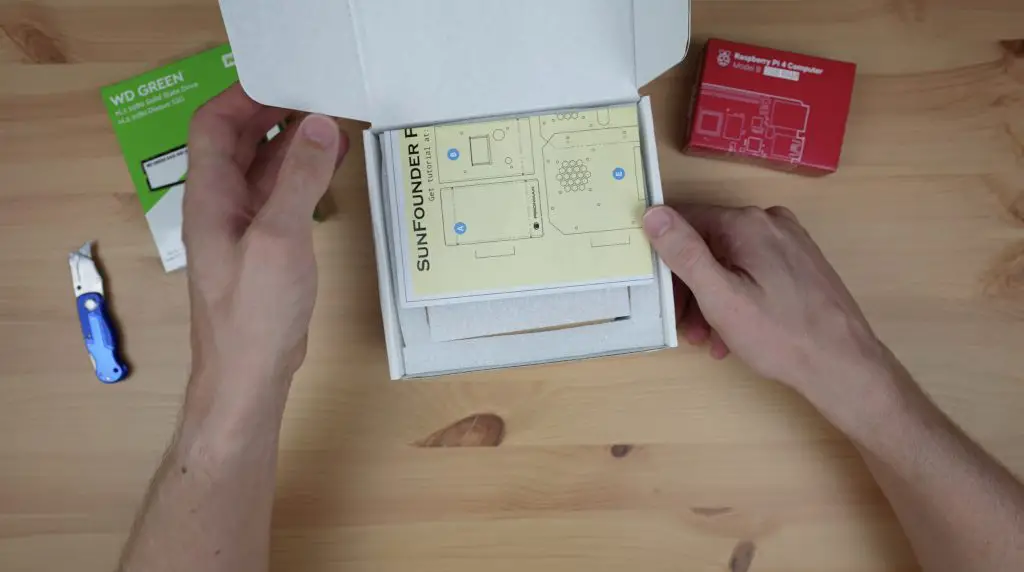
Below the foam insert is the case and components, with additional foam padding around the edges. Overall it is well packaged with very little chance of damage to the case or components.
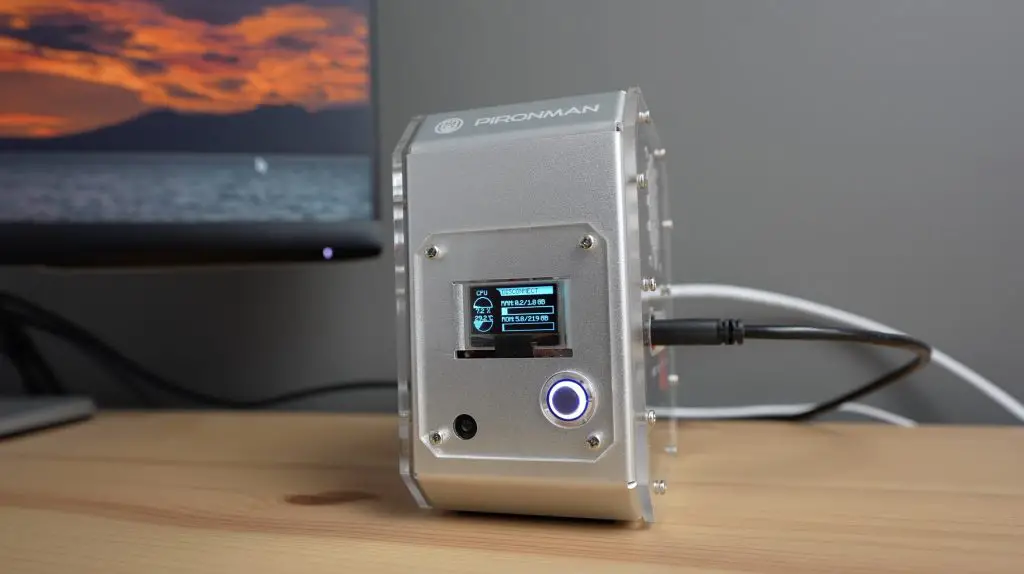
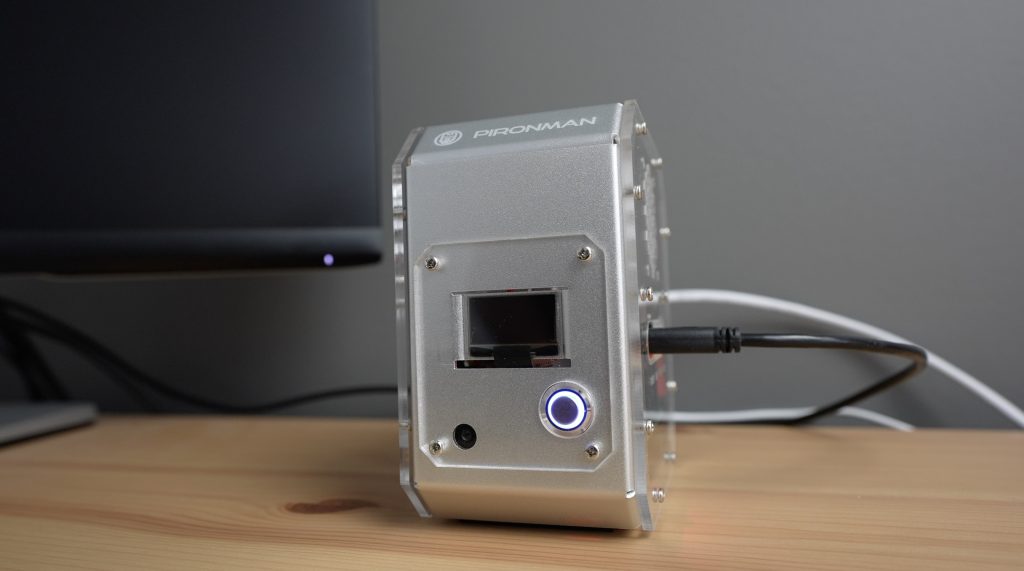
The main body of the case is a folded sheet metal design with a nice metallic silver finish and the ports or cutouts are all clearly labelled.
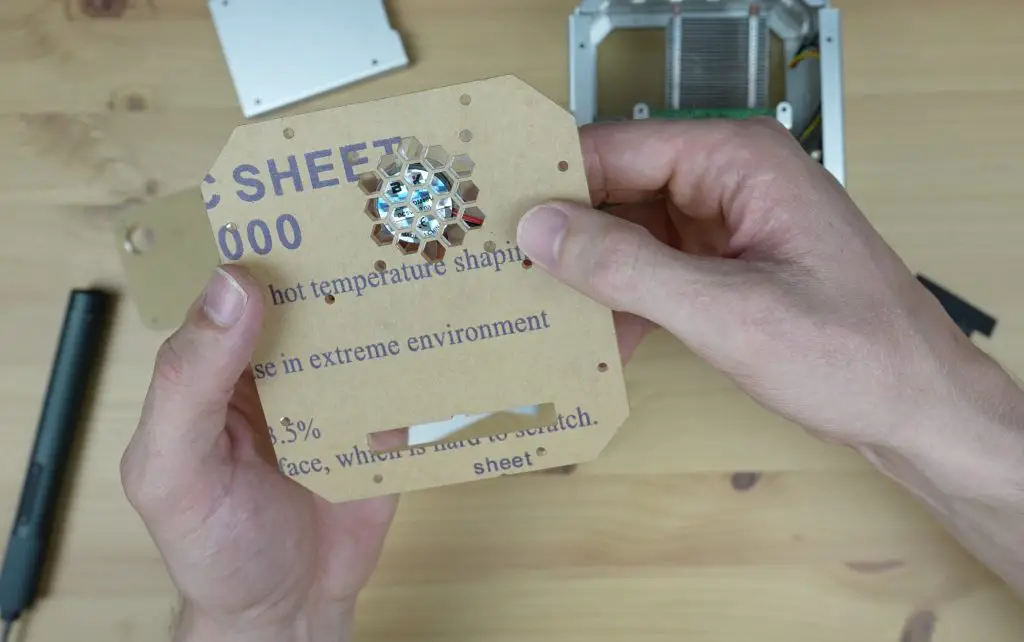
The side panels are 3mm clear acrylic and they’re sent with the protective film in place on one side so that they don’t get scratched.
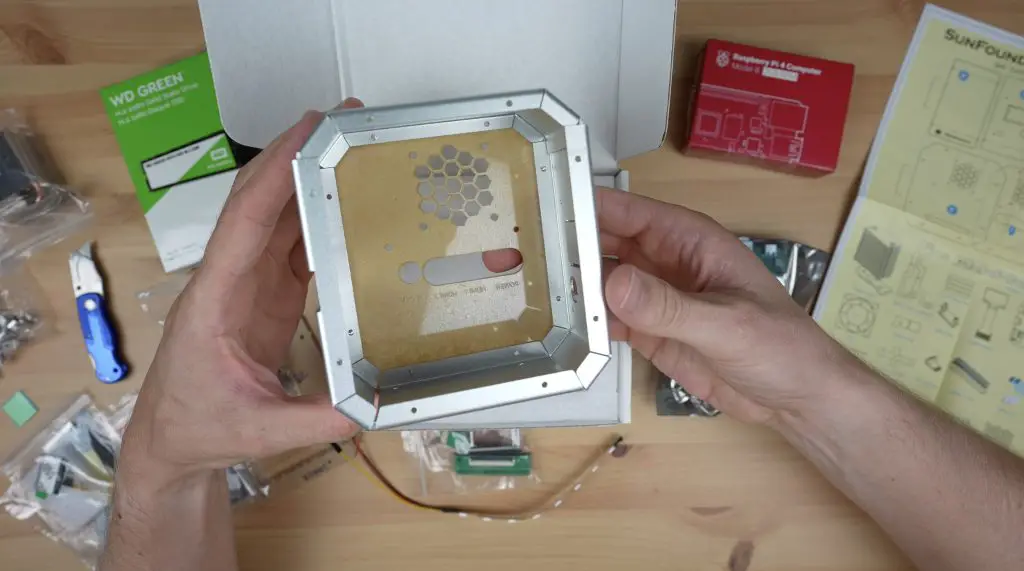
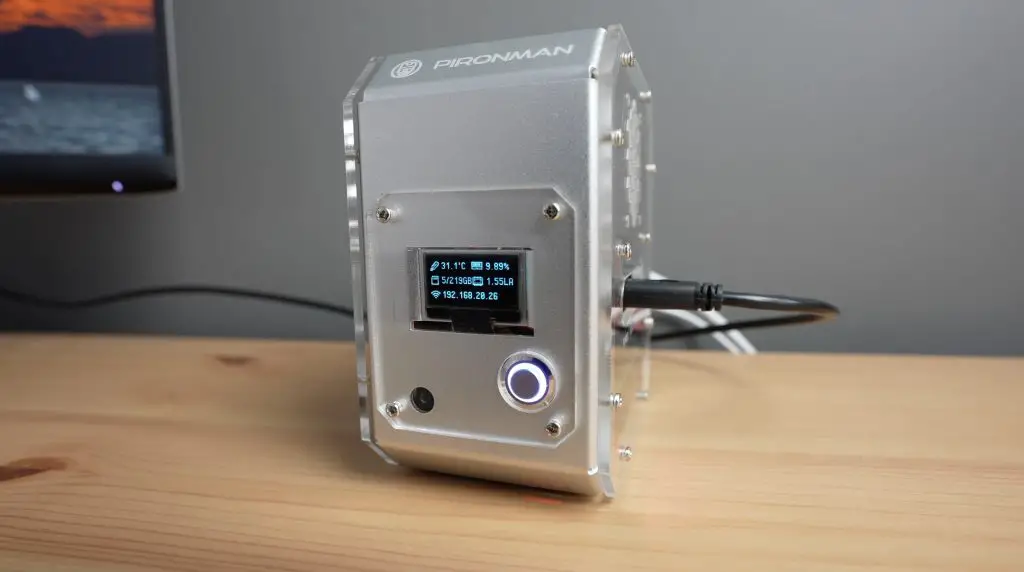
It’s also got their Pironman logo laser etched onto the top front edge.
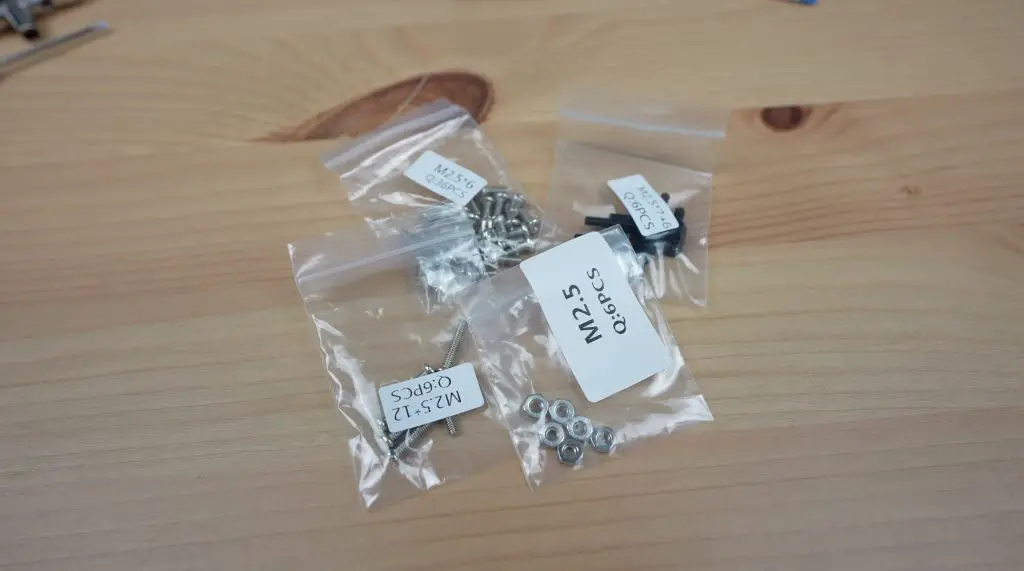
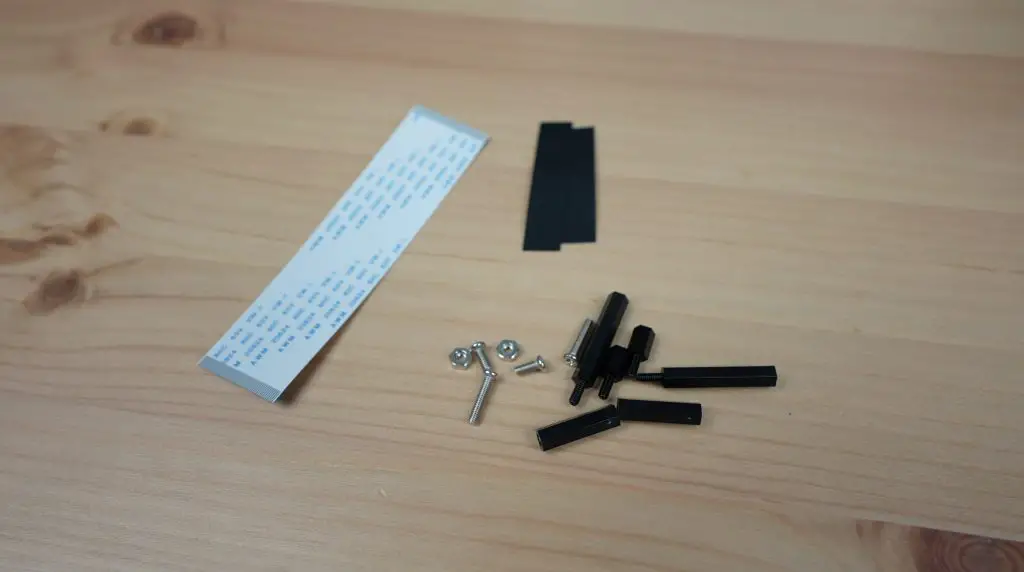
Included with the case are thermal pads for the cooler, ribbon cables for the carrier board, an I2C OLED display to show the Pi’s CPU, disk and ram usage as well as the temperature and IP address, a pack of standoffs and screws, an addressable RGB LED strip, an Ice Cube cooler which seems to be custom made for this case as it doesn’t have the screw holes to mount the fan directly onto it like their standalone cooler, some tools with the cooler brackets, a power switch, acrylic front panel cover and fan, a GPIO adaptor and USB jumper and finally, the main carrier board.
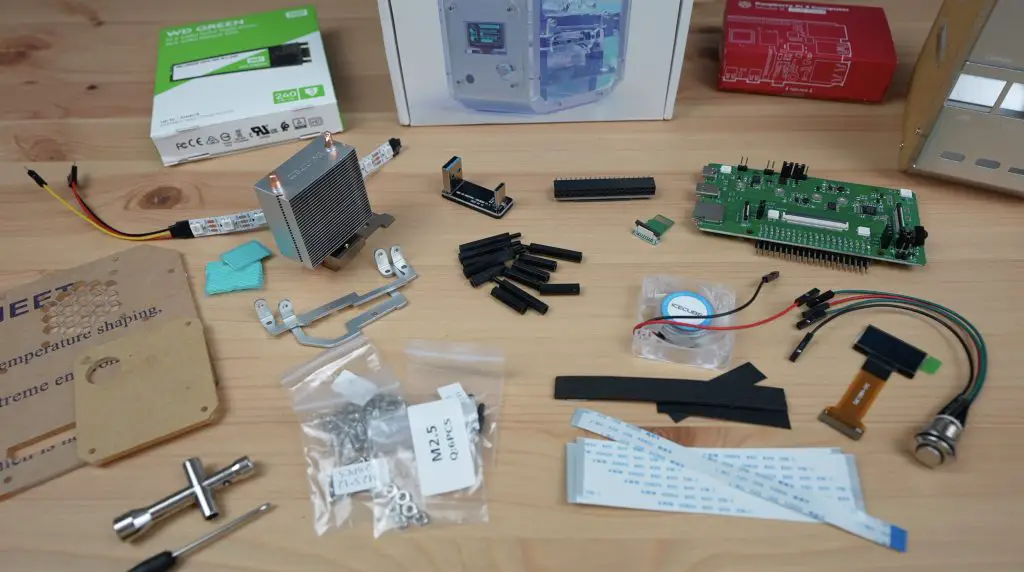
So you can see you really get a lot with this case, but that also means that putting the case together is quite a process – mainly because there are so many parts.
The instructions are pretty good though and the screws and adaptors are all well-identified. So let’s get it assembled.
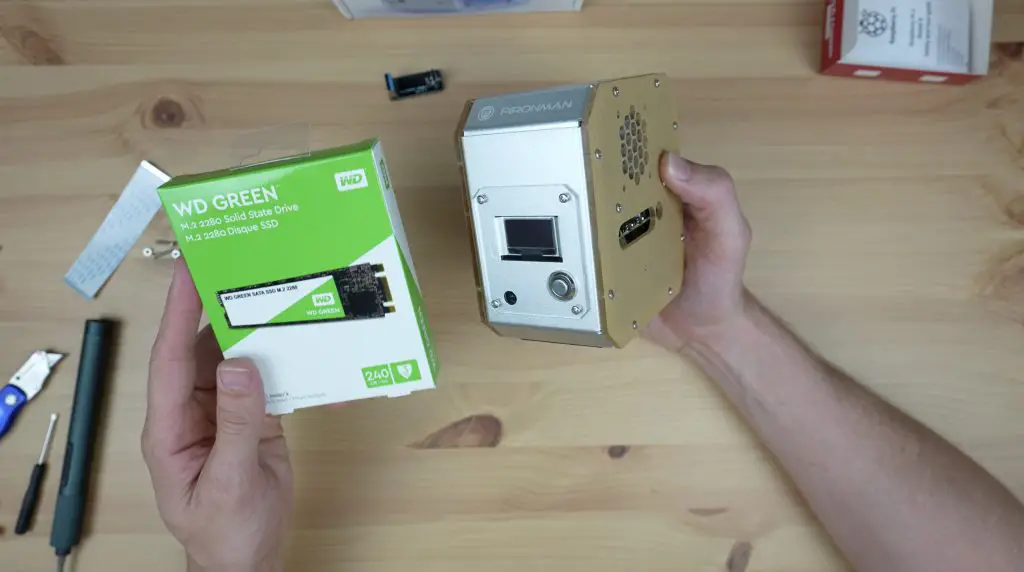
The case is designed for use with a Raspberry Pi 4 and also an optional M.2 SATA SSD. So I’m using a 2GB Pi 4 and a spare 240GB SSD which I’ve used recently on another build.
Assembling The Pironman Case
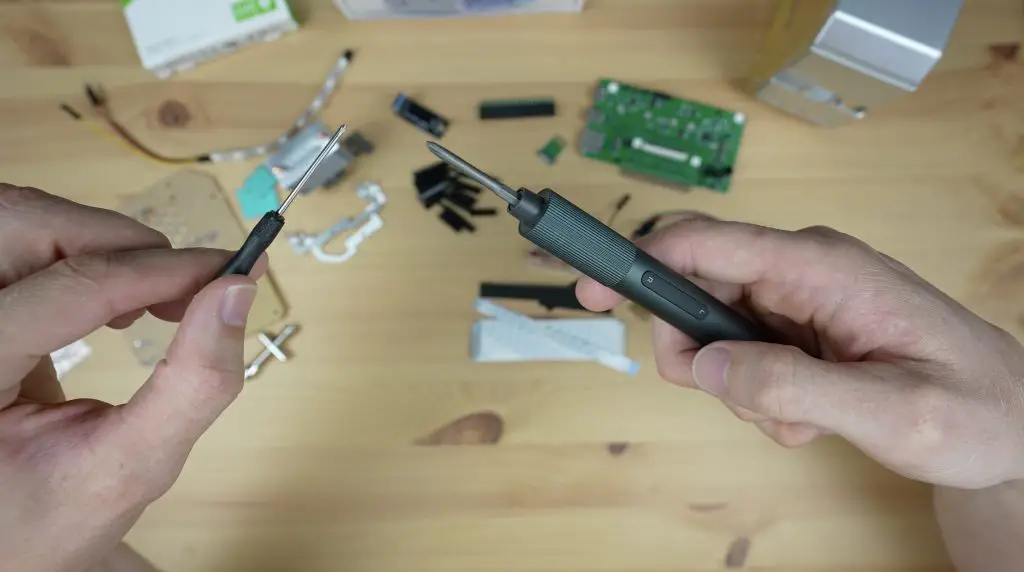
To get the case assembled, they include a small screwdriver but with the number of screws we’ve got, I’m going to rather use my electric driver.
I’m not going to go into too much detail on the assembly process here as it’s all in my video and mainly just follows the written instructions. I have however written about some of the issues I ran into and some of my thoughts on the components.
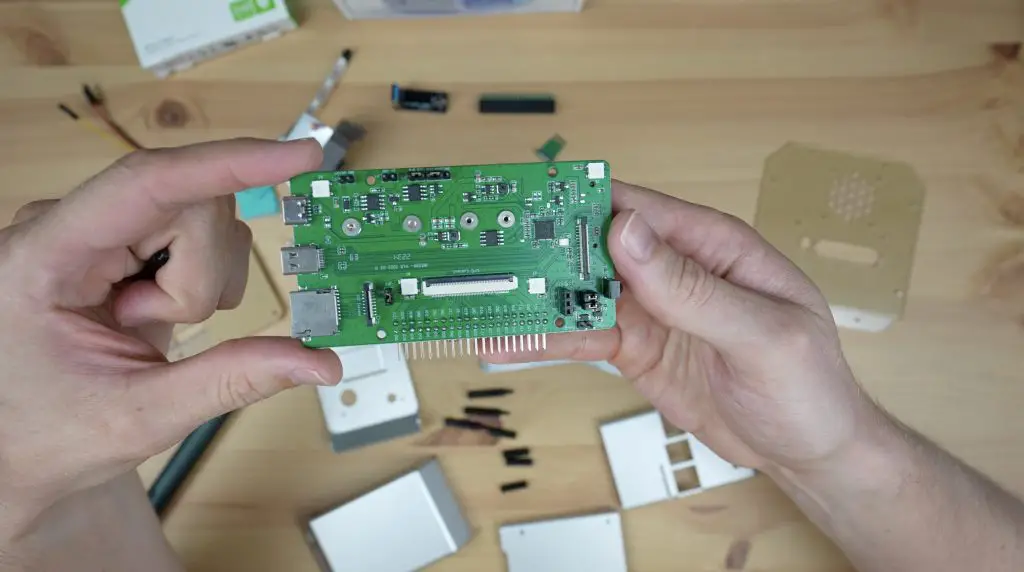
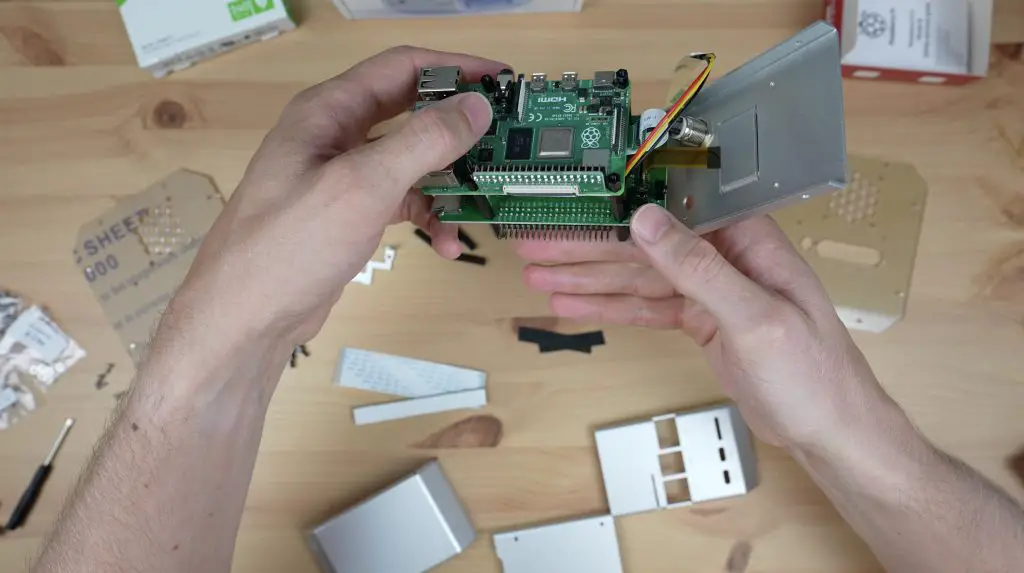
The assembly process starts with the carrier board. This is the best part of this design in my opinion. This board has an M.2 slot for a SATA SSD, pins to control the addressable RGB LED strip, an IR receiver if you’re going to use the Pi as a media player, an external GPIO header and a power button input. It’s also got an SD card slot that is brought out to the back of the case with a little adaptor so that you have the option to swap out the SD card without dismantling the case.
A ribbon cable connects the GPIO adaptor to the carrier board. This is to connect the Pi’s GPIO pins to the carrier board to control things like the display, LED strip, power button and fan. I don’t really like the way they’ve done this, I think it would have been easier to use an arrangement like the pogo pins used on some UPS shields.
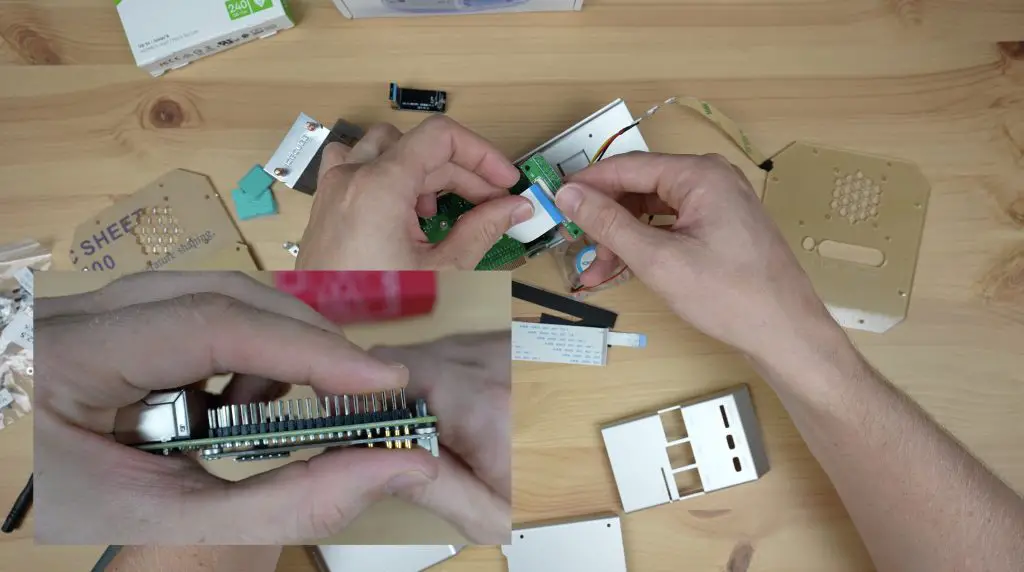
These ribbon cables are quite fragile and tear easily, although they do give you a spare, and it makes it more of a challenge to install this ribbon cable alongside the second for the SD card adaptor.
The Raspberry Pi is held in place on the carrier board using some M2.5 nylon standoffs and we can then plug all of the adaptors in.
Next up is fitting the Ice Cube cooler. I’ve said in a previous project that I prefer this to the Ice Tower cooler as it covers and provides cooling to the chips surrounding the CPU as well.
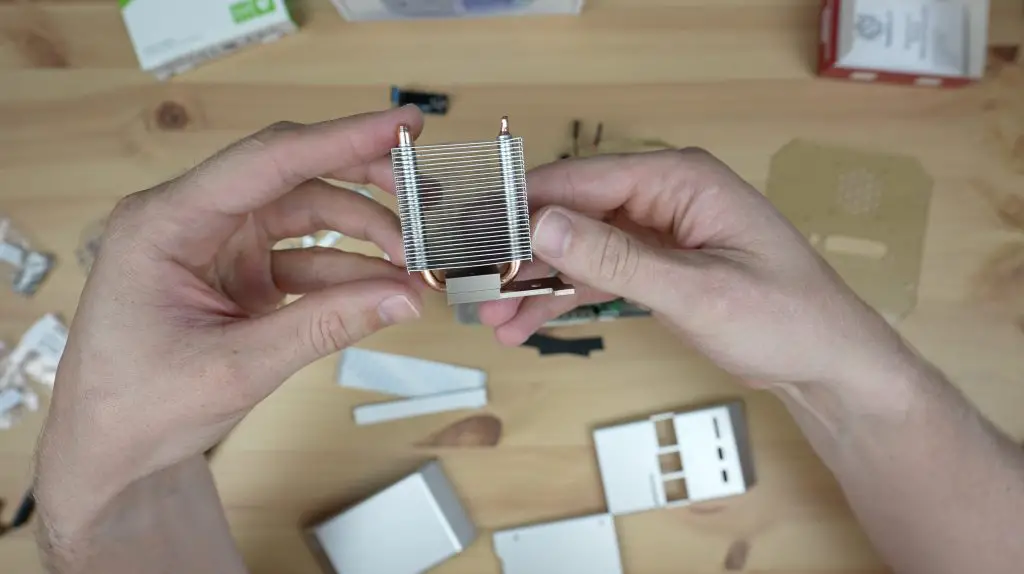
The fins on the heat sink are quite fragile and were already slightly damaged when it arrived. So take care not to put too much pressure on them.
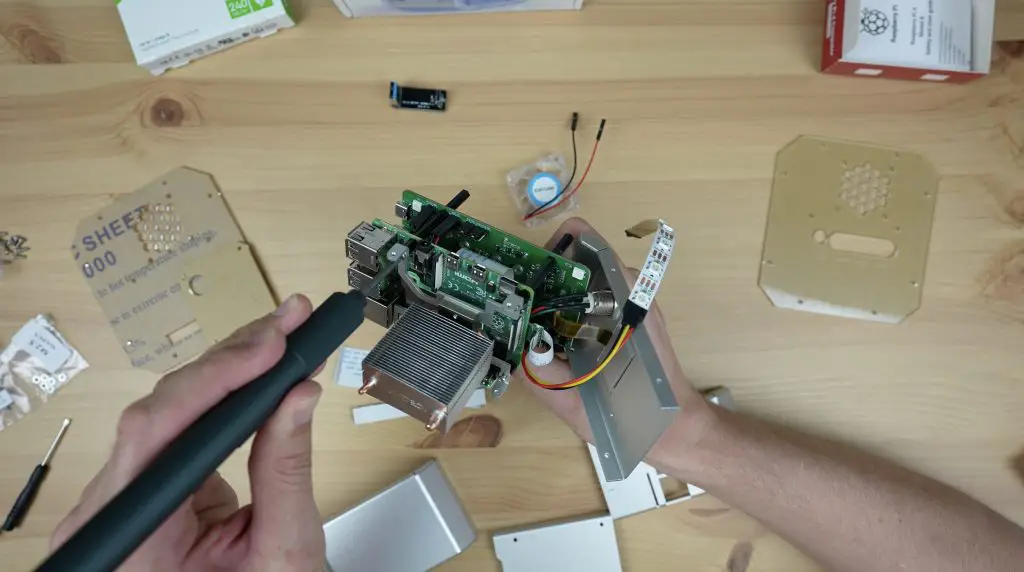
The panels all go together with M2.5 x 6mm screws, which is quite easy, but there are a lot of them. I didn’t tighten them when I first installed them just so that there was a little allowance for movement to make sure they all lined up properly first.
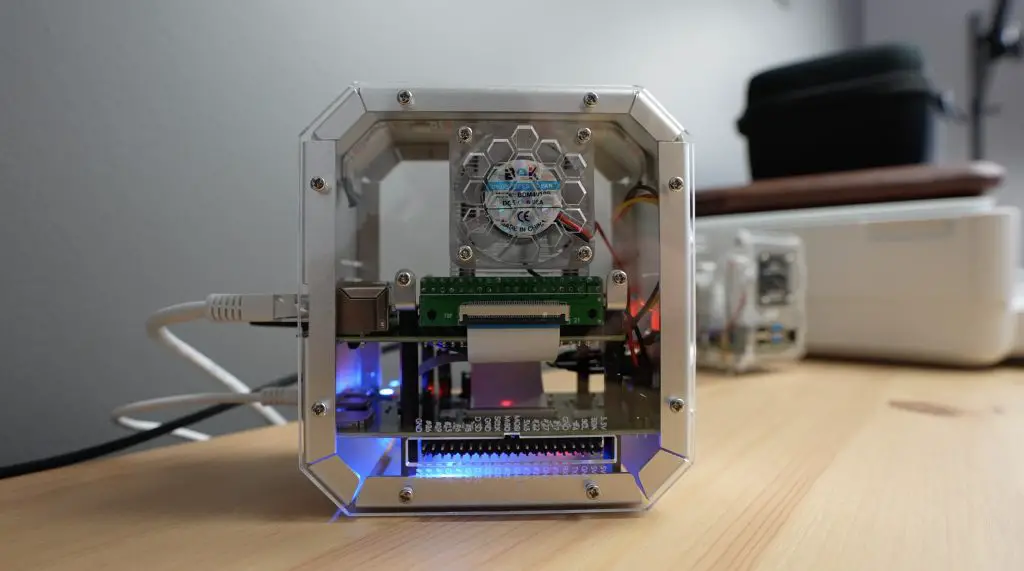
And before installing the second side panel, we need to mount the fan to it. They include mounting holes for the fan on either side of the case, so you can go with either option. One issue I did find with this though is that the fan hub protrudes from the housing enough that it catches on the acrylic. So you can only install the fan one way around, pushing air out of the case.
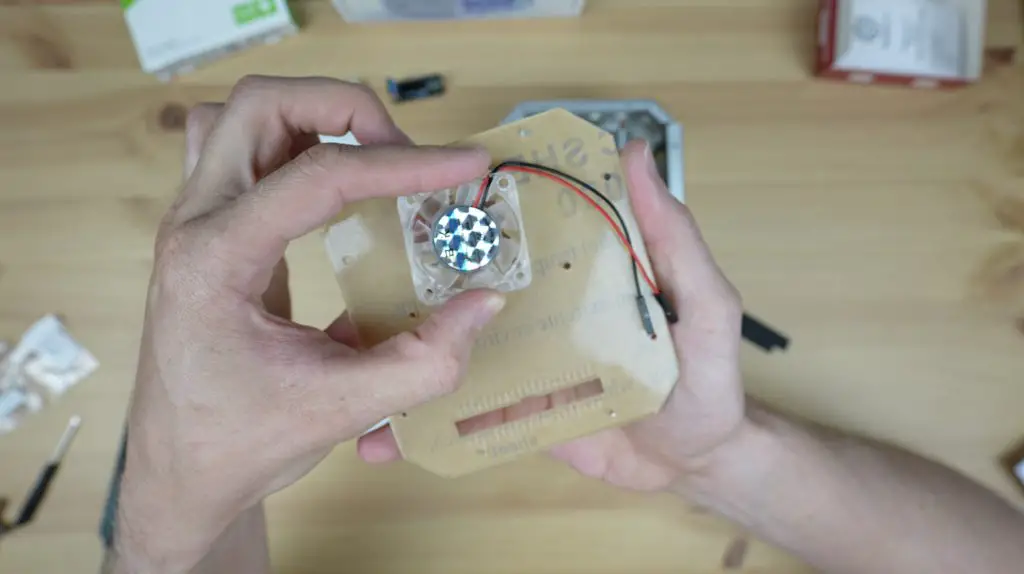
This probably doesn’t make much difference to the thermals but I like having the hub side of the fan visible as the opposite side has an ugly sticker on it. I tried pressing the hub down onto the motor a bit further but that didn’t make any difference.
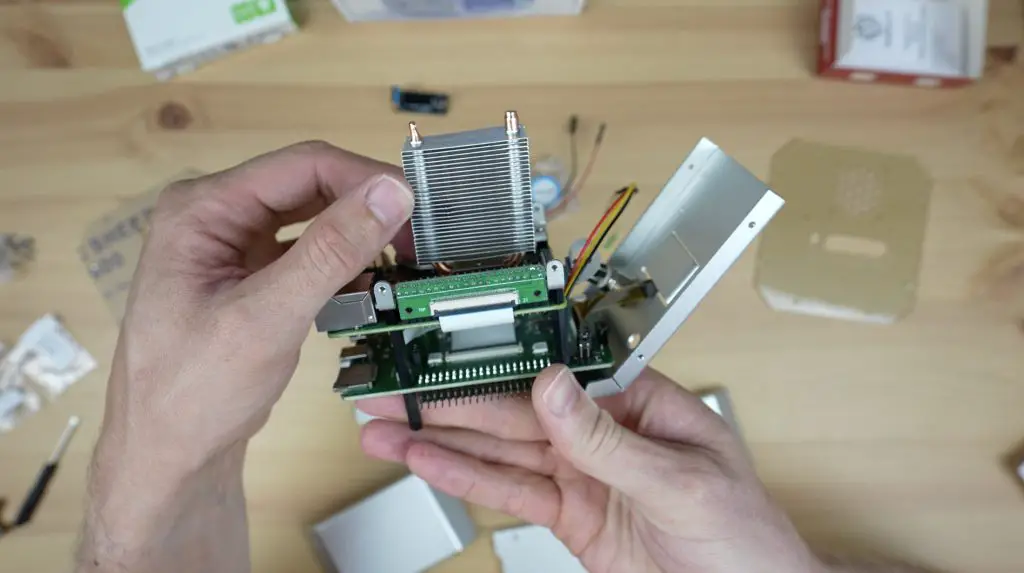
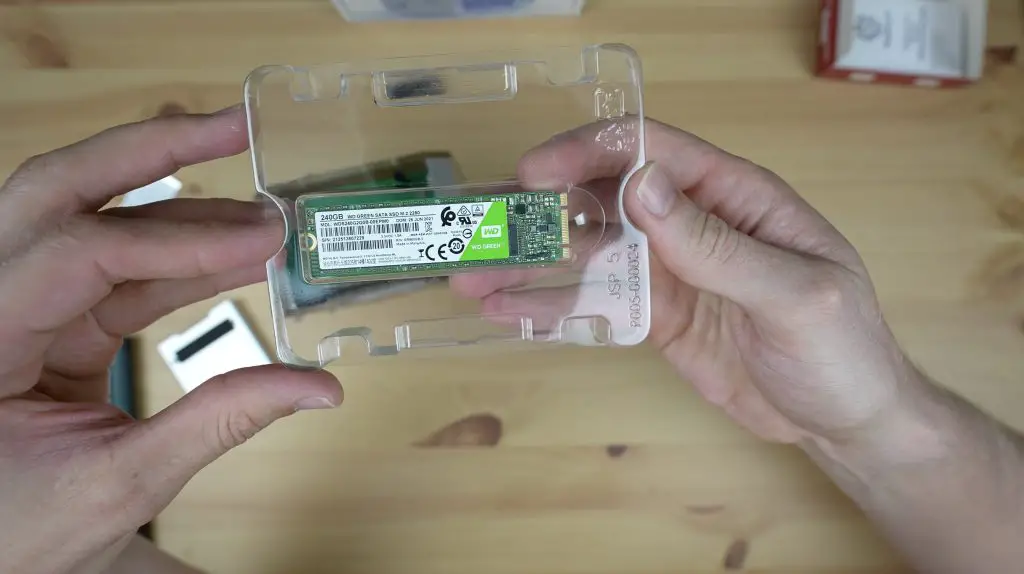
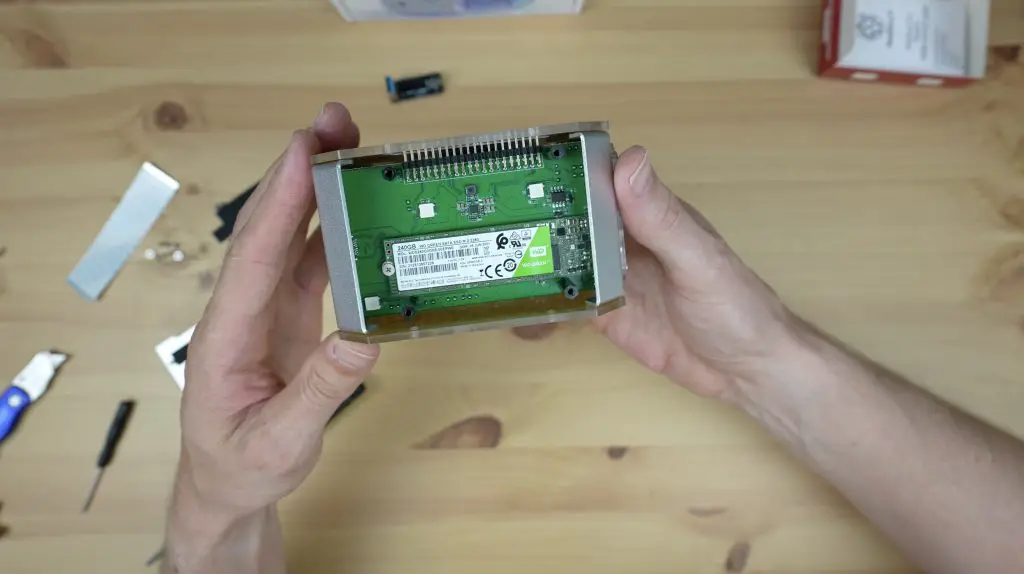
Last up is installing the optional M.2 SATA SSD on the bottom of the carrier board. This is an easy process with 8 screws on the removable bottom panel.
Just to be clear, this is an M.2 SATA drive, not an NVME drive. A lot of people told me in a previous project that it was a waste to use an NVME drive that is connected through a USB 3.0 port. This drive, being an M.2 SATA drive, actually has a pretty similar speed to the USB 3.0 ports on the Pi at around 600 MBps.
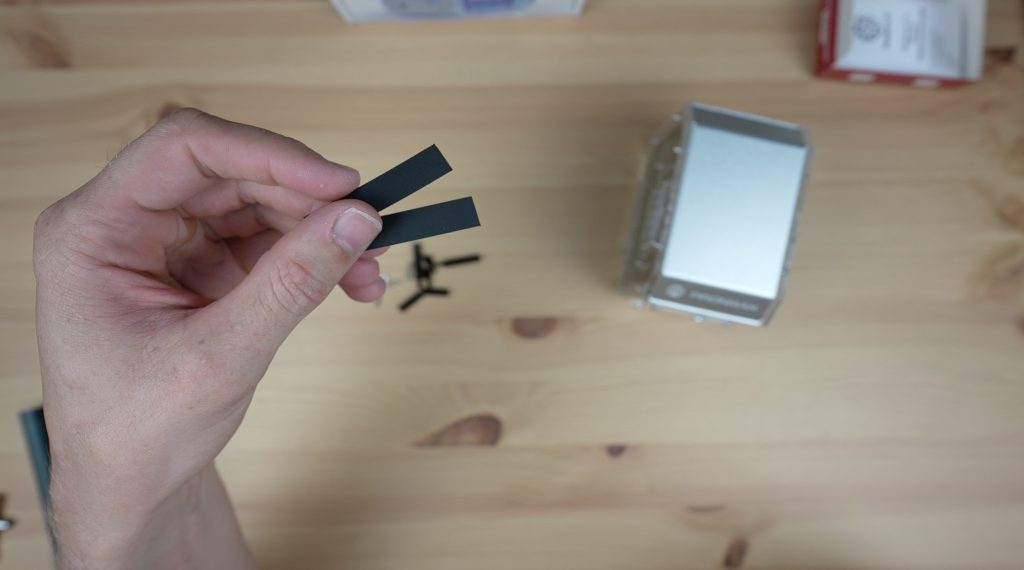
There were some parts left over after assembly, which I assume are spares. The two black strips look like ones typically used for cable management but aren’t mentioned anywhere in the instructions, so I’m not sure what the intention behind them is.
Installing Raspberry Pi OS and their Pironman Script
With the case all assembled, let’s get it booted up, load the Pironman script and see what it looks like.
I used this drive previously, so it’s already got Raspberry Pi OS loaded and it’s still got my stats script on it, which looks like it works with this display as well.
On their website, Sunfounder have got instructions on how to set up the software to control their custom components. First, you’ll need to make changes to the configuration file for the power button and IR receiver to work.
Then you’ll need to install a script from their Github repository which will control the OLED display, turn the fan on and off at a certain temperature, control the RGB LED strip and activate a safe shutdown of your Pi when you press and hold the power button.

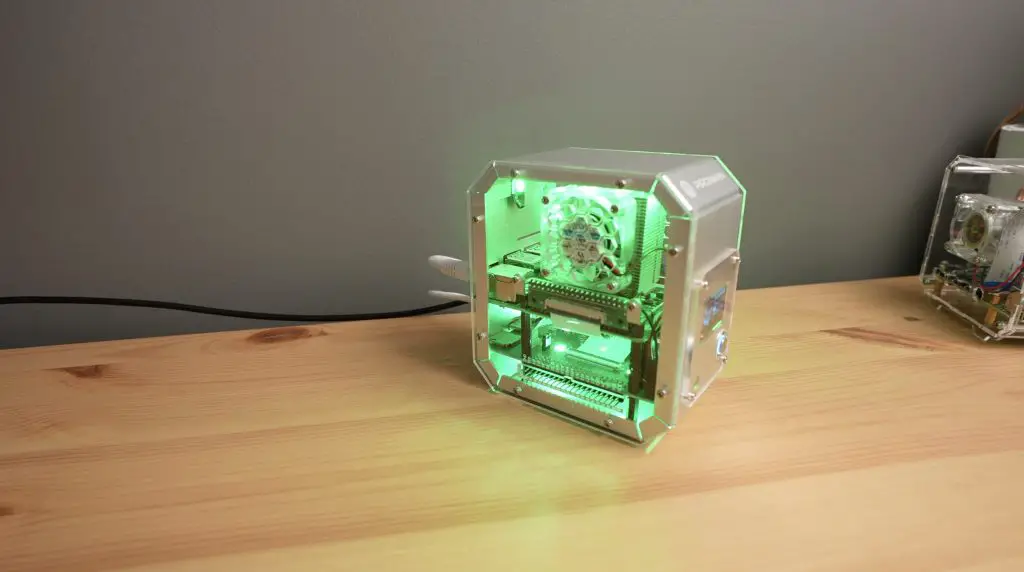
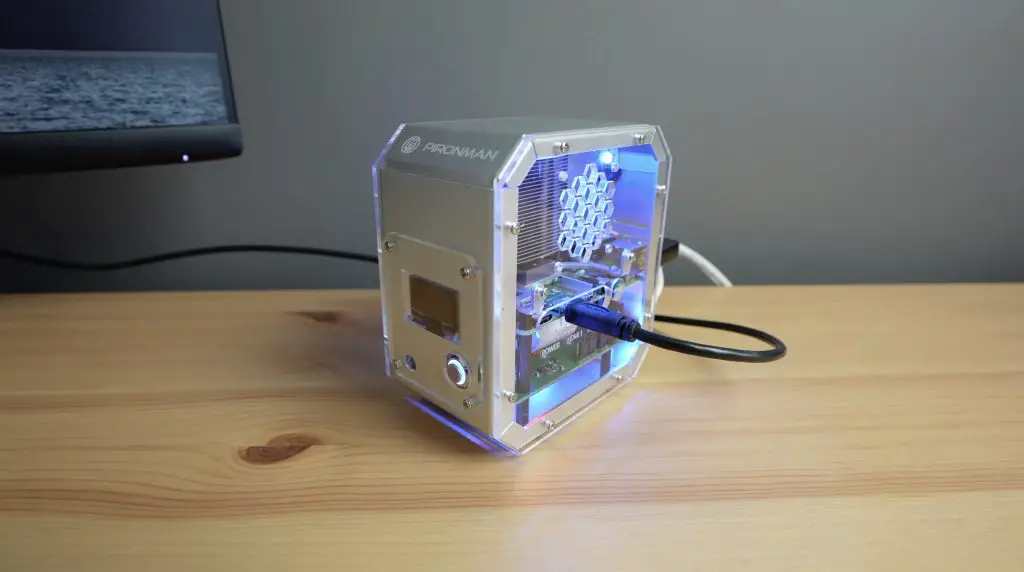
Once you’ve loaded it then the LEDs inside the case light up and this looks quite cool.
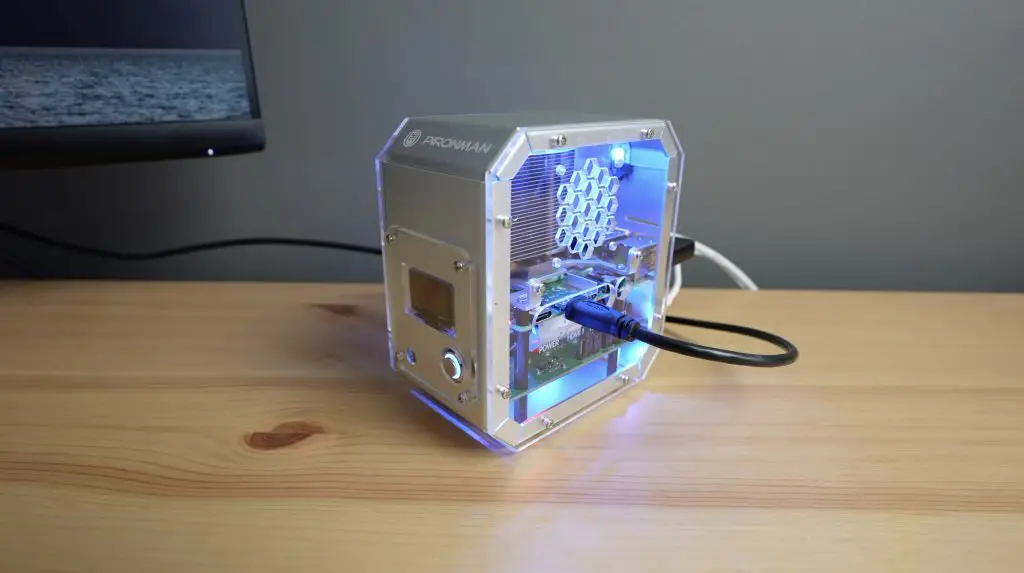
The display also shows their custom stats screen.
I tried a quick stress test to check if the fan would come on, which it did when the CPU went over 50C.
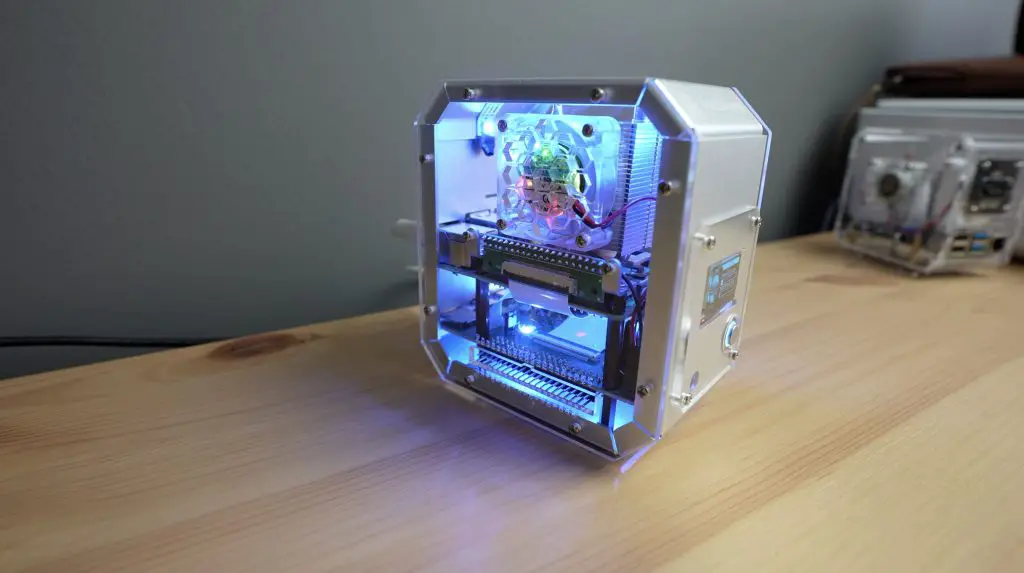
I then also tried playing around with some of the RGB light settings. You can change the light sequence and colours and also how quickly they change or pulse.
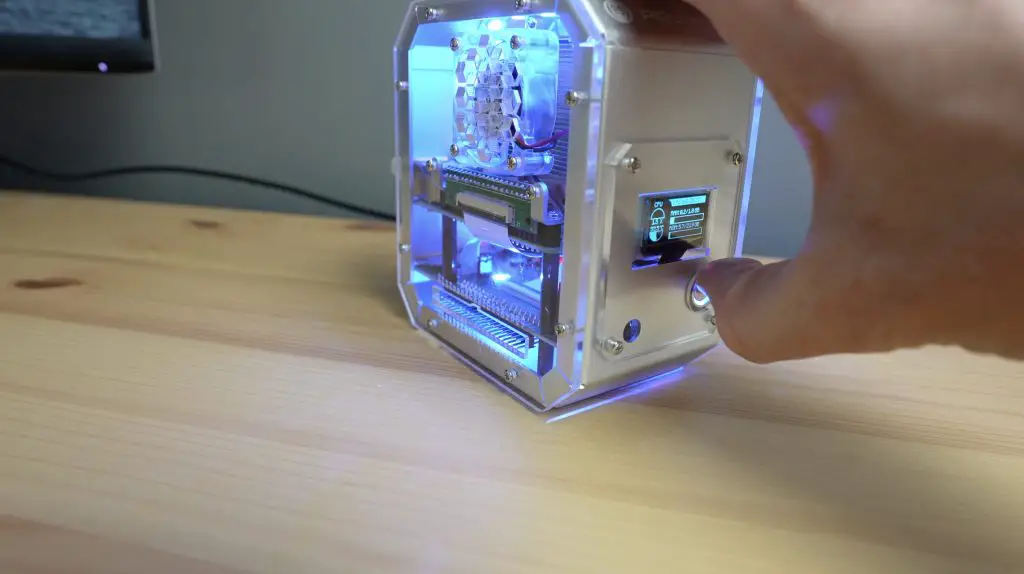
The display goes to sleep after a period of time, which you can customise, and you short press the power button to wake it up again.
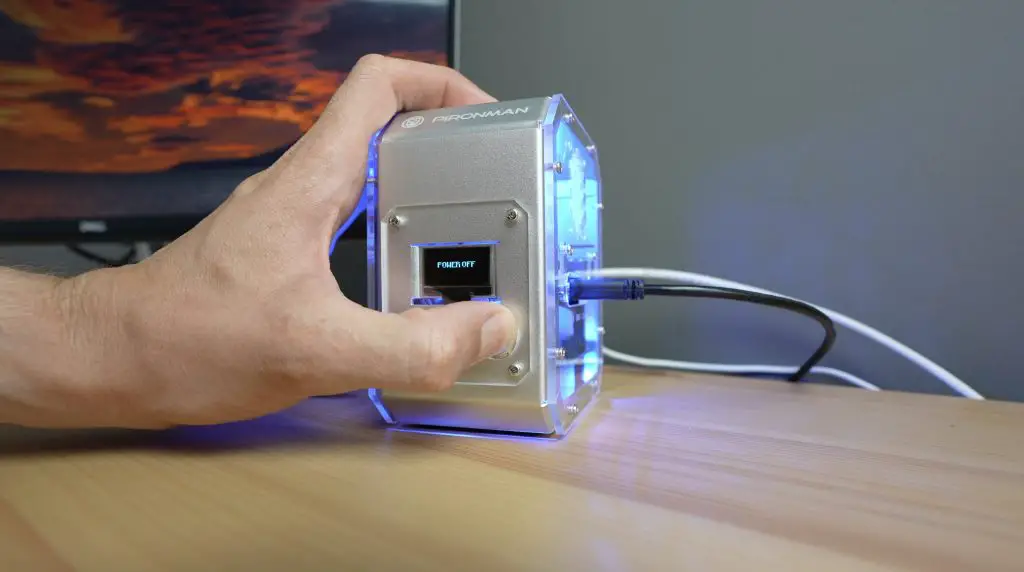
If you long press the power button, it’ll shut down your Pi. The lights and fan stay on for a while after the Pi shuts down but do eventually turn off as well.
And finally, pressing the power button wakes the Pi back up again.
Final Thoughts On The Sunfounder Pironman Case
Overall, I quite like the detail that they’ve put into the case design. It’s a good quality case that will last a long time, and it’s really got all of the optional extras that you’d want if you’re going to be using your Pi as a mini-computer.
After putting the case together and using it for a few days, there are a couple of things I’d like to see improved.
I like that the fan is mounted onto the side panel rather than on the cooler so that it is actually drawing fresh air into the case, but I would have made the exhaust vents a little bigger than the input as you don’t want to restrict the airflow out of the case. They’ve obviously done this so that you can put the fan on either side if you’d like to.
The other more significant thing is the general assembly process. I think they’ve made the design slightly more complicated than it needs to be. The metal housing could have just been two parts instead of four. It’s great that the bottom is removable to get to the SSD but the other three sides should all be a single piece. This would make installation much easier and would reduce the number of screws required.
I’d definitely recommend having a look at the Pironman case for your Raspberry Pi, it’s one of the better ones I’ve seen and is good value with the SSD carrier board included as well. Let me know what you think of it in the comments section below.