In this project, we’re going to use the Maduino Zero 4G by Makerfabs to make an air quality and environment monitor that transmits the recorded data wirelessly over a 4G mobile network to a Thingspeak dashboard.
Watch my video of the build or read on for the step by step instructions:
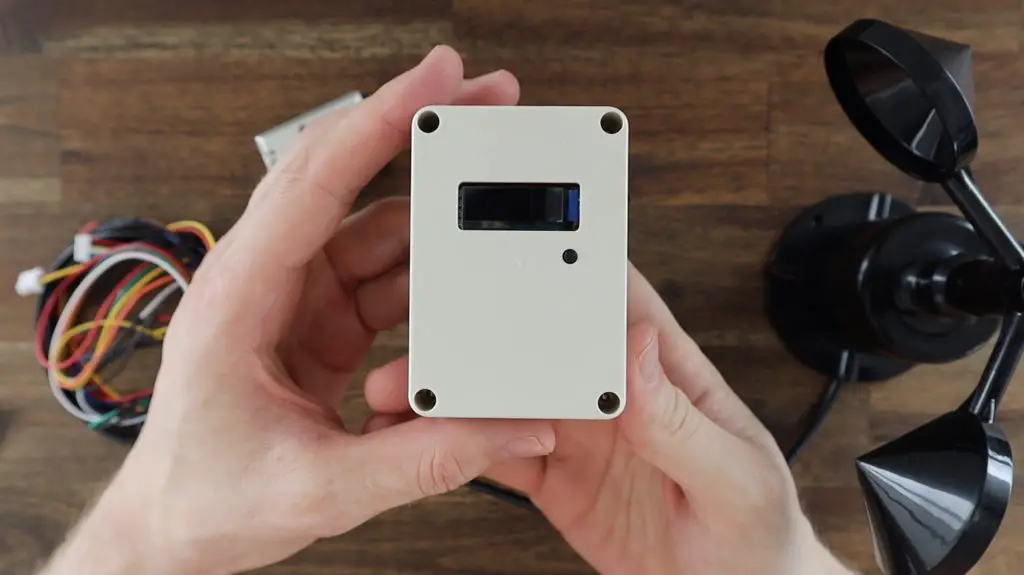
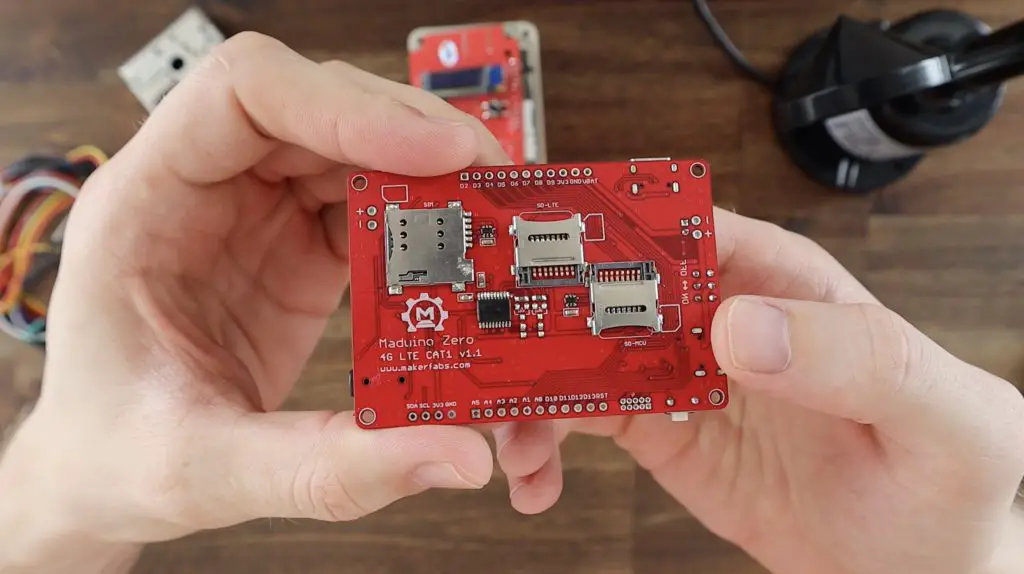
The Makerfabs Maduino Zero 4G LTE
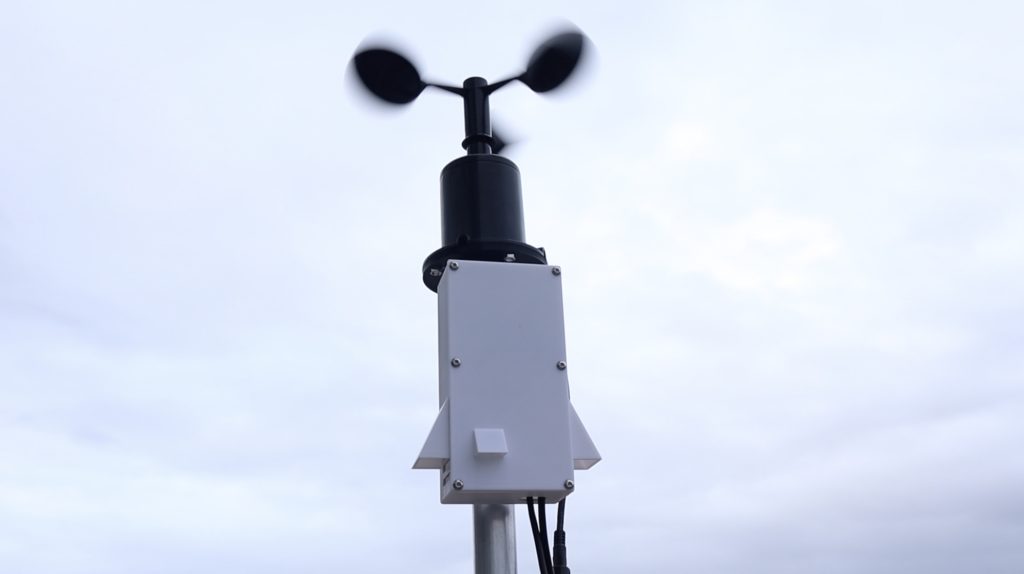
A couple of weeks ago, Makerfabs sent me their Open Wind Station to try out. It’s a compact Arduino compatible device that records temperature, humidity, pressure, wind speed and air quality information and uses a mobile network to transmit the data to a remote database or cloud service.
Unfortunately the built in A9G chip only works on a 2G mobile network, all of which have been decommissioned in Australia for a few years now.
But fortunately, they have been working on an alternative – the Maduino Zero 4G LTE. This new board uses a more modern SIM7600 chip which operates on a 4G network. They say can reach upload speeds of up to 50Mbps and download speeds of 150Mbps.
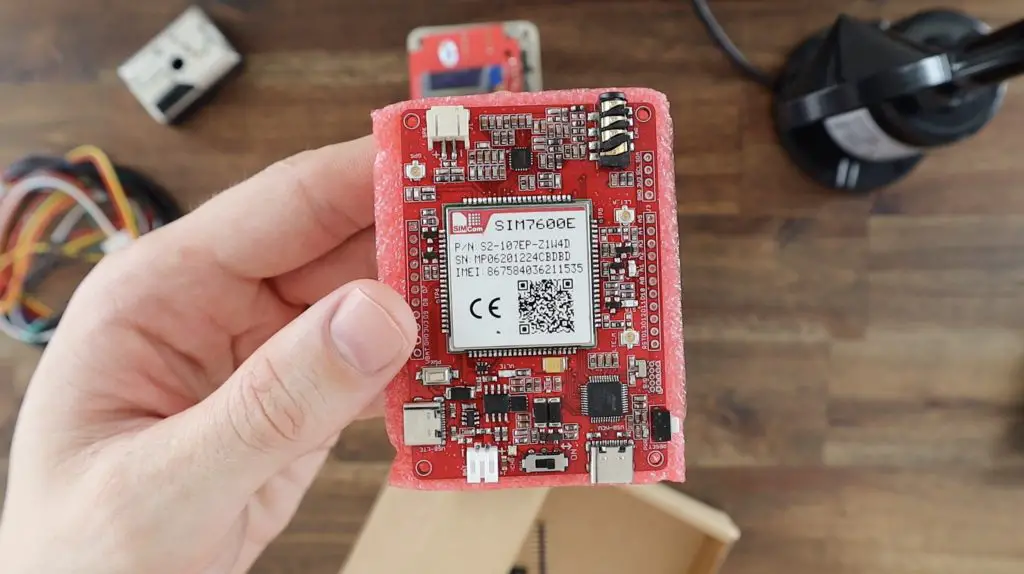
The best part about this board is that it is also a fully programmable Arduino compatible microcontroller with 12 digital IO pins, 6 analogue pins and an I2C interface. So it’s perfect for projects that require data to be sent to or from a remote location. You can set this up anywhere that you have 4G coverage and have full control over it from any internet connected device.
Some of the Maduino’s features include:
- LTE Cat-4, with upload speed of up to 50 Mbps and download speed of up to 150 Mbps
- GNSS positioning
- Arduino IDE compatible
- Dual USB type-C ports, one for MCU programming/UART, the 2nd for SIM7600 USB connection
- Audio Driver – NAU8810
- Dial-up supports, phone, SMS, TCP, UDP, DTMF, HTTP, FTP
- Dual SD card slots
- USB supply voltage: 4.8-5.5V, 5.0V typically
- Battery supply voltage: 3.4-4.2V, 3.7V typically
- Onboard charger, up to 1A charge current
- Overcharge protection(OCP), 4.3V
- Over-discharge protection(ODP), 2.5V
What You Need For This Project
- Makerfabs Zero 4G – Buy Here
- Makerfabs Open Wind Station – Buy Here
- Grove Sensor Beginner Kit – Buy Here
- Breadboard – Buy Here
- Breadboard Jumpers – Buy Here
- Machine Screws – Buy Here
Equipment Used:
Some of the above parts are affiliate links. By purchasing products through the above links, you’ll be supporting this blog, with no additional cost to you.
Testing The Maduino Zero 4G And Sensors
Now that we’ve taken a look at the Maduino Zero 4G, we’re going to use it to make an air quality and environment monitor. I thought it would be good to take the wind and air quality sensors from the Open Wind Station and integrate these with the new Maduino Zero 4G board.
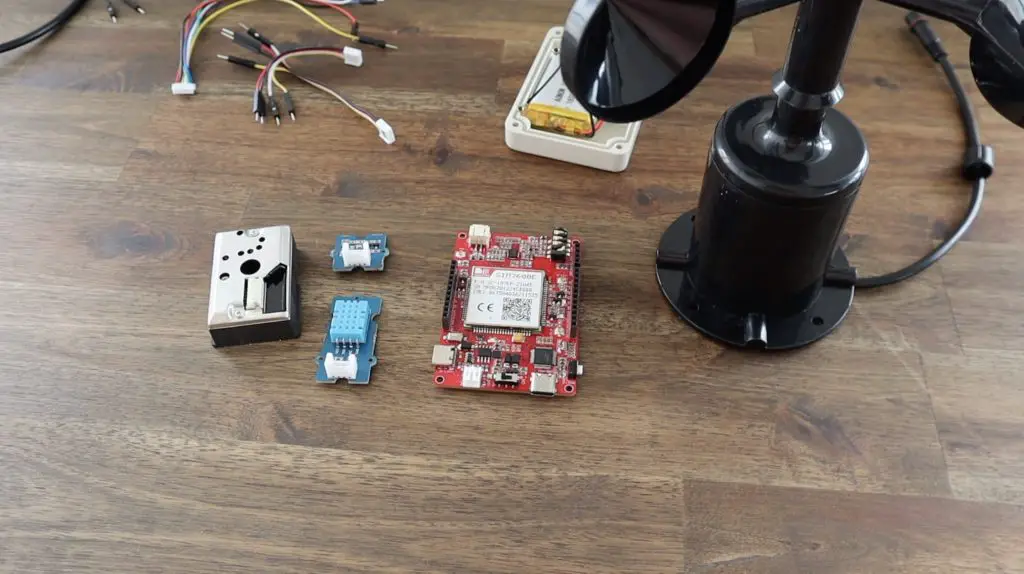
I’m also going to add some additional grove DHT11 and BMP280 sensors to create a truly wireless air quality and environment monitor. These two sensors are just taken from the Grove Beginner Kit and already have the supporting electronics built into them so they just have a three or four wire interface to the Arduino.
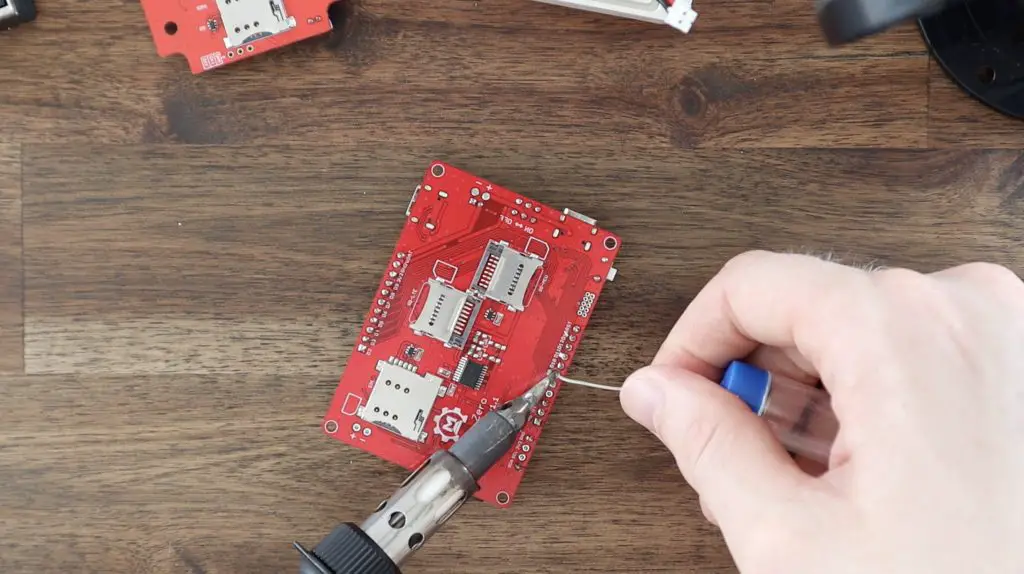
We also need to add some pin headers to the Maduino board so that we can plug our sensors into them. The board comes with male pins but I’d prefer to use female pins so that there are fewer exposed pins within the case when it is complete.
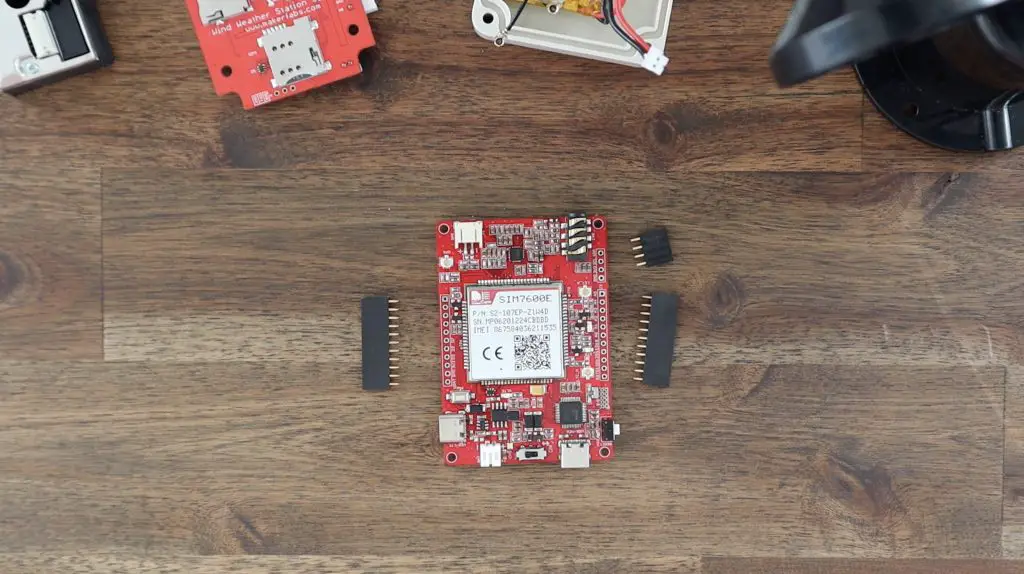
I just cut these from some lengths of female header strips and soldered them into place on the top side of the board.
I’m going to do a trial assembly of the components on a breadboard to start with because the original sensors operate on 5V while the Maduino Zero 4G operates on 3.3V, so there is a chance that they won’t even work with it.
I’ve connected the sensors to the same pins that they were connected to on the Open Wind Station so that the original code doesn’t need to be completely re-written for the new system.
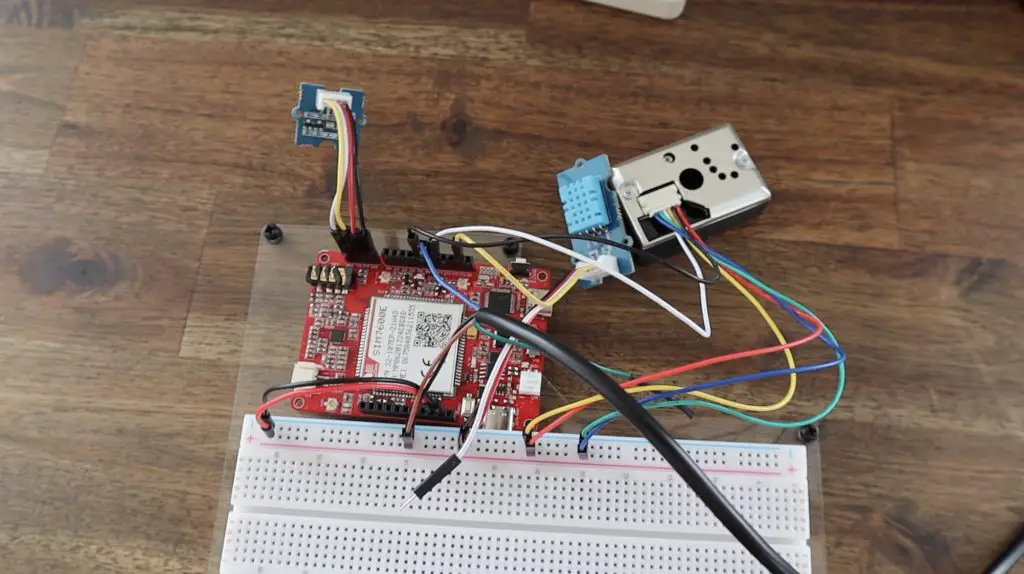
The sensor connections are:
Anemometer
- 5V – 3V3
- GND – GND
- Data – A0
DHT11
- VCC – 3V3
- GND – GND
- Data – D13
BMP280
- GND – GND
- VCC – 3V3
- SCL – SCL
- SDA – SDA
PM2.5
- Sens VCC – 3V3
- Sens GND – GND
- Sens Data – A1
- LED VCC – 3V3
- LED GND – GND
- LED On/Off – D10
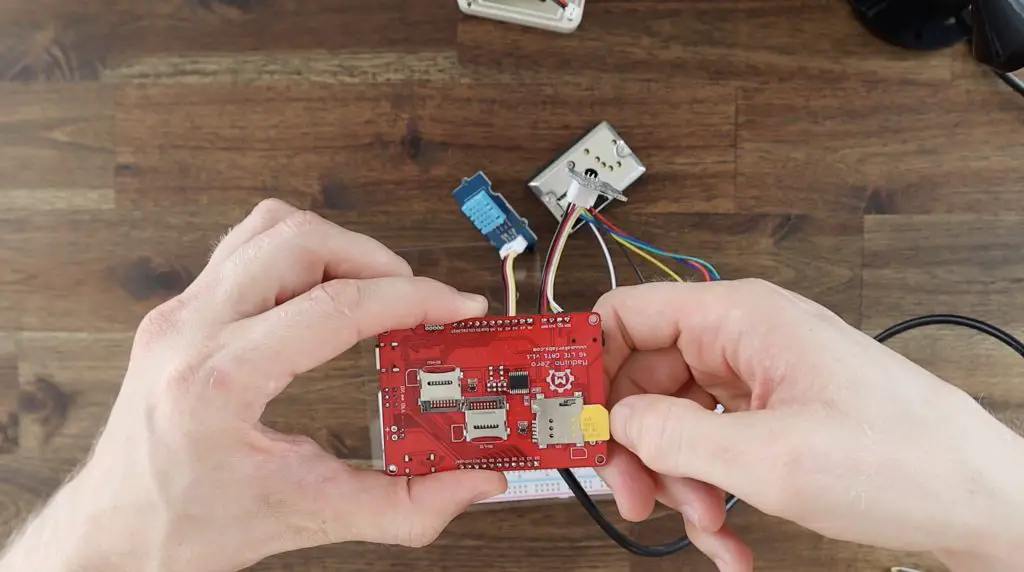
Now we just need to add the sim card to the tray at the back and plug the three antennas into the connectors on the front.
We’ve got it all assembled, now we just need to program it.
Programming The Maduino Zero 4G
I’ve created a sketch using two examples sets of code, one being the 4G example code that Makerfabs have put together for the Maduino Zero 4G and the other being the original code for the Open Wind Station.
Here is the code if you’d like to try it on your Maduino:
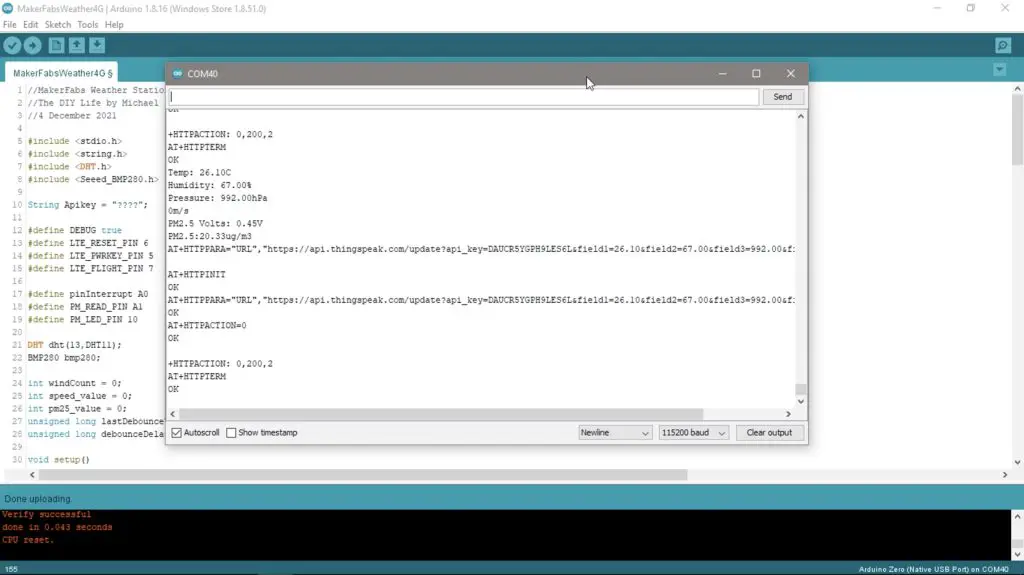
The original code has the calculations and settings for the sensors, although I suspect that I might need to re-calibrate these at some stage as my change in cycle time will change the wind speed calculation and the lower voltage probably affects the brightness of the air quality sensor’s LED and its analogue output.
In any case, running the sketch on the breadboard setup seems to work correctly and I’m able to see some values from the sensors, so that looks promising.
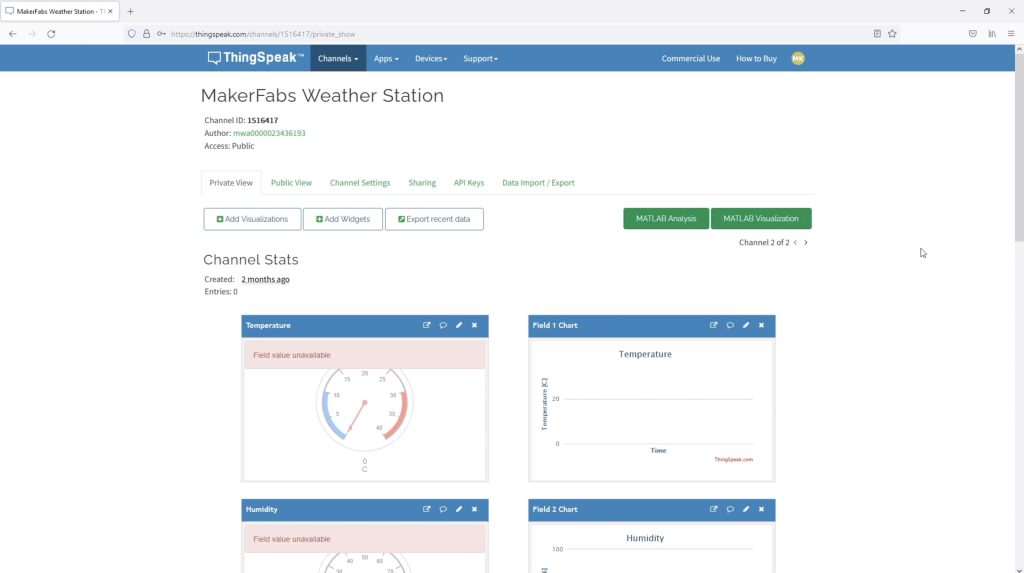
I have created a new Thingspeak channel with it’s own write API key which will need to be copied into the sketch. This key allows the Arduino to write the data to the Thingspeak channel and it can then be accessed through any internet connected browser.
I added a gauge and chart widget for each of the fields/sensors and scaled them according to the expected values.
If you’d like a more detailed look into how to publish data to Thingspeak, have a look at my 3D Printed Weather Station project. The sketch in this project uses a more user-friendly Thingspeak library.
3D Printing A Case To Hold The Components
Now that we’ve got the electronics working, we need something to mount it in. So, I’m going to use Tinkercad to design a case to hold the board and sensors in such a way that it can be mounted onto a 25mm pole.
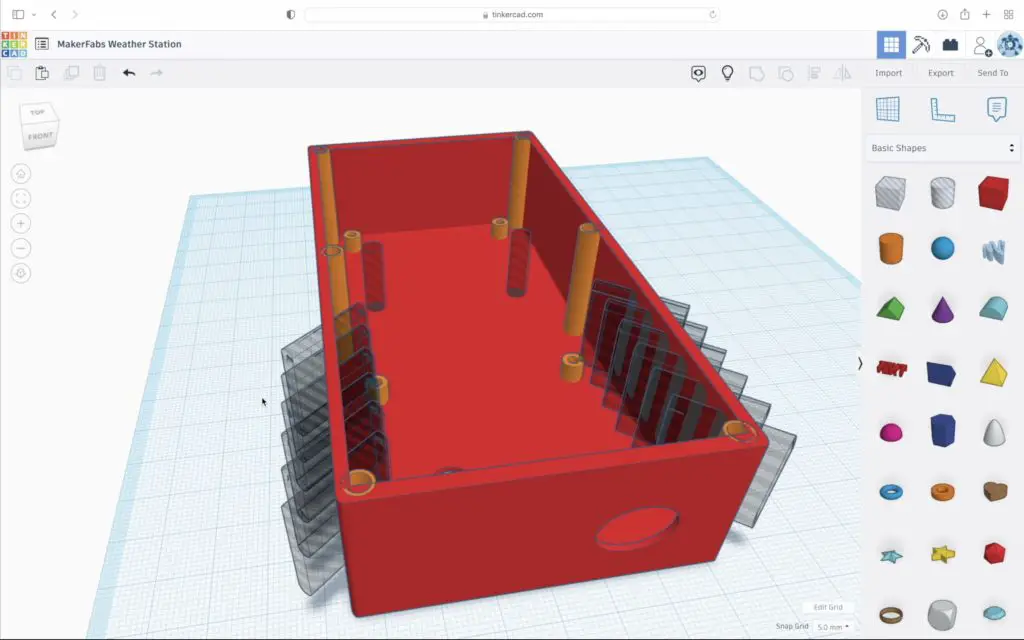
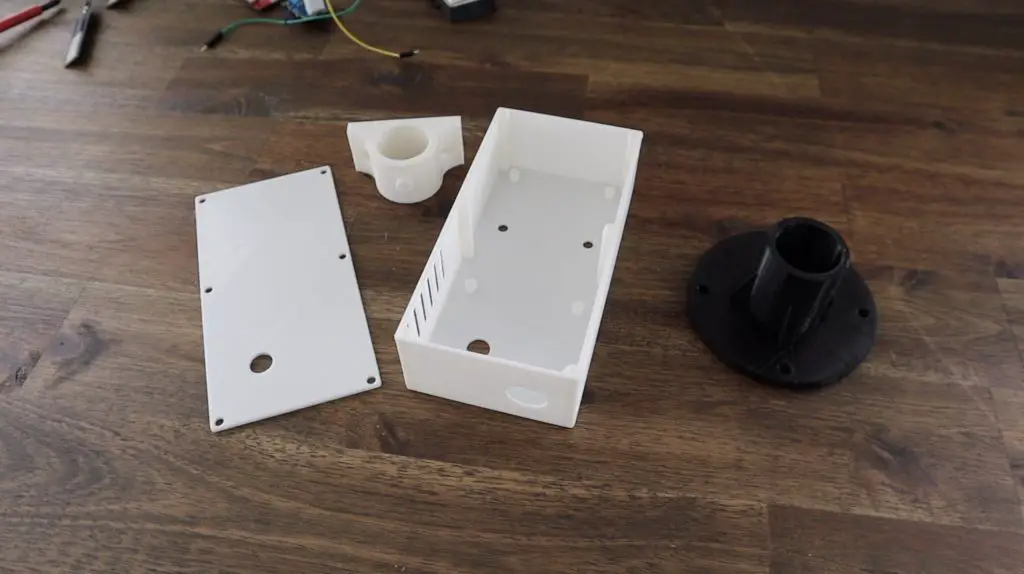
The case consists of 3 parts, the main body, a cover plate and a bracket. I’ve also made up a bracket to mount the anemometer onto the end of the pole. The components were all printed in PLA on my Ender 3 V2.
Assembling The Air Quality & Environment Monitor
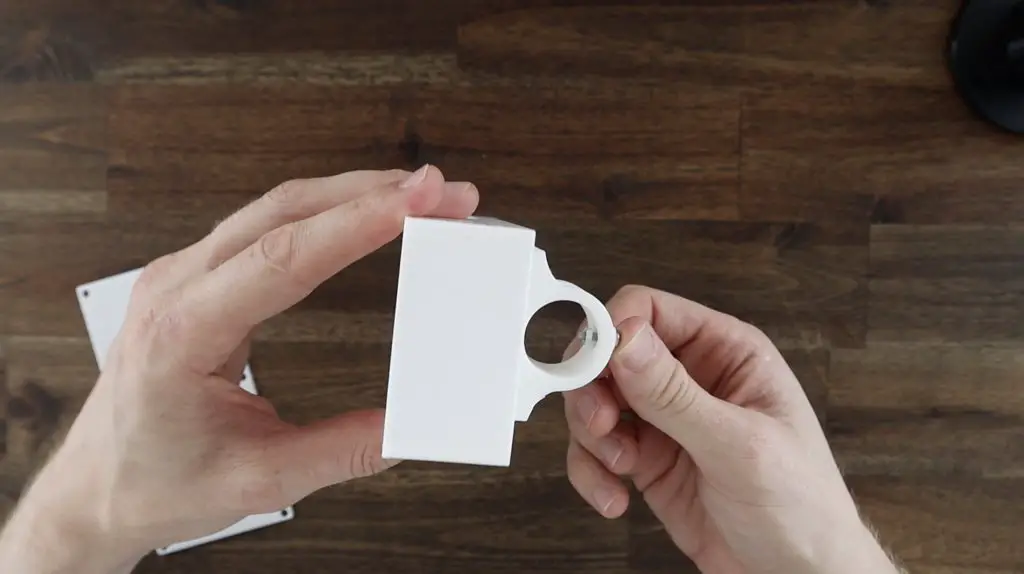
Let’s start by installing the bracket onto the back of the case. The bracket is held using two M4x8mm screws and nuts. The nuts fit snugly into the cavities in the bracket. A small M3x12mm screw is then used to lock the bracket into place on the pole by pressing against an M3 nut in the cavity on the inside of the bracket.
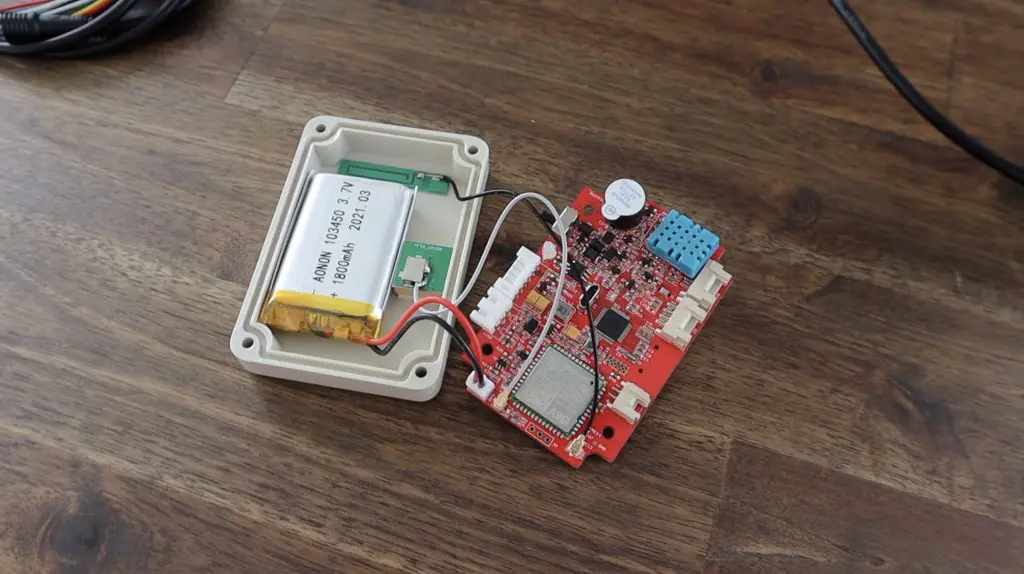
The board is then held in place with some M2 screws and the sensors and components then fit in around it.
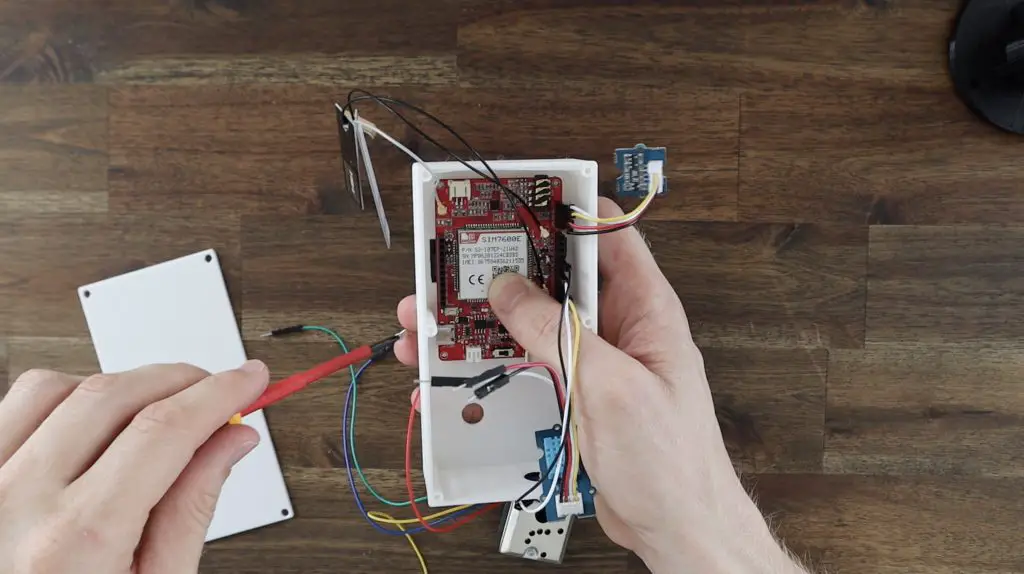
I was initially going to add the original battery from the Open Winder Station, but it’s only 1,000mAh, and I suspect this 4G board is going to draw a lot more power than the original one, so this probably won’t provide much benefit. I’ll instead use a USB cable to power it from a 30,000mAh power bank.
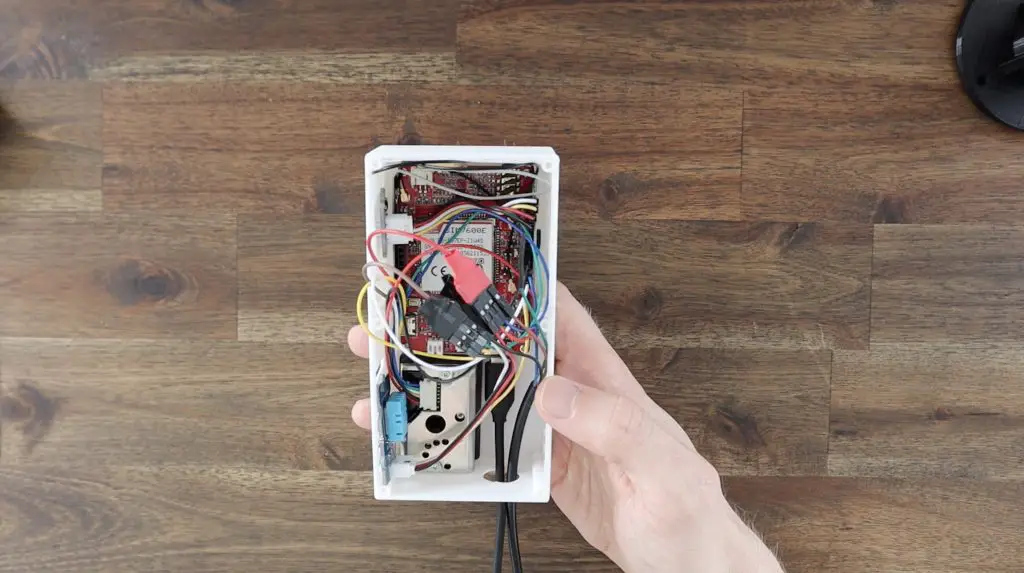
I’m going to be using this in a partially covered area, so it doesn’t need to be rain proof, but I designed a couple of vent covers just in case it does get a bit wet if there is a lot of wind. I just stuck these on with some epoxy adhesive.

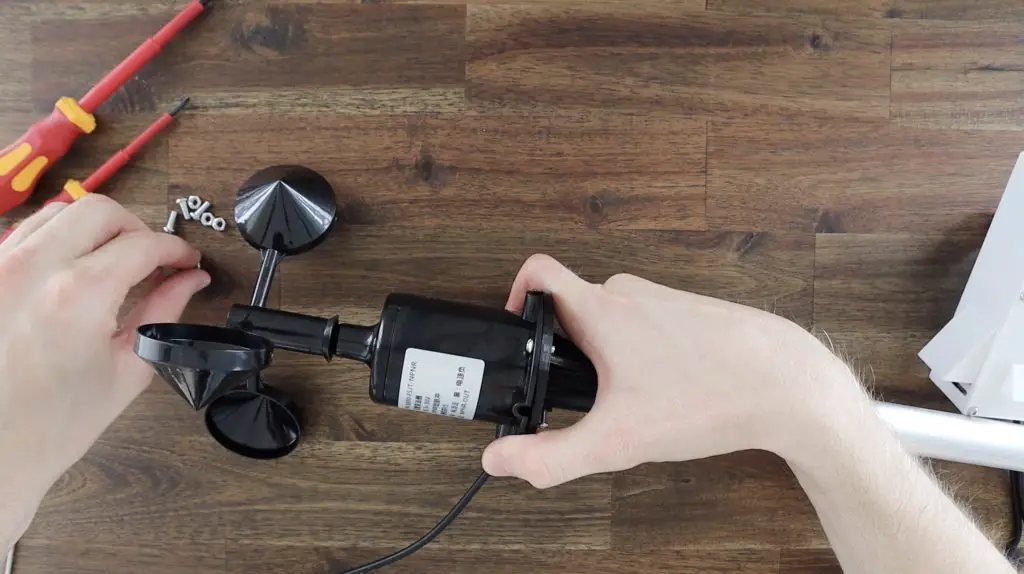
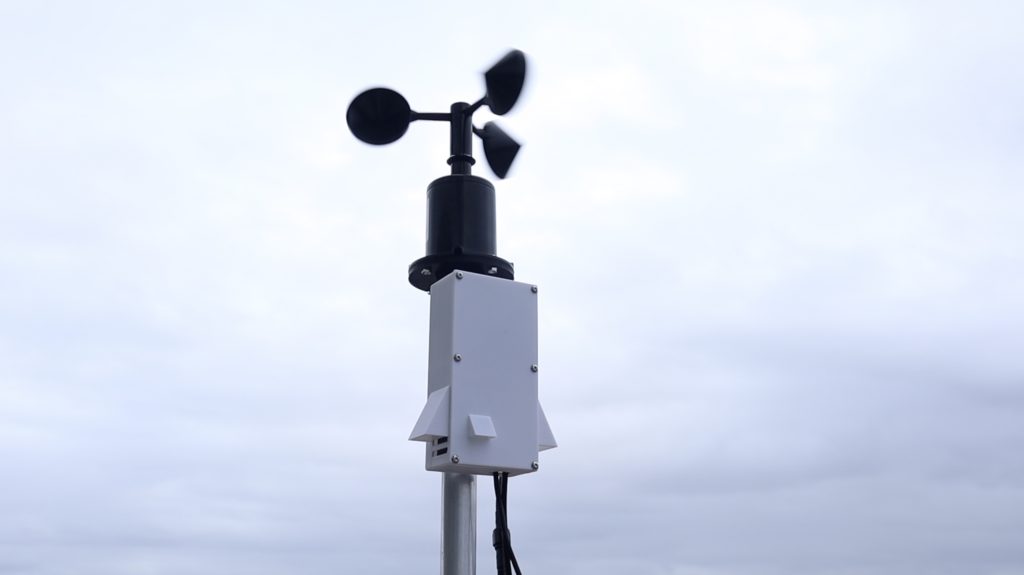
The anemometer is mounted onto the end of the pole using the 3D printed bracket, which is also held in place with an M3x12mm screw and nut.
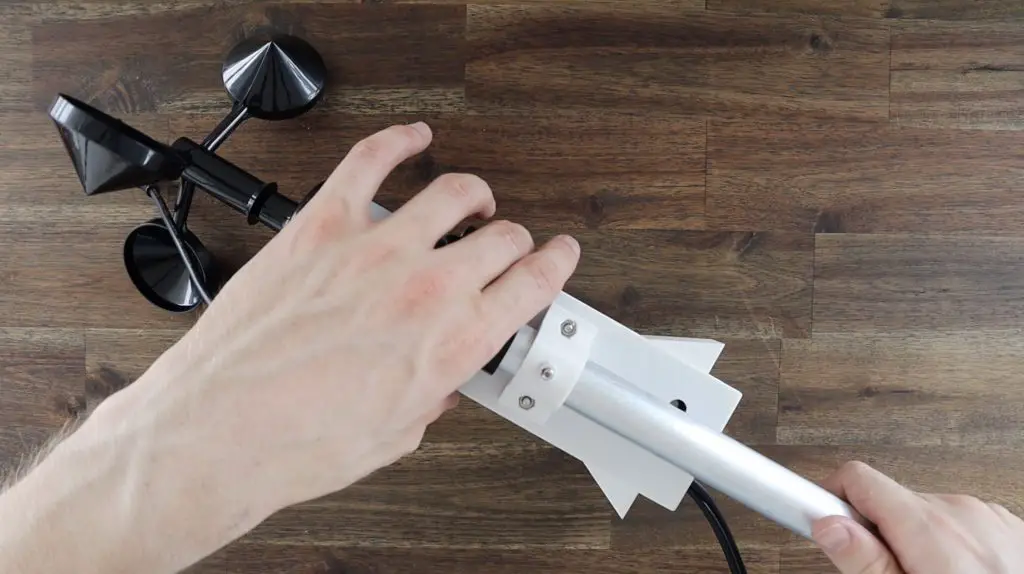
We can then slide the main control board onto the pole underneath it and tighten the M3 screw to lock it in position.
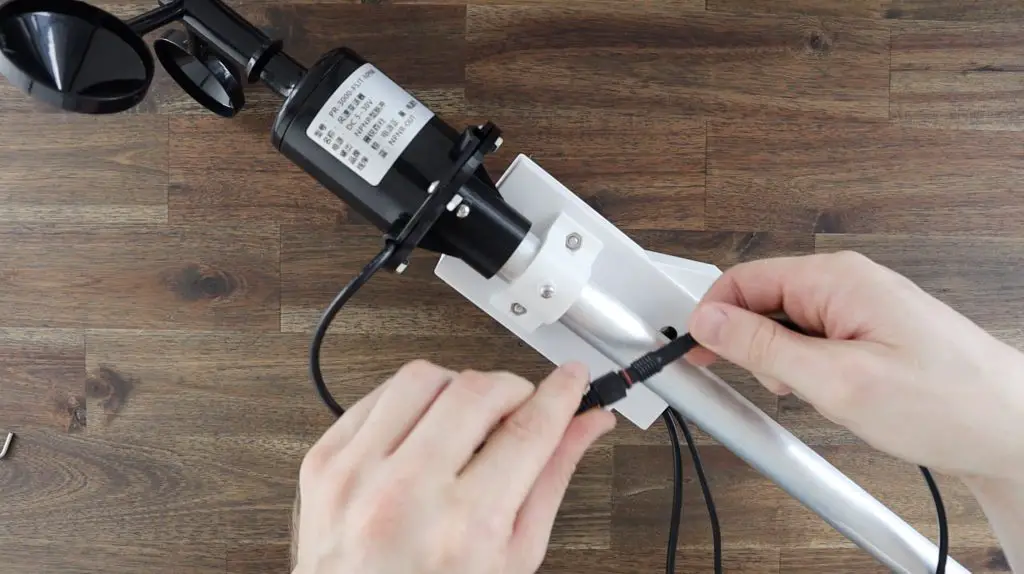
The anemometer is then plugged in using the 4 pin connector.
Testing The Maduino Zero 4G Air Quality & Environment Monitor
I decided to first test the power consumption to see how long it would last on my power bank. My USB power meter showed that it used around half an amp fairly consistently.
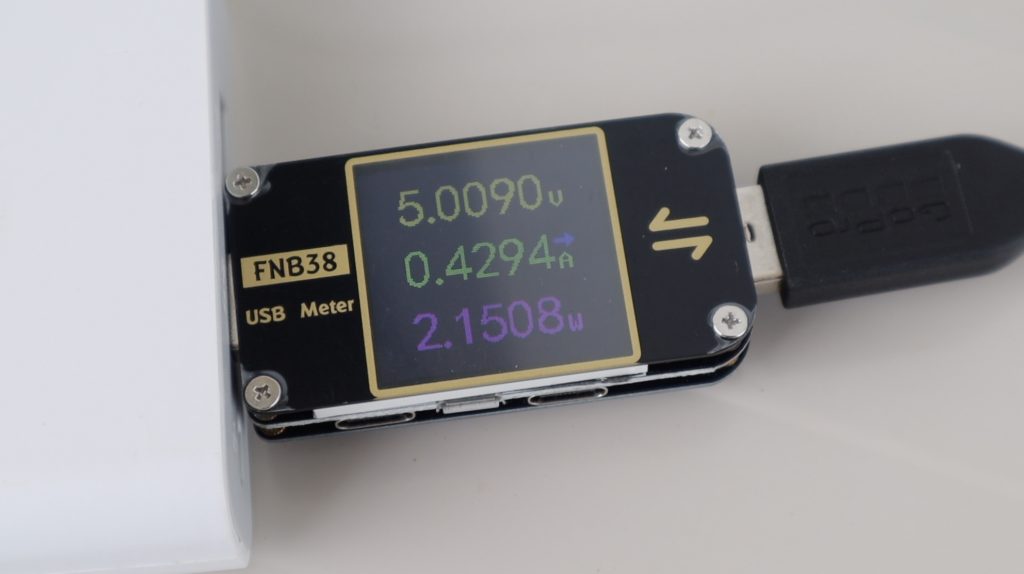
So my 30,000mAh power bank should power it for about 40 hours. If you’re going to be using it for longer periods of time then you’ll probably need to use a mains adaptor or solar power to keep it running.
Now let’s get it mounted outside and start recording some data.
After a few hours it looks like we’re consistently getting data from all of the sensors.
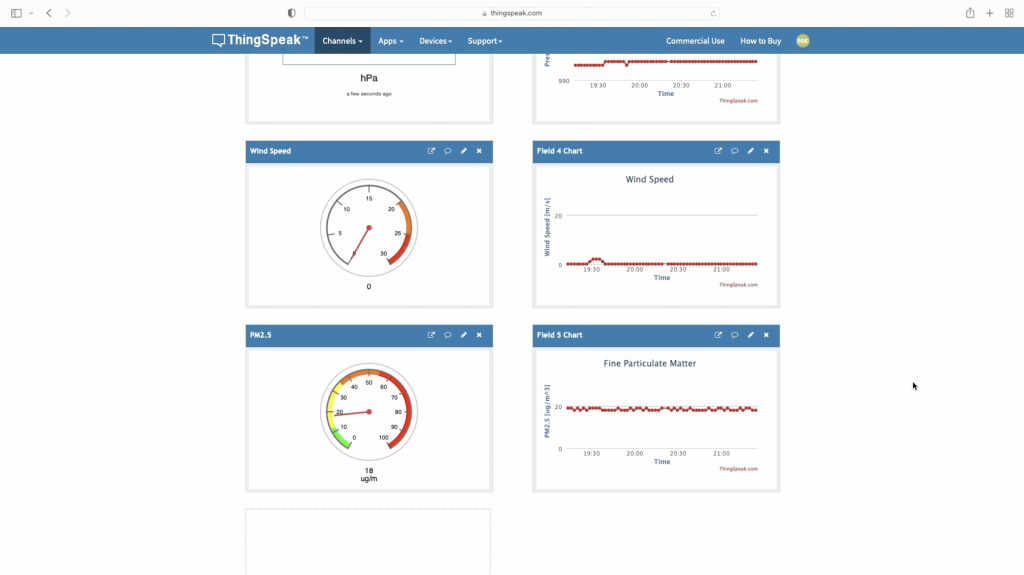
The air quality reading definitely looks to be a bit higher than what I was expecting, so I’ll need to work on calibrating that.
The wind speeds looks about right when I compared it to my other anemometer after a couple of days of use.

Let me know what you think of the Maduino Zero 4G in the comments section below. Do you have any project ideas for a 4G Arduino?
Speaking of other ideas, you can actually also use this device to provide a 4G internet connection to your computer or Raspberry Pi and you can use it as a fully functional mobile phone to make calls. So there are a lot of options for it.