Today we’re going to be using the new Creality Falcon 2 40W laser cutter and engraver to make up a Mini ITX computer case for my Turing Pi 2.
I previously made a case for it out of clear acrylic but I’ve recently seen a number of really cool-looking designs for computer cases that incorporate wood panels. My last case was made up of 3mm sheets of acrylic, which I could just swap out for 3mm plywood, but I want to improve on the design and make it look a bit more professional.
Here’s my video of the build, read on for the write-up;
What You Need For This Project
- Turing Pi 2 – Buy Here
- 3mm Walnut Plywood Sheets – Buy Here
- Black PLA Filament – Buy Here
- 3 x 40mm 5V Noctua Fans – Buy Here
- PicoPSU ATX Power Supply – Buy Here
- Power Button – Buy Here
- M3 Brass Inserts – Buy Here
- M2.5 Brass Inserts – Buy Here
- M3x8mm Button Head Screws – Buy Here
- M3x16mm Button Head Screws & Nuts – Buy Here
- M3x10mm Brass Standoffs – Buy Here
- M2.5x6mm Button Head Screws – Buy Here
- M2.5x12mm Button Head Screws – Buy Here
- Satin Varnish – Buy Here
Equipment Used
- Creality Falcon 2 40W Laser – Buy Here
- Creality Ender 3 S1 Pro – Buy Here
- USB C Electric Screwdriver – Buy Here
- Hakko Soldering Iron – Buy Here
- Hakko Brass Insert Tips – Buy Here
Designing The Case In Fusion360
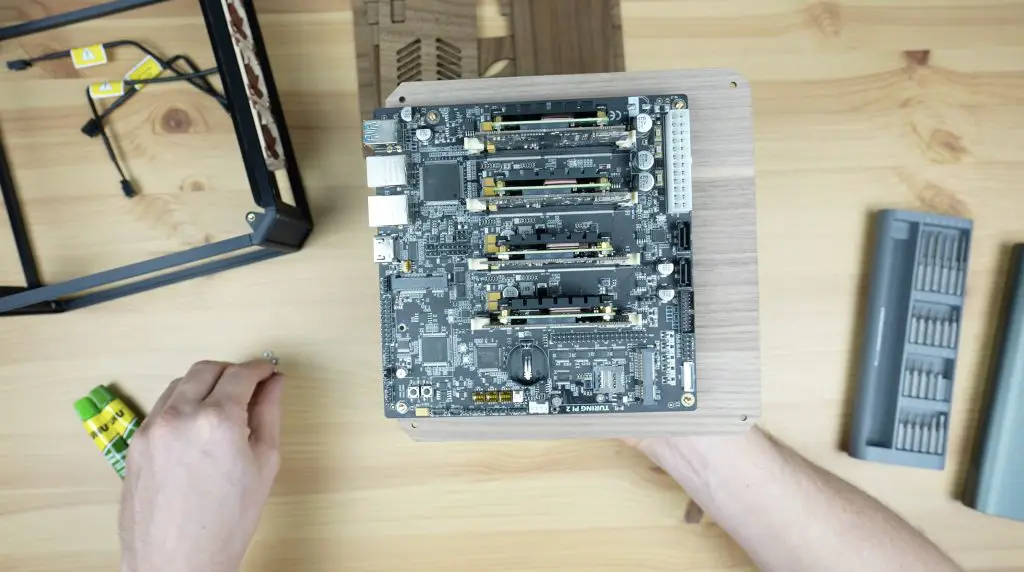
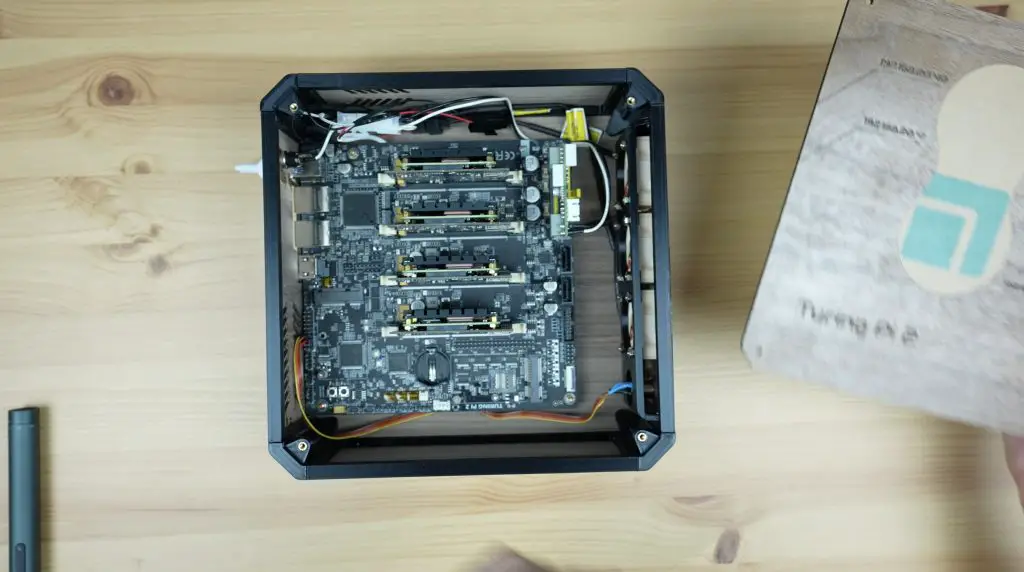
To design the new case, I used Fusion360. I started out by rough modelling the Turing Pi 2. I then designed a frame to hold the plywood panels in position around the Turing Pi 2 to form the case.
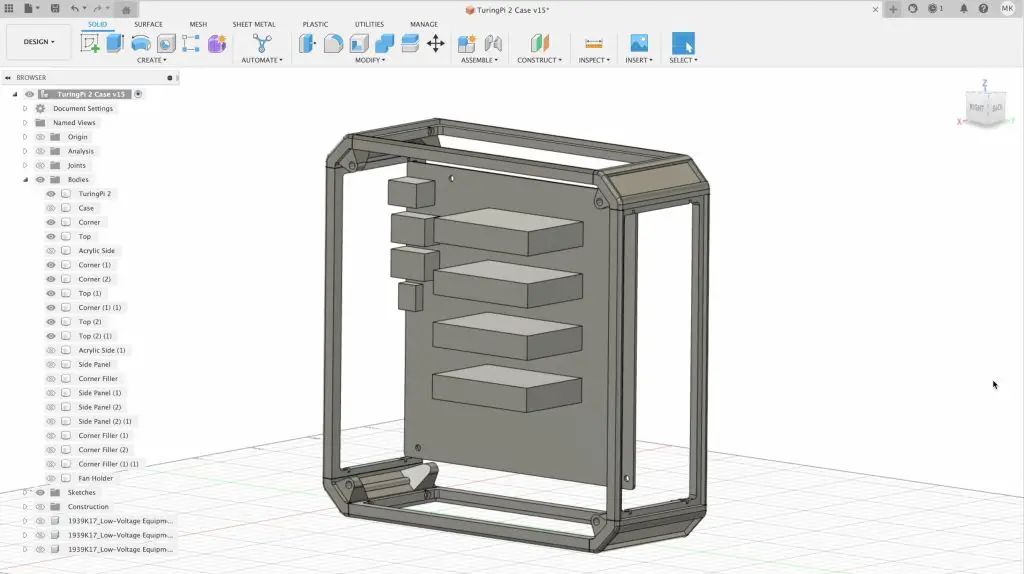
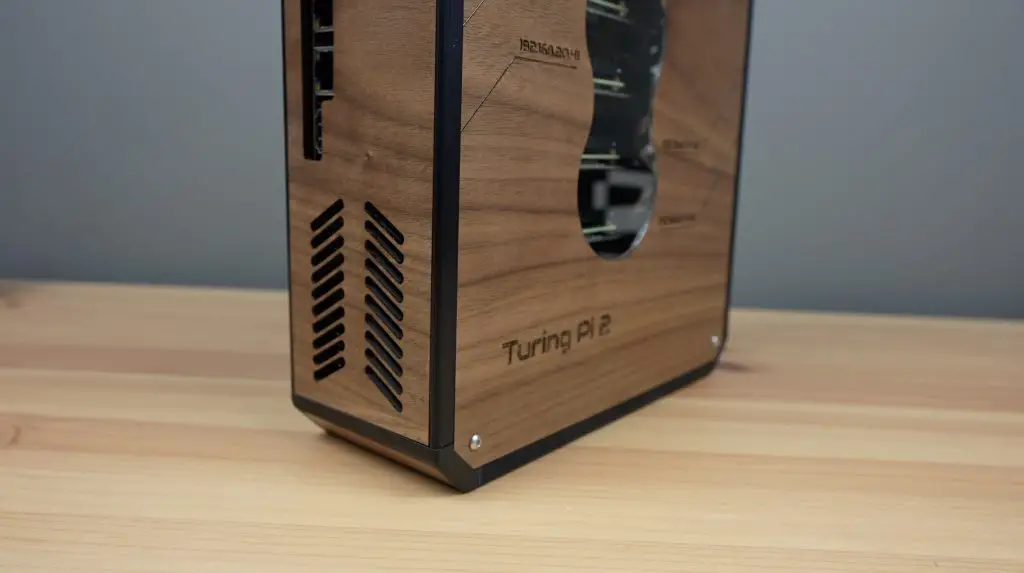
This frame would better finish off the corners and edges of the case and I think the two-tone contrast between the black plastic components and some walnut wood panels will look quite good. The frame is primarily made up of four 3D-printed corner pieces and four side panels and these will then screw together to form the main shape of the case and to hold the plywood panels.

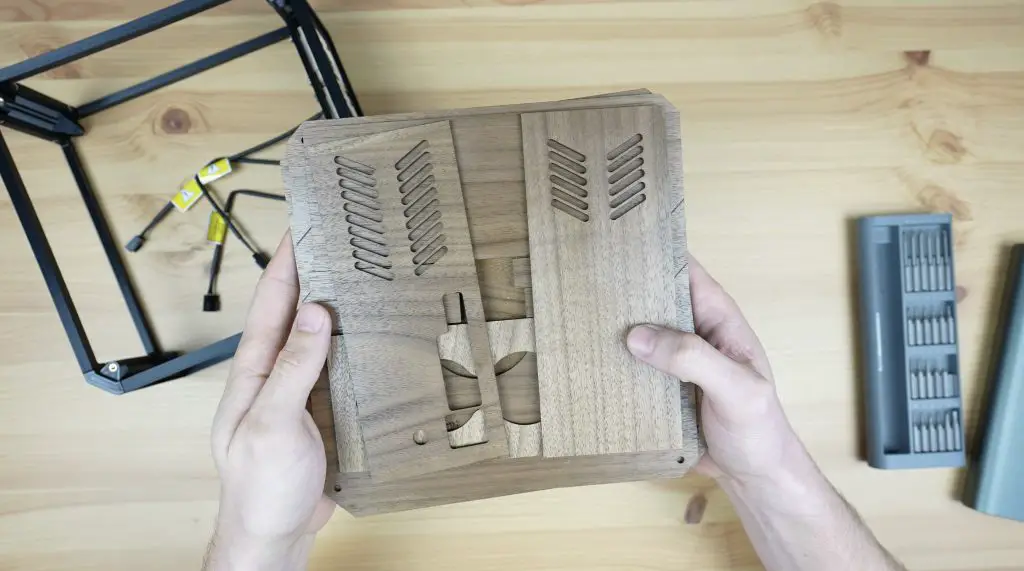
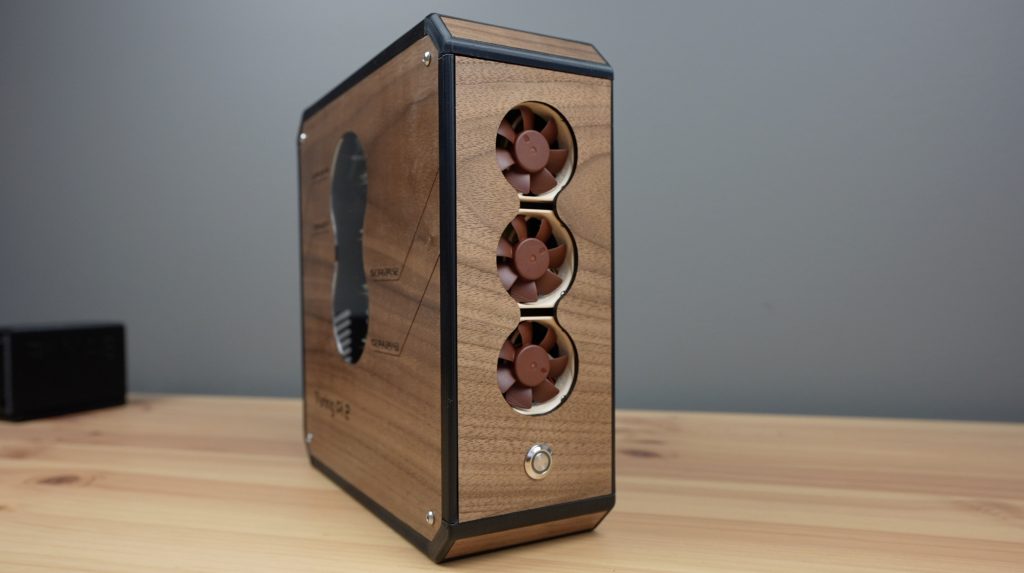
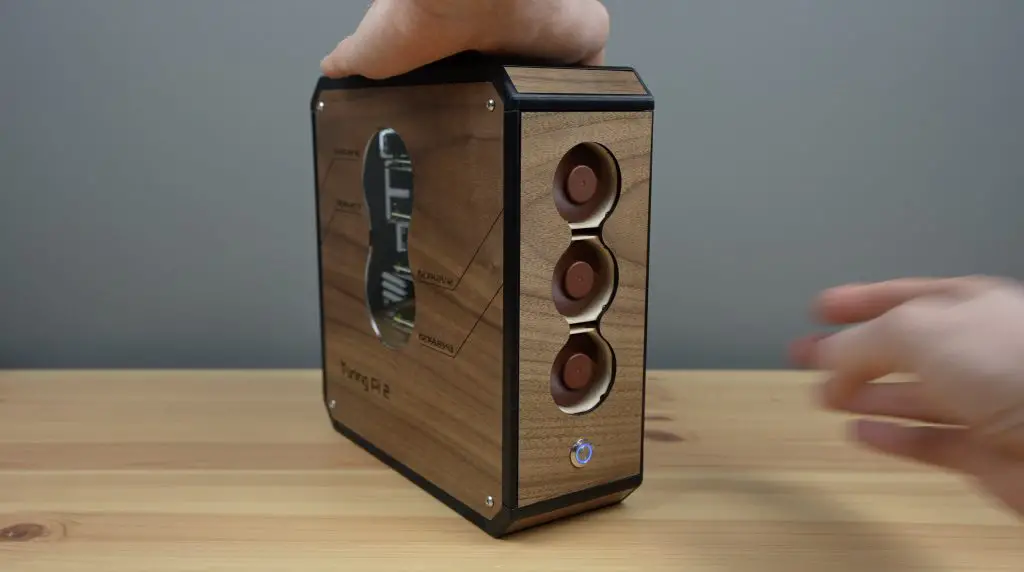
For the plywood panels, I have kept the same three-fan and power button layout at the front, but I’ve redesigned this to add to the aesthetic.
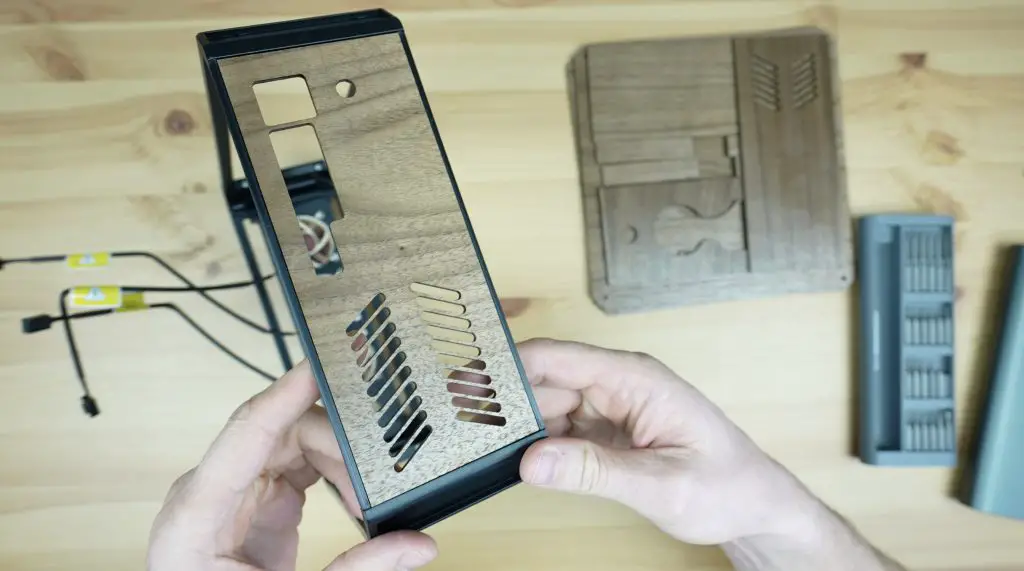
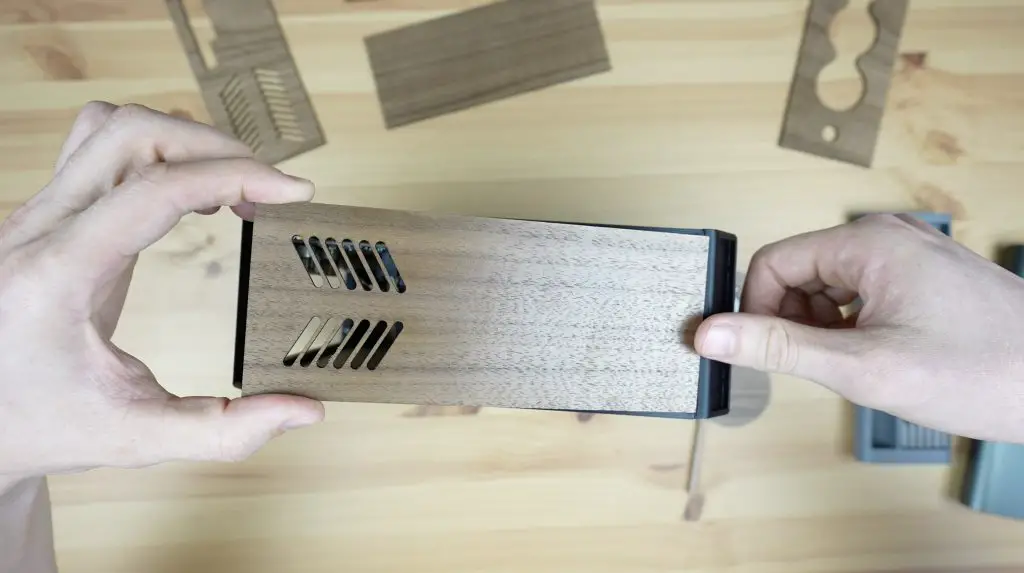
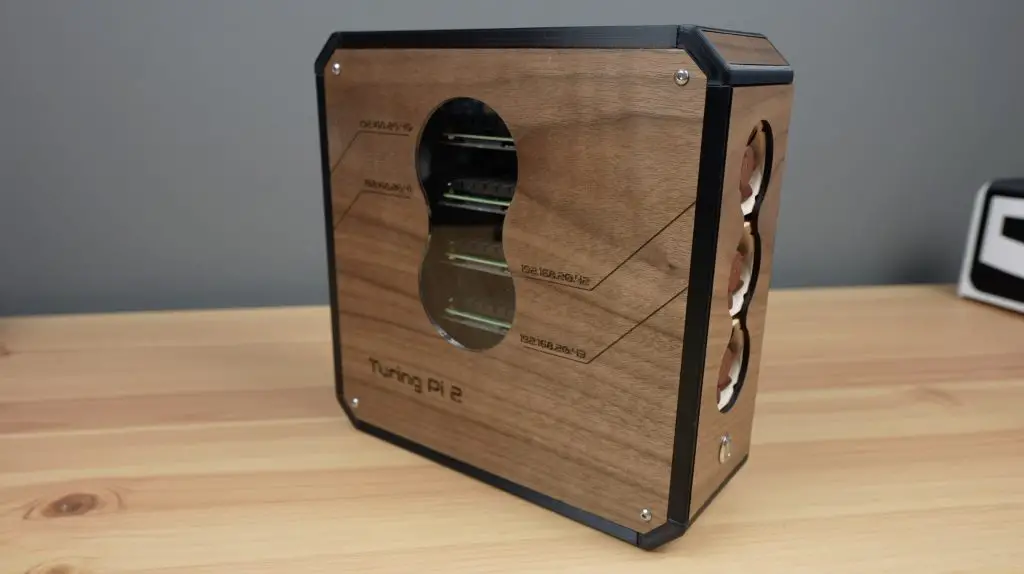
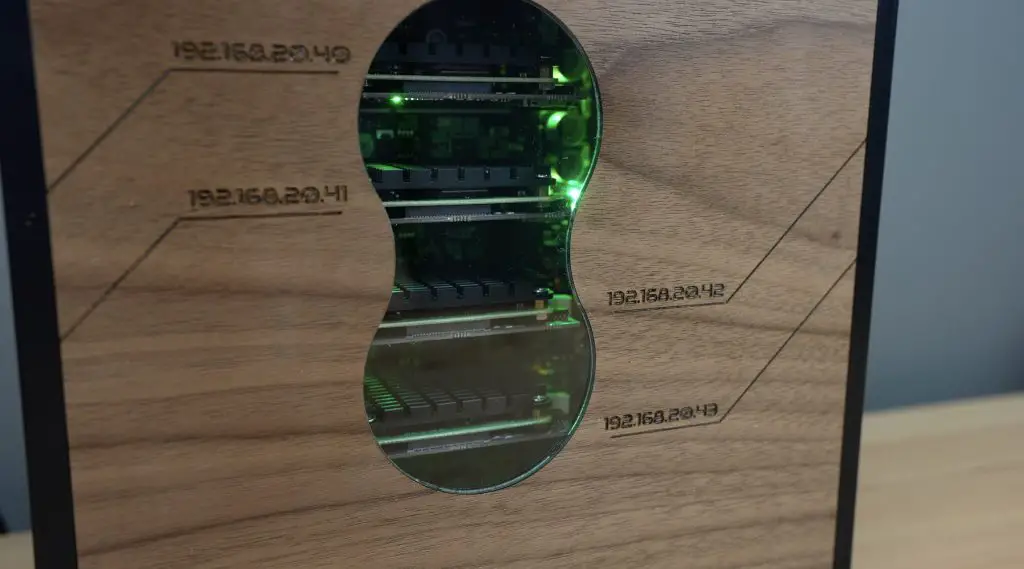
I’d like the side panel to still have some visibility into the case to see the blinking lights on the Turing Pi board – so I’ve added a small cutout on the side to match the design of the fan cutout on the front.
Download the case files on Etsy
I’ve then also added ventilation holes and ports to the back and top panels.
That’s the design done, so let’s now move on to making up the parts.
Unboxing & Setting Up The Creality Falcon 2 40W
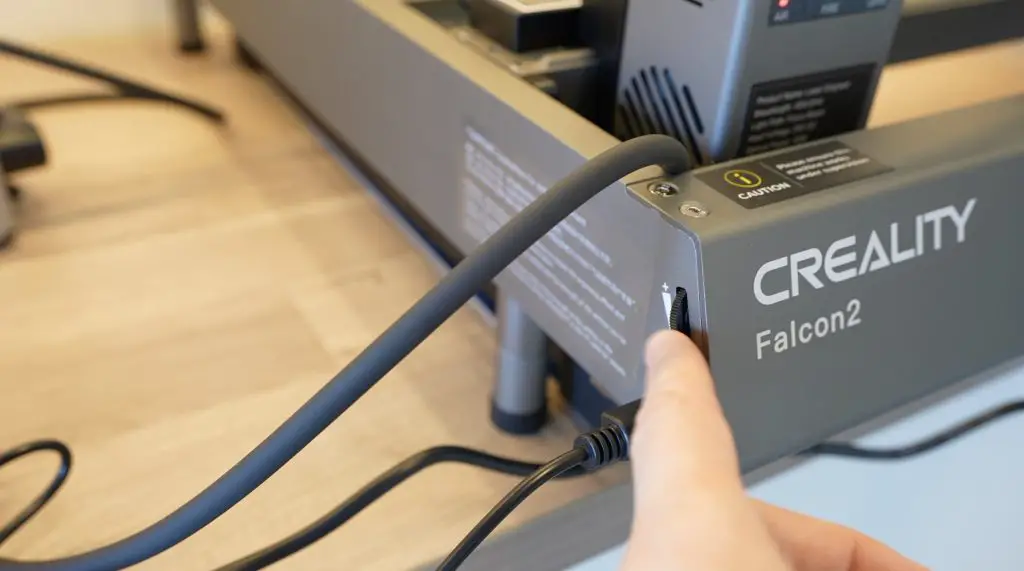
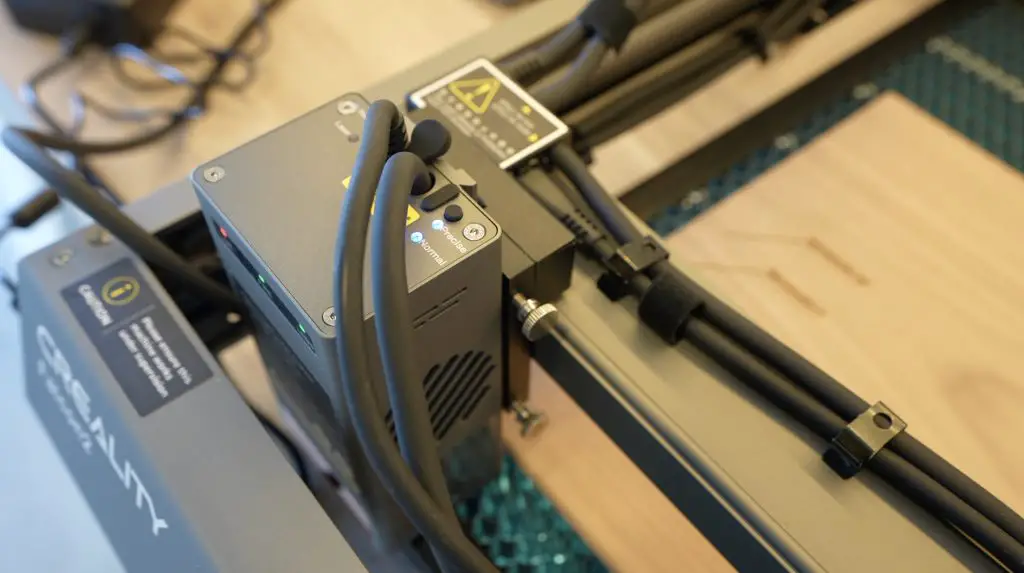
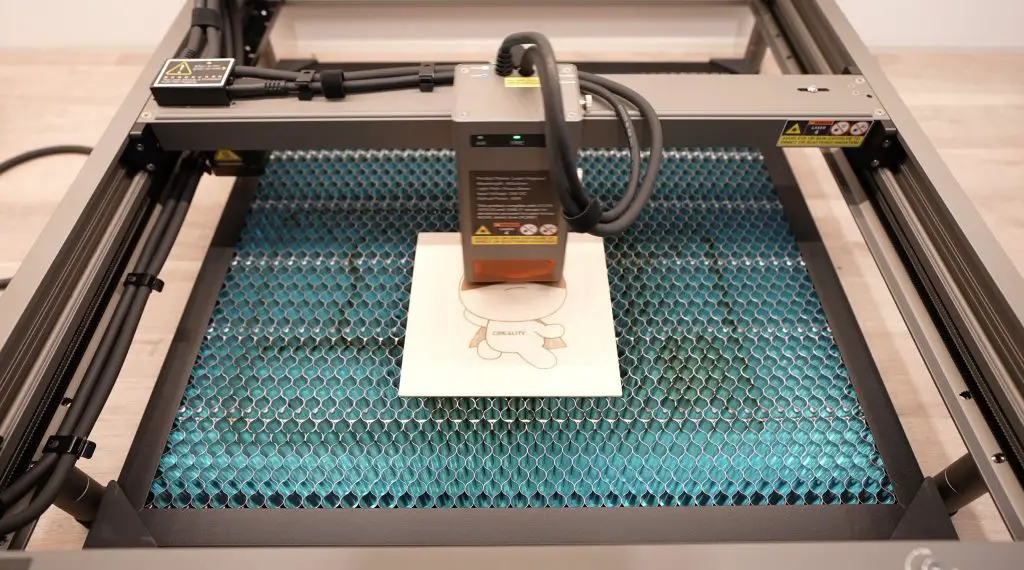
To make up the walnut panels, I’m going to be using the new Falcon 2 40W laser cutter and engraver from Creality.
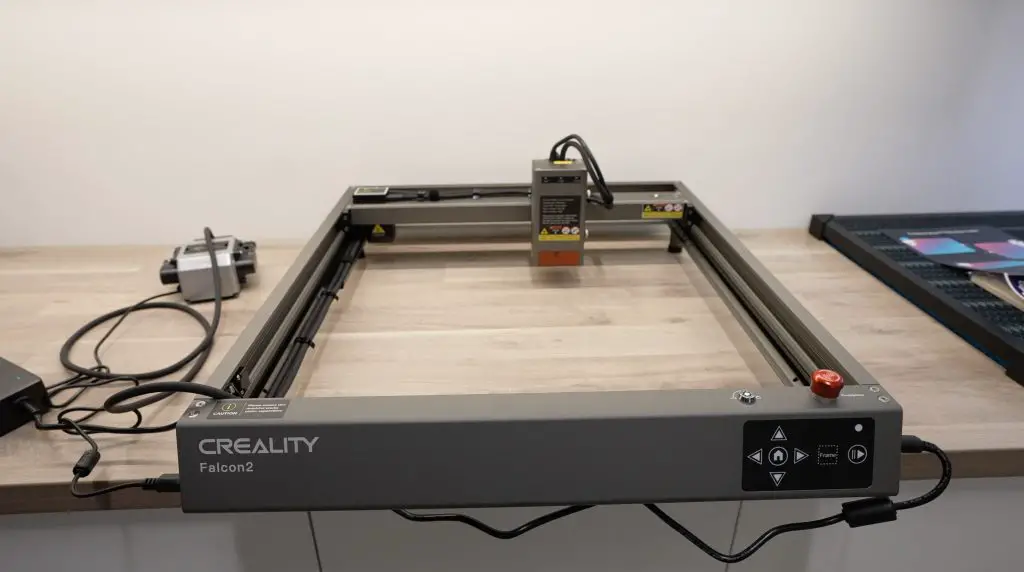
This is an open gantry-style laser with a new powerful 40W diode laser module. It’s also got some interesting features that differentiate it from other similarly powered lasers which we’ll take a look at while using it.
It comes with a pre-assembled frame, so it is almost ready to run when you take it out of the box. This is the first gantry-style laser that I’ve seen that comes like this, most of them require a bit of assembly.

Note – the honeycomb bed used below is sold separately and is not included with the Falcon 2 40W.
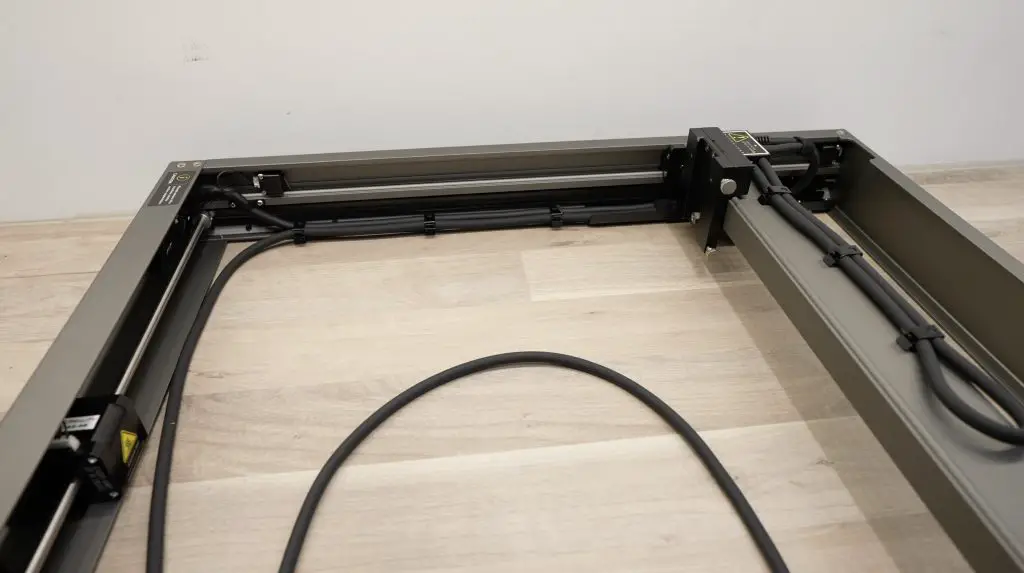
The frame is also a full custom aluminium design and isn’t made up of sections of v-slot extrusion. This looks a bit more modern and professional. It also hides the motors and provides well-thought-out cable management.
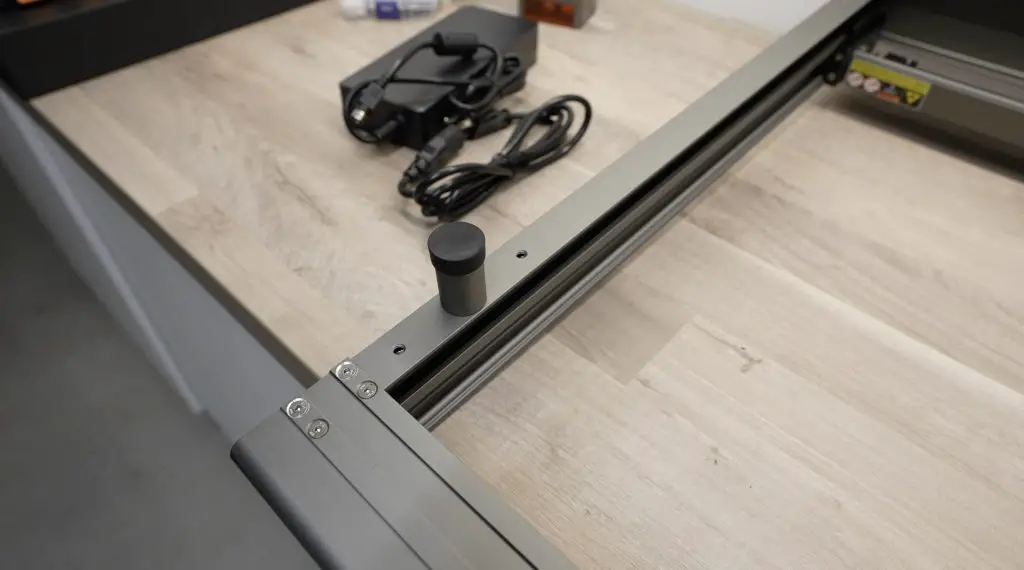
They’ve got good finishing touches on it too, like moveable and extendable feet which give you more flexibility on your work surface and with what materials you are able to use with it.
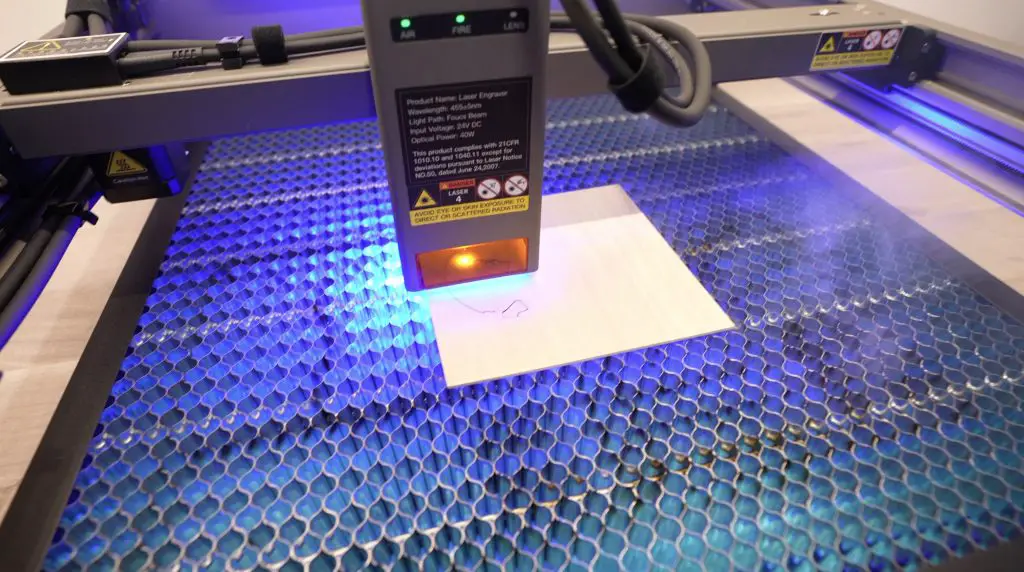
One of the unique features of the Falcon 2 40W is the adjustable laser beam. If you’re familiar with diode lasers then you may know that these more powerful modules are made by combining the light from multiple smaller laser diodes – this one actually has 8 diodes.
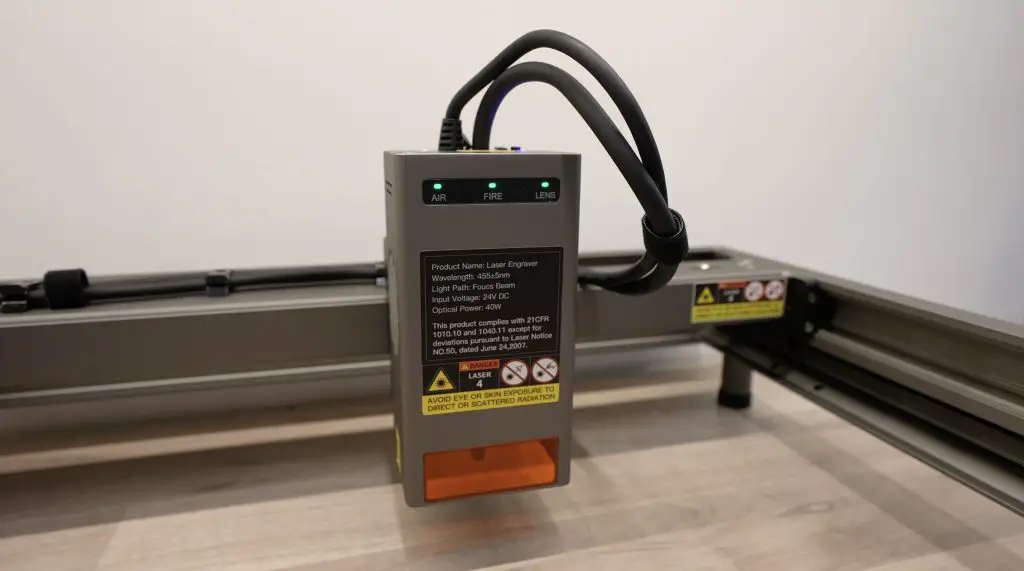
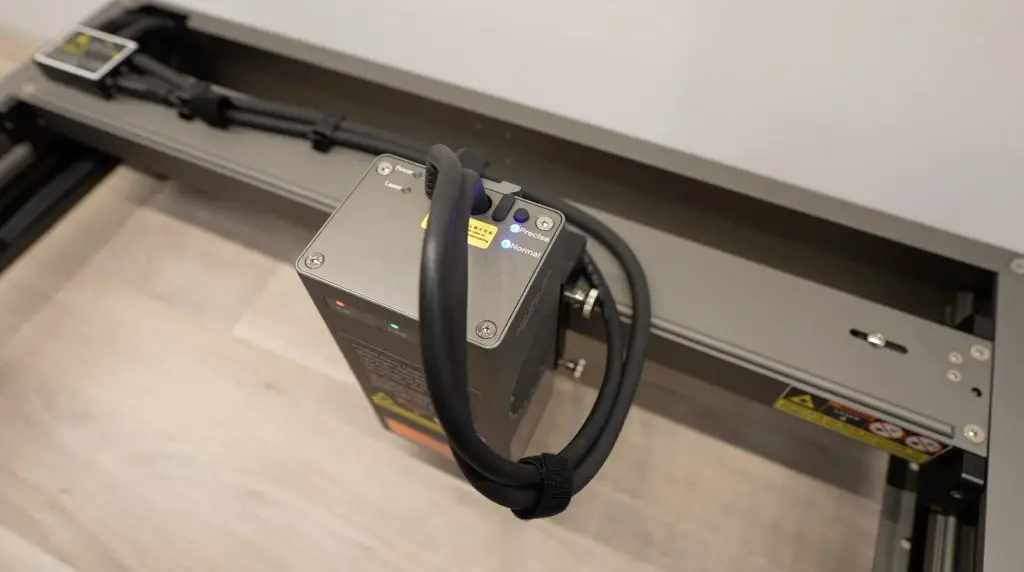
This results in a more powerful laser beam but the drawback is that this also increases the laser spot size, meaning more material is cut away with each pass and you get slightly reduced resolution when engraving. The Falcon 2 40W accounts for this by allowing two modes, normal mode, which is the more powerful mode with a larger spot size, and then precise mode which has less power but has a smaller spot size. So in my design, I’m going to do some engraving on the large main panel so that I make use of both of these modes.
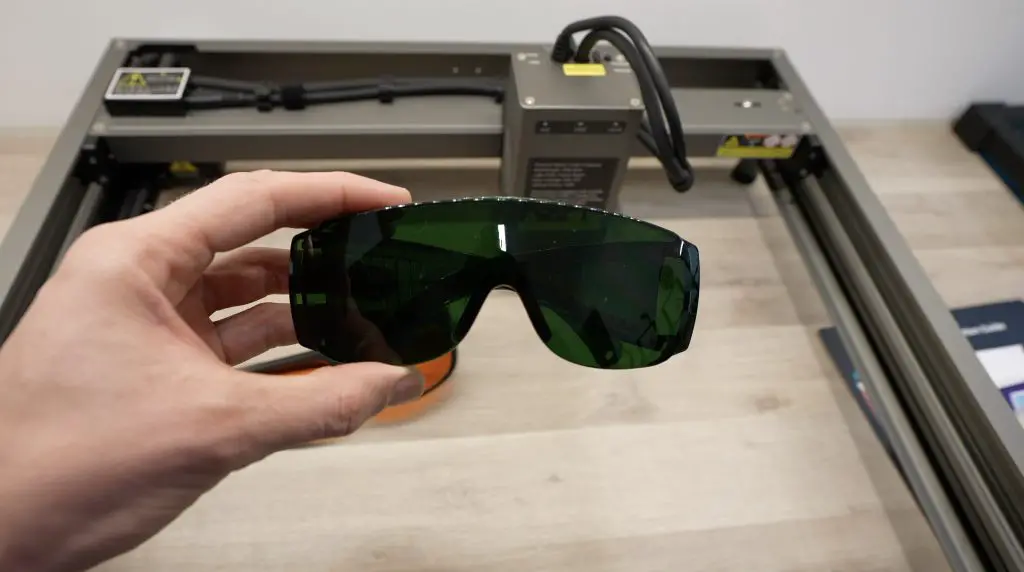
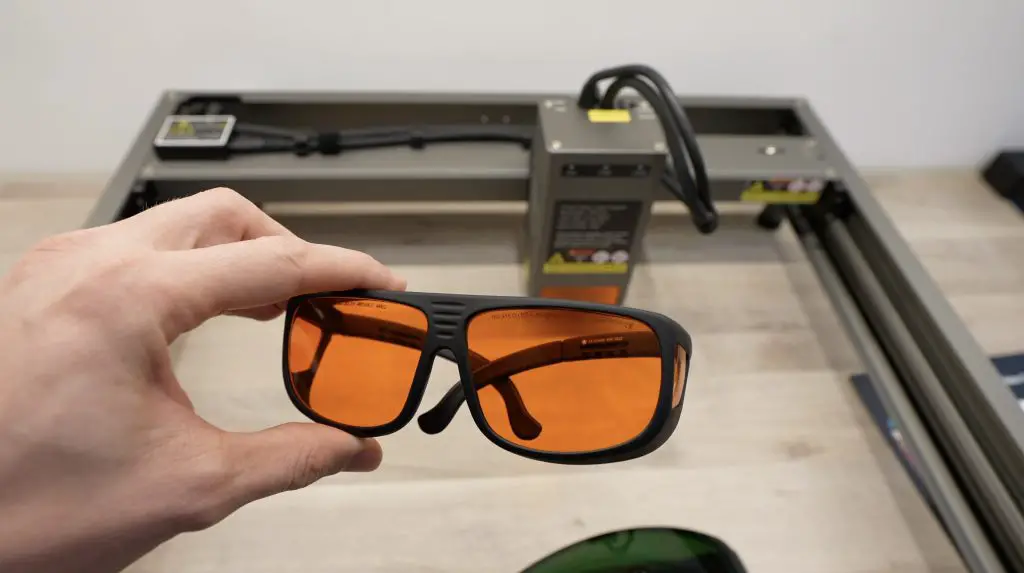
As far as Safety goes, the Falcon 2 has a couple of integrated safety features. The kit comes with a pair of safety glasses, but I always suggest that you get a proper set of certified safety glasses if you’re going to be working with an open-style laser like this. Better yet, fully enclose it.
The Falcon 2 also has airflow monitoring, lens monitoring and flame monitoring. It will also stop if it is bumped or tilted, has an e-stop on the controller and has limit switches on all travel limits.
Laser Cutting & Engraving The Walnut Panels
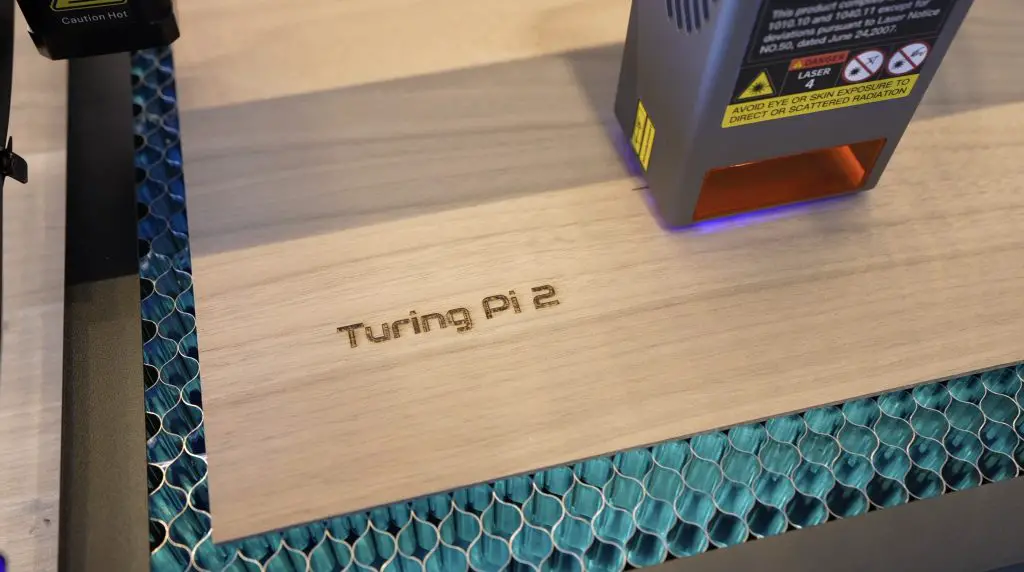
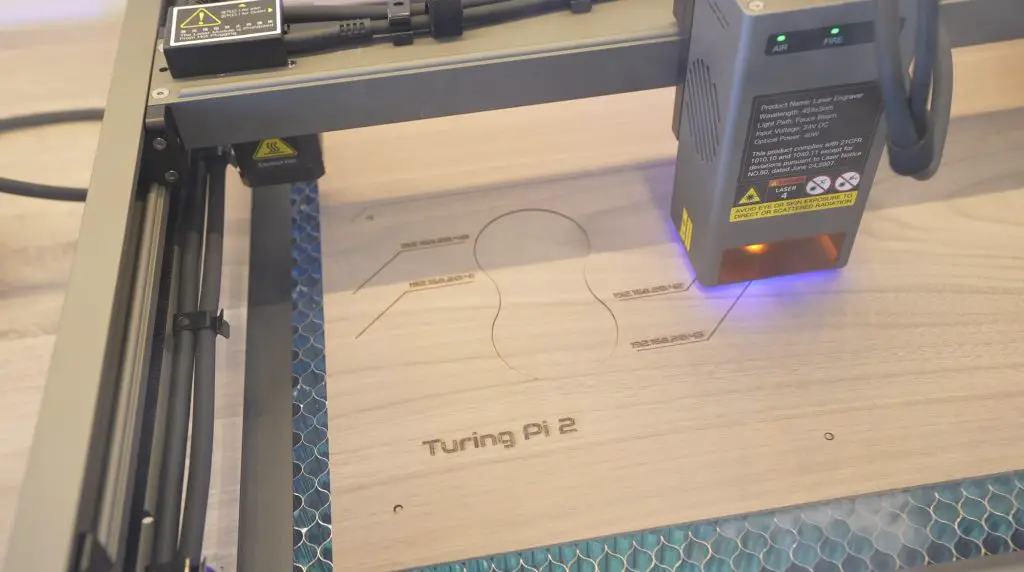
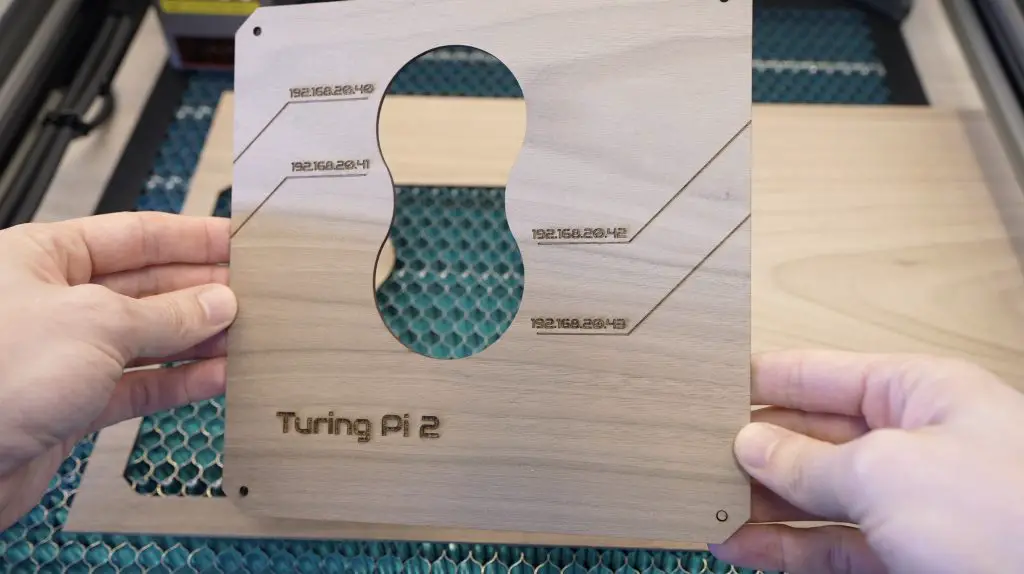
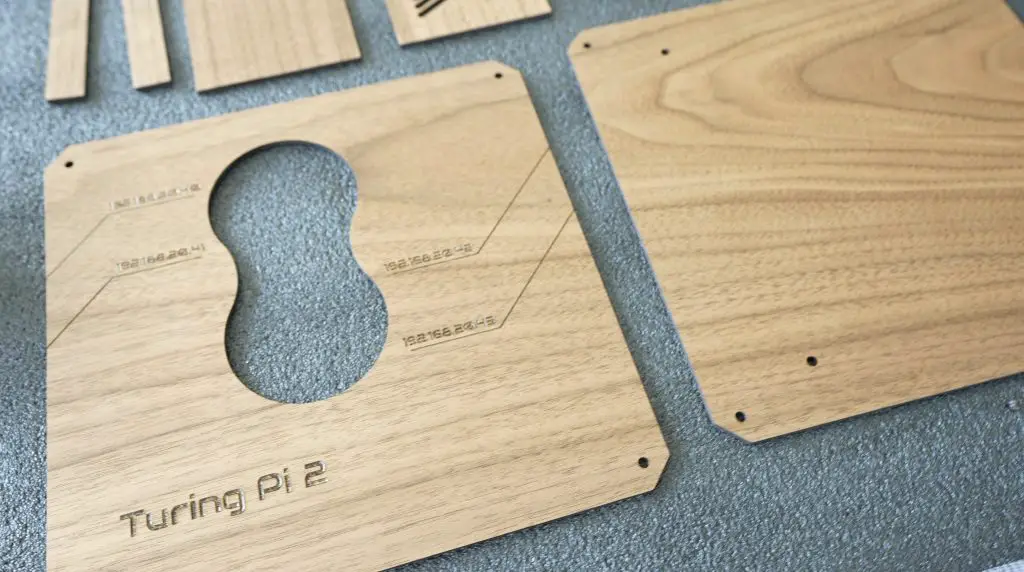
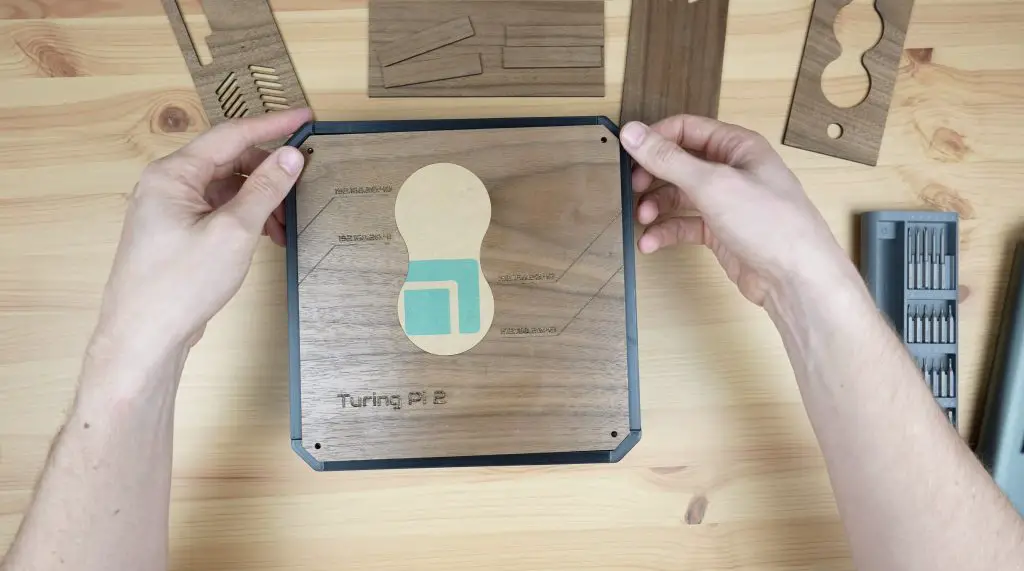
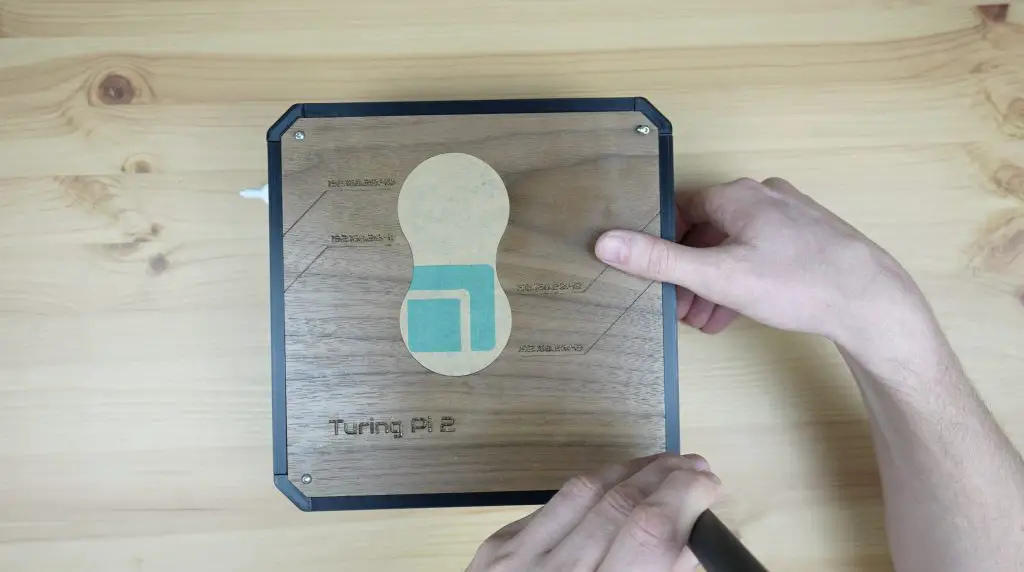
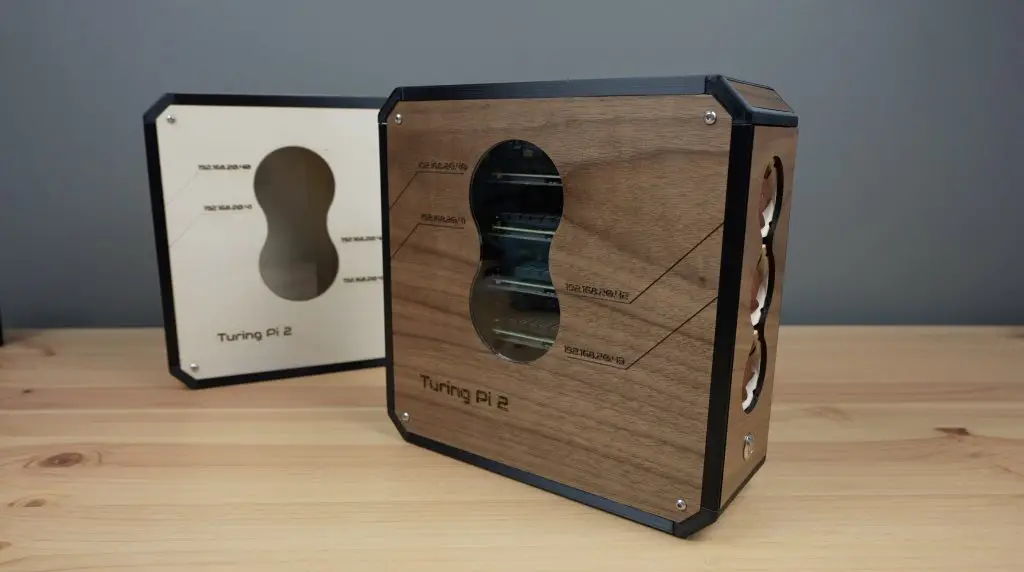
Before we start cutting the plywood panels, we need to add the engraving detail. To do this, I opened the main side panel in Inkscape. I’ve added the Turing Pi 2 name at the bottom and a design to label each of the four nodes by their assigned IP address.

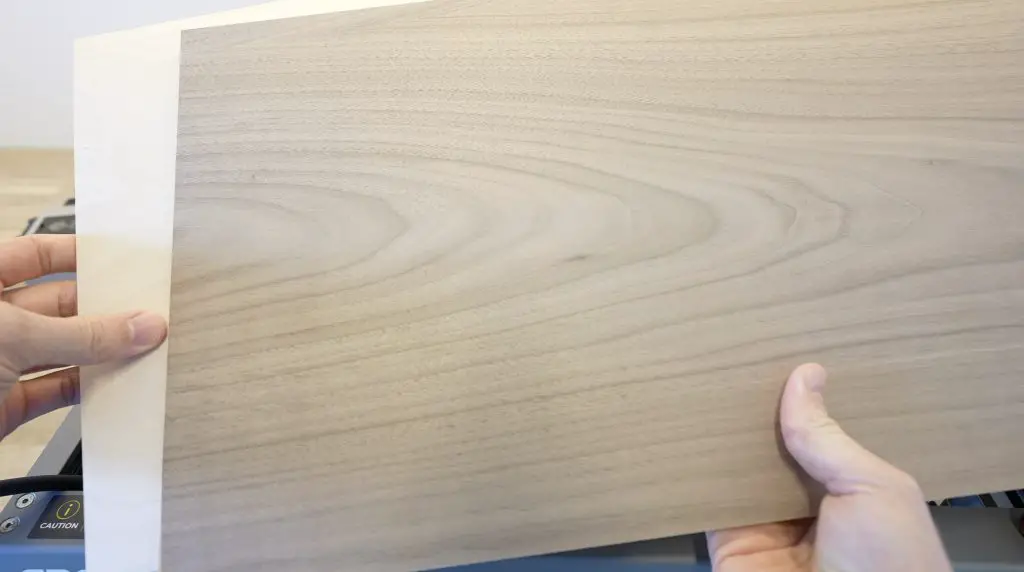
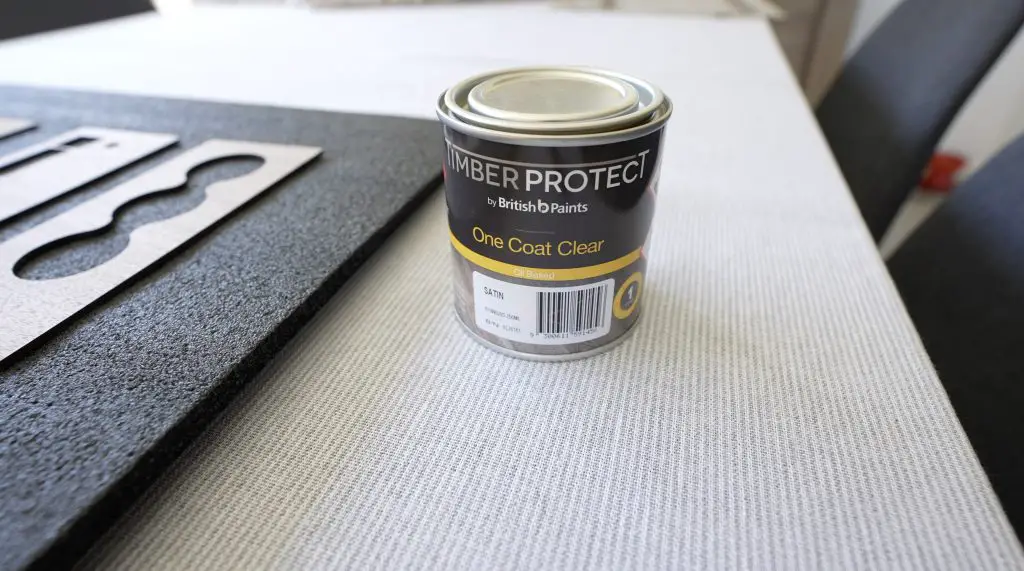
I’m going to be using a walnut finish plywood, which I’ll varnish at the end for a rich satin colour to contrast the black 3D-printed parts.
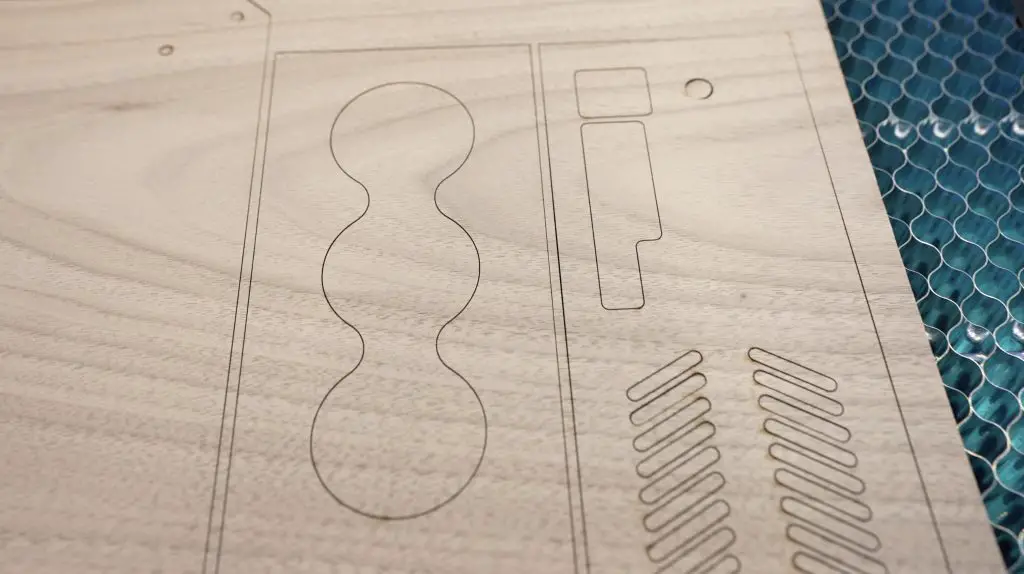
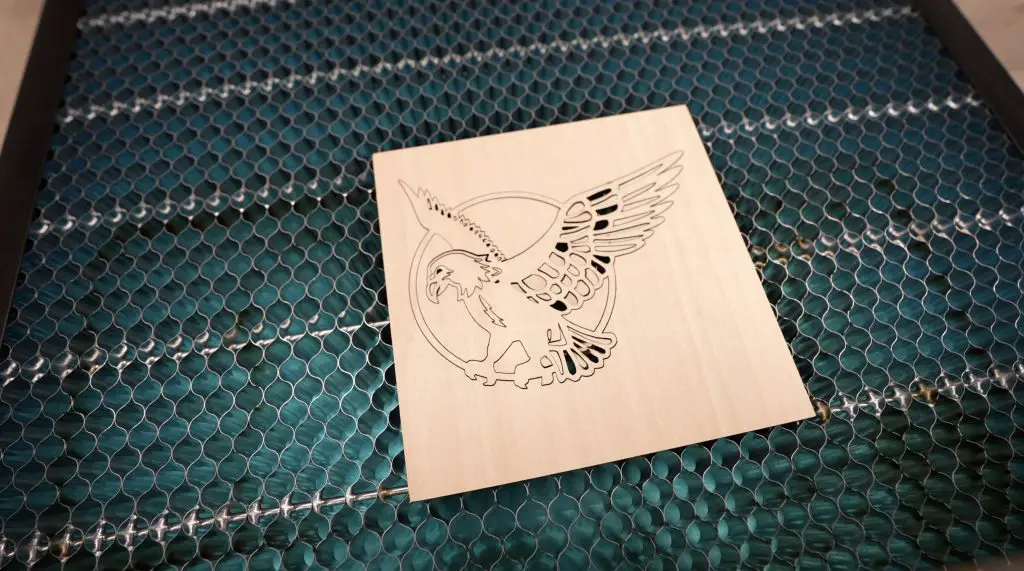
Let’s engrave and cut the large main panel first.
In normal mode, they claim that you can cut up to 20mm wood, 30mm black acrylic and up to 0.15mm stainless steel sheets each in a single pass. This is only 3mm walnut plywood, which is a slightly harder wood than regular plywood but shouldn’t be any trouble for the 40W laser even at a bit of speed.
The Falcon 2 also includes an integrated air assist system that uses an external compressor to supply air through to a nozzle around the laser head for much cleaner cuts and to keep the lens clean.

We’ll start off with the engraving first. To do this, we’ll turn off the air assist and then set the laser to precise mode to engrave the text and line details.
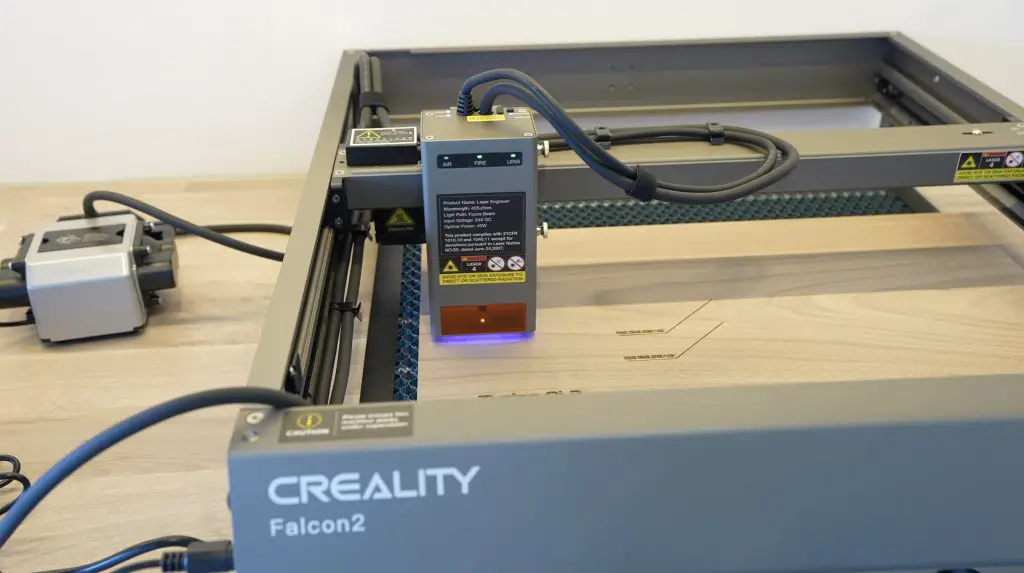
Next let’s turn the air assist back on and set the laser back to normal to cut the panel and centre window out.
As with all of these open gantry-style lasers, they produce a lot of smoke when cuttings. So it would be best to work in a well-ventilated area or to get an enclosure for it.
The first panel has come out really well. I’m starting to get excited to see how these panels fit in with the 3D-printed parts and come together to form a complete case.
Next, let’s cut the remaining panels and corner filler pieces.
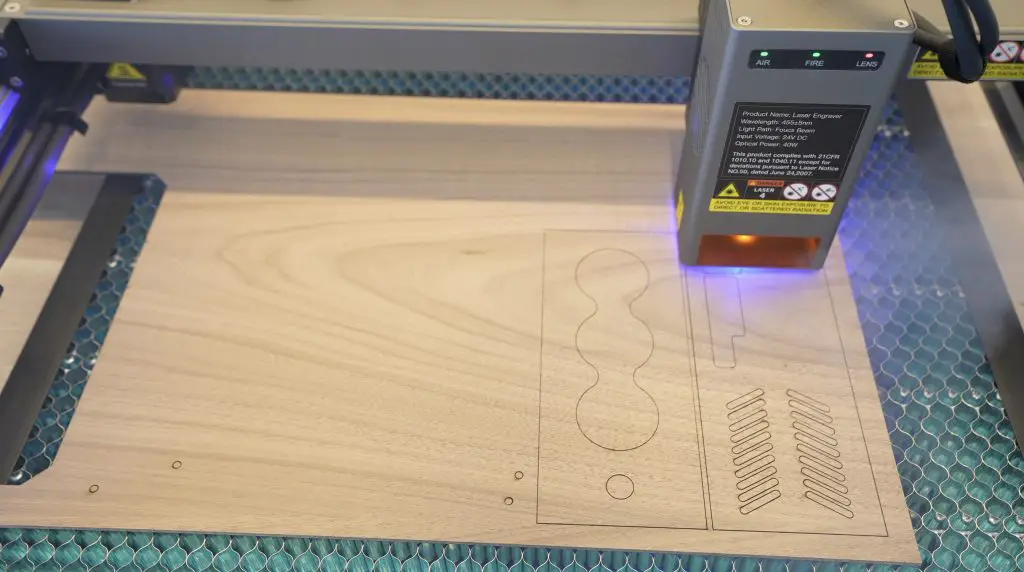
These have also come out really well. The cut quality is impressively clean with the integrated air assist system.
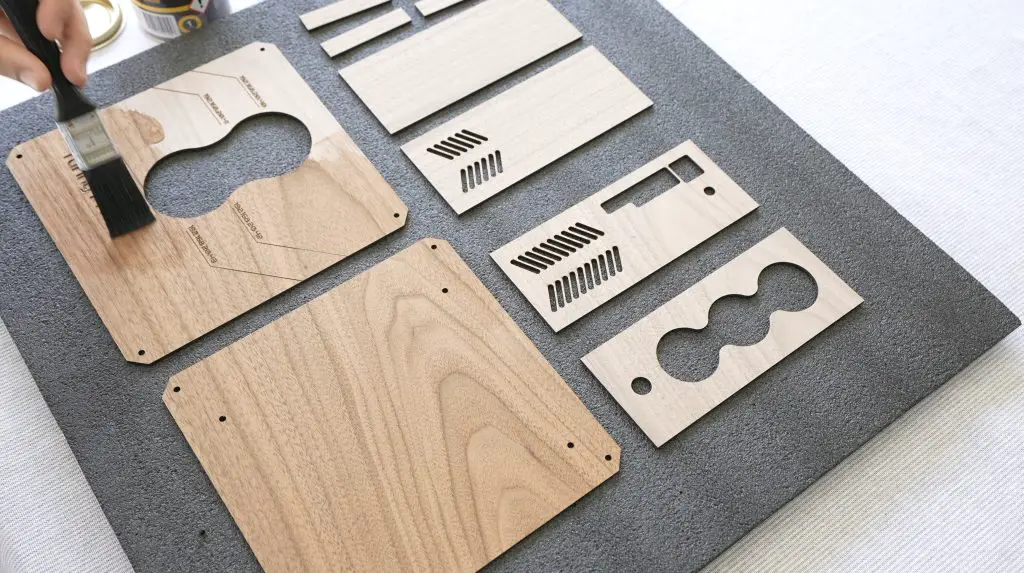
Now we can finish them off with a coat of satin varnish. I don’t want them to be glossy so I prefer a satin or matt finish. Varnish helps to bring out the natural colour of the wood and to protect it from dirt and fingerprints.
Making Up The 3D Printed Frame Components
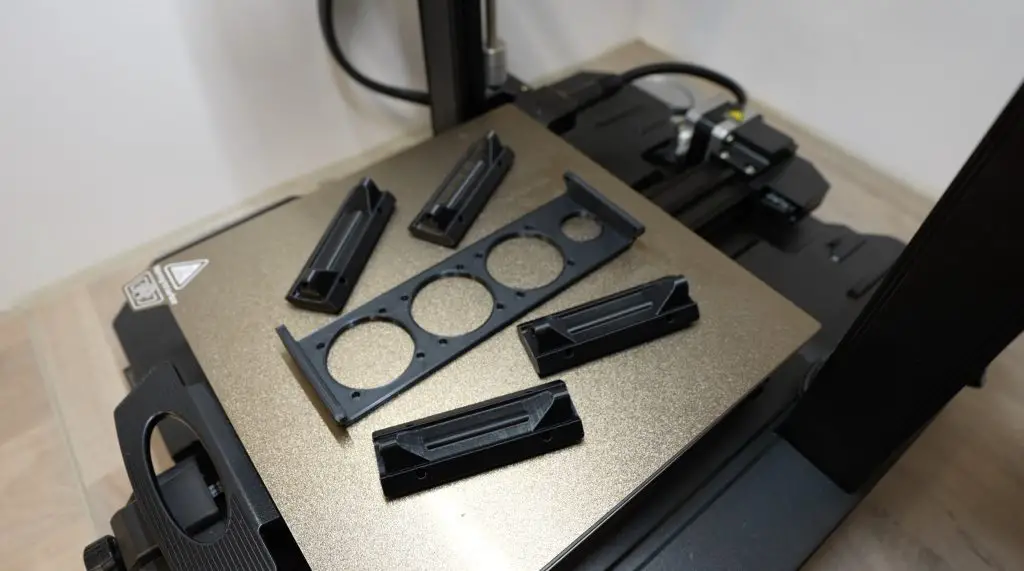
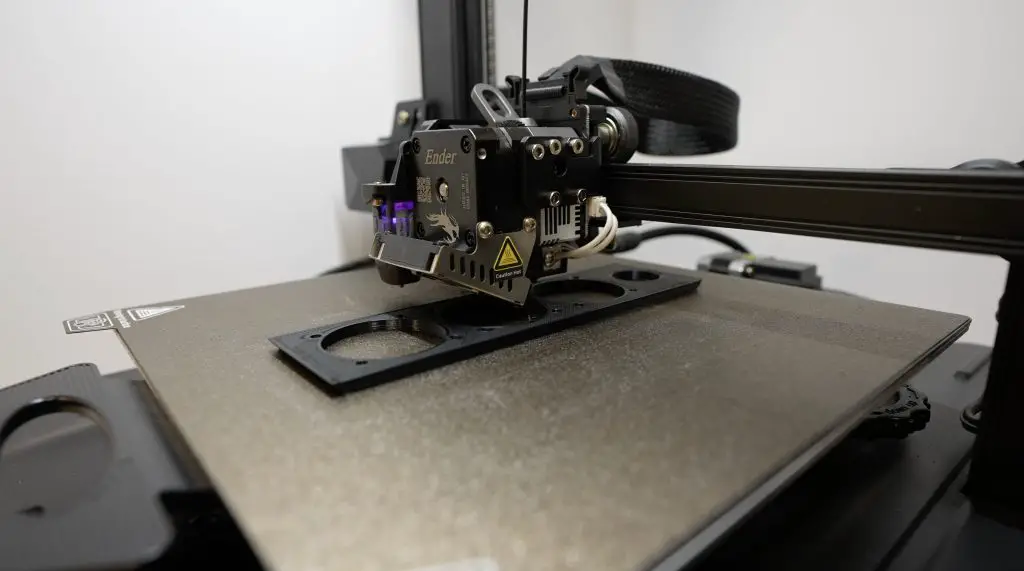
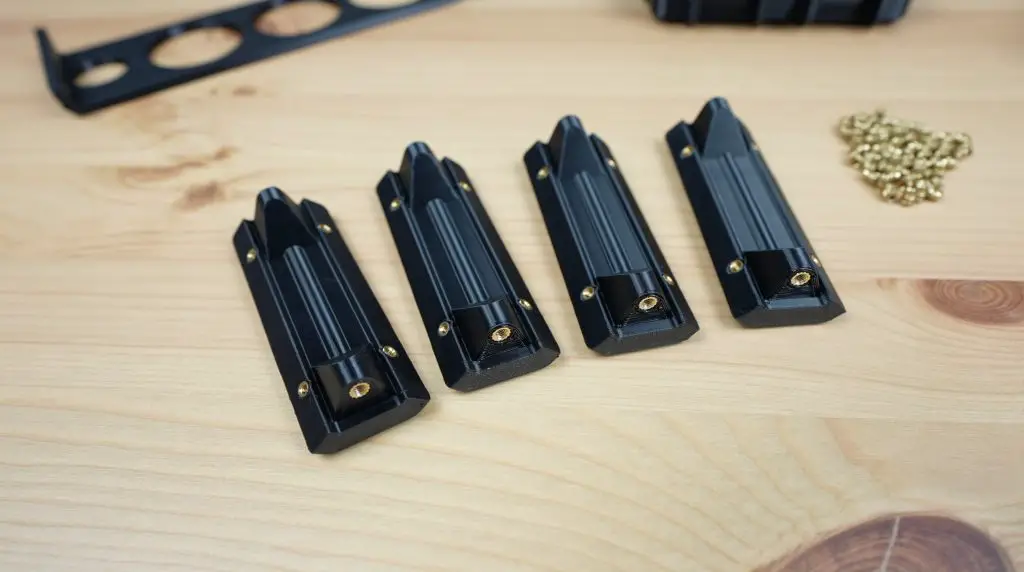
To make up the frame, I started by 3D printing the frame components on my Creality Ender 3 S1 Pro. I need four corner pieces and four side panels – they’re all the same so it’s easy to print on repeat or to fill the bed with them. To hold the three fans in front in place, we also need to print a fan holder.
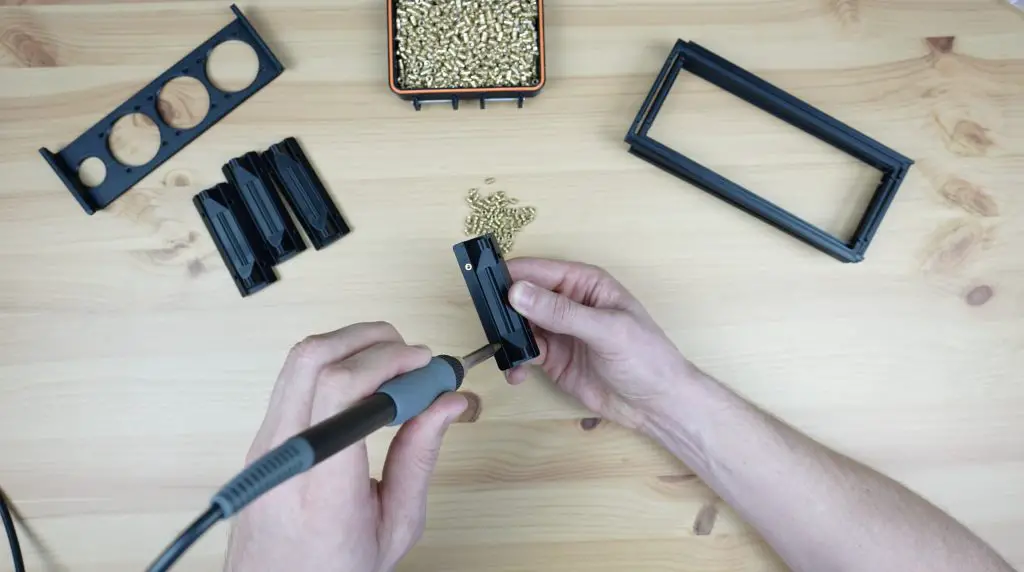
The 3D-printed parts need a little bit more work before they’re ready to assemble. I have already removed the supports on the corner pieces, but now we need to add some brass inserts to them for them to screw together.
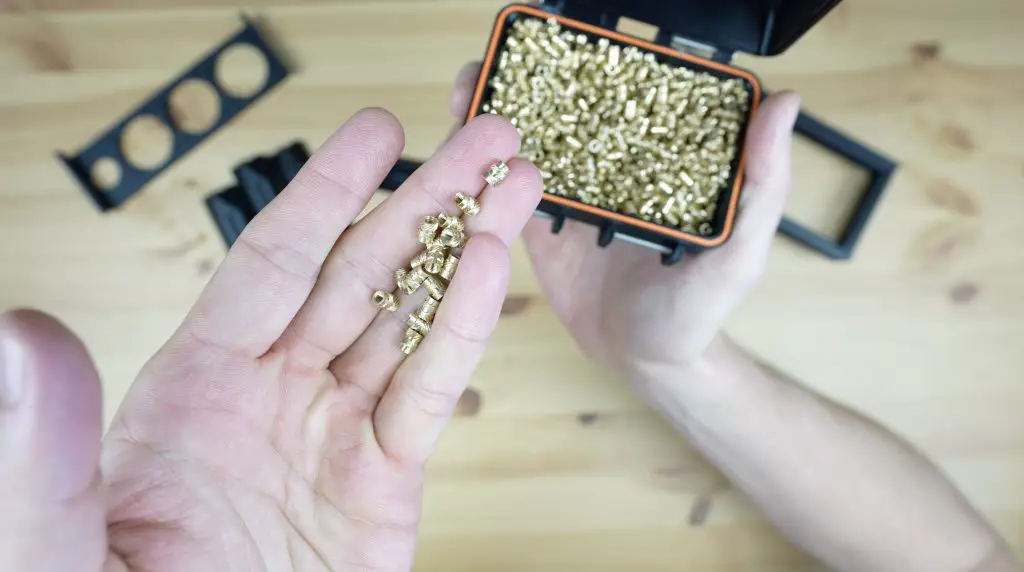
I’m using two different brass insert sizes. Each corner has four M2.5 inserts to hold the adjacent side pieces in place and two M3 inserts that will hold the main plywood panels in place.

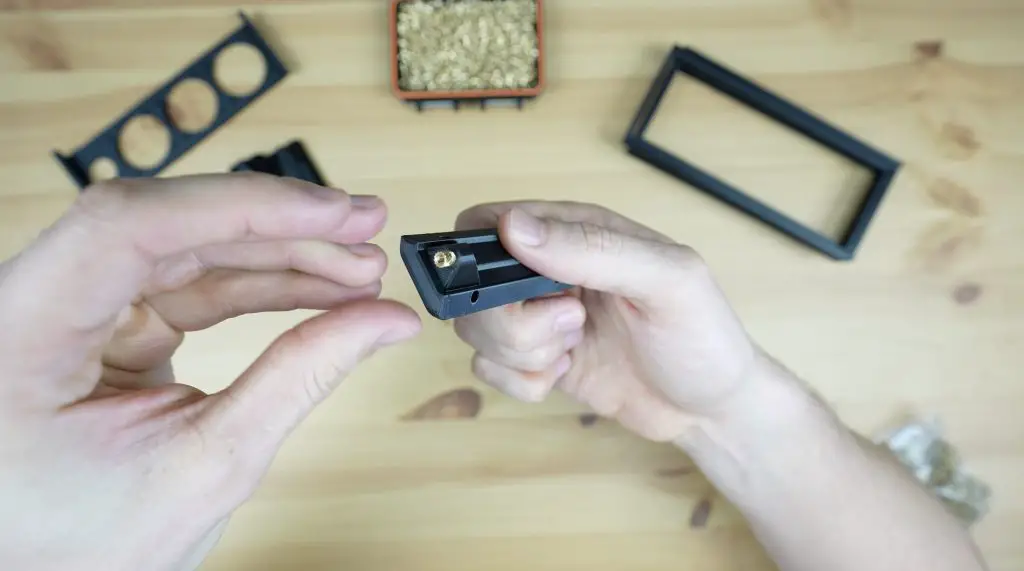
These inserts are just melted into the corner piece using a soldering iron with a brass insert tooltip. We need to be a little careful with the M2.5 ones as they need to go in at a 45-degree angle.
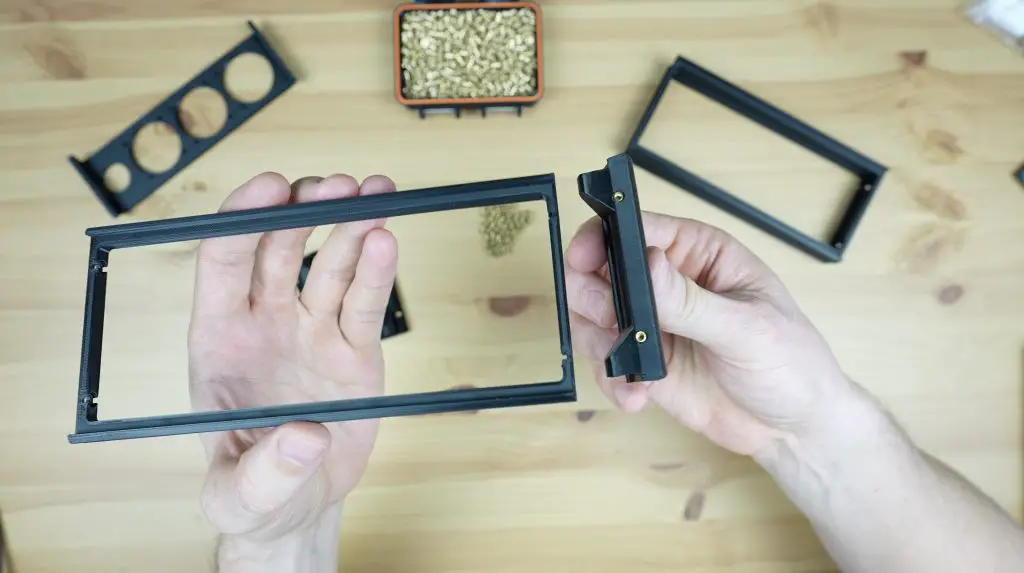
Now that we’ve got the pieces all made up, let’s put the frame together.
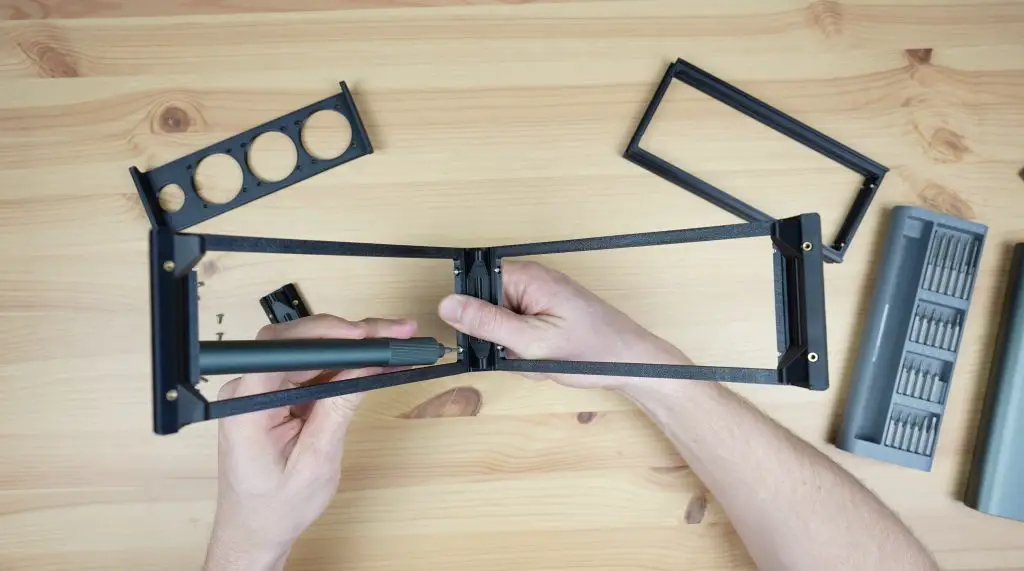
Assembling The Mini ITX Case
Each 3D printed side is held in place on the adjacent corner pieces with four M2.5 screws, two on each side. These are all M2.5x6mm screws except in the front where we’ll use 12mm screws to go through the fan holder as well.
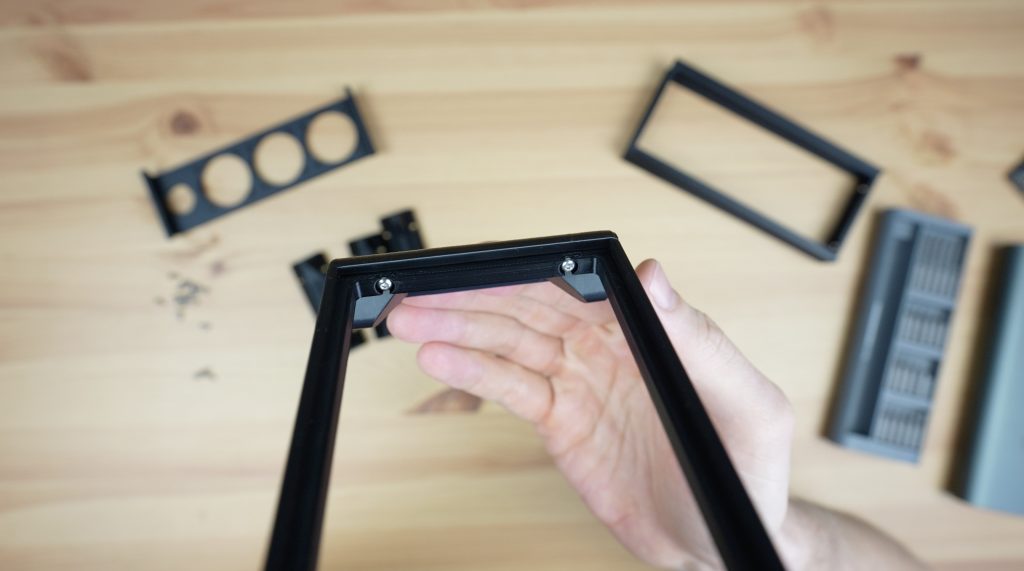
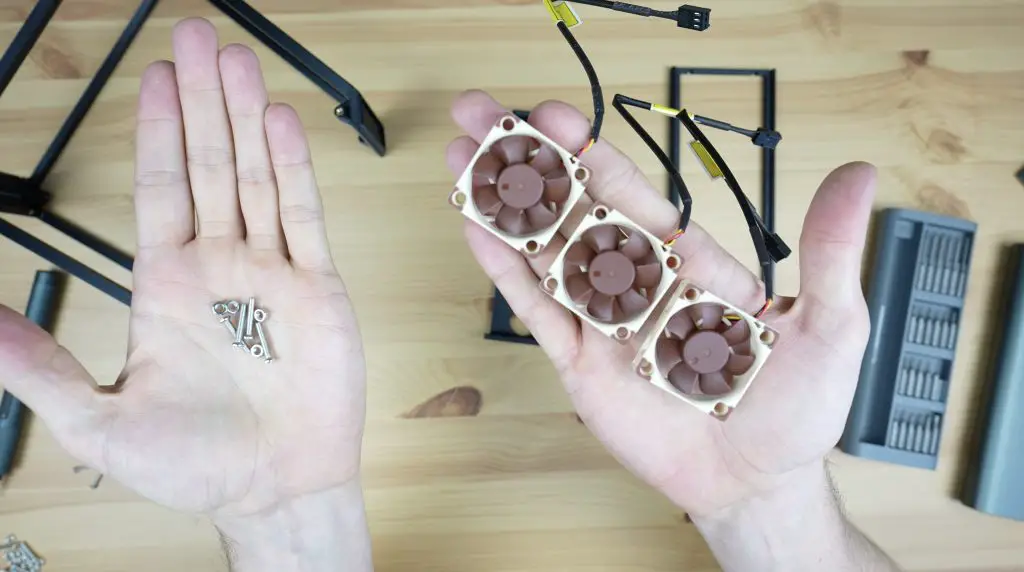
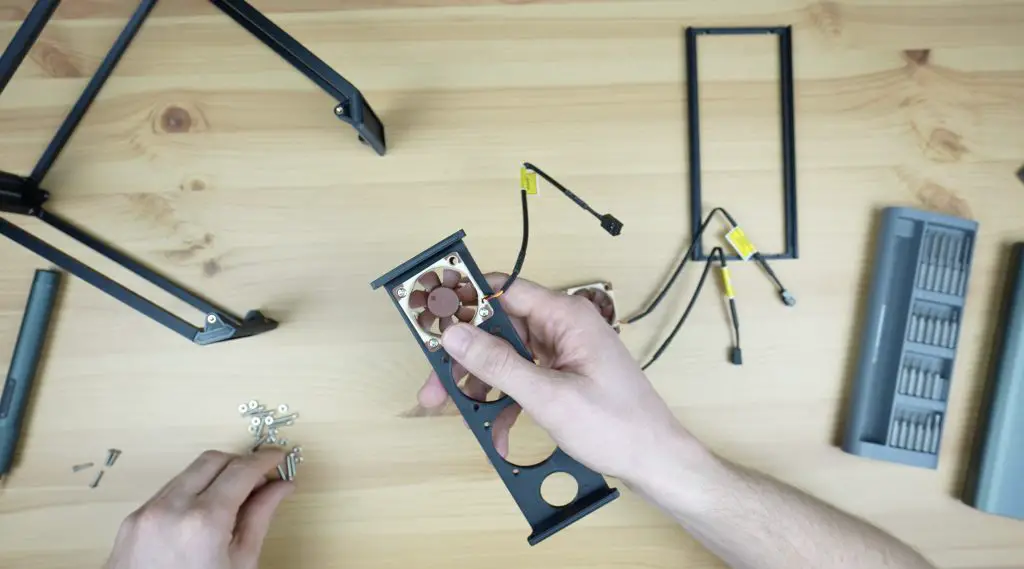
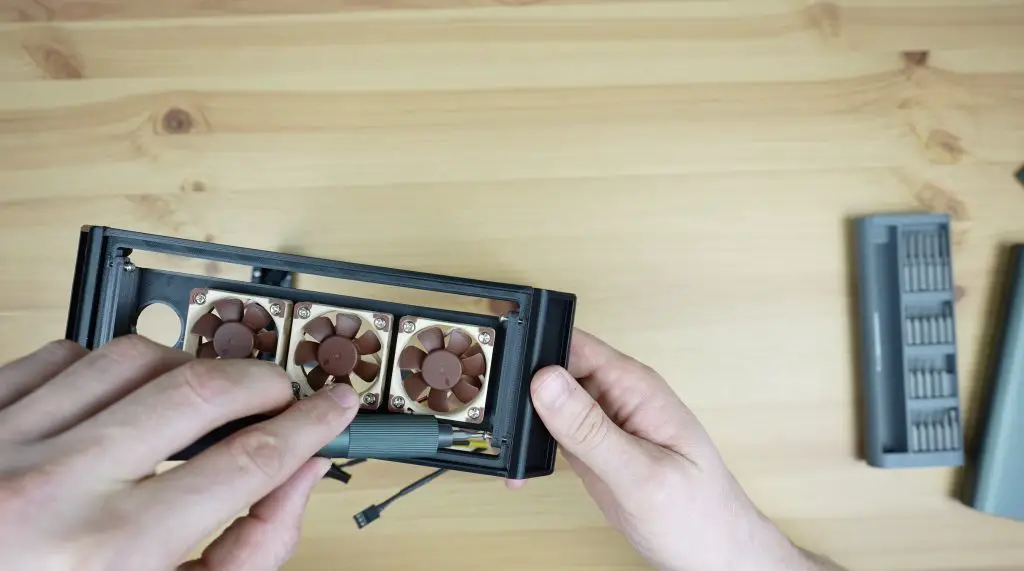
Before we screw the fan holder into place, let’s mount the three fans onto it. I’m using 40mm 5V Noctua fans that are each 10mm thick. I choose Noctua fans because they’re quiet and because I think that the colour scheme will fit in well with the walnut panels. We need to use M3 screws and nuts to hold them in place so that the heads of the screws are almost flush with the top of the fans. This allows the front plywood panel to sit really close to the surface of the fan.
Then we can mount the fan holder and side piece in place to complete the case frame.
Now let’s move on to mounting the Turing Pi and plywood panels.
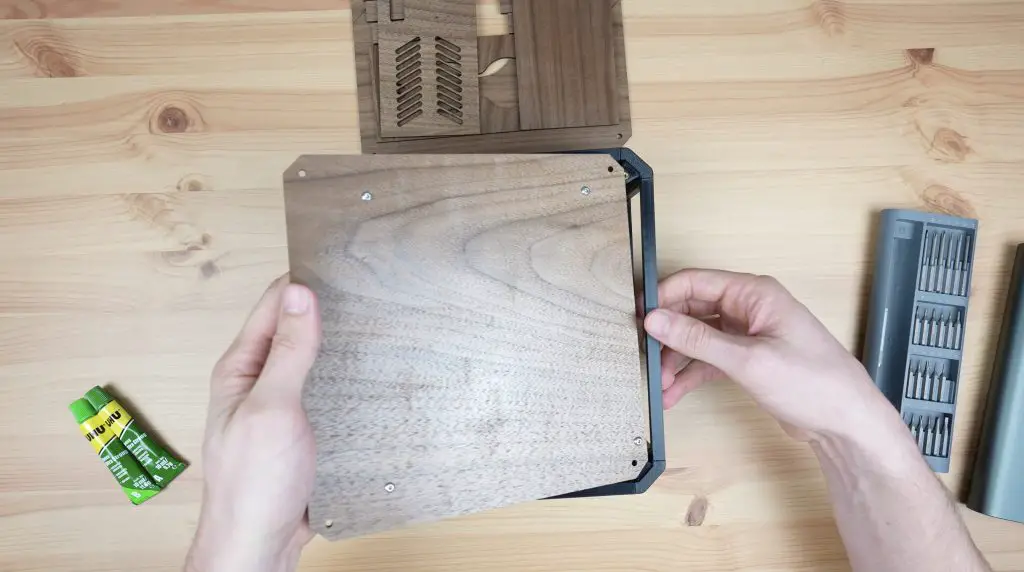
You’ll notice that I don’t have any screw holes on the smaller plywood panels to hold them in place. I didn’t want to have a case with a large number of screws visible, so these are all going to be held in place with epoxy. The two main panels will still be removable with screws to allow easy access into the case and to remove the Turing Pi 2.
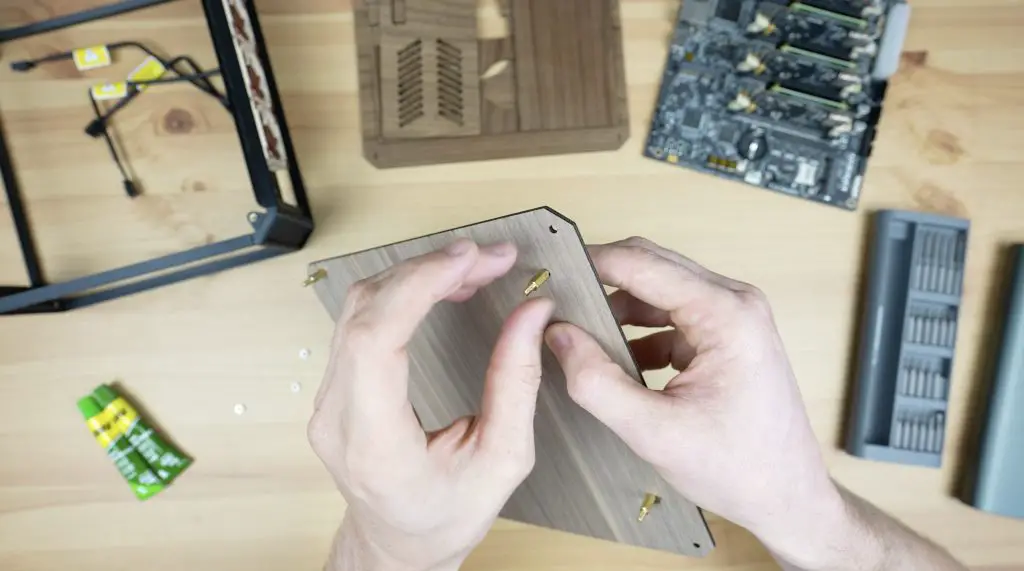
Next, let’s mount the Turing Pi 2 onto the back main panel. I’m going to do this with some M3x10mm brass standoffs which are held in place with M3x8mm button head screws on the back. The board is then held in position with some M3 nuts on the threaded ends of the standoffs.
Each main panel is held in place on the frame with four M3x8mm button head screws.

To keep the case a bit more closed up and protected, I’m going to add a clear acrylic insert into the cutout. Being a diode laser, the Falcon 2 can’t cut clear acrylic, but an alternative would be to just stick a 1-2mm thick square of acrylic onto the inside of the plywood panel where it won’t be visible and will still close up the cutout.

We can then epoxy the side panels into place. I’ve intentionally added the main panels first because there is some flexibility in the 3D-printed parts. The main panels help to square up the whole frame beforehand so that we’re not glueing panels into place on a twisted frame.
Lastly, we can epoxy the corner filler pieces into place.
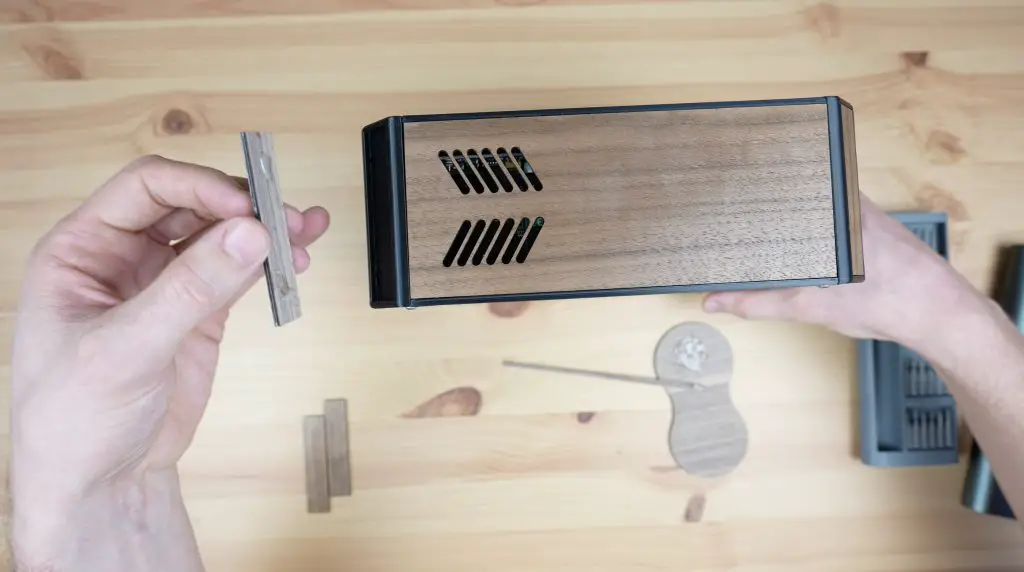
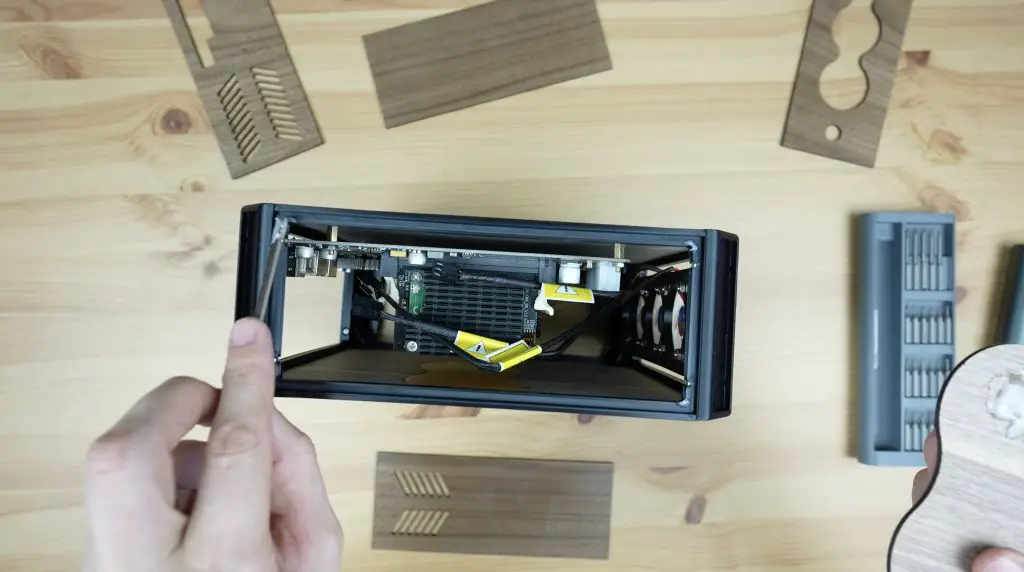
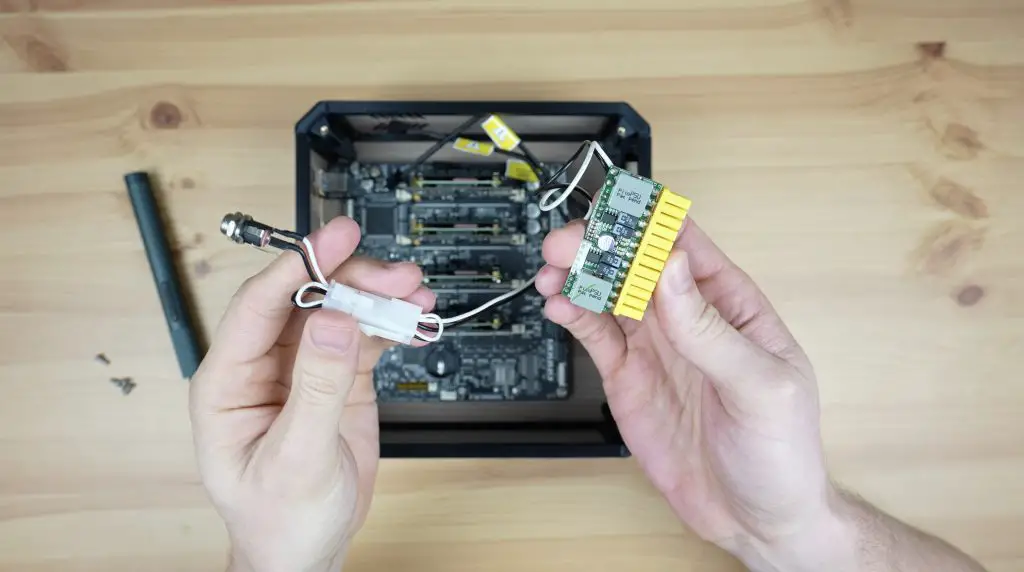
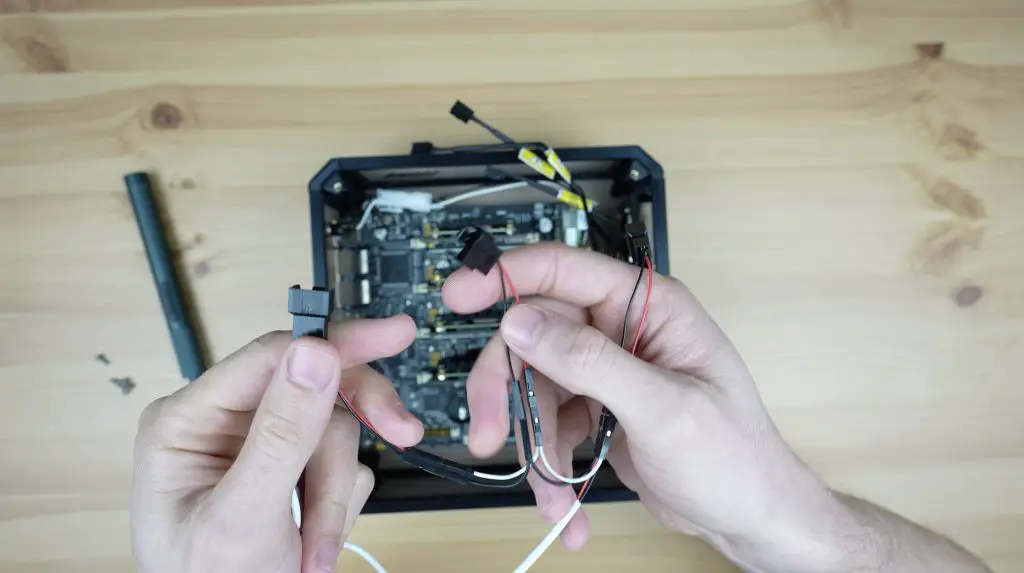
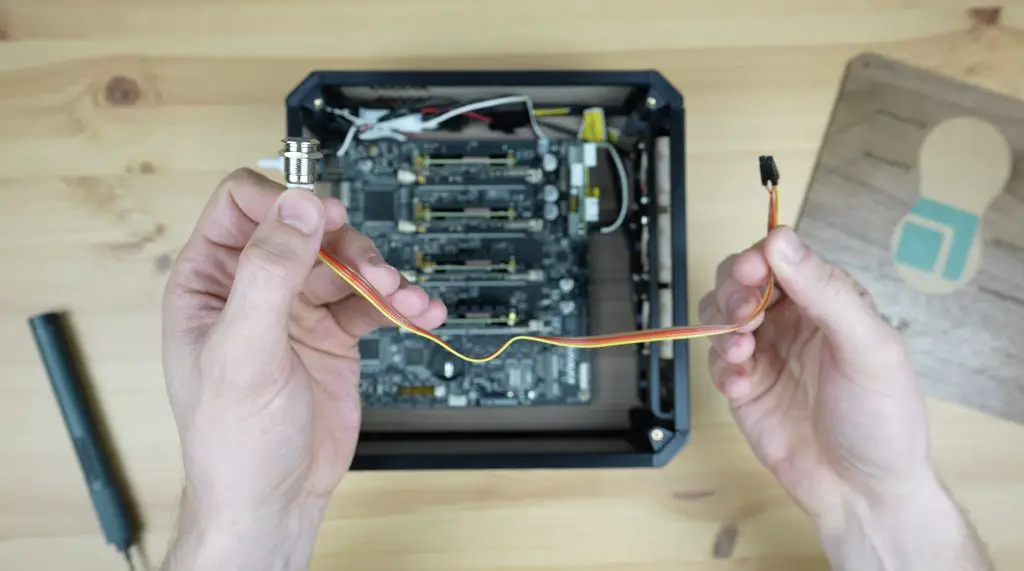
Now we just need to add the power supply module and its power port, connect the fans up, which I’m doing with a wiring harness I made up, and add the power button to the front panel.
We can close up the side panel and peel off the protective film.

And that’s the case complete.
Different Colour Options For The Mini ITX Case
You obviously don’t have to use black for the 3D prints or walnut plywood for the panels. By using different filament and wood colours, there are unlimited design possibilities.
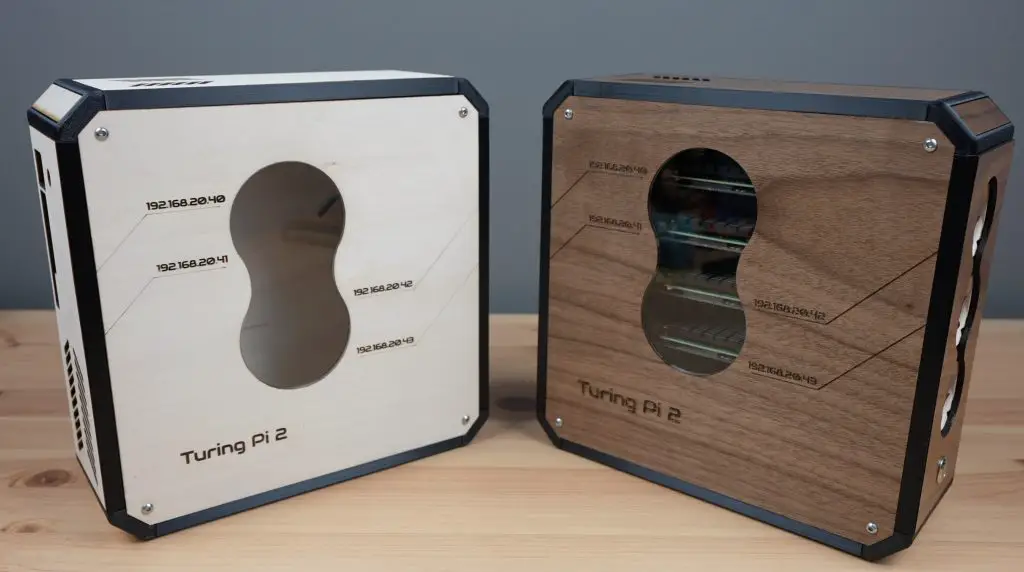
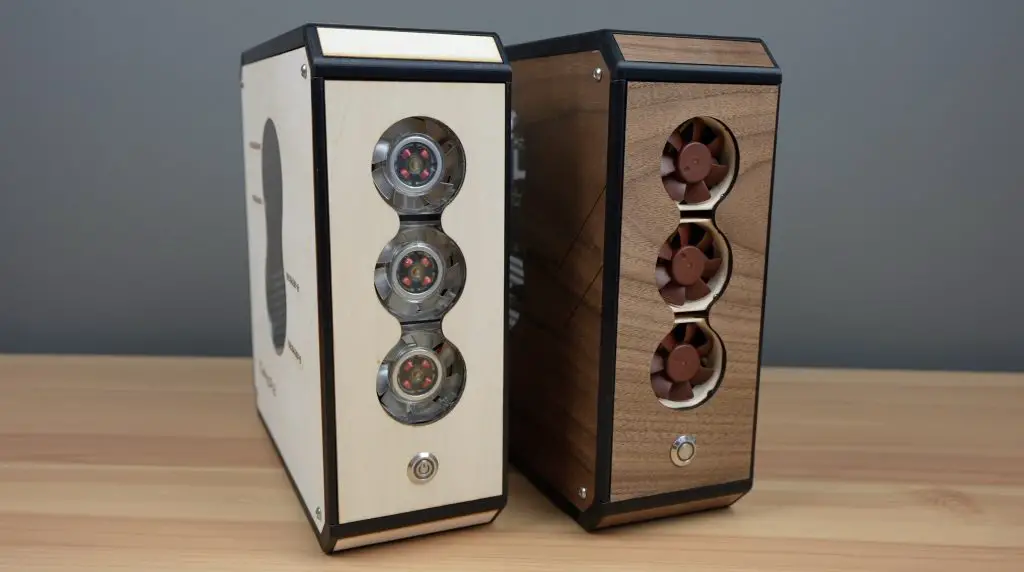
Let me know which of these two designs you prefer in the comments section below.
Final Thoughts On The Falcon 2 40W
The Falcon 2 also supports offline control (control without a connected computer) but this is a bit different to some other lasers that come with a display. This offline control just loads the most recent gcode file in the root directory of the microSD card.
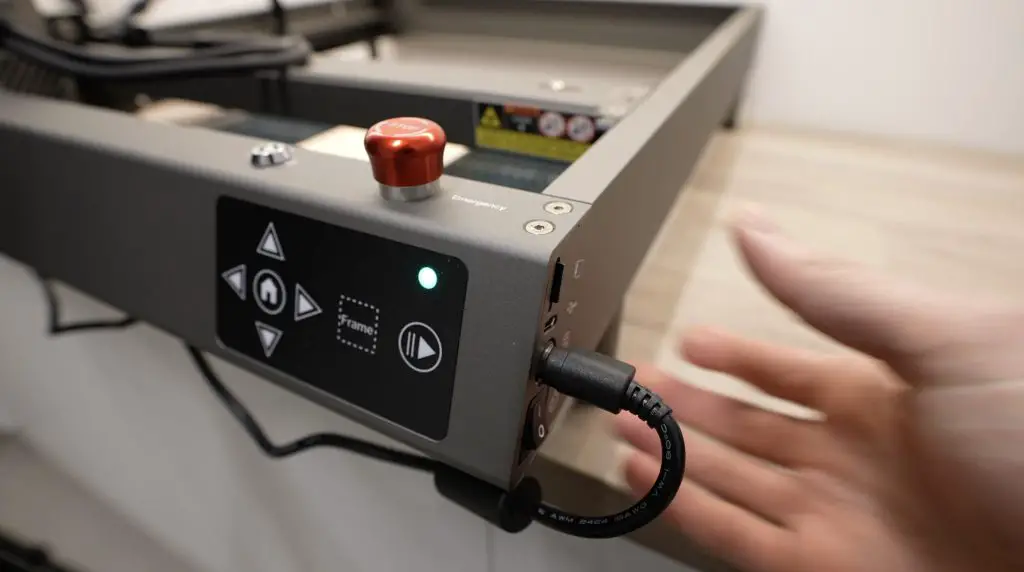
It gives you a way to cut or engrave directly from the microSD card, but it is somewhat limited. You’ll still need to regularly use a computer to change files around on the microSD card if you don’t just cut the same file repeatedly.
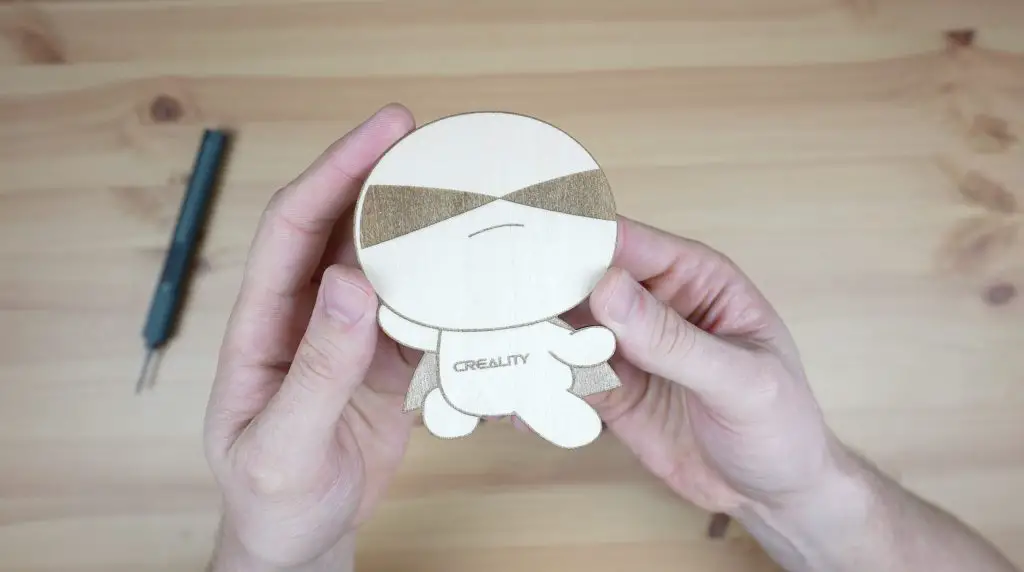
That said, I did manage to use it to cut this included design out.
If you don’t yet have a laser cutter and engraver, the Falcon 2 is a great all-rounder that has the power to cut thicker materials but can still retain the detail in engraving finer artwork and text as well.
I use a laser in my workshop far more often than I ever thought I would. With a laser, I can make up the parts to build a model or enclosure in a few minutes, whereas similar parts would have taken hours to 3D print.
The Creality Falcon 2 looks modern and is a good quality, sturdy build.
If you’d like to get your own Creality Falcon 2 40W, they’re available from $1,699 through their web store. With Creality, you’re also buying from a company that has a great track record in quality and support with their 3D printers.
Hi!!! Are you sharing the files to do this somewhere?
Thank you!!! It is an awesome project!!
I feel kind of cheated here that I bought a bunch of your affiliate links to make this before realizing you didn’t actually include any of the design files or an etsy link to buy them. Even when you have people asking in these comments and in the YT video comments.