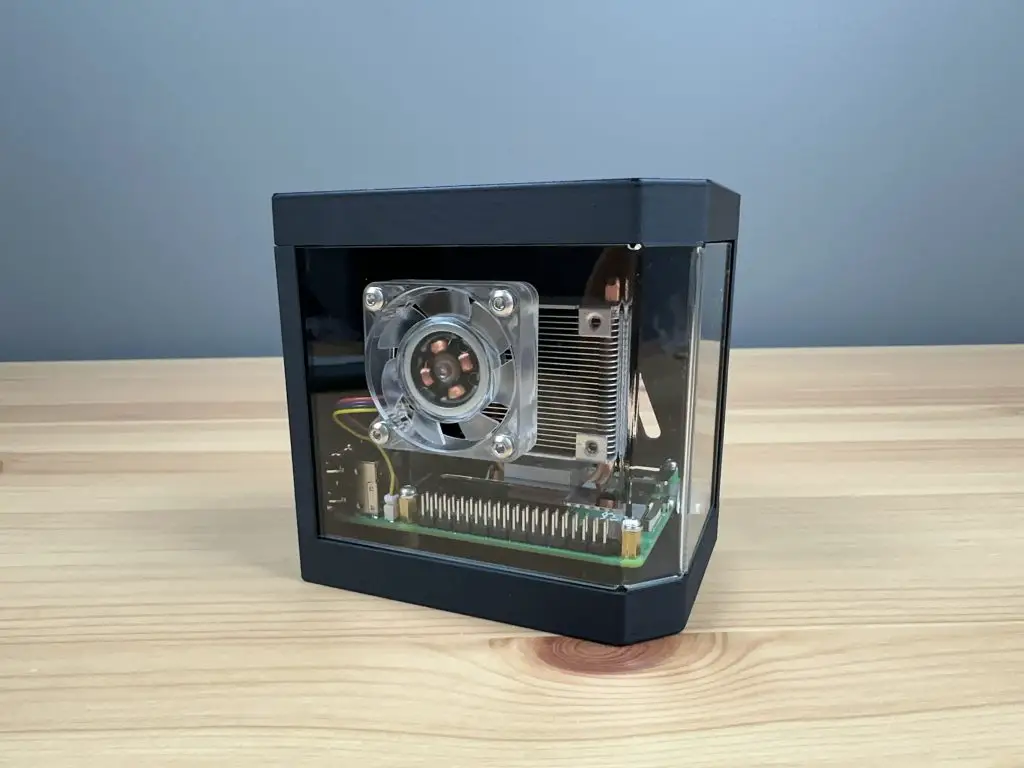
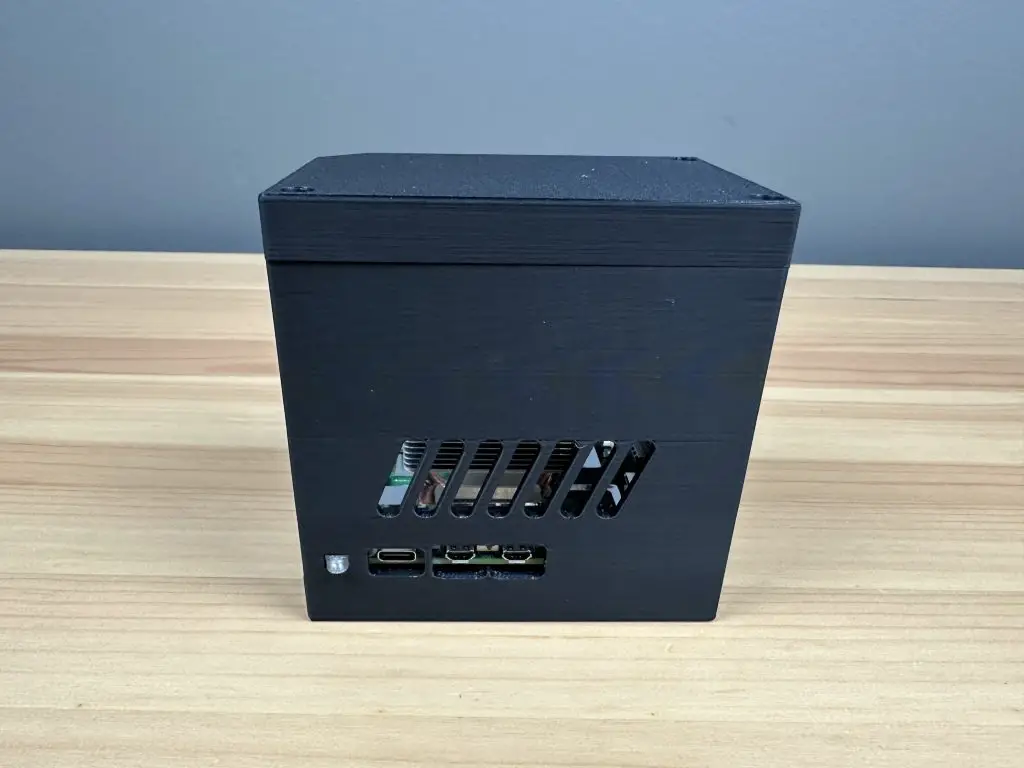
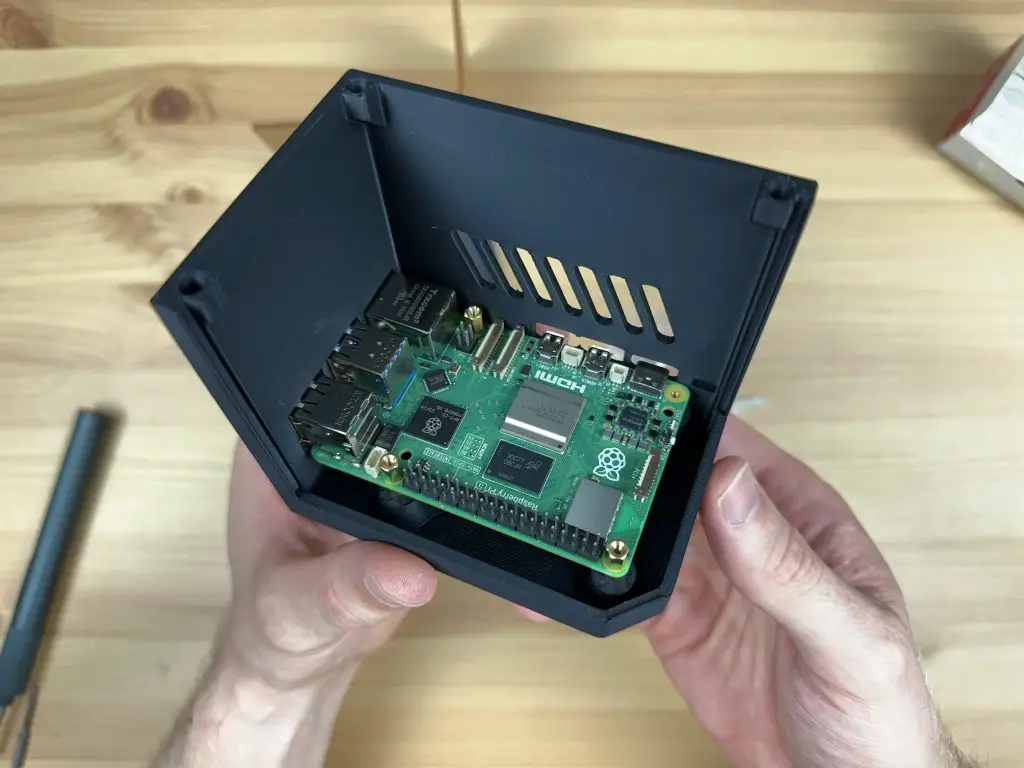
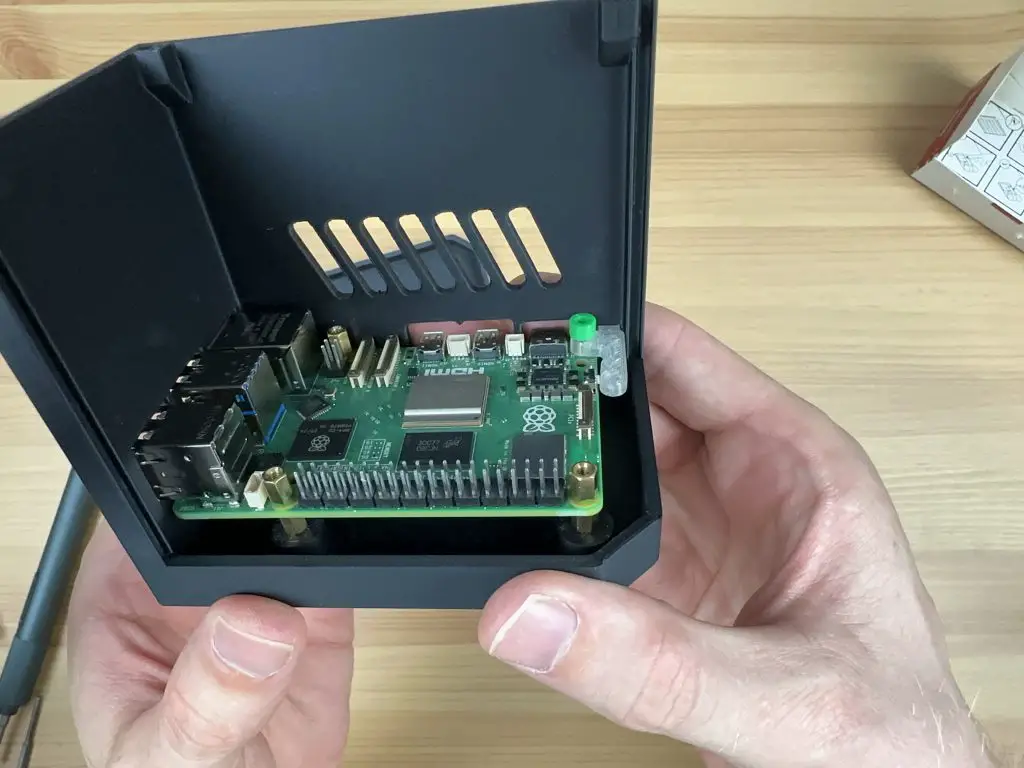
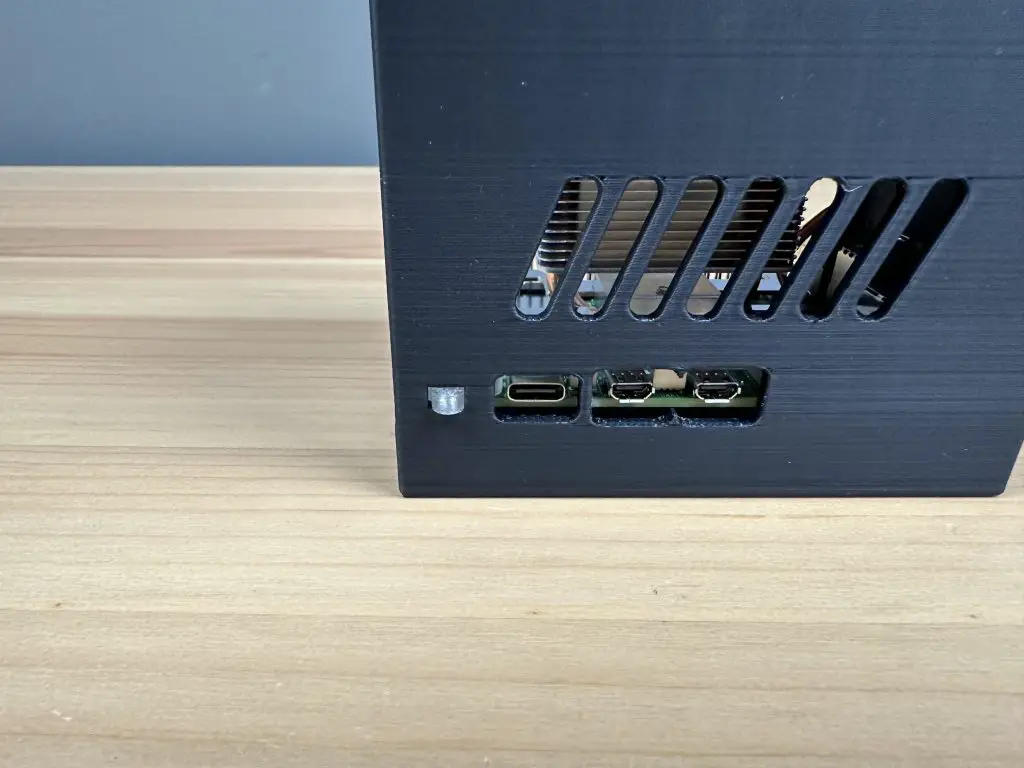
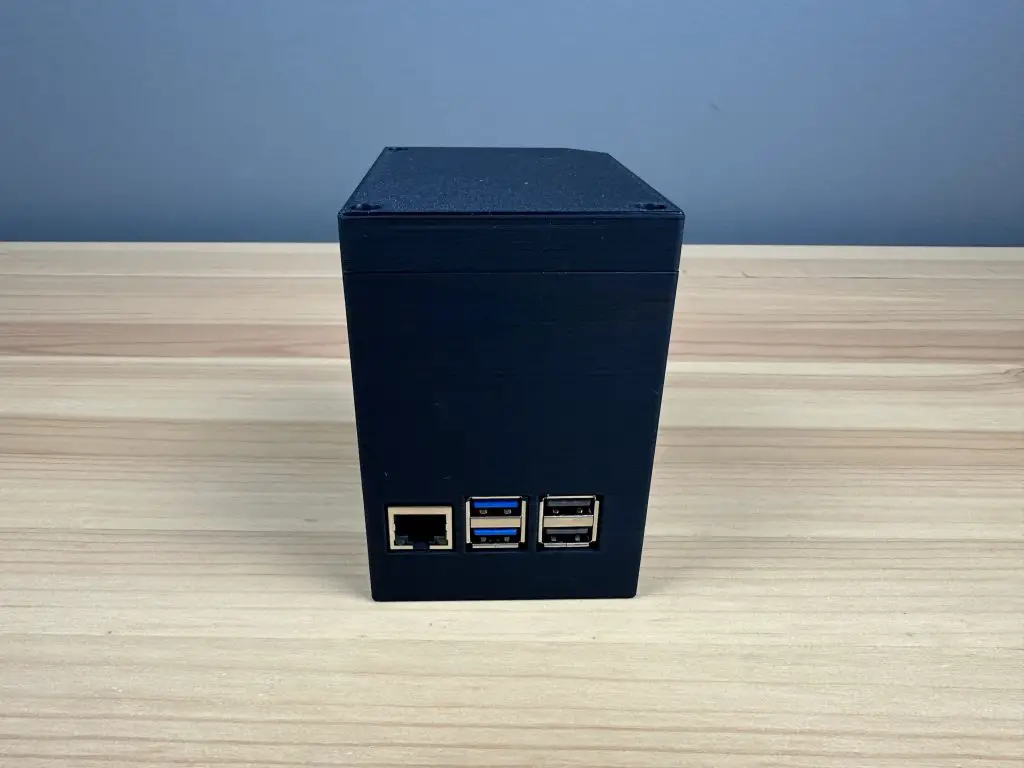
I’ve adapted the case with a wrap-around window that I made last year to fit the new Raspberry Pi 5. This new design includes modifications to the port cutouts since the USB and Ethernet ports have been swapped around and they’ve removed the audio jack. A welcome feature is the addition of a power/shutdown button at the back of the board and I’ve added an adaptor to make it possible to press this button from the side of the case. The adaptor also runs past the status LED and partially lights up, making it easier to see.
What You Need For This Build
- Case Kit (3D Printed Parts & Screws) – Buy Here
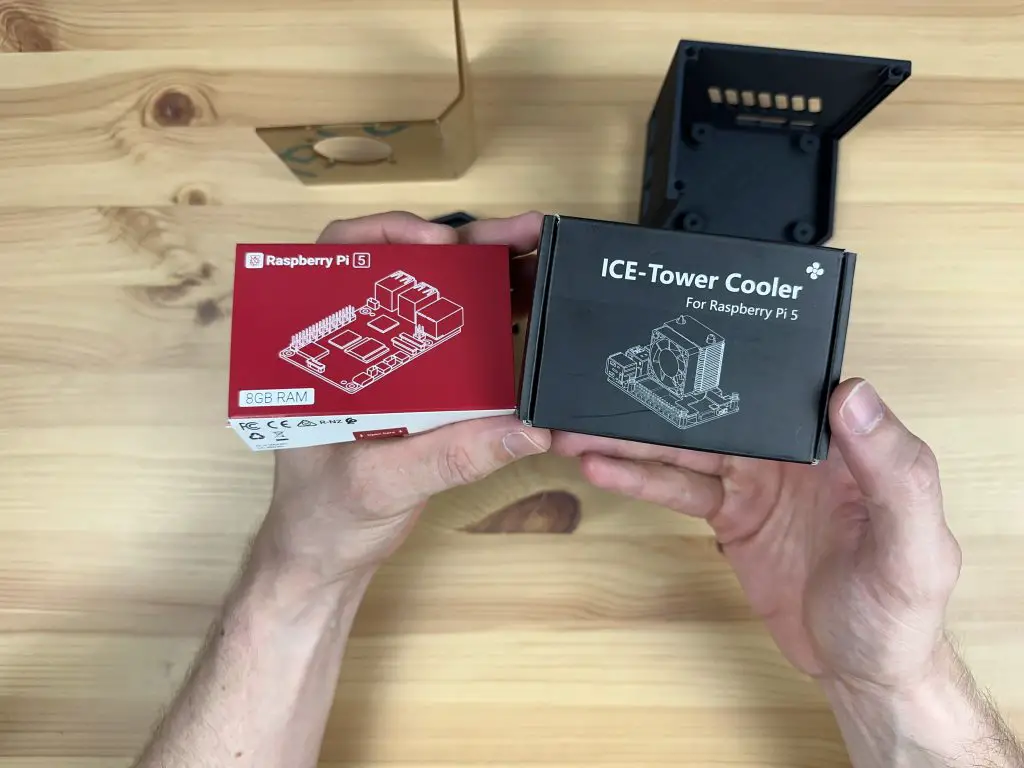
- Raspberry Pi 5 – Buy Here
- MicroSD Card – Buy Here
- Ice Tower Cooler (for the Pi 5) – Buy Here
- Or Alternate Cooling Solution Below
- 40mm 5V Fan – Buy Here
- Aluminium Heatsink – Buy Here
Ensure that you get the Ice Tower cooler for the Raspberry Pi 5, the cooler for the Pi 4 will not fit.
How To Assemble The Pi 5 Window Case
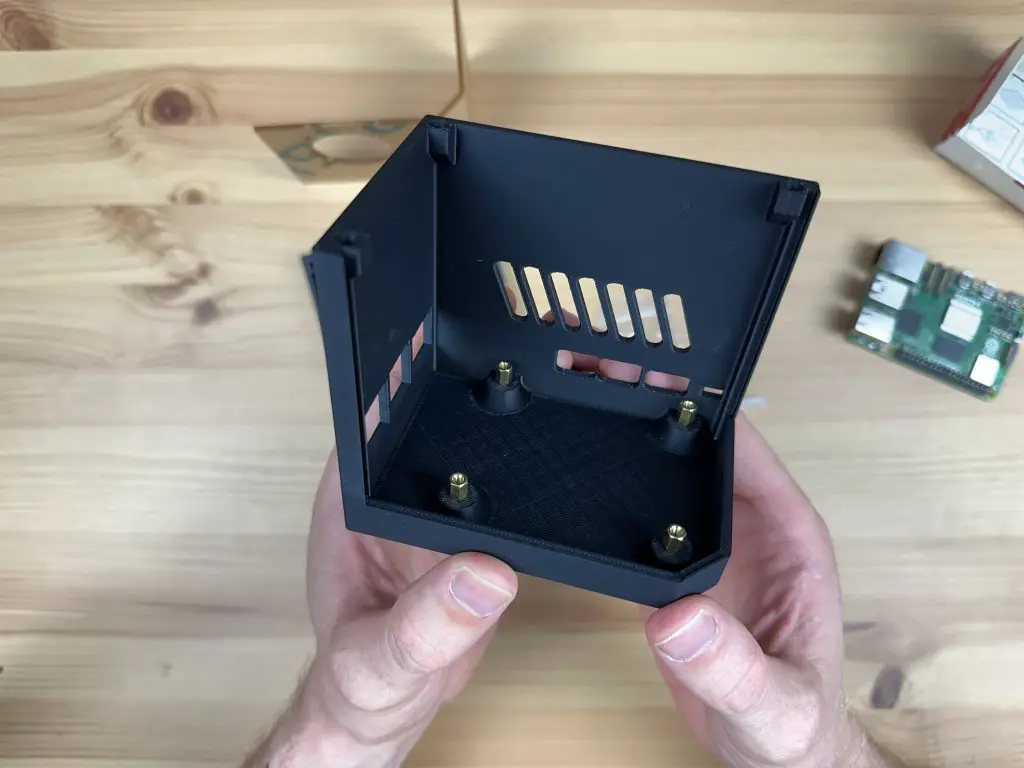
Let’s start by installing the M2.5x6mm brass standoffs to mount the Pi onto. We’re going to use the four M2.5x6mm standoffs that are supplied with the kit. Don’t use the ones with the Ice Tower assembly as these are often M2.5x7mm standoffs which are too high for the port cutouts on the front and sides. Secure each standoff with an M2.5 nut on the bottom.
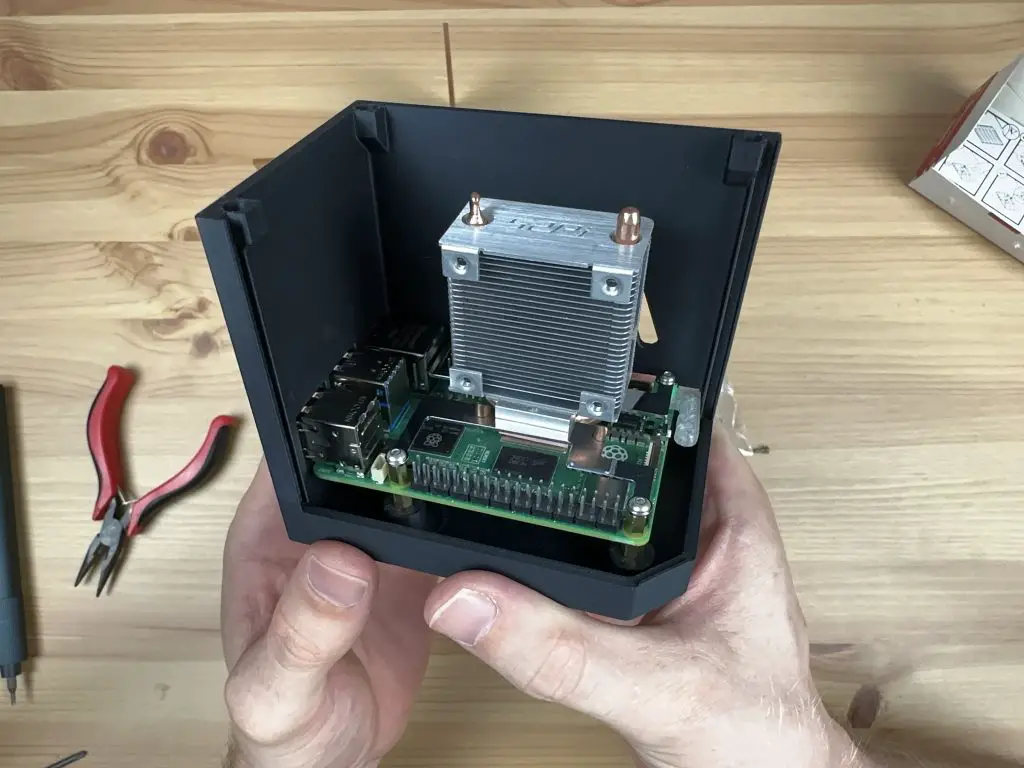
Next, we can install our Raspberry Pi 5 on the standoffs. This is held in place with three M2.5x7mm standoffs that come with the Ice Tower cooler kit. We do not need to install a standoff on the mount closest to the power port as this is going to be used for the button adaptor. Leave this hole empty for now.
In place of the fourth standoff, we can install the button adaptor and the spacer. I’ve coloured the spacer green in the image below so that it is easier to see, yours will match the colour of your case. The hole in the adaptor should be positioned over the hole in the Pi and the brass standoff below with the smaller arm protruding through the hole in the side of the case. The spacer then goes above the adaptor to make up the additional height required for the Ice Tower cooler.
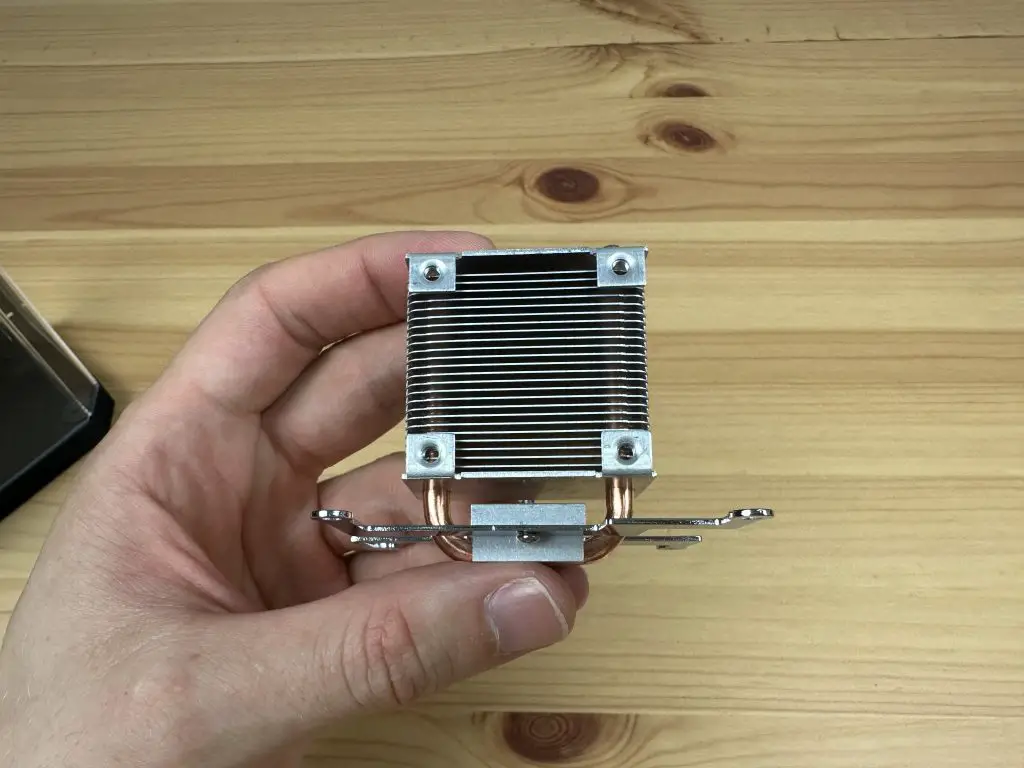
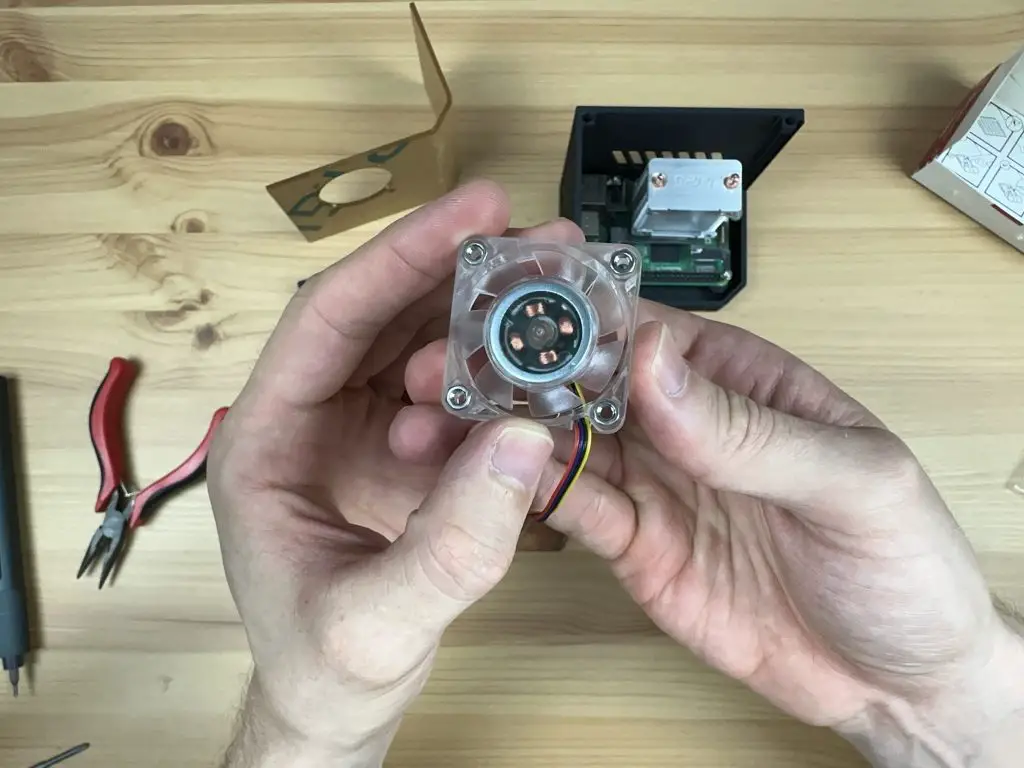
We can then install the Ice Tower cooler on the Raspberry Pi 5. Before we do so, remove the fan from the cooler by removing the four M2 screws in the corners. We’re going to be mounting this fan onto the side panel of the case.
Remember to add the thermal pad to the CPU before installing the cooler on the Pi 5.
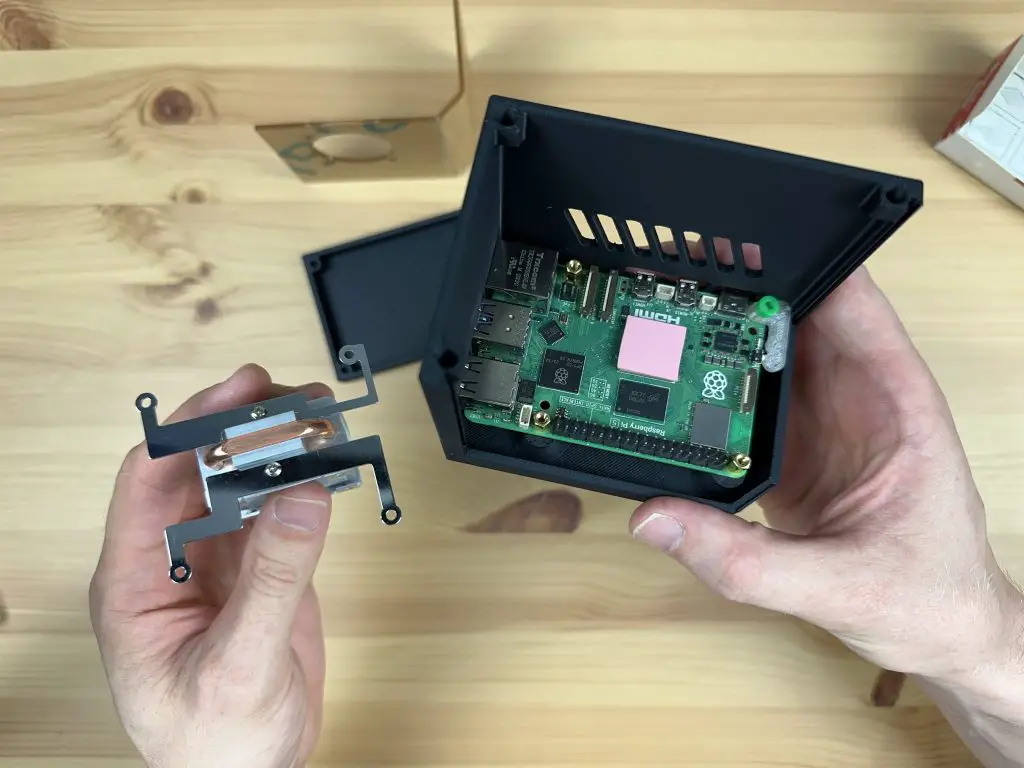
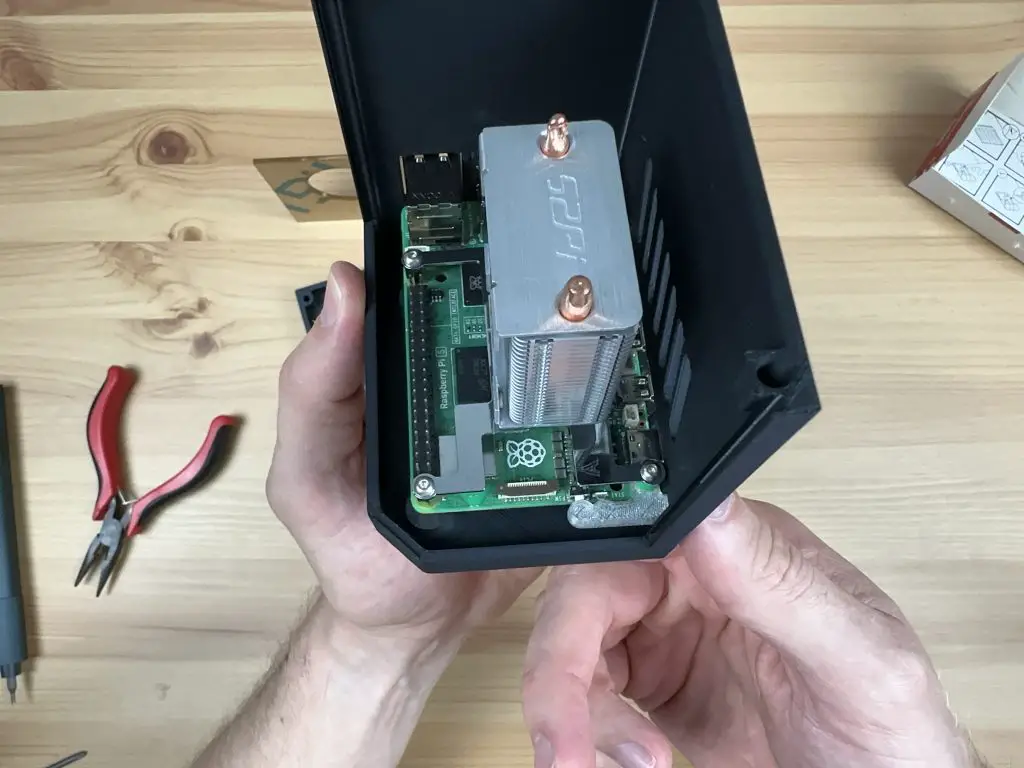
Secure the Ice Tower with three M2.5x6mm screws that are supplied with the case kit, one into each of the brass standoffs. Use the M2.5x12mm screw from the case kit to hold the fourth cooler arm, spacer and button adaptor in place. The spacer goes between the button adaptor and the leg of the Ice Tower cooler.
Don’t over-tighten this screw, the button adaptor needs to be able to move a little to press and release the button.
Mounting the fan onto the side panel is our next step. Using the same approach that I’ve utilized in my previous case designs, we won’t have the screws extend entirely through to the rear of the fan. Instead, we’ll press the M3 nuts into the front of the fan, and the screws will secure them in position against the side panel.
It is easiest to press these into place by placing the nuts onto a flat surface and then pushing each pocket in the corner of the fan down onto the nut. The nut is in position when it is flush with the face of the fan.
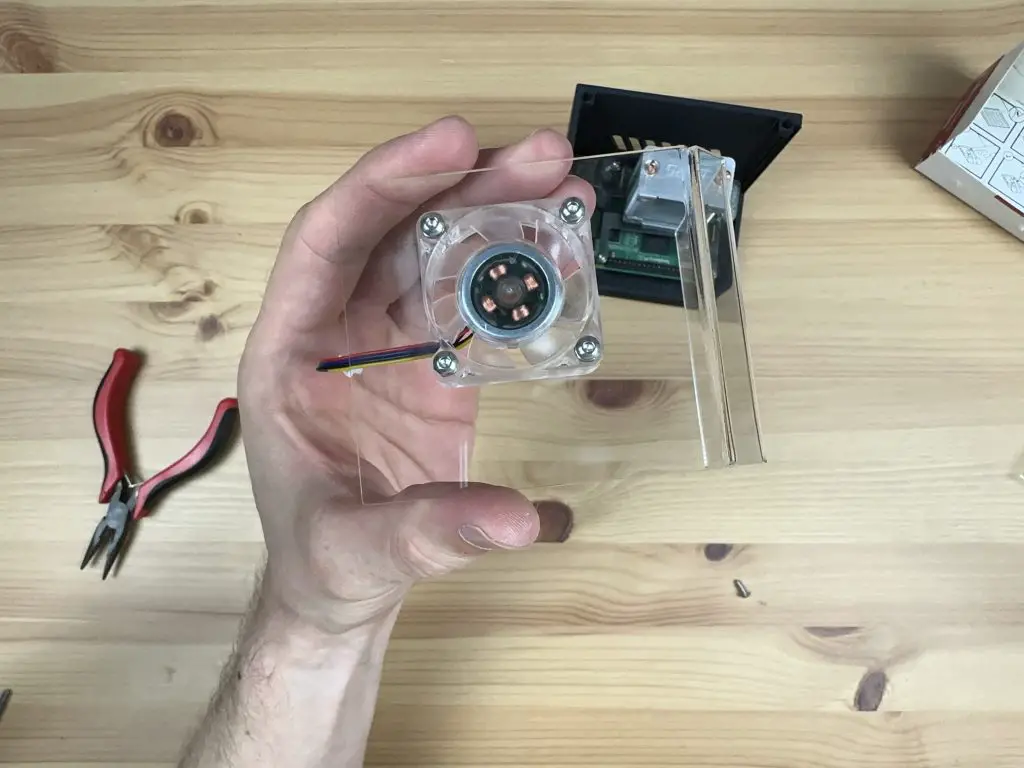
The fan can then be mounted onto the side panel using either the M3 screws that held the fan onto the Ice Tower cooler or the M3x8mm button head screws supplied with the kit. The ones supplied with the kit will give the case a more uniform appearance as they match the side panel screws.
Position the fan cable on the bottom left when looking at the fan as shown below. This allows it to be as close to the fan port on the Pi 5 as possible.
Before installing the side panel, now is a good time to flash your operating system to your microSD card and insert it into the Pi. Once the side panel is installed, you’ll no longer have access to this slot.
Slide the side panel into place in the retaining lip along the two vertical edges. Plug the fan into the fan port on the Pi 5 while you do so.
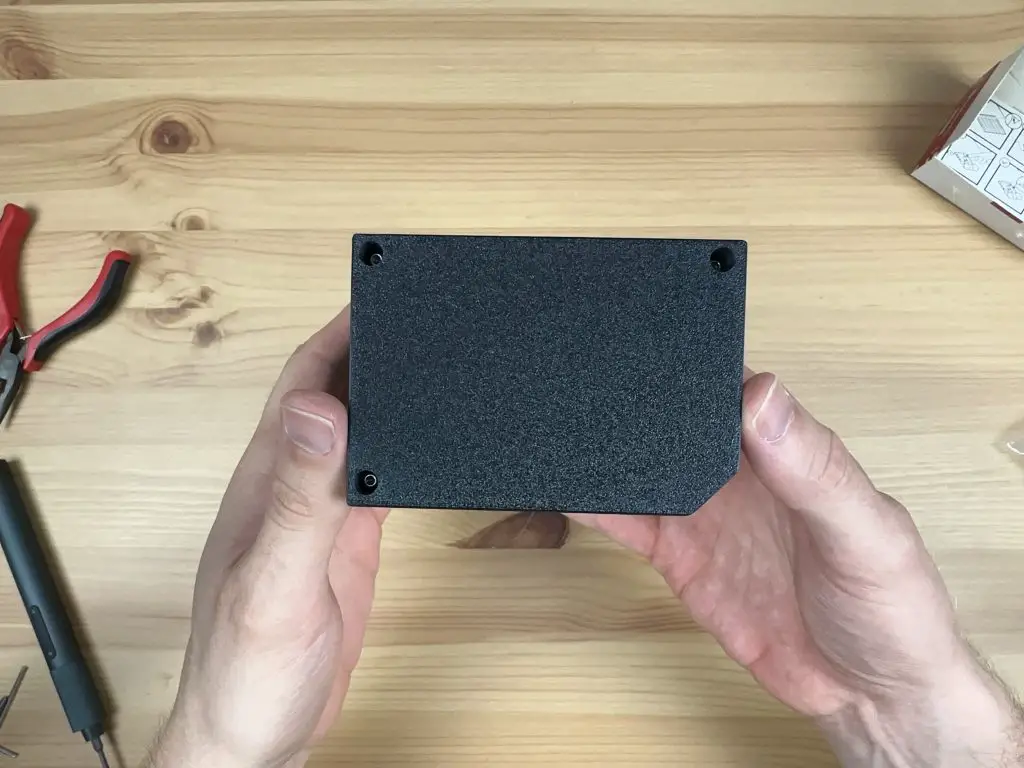
We can then put the top cover on and secure it with three M3x8mm button head screws.
And that’s the case complete. You can now plug in your peripherals and press the power button to boot it up.
Enjoy your new Raspberry Pi 5 Case!
Hi there!
Great project.
I have my oen 3D printer here.
Are the STL files for this project available for download?
Cheers
Robbert
Istanbul, Turkey
Yes the files are still available on etsy
Hi, unfortunately, I can’t find the files for the RPi 5 variant on Etsy — only for the RPi 4.
Would you be so kind and maybe share the stl files for the raspbery pi 5 case? I have been looking for a tower style case for the Rpi 5. I like the rap around window for this case but i think this style case would be also great with just 3d printed sides instead of acrylic (and cheaper). Thank you
pg the excellent new mobile online slot game in the world today. Sign up to play PG SLOT today, and you won’t be bored or disappointed with the traditional gameplay anymore. It’s a slot game with the highest jackpot payouts. Give it a try!