Today we’re going to be taking a look at the new ArduCam Time of Flight (ToF) Camera. This is a new camera by ArdCam that gives your Raspberry Pi 3D vision by adding an IR laser illuminator alongside the camera lens.
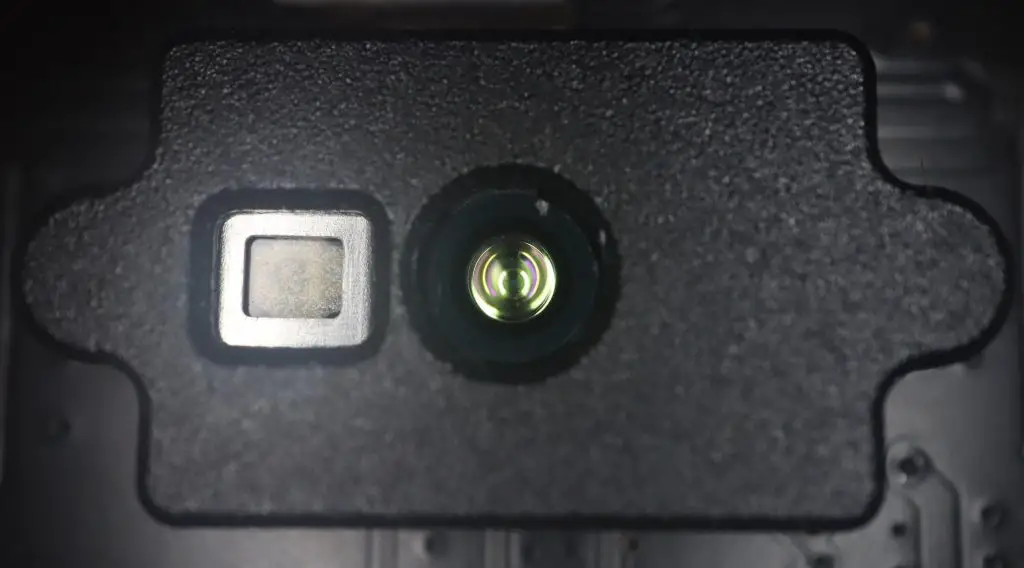
The ArduCAm ToF camera emits modulated infrared light and then measures the time it takes for the light to return to the camera lens to calculate the distance to the objects in frame – hence the name Time of Flight or ToF for short.
Here’s my review and unboxing video, read on for the written review:
Where To Buy An ArduCam ToF Camera
The ArduCam ToF Camera is a new offering that is currently almost finished funding through their Kickstarter campaign.
The Kickstarter price is listed at $29.99 and will likely retail for around $50 once the campaign ends.
Other Components Used For This Review
- Raspberry Pi 4B – Buy Here
- Heatsink – Buy Here
- 2mm Clear Acrylic – Buy Here
- M2.5Brass Standoffs & Screws – Buy Here
- M3 Screws – Buy Here
- M2 Screws – Buy Here
Equipment Used
- Gweike Cloud laser – Buy Here
- Use my discount code MK200 on checkout to get $200 off
- USB C Screwdriver Set – Buy Here
Some of the above parts are affiliate links. By purchasing products through the above links, you’ll be supporting this channel, at no additional cost to you.
Unboxing And Setup Of The ToF Camera
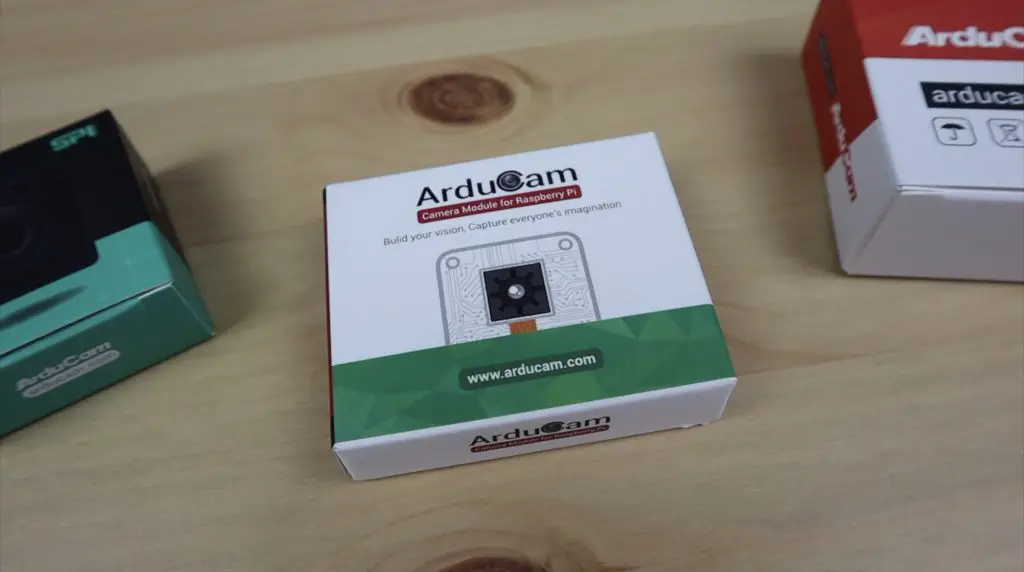
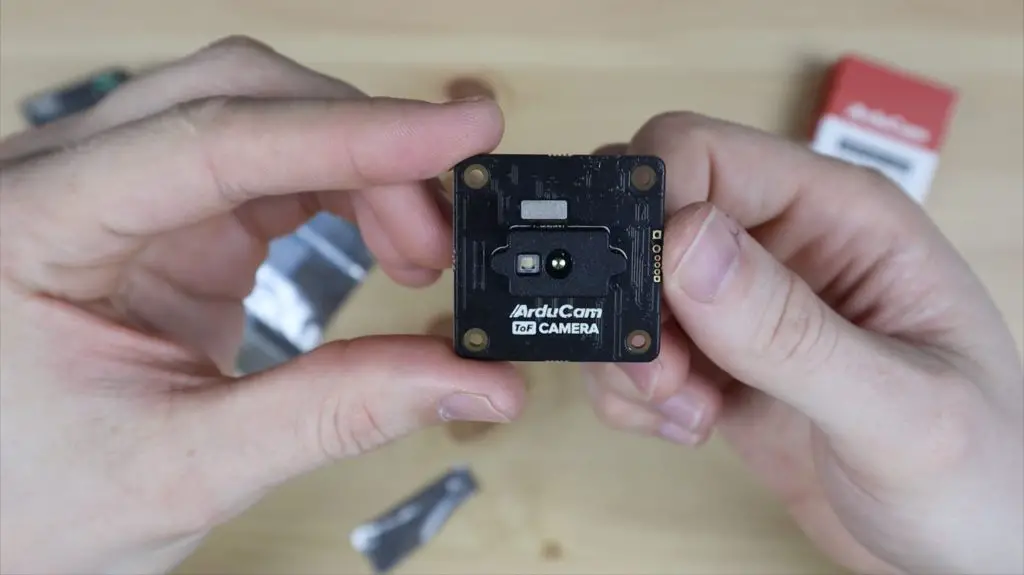
The ArduCam ToF Camera comes in a small branded box a little larger and a little flatter than their ArduCam Hawk-eye camera. It’s fairly generic, with no mention that this is their ToF camera apart from a stick-on label on the back.
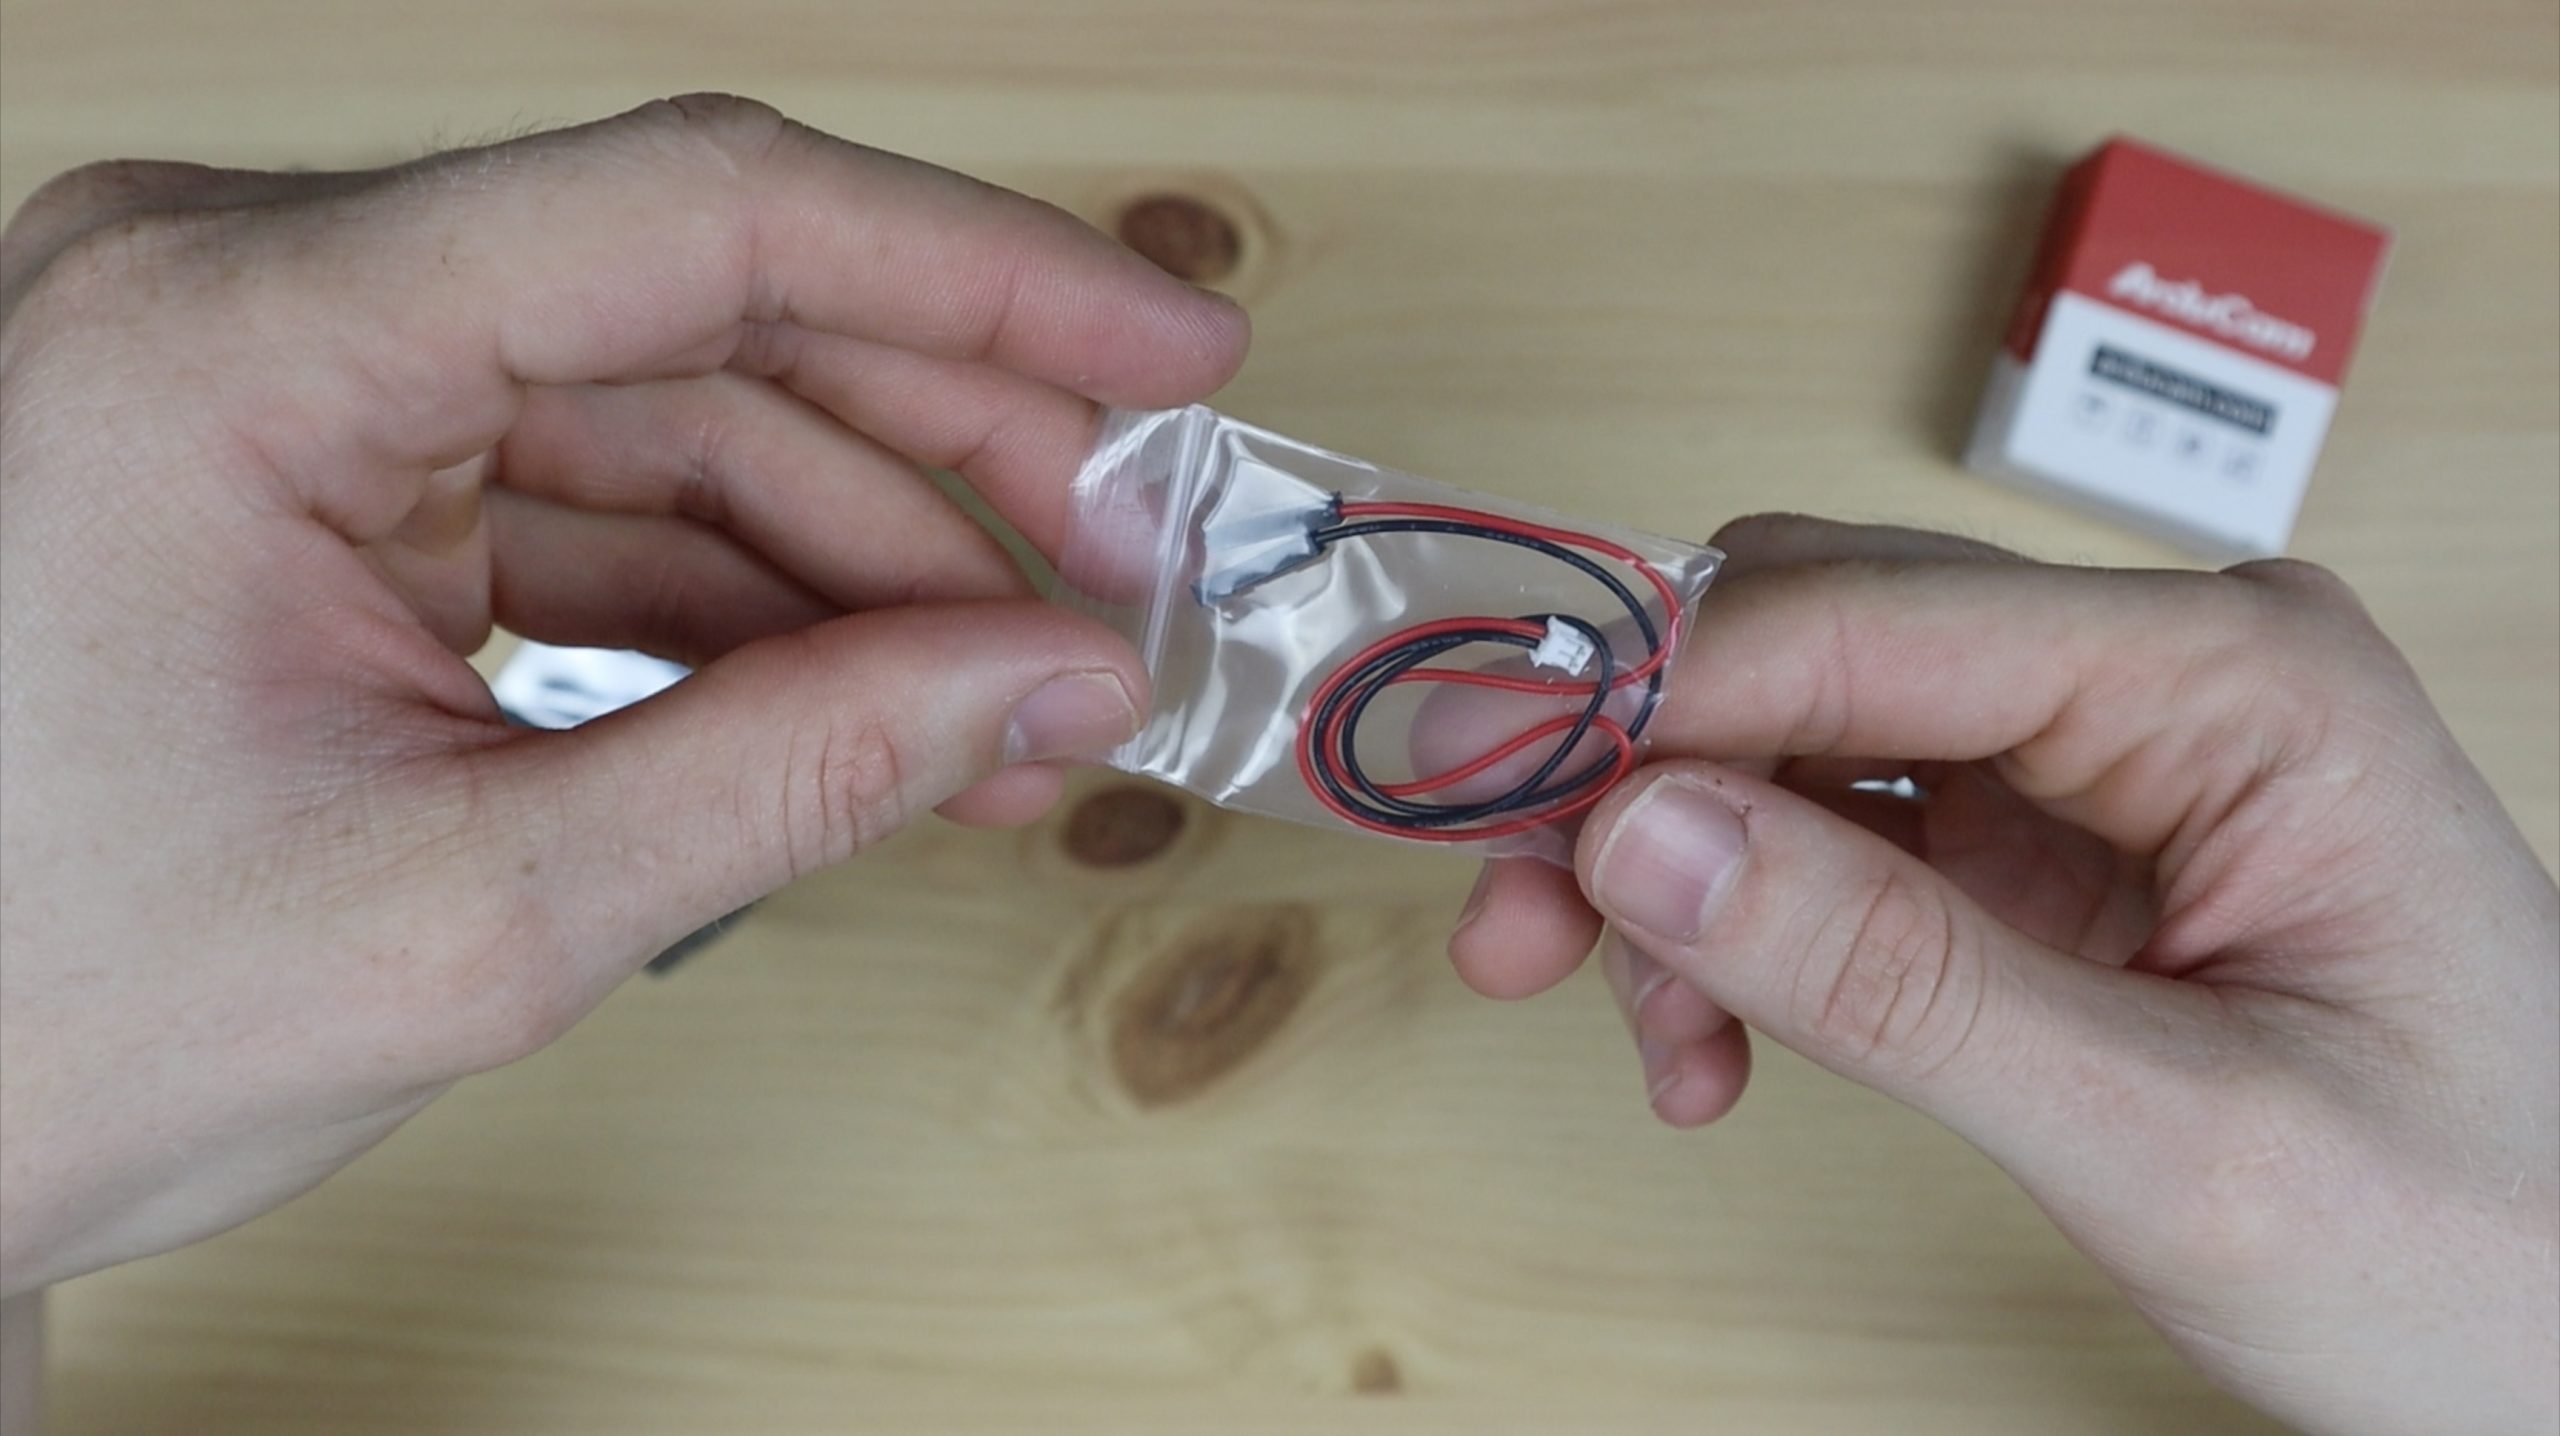
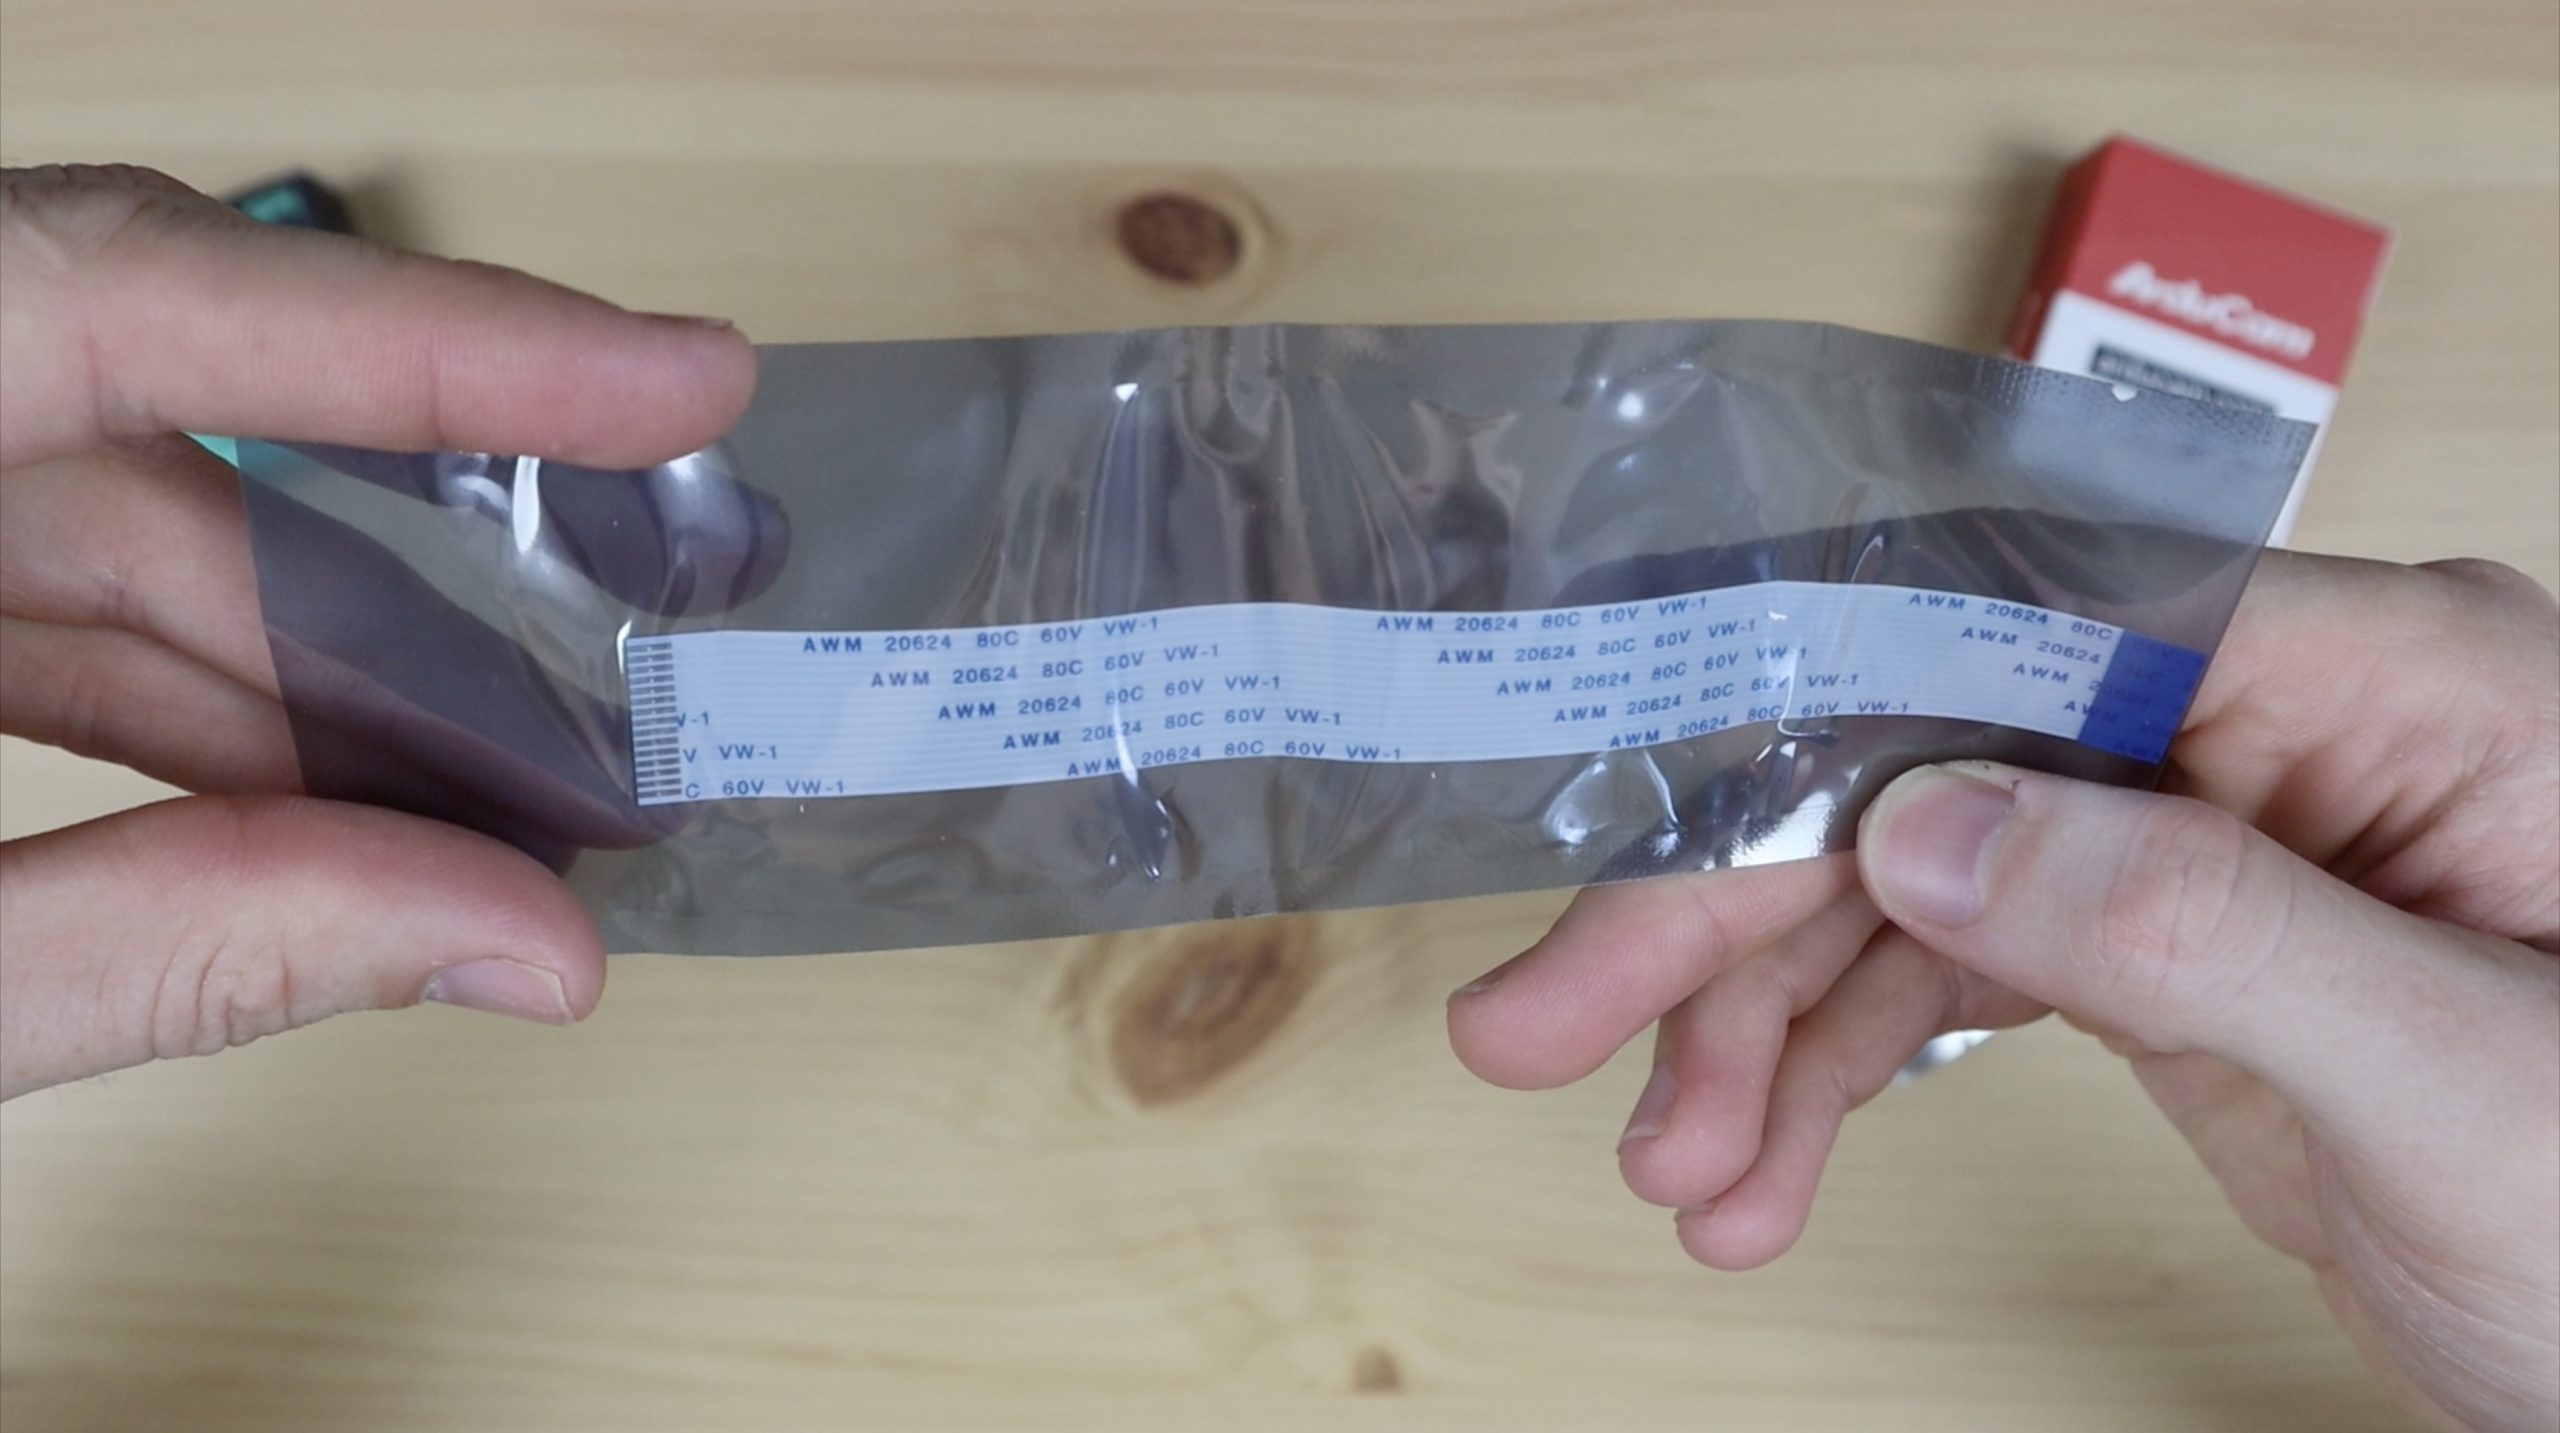
Included with the camera module is a power cable to supply 5V to the camera from your Pi’s GPIO pins and then a CSI ribbon cable to plug the camera into your Raspberry Pi’s CSI port. The additional 5V power input is an unusual inclusion but is required to supply power to the onboard processor.
The camera sensor can do an impressive 30 frames per second with depth tracking on a Raspberry Pi, at an image resolution of 240 x 180 pixels. It can measure the distance of objects that are within 2m in near mode and within 4m in far mode.
As for accuracy, they claim that it’s accurate to within 2cm in far mode and 4cm in near mode, so you’re not going to be doing any fine measurements with it, but it’s perfect for tasks requiring basic depth of field understanding.
It’ll also work on older Raspberry Pi models like the Pi 3, with a reduced frame rate of around 10 fps and on a Pi Zero 2W at 15fps.
To use the camera, we’re going to plug it into our Raspberry Pi’s CSI port, that’s the long thin port labelled camera between the audio and HDMI ports.
I’ve also flashed a fresh install of Raspberry Pi OS onto a 32 microSD card to test it.
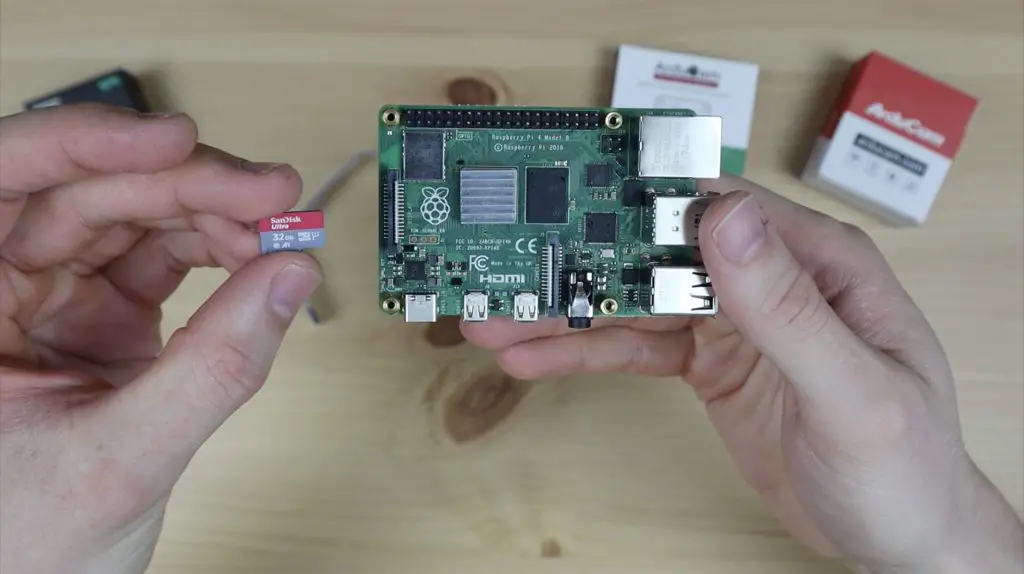
The power cable needs to be connected to any of your Pi’s 5V and GND pins, I’m using the two on the outside near the end.
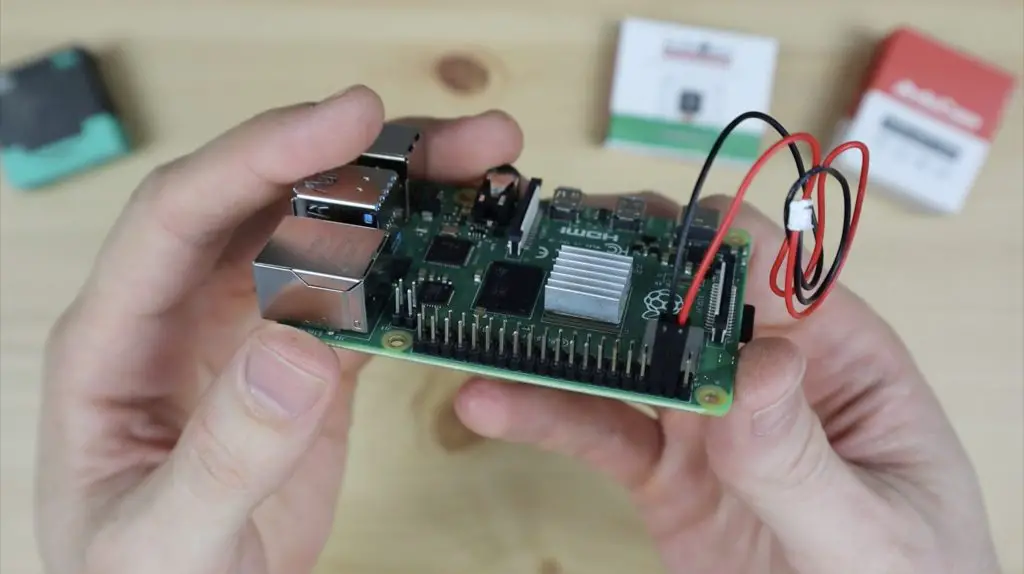
Then the ribbon cable is plugged in with the blue tab on the black side of the connector, and the same on the camera module.
That’s all we need to test it, so let’s boot it up and install the software.

Testing The Camera Using The ArduCam Example
Arducam have made the software installation a pretty straightforward process, you just need to clone their GitHub repository and then run a simple script to install the drivers and dependencies.
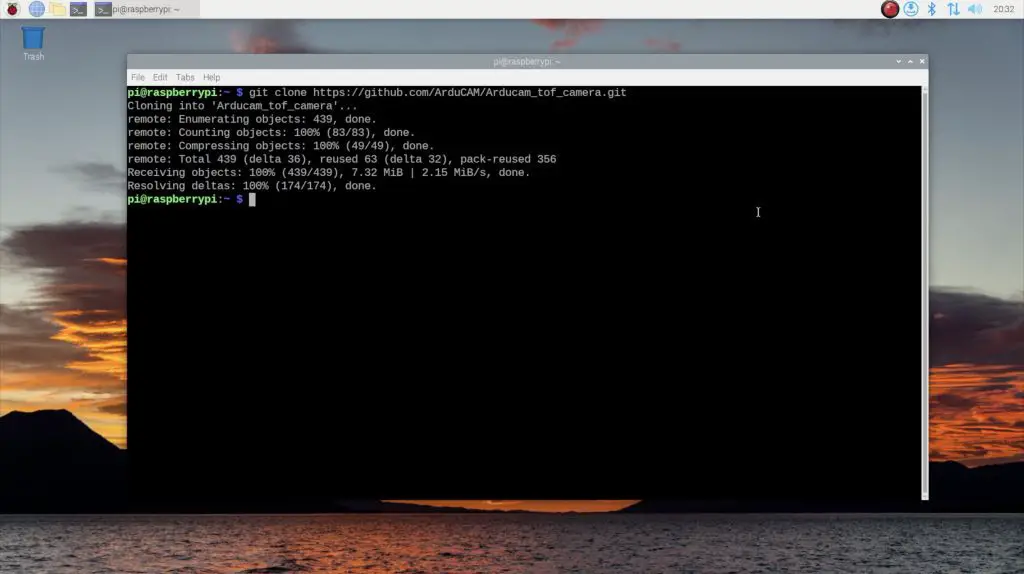
Clone the GitHub repository:
git clone https://github.com/ArduCAM/Arducam_tof_camera.gitNavigate into the cloned directory:
cd Arducam_tof_cameraRun the script to install the drivers and dependencies:
./Install_dependencies.shWhen prompted to reboot, enter y
After the reboot, compile and run the example script by entering:
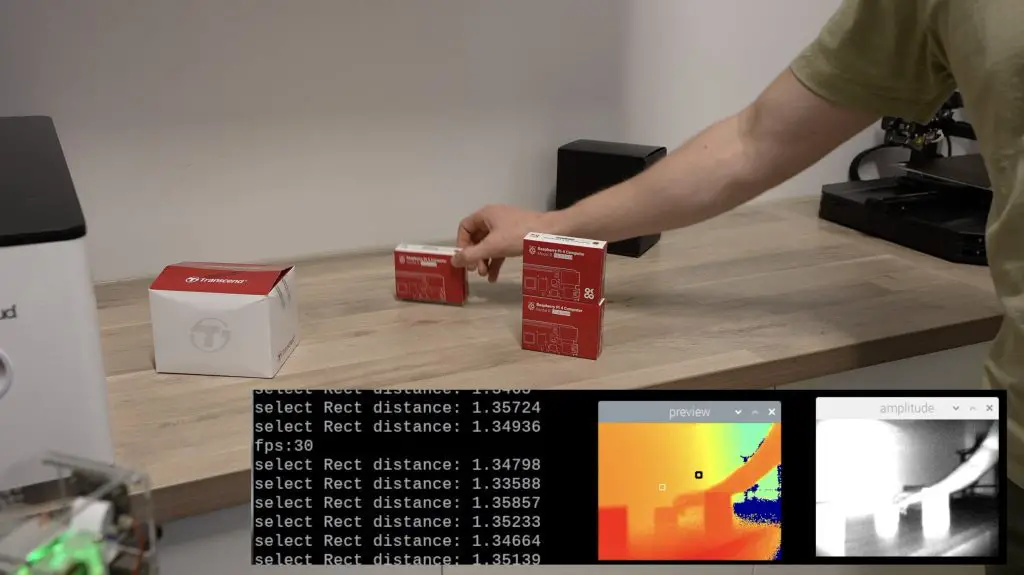
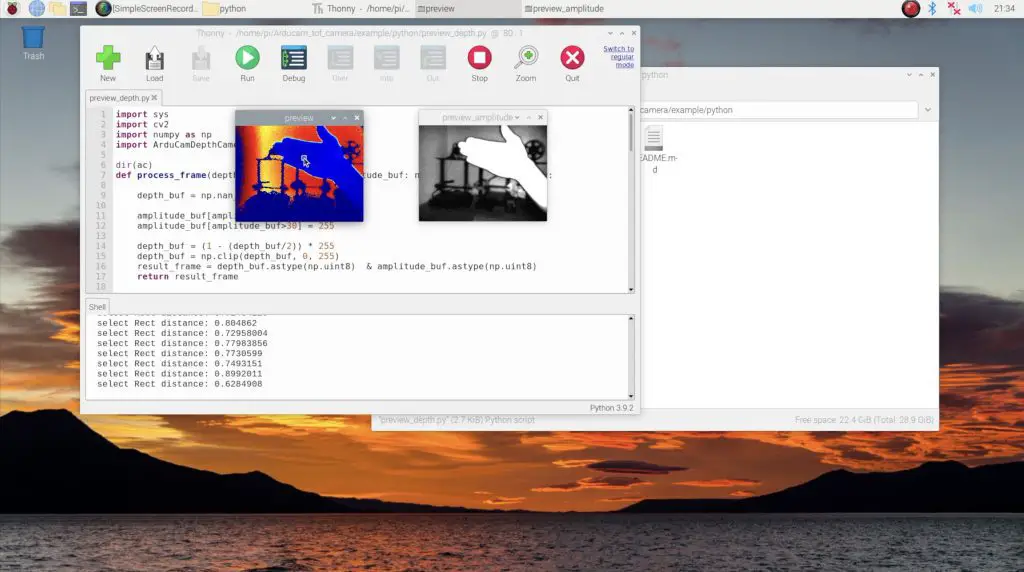
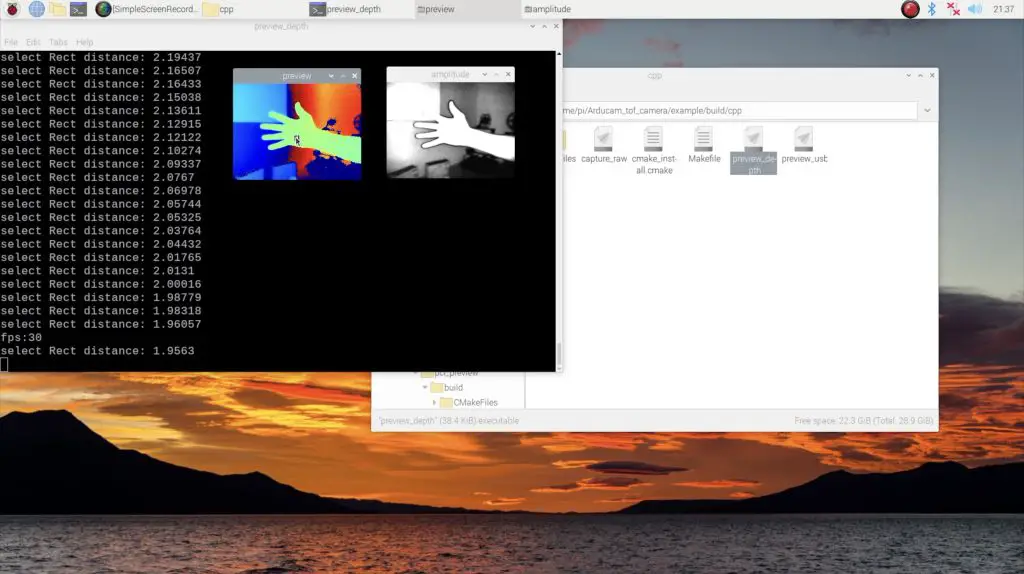
./compile.shIn the first example, two windows will pop up, the bottom black and white image is a raw representation of the infrared light being received by the camera and the top image is the processed data in the form of a heat map, where closer objects within in the image show up red and further away objects blue.
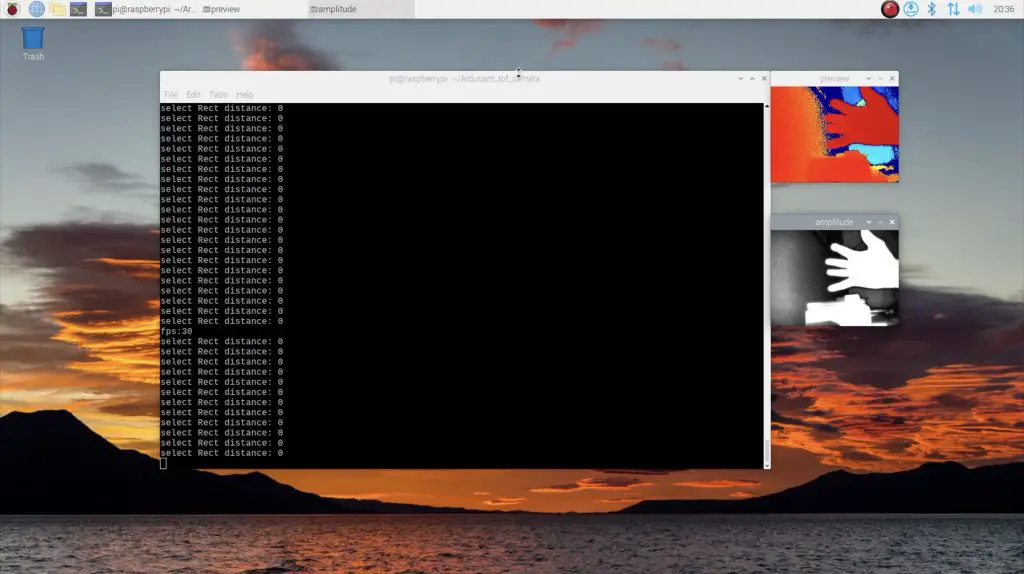
The terminal window tells you the calculated distance to an object you’ve selected in the heat map window and the frames per second currently being processed. It’s showing up as zero in my terminal because I haven’t selected a point in the heat map to take measurements from.
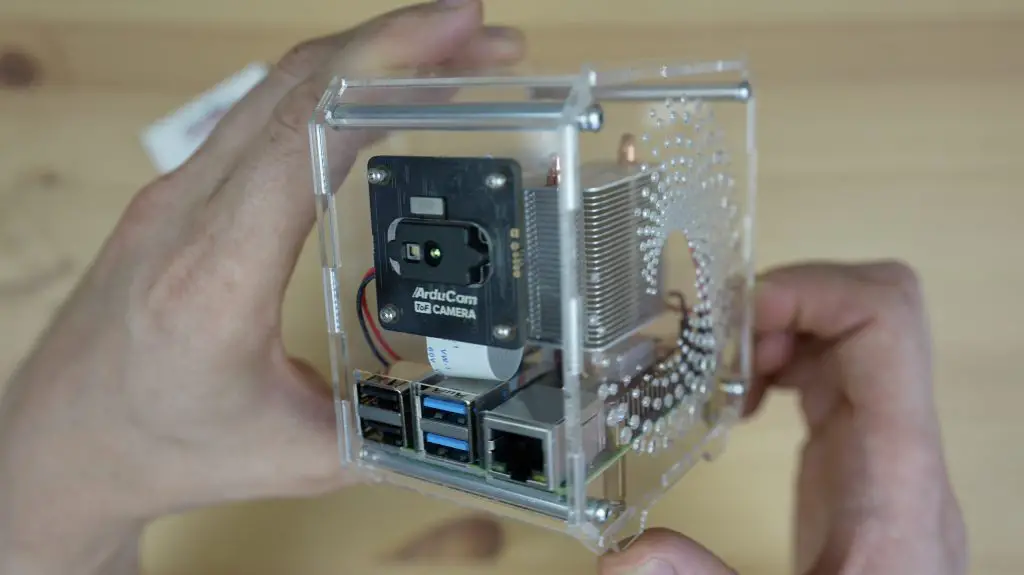
Installing The ArduCam ToF Camera Into My Desktop Case
Now that I’ve got the camera working on my desk, I’m going to take it to my workshop and test it on some objects with a bit of depth to them, but first I’m going to install the camera into my desktop case so that it’s easier to stand it up on a flat surface.
To do that, I just laser-cut a new front panel for the clear Pi case I recently made.
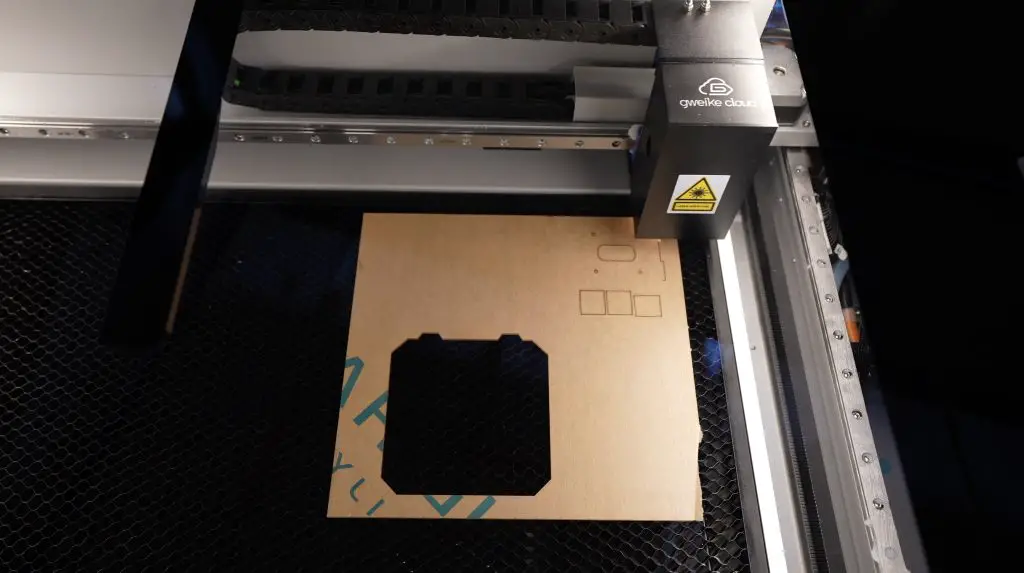
This swaps out the OLED stats display for the Arducam ToF camera and I can now just stand it on a desk or tabletop pointing at what I’d like to measure.
Tests On More Objects In My Workshop
To start with, I’m using their built-in example to create a heat map of these boxes on my workbench. You’ll notice a small black square near the centre of the heat map and if I put my hand infant of this square, the distance measurement shows the distance to my hand.

We can also move the boxes around and then their colour on the heat map will change.
You can also use the Arducam ToF camera to generate a point cloud. This is a set of data points in space that represent a 3D shape or object. Creating point clouds usually requires some sort of 3D scanning device or a camera with a dual-lens system to capture depth. Pairing the Arducam ToF camera with a Raspberry Pi is a great way to create a relatively inexpensive 3D scanner that is capturing actual depth data rather than trying to estimate it based on the relative position of objects within images.
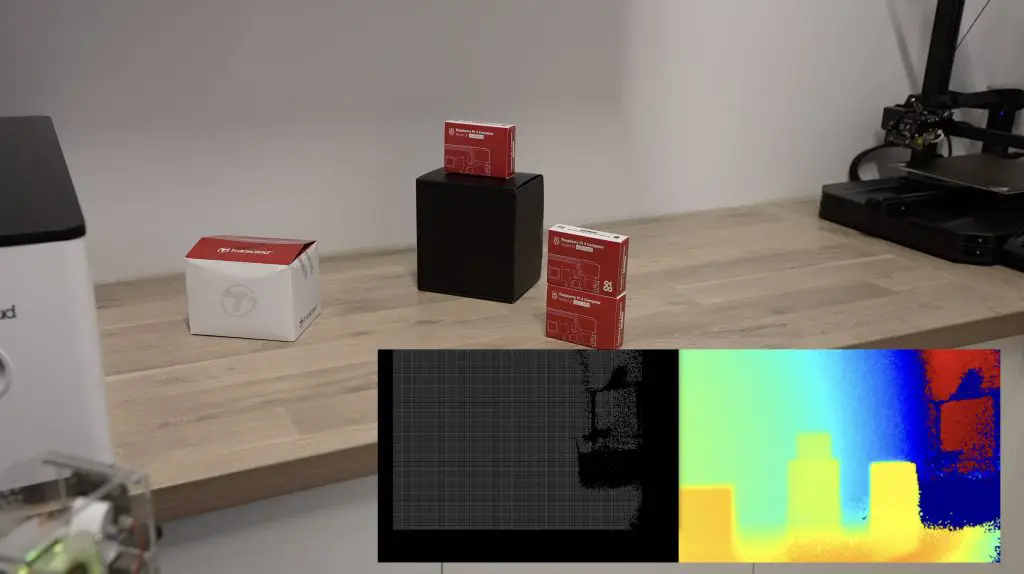
Front on it doesn’t look like much, but if we rotate the cloud in 3D space then you can see the shape of the object.
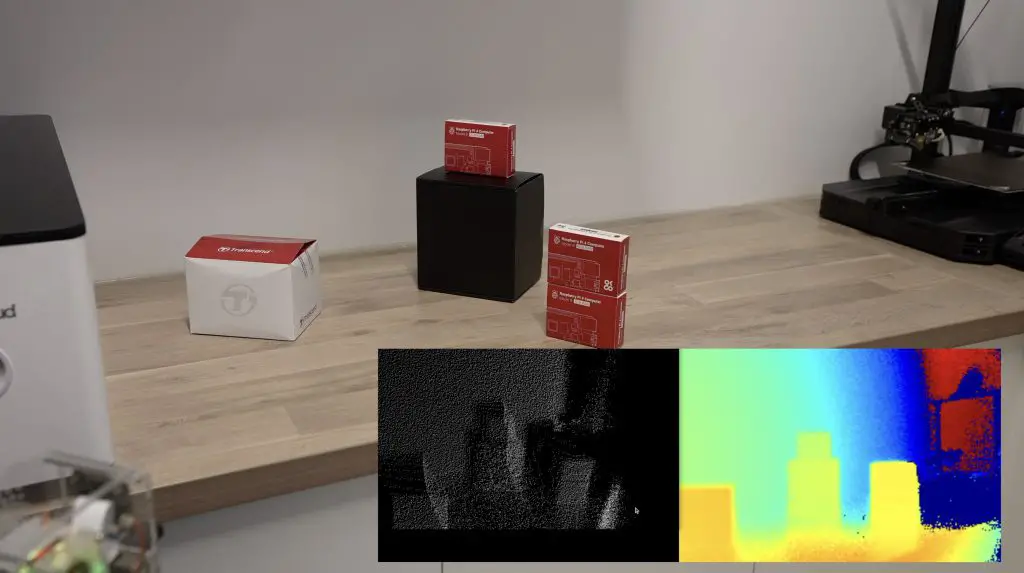
Currently the camera has only seen one angle for these objects, so there is just empty space behind the surfaces that are facing the camera. But if we rotate these objects or rotate the camera around the objects then we can build up a better 3D image of the object, and this is basically how a 3D scanner works. So you could use this camera to build a 3D scanner with a bit of processing.
Normally, an infrared camera has trouble outdoors due to the amount of naturally occurring infrared light from the sun. But ArduCam have given this camera a laser that operates at a wavelength of 940 nanometers which is able to suppress the interference from ambient light outdoors well enough to still offer fairly good results, especially if you’re looking at large objects without complex geometry, like big boxes or human figures.

The camera acts as a standard V4L2 or Video4Linux2 device, so you can use it with a range of vision libraries like OpenCV and Tensorflow without having to do a lot of additional coding.
You can also use the Arducam Time of Flight camera with other distributions as they have development kits for C, C++ and Python.
They even have examples that you can install and run on an NVIDA Jetson Nano.
Final Thoughts On The ArduCam ToF Camera
The ArduCam ToF camera is going to be a great addition to your Pi if you’re working on a project that requires a basic level of depth of field understanding, primarily on large objects or the surrounding environment. This could be monitoring for certain shapes or size objects, or building an obstacle-avoiding robot. It’s probably not going to be useful for fine or very accurate distance measurements, and it’s resolution isn’t high enough to be useful for small objects.
The point cloud generation features and standard V4L2 also mean that you could easily use this camera for course 3D modelling or to generate 3D style maps onboard your robots. This sort of functionality would give your robots a much better understanding of their environment than they would be able to obtain from a standard video feed – even with much more processing power.
I think it would be a nice addition to have a good quality standard camera feed coming from the same module, although there are probably some hardware limitations preventing this at the moment.
Let me know what you think of the ArduCam ToF camera in the comments section below and let me know if you have any project ideas that you’d like to see me try with it.
Could you explain how you select a point of tracking using the black square box