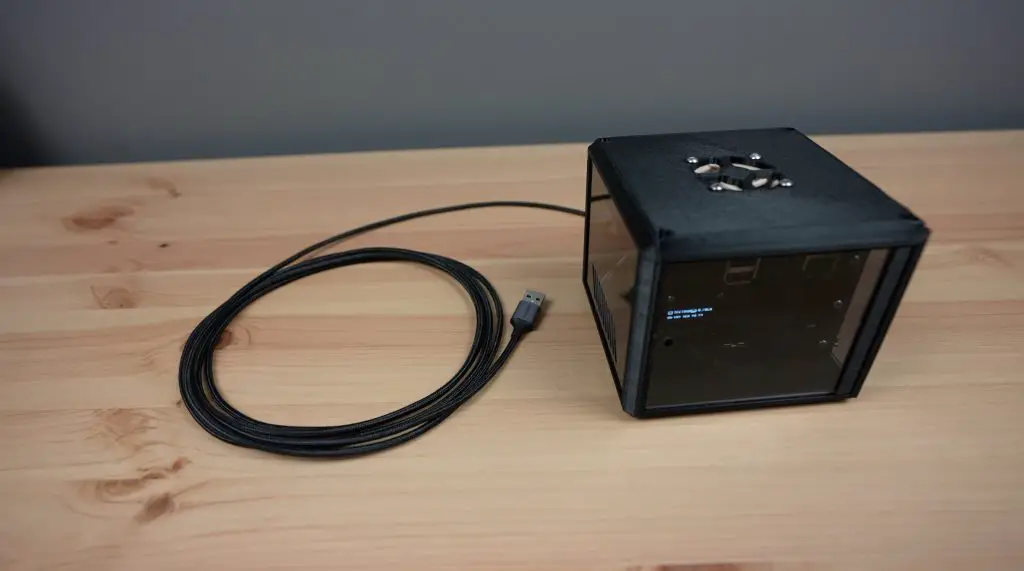
Having your own home server rack or homelab is really useful, but you have to have a relatively large space to set it up, it generates a lot of heat and can be pretty noisy. So that’s why I built this, the world’s smallest server rack that fits right in on my desk alongside a drink or cup of coffee.
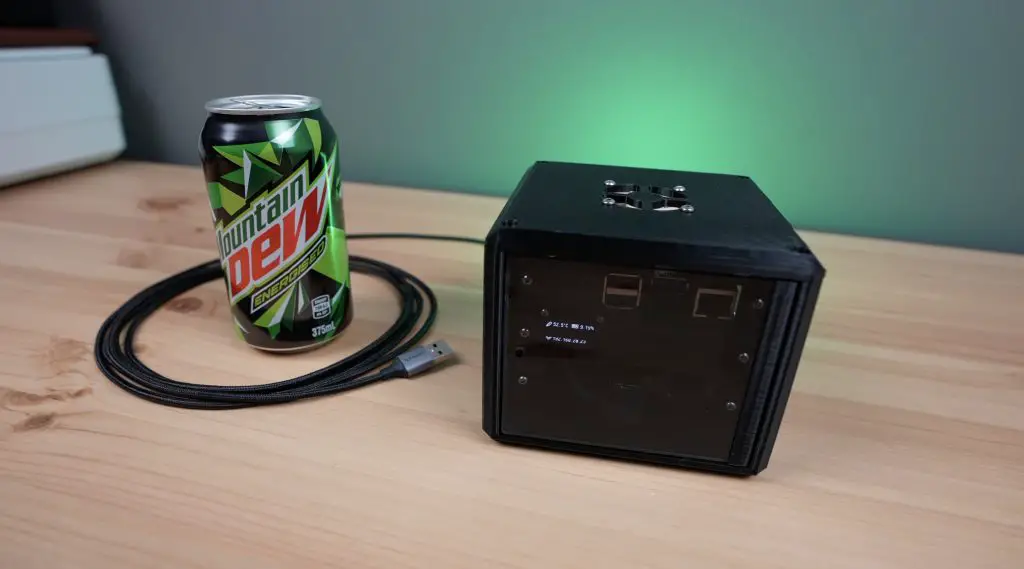
It runs Docker, so it can handle a number of containerised network applications, it’s also got a built-in UPS to carry it through a power outage for an hour or so and it’s got an SSD which is used for file and media storage.
So in this guide, I’ll show you how I made it.
Here’s my video of the build, read on for the written guide:
What You Need To Make Your Own Mini Server Rack
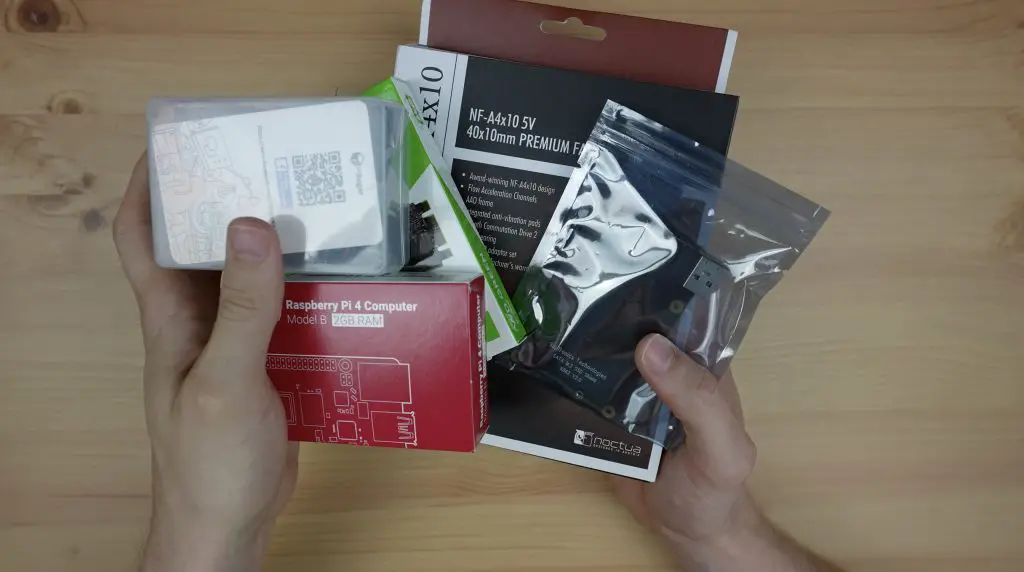
- Raspberry Pi 4B – Buy Here
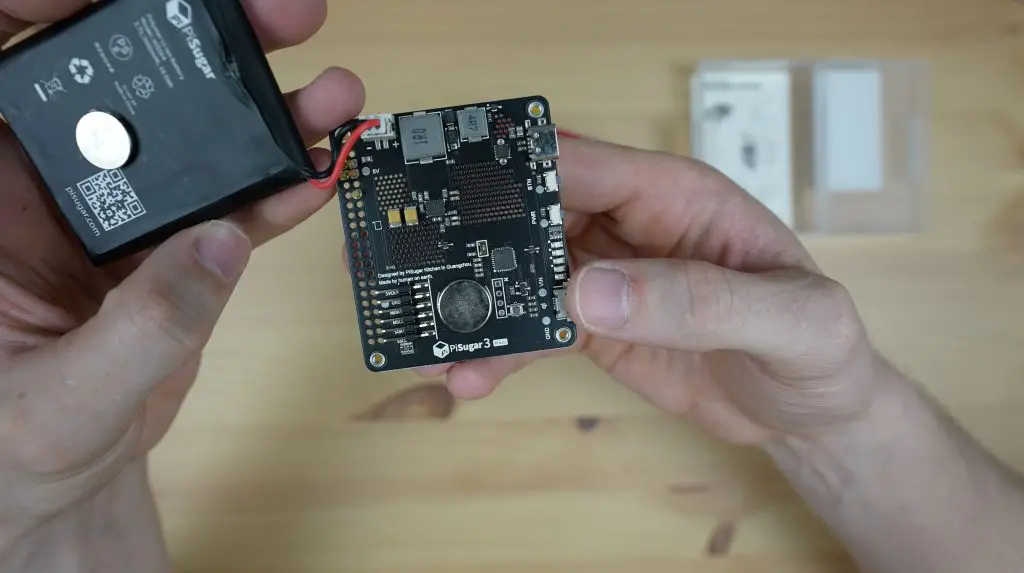
- PiSugar 3 Plus UPS – Buy Here
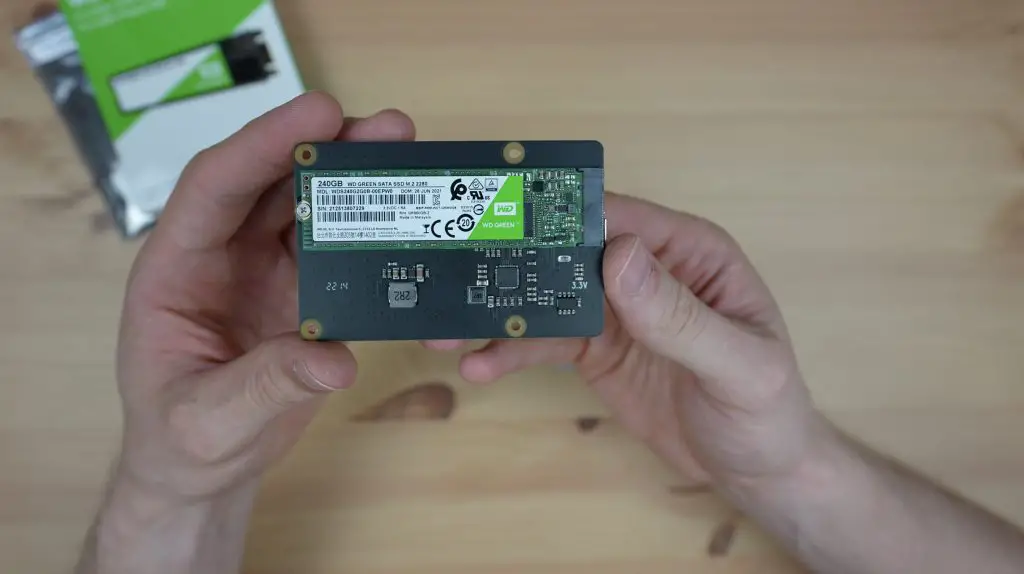
- Geekworm M.2 NGFF Shield – Buy Here
- M.2 SATA SSD – Buy Here
- Noctua NF-A4x10 5V Fan – Buy Here
- I2C OLED Display – Buy Here
- Breadboard Jumpers – Buy Here
- M2x10mm Button Head Screws & Nuts – Buy Here
- M2.5x8mm Button Head Screws – Buy Here
- M3x16mm Button Head Screws & Nuts – Buy Here
- M2.5 Brass Inserts – Buy Here
- M2.0 Brass Inserts – Buy Here
Tool & Equipment Used:
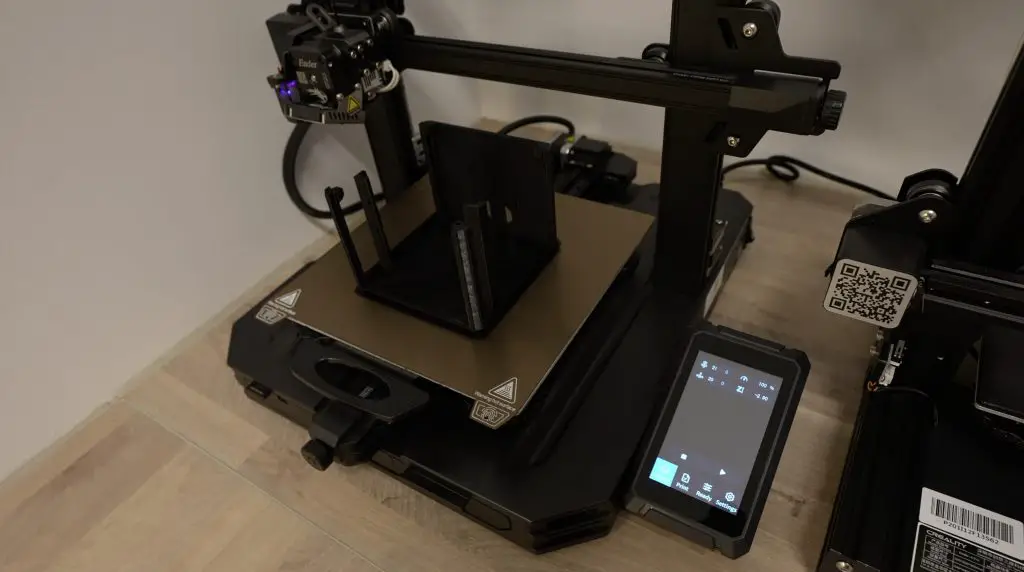
- Creality Ender-3 S1 Pro – Buy Here
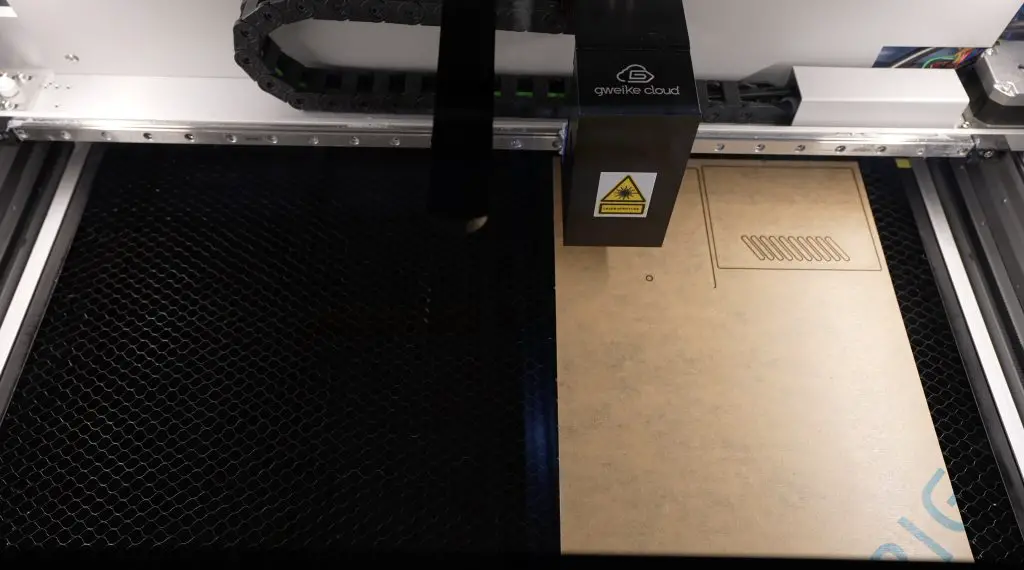
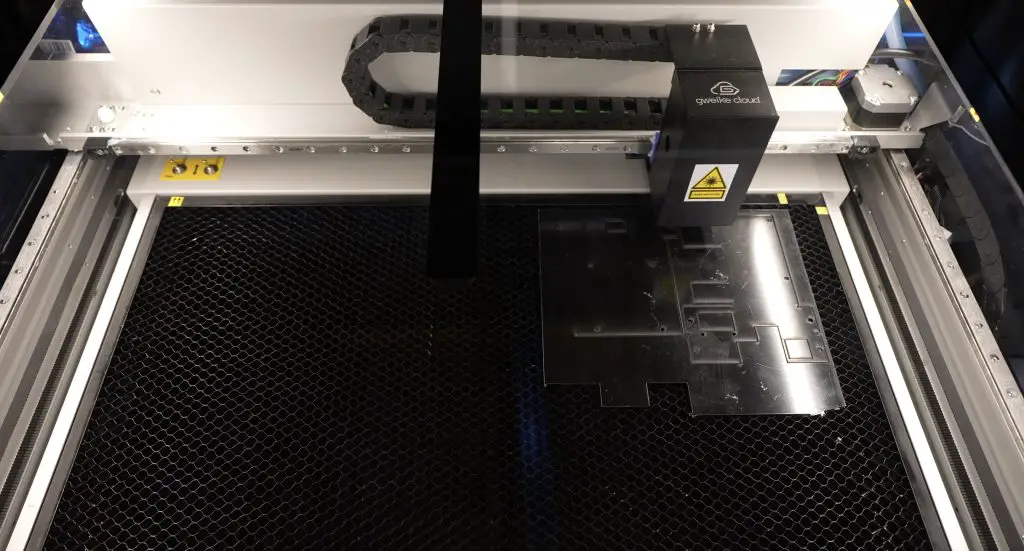
- Gweike Cloud Laser – Buy Here
- Use my discount code MK200 on checkout to get $200 off
- Electric Screwdriver – Buy Here
- Acrylic Bender – Buy Here
Designing The Mini Server Rack
This project came about because when I made up a case for my Raspberry Pi to house a UPS then people asked me to add an SSD and when I made one up for an SSD, then people asked me to add a UPS.
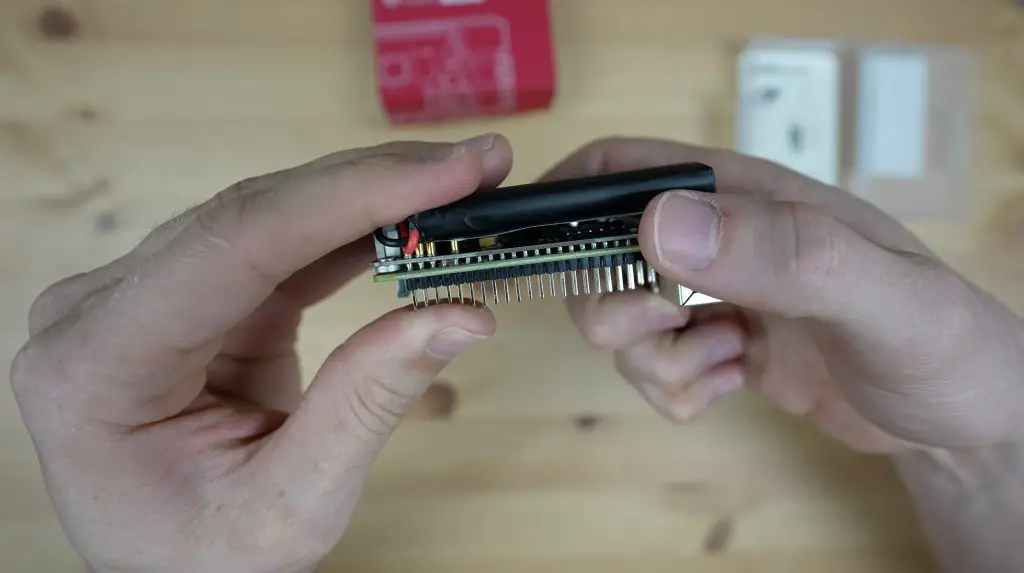
The problem is that both of these boards are designed to sit directly underneath the Raspberry Pi, the UPS because it uses these pogo pins to connect to the Pi’s GPIO pins;
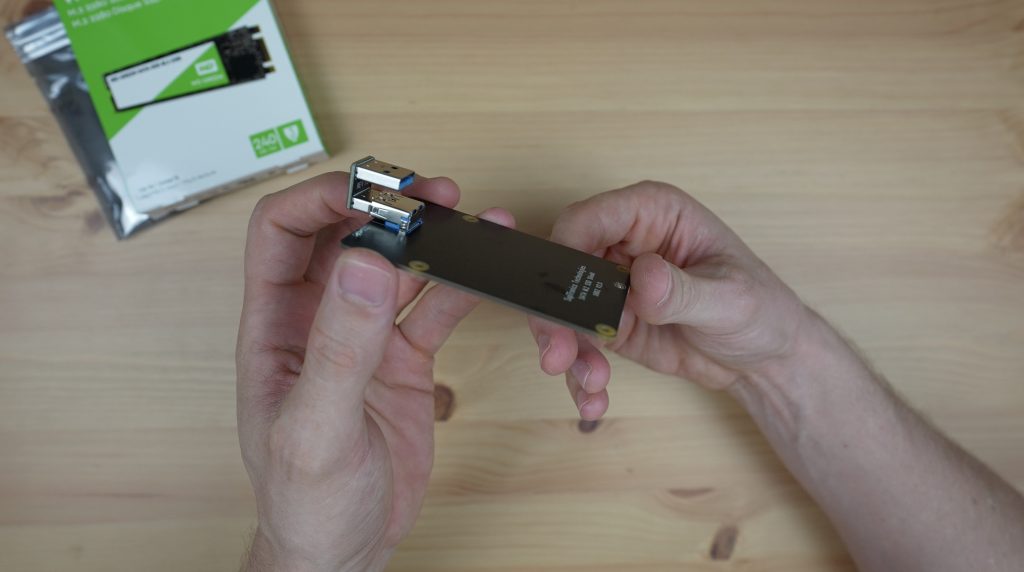
And the SSD shield because of the jumper to hook it up to the Pi’s USB ports;
So this got me thinking of a way to mount all three on top of each other, and the solution that came to mind is some sort of rack mount enclosure. These don’t exist in sizes suitable for a Raspberry Pi, so I decided to design my own.
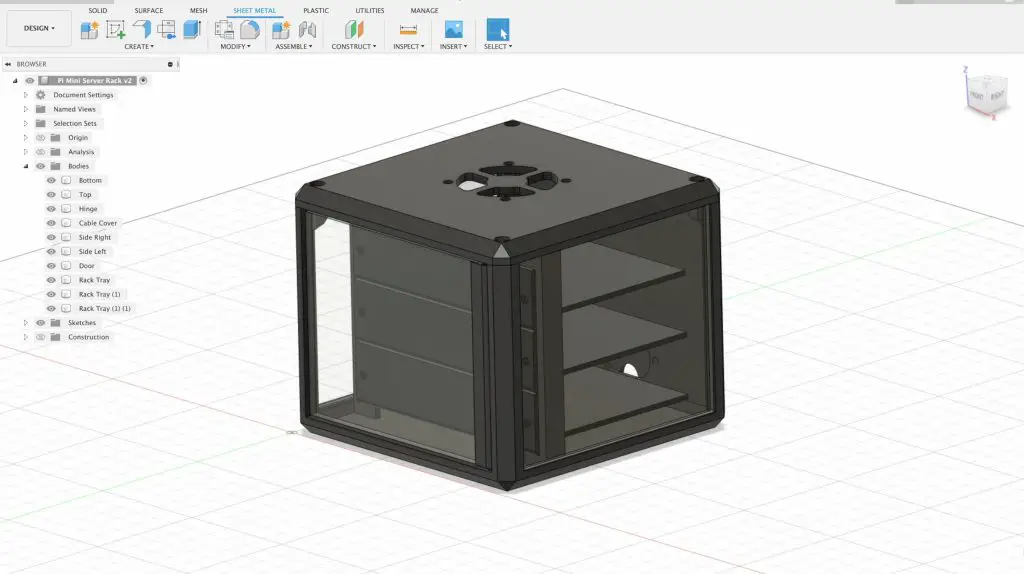
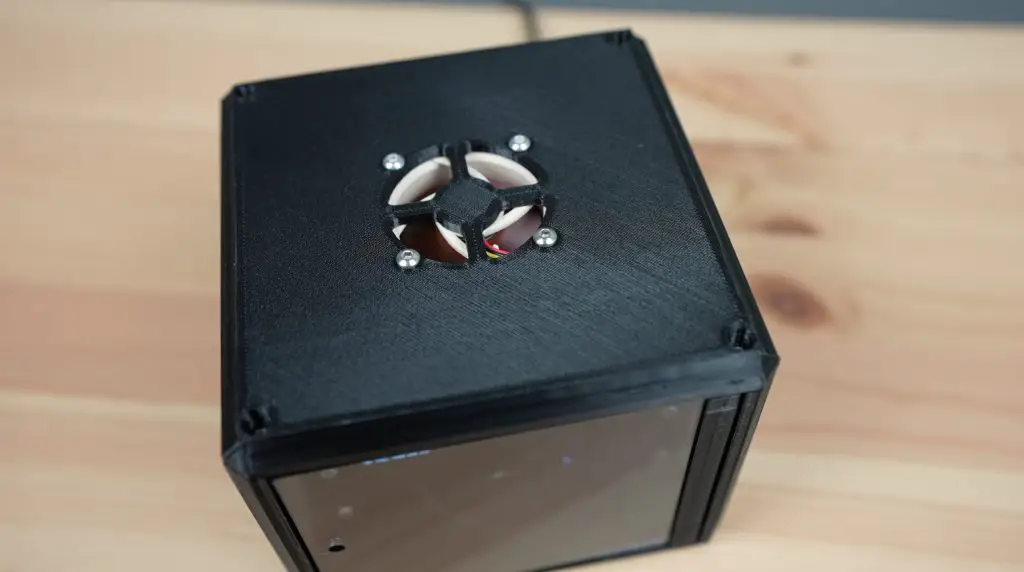
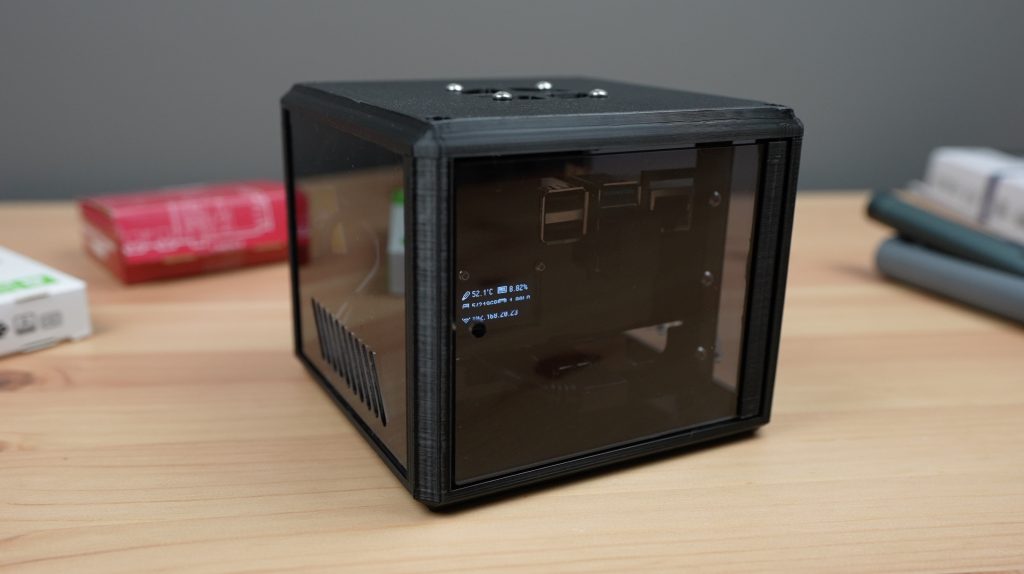
I designed the rack in Fusion360 to look somewhat like a server rack that would be used for a typical home lab. It’s got a tinted acrylic swing door on the front and tinted acrylic side panels. The top, bottom and back are all solid panels, with the back having a cable entry point and the top having a 40mm fan for cooling.
Download the CAD files to make your own Mini Server Rack
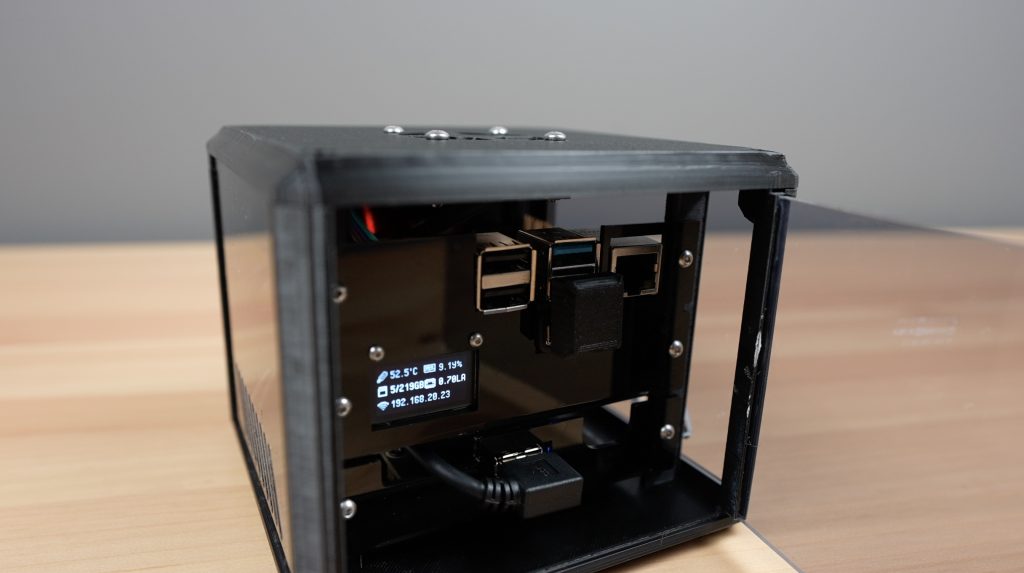
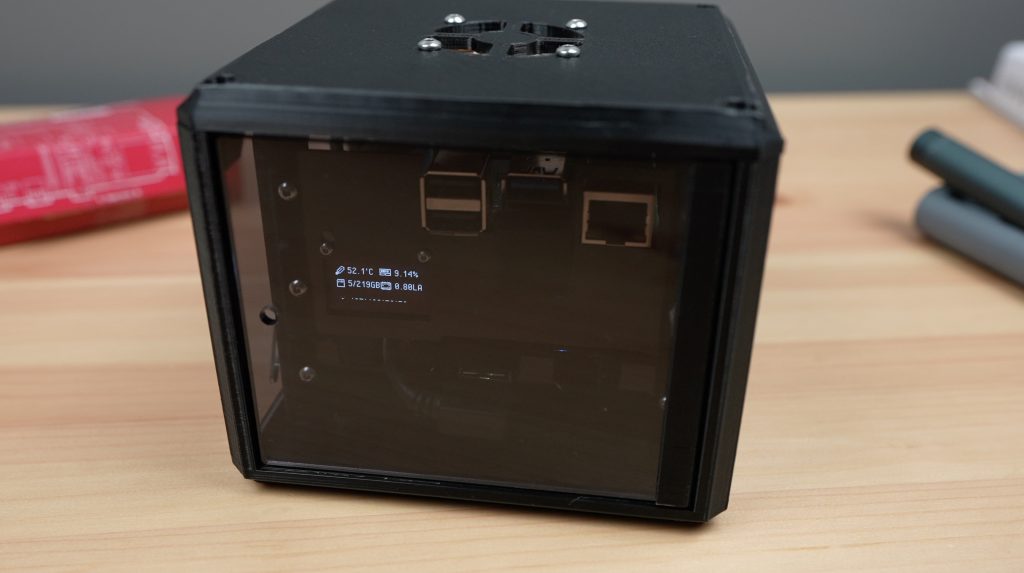
Inside, we’ve got space for three racks, one for the Pi, one for the UPS and one for the SSD. I’m also going to mount an OLED display alongside the Pi to provide some stats on resource usage on the server.
Making Up The Server Rack Components
With the design done, I 3D printed the parts in black PLA.
While they were printing, I also laser cut the door and two side panels from 3mm grey tinted acrylic.
So those are the main components for the housing made up, now we just need to add the racks to it to hold the electronics.
The SSD will be on its own rack at the bottom as this can be plugged in or removed using a USB cable or jumper.
I’m using an M.2 NGFF shield with a 256GB Western Digital SSD.
The UPS is a bit more complicated because of the pogo pins, so you can’t just slide it in underneath the Pi, it has to be physically screwed onto the bottom of the Pi. So, I’m going to have to combine these two racks into a single double-height rack.
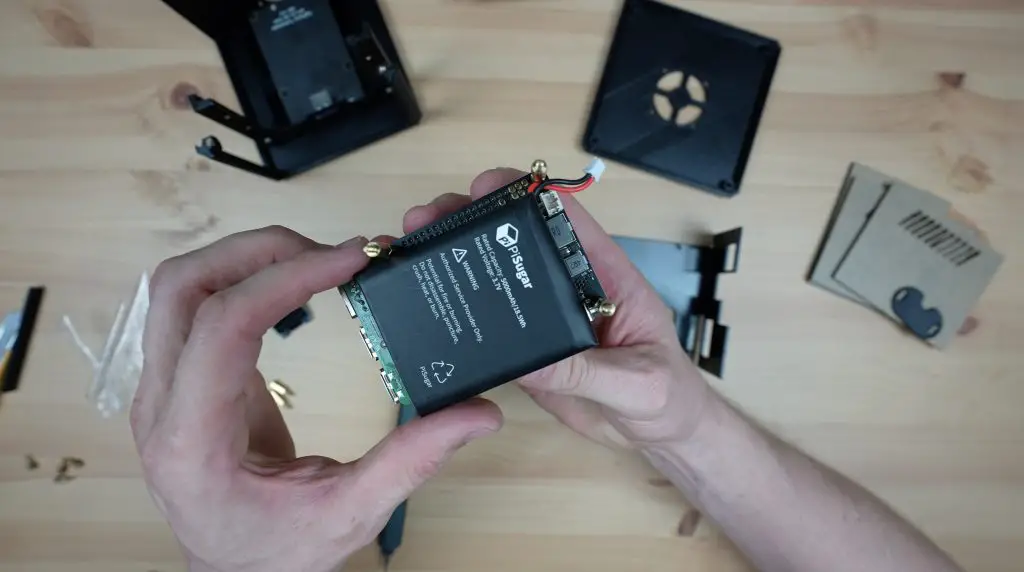
The UPS I’m using is a Pisugar 3 Plus. This has a 5000mAh battery which can run a Pi alone for around 5 hours, but with the SSD connected as well as the fan and display running, I expect this to go down to about an hour or two. It can handle a continuous output of up to 3A, so it’ll have no trouble supplying power to the additional equipment and the SSD as well.

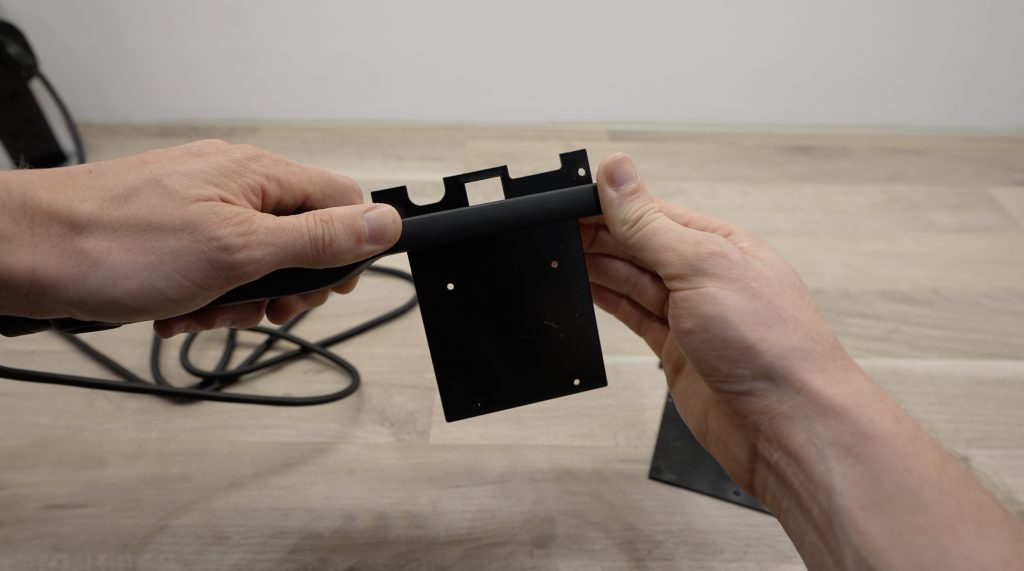
The racks are going to be made from 2mm black acrylic which I’m going to bend at the front. So I drew up these flat patterns in Inkscape to laser cut.

You could also 3D print these trays but it takes a minute to cut both of them from acrylic rather than a few hours to 3D print them, so it’s easier to make changes or adjustments if I need to.
To bend the acrylic, I’m using an acrylic bending tool to heat up a line along the bottom.
Once the acrylic is soft, we can bend the front up and use a 90-degree bracket to make sure that the bend comes out square.
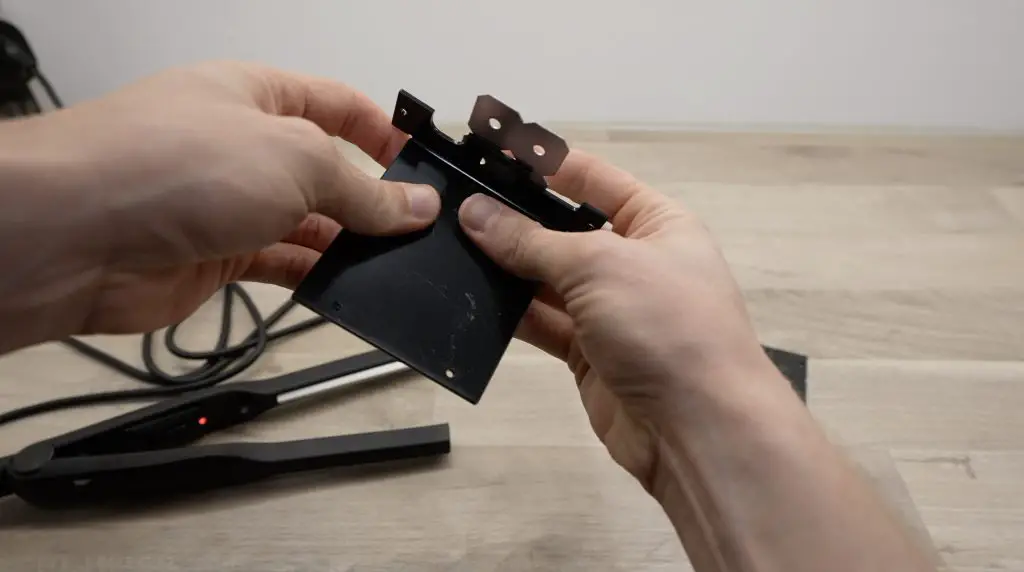
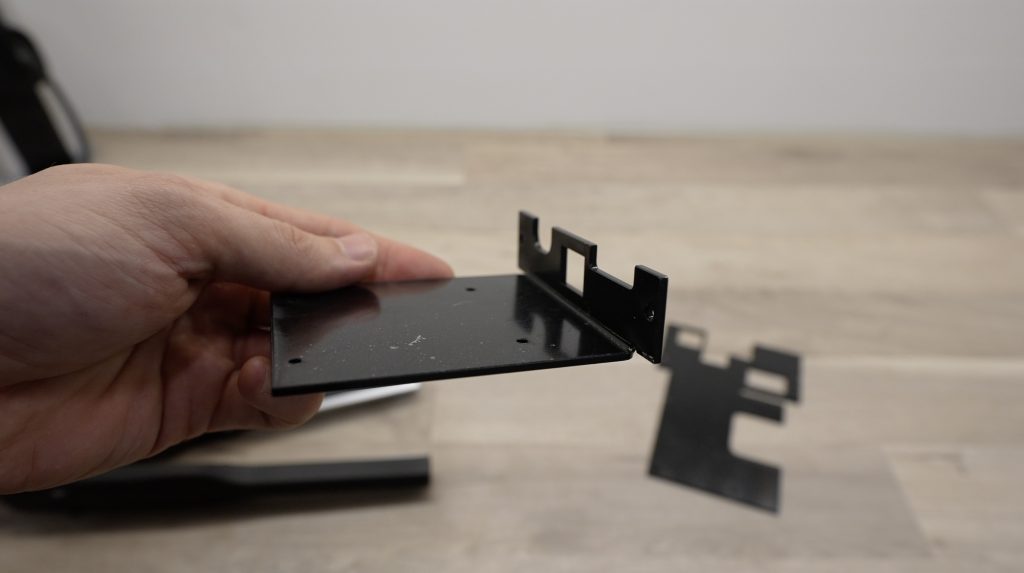
We can do the same for the second rack.
Assembling The Mini Server Rack
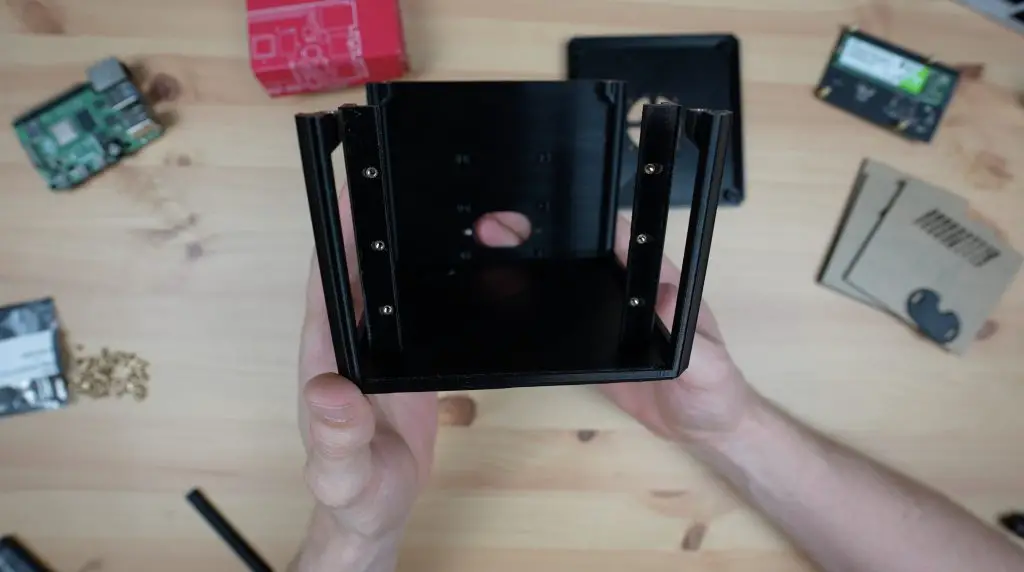
Now we’ve got all of the parts made up and we can move on to assembling our mini server rack.
First, we need to melt some threaded brass inserts into the 3D-printed base and hinge for our assembly screws. To do this, we’ll use a soldering iron set higher than the melting point of our filament.

We’ve got four M2.5x6mm inserts for the top cover screws, six more for the racks, two for the cable cover at the back, and finally two M2x4mm brass inserts on the hinge for the hinge pins.
Now let’s install our components onto the racks.
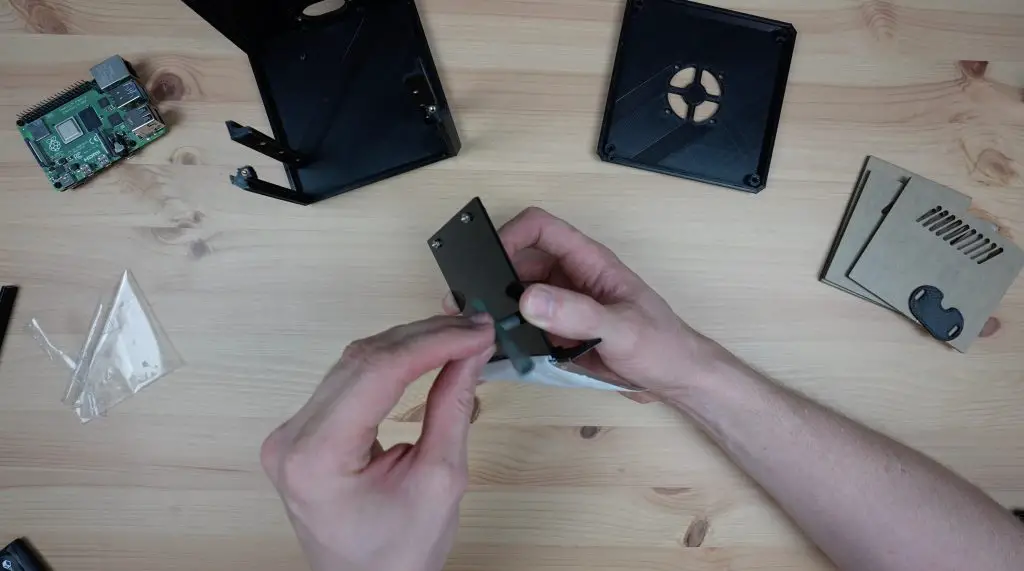
We’ll start by mounting the SSD shield onto the bottom rack.
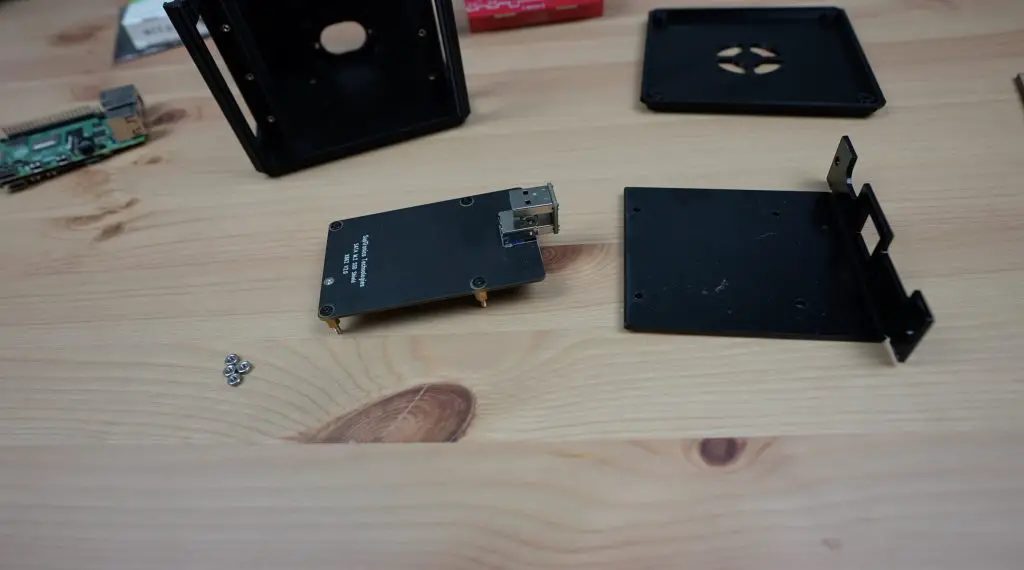
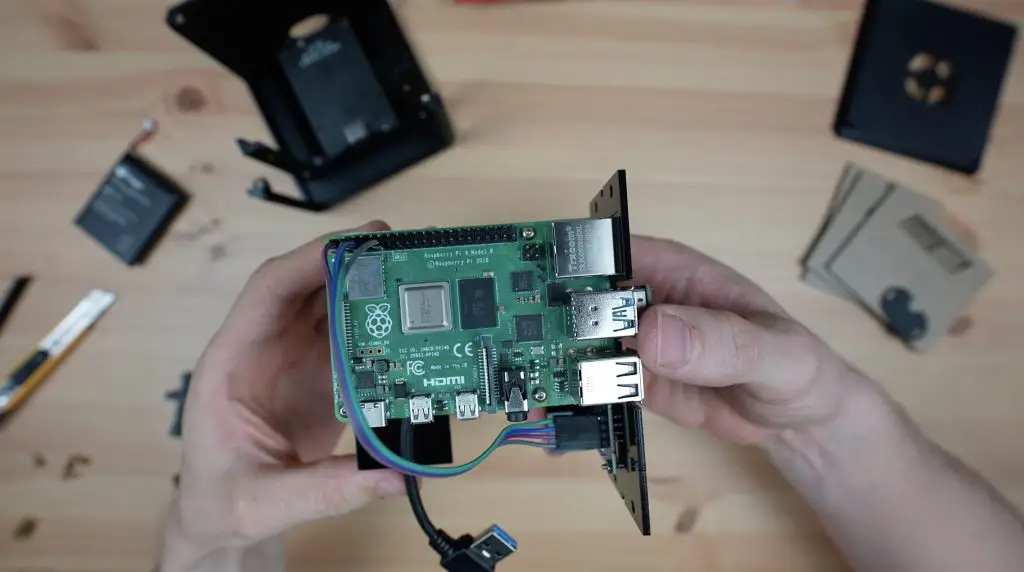
The SSD shield is held in place using the M2.5x6mm brass standoffs that came with it and an M2.5 nut on the bottom. I’m still going to use the USB jumper that came with it, but I’ll use this on the Pi and then use a short USB jumper with a 90-degree cable to connect to the SSD.
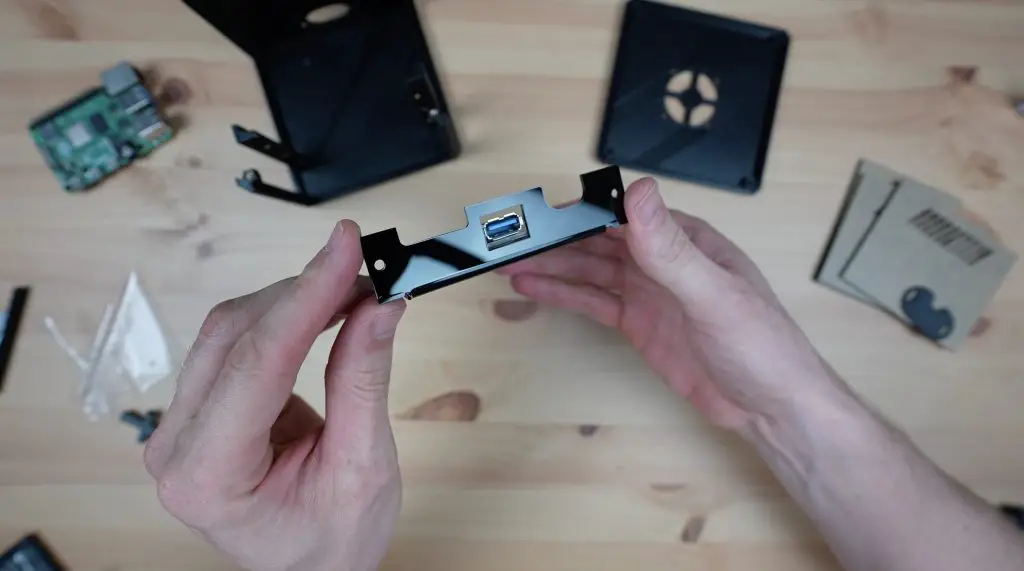
We can then slide the SSD rack into place at the bottom and secure it with two M2.5x6mm screws.
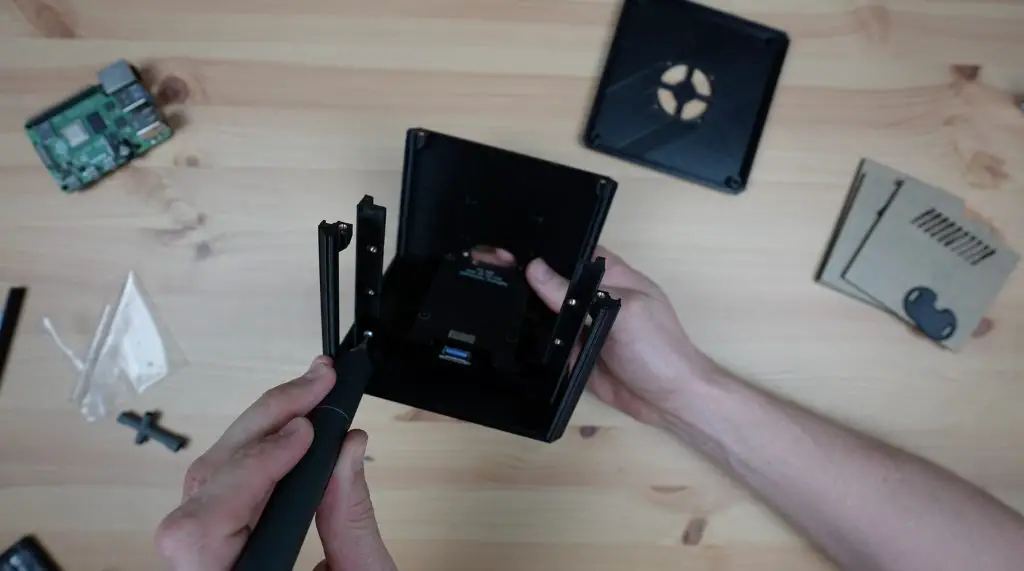
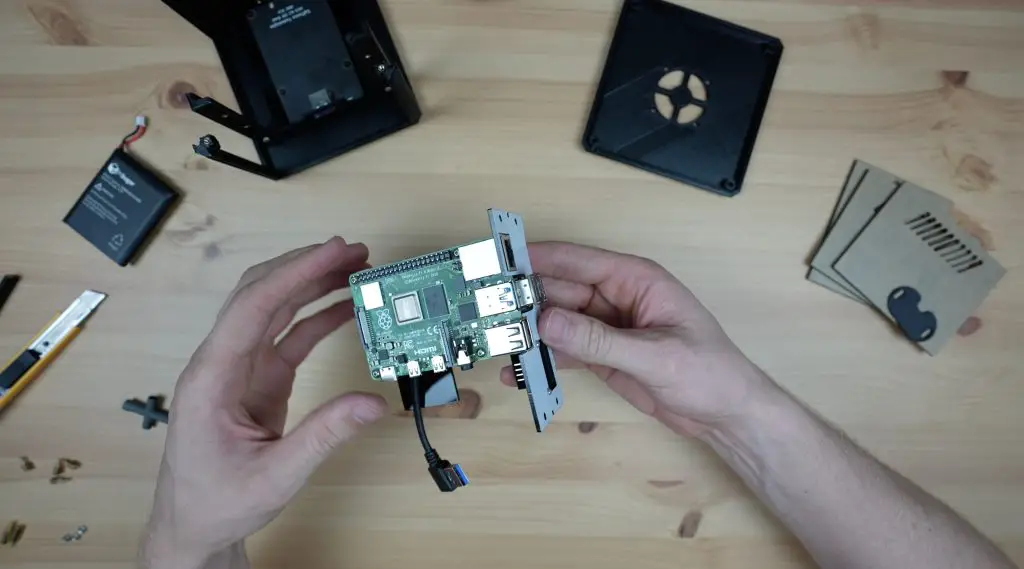
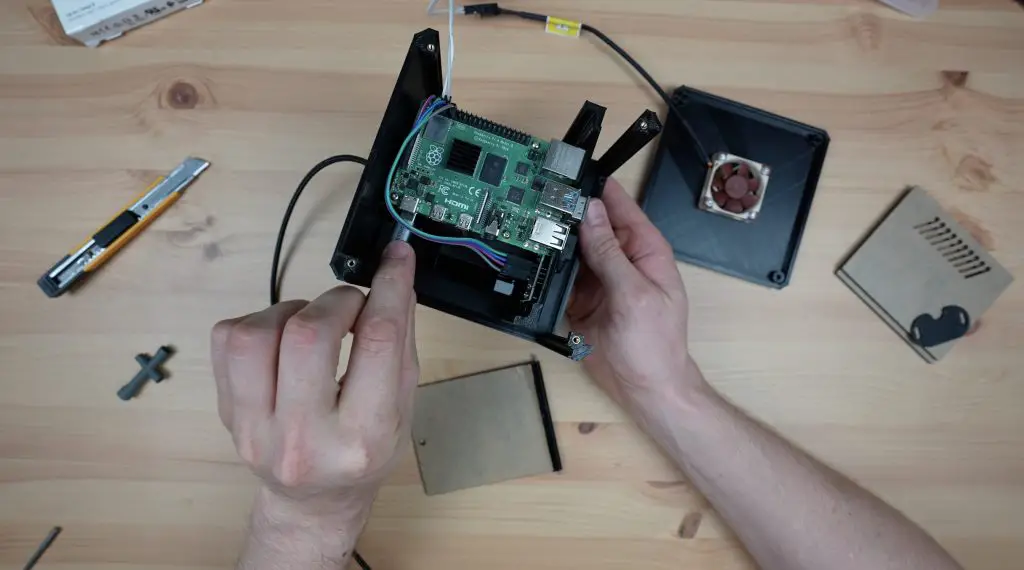
Now let’s move on to the UPS and Pi rack. I was initially going to use the included nylon screws and some 6mm standoffs to mount the Pi on the rack but, to fit the OLED display in next to it, I needed the Pi to be at the top. So I’m going to replace the nylon screws with M2.5x6mm stainless steel screws for additional strength and I’m going to use two M2.5x12mm brass standoffs for each leg to the rack.
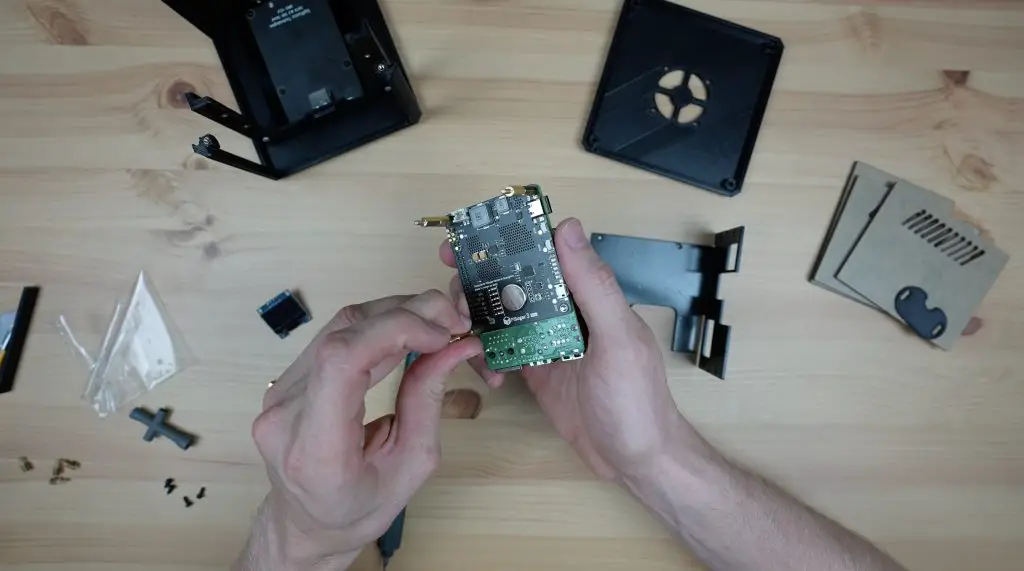
The battery also doesn’t fit in between the legs, so I’m going to leave off one of the front legs so that there is some room for it to fit in under the Pi.
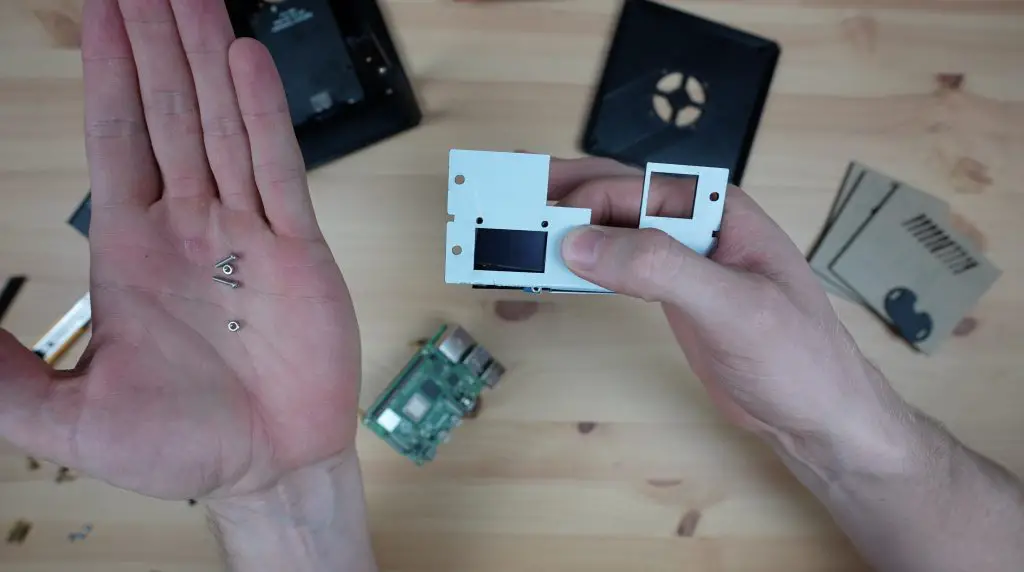
The OLED display is held in place using two M2x16mm screws at the top with a nut on the back of each and is held in place along the bottom by the cutout through the bottom of the rack.
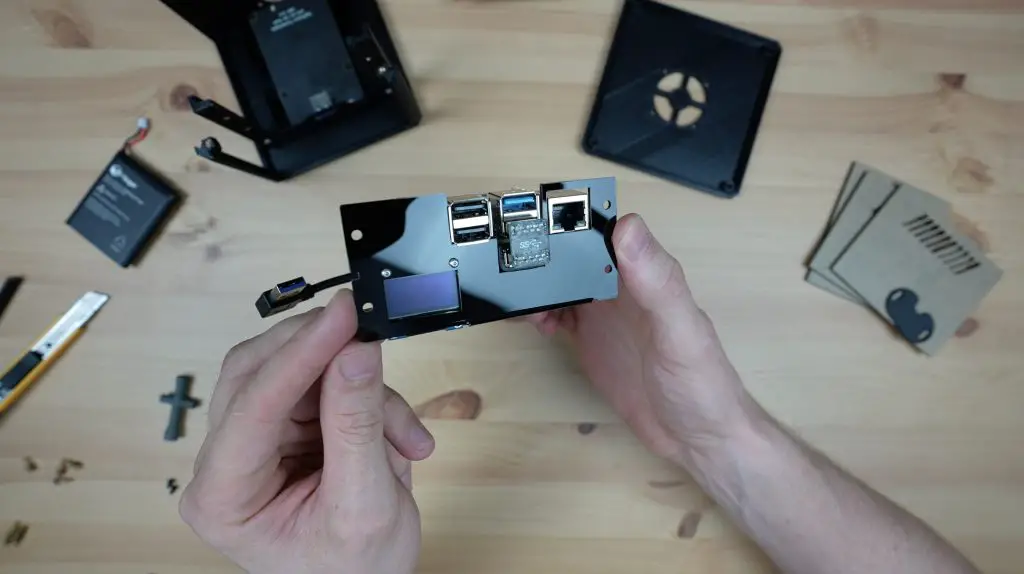
The SSD’s USB jumper plugs into the front of the Pi and I’m using a short USB extension cable with a 90-degree connector on one end to connect to the SSD.
We can then hold the Pi assembly in place on the rack with some M2.5 nuts.
I’m going to use a short female-to-female ribbon cable to plug the display into the Pi’s GND, 3.3V and I2C pins. If you need some help with this step, you can follow my guide on connecting an OLED stats display to a Raspberry Pi.
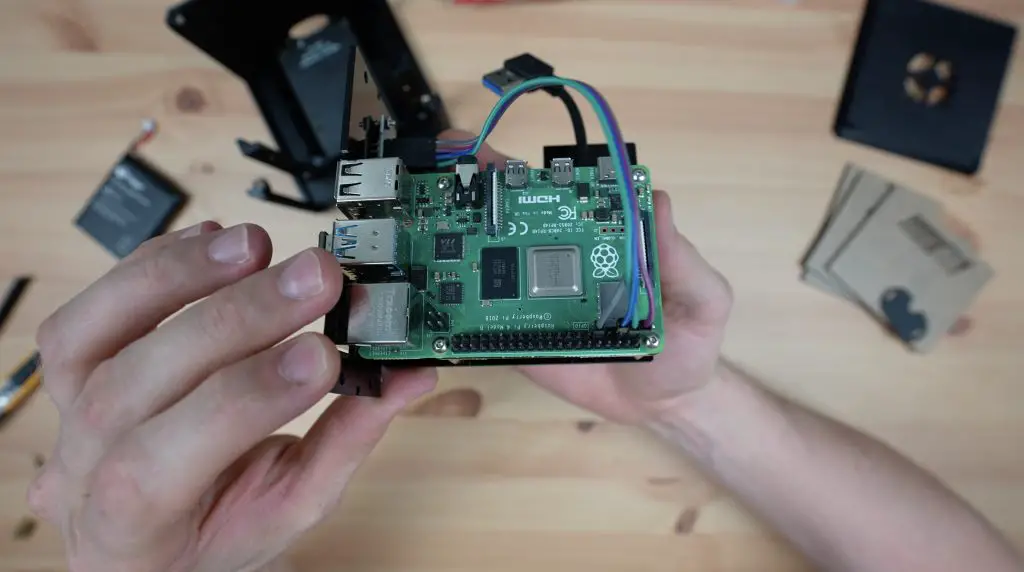
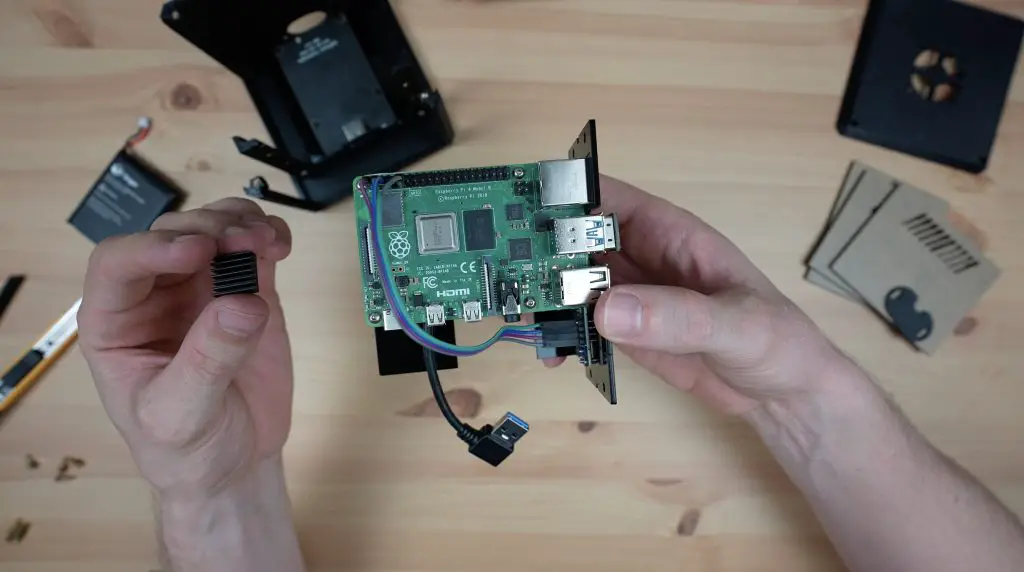
I’m also going to add a heatsink to the Pi to assist with cooling.
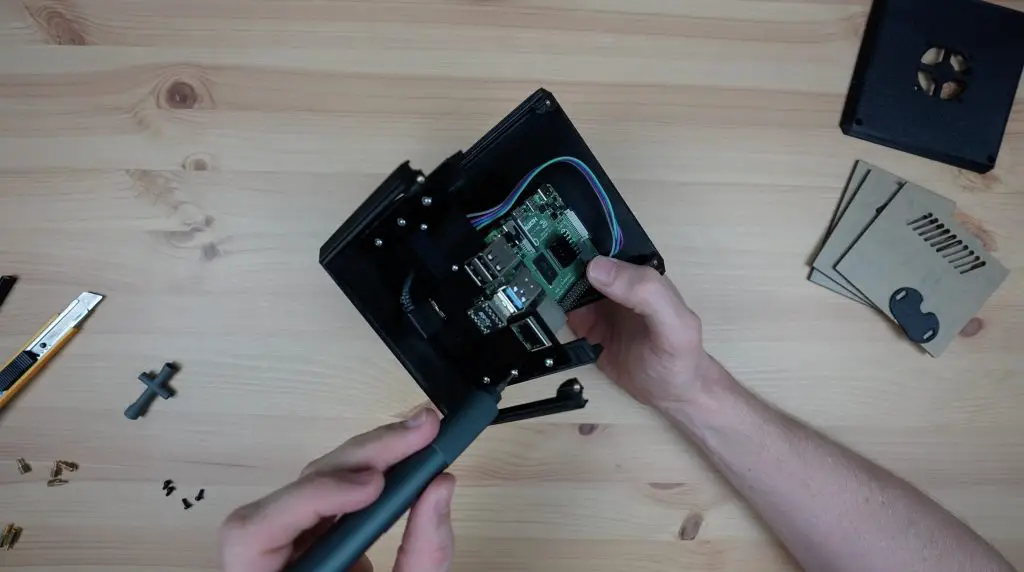
Before we slide the Pi rack into place, let’s add the battery and plug it into the UPS.
The Pi rack is then also held in place with some M2.5x6mm screws, 2 per rack unit.
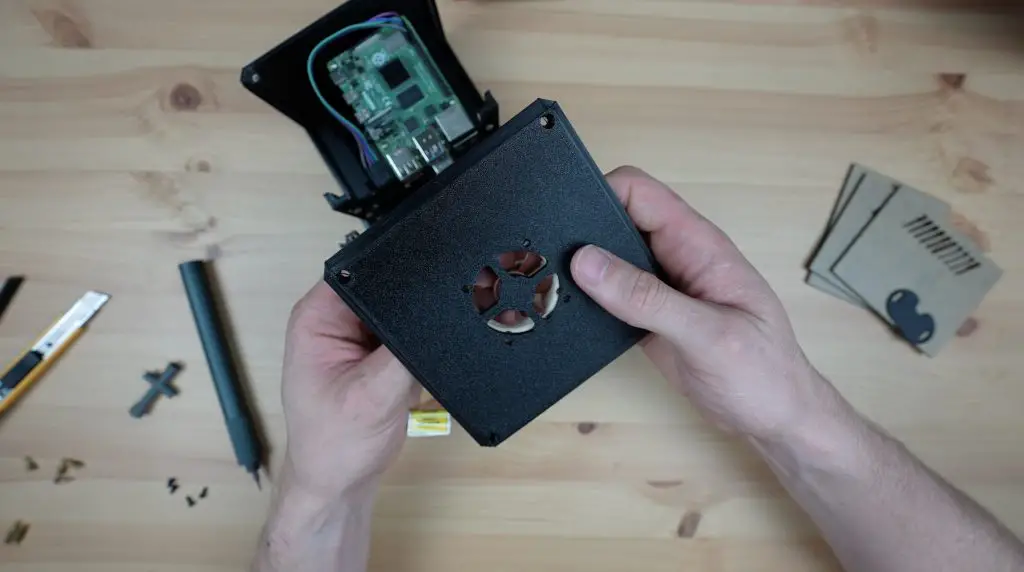
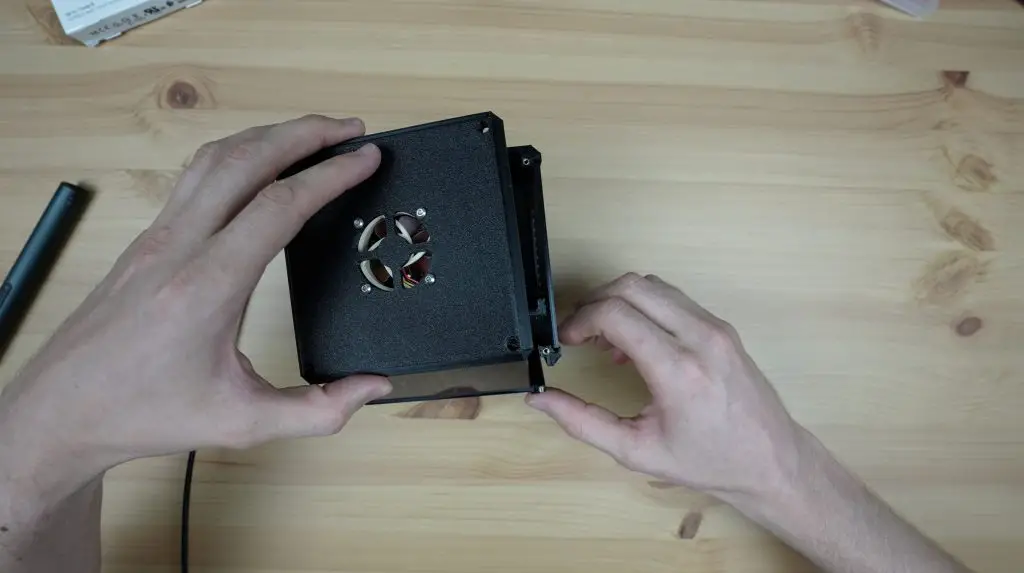
Next, we can mount the fan onto the top cover. I’m using a 5V Noctua fan for this to keep it nice and quiet. I’m going to mount it on the underside of the cover with some M3x16mm screws so that it is pulling the warm air out of the case.
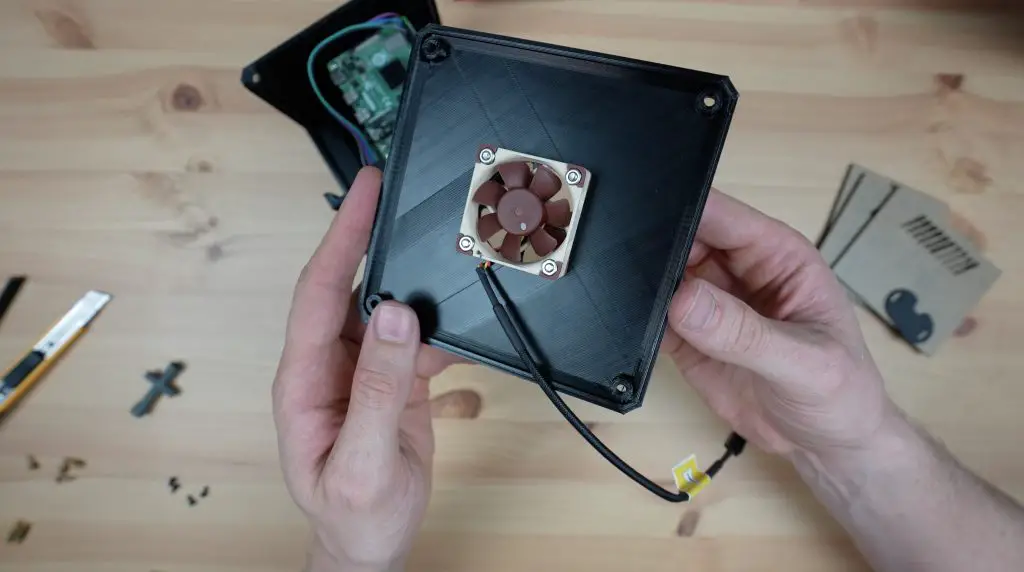
I’ve added a short pair of breadboard jumpers to adapt the connector on the fan to fit the Pi’s GPIO pins, I’m using 5V and GND. You can also use 3.3V if you’d like the fan to run a little quieter although it then moves less air so the Pi will run hotter.
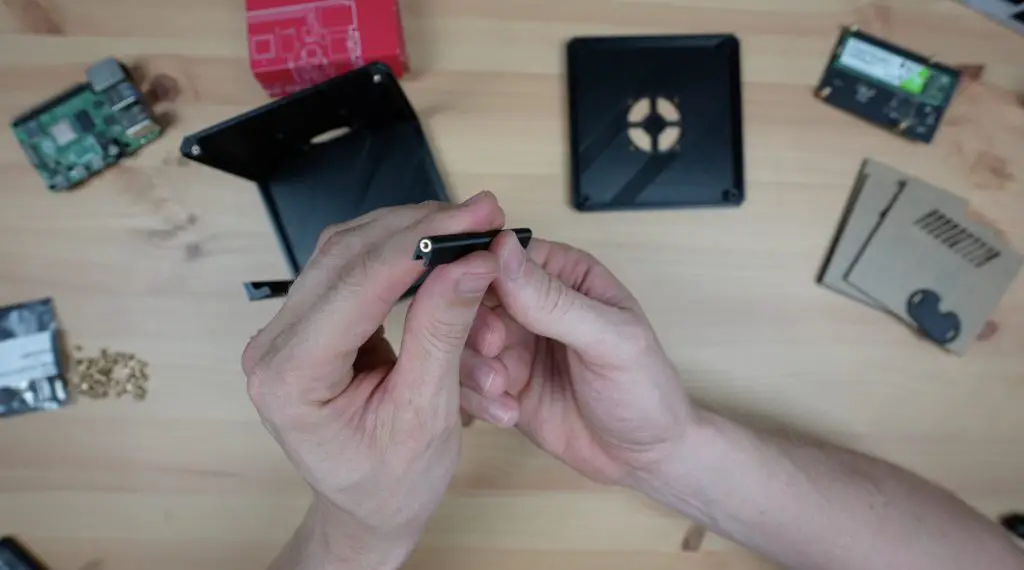
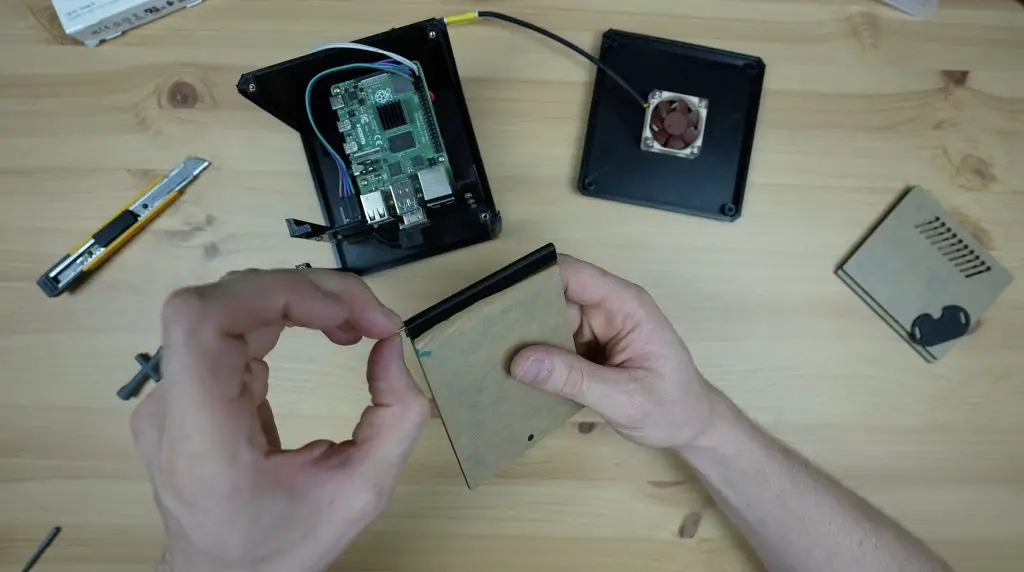
To make up the door, we need to glue the acrylic sheet into the recess along the hinge, which we can do with some super glue.

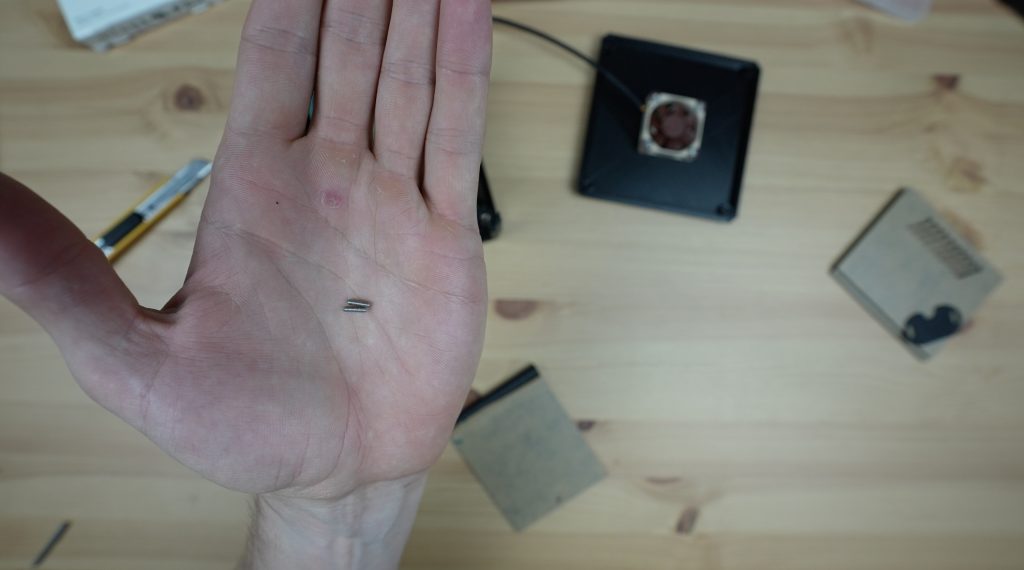
Then I made up some adjustable hinge pins by cutting the heads off of some M2x10mm screws. We can then screw these into the brass inserts and screw them in or out to position the door correctly within the frame.
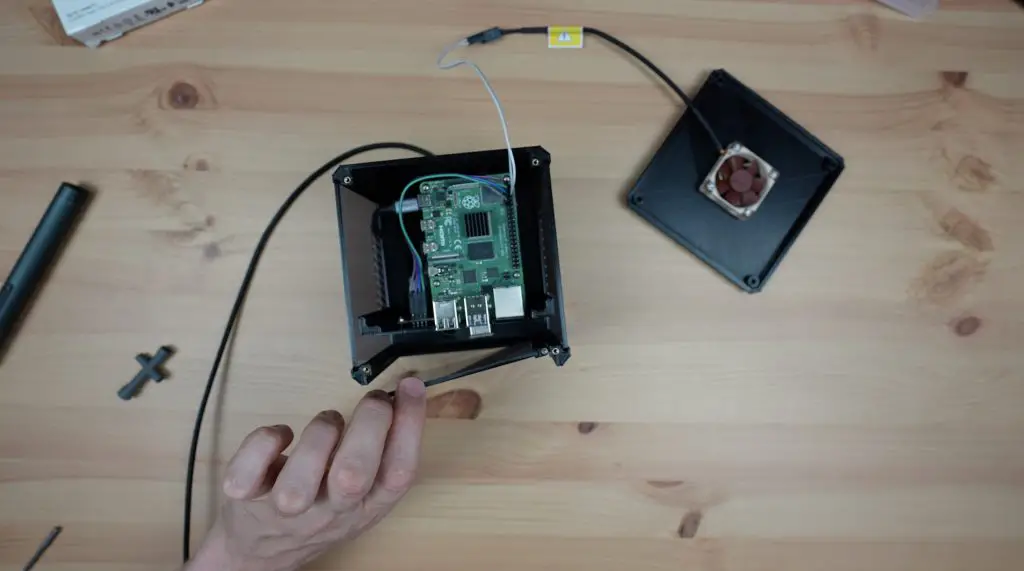
The USB C power cable runs through the cable entry hole at the back and then up to the Pi.
We can then close up the cable entry cover. I made this hole much bigger than what is required for the USB C cable so that I can add an HDMI cable or Ethernet cable in future if I’d like to use those ports on the Pi.
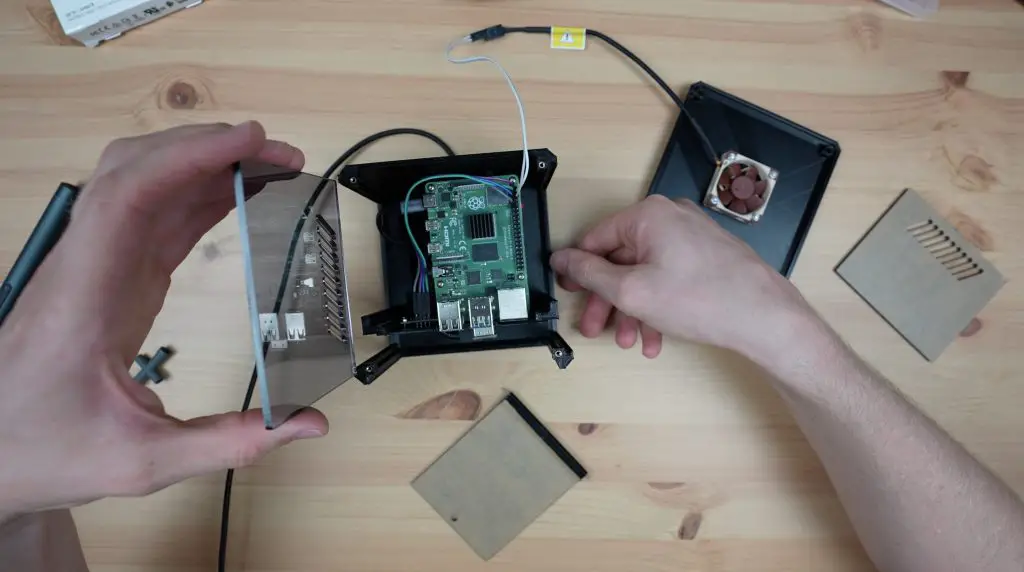
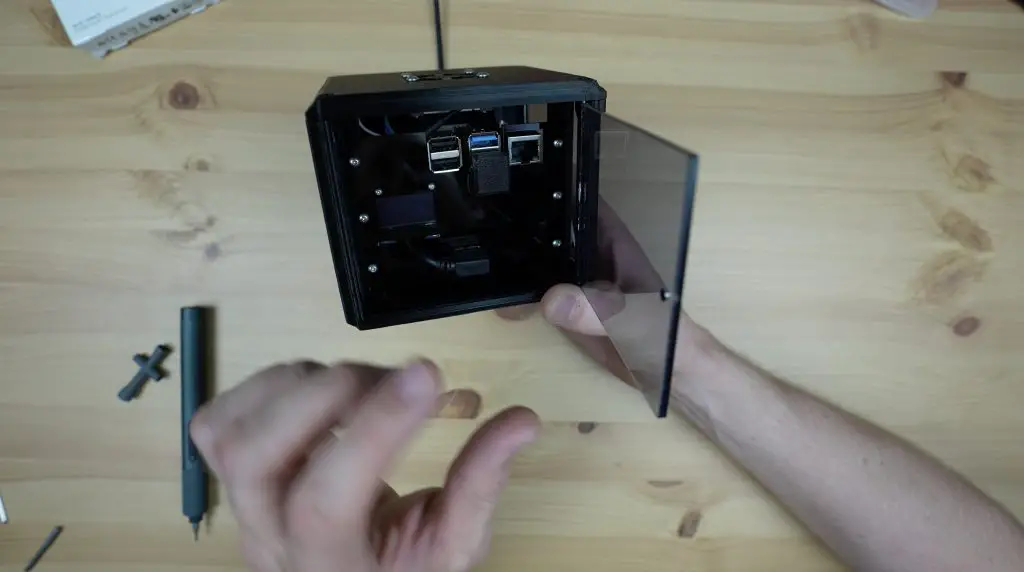
The side panels are just held in place using the guides that are 3D printed into the main body of the rack, so they’re easily removable if you need to get to the ports on the side of the Pi or the GPIO pins.
The door pivots on the hinges that sit within the 3D-printed holes in the base and top cover.
Then we can then close up the top cover with four more M2.5x6mm screws.
I also 3D printed a cover for the USB jumper.
That’s it complete, so now I can get the software loaded and boot it up.
Booting The Mini Server Rack Up
As I said at the beginning of the video, I’m running Docker on this Pi so I’ve got all of my applications running in containers. This makes it really easy to experiment with applications and services. I’ve even got my stats display running in a container, which I’ve also made available on Github. Here’s a great guide on installing Docker on your Raspberry Pi if you’d like to set yours up in the same way.

The Pi Sugar UPS also has a dashboard that is available through a web page on the network. I really like that you can access a range of settings and controls remotely.
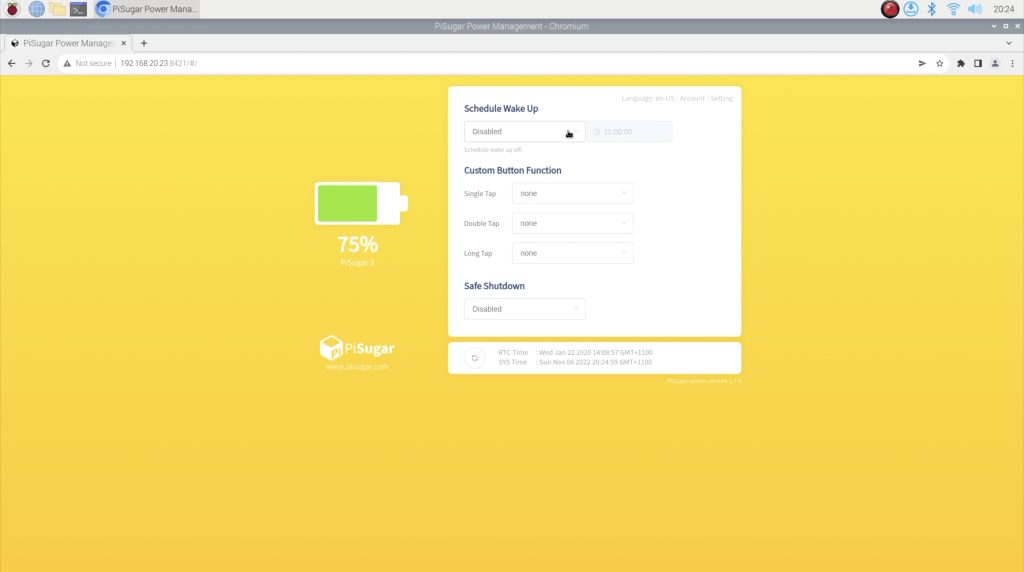
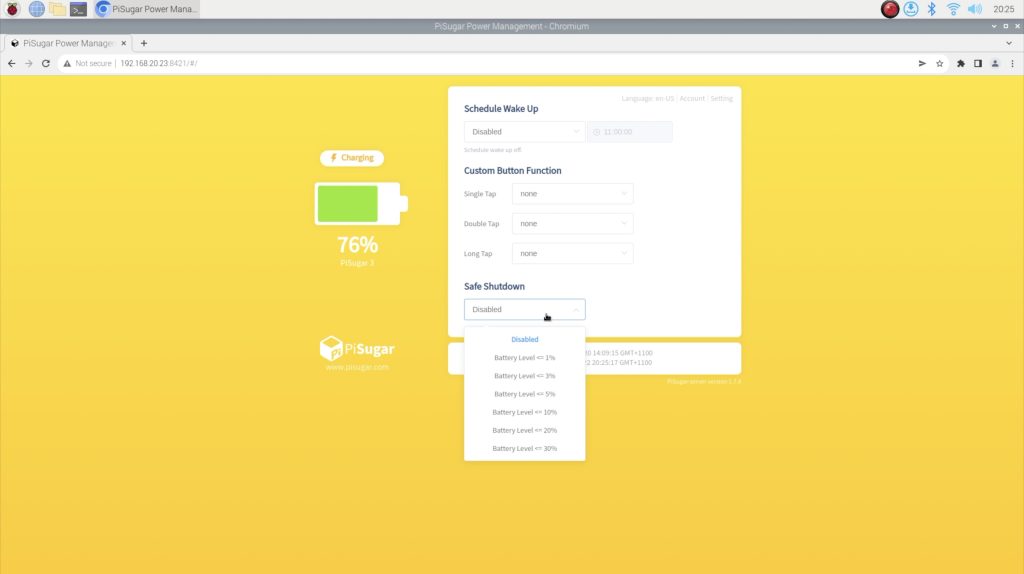
You can use the PiSugar’s built-in real-time clock to schedule a wake time, you can also add custom button functions, set the battery level that will trigger a safe shutdown and even extend the PiSugar’s battery life by not charging to its full capacity.
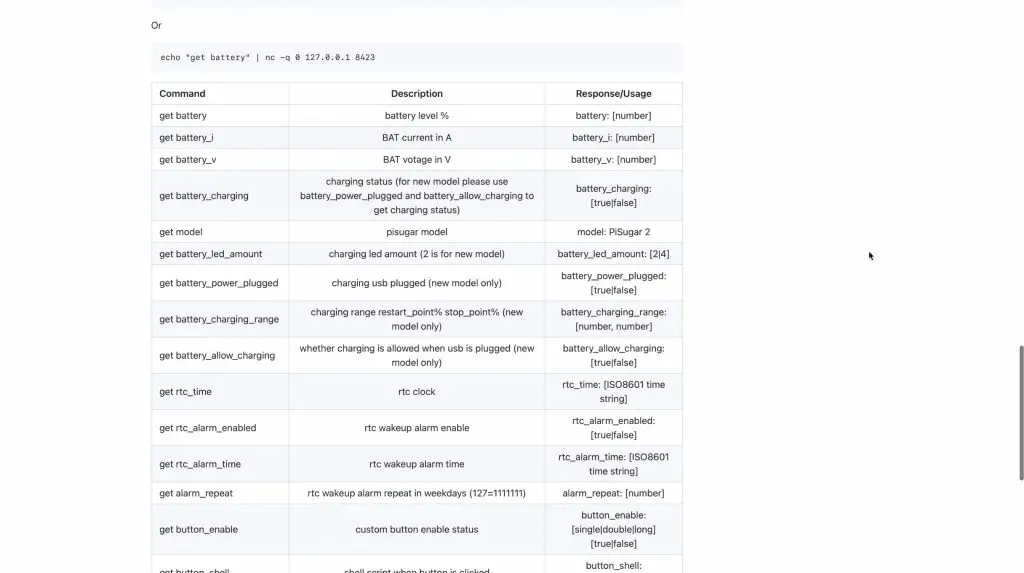
There are a bunch of commands that you can use in scripts on the Pi to get information from or modify settings on the UPS. These are useful if you’d like to adapt the OLED display to display stats specific to the UPS as well.
The only thing that I think is missing from the dashboard is a reboot or shutdown button to allow you to remotely reboot or shutdown the Pi.
Other than that the server seems happy to run entirely on battery power from the UPS, even with the fan and SSD running.
Final Thoughts On The Build
I’m really happy with how this project has come out. There are however a couple of things I still want to try.
I’d like to add a low-profile 90-degree ethernet cable to the Pi to rather use a hardwired network connection. A hardwired connection is a lot more reliable and stable, especially for a server-related project like this.
The Pi seems to run quite hot, even though it is near the fan, so I want to swap out the heatsink for a slightly larger one – perhaps use a low-profile Ice Tower.
The stats script also seems to lock up after a while, I assume because it is conflicting with the I2C interface on the UPS, so I need to look into a fix for this.
Let me know what you think of it in the comments section below and also let me know what other things you’d like to see me include in the rack design for a future build.
Amazing as usual! Great work!
This is exactly what I need to comp0lete my desktop servers.
I don’t have a 3d printer, but would like to buy the case.
Where and how much?
I’m just wondering, does the current CAD model you provided have enough room to put in an Ice Tower without altering the frame dimensions?