This guide shows you how to build a really easy and cheap 9V emergency USB charger. Its perfect to take along on camping trips or leave it in your backpack or your cars glove box. The switch disconnects the battery from the electronics so the battery doesn’t get drained over time and can last for years until you need it in an emergency.
Always check your wiring and the output of the USB socket before connecting your devices to it. Use this guide at your own risk, we take no responsibility for damage caused to your devices due to this circuit or faults with the circuit.
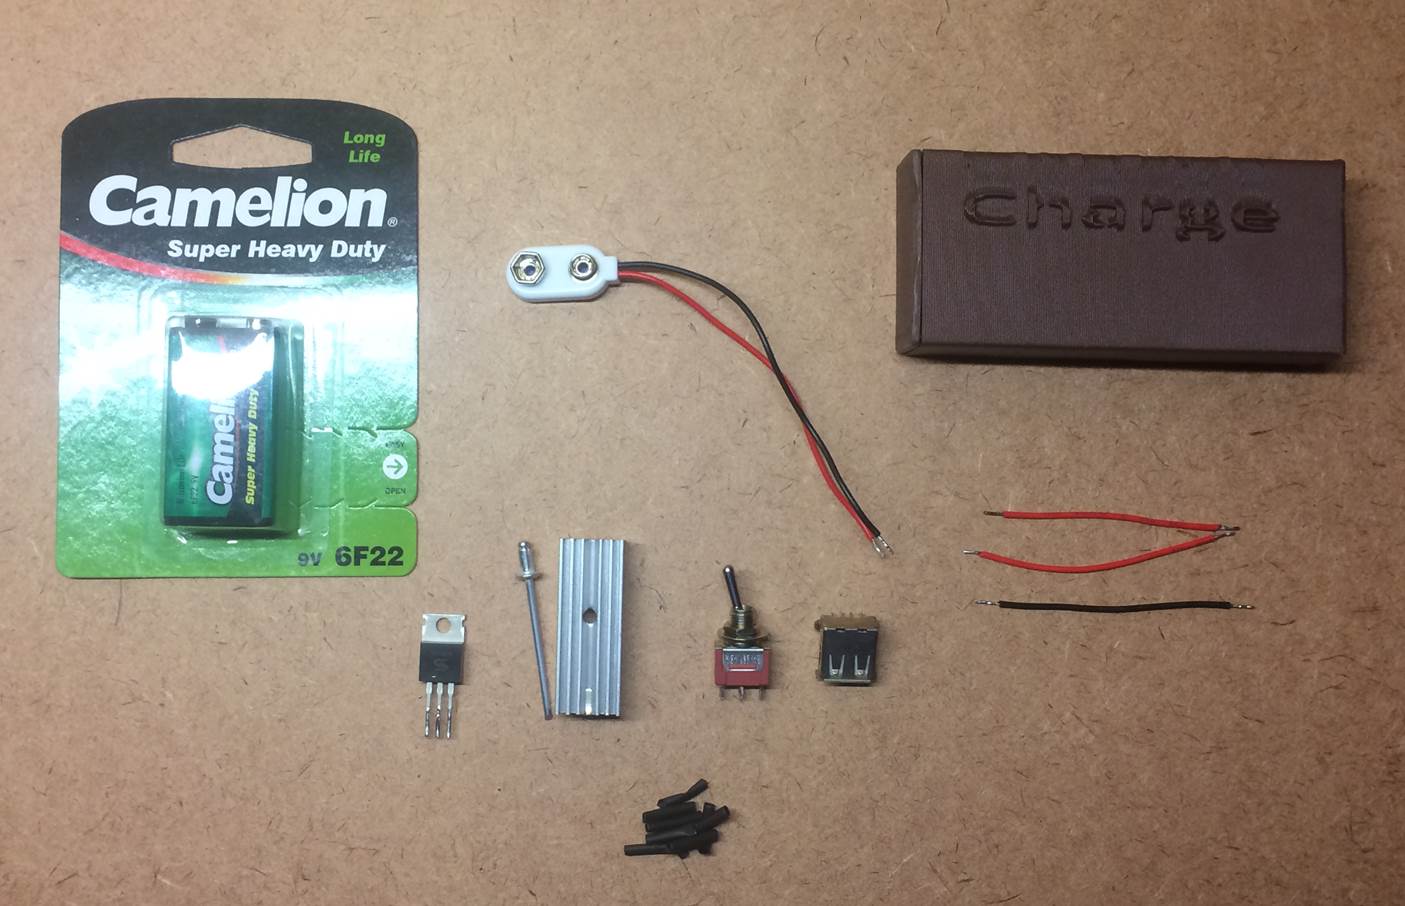
What You Need To Make Your Own 9V Emergency USB Charger
- 9V Battery – Buy Here
- 9V Battery Clip On Lead – Buy Here
- Switch – Buy Here
- L7805 5V Regulator – Buy Here
- Thin Heat Shrink Tubing – Buy Here
- Heat Sink – Optional For Longer Life – Buy Here
- USB Socket (From Old PC) Or USB Extension Cable – Buy Here
- 3D Printer & Filament For Housing, Alternately Your Can Use An Altoid Or Similar Tin
- Optional Mini 5V Solar Panel For Solar Charging – Buy Here
How To Make Your Own 9V Emergency USB Charger
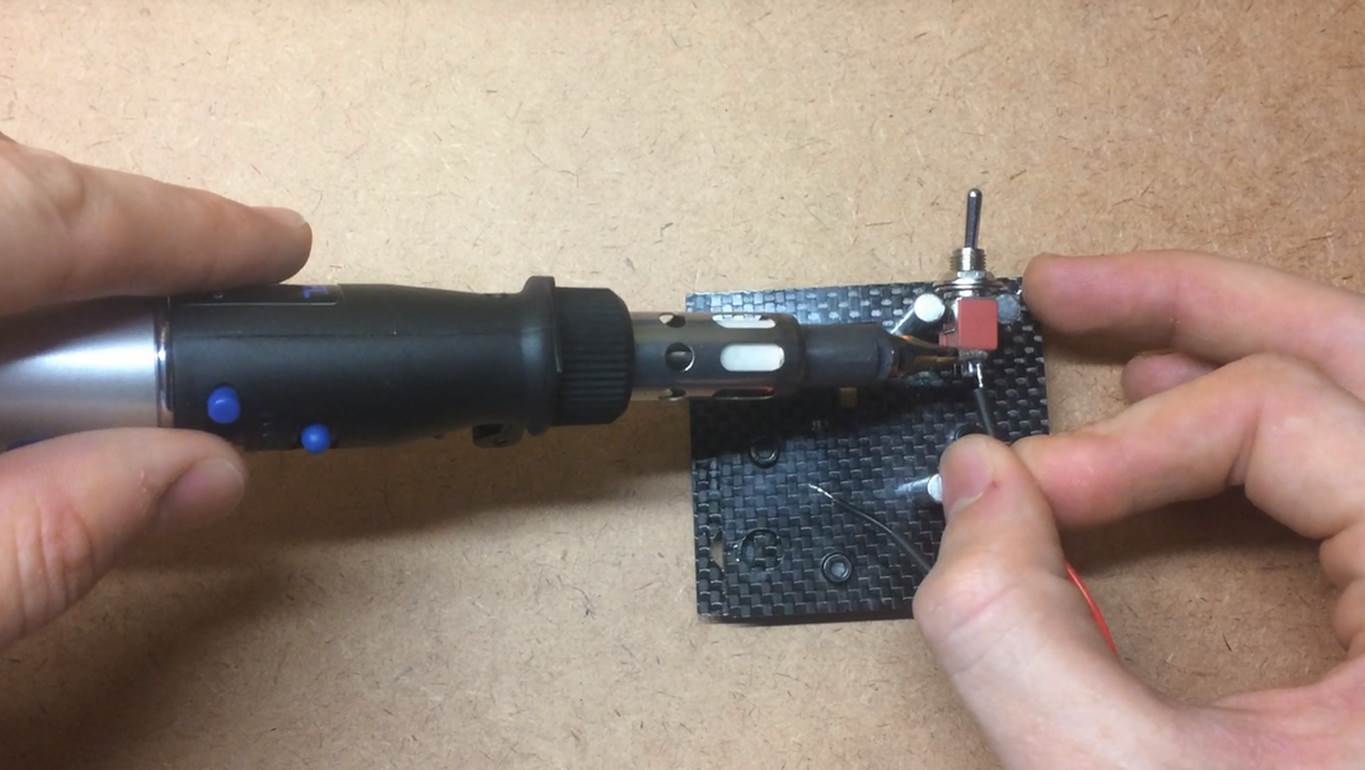
Assemble The Circuit
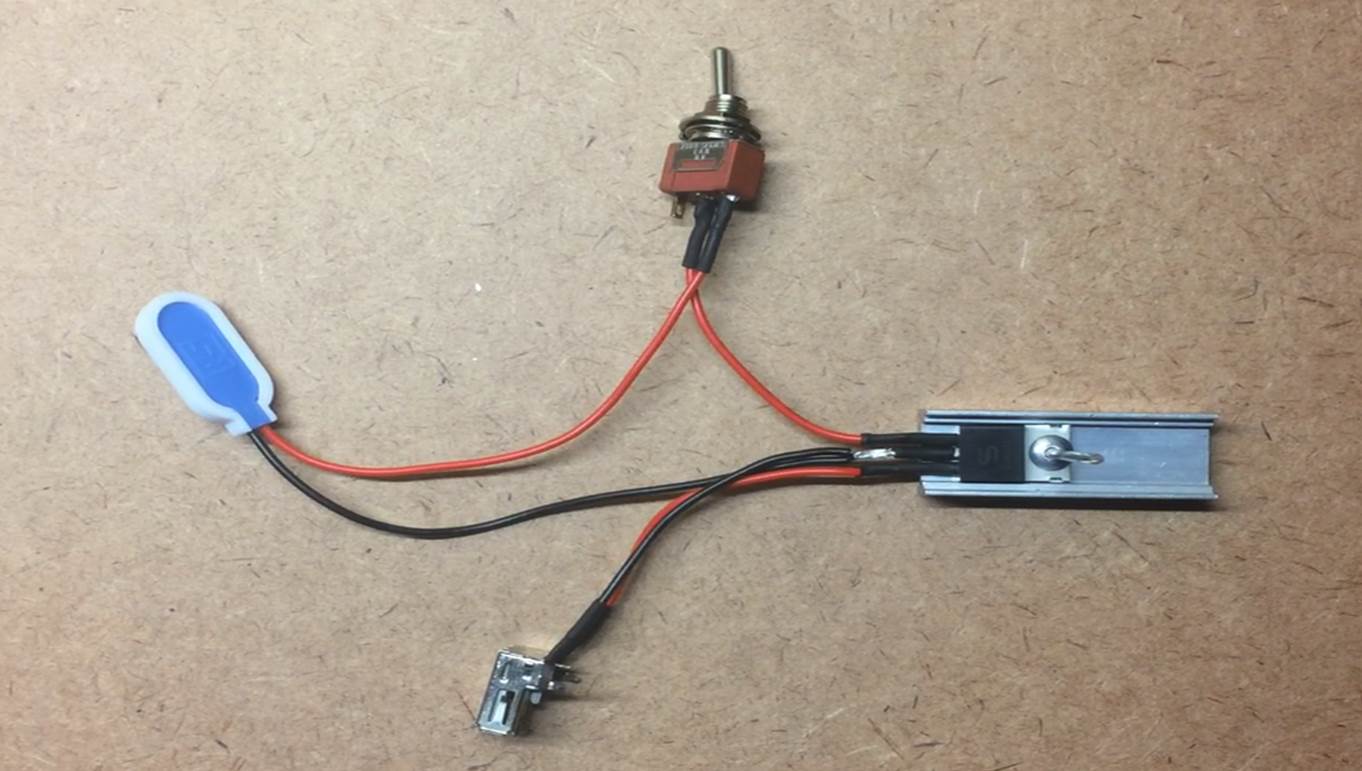
The circuit is pretty straight forward and doesn’t require a bread board or component board to mount everything on, you can simply solder the wiring between the components and insulate the ends with a bit of heat shrink tubing or insulation tape.

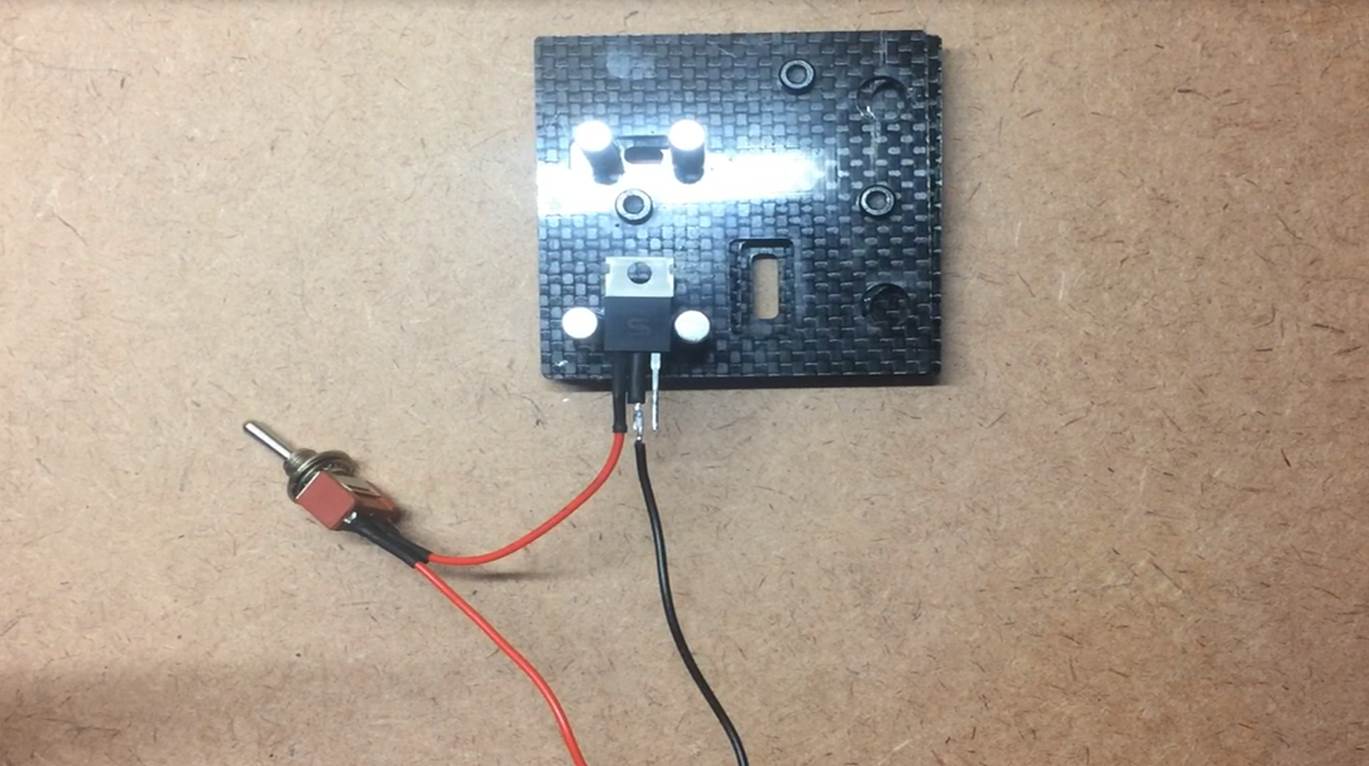
To start, solder the positive wire (red) on the battery lead to one terminal on the switch. Then solder a jumper wire onto the switch which will be used to go to the input pin of the regulator. Remember to slip of piece of heat shrink tubing over each wire before soldering, it can then be slid up over the joint and shrunk with a lighter or solder iron to secure it.

Now solder the jumper onto the input pin of the regulator, this is usually the left pin when viewed from the front. Solder the negative wire (black) from the battery clip onto the centre pin of the regulator.
Next, solder a jumper lead from the output pin (far right pin) of the regulator to the 5V pin on the USB socket or the red wire on the USB cable. Then solder a jumper lead between the centre pin of the regulator and the 0V pin on the USB socket or black wire on the USB cable.
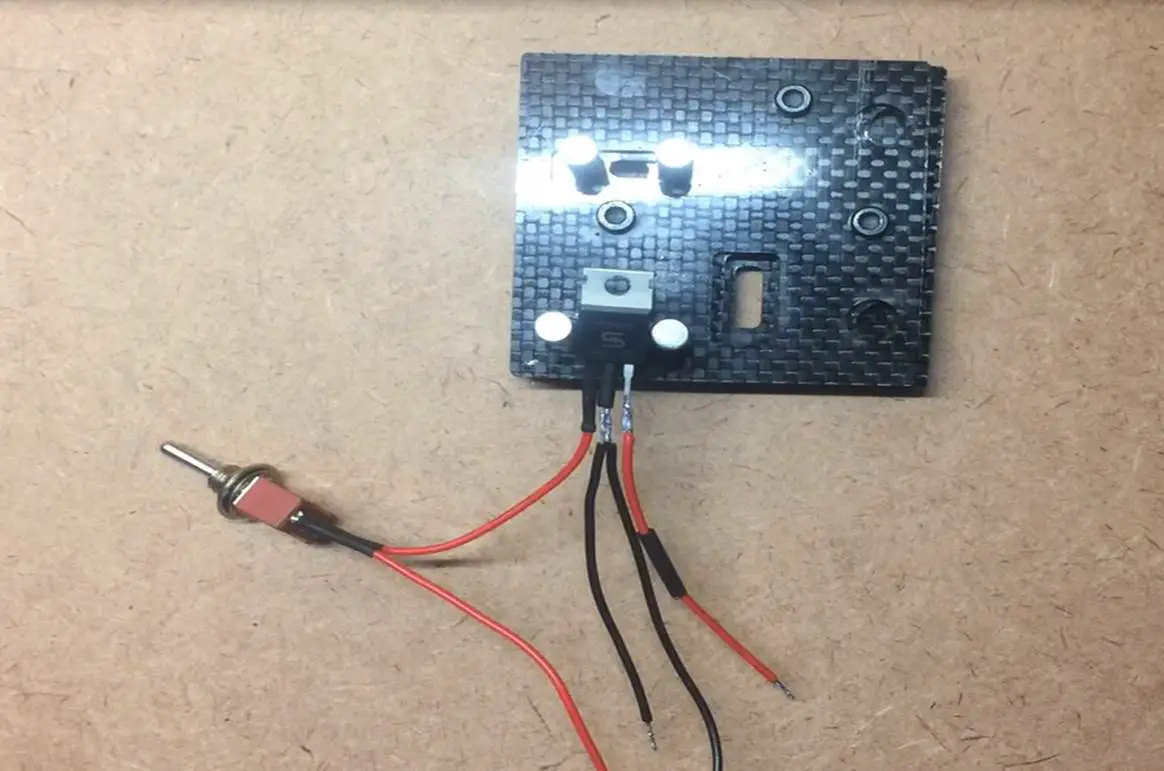
If you’re using a USB socket, the pins should be identified on the socket or on the board it is mounted on. You’ll only be using the outer most of the four pins which as the 0V and 5V pins, sometimes identified as GND and Vcc.
If you are using a USB extension cable, cut the socket side off leaving a lead the length you’d like your charger to have. There should be four wires inside, red, white, green and black. The black is the 0V, negative or ground and the red wire is the 5V, positive or Vcc wire, these are the only two wires you need to strip and solder to.
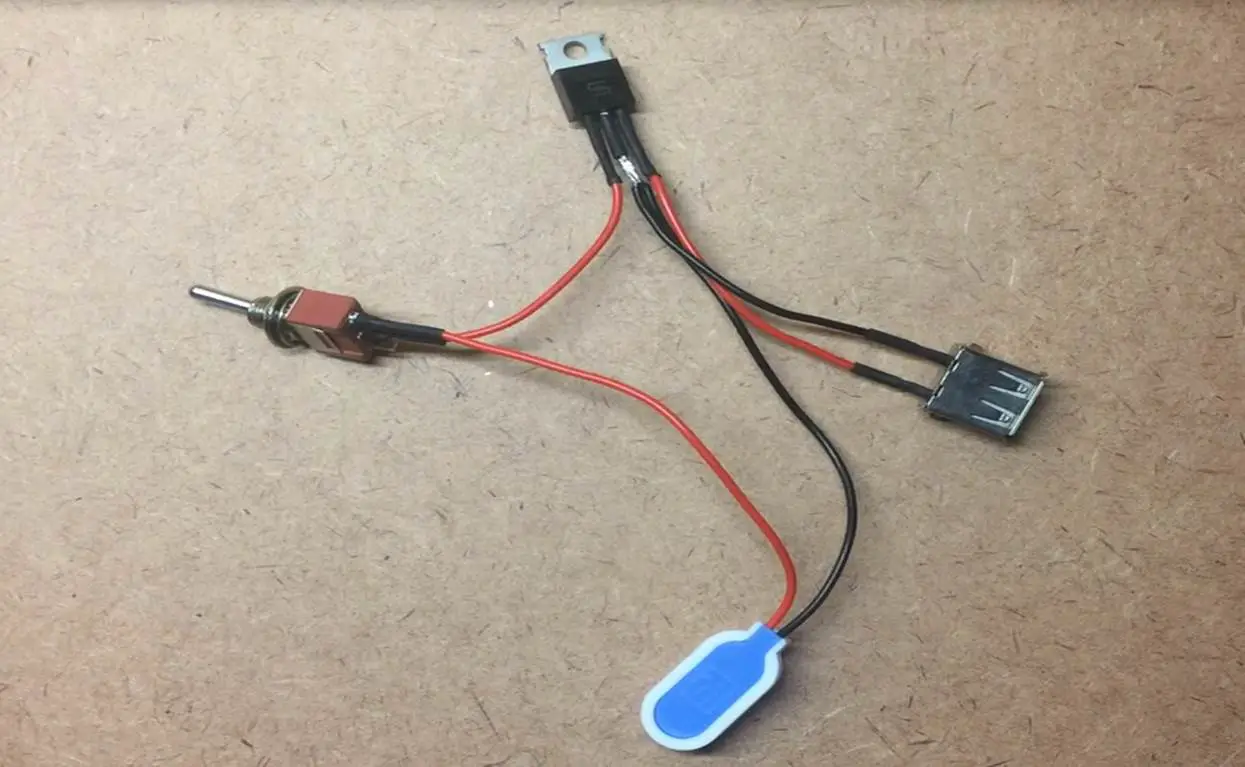
Your circuit is now complete, double check your connections and your soldering before switching it on.
It’s a good idea to check the output on the USB socket before trying to connect a device to it. Use a multimeter and check that the output on the two outer terminals within the socket is reading 5V or reasonably close to 5V |(within 0.2 of a volt).
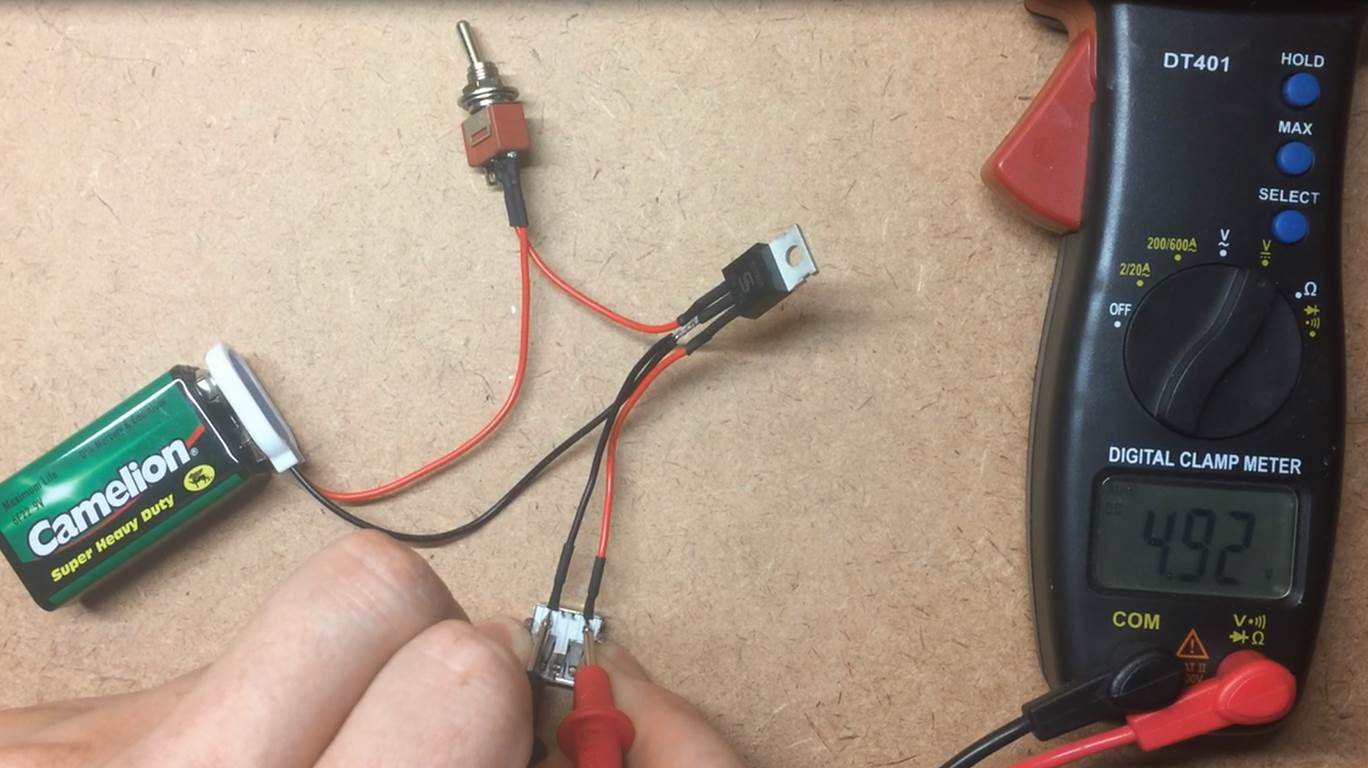
If you are not getting any output, first check the switch, then that the battery is charged and finally check your circuit connections. If you socket is showing a constant and stable 5V then you can try connecting a device and it should start charging.
You may want to add a heat sink onto the regulator if you are going to be using your charger for long periods of time to keep it from overheating, this will dramatically extend its life. Simply place the regulator into the slot on the heat sink and use a rivet or bolt and nut in order to secure it.
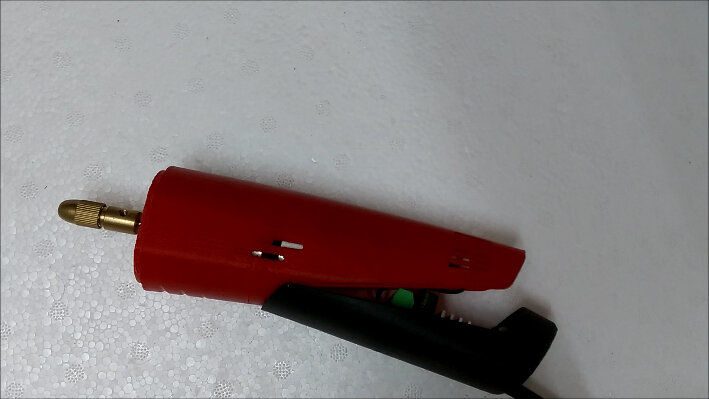
Putting The Components Into A Housing
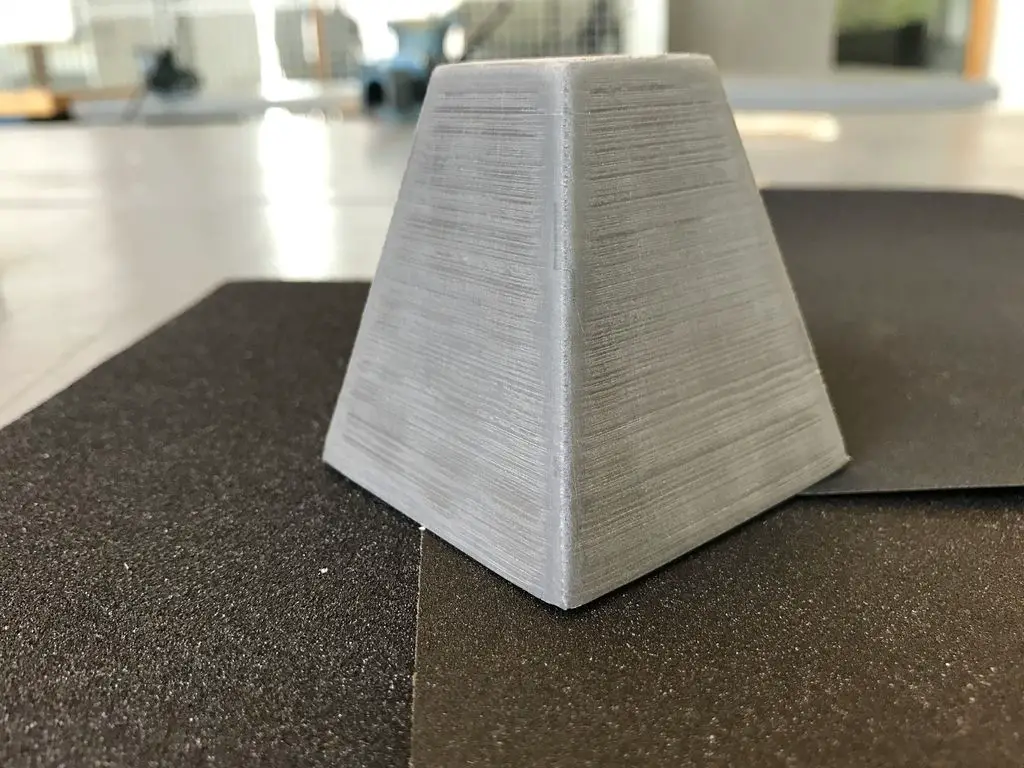
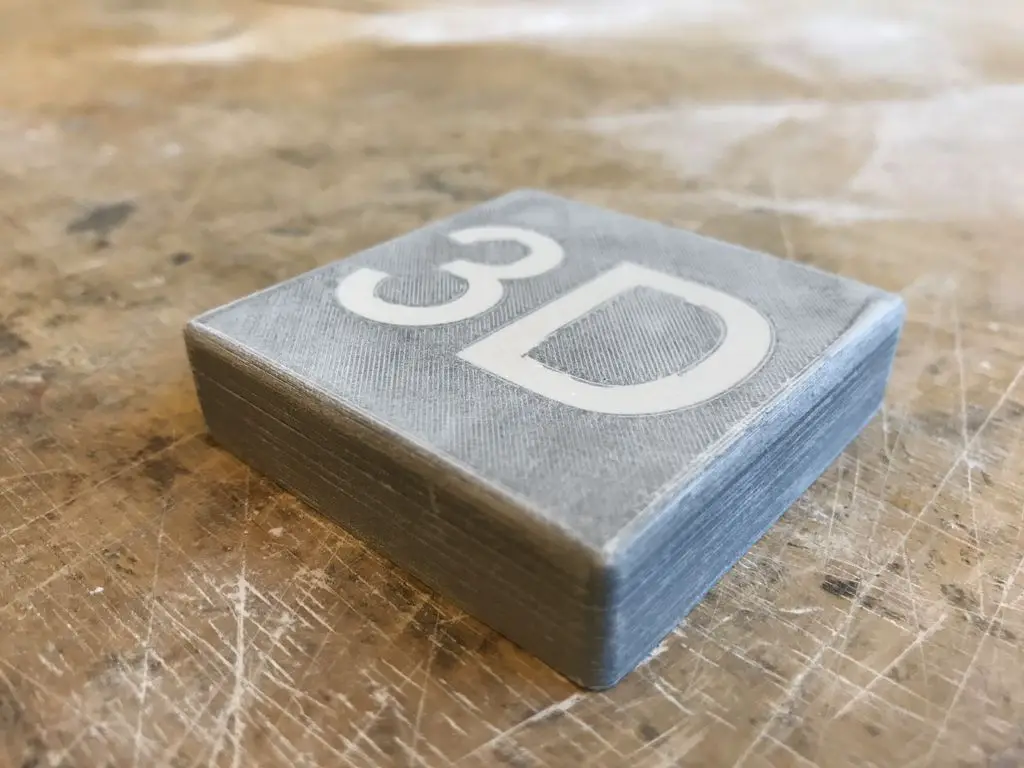
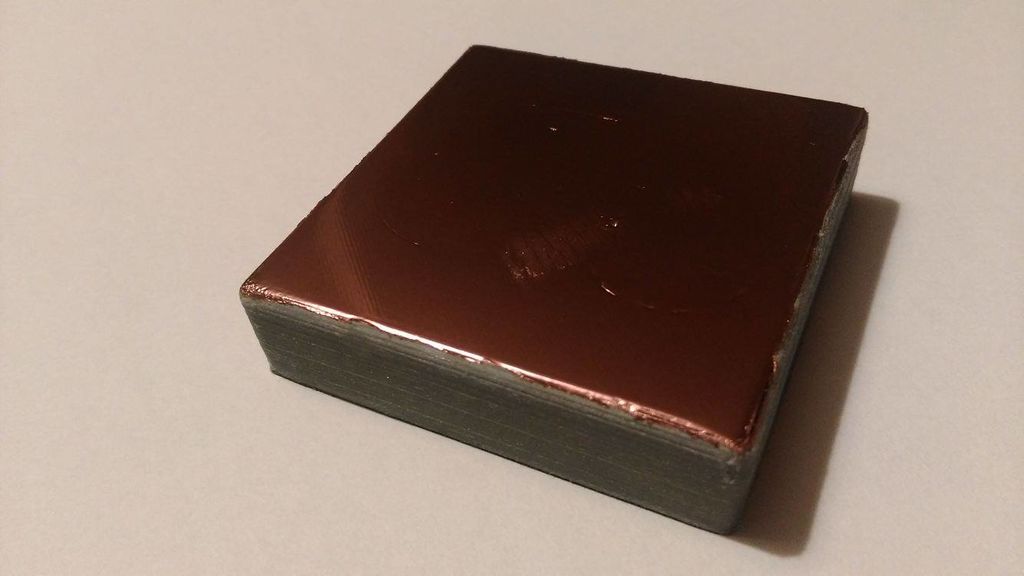
Once you’ve assembled the components, you’ll need to put them into a housing. An old Altoids tin or something similar usually works well otherwise you can 3D print your own using the models below.
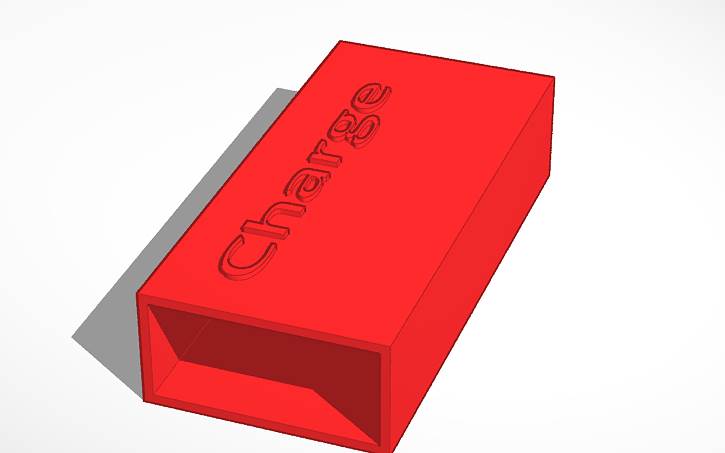
Emergency Charger Housing & End Cap – Download Files
The model allows enough space inside to store the 9V battery with clip as well as the regulator with a small heat sink. There are two holes on the end, one for the USB socket and the second for the switch. The opposite end is open and is closed off with the 3D printed end cap.
Using The 9V Emergency USB Charger
To use your charger, simply plug your device’s USB cable into the socket and turn the switch on.
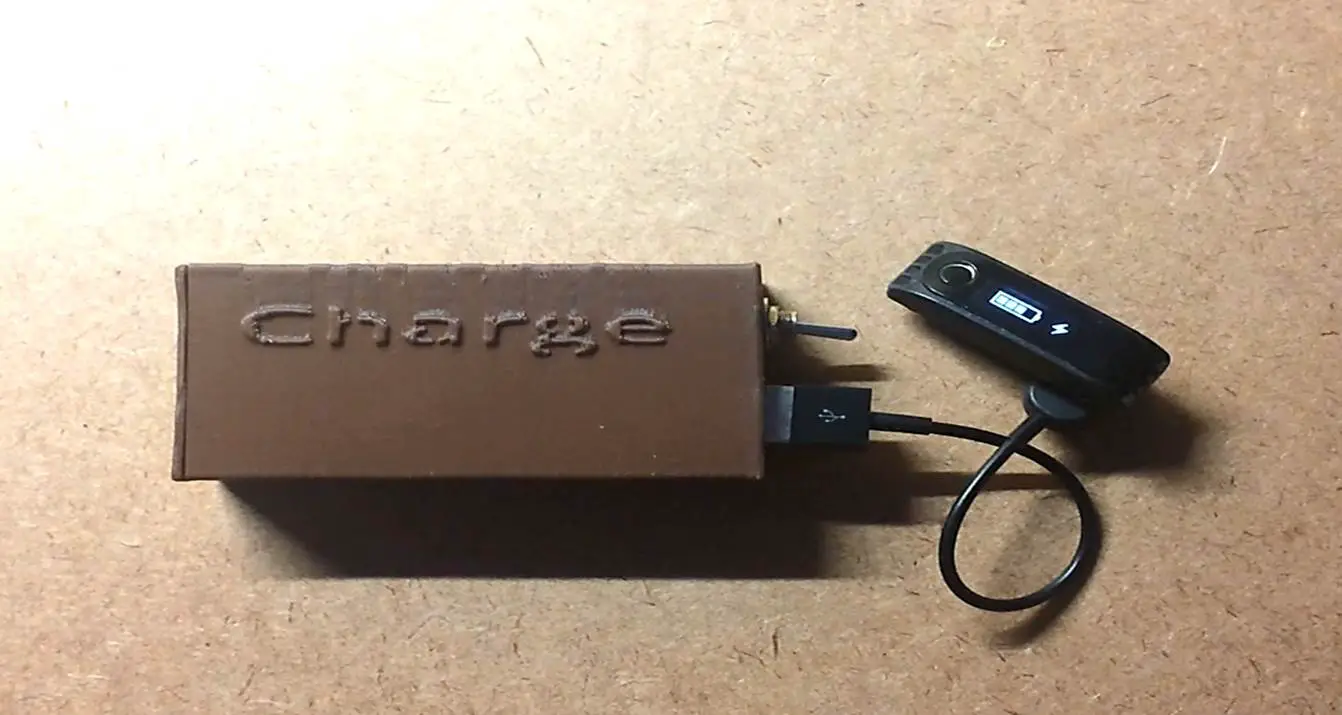
With the switch off, the battery is disconnected from the circuit and the charger can be stored for a few years (depending on the battery quality) without running flat. It’s therefore perfect to leave in your cars glove box or your backpack for emergencies.
You can replace the battery with a rechargeable 9V battery if you use the charger regularly however after long standing periods the rechargeable battery will run flat.
Emergency USB Charger Improvements
If you’d like to improve on the USB charger and make it slightly more functional, here are a couple of modifications you can make to it.
Enable iPhone Charging
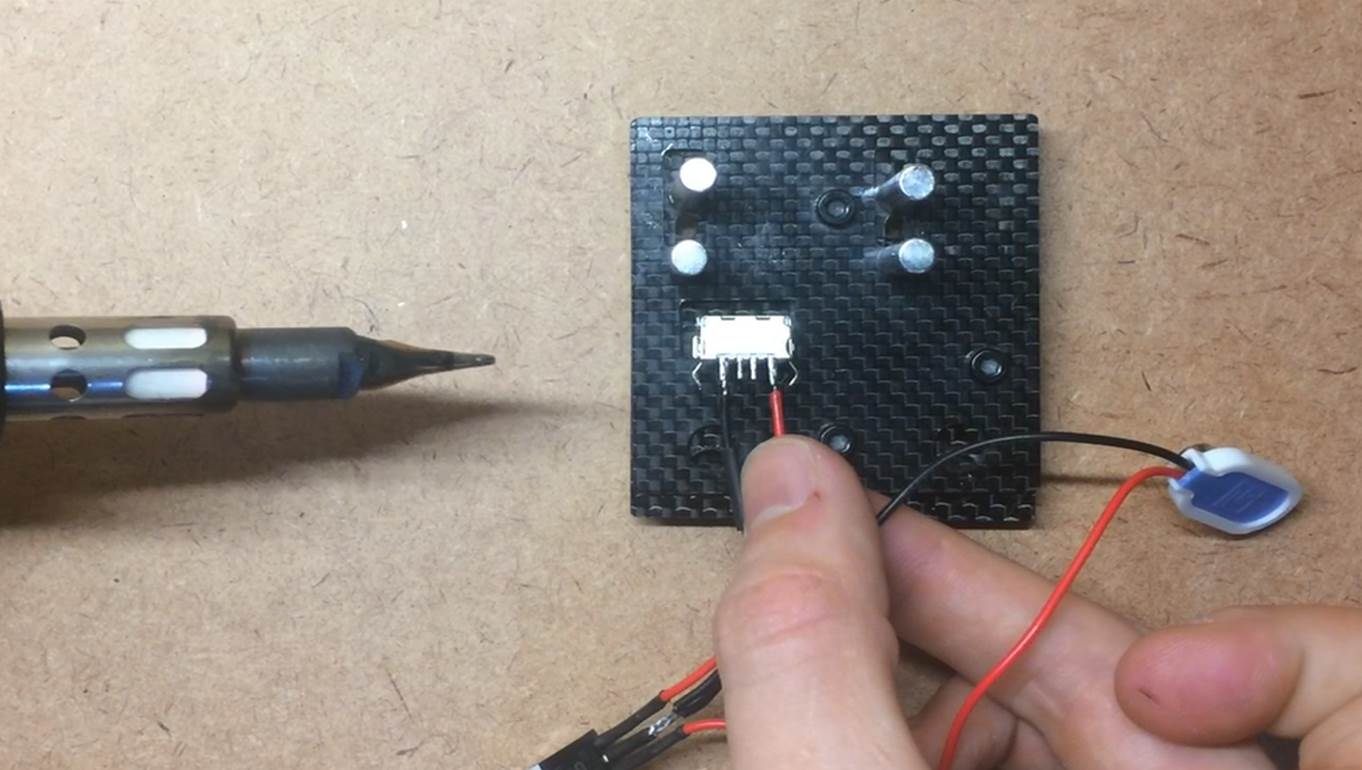
An iPhone won’t charge on this charger with the centre two pins of the USB socket left open circuit. You’ll need to add the following circuit onto the centre pins in order to “fool” the iPhone into thinking that it is connected to a proper charger.
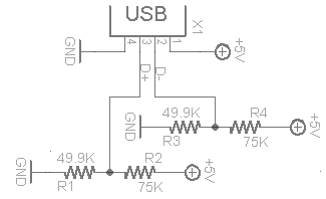
Simply connect the GND to your black 0V wire and the +5V to the output of your regulator.
Smooth Out The Voltage
Add a 100uF capacitor across the input and a 10uF capacitor across the output of the voltage regulator to smooth out any voltage spikes or dips. This makes the chargers output a bit more reliable and protects your connected devices.
Enable Solar Charging
You can easily turn this charger into a solar charger by replacing the 9V battery with a small solar panel such as this one. Simply solder the positive and negative leads from the panel in place of the battery clip and you’re ready to start solar charging.
You could also try making your own solar panel, its really easy and cheap to build.
Have you built this charger or another USB charger? Let us know in the comments section below. We would love to see your designs and tips.