If you’re getting started on a landscaping project for your garden, a landscape checklist will definitely come in handy. You’ve probably had a lot of ideas in mind from magazines, garden photos, or inspiration you picked up from gardening videos. These ideas you’ve gathered over time are great; however, it will all boil down into practicality and making the right choices.
Selecting What’s Best For Your Garden And Your Pocket
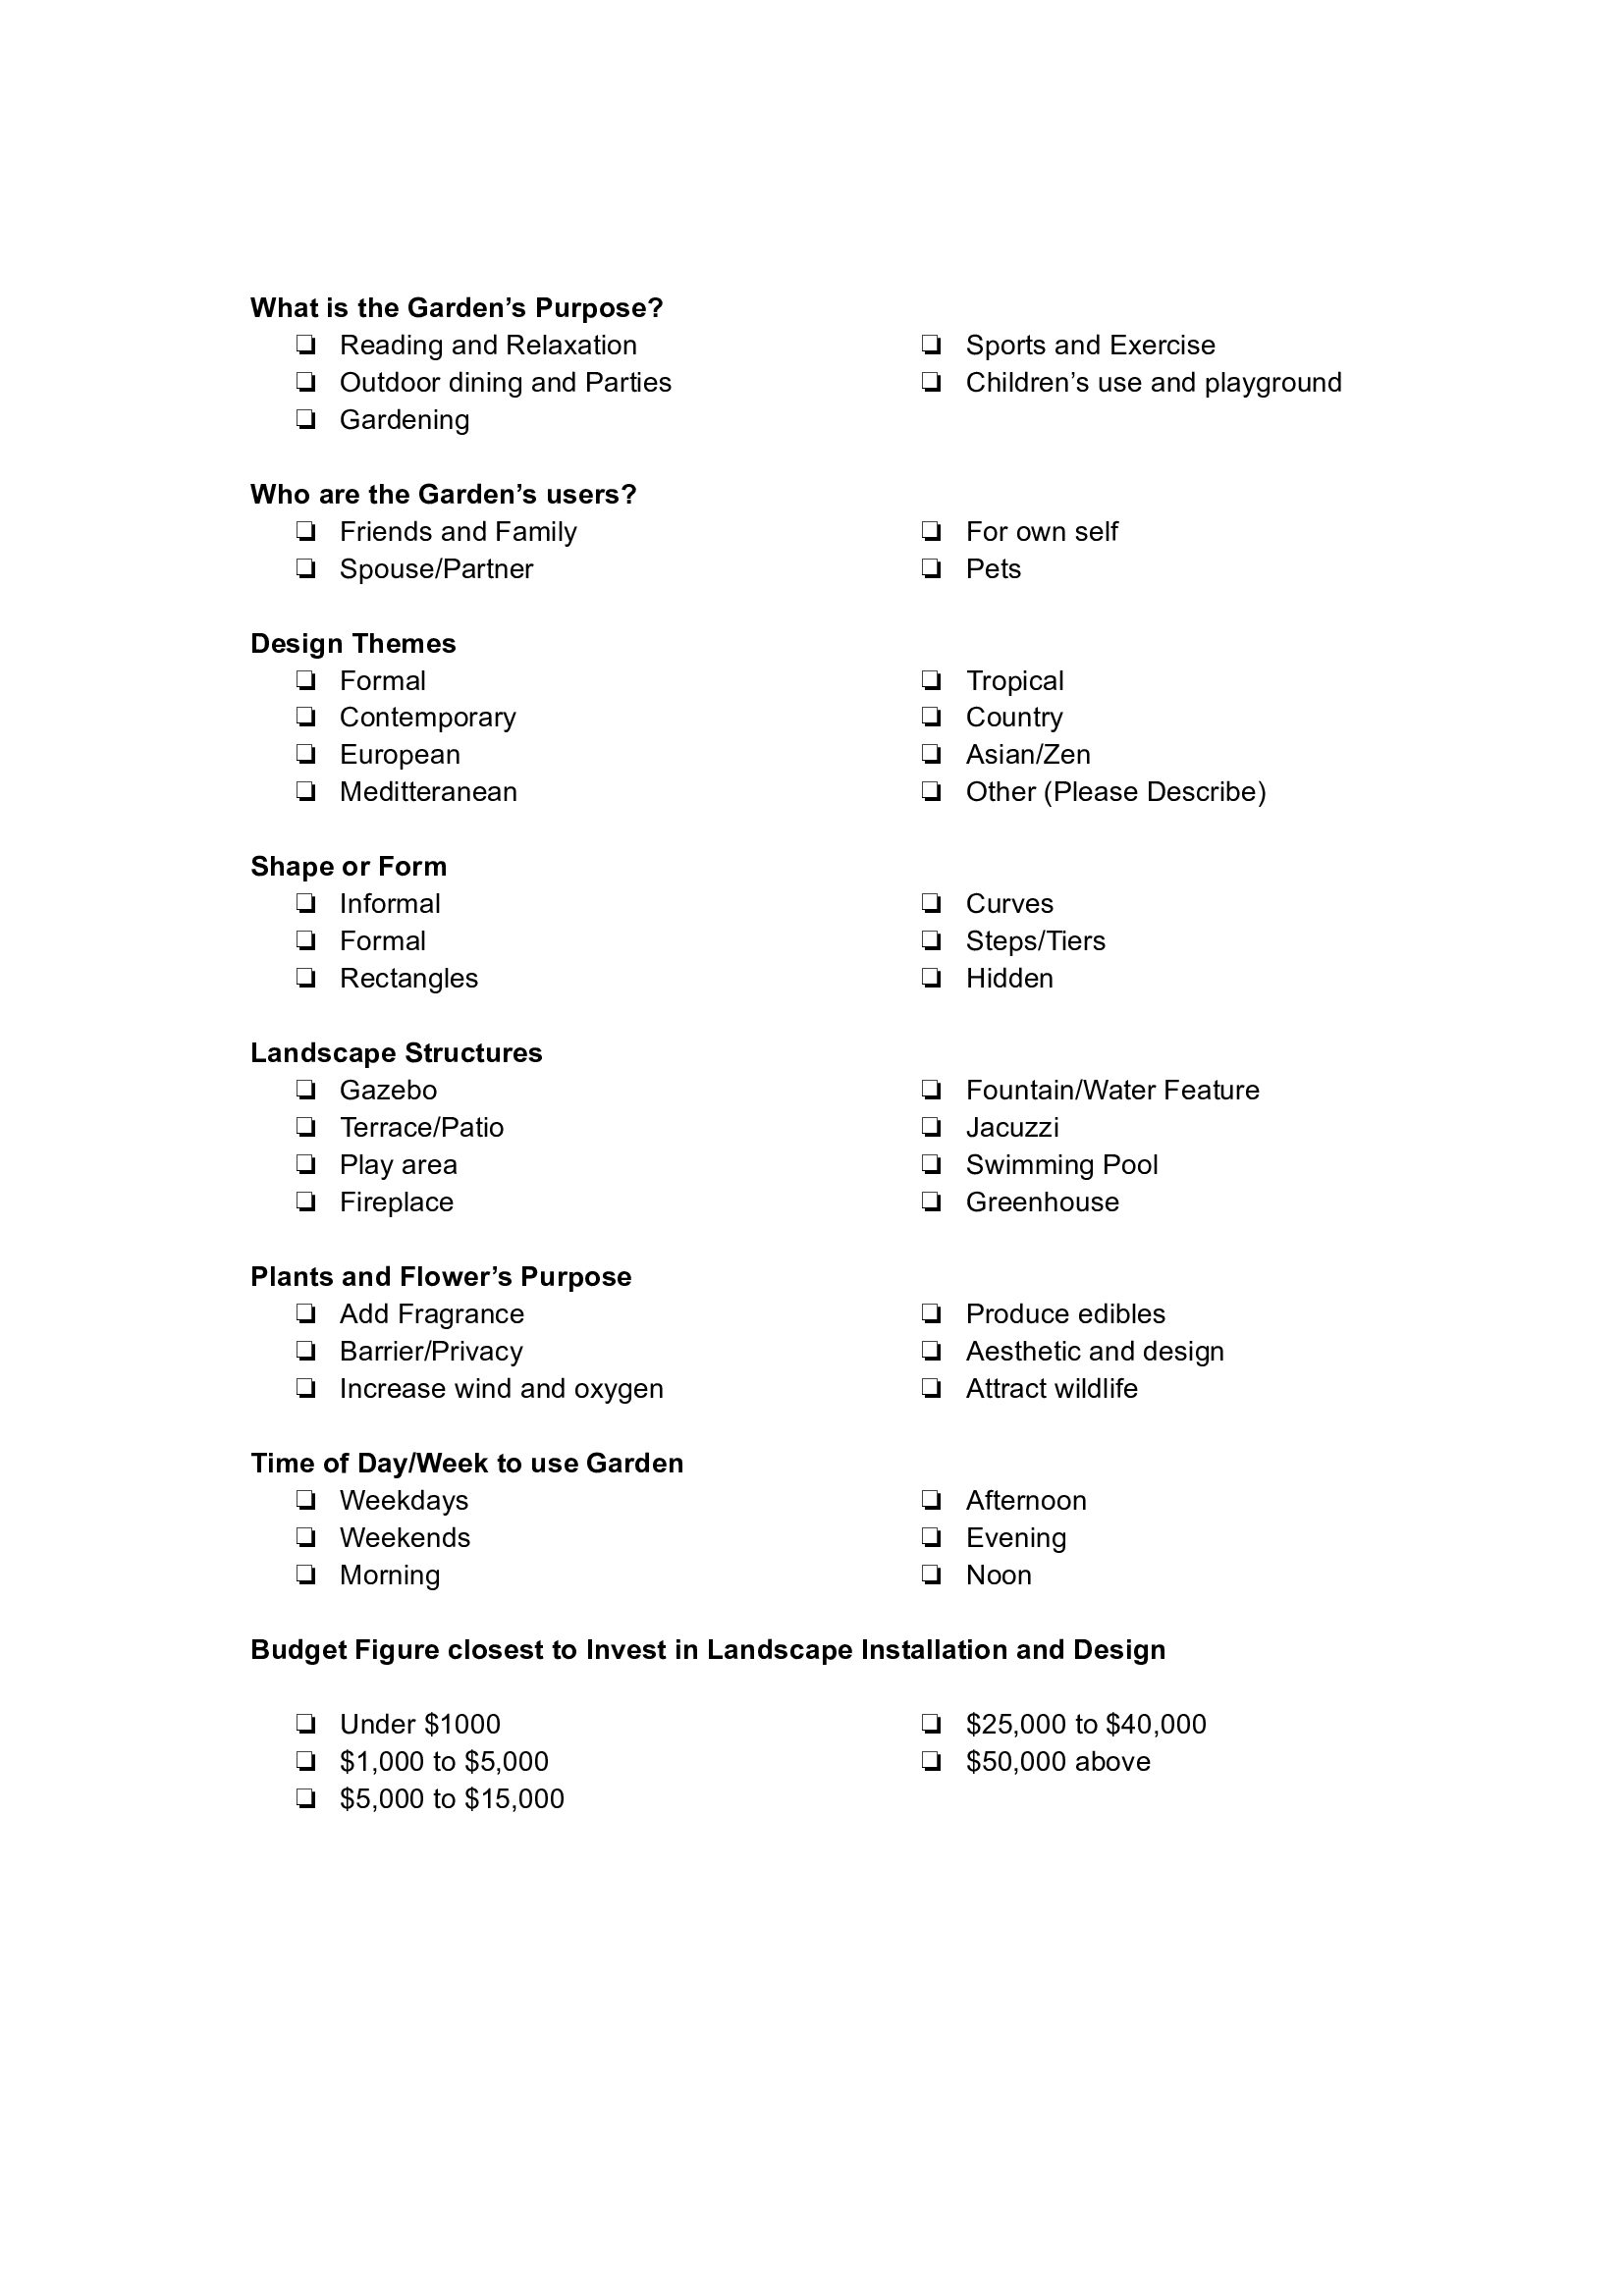
In choosing a design theme, you might want to design a contemporary garden or go for a more traditional theme. In considering the budget, you will allocate for your garden’s landscape.
The trick to starting your landscape project is to organize all your tangled ideas and take time to formulate a grand plan before getting started. A checklist is guaranteed to help you organize all these considerations, avoiding any slip-ups along the way.
Things To Consider Before You Landscape
Design theme and ideas
It is essential to know what you’d like your garden to look and feel like. If you have chosen a design theme, the next steps of the landscaping process will be much easier.
Common Garden Landscape Designs:
- Contemporary
- Tropical
- Japanese Zen
- Formal
- European
- Country
Let’s say you are going for a contemporary garden – you would be likely to choose dramatic foliage, a natural loose planting style and use solid colours.
Your design might also incorporate outbuildings like a shed or greenhouse, or something more permanent like a garage or even an office. Just as you should try and source all your landscaping materials from sustainable sources, make sure outbuildings are constructed in an eco friendly way.
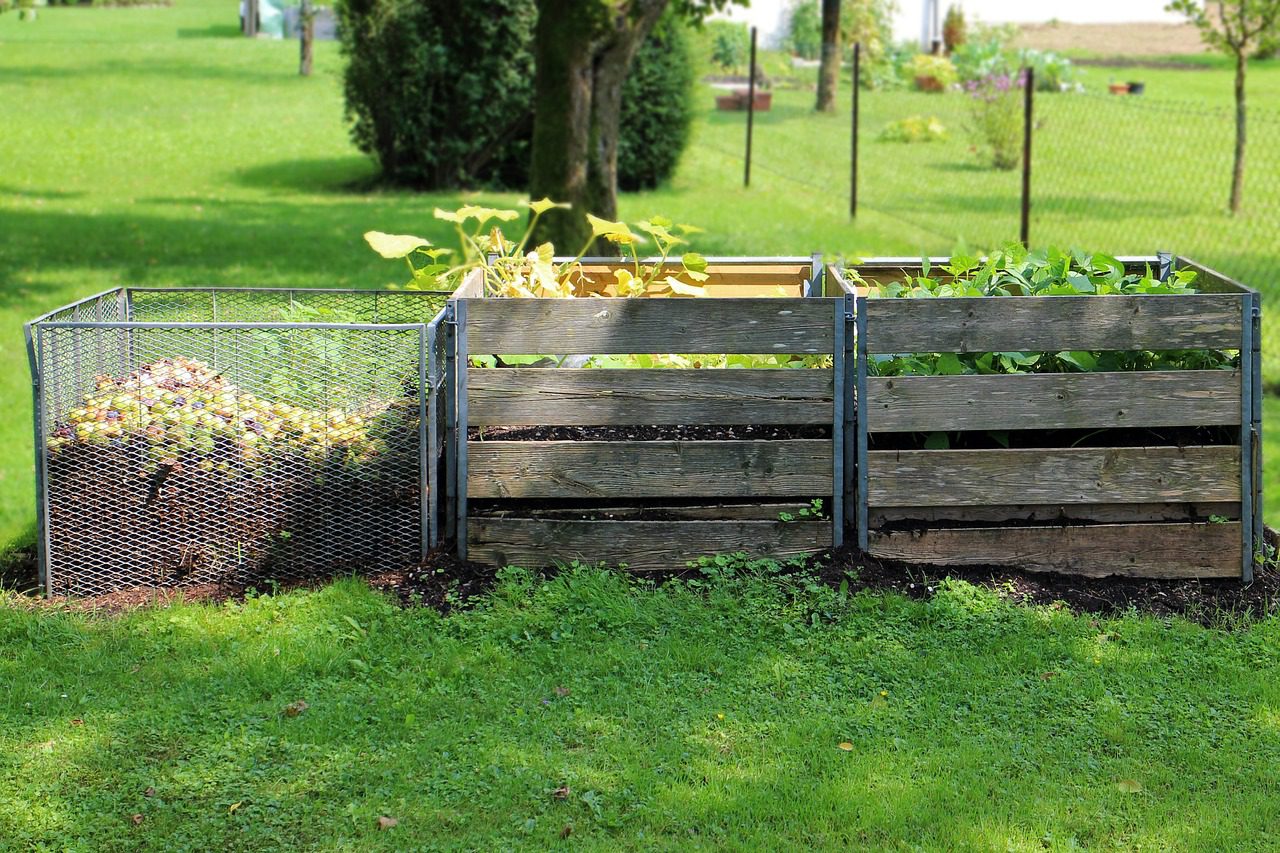
Where possible, sustainability should always be a consideration so you are doing your bit to save the environment.
The garden’s users
It is very important to know who will be using the garden. In other words, what do you mainly want to use the garden for? For relaxation or outdoor dining? Larger families need to have space where children can run around, and the potential for everyone to eat outside during the warmer months.
Your garden’s purpose will have a huge impact on utilizing its space and selecting the applicable shape to serve the garden’s purpose and those that will be enjoying it.
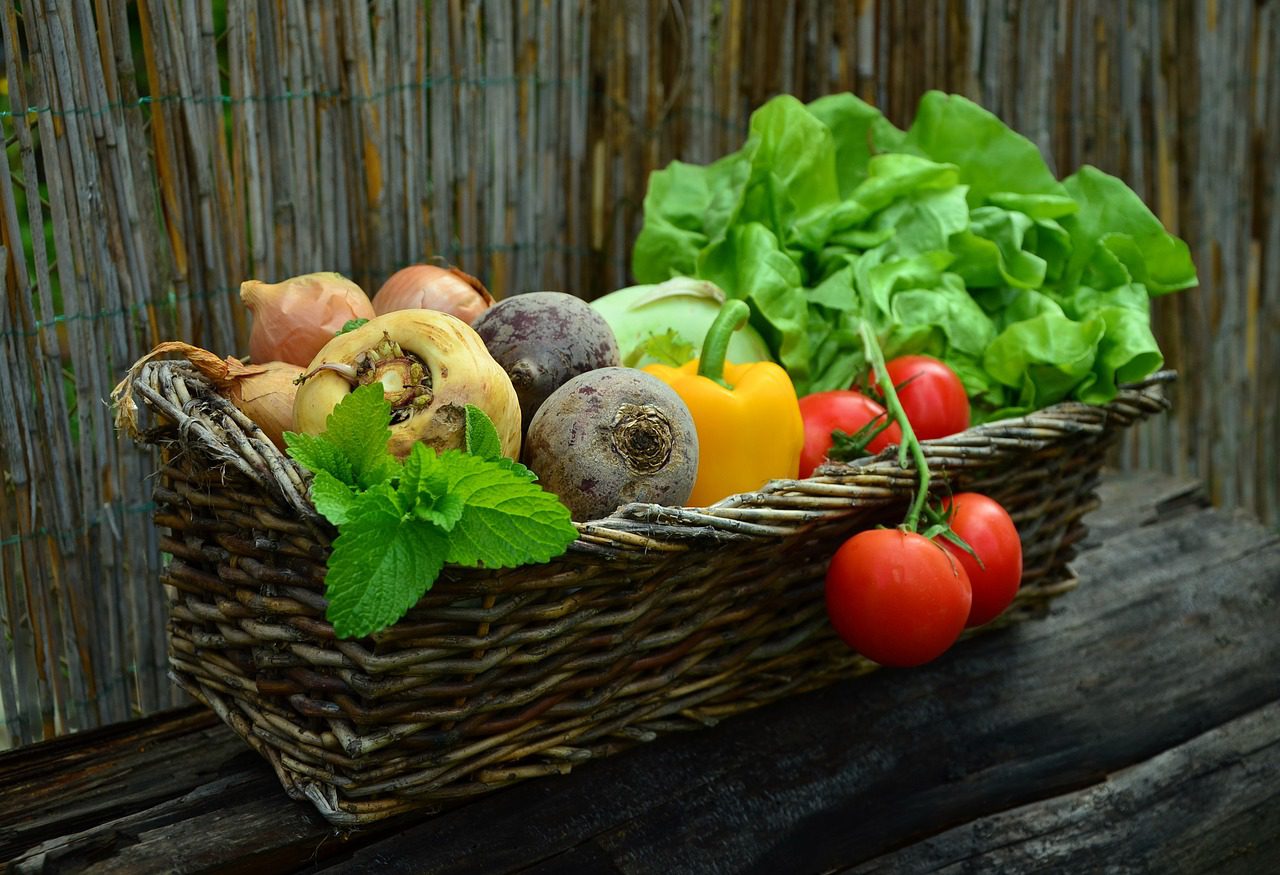
Choosing the right kind of plants and flowers
Probably one of the most difficult yet fun phases in landscaping. Plants can be used in several ways. Plants can grow edibles, add fragrance and add soft sounds to your garden. The colour combination, blooming cycle, and purpose of the plants and flowers should all be taken into account during this phase.
Your budget will also help influence the kind of plants you choose. There are lots of inexpensive plants available, and you can even find free options if you know where to look! However, some species tend to be more expensive depending on their size, age, and how readily available they are in your area or country.
If you’re set on a certain type of plant, try contacting local gardening centers or looking up local prices online before heading out to buy it.
Landscape structures
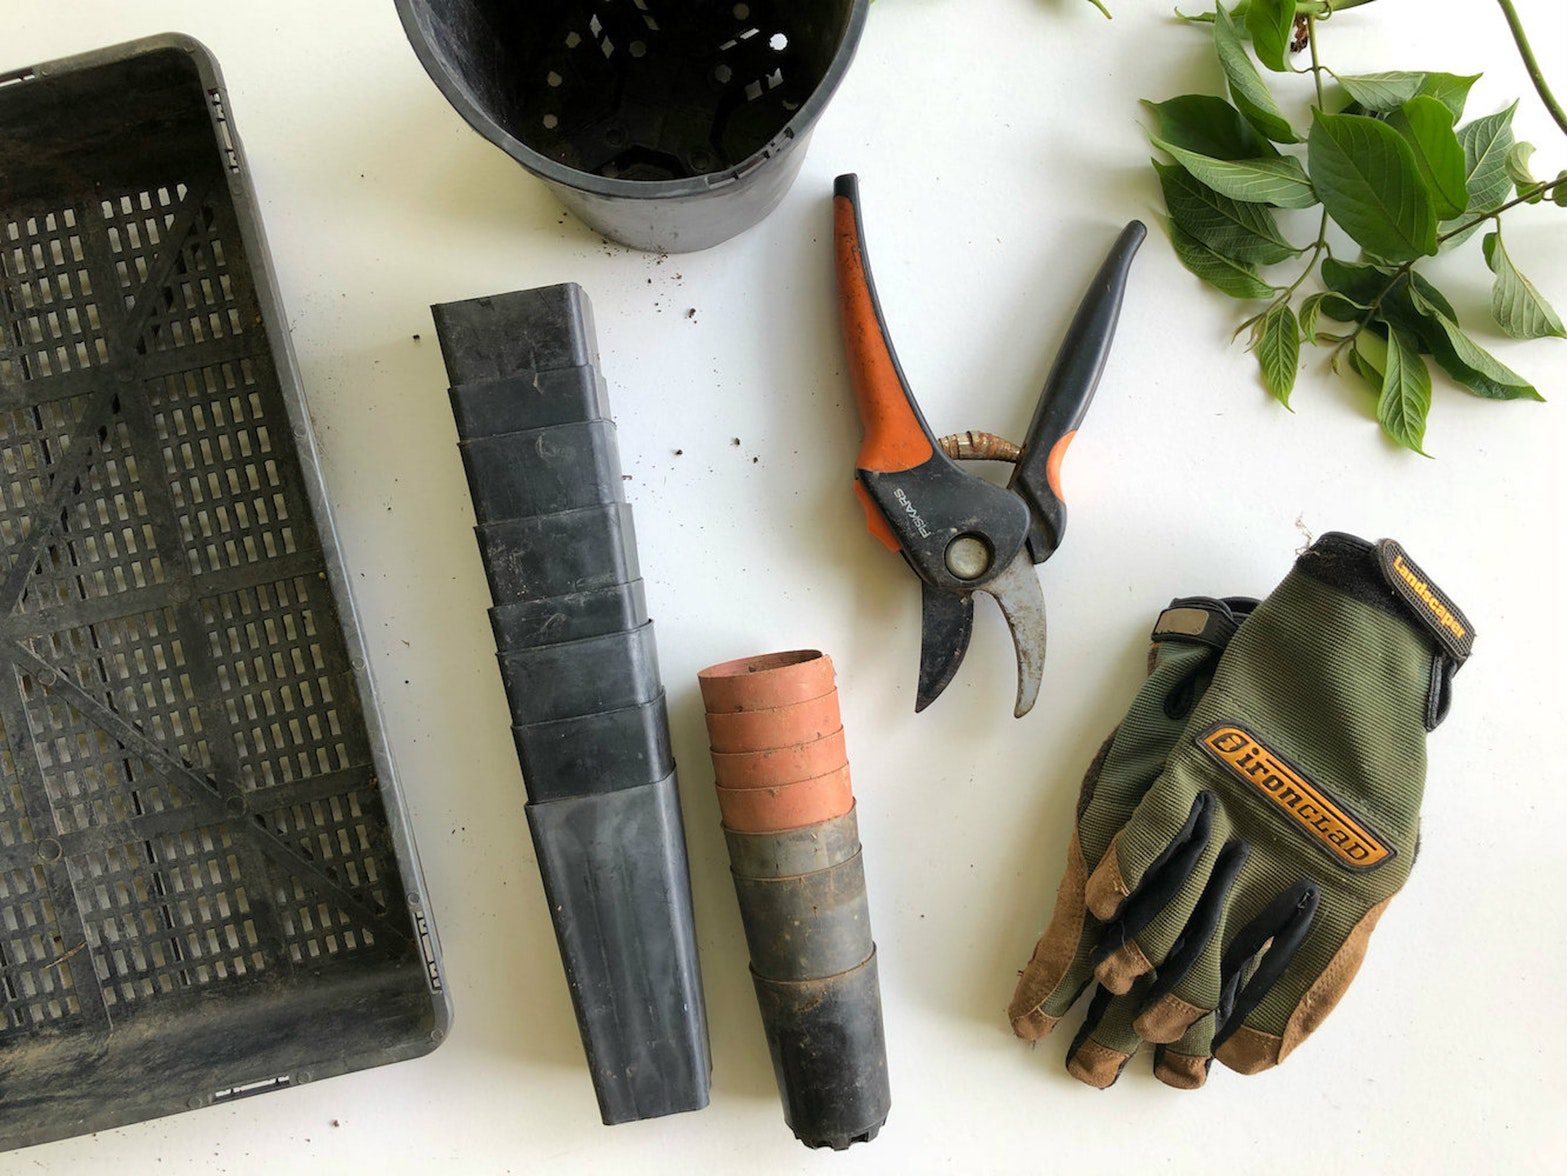
Landscape structures are the parts of the garden that make it a whole. These are the features you would want to add in your garden to make it functional. This could include a gazebo, patio, play area, jacuzzi, outdoor kitchen, and even a swimming pool. When adding landscape structures, think carefully about the quality of the materials, both aesthetically and functionally.
As mentioned before, keep sustainability in mind when constructing any landscape structures.
Climate and environment
Remember the regional climate in your area and the soil type in your garden before starting to landscape. In fact, the topsoil in your garden is incredibly important when it comes to any aspect of gardening. You can learn about topsoil here.
The conditions of your landscape will differ. Climate temperature should also be factored in during the planning stage. Plants structured in the right place can make a massive difference to the noises, temperature, and light levels in the environment of your garden.
Maintenance and care
Let’s be honest here, you must put work into maintaining your garden, but you also need to enjoy it as much as you can. Think about the amount of time and money you will need to spend to maintain your garden. Would you do the gardening yourself or hire someone else to do it? It’s good to think long term during the design stage so you can carefully make the right choices and think of alternatives for your garden’s landscape.
Landscape Budget
The budget amount needs to consider the plants, flowers, materials, labour, and maintenance. Be mindful of being within the budget and reflecting on affordability and functionality. Try to look at what you have in your home that can be reused or recycled to reduce costs.
You can get creative by repainting old pots, putting in cool salvaged objects you have not used in the past and play around with fabrics. You can also make use of online secondhand selling groups on Facebook, or use sites like eBay.
A beautiful garden landscape doesn’t require a lot of cash, but they do require some creativity and resourcefulness.
A Sample Landscape Checklist To Help You Get Started
Download the PDF Printable List – What To Tick Off Your List Before Starting To Landscape Your Garden Checklist
Why a Checklist is Important
A successful garden landscape begins with careful planning. Making a checklist is the best way to start you off on the right foot. It helps you keep track of the daily, weekly and monthly schedule of your tasks. You can start making the checklist from the designing phase up until the maintenance of your garden.
Not only are you tackling the designing process with ease, but It will also have a great effect on enhancing your organizing and time management skills. Nobody wants a chaotic, confused mindset when making decisions. Thus, A checklist is the way to go! Stay organized and always find ways to be efficient, and you will surely see a dream garden come to life in no time.
Happy planning and happy gardening!