It’s fun to update your living space every once in a while. Whether it’s a splash of new paint or rearranging the furniture, something new can make a whole room seem fresh and new. An easy way to update a space and add some fun or elegance to your home is with wall hangings or wall art. The clever use of color, texture and design can bring visual interest to a blank wall space without having to clutter up your floor space with accessories.
Instead of the traditional paintings or pictures, what about experimenting with a unique wall hanging? Homemade wall hangings are a fantastic way to add some unique elegance to your home. They add a touch of boho flair and expression through their different textures, colors and styles.
Wall hangings allow you to experiment with fun elements that express your creativity, like gemstone beads or fringe, and there are plenty of designs online to draw inspiration from. You don’t need to be too experienced with art or DIY projects to create an amazing design, and you don’t have to break the bank to get these looks.
Here are some examples of DIY wall hangings that can add a unique touch to your home.
Woven Or Yarn Wall Hangings
Many homemade wall hangings involve the use of yarn, which is a versatile material that is easy to work with. You can create various styles and designs by weaving the yarn and using different types of wool.
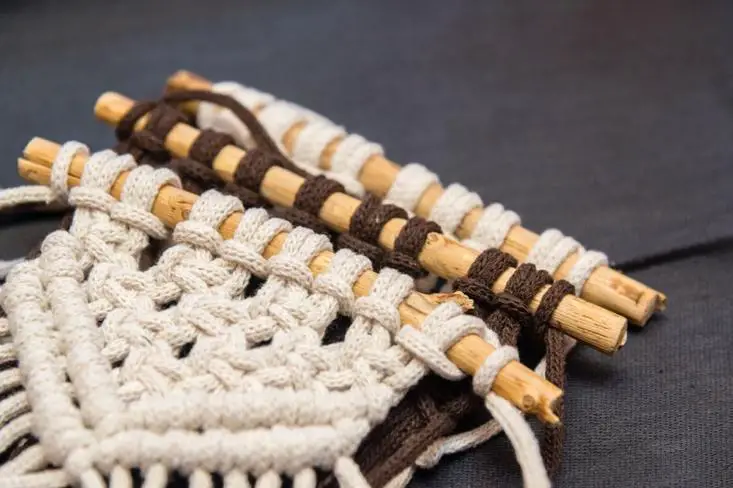
“Scandi chic” is hugely current in the world of fashion and home décor. This look is all about minimalism that is still warm, cozy and incredibly stylish. If you want to bring a touch of Scandi chic to your home, a woven wall hanging brings texture and warmth with a rustic and simple style.
Woven wall hangings are relatively easy to make and require no special equipment apart from the materials you choose to work with. The design can be basic with chunky yarn and simple knots, or you can get intricate by pleating different types of wool together. Your design could be colorful or be made up of simple, monochrome patterns.
The decision depends on the look you are trying to achieve, the weaving skills you possess, your budget and the décor in your room of choice.
Boho Chic
Bringing boho chic to your home couldn’t be easier with a DIY wall hanging. The bohemian style is all about bringing culture and eccentricity to your home, taking progressive style influences from unconventional, spiritual people across the globe. Boho fashion often involves layering colors and combining different textures and patterns.
This look can be achieved in a wall accessory with thinner yarn or one that combines different styles and colors of yarn, giving it a more eclectic appearance. The addition of accessories will also bring textures and colors to your boho piece. For example, incorporating tassels, embroidery, feathers or gemstone beading will bring a new dimension to your artwork. These designs are a great way to express your personality and interests through room décor.
Life’s A Beach
DIY wall hangings don’t always have to be made with soft furnishings. You can bring life to a kitchen, bathroom or outdoor area by integrating rocks, stones or seashells into your wall hanging, giving it an earthier feel. The addition of seashells and light glass stones can bring a nautical or summer theme to a room.
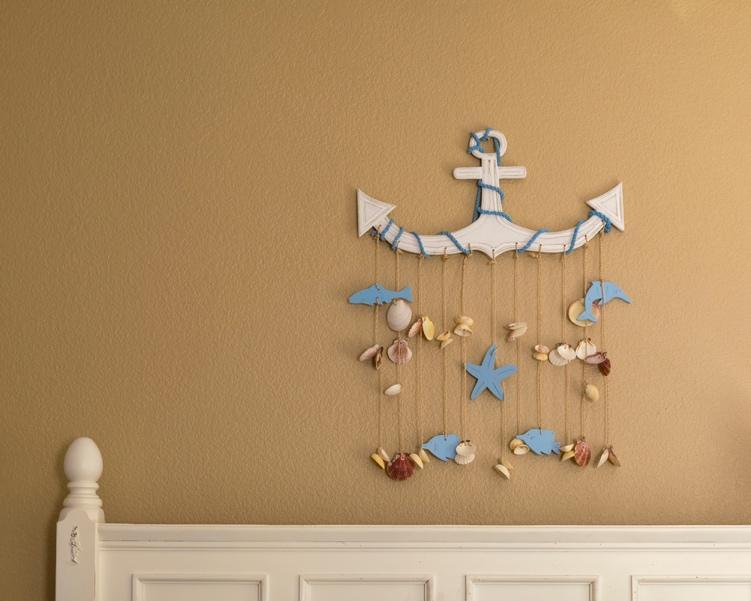
Creating a beach vibe couldn’t be easier: You can collect natural materials from your local beach and bind them using light rope or fishing yarn for a natural feel.
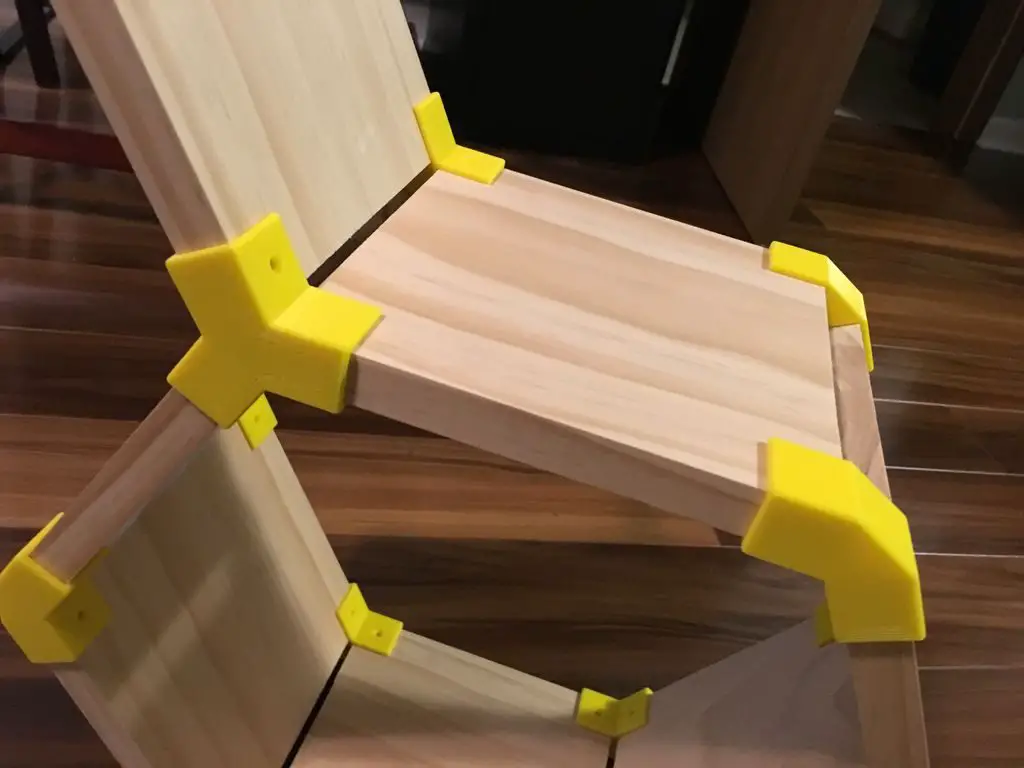
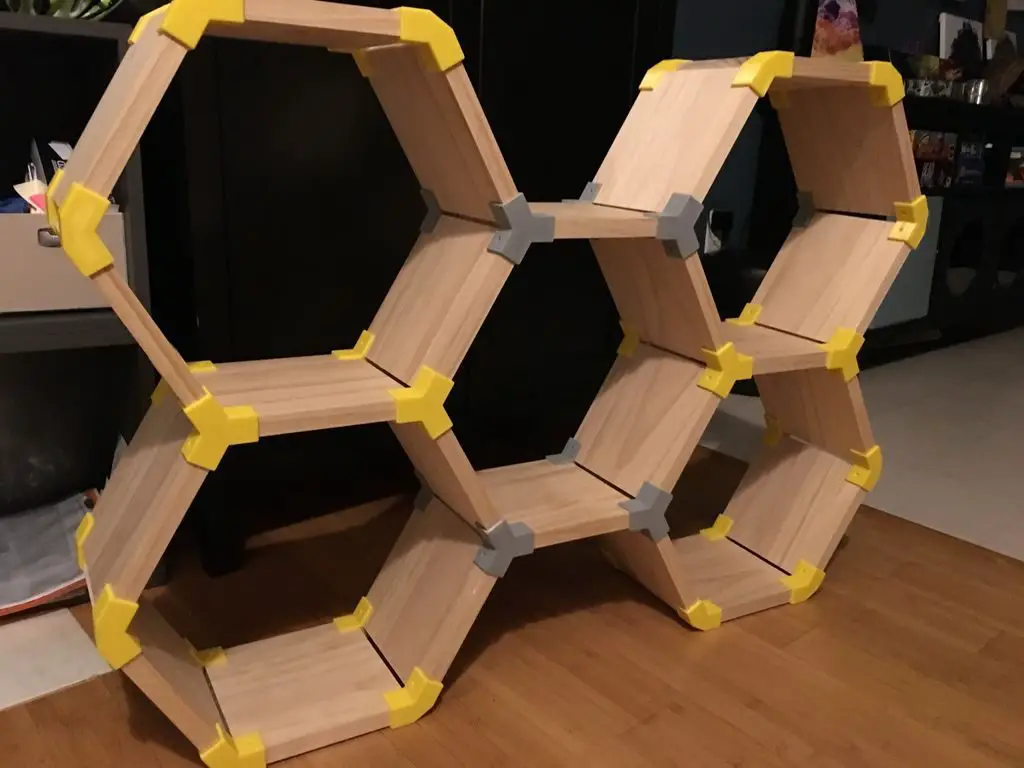
Solid Structures
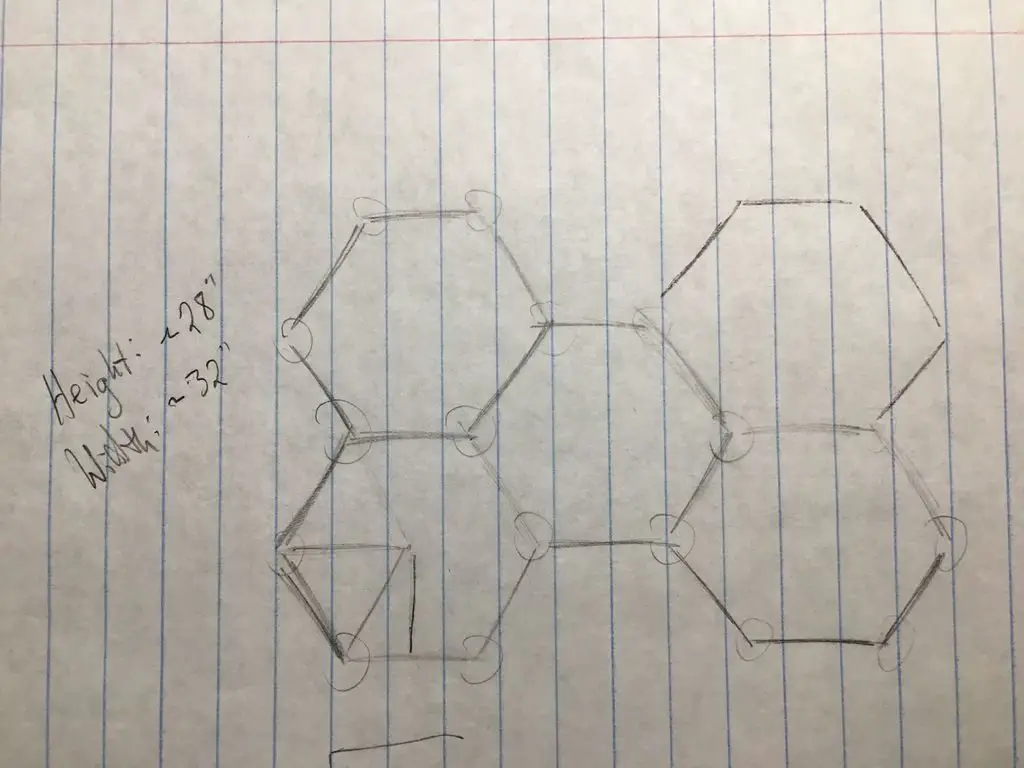
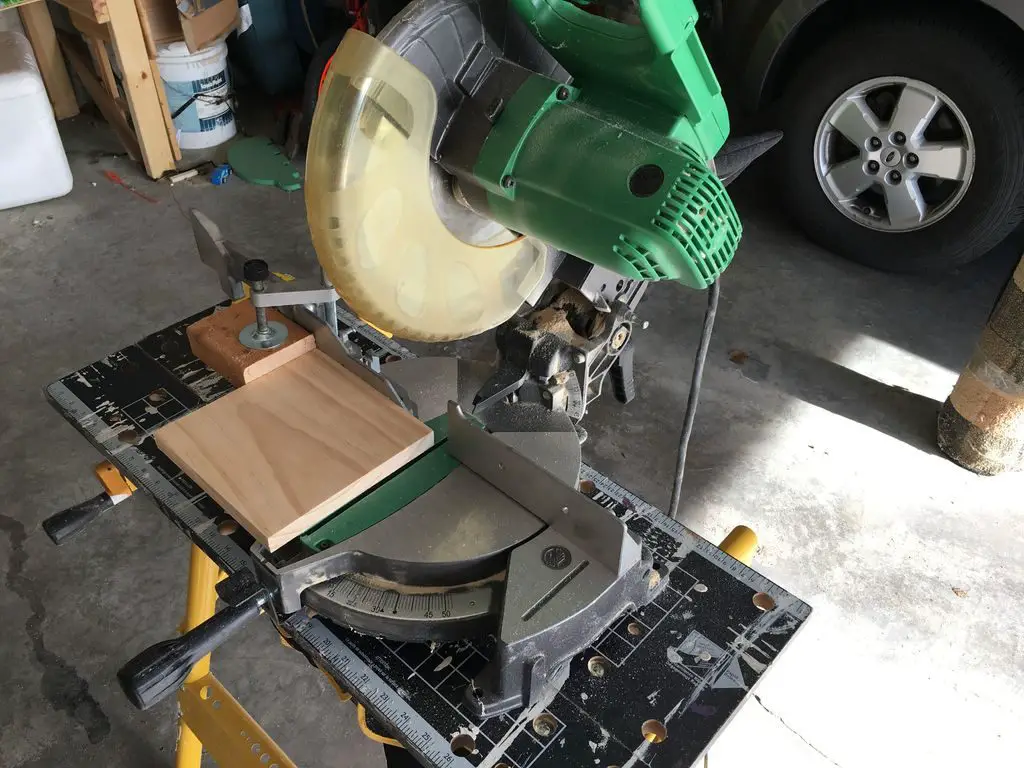
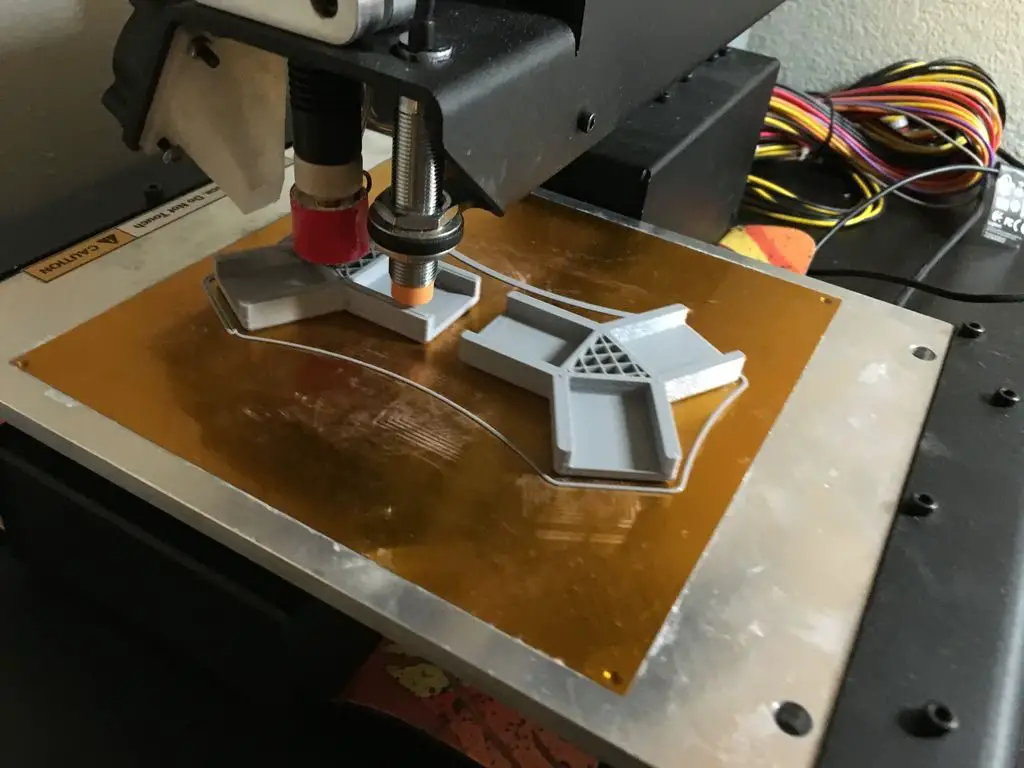
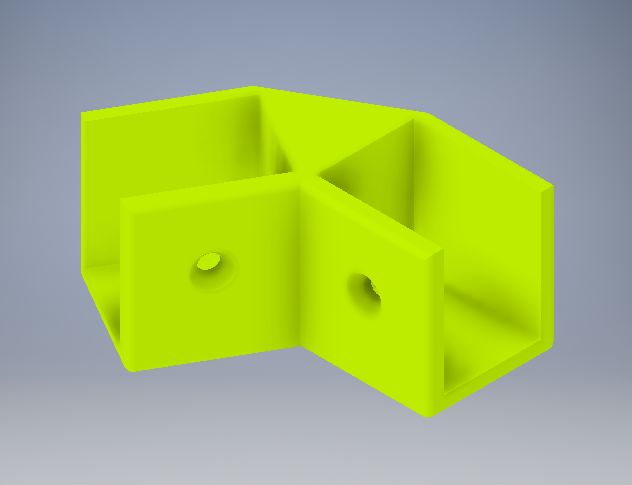
To make a space more modern, design a wall hanging using wood, metal or clay. Switching out the more traditional yarn for a solid structure can give you a unique statement piece for your room. Incorporating glass beads or using chain structures can provide a more flexible and boho feel to an otherwise more classic structure. Geometric shapes and symmetry bring a minimalist yet vivid look to any room. The use of clean lines and lack of too much detail will bring a contemporary, minimalist space to life.
Get Creative
Don’t feel restricted to keeping your designs minimalistic or subtle. Wall hangings with lots of bright colors, textures and accessories can make fun and personal designs that your children will want to help with.
These pieces could even be great features in a kid’s room. You could buy fun additions such as butterflies, flowers, shapes and pom-poms to start a fun and fulfilling arts and crafts project for your family.
Incorporate your family creations into a festive new tradition because a fun DIY wall hanging doesn’t have to be a permanent feature in your home. A themed wall tapestry could be a unique and stand-out decoration at Christmas, Halloween or Thanksgiving. These could include seasonal colors and have space for traditional features such as Santa, stockings, reindeer, ghosts and pumpkins.
Tapestry
Wall hangings also exist as more traditional tapestry designs. While historically tapestries were made of large and heavy fabrics, you can easily incorporate any material for DIY wall tapestry.
This could be an excellent way to showcase your favorite pattern, textile or picture. For example, a traditional floral print pattern or an ancient map. These paper or soft designs can be personalized by embellishing them with beading, fabric and tassels. If you enjoy a regular style, you can incorporate deep dark colors and golds into your design.
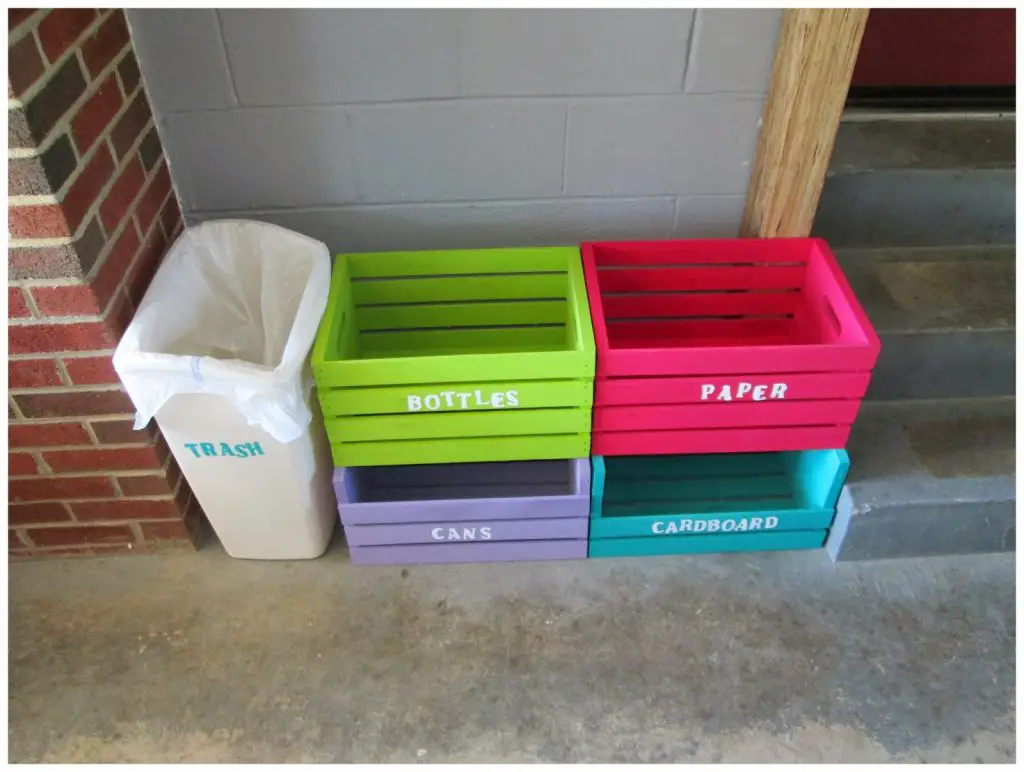
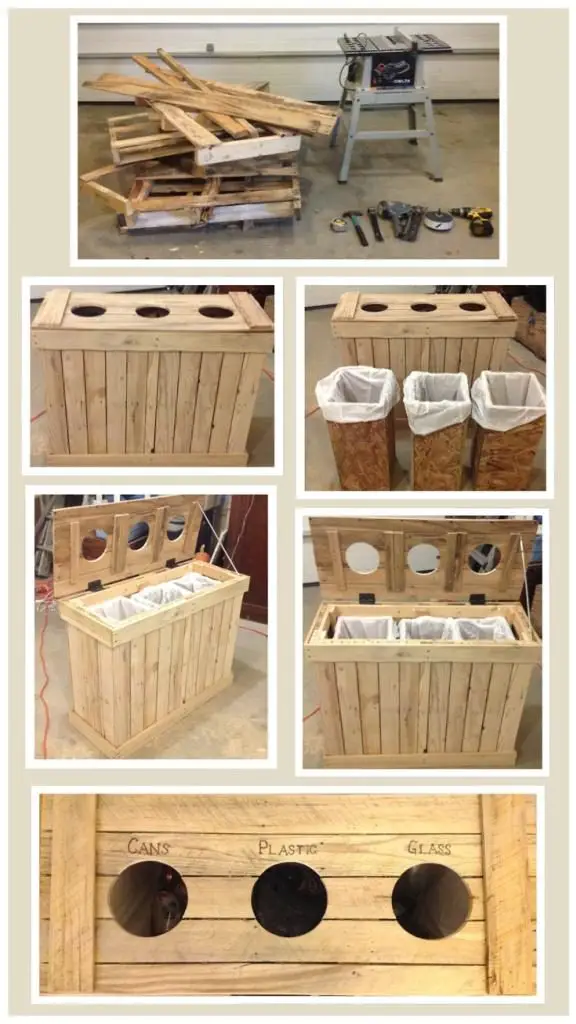
Make It Useful
Your wall hanging doesn’t have to be a mere accessory with a striking design; it can also have a useful function in your home. This is especially appealing in small apartments, where space saving may be on your mind.
Create a decorative and useful wall hanging to store some of your items. For example, a wall hanging can be used to hold keys and other small accessories, books, magazines, letters, mugs and even plants.
Getting crafty is a great way to express your personality and add an artistic touch to your home. There is no more stylish way to do this than to create your very own wall hanging. With so many DIY wall hanging options, there truly is a design for every room, even for the most novice crafter!
If you enjoyed this article, have a look at how to use design principles to decorate your home.