In the past there was a choice between grease and oil, however, nowadays there is a whole aisle at the hardware store dedicated to lubricants, there are greases, oils, spray oils, lubrication sprays and finally, application specific lubricants. While a general purpose lubricant may get the job done temporarily, it is almost always better to use an application specific lubricant to provide better wear resistance and longer lasting performance. Use this guide to assist you in selecting your next lubricant. Download and print our free workshop lubrication pinup shown at the bottom of this post as a handy guide to the applications, advantages and disadvantages of each lubricant.
It is important to remember that fresh lubricant only works well if it is free from dirt and contaminants. Use a brush or rag and a liquid or spray on solvent to clean the part before applying the new lubricant.
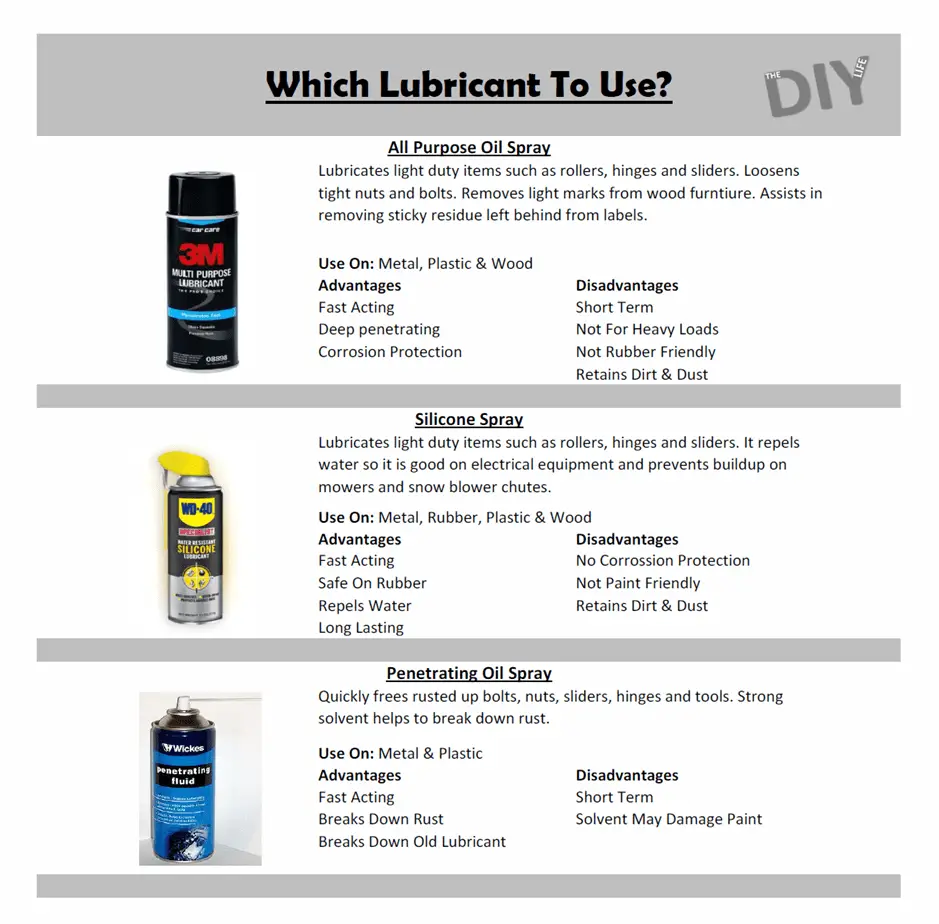
All Purpose Spray
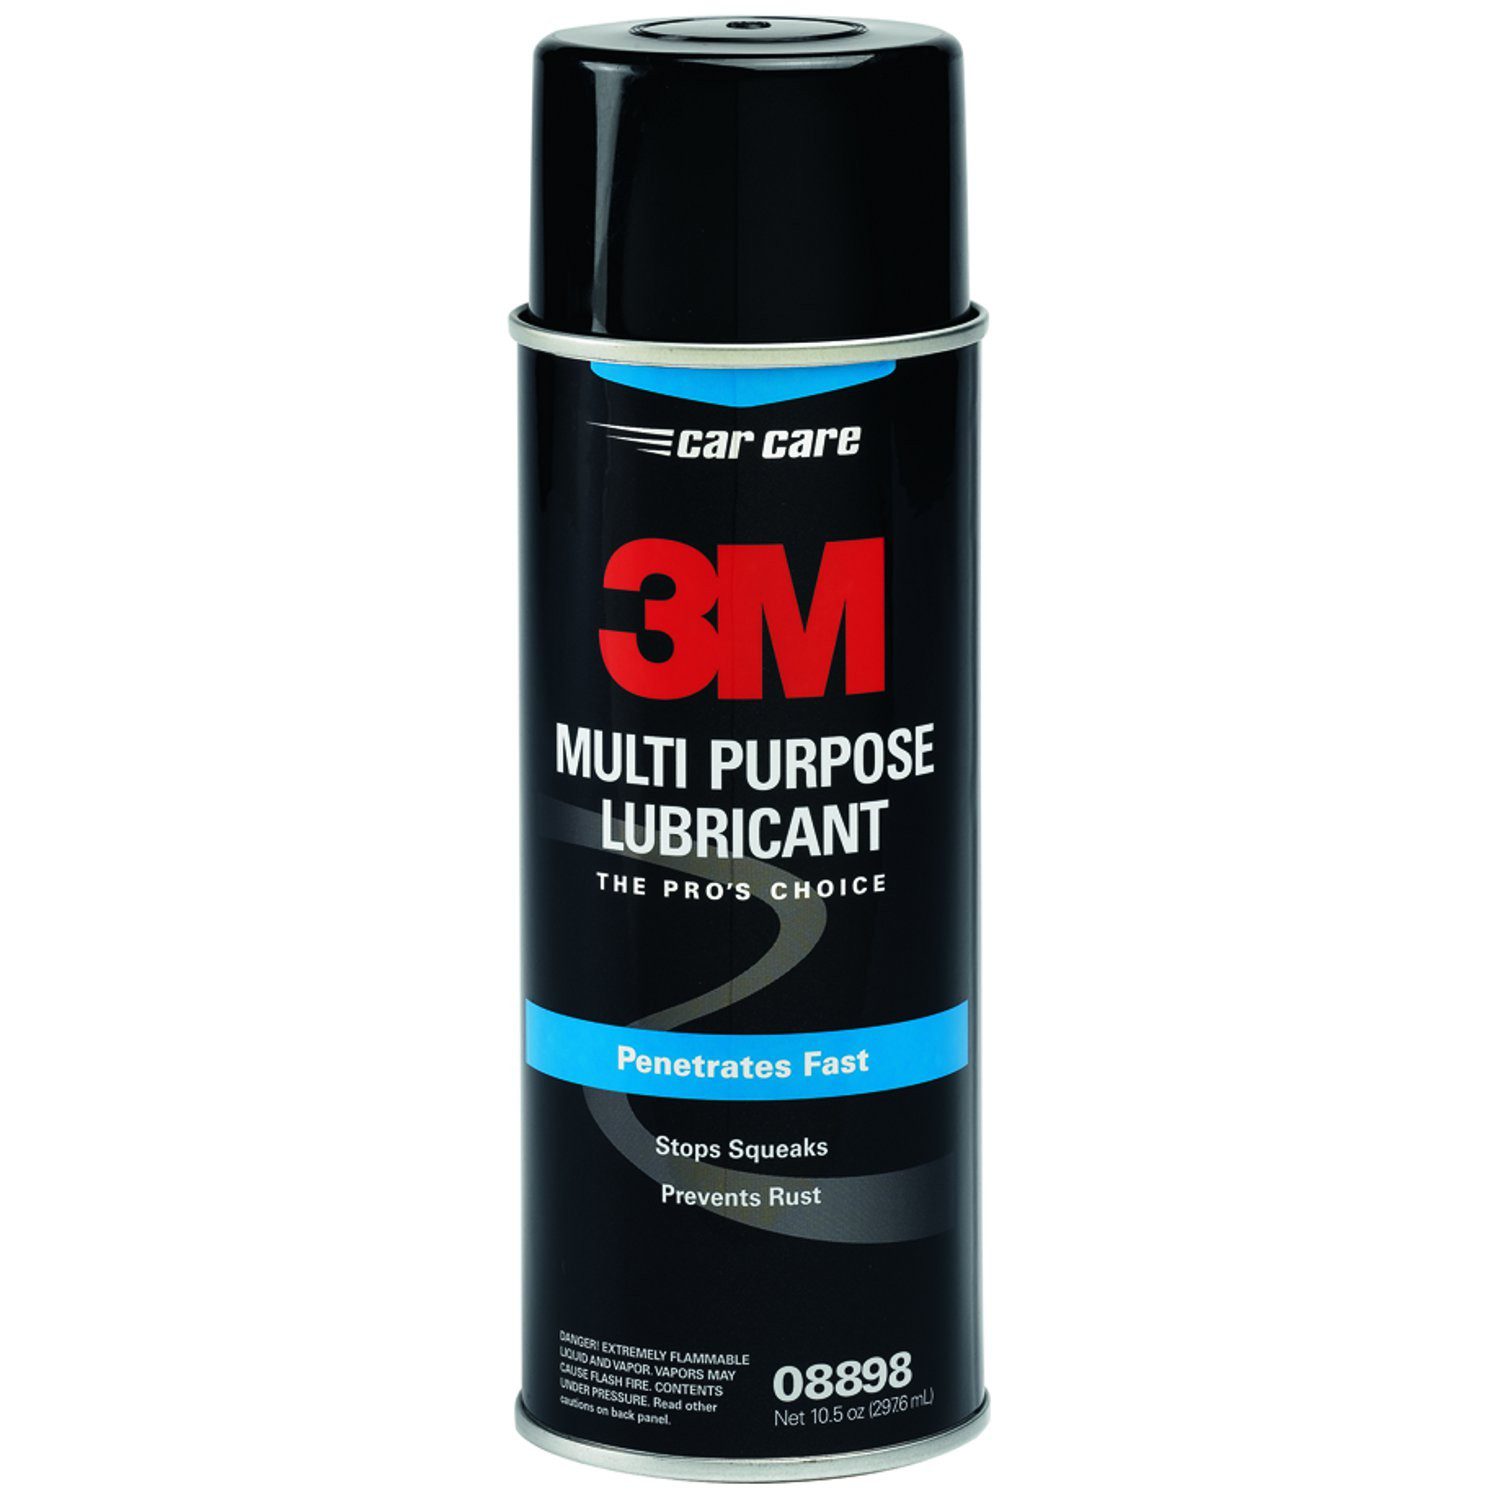
All-purpose spray is designed to perform a range of functions all to some degree of success. It primarily lubricates light duty joints and sliders and dissolves light rust. It is designed for use on wood, metal and some plastics and because it is a light oil it acts quickly and flows into tight joints. Its main disadvantage is that it doesn’t last very long, because it is designed to be a thin penetrating oil, it is expelled from the joint quickly and it collects dirt and dust.
Silicone Spray
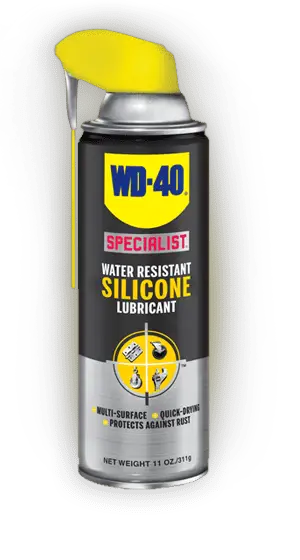 Silicone spray is increasing in popularity as it works well as a sliding lubricant for metal, wood, rubber and plastic. Silicone spray also repels water and is therefore often used to push water out of electrical components. Like with most oil based lubricants, dust and dirt particles stick to it and therefore the spray does not do well in dirty environments although a “dry” spray silicone lubricant is also available for these applications. The downside of silicone lubricant is that it is extremely difficult to get off of anything after it has been sprayed on. It easily contaminates walls and floors and makes the surfaces unpaintable in future.
Penetrating Oil Spray
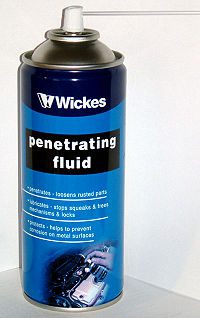 Rust penetrating oil is perfect for loosening rust locked nuts and bolts. The oil is a low viscosity thin lubricating oil which easily runs into cracks and tiny gaps, it also usually contains a solvent which works to break down the rust. Penetrating oil spray should only be used to loosen stuck joints, once they are loose, if they need to be kept lubricated then silicone lubrication spray should be used as penetrating oil does a poor job of keeping things lubricated because it is so thin.
Chain Lube
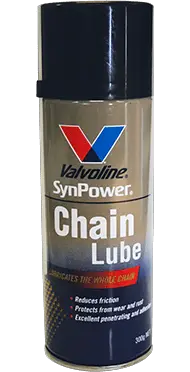 As the name suggests, chain lube is specifically designed for lubricating roller chains such as those on motorcycles, scooters, quad bikes and bicycles although it also works well on automatic garage door openers and garage door wheels. The lubrication works its way into the rollers and is thick enough to not come off when the chain is in motion. The lubricant should only be applied to a clean and dirt free chain so be sure to clean the chain first with a paint brush and a cup of solvent.
Garage Door Spray
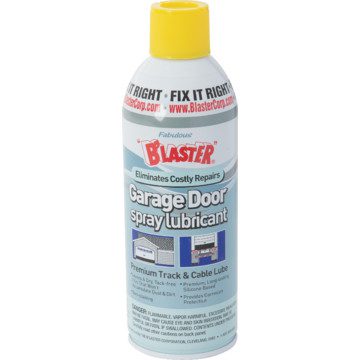 Like chain lube, garage door lubricant is designed to penetrate deep into the rollers, wheels and hinges to provide long lasting lubrication. The additional benefit is that the lubricant is designed to dry up to a non-sticky finish which reduces dust and dirt build up and resists rust.
PTFE Dry Spray
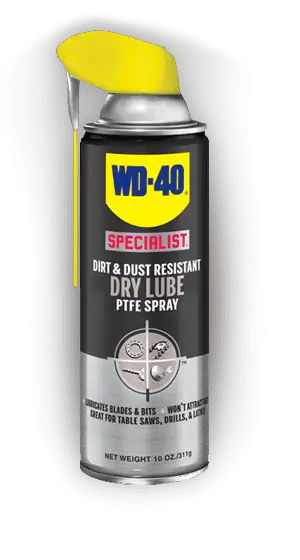 PTFE dry spray is a spray on lubricant which dries out to leave a thin PTFE based film which lubricates well but doesn’t collect dust. Because it forms a thin film, it is not particularly hard wearing and is therefore only suitable for light applications. It is ideal for parts subjected to light loads in dusty environments.
Synthetic Grease
 Synthetic grease is the best lubricant for more industrial applications and joints, gears, bearings or axles which are subjected to heavy loads. Synthetic grease has better lubrication properties than petroleum based grease and has a longer life as it resists thermal breakdown and shear. Unfortunately, grease is sticky and collects dust and dirt so the lubricated joint or part should be kept clean as far as possible.
Lithium Grease
 Lithium grease, like synthetic grease is better suited for high load axles, gears and bearings and provides good lubrication to medium load power tools and garden equipment. It provides some benfit over synthetic grease for this purpose in that it often comes in an aerosol spray form where a solvent assists in penetrating the joint and then dries off leaving the grease behind.
Marine Grease
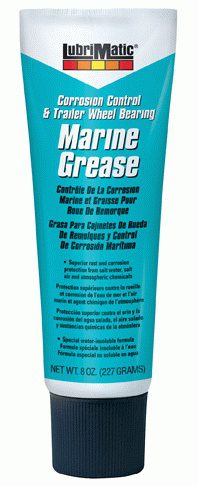 Marine grease is similar to synthetic grease however it is water resistant and contains a rust inhibiter to prevent metal parts from fusing together due to rust build up. Marine grease is the best choice for items which are continuously submerged in water or exposed to the elements.
Download and print our free lubrication pinup below to put up in your workshop as a handy guide to the applications, advantages and disadvantages of each lubricant.
Which Lubricant To Use Printable
What is your experience when working with lubricants? Please share your thoughts, tips and favorite products with us in the comments section, we would love to hear from you.